
Features
Cherry Mobile Flare S6 Selfie vs ASUS ZenFone 4 Selfie Lite: Camera shootout

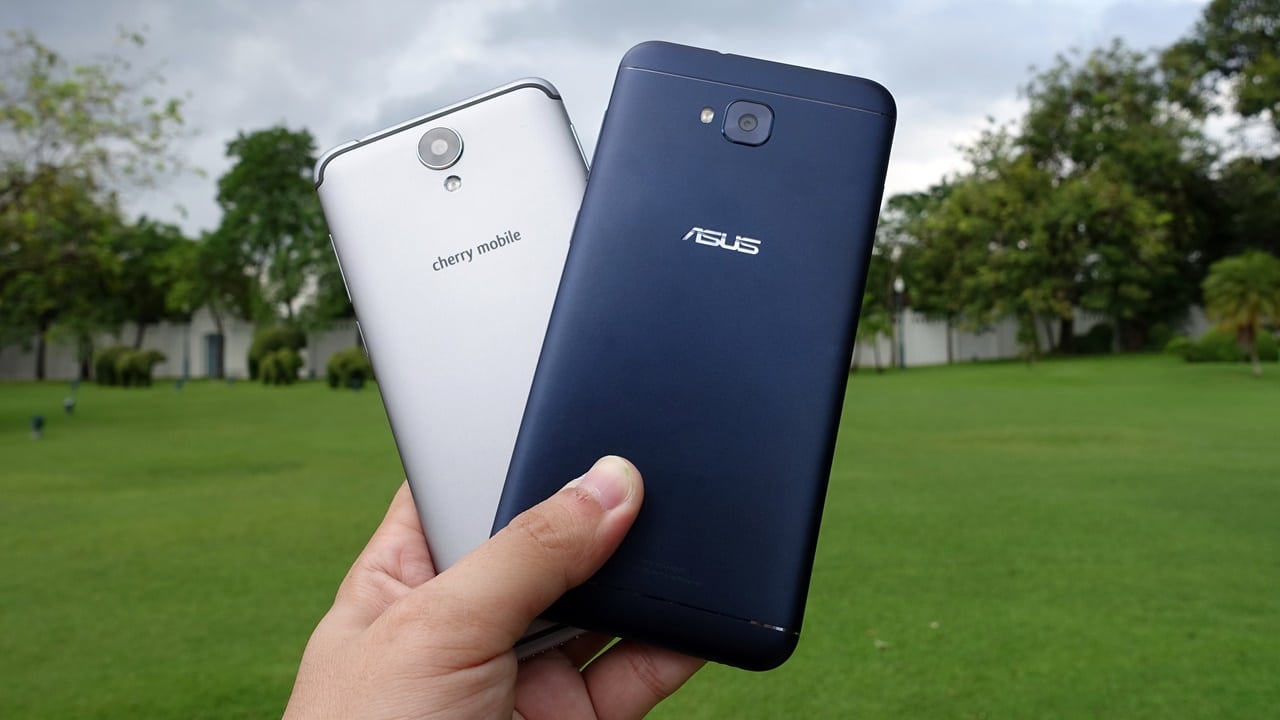
Selfie-centric phones are everywhere! It’s a given that flagship handsets have high-quality cameras — both on the front and back. These so-called selfie phones give priority to their front-facing shooter (or sometimes shooters). The midrange segment currently enjoys the privilege of having the best selfie cameras, but the budget phones also have a couple of these.
The Cherry Mobile Flare S6 Selfie and ASUS ZenFone 4 Selfie Lite are both under PhP 8,000 or US$ 155. Which phone captures better images? Let’s find out.

Front camera
To start, the Flare S6 Selfie has a 16-megapixel f/2.0 front camera while the ZenFone 4 Selfie Lite has a 13-megapixel f/2.0 shooter. With both cameras having the same aperture, it’ll be interesting to see how crisp photos will turn out.
In this selfie, I was under a shade along a tree-lined walking path. It was extremely bright because this was around noon time, giving the sensor plenty of light to process. The Flare S6 Selfie seems to absorb too much light which resulted in an overblown background with a greenish tint, while the ZenFone 4 Selfie Lite keeps things natural.
[sciba leftsrc=”http://www.gadgetmatch.com/wp-content/uploads/2017/11/cherry-mobile-flare-s6-selfie-comparison-01.jpg” leftlabel=”Flare S6 Selfie” rightsrc=”http://www.gadgetmatch.com/wp-content/uploads/2017/11/asus-zenfone-4-selfie-lite-comparison-01.jpg” rightlabel=”ZenFone 4 Selfie Lite” mode=”horizontal” width=”1280″]
The next photo was shot under direct sunlight. The ruins of what used to be a temple city don’t exactly have shady trees to protect you from the sun. Again, the Flare S6 Selfie gives off a greenish tint to what could have been a nice and sharp selfie. The ZenFone 4 Selfie Lite, on the other hand, has better skin tones and overall white balance.
[sciba leftsrc=”http://www.gadgetmatch.com/wp-content/uploads/2017/11/cherry-mobile-flare-s6-selfie-comparison-04.jpg” leftlabel=”Flare S6 Selfie” rightsrc=”http://www.gadgetmatch.com/wp-content/uploads/2017/11/asus-zenfone-4-selfie-lite-comparison-04.jpg” rightlabel=”ZenFone 4 Selfie Lite” mode=”horizontal” width=”1280″]
At night, it was a different story. While the ZenFone 4 Selfie Lite produced a brighter image, it’s dull. The Flare S6 Selfie managed to shoot a sharp selfie even though the noise level is quite high. The green tint is still present; I guess it’ll always be there.
[sciba leftsrc=”http://www.gadgetmatch.com/wp-content/uploads/2017/11/cherry-mobile-flare-s6-selfie-comparison-09.jpg” leftlabel=”Flare S6 Selfie” rightsrc=”http://www.gadgetmatch.com/wp-content/uploads/2017/11/asus-zenfone-4-selfie-lite-comparison-09.jpg” rightlabel=”ZenFone 4 Selfie Lite” mode=”horizontal” width=”1280″]
Turning on the beauty mode on both handsets reveals a number of tools and filters you can play with. I set the Flare S6 Selfie midway to level 3 and the ZenFone 4 Selfie Lite simply on auto. There are a lot of tweaks to apply depending on your preference, so I’ll stick to what the phones think are best. Cherry Mobile prioritizes sharpness over color, while ASUS captures a more natural yet smudgy picture.
[sciba leftsrc=”http://www.gadgetmatch.com/wp-content/uploads/2017/11/cherry-mobile-flare-s6-selfie-beauty.jpg” leftlabel=”Flare S6 Selfie” rightsrc=”http://www.gadgetmatch.com/wp-content/uploads/2017/11/asus-zenfone-4-selfie-lite-beauty-auto.jpg” rightlabel=”ZenFone 4 Selfie Lite” mode=”horizontal” width=”1280″]
Rear camera
Moving on to the rear, we still have the same number of megapixels since both manufacturers kept the sensors identical.
If you read my hands-on of the Flare S6 Selfie, you’ve already seen this photo. And since even the Flare S6 Selfie’s rear sensor loves the color green, this is a perfect scene to showcase its colors. The shot of the ZenFone 4 Selfie Lite looks pale in comparison, but it’s not a bad photo overall.
[sciba leftsrc=”http://www.gadgetmatch.com/wp-content/uploads/2017/11/cherry-mobile-flare-s6-selfie-comparison-05.jpg” leftlabel=”Flare S6 Selfie” rightsrc=”http://www.gadgetmatch.com/wp-content/uploads/2017/11/asus-zenfone-4-selfie-lite-comparison-05.jpg” rightlabel=”ZenFone 4 Selfie Lite” mode=”horizontal” width=”1280″]
When shooting blue skies, don’t expect the Flare S6 Selfie to get the best shot. As you can see below, there seems to be a green haze clouding the image. Due to this, the shot of the ZenFone 4 Selfie Lite looks miles better with punchier colors and sharp details.
[sciba leftsrc=”http://www.gadgetmatch.com/wp-content/uploads/2017/11/cherry-mobile-flare-s6-selfie-comparison-07.jpg” leftlabel=”Flare S6 Selfie” rightsrc=”http://www.gadgetmatch.com/wp-content/uploads/2017/11/asus-zenfone-4-selfie-lite-comparison-06.jpg” rightlabel=”ZenFone 4 Selfie Lite” mode=”horizontal” width=”1280″]
Low-light photography is really not the ASUS’ phone specialty as it struggles again at night, wherein Cherry’s candidate tries its best to keep the image sharp and detailed in exchange for digital noise. Still, we’d rather see in the dark than have a smudgy picture.
[sciba leftsrc=”http://www.gadgetmatch.com/wp-content/uploads/2017/11/cherry-mobile-flare-s6-selfie-comparison-08.jpg” leftlabel=”Flare S6 Selfie” rightsrc=”http://www.gadgetmatch.com/wp-content/uploads/2017/11/asus-zenfone-4-selfie-lite-comparison-08.jpg” rightlabel=”ZenFone 4 Selfie Lite” mode=”horizontal” width=”1280″]
Let’s wrap things up
It’s obvious that the Flare S6 Selfie’s photos always have a greenish tint — may it be with the front or back camera. If you do some post-processing, you can easily fix this, but you’ll have to use filters to cover it up. The Flare S6 Selfie shines in the dark with its noisy yet detailed captures, unlike the murky outputs of the ZenFone. Props to the ZenFone 4 Selfie Lite, though, for its better colors and lively pictures. The saturation levels may not please everyone, but for a budget selfie phone, it’ll pass.
SEE ALSO: 5 best dual-camera selfie smartphones below $500
[irp posts=”19692″ name=”5 best dual-camera selfie smartphones below $500″]







Features
The designated photographer’s new favorite phone: OPPO Reno16 Series 5G
Built for the moments you’ll want to remember

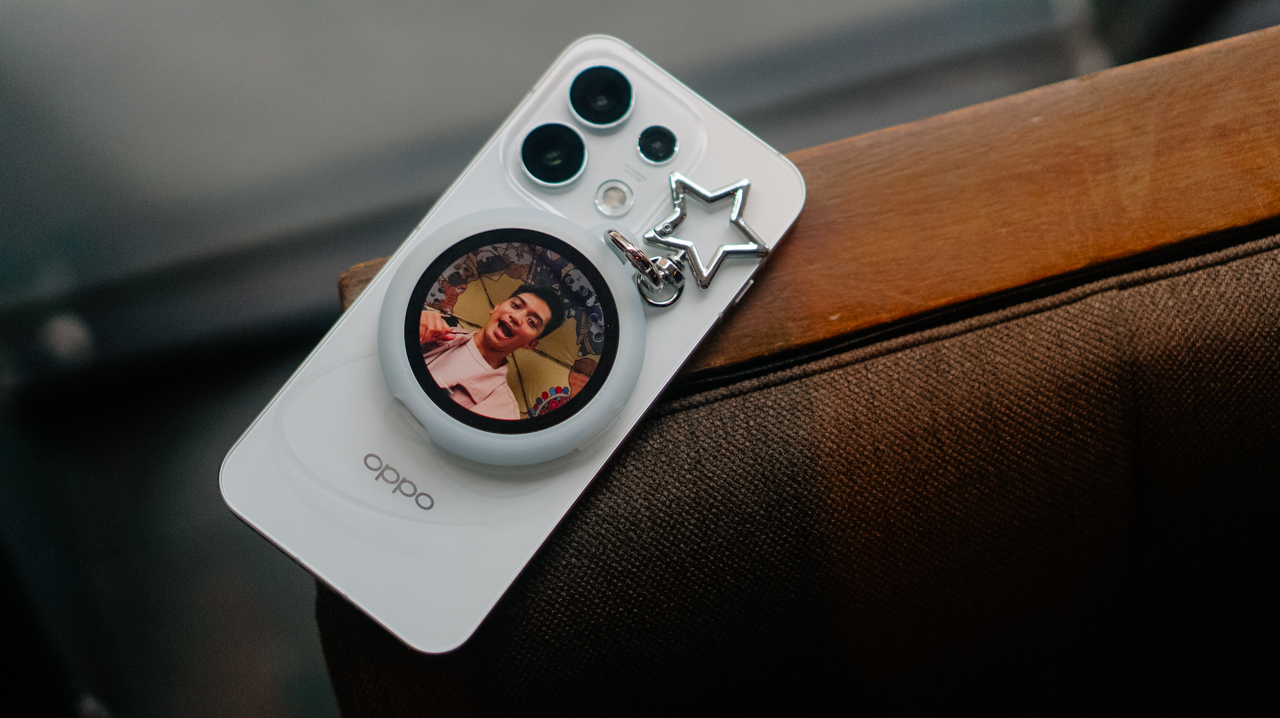
Every friend group has a designated photographer.
The one who reminds everyone to take a group photo before leaving, asks for one more shot “just in case,” and somehow ends up with a camera roll full of memories while appearing in very few of them.
I’ve been slipping into that role for a while now, and lately, I’ve been doing it without a camera.
I’ve relied entirely on the OPPO Reno16 Series 5G and its Pocket Studio experience to document coffee runs, hangouts, and everything in between.
Capturing the moments between the milestones

When people think about documenting their lives, they often focus on the headline moments. Like the ones worth posting for the ‘gram.
What often gets overlooked is everything around them, like the early morning coffee run before everyone’s fully awake, or the laughter that breaks out during a random conversation.
So is the roadside stop that turns into an impromptu photo session. These are the moments that tell the real story of an experience.
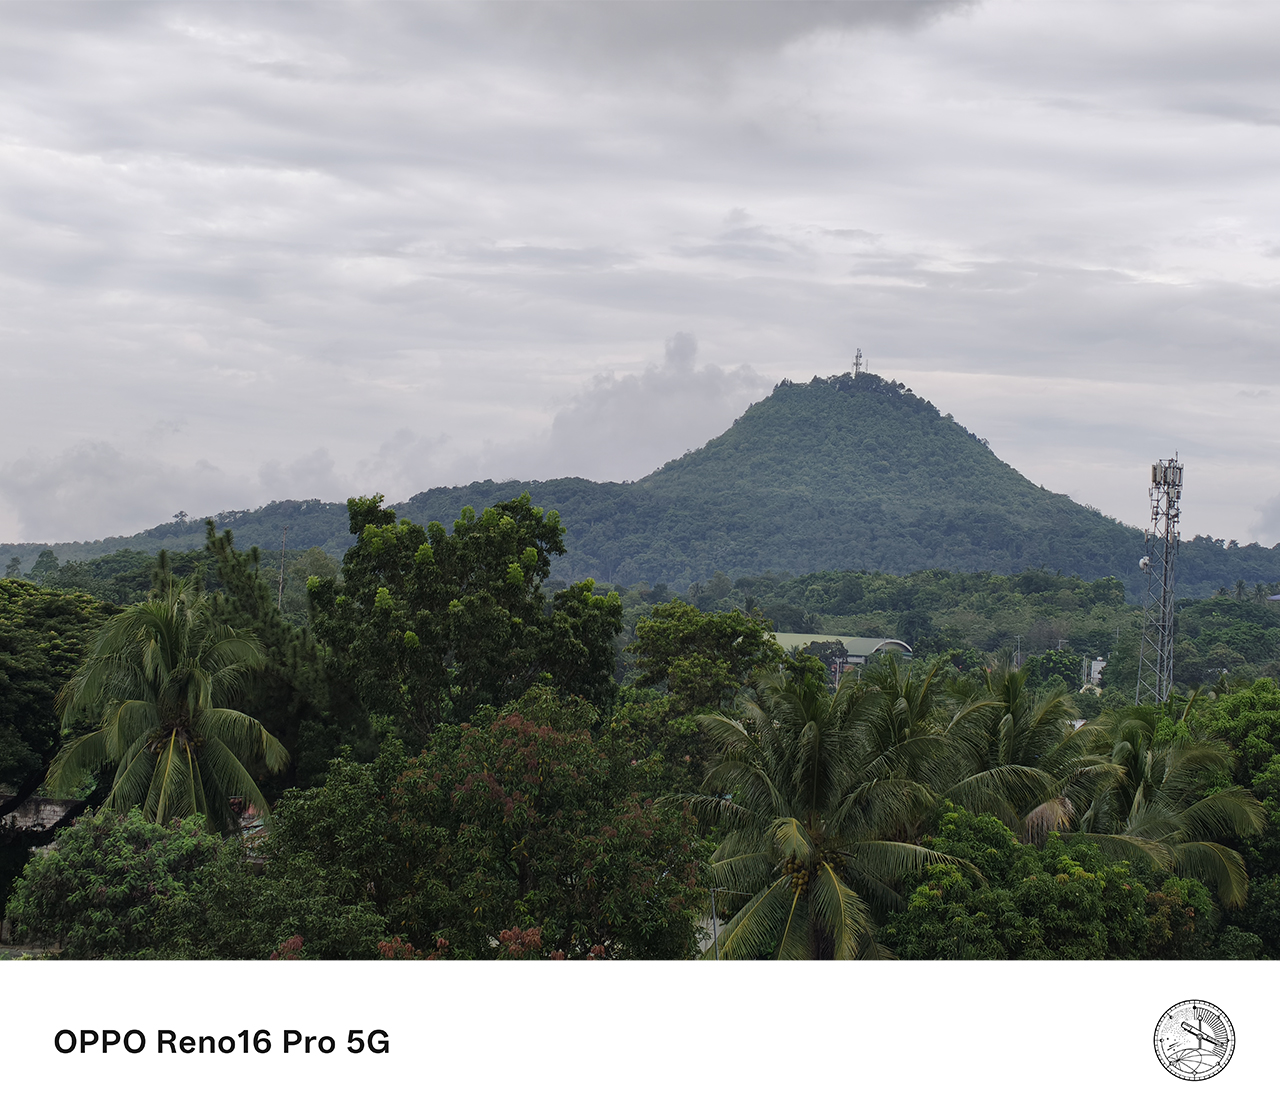
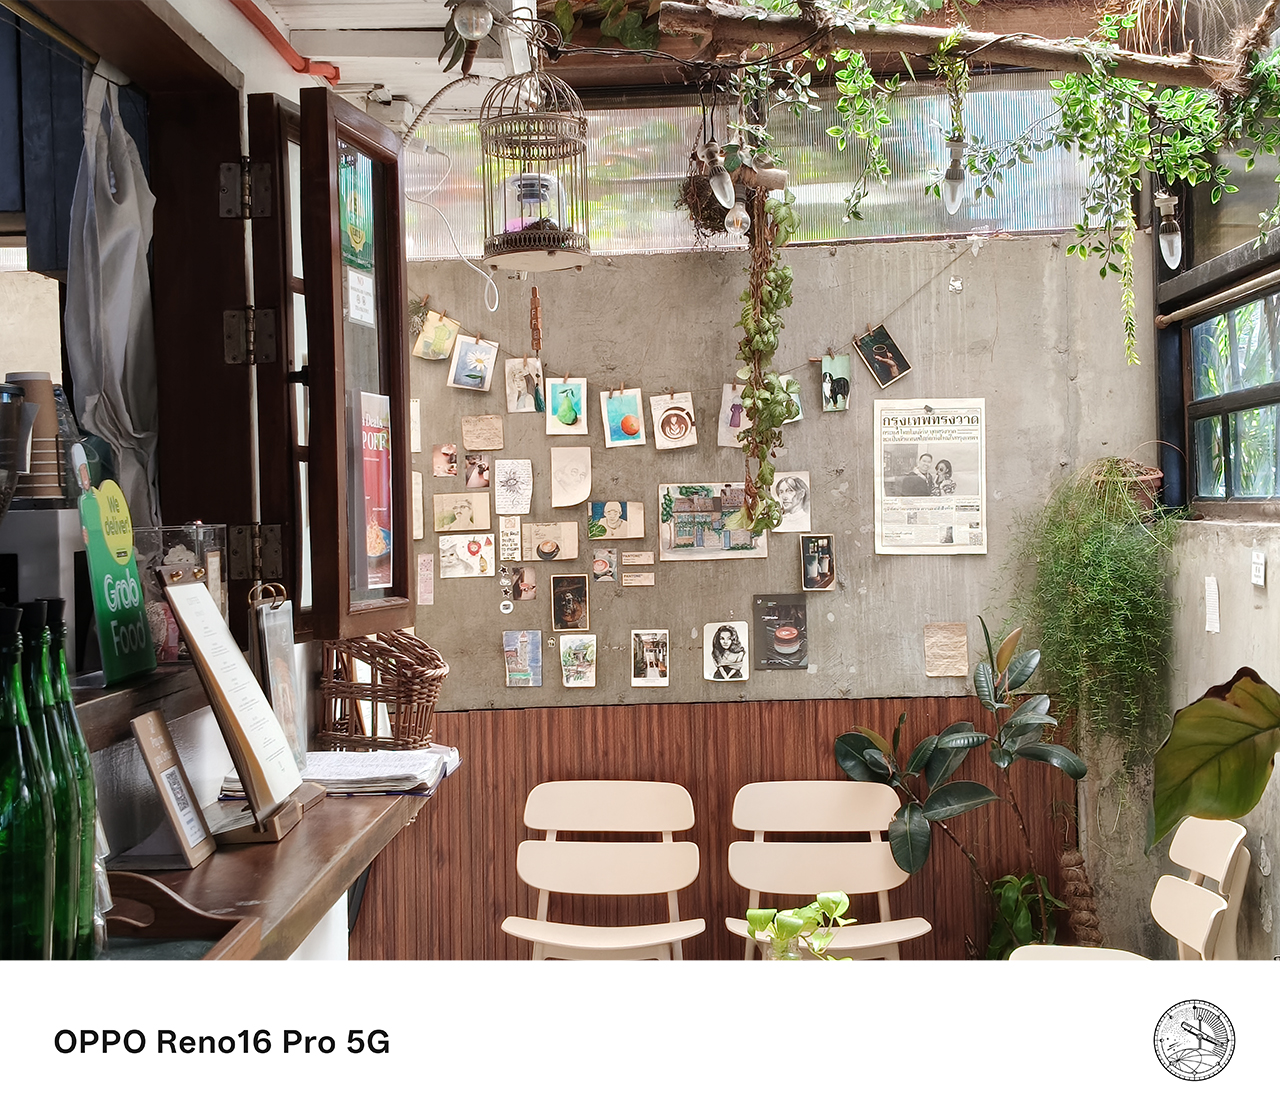


Pocket Studio, the OPPO Reno16 Series 5G’s signature content creation experience, feels built for exactly this kind of moment.
Instead of treating photography and videography as separate tasks, it creates a seamless workflow that lets users capture, create, edit, and share content directly from their smartphone.
The feature makes it easier to preserve moments that matter, even the small, unplanned ones with people who may or may not stay in my life. Either way, I’ve got a memory I can cherish.
Finally, the designated photographer gets to be in the photo
One of the biggest challenges of being the group’s unofficial photographer is that you’re usually the one left out of the shot.
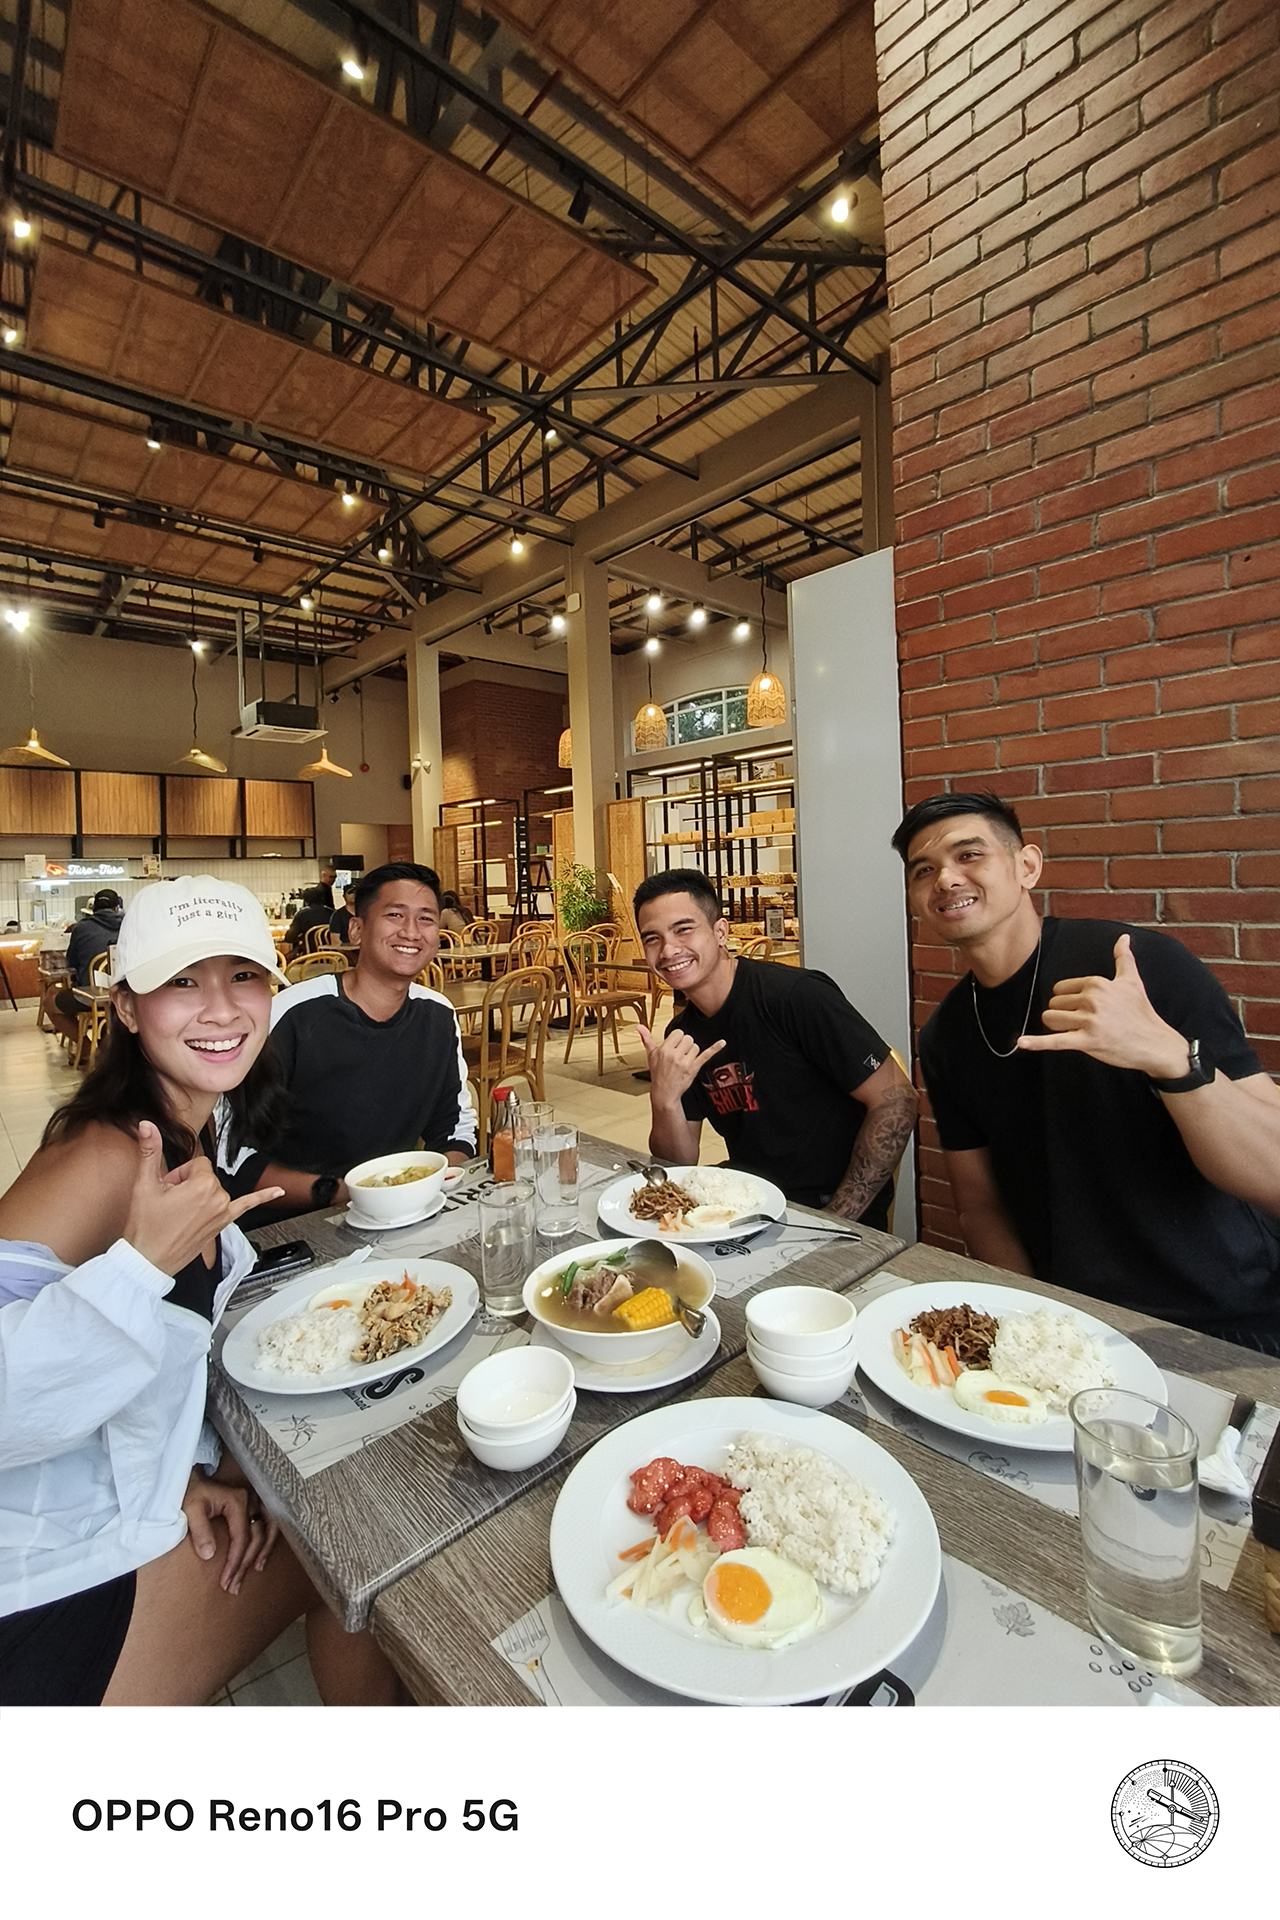
The OPPO Reno16 Series 5G addresses this through its integration with the OPPO Bubble and the Camera Remote View feature.

Instead of relying solely on the front camera, Camera Remote View lets users preview and control shots while using the smartphone’s rear camera system. The result is a sharper, more detailed image, especially for group photos and selfies.
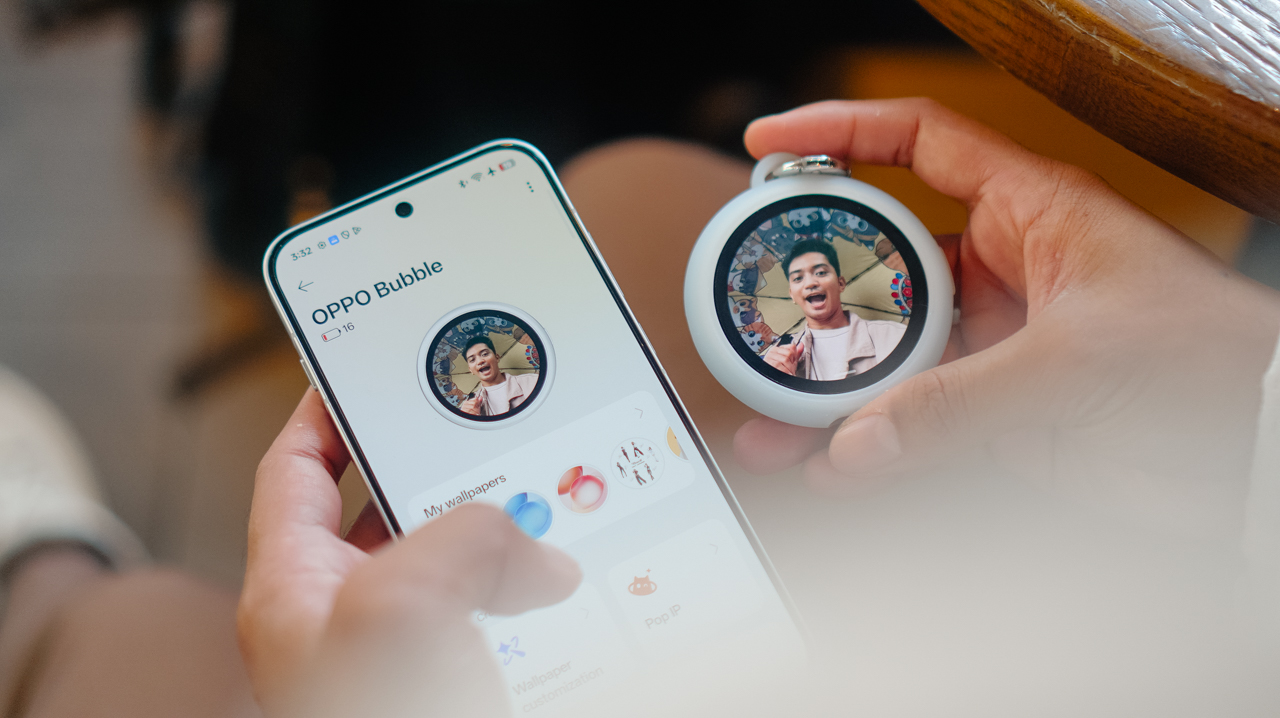
This has become one of the most useful features for gathering everyone together. Camera Remote View made it easy to capture higher-quality photos while making sure nobody had to stay behind the camera.
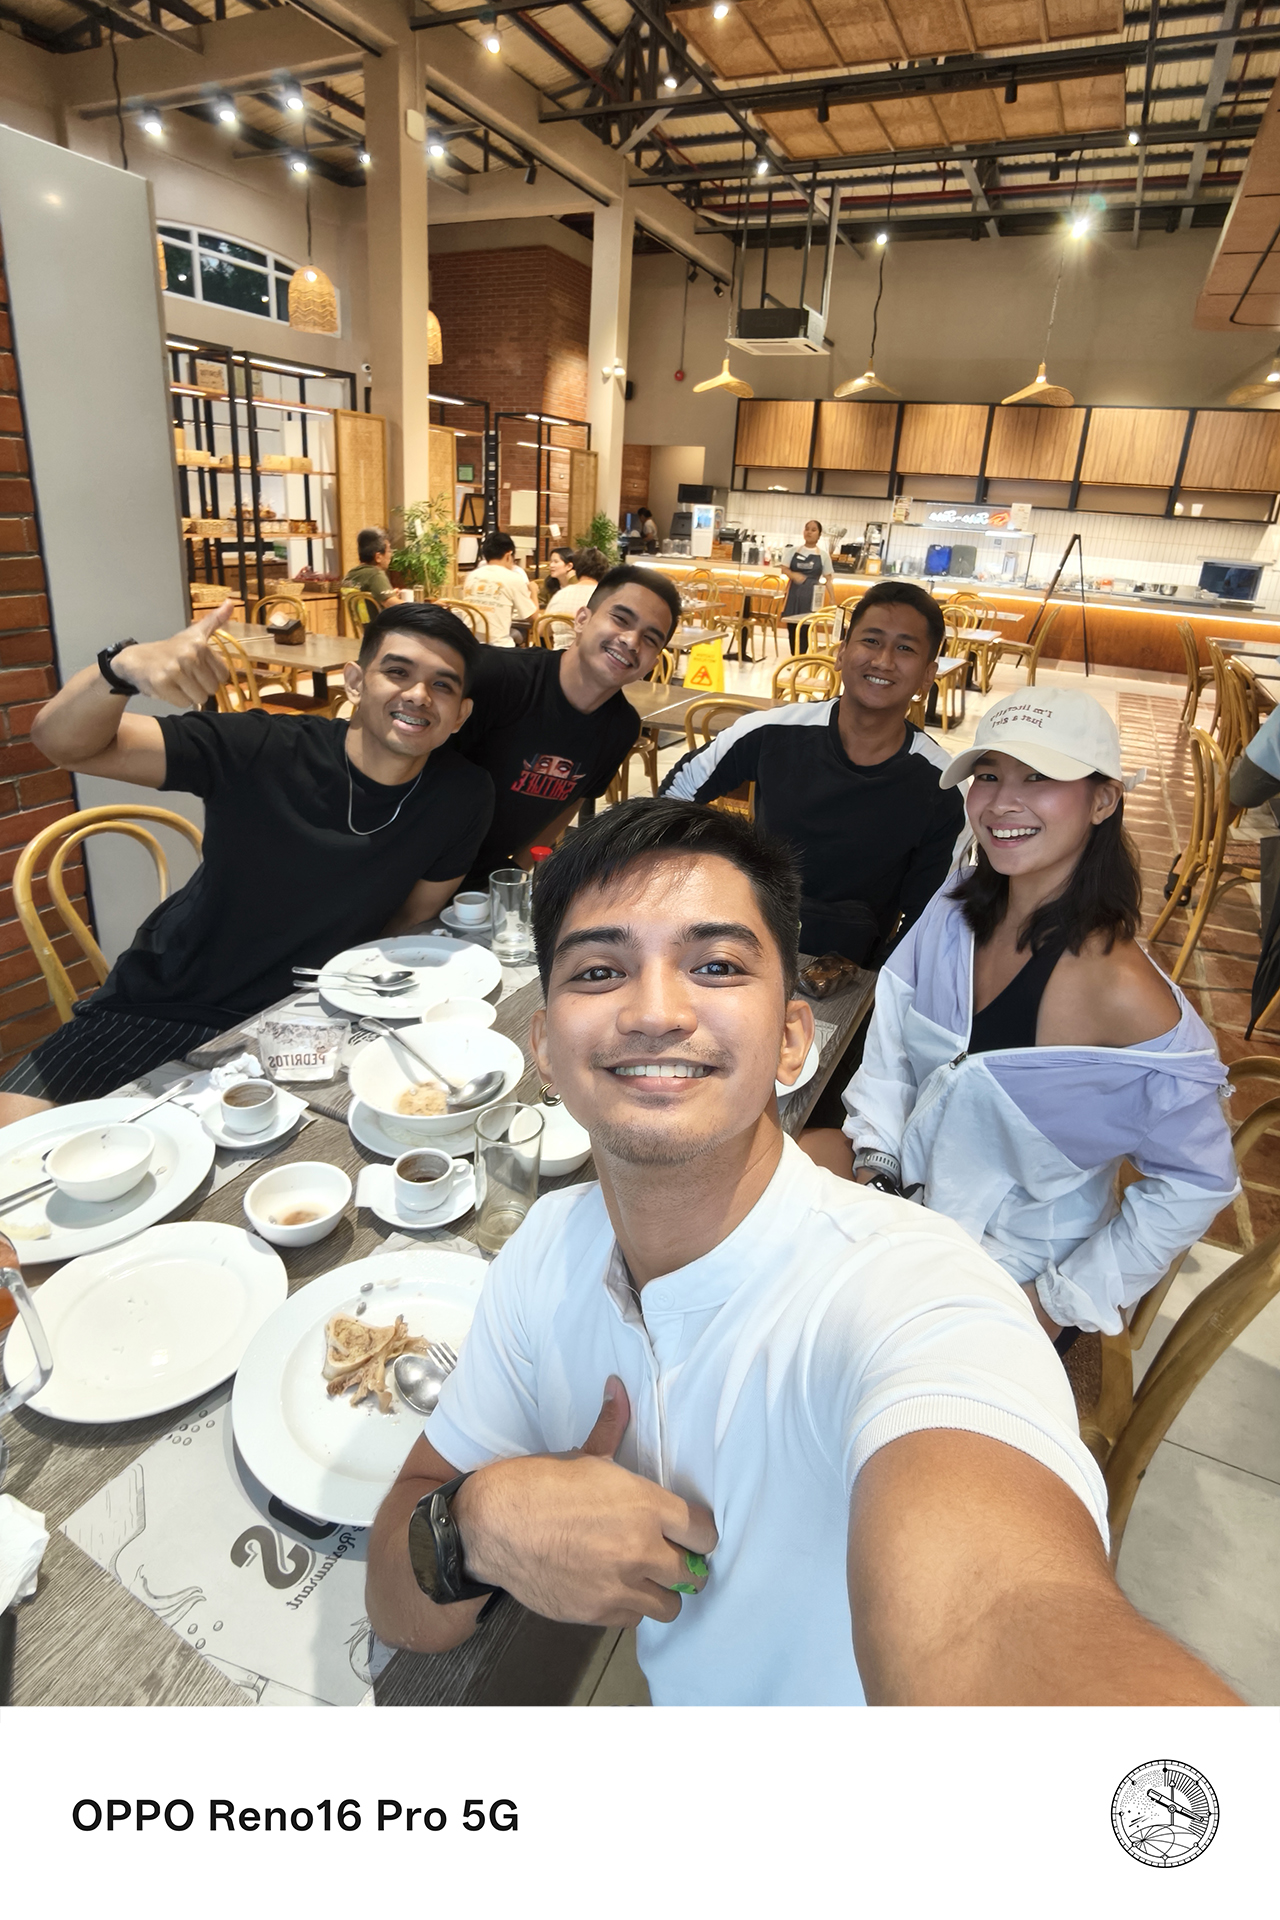



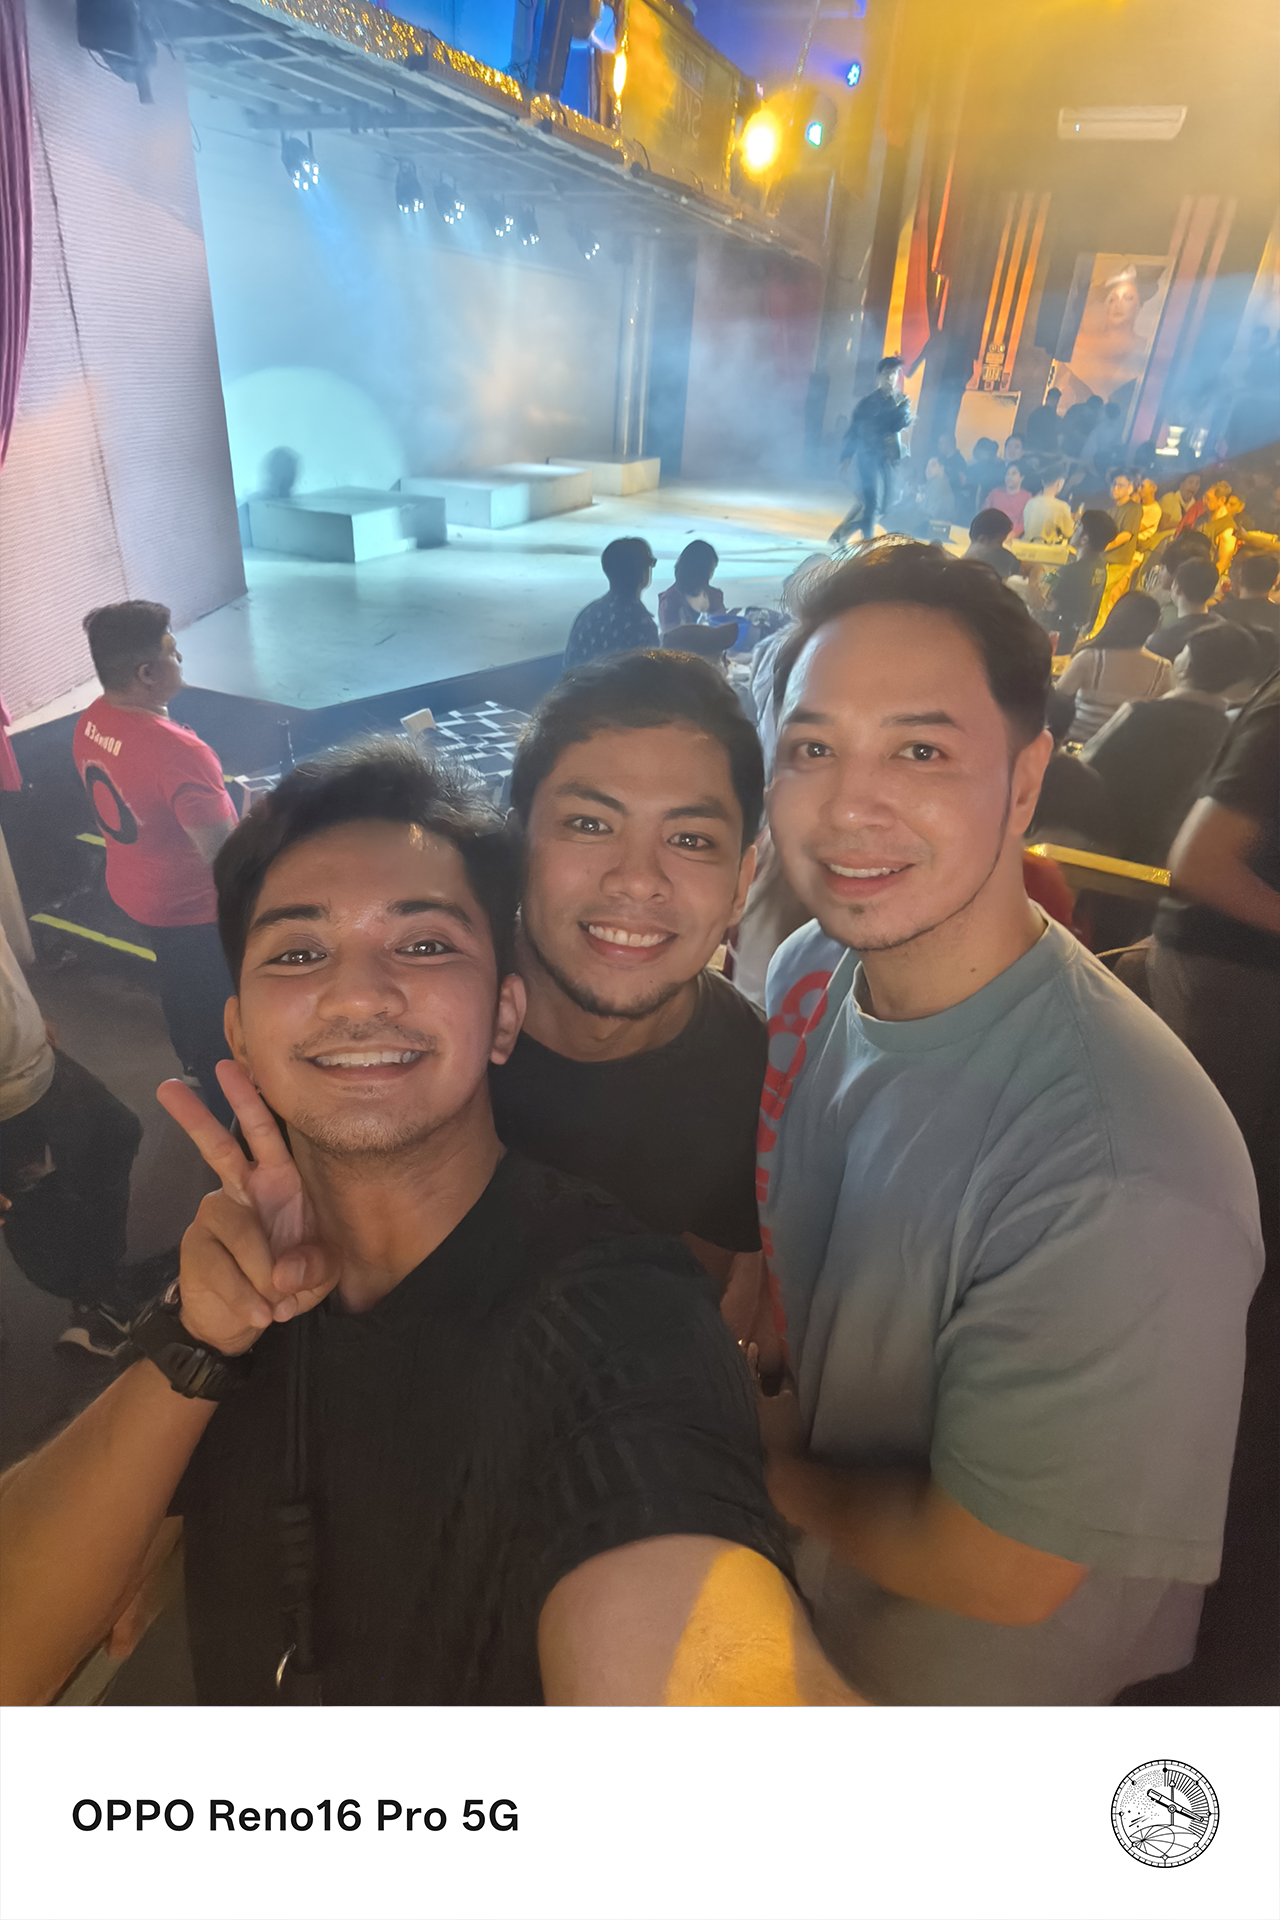

For someone who is usually responsible for documenting everyone else’s memories, that small change makes a surprisingly big difference.
Flagship-quality results without carrying extra gear
There was a time when documenting properly meant bringing multiple devices.
I used to carry a camera for photos and a separate device for video, then edit everything later on a laptop. Now, the experience feels remarkably different.
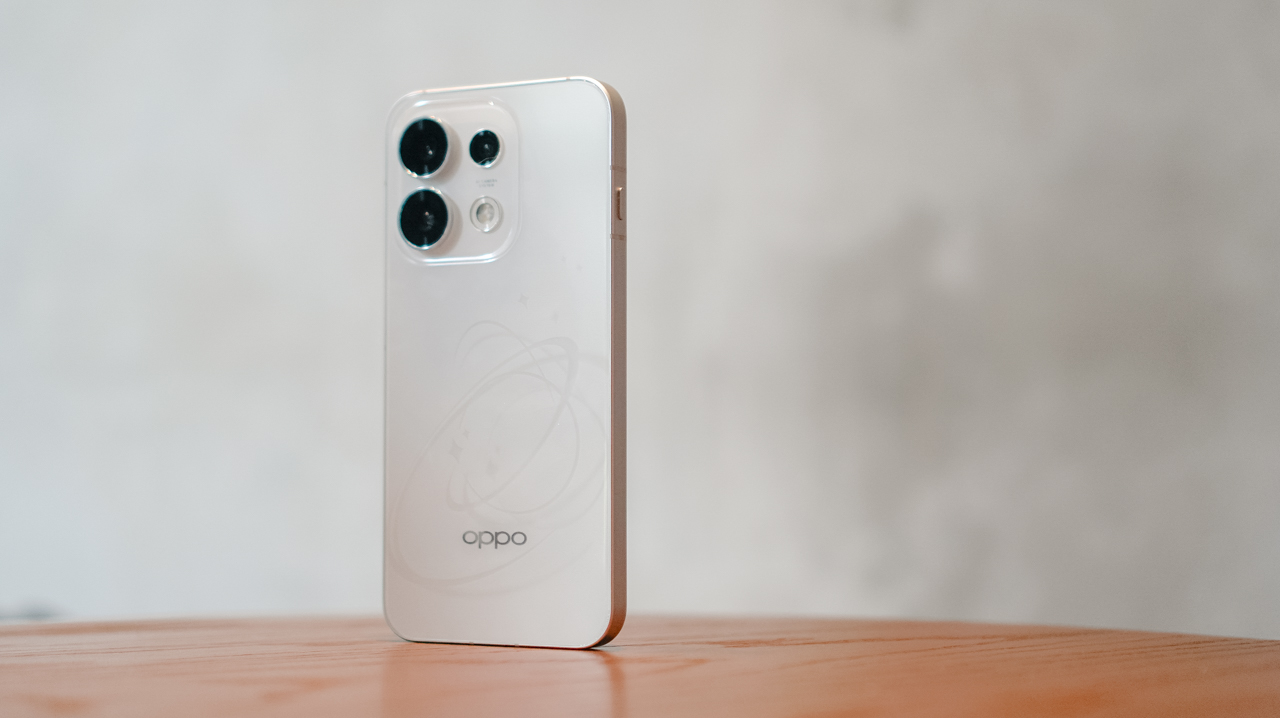
The OPPO Reno16 Series 5G delivers pro-level photo and video quality, good enough to leave the extra gear behind for most everyday moments.
From detailed landscapes and vibrant food photography to candid portraits and dynamic action shots, the Reno16 Series consistently produces content that feels polished and social-ready straight from the device.

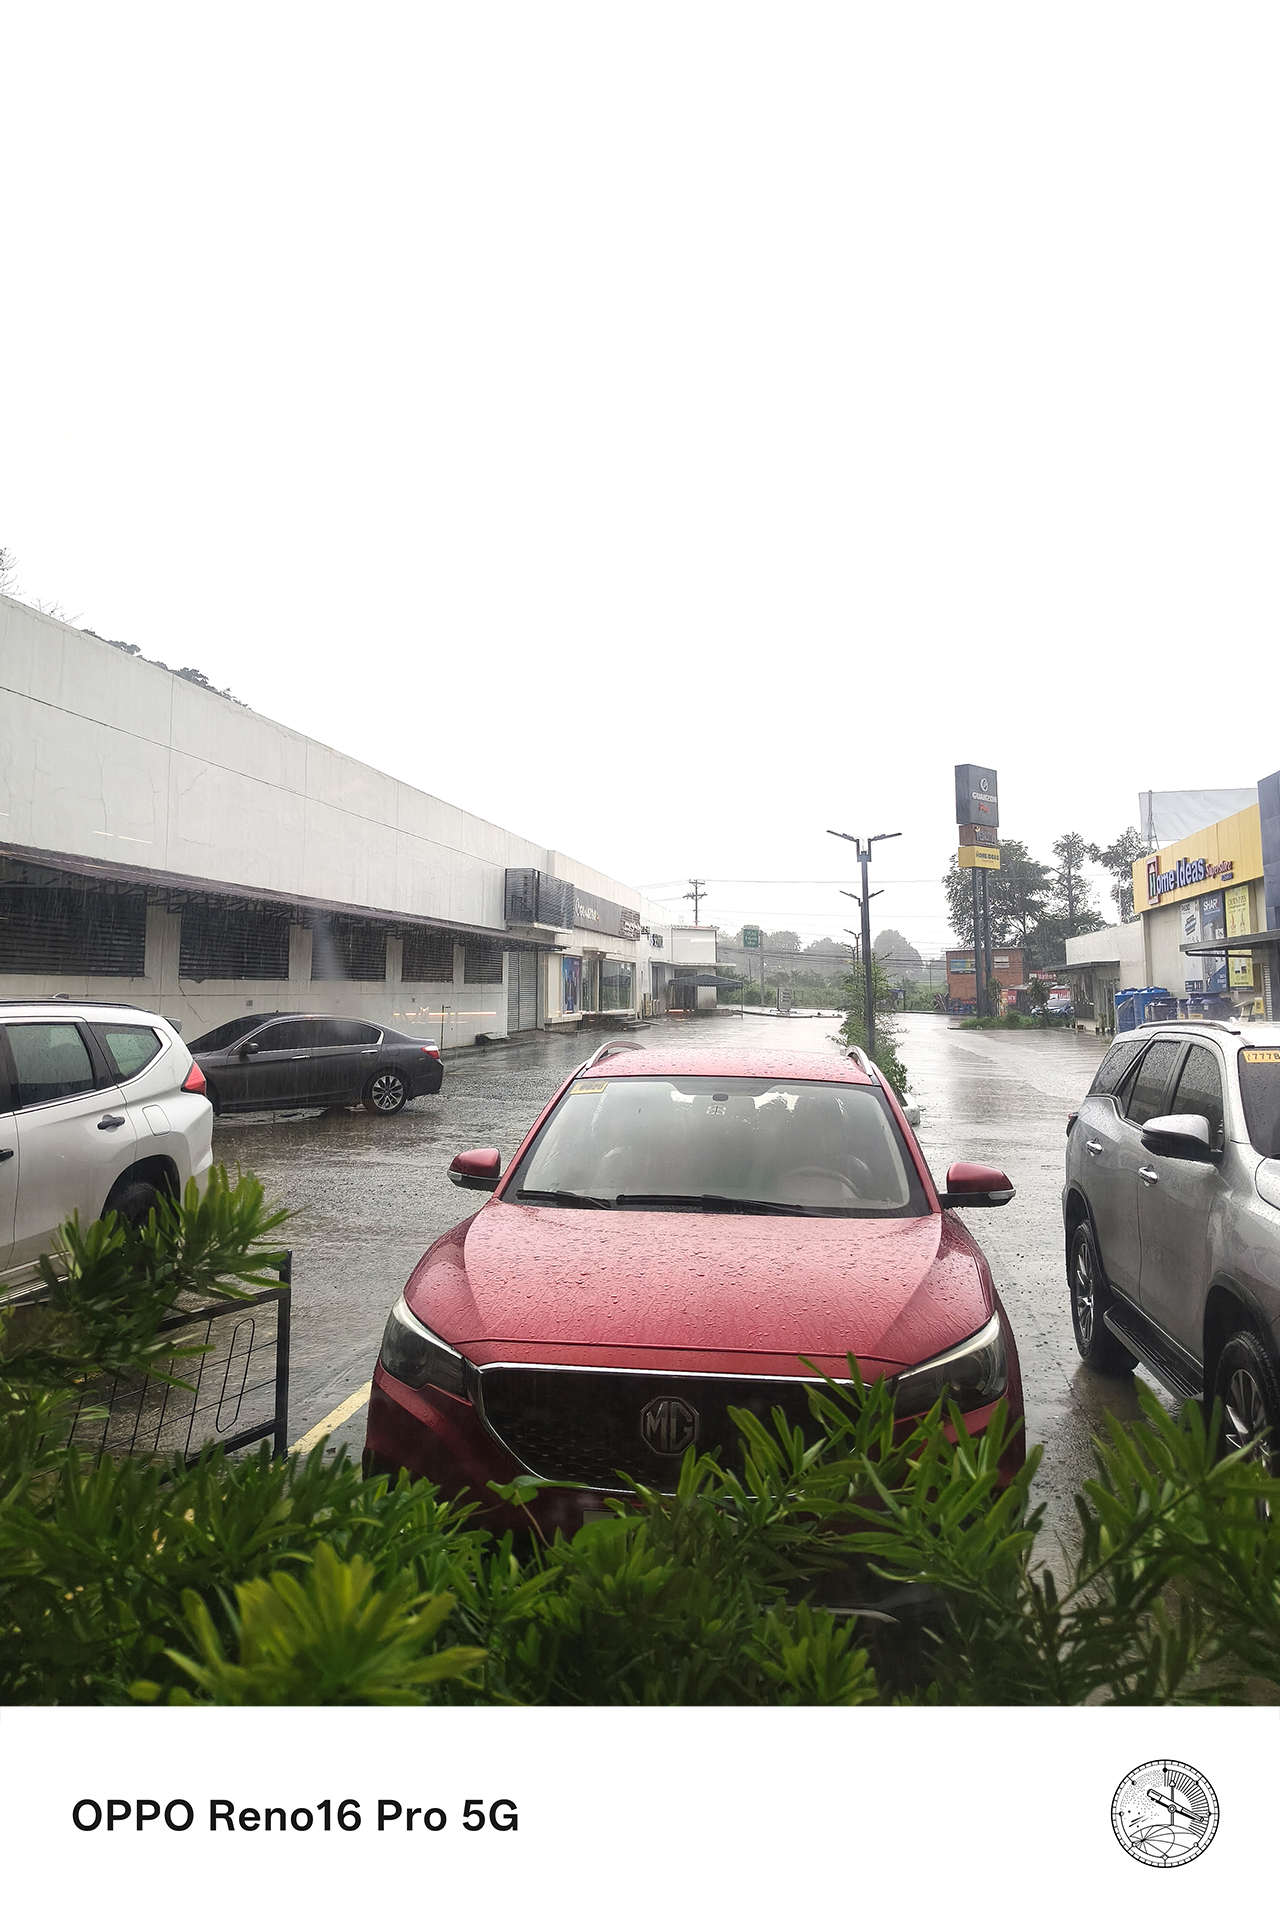



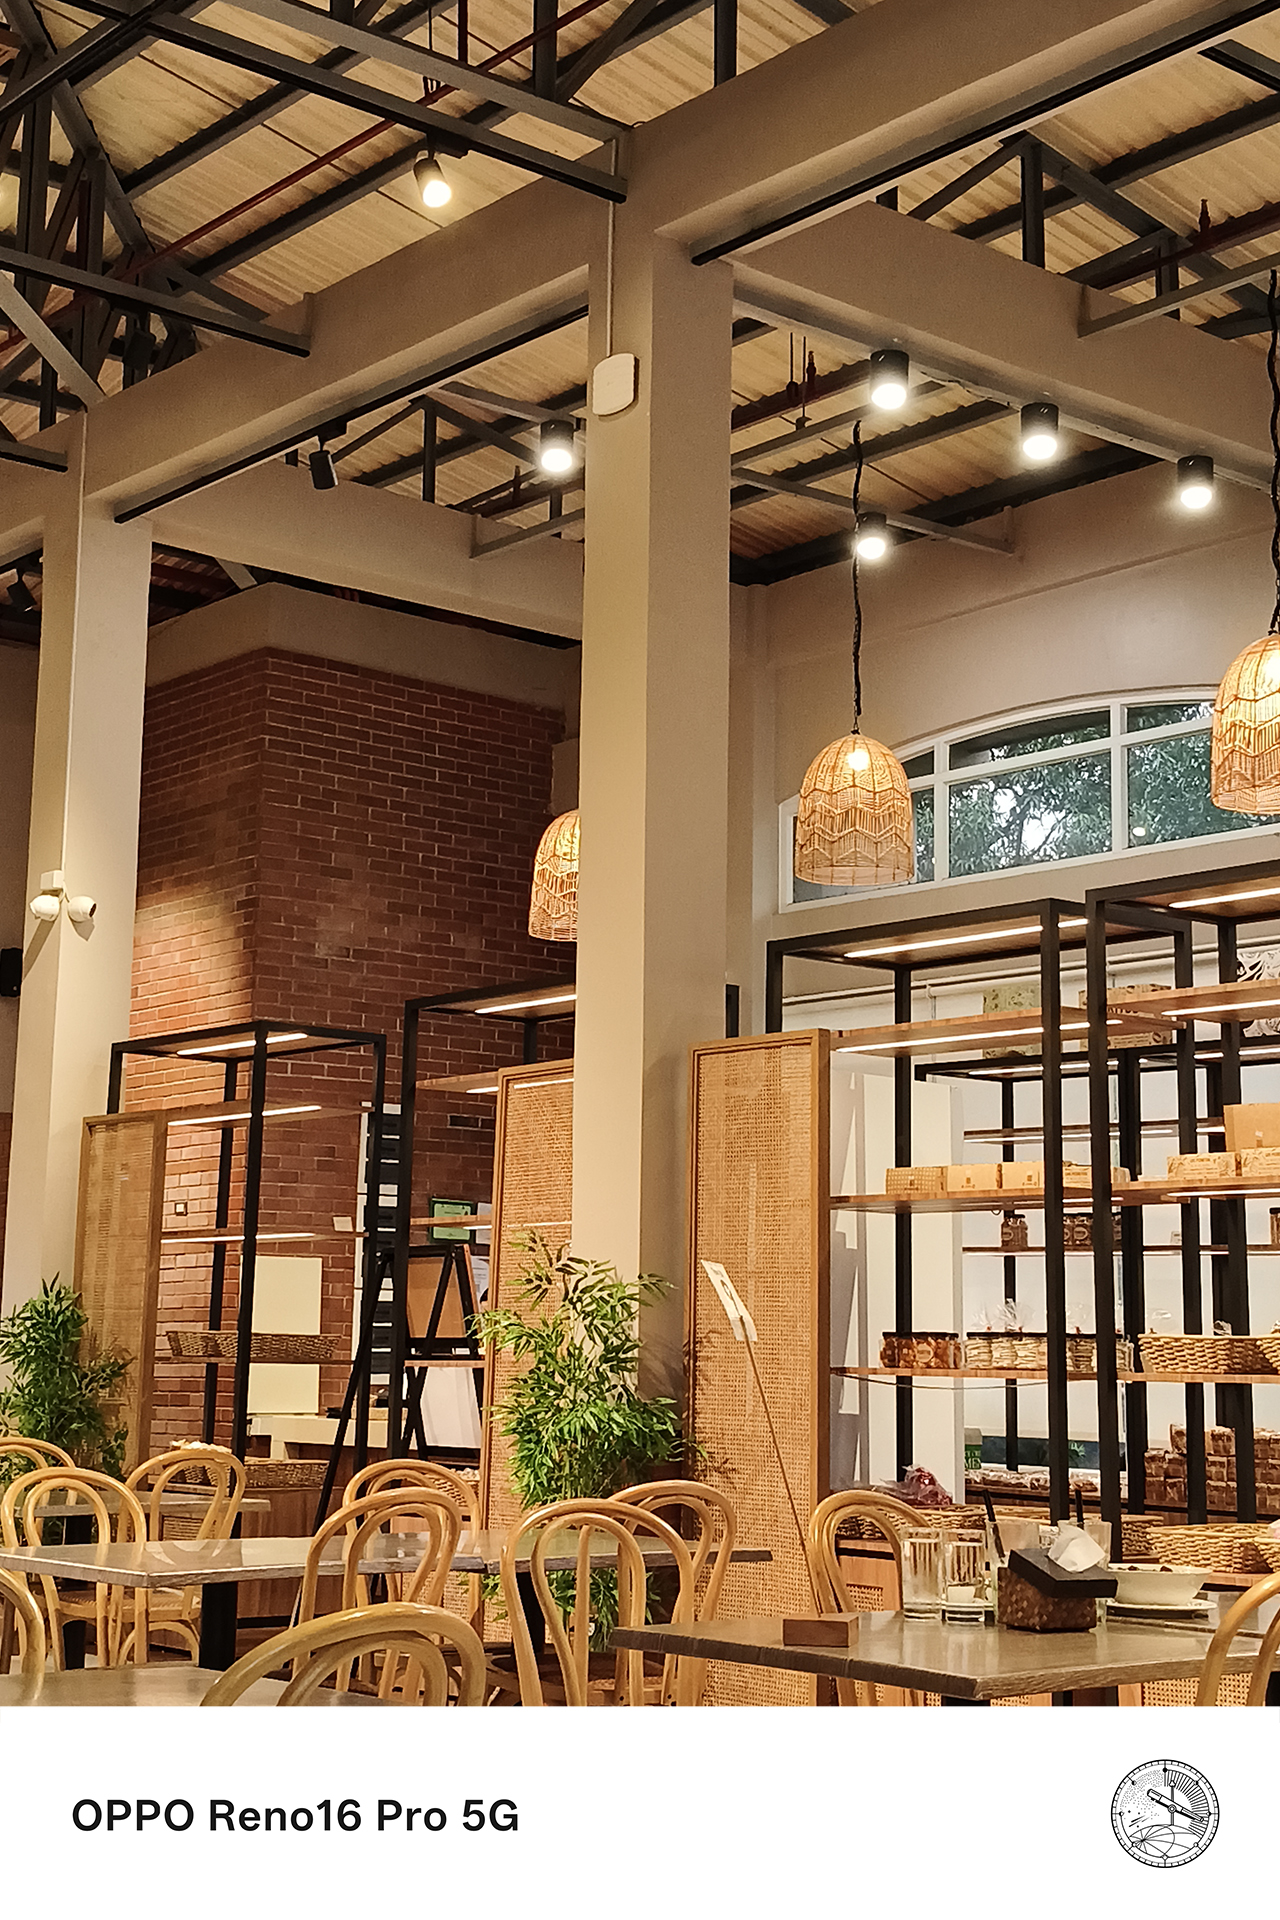
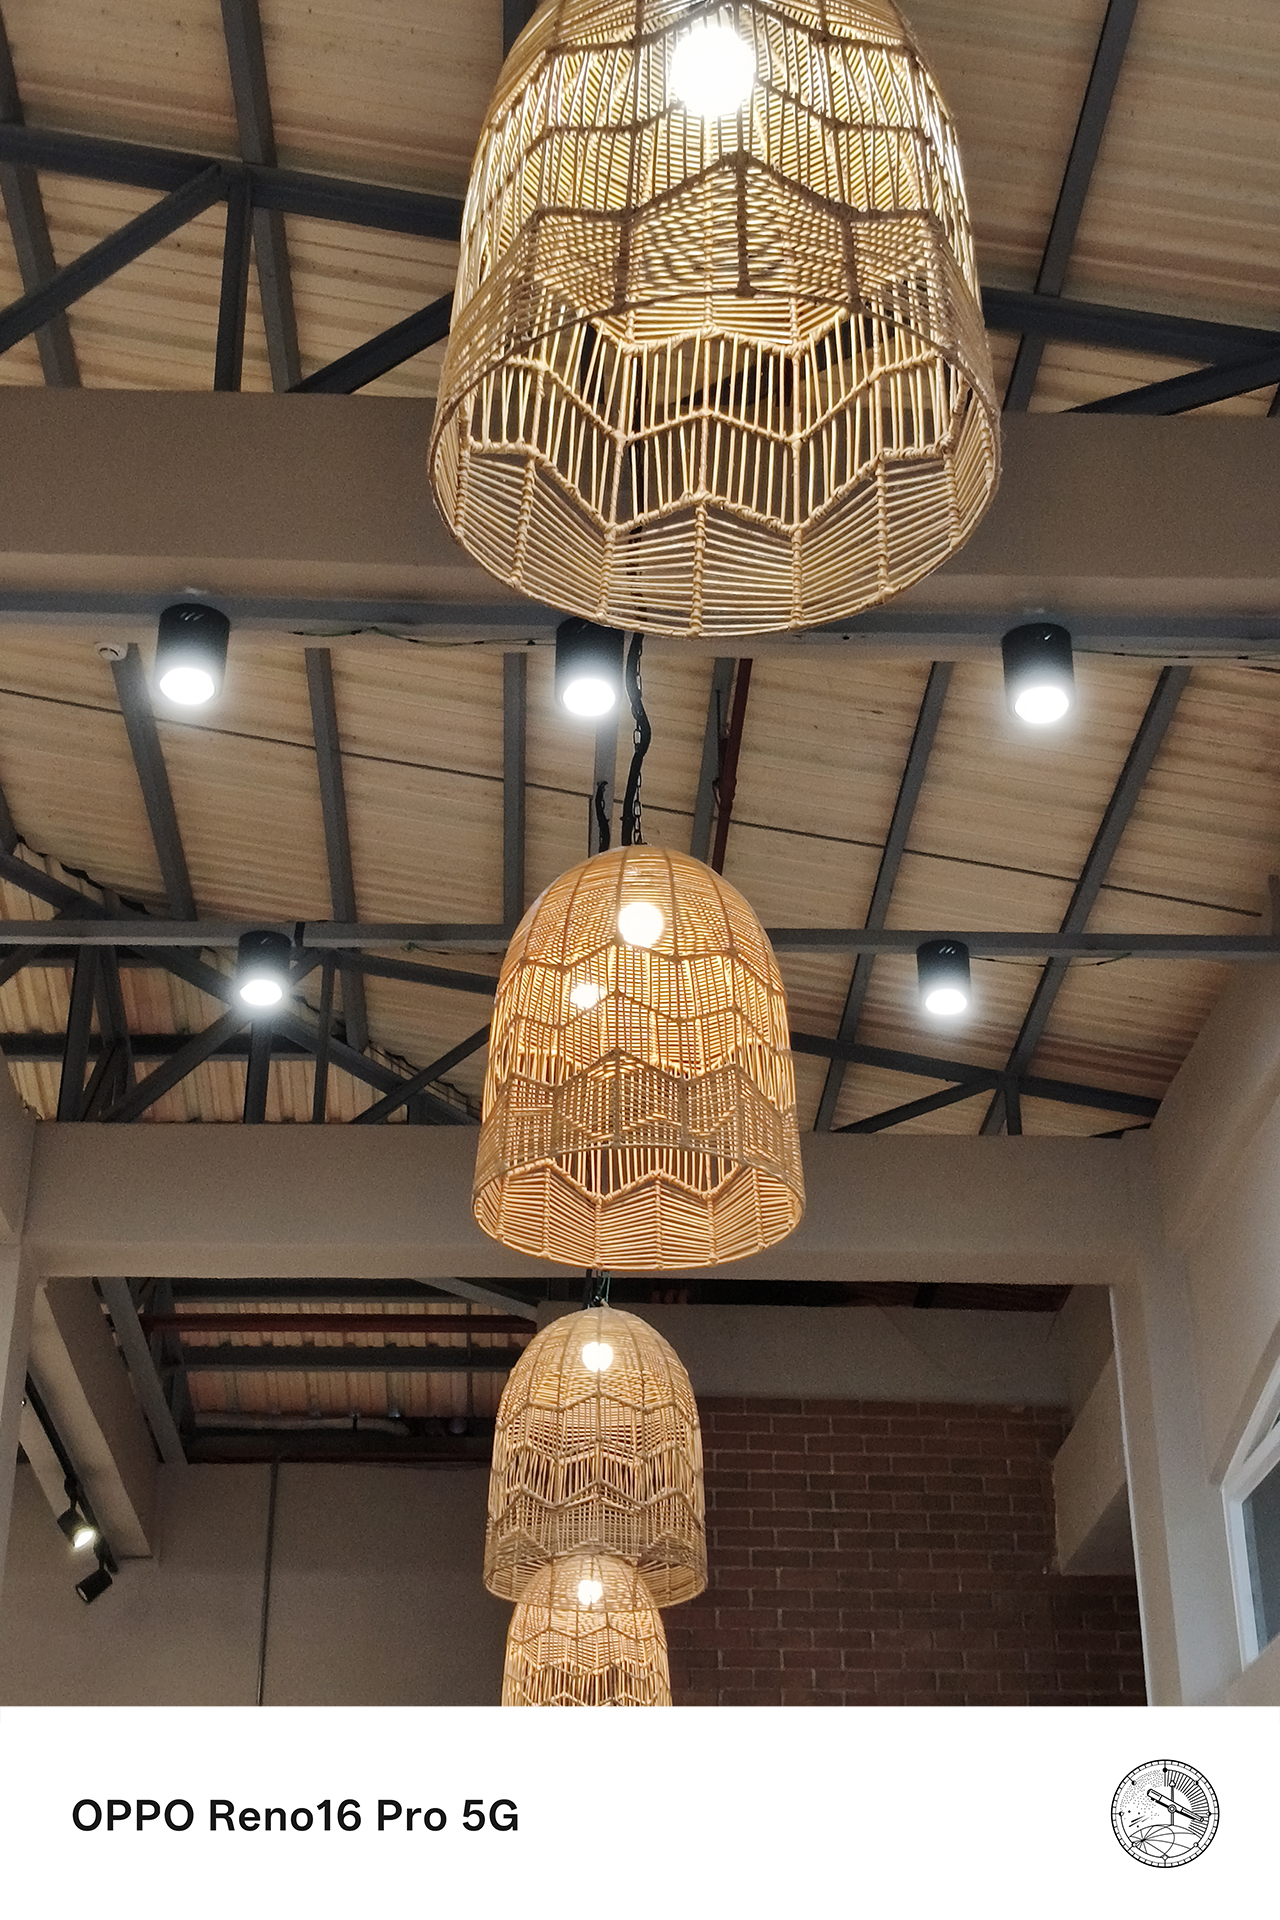

This is particularly valuable for the moments that happen without warning. The ability to instantly capture high-quality content without switching between devices meant fewer missed opportunities and more authentic memories preserved.
Telling richer stories from multiple perspectives
The best content pulls viewers into the experience itself.
This is where the combination of premium camera hardware, multiple shooting perspectives, and AI-powered creative tools like the AI Portrait Glow from the AI Editor improves the Pocket Studio experience.






Wide shots help establish the atmosphere of a place. Close-up details bring viewers into the moment. Some video clips add movement and energy, and some portraits capture emotion. Together, these elements create a more complete story.


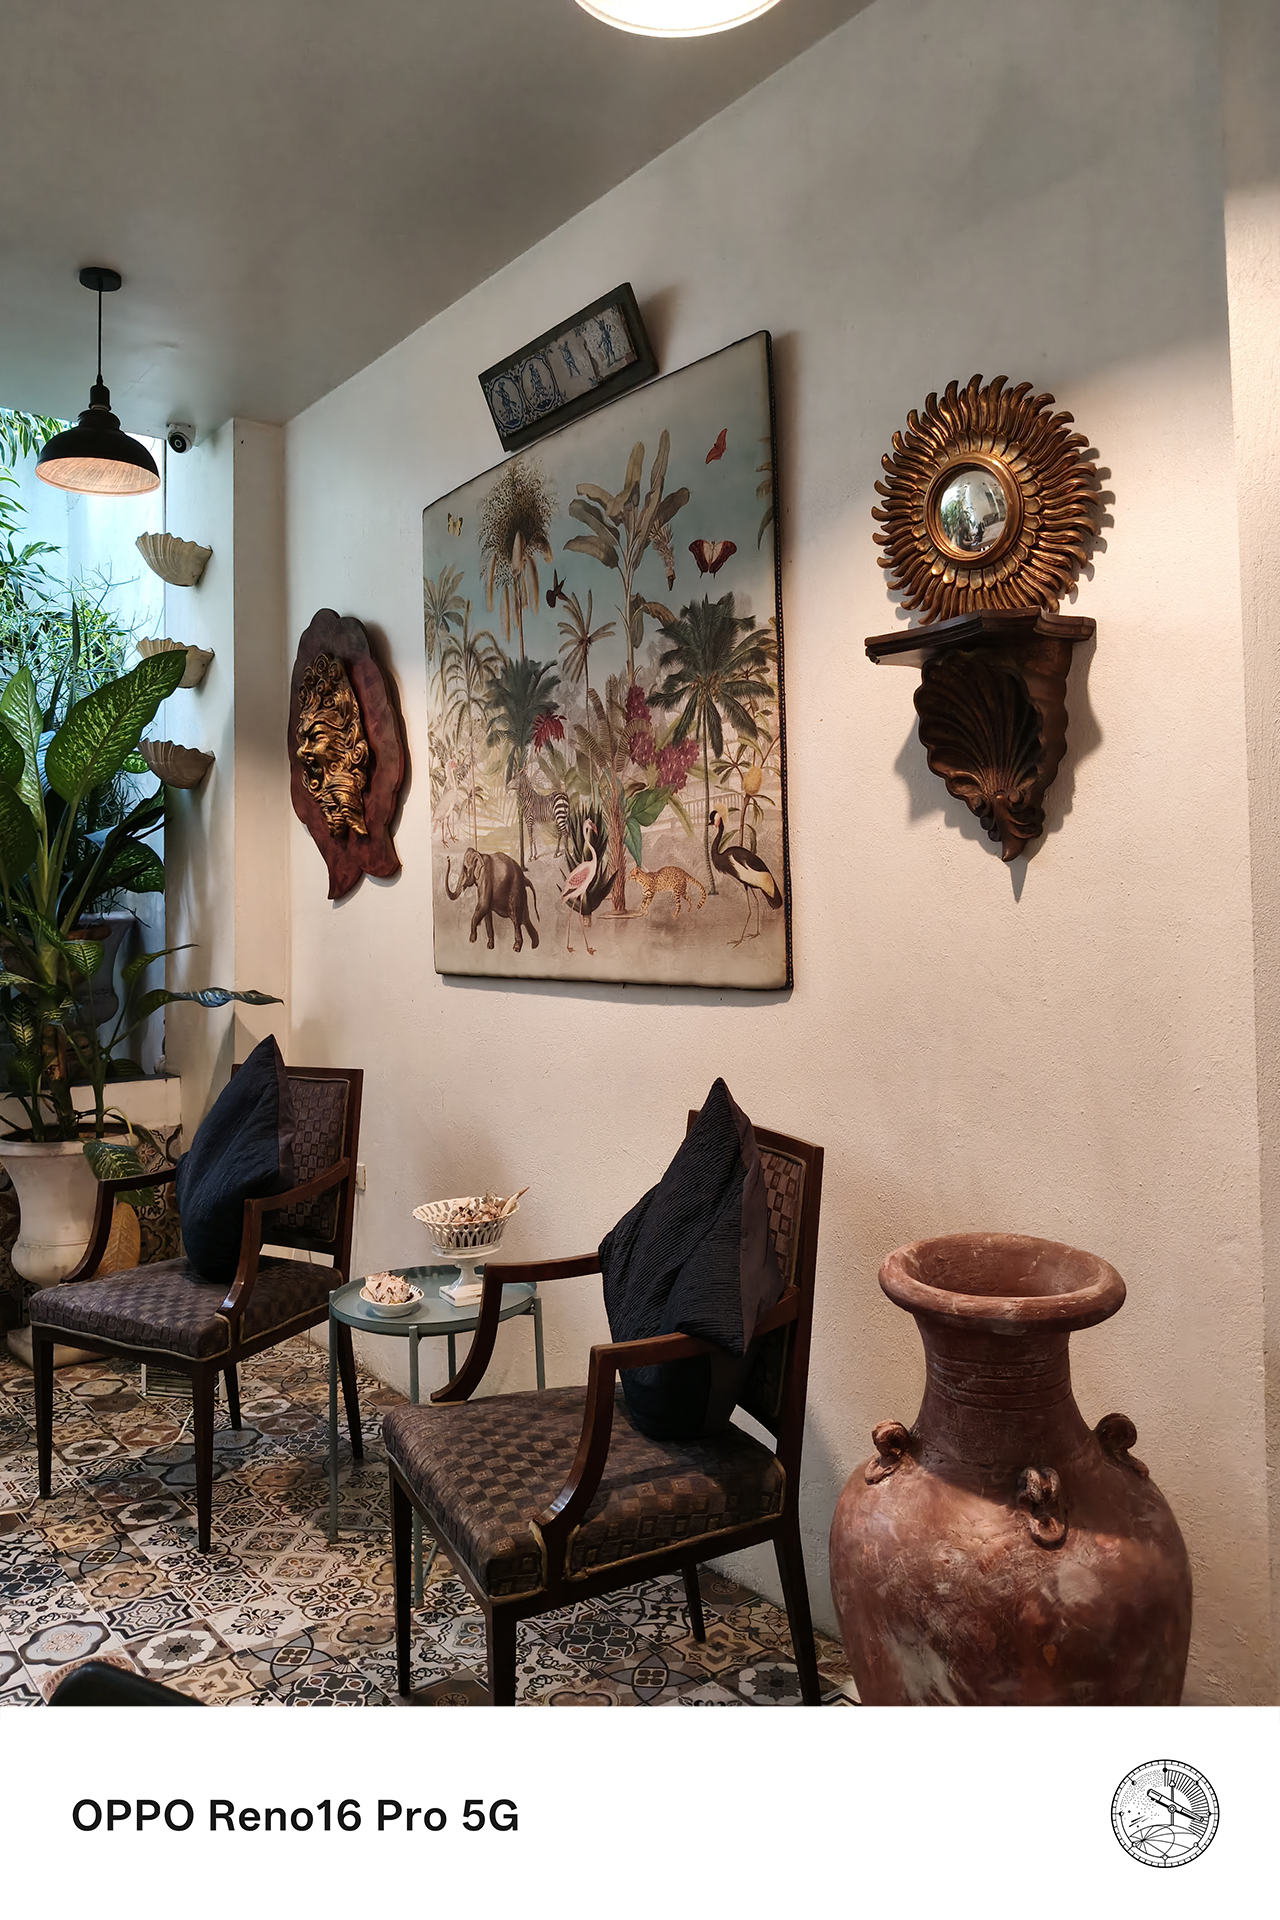
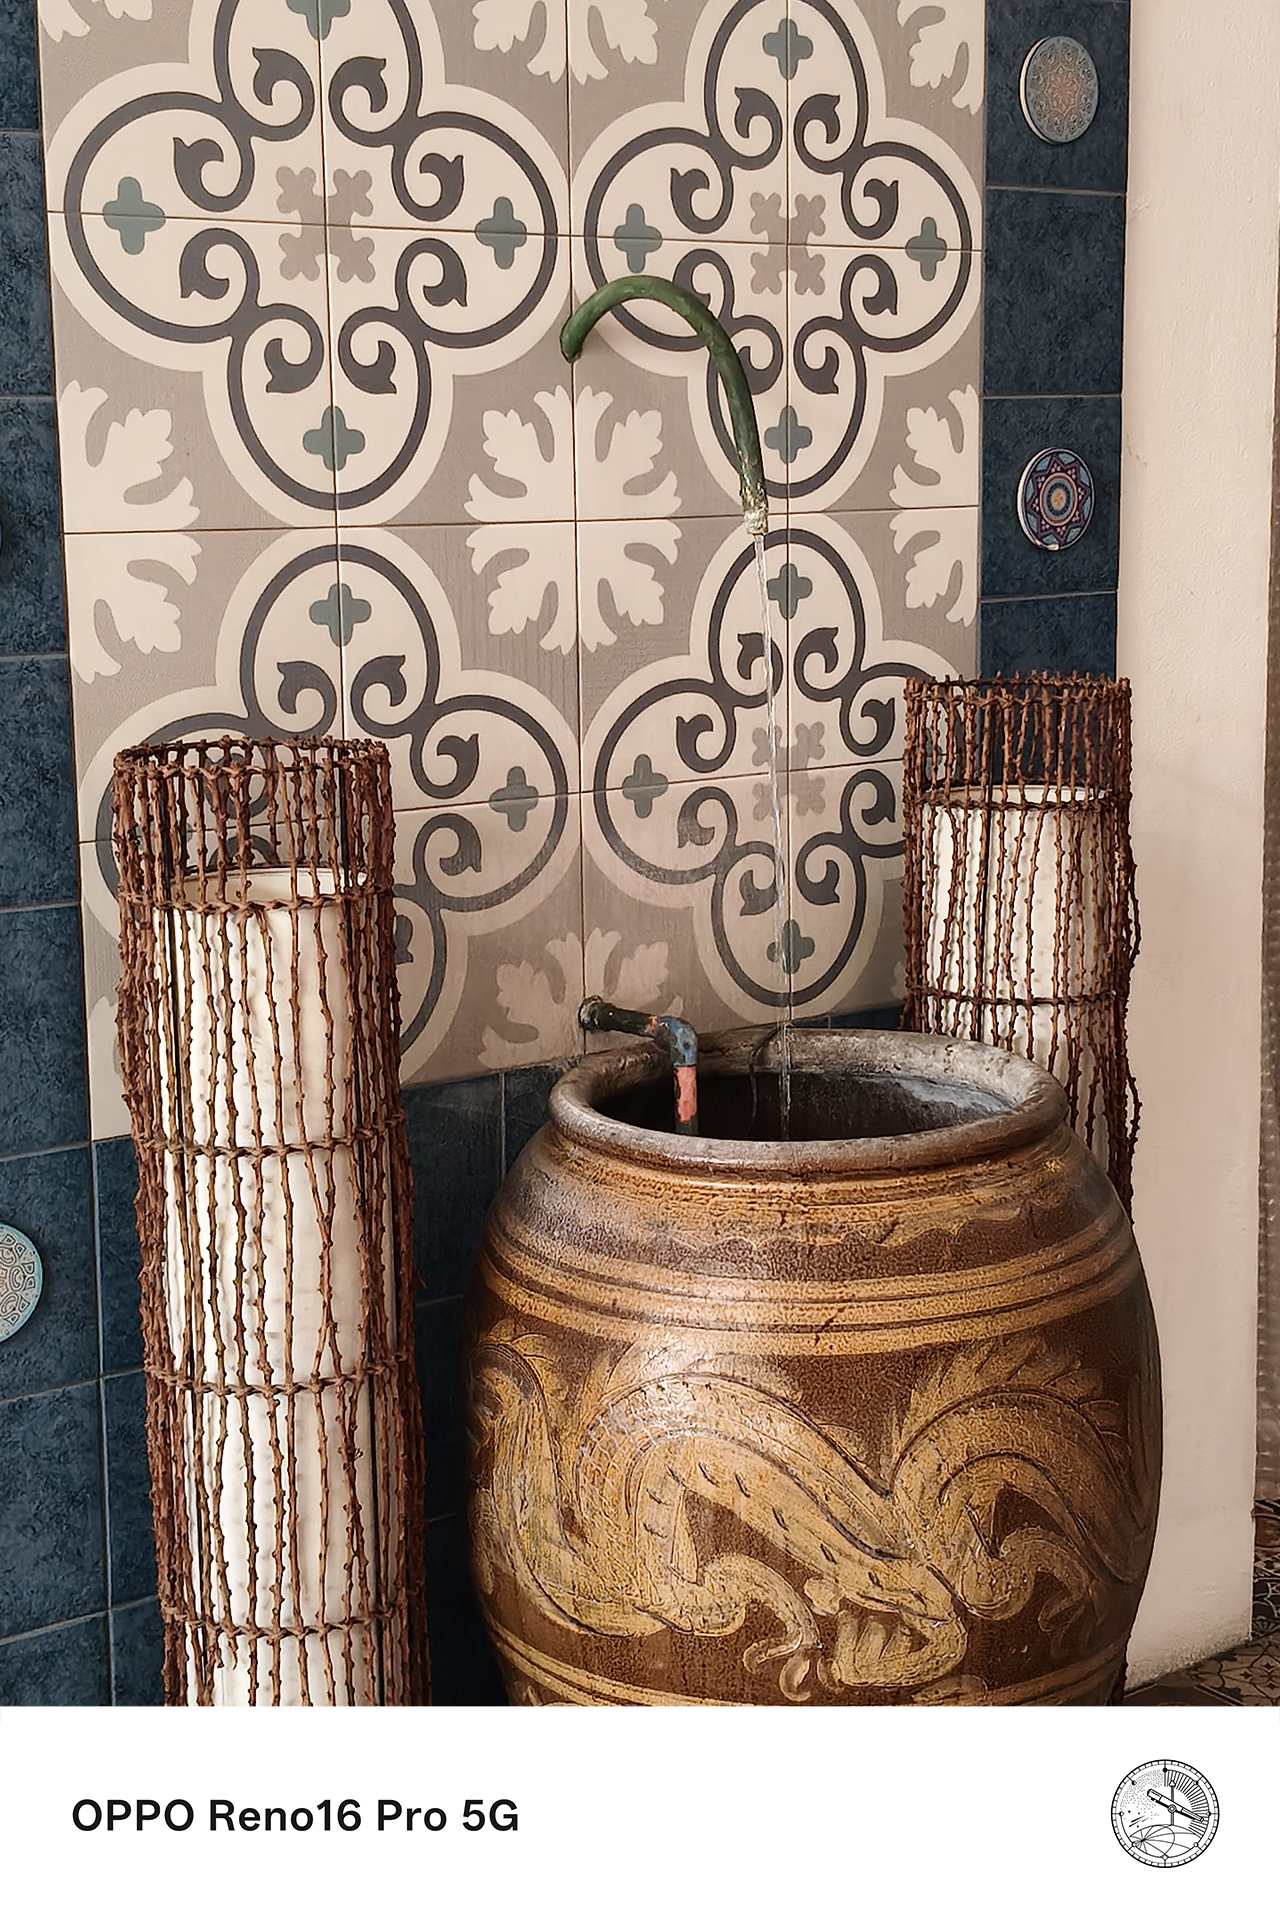


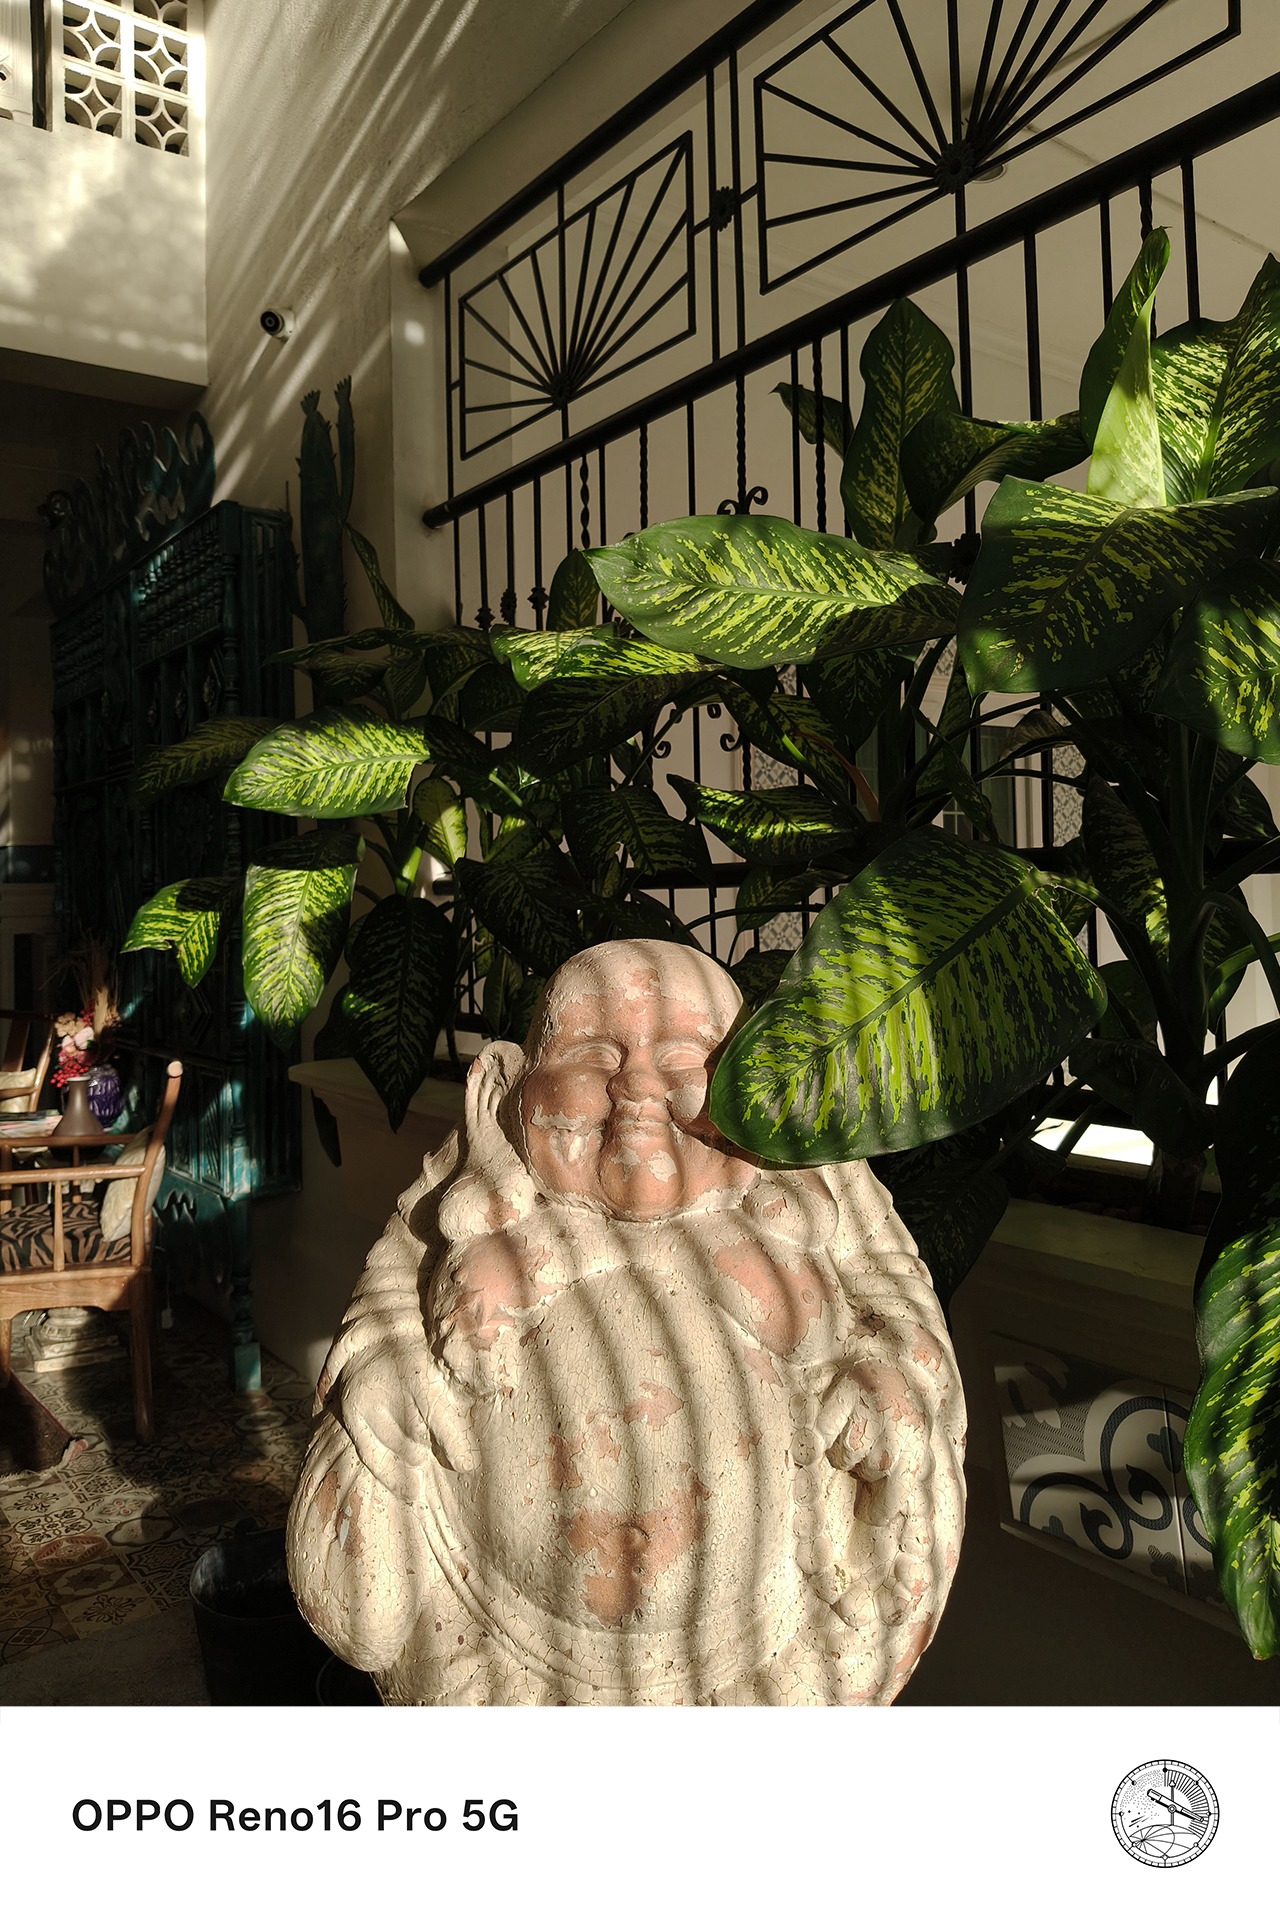
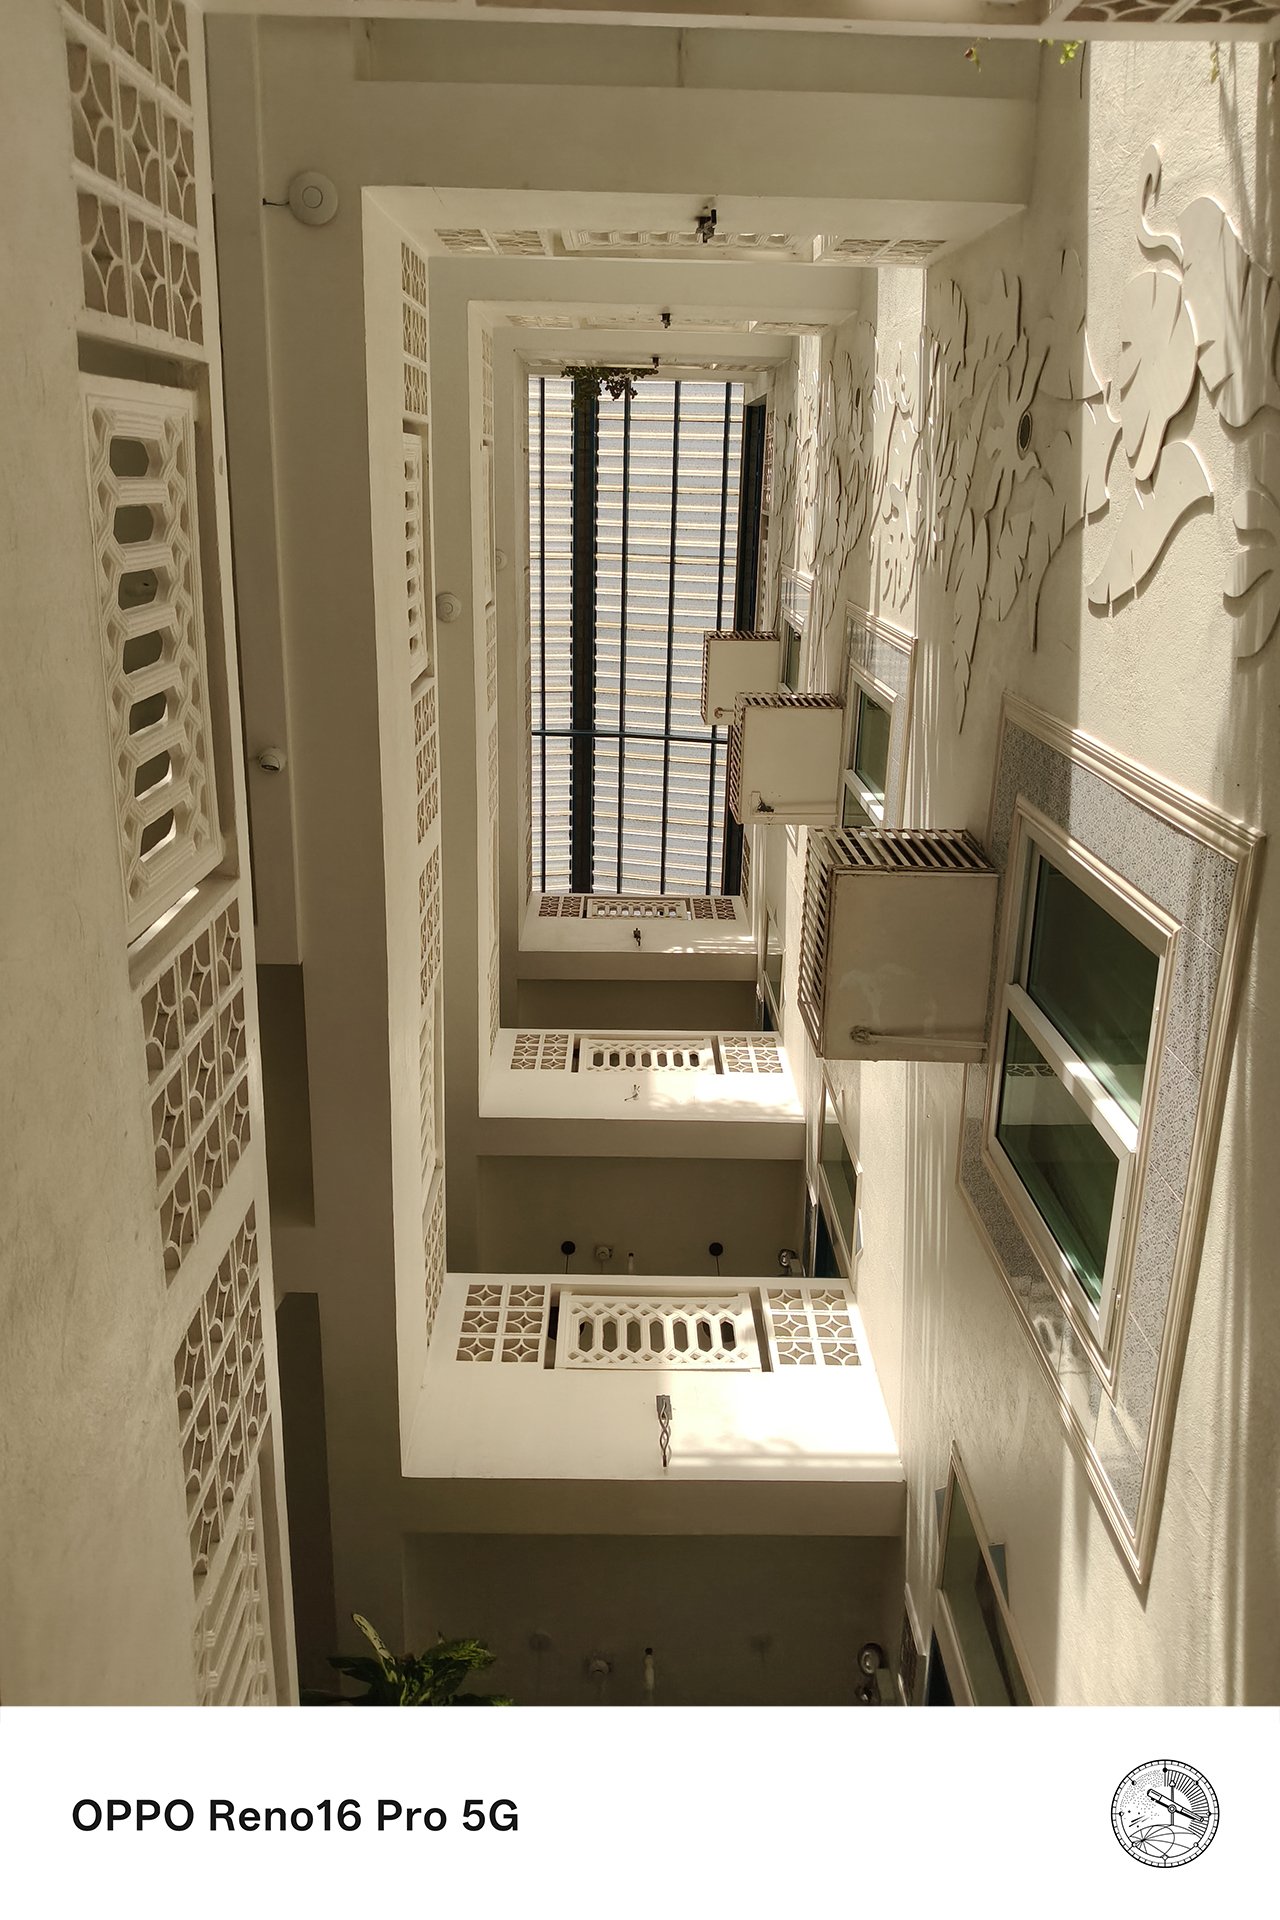
Over the past few weeks, that’s meant capturing everything from scenic views to candid conversations over coffee.

Rather than spending hours moving files between devices or navigating complicated editing workflows, Pocket Studio makes it easy to transform those moments into polished content ready for social media.
For anyone who enjoys documenting life as it happens, that simplicity is part of the appeal.

The moments you’ll actually want to remember
The moments that weren’t planned end up becoming the ones worth keeping. Those are the experiences that stay with us long after they’ve happened.
With Pocket Studio, the OPPO Reno16 Series 5G transforms those moments into memories that look every bit as good as they felt in real life.
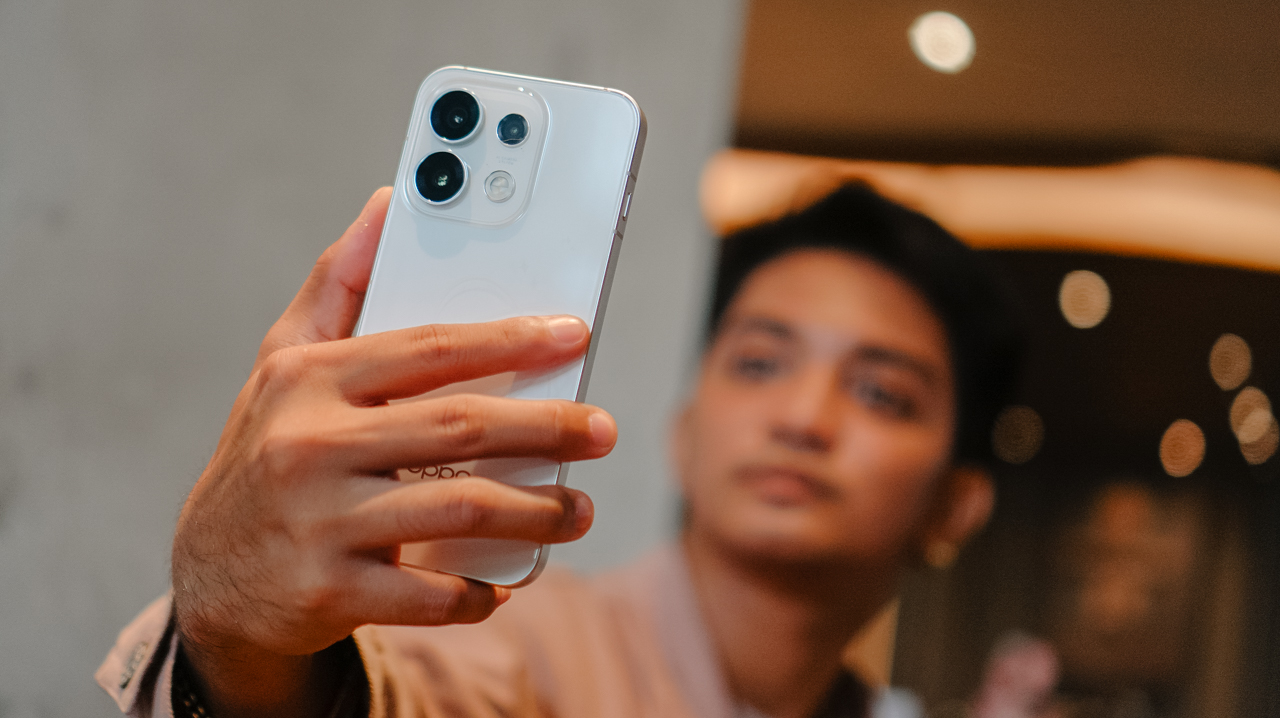
Through flagship-quality photos and videos, AI-powered creative tools, and features like Camera Remote View with the OPPO BUBBLE, the Reno16 Series makes capturing, creating, and sharing life’s most memorable experiences remarkably effortless.
For the designated photographer, it might just be the easiest way yet to make sure every moment, and everyone in it, gets remembered.
Price, availability

The OPPO Reno16 Series 5G is now available nationwide across all OPPO stores, official e-commerce platforms, and partner telco providers:
OPPO Reno16 F 5G
- 8GB+128GB: PhP 44,999
- 8GB+256GB: PhP 49,999
OPPO Reno16 5G
- 12GB+256GB: PhP 59,999
OPPO Reno16 Pro 5G
- 12GB+256GB: PhP 74,999
Flexible payment options at up to 24 months 0% interest are likewise available through Home Credit and select credit cards.
This feature was produced in collaboration between GadgetMatch and OPPO Philippines.

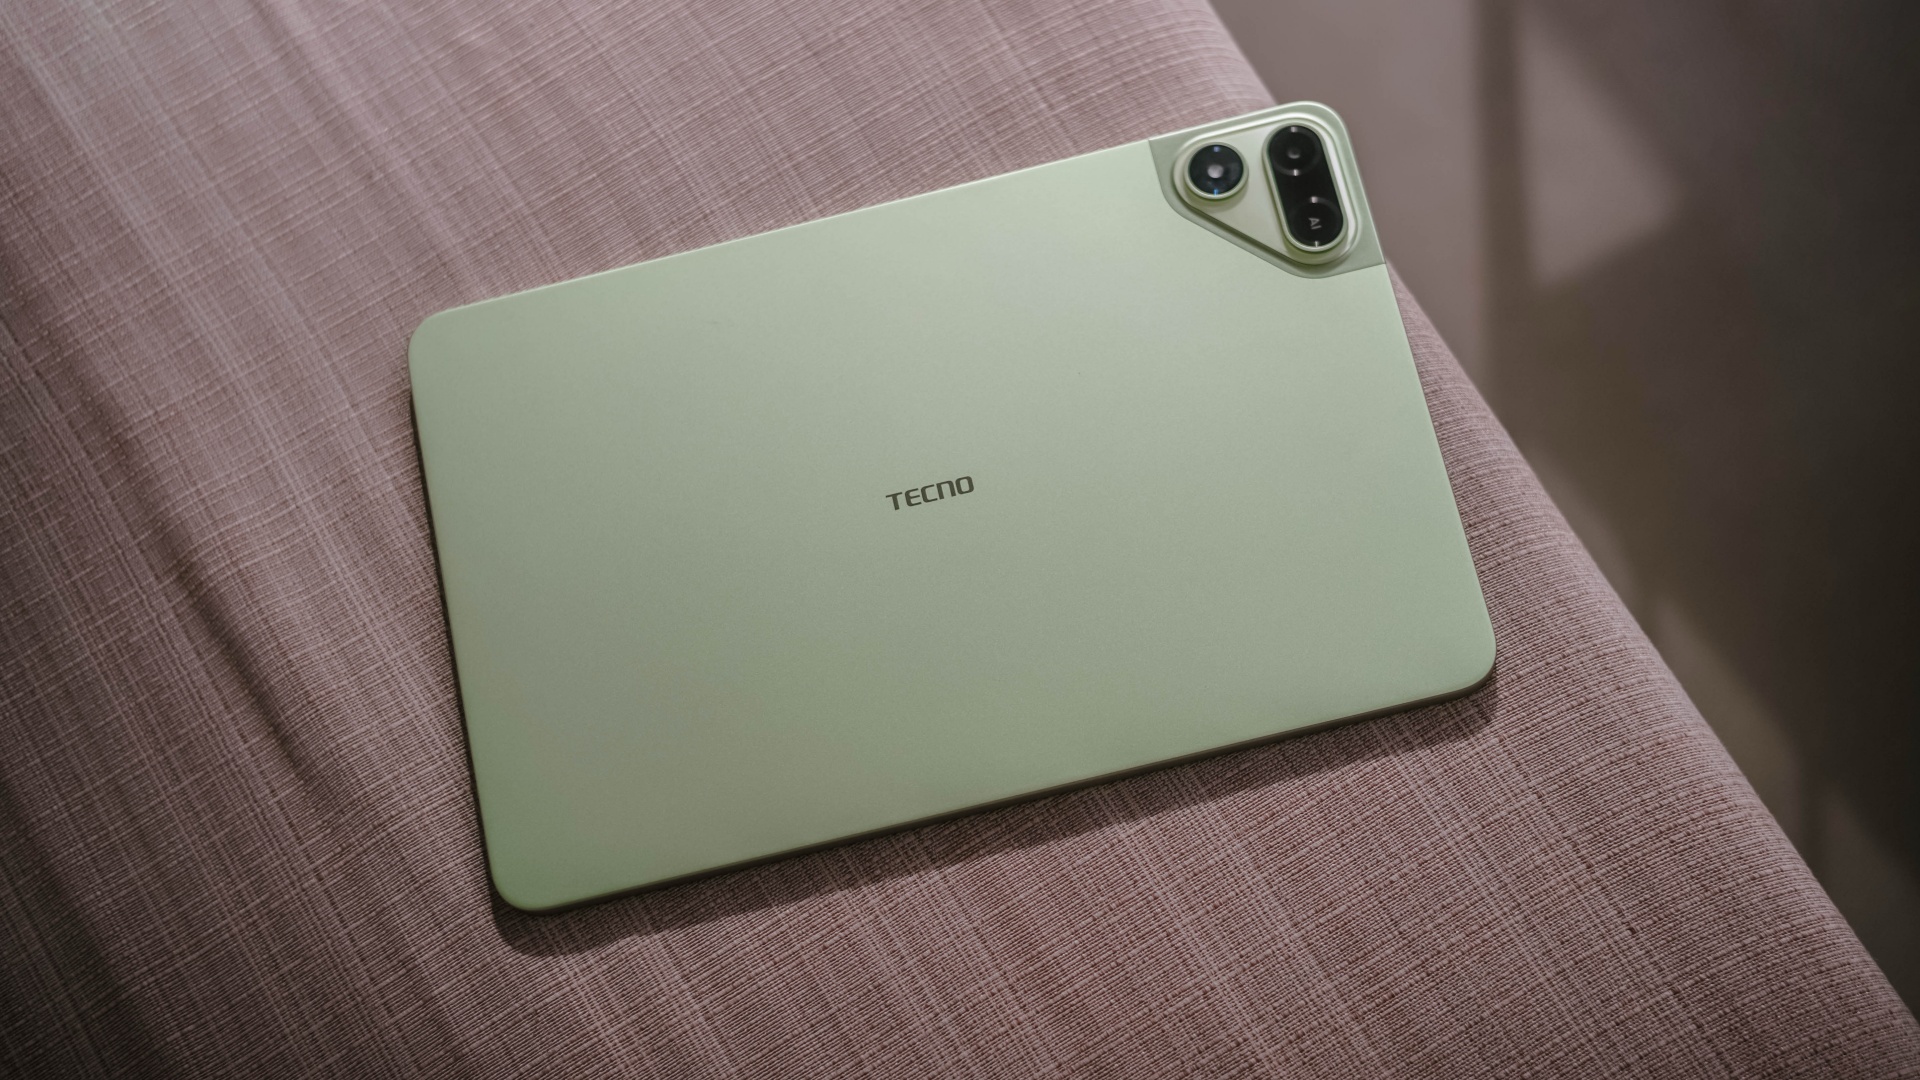
With lesser options around, choosing your next best tablet shouldn’t be as daunting as buying a shiny new smartphone.
However, that seems like a misconception. Buying the right budget tablet that matches your needs is still, and will always be, a hard task.
But, the presence and existence of the all-new TECNO MEGAPAD 2 might just persuade and prove you otherwise.
Luring allure
The TECNO MEGAPAD 2 review unit I rock comes in this Light Green colorway.

Personally, I prefer this a whole lot better over the overhyped Cosmic Orange hue or the plain ol’ Space Grey shade.
Now, despite the category it belongs to, TECNO’s MEGAPAD 2 is surprisingly built premium.
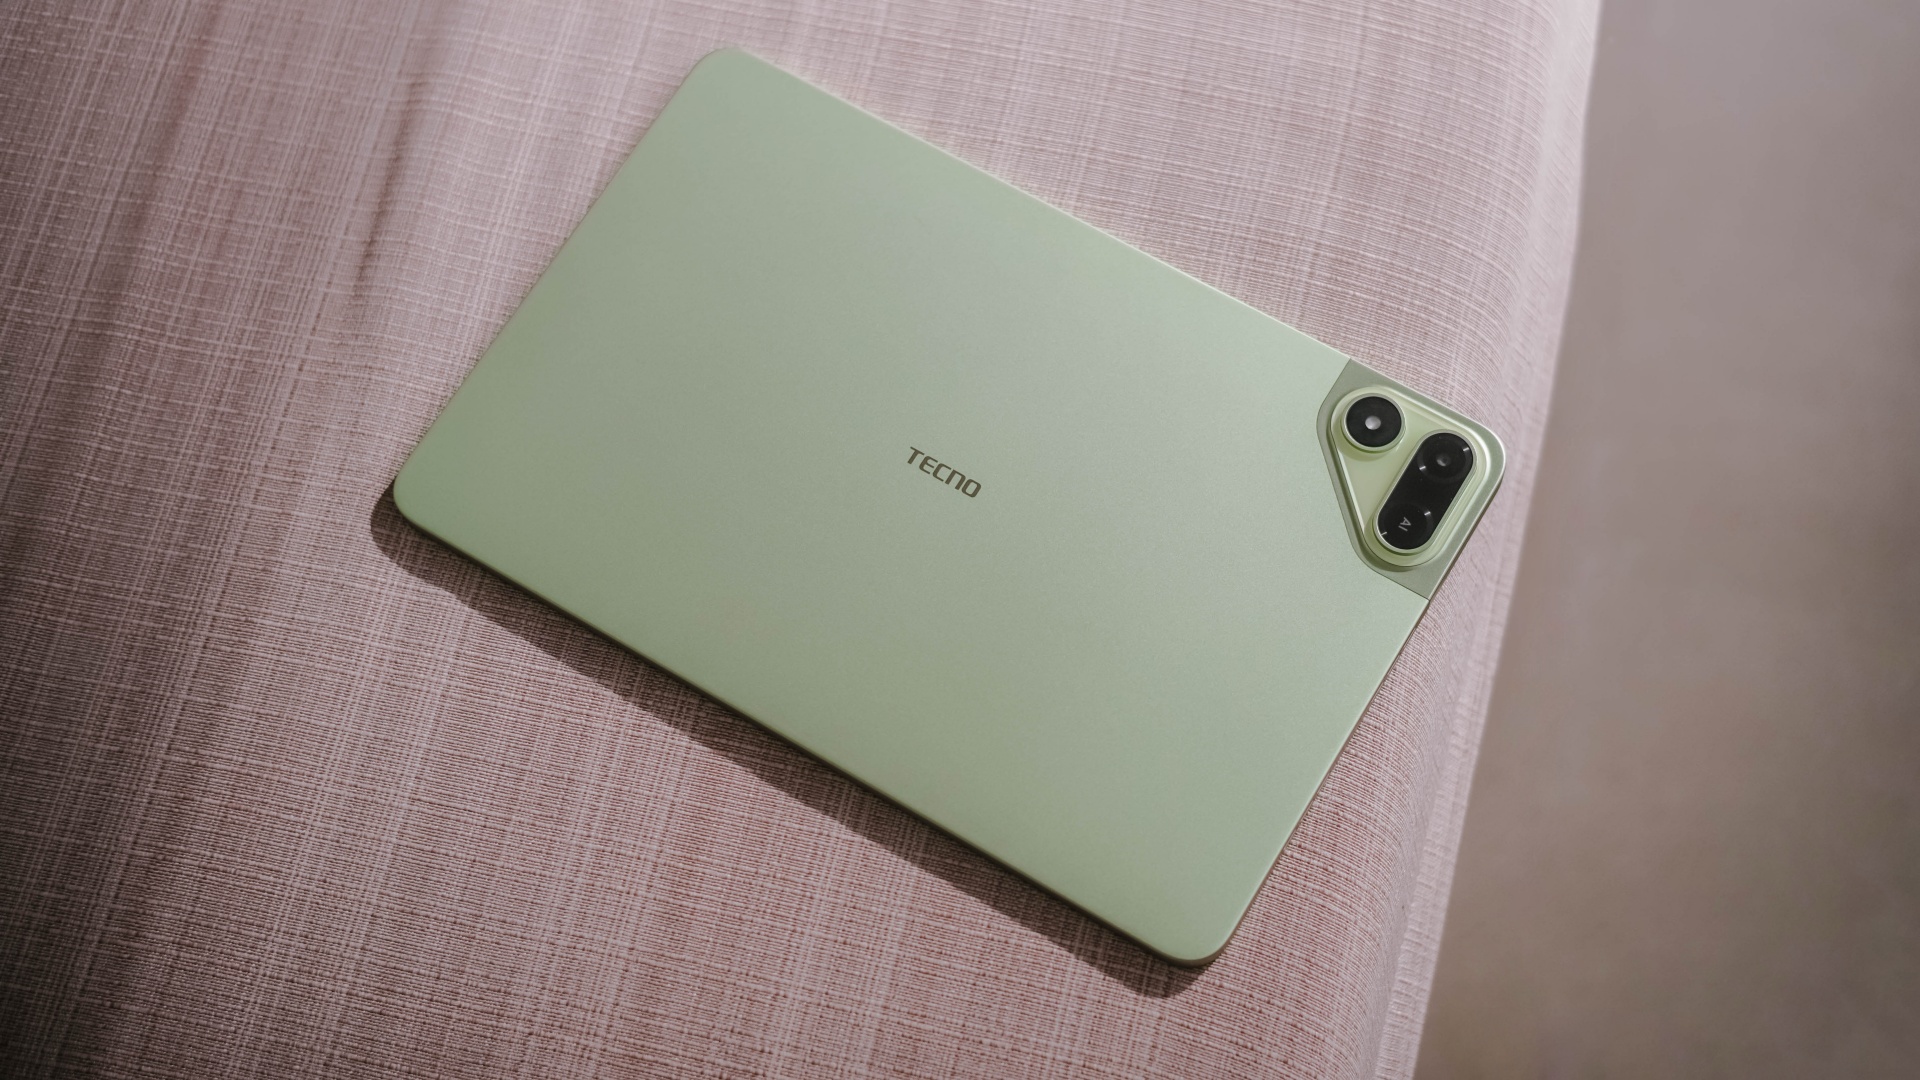
As opposed to icky plasticky budget tablets (or a mix of metal and plastic), this pad features a full metal build — buttons included.
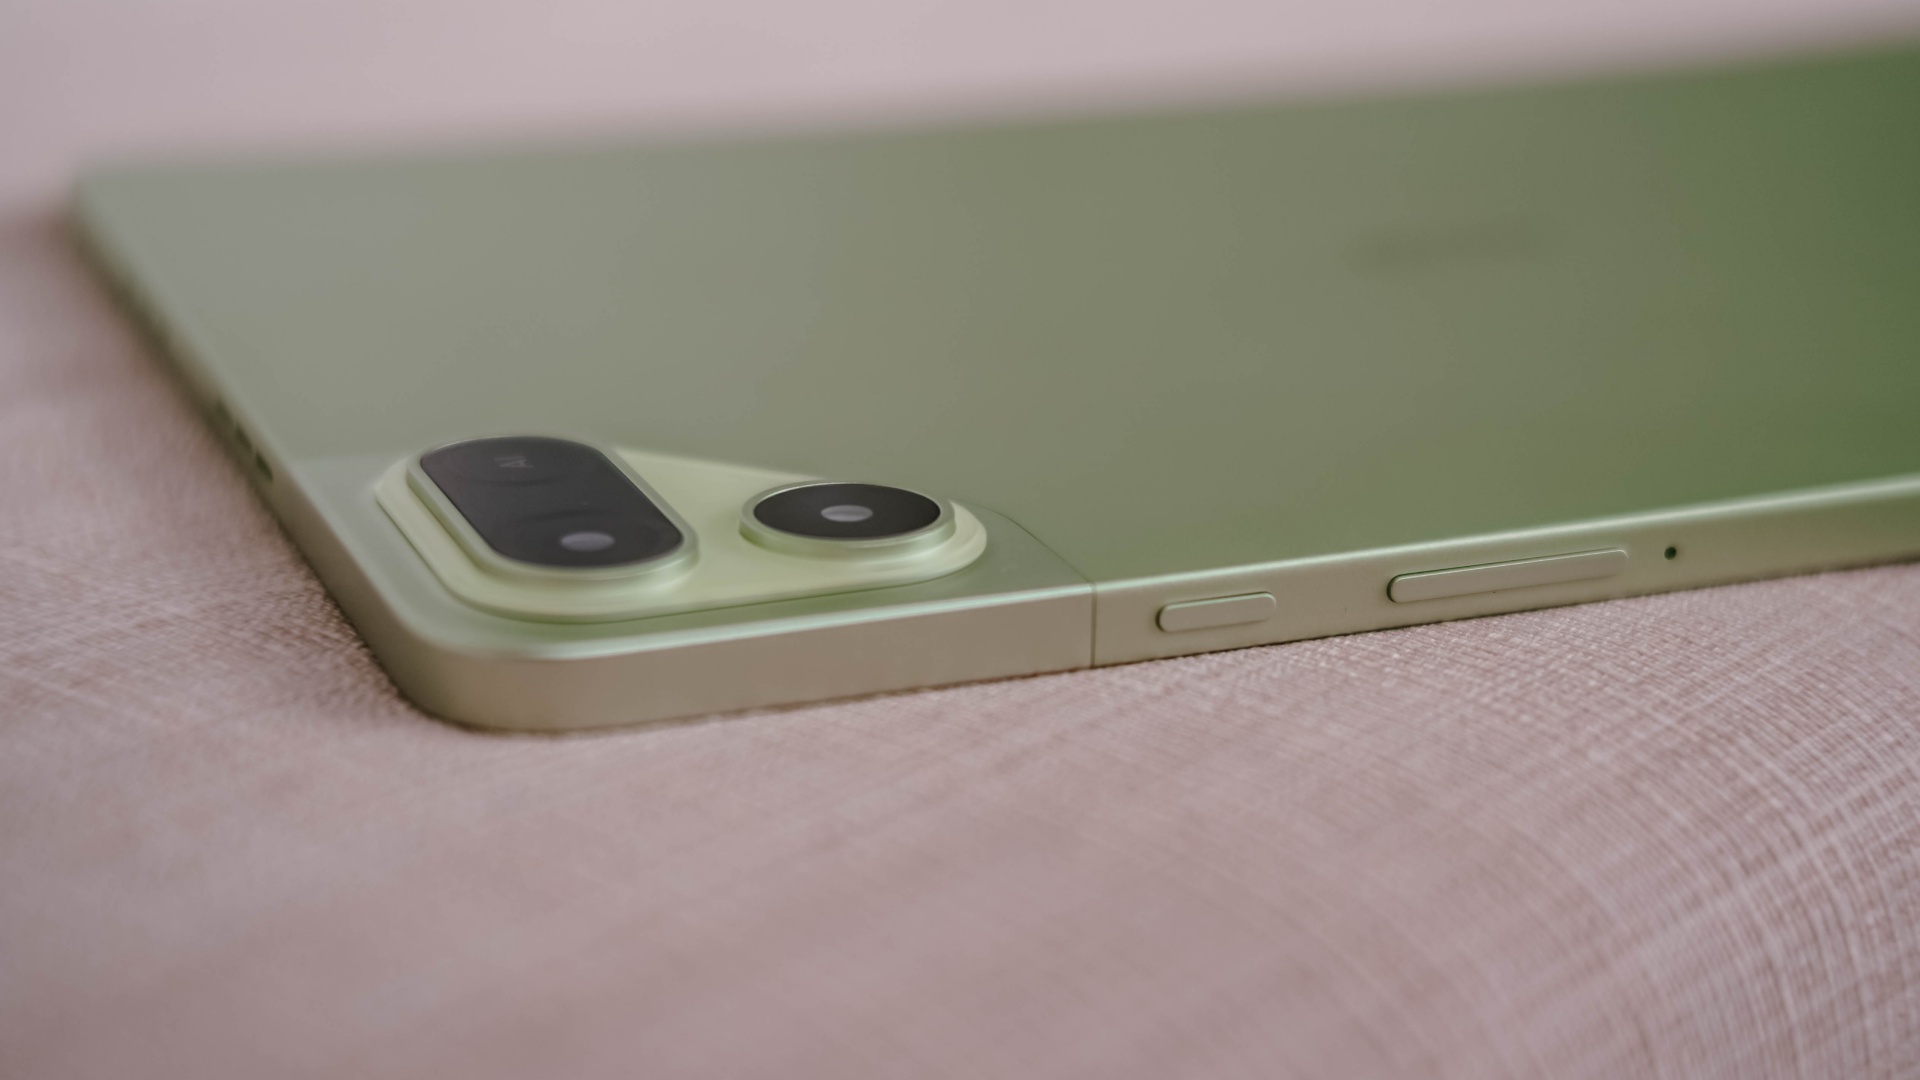
And now that it’s mentioned, the trim is oh-so-slim at just 6.6mm — which is one of (if not) the slimmest in its class so far. Most tablets measure close to or beyond 7mm.
Whether you use it one-handed (or two), holding it won’t be too sore with its heft of 547 grams.
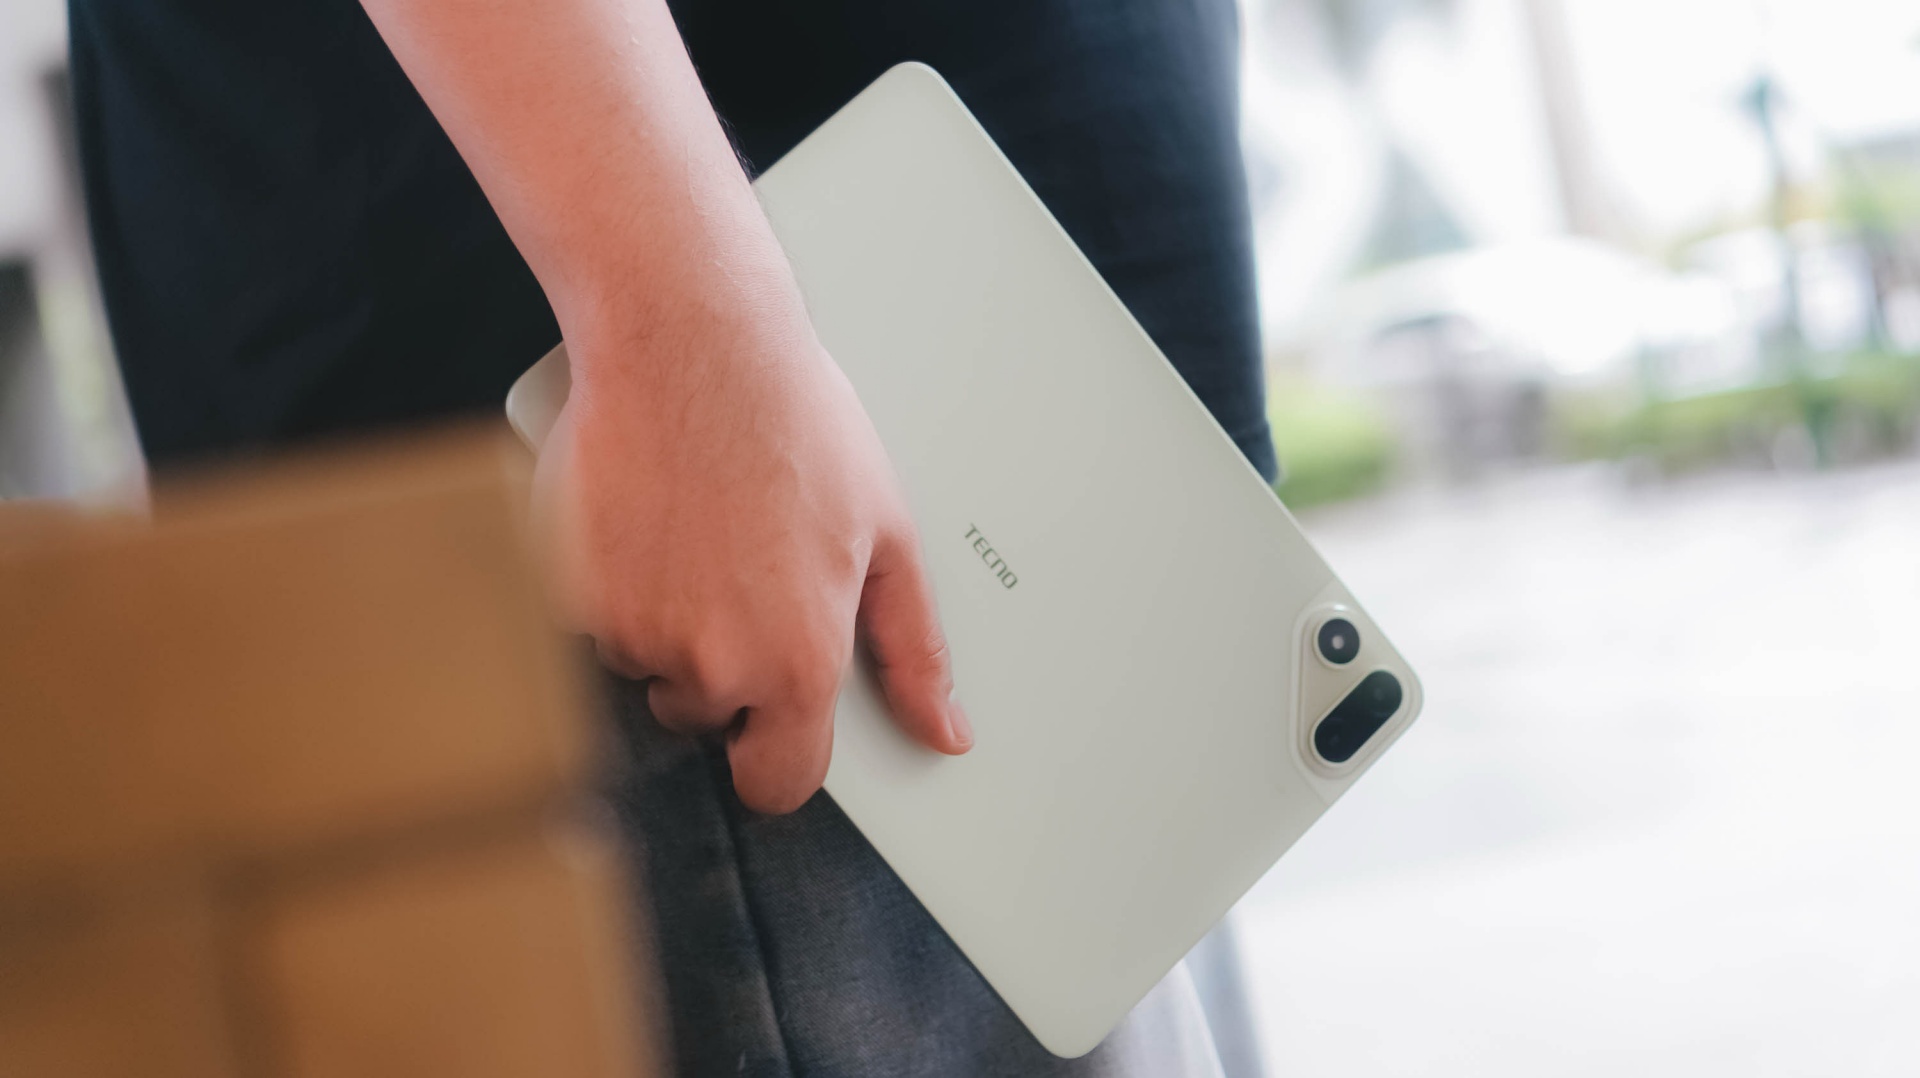
And with the given material, it feels solid enough when held without the budget feel.
Its size is the prize
Unlike usual 10- or 12-inch tablets, the TECNO MEGAPAD 2 features the sweeter screen spot.
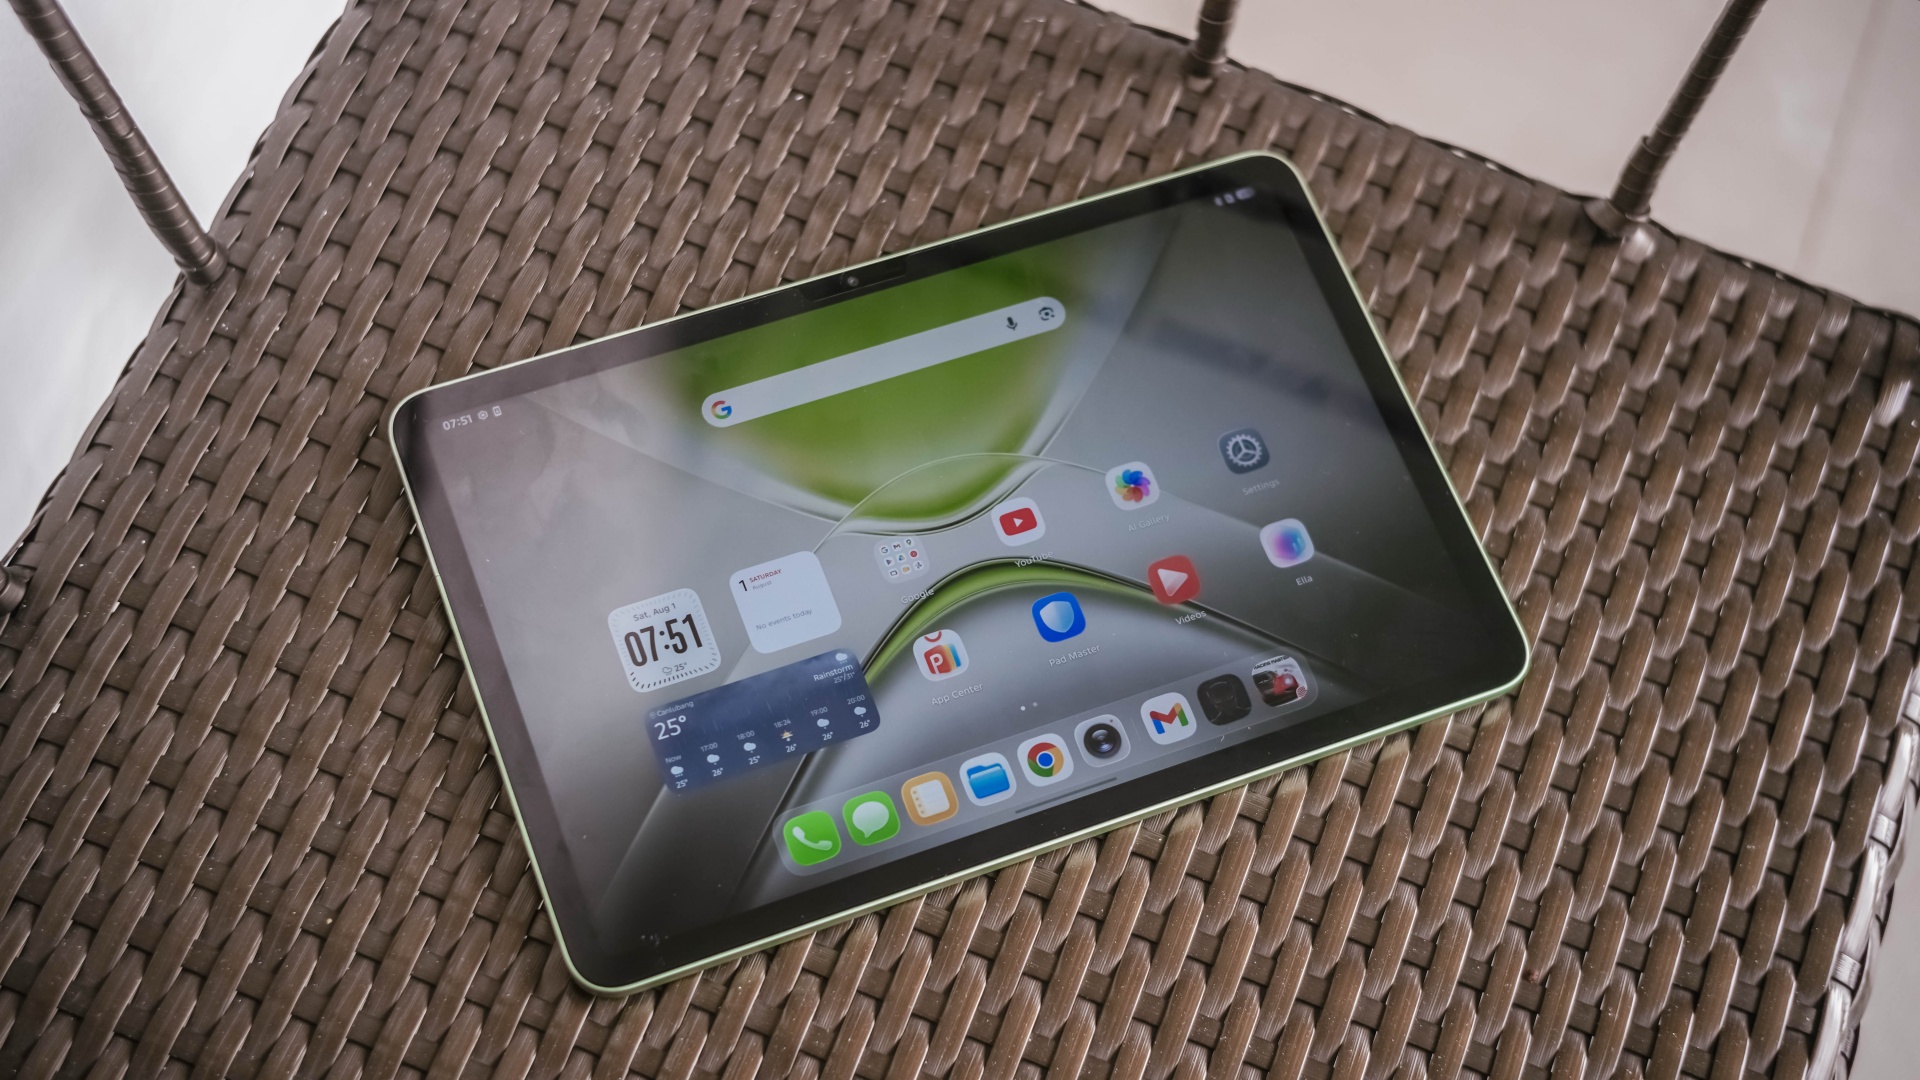
On paper, it’s an 11-inch 90Hz LCD display with a 2.5K display resolution. This makes it sharper than other Full HD+ tablet displays in the market today.

Of course, the main purpose of a tablet’s existence is none other than its visual immersiveness.
Admittedly, I enjoyed binge-watching Netflix’s Spooky In Love — which is starred by the very versatile Park Eun-bin together with the uprising actor, Yang Se-jong.

They both perfectly define what TECNO and the MEGAPAD 2 are in a nutshell: an uprising brand that offers a versatile tablet in both features and price range.
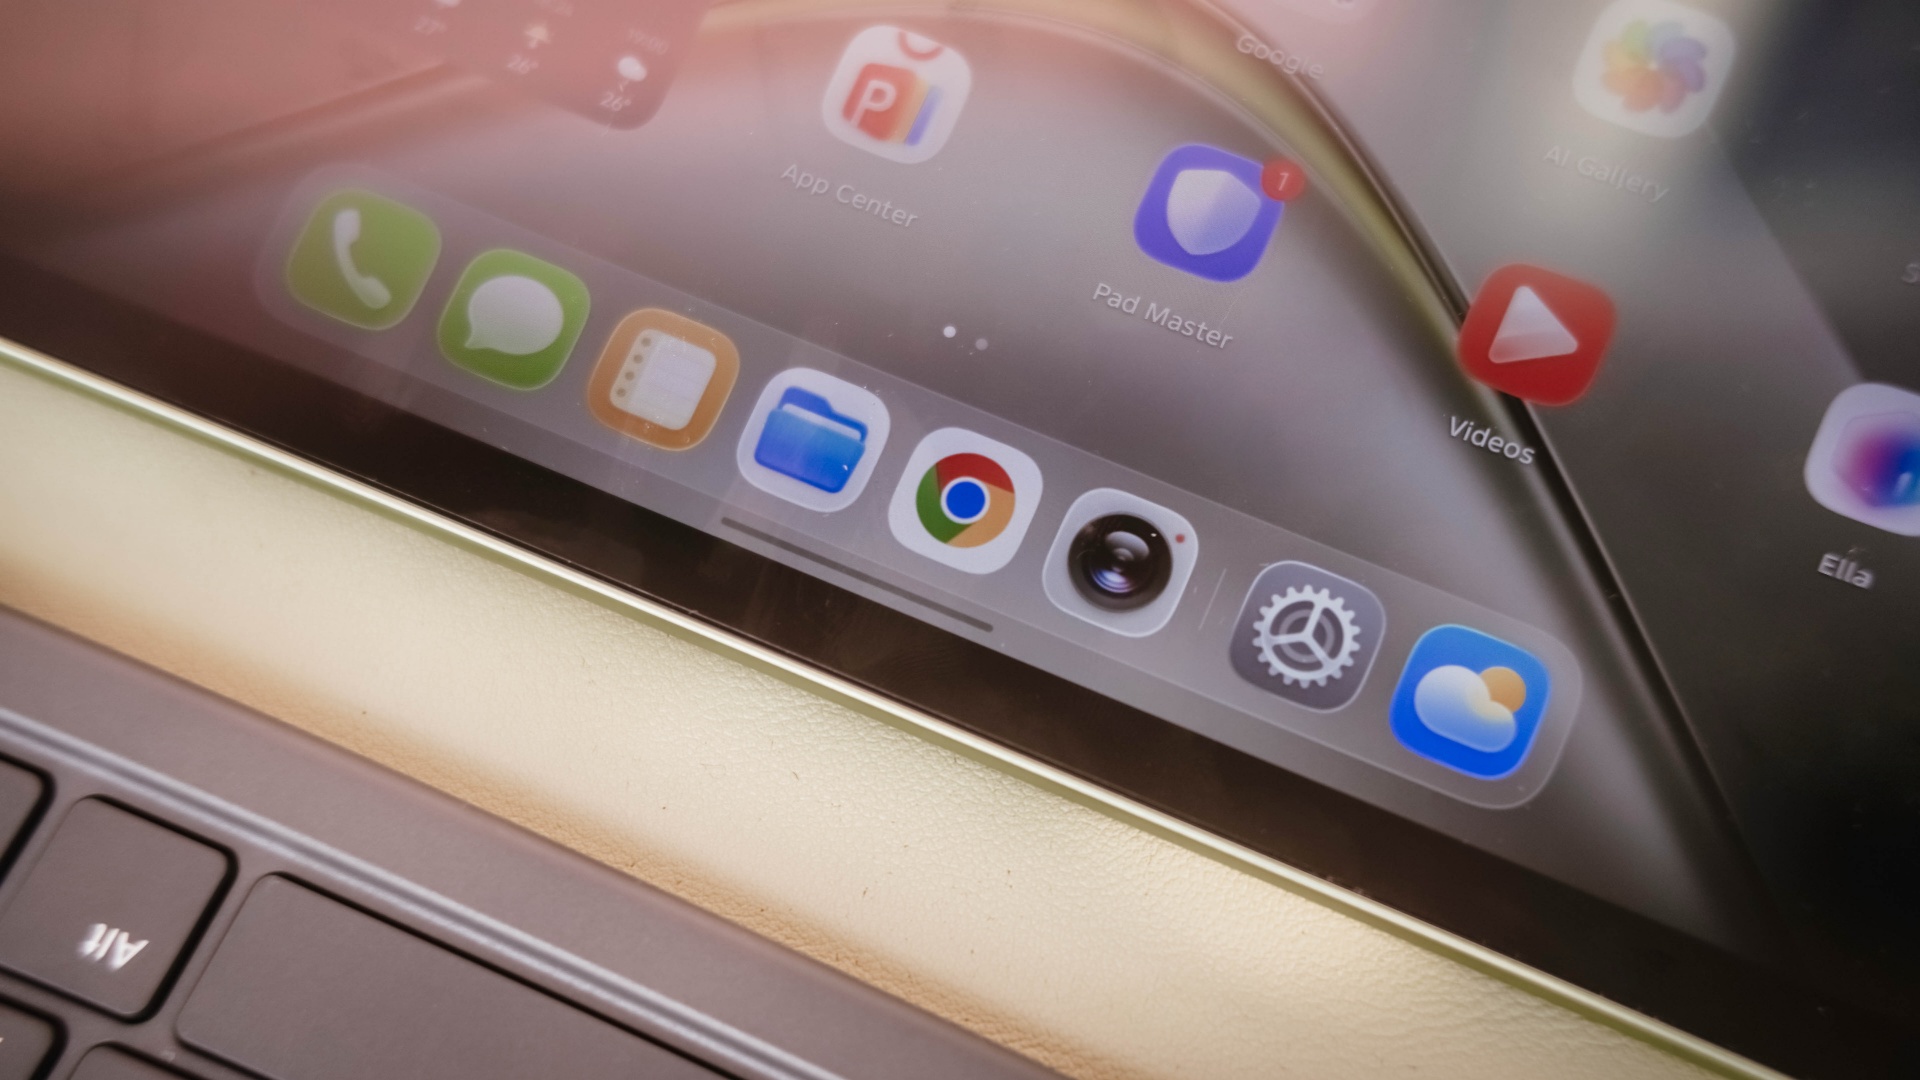
Color accuracy looks settling enough with colors that truly pop. Display bezels are surprisingly narrow too.
However, under harsh sunlight, that 550 nits of maximum brightness simply won’t make the cut. The panel is just too glossy and reflective for it to not to be mentioned.
The MEGAPAD 2 also boasts quad speakers powered by DTS. It’s a complete delight to make this tablet a portable music player.
On my queue are none other than Young K’s jampacked ‘YOUNGEST’ full-feature album consisting of 15 tracks.

That goes together with summer-studded comeback tracks featuring KISS OF LIFE’s ‘SWEAT’.

Let’s not forget fromis_9’s long overdue full album after three long years starred by ‘Vitamin ME’.

Although this isn’t the best-sounding in any tablet I’ve tried as it doesn’t have such thumps and oomphs. However, loudness is more than enough to fill the void of my room — reaching all the way to the nearby living room and bathroom.
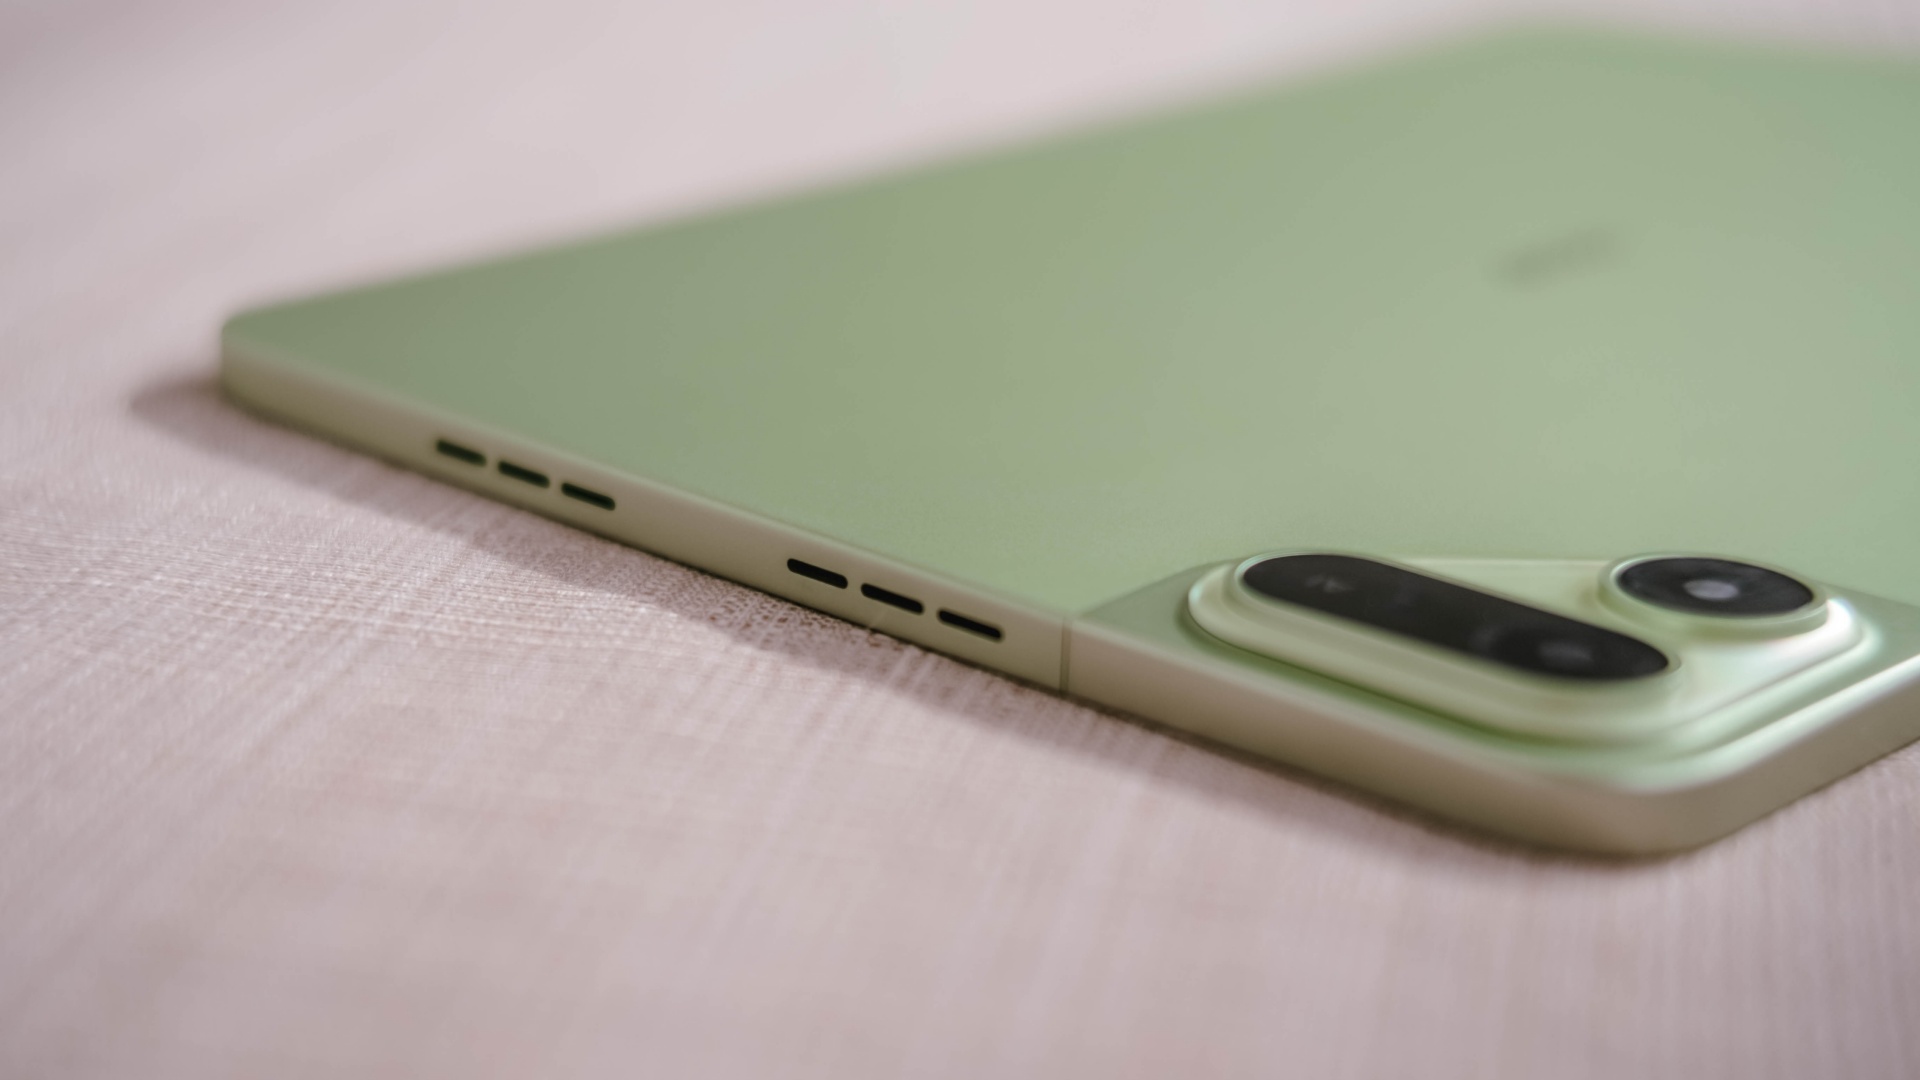
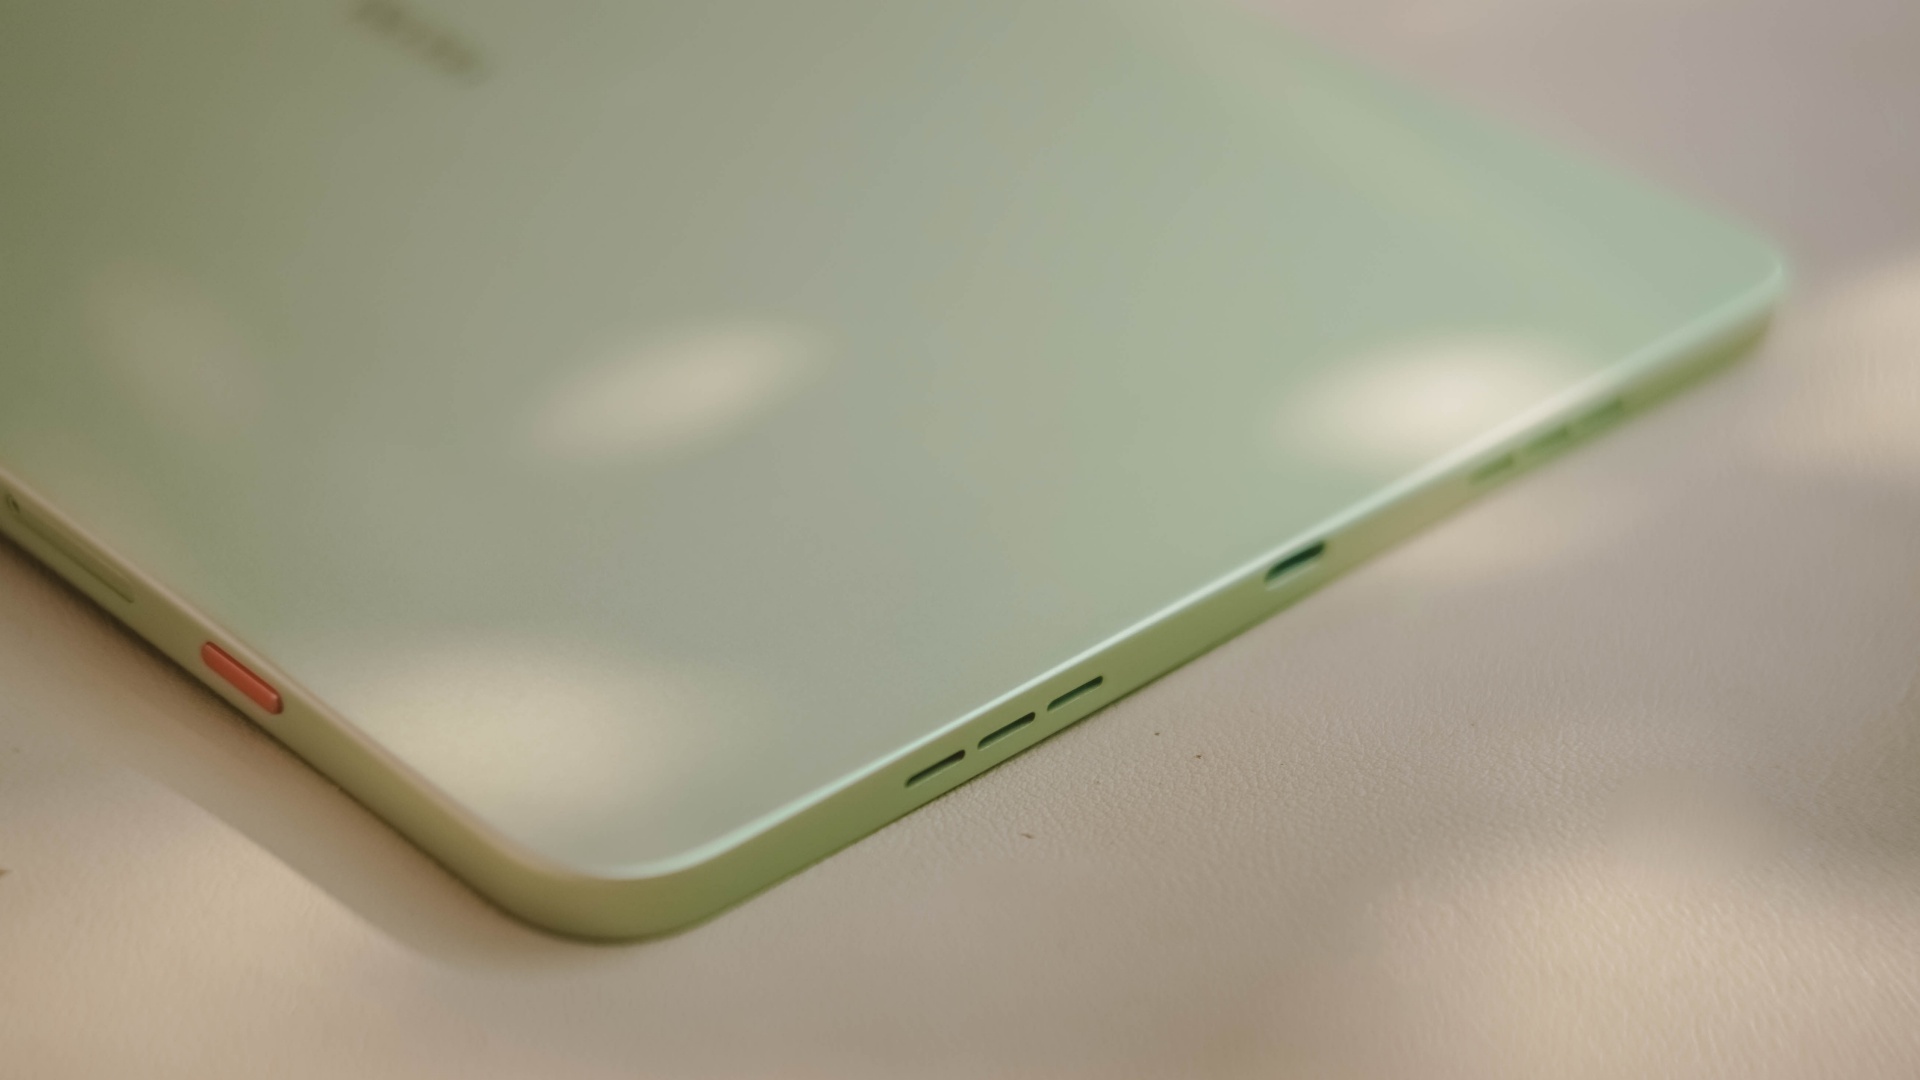
Also, having four speakers are still better than the usual (two) stereo speaker setup of most tablets in this segment.
Passable and plausible
The elephant in the room is none other than the inclusion of MediaTek MT8781 — or popularly known as Helio G99.
Obviously, this SoC (System on a Chip) can only do so much. That excludes power-hungry games.
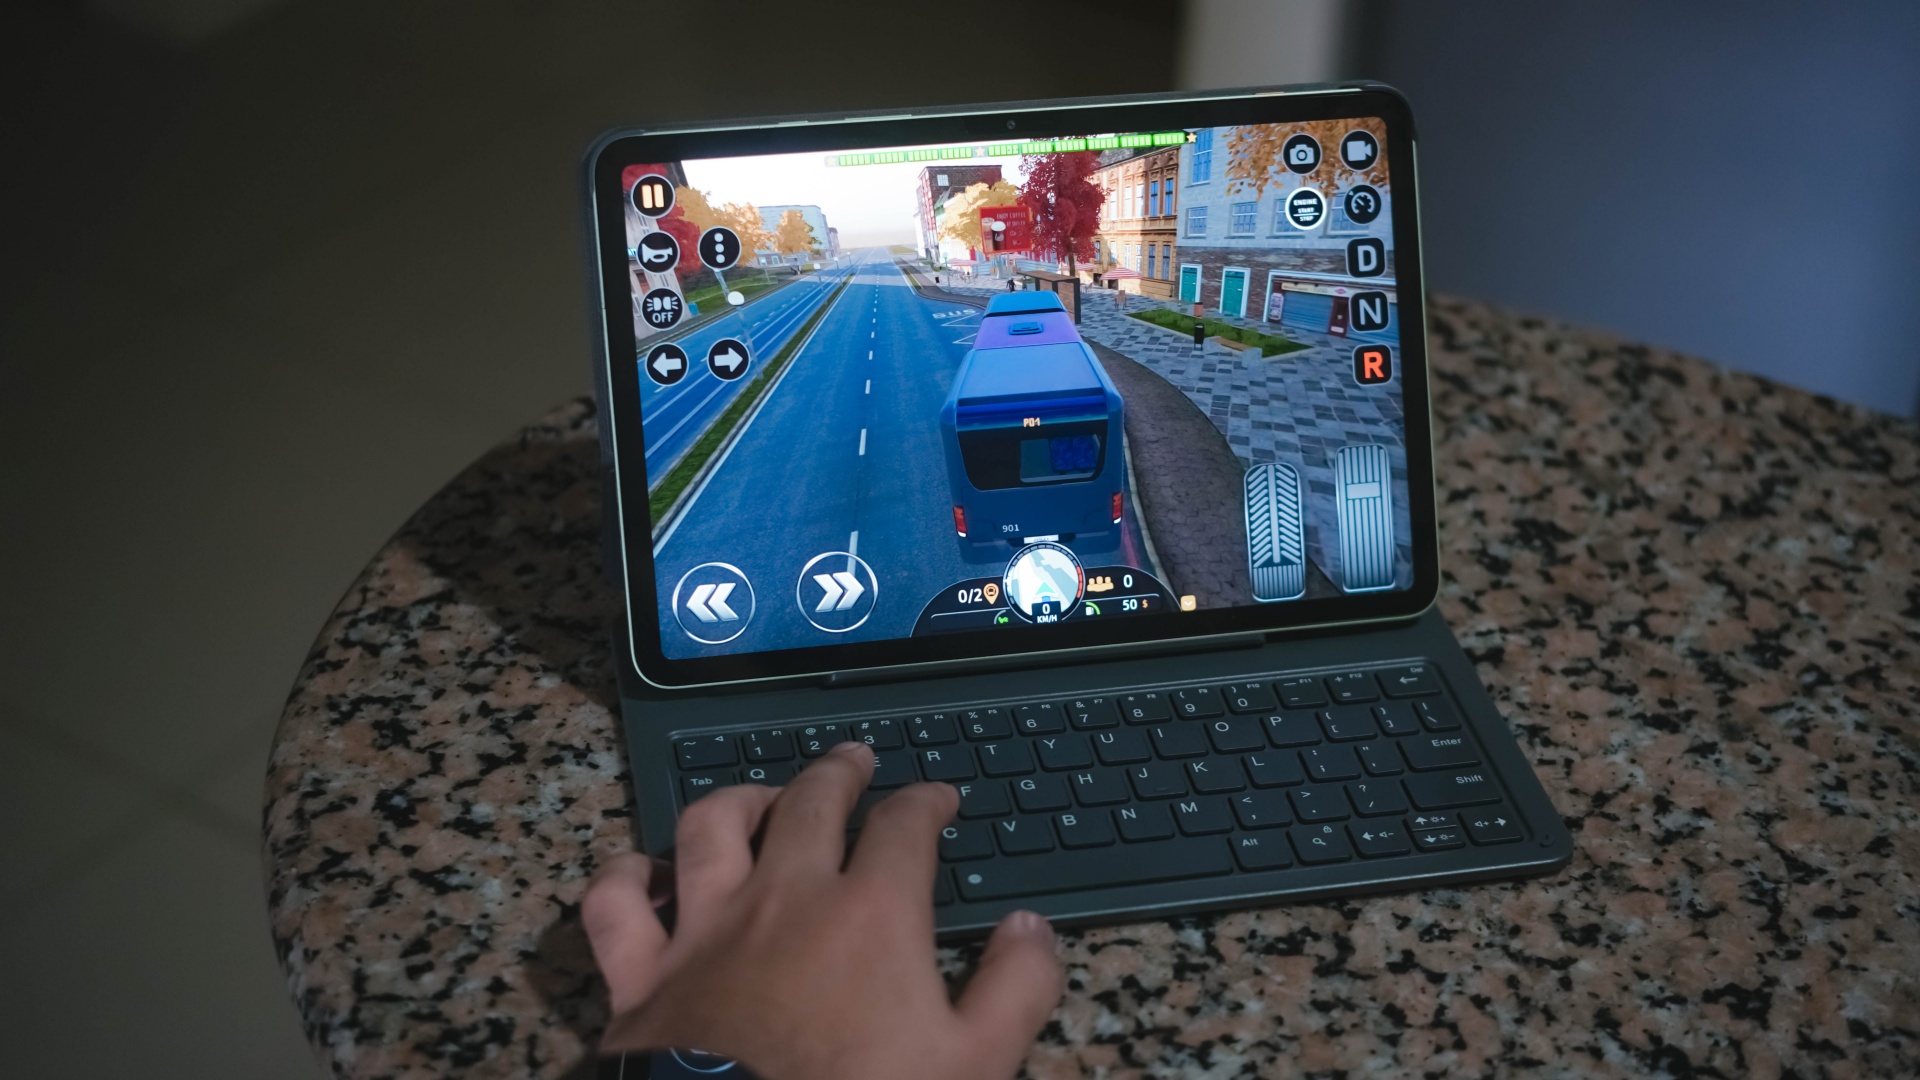
Albeit, it can still run most titles — as long as you set it in lowest graphics settings possible. Lucky if it runs medium at best, like how it did in Bus Simulator: EVO.
That being said, the MEGAPAD 2 can still do more than just the basic of tasks.
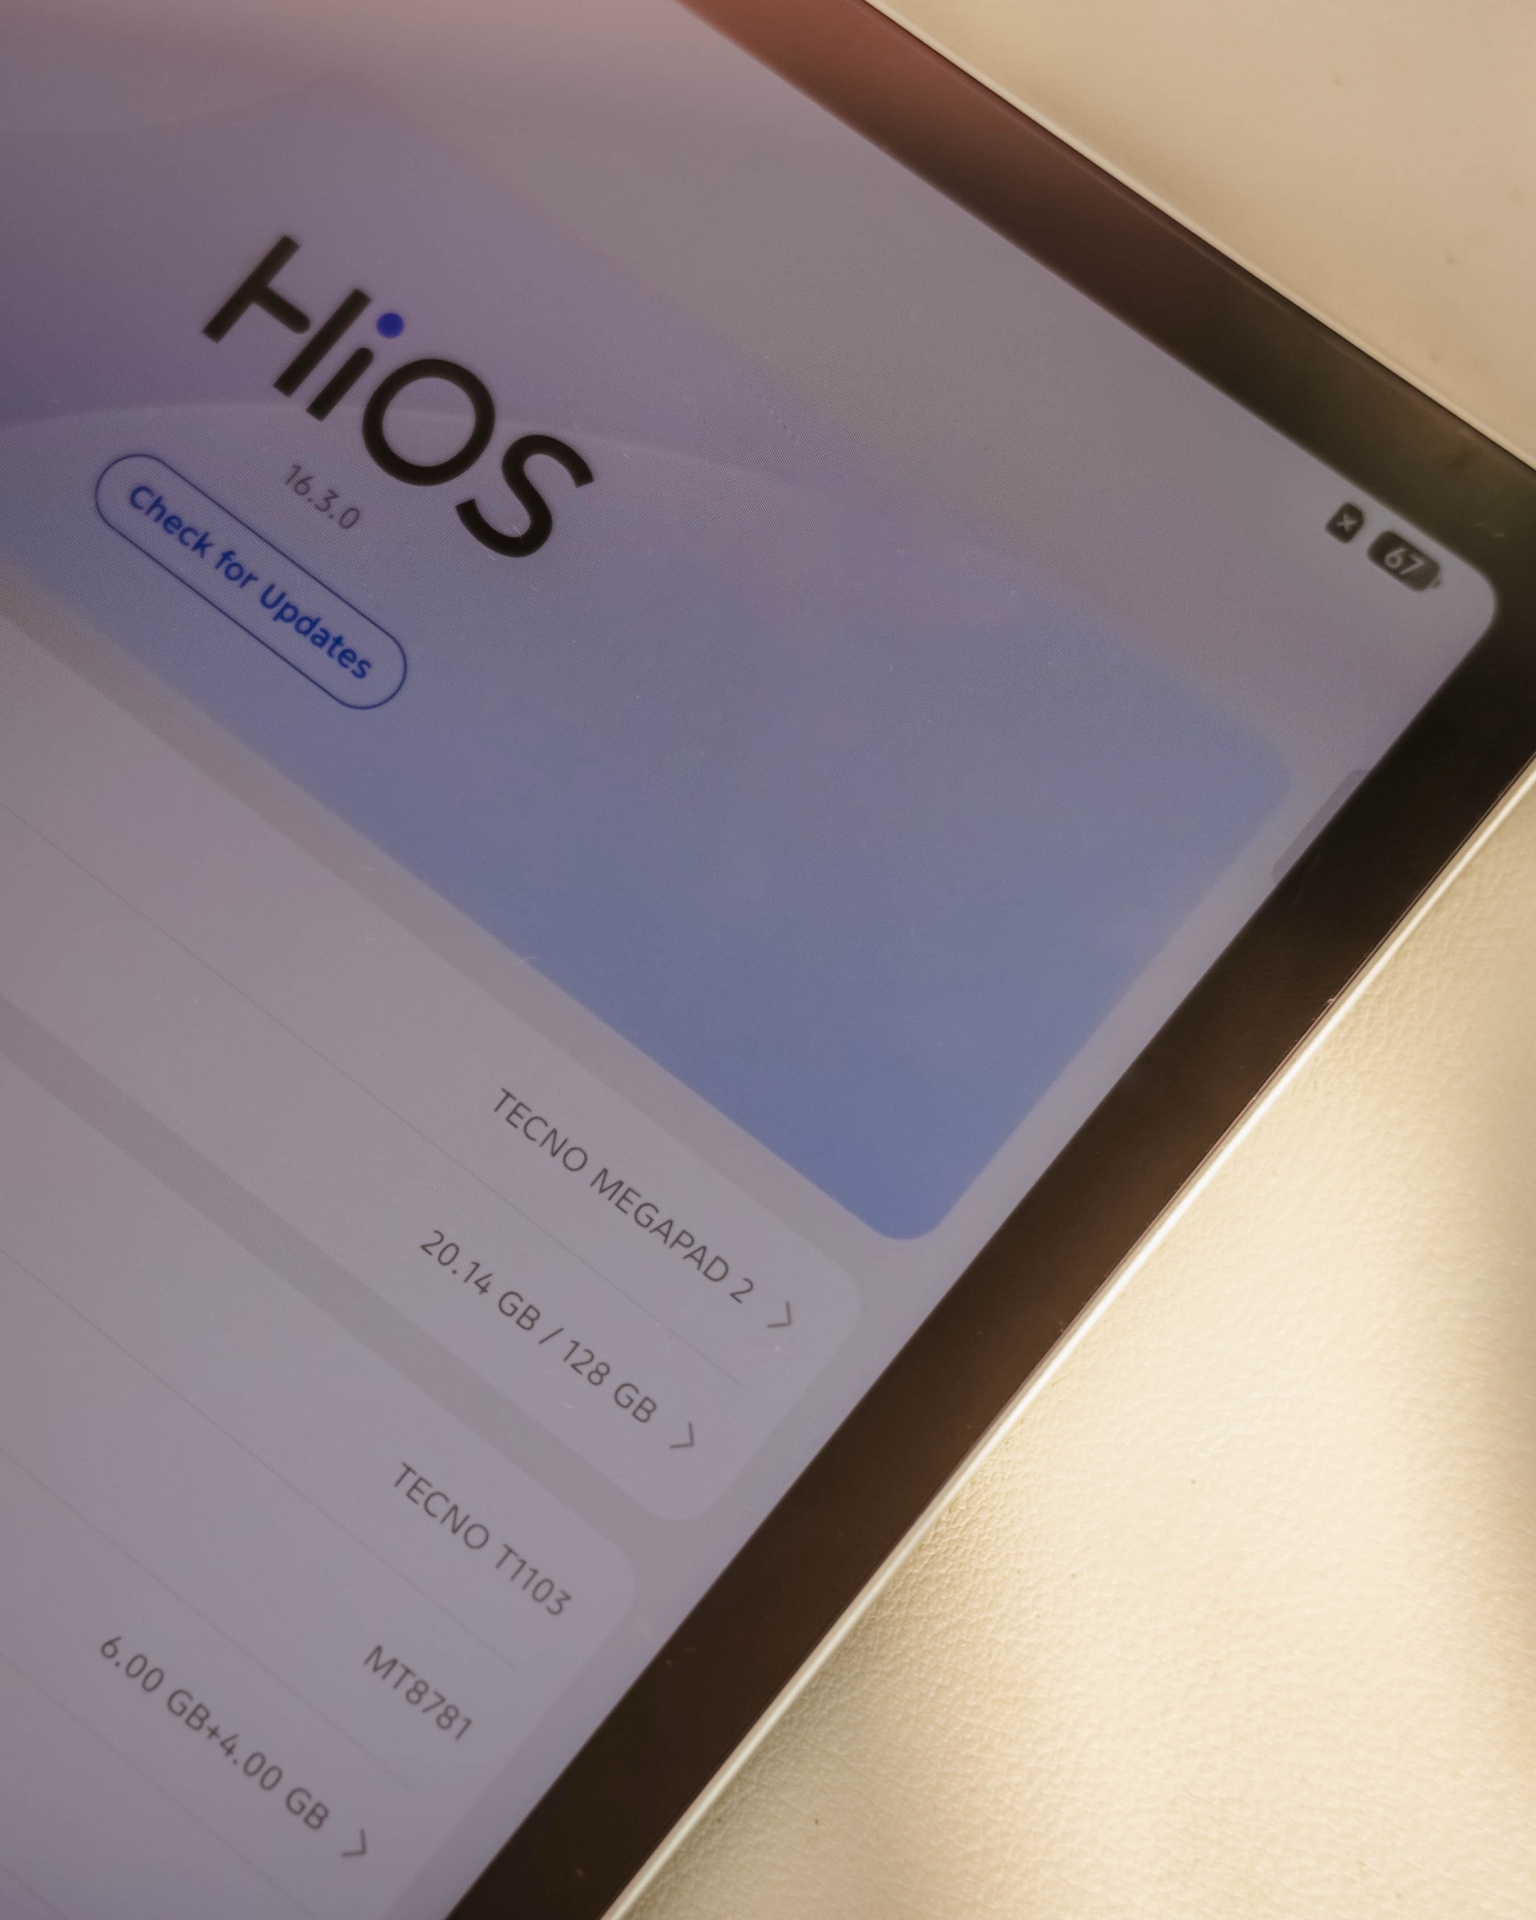
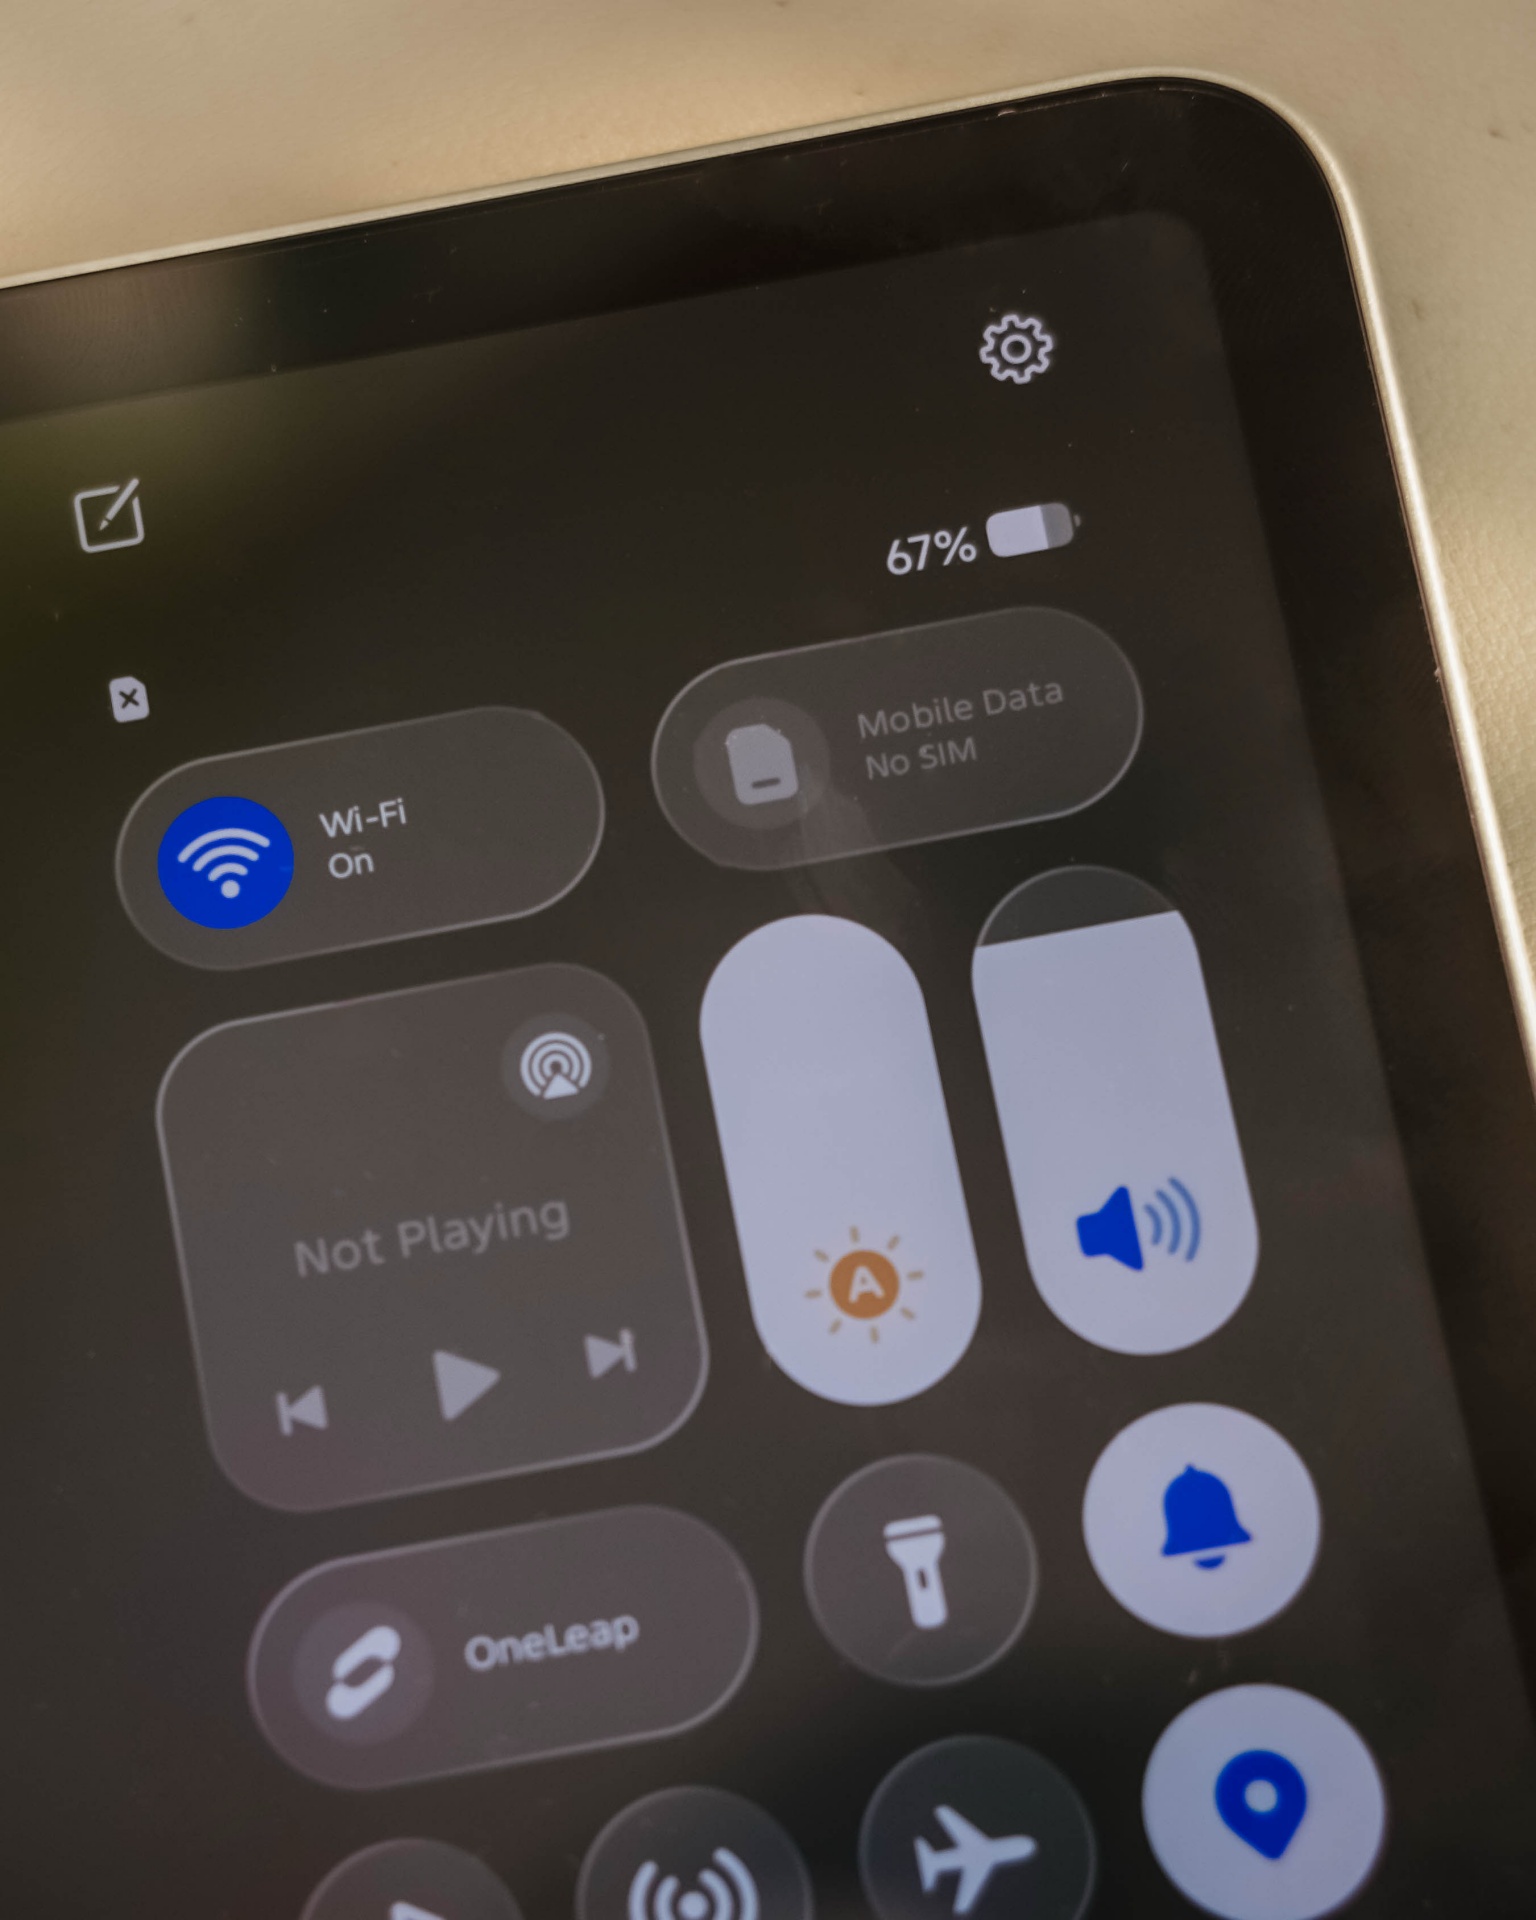
Given my weeks with this tablet, it surprised me how TECNO’s HiOS 16 felt fast. Animations are fluid. Scrolling was buttery-smooth. App-switching was also a breeze.
This proves that benchmarks aren’t everything — and not all mall promodisers go past beyond the usual sales talk.
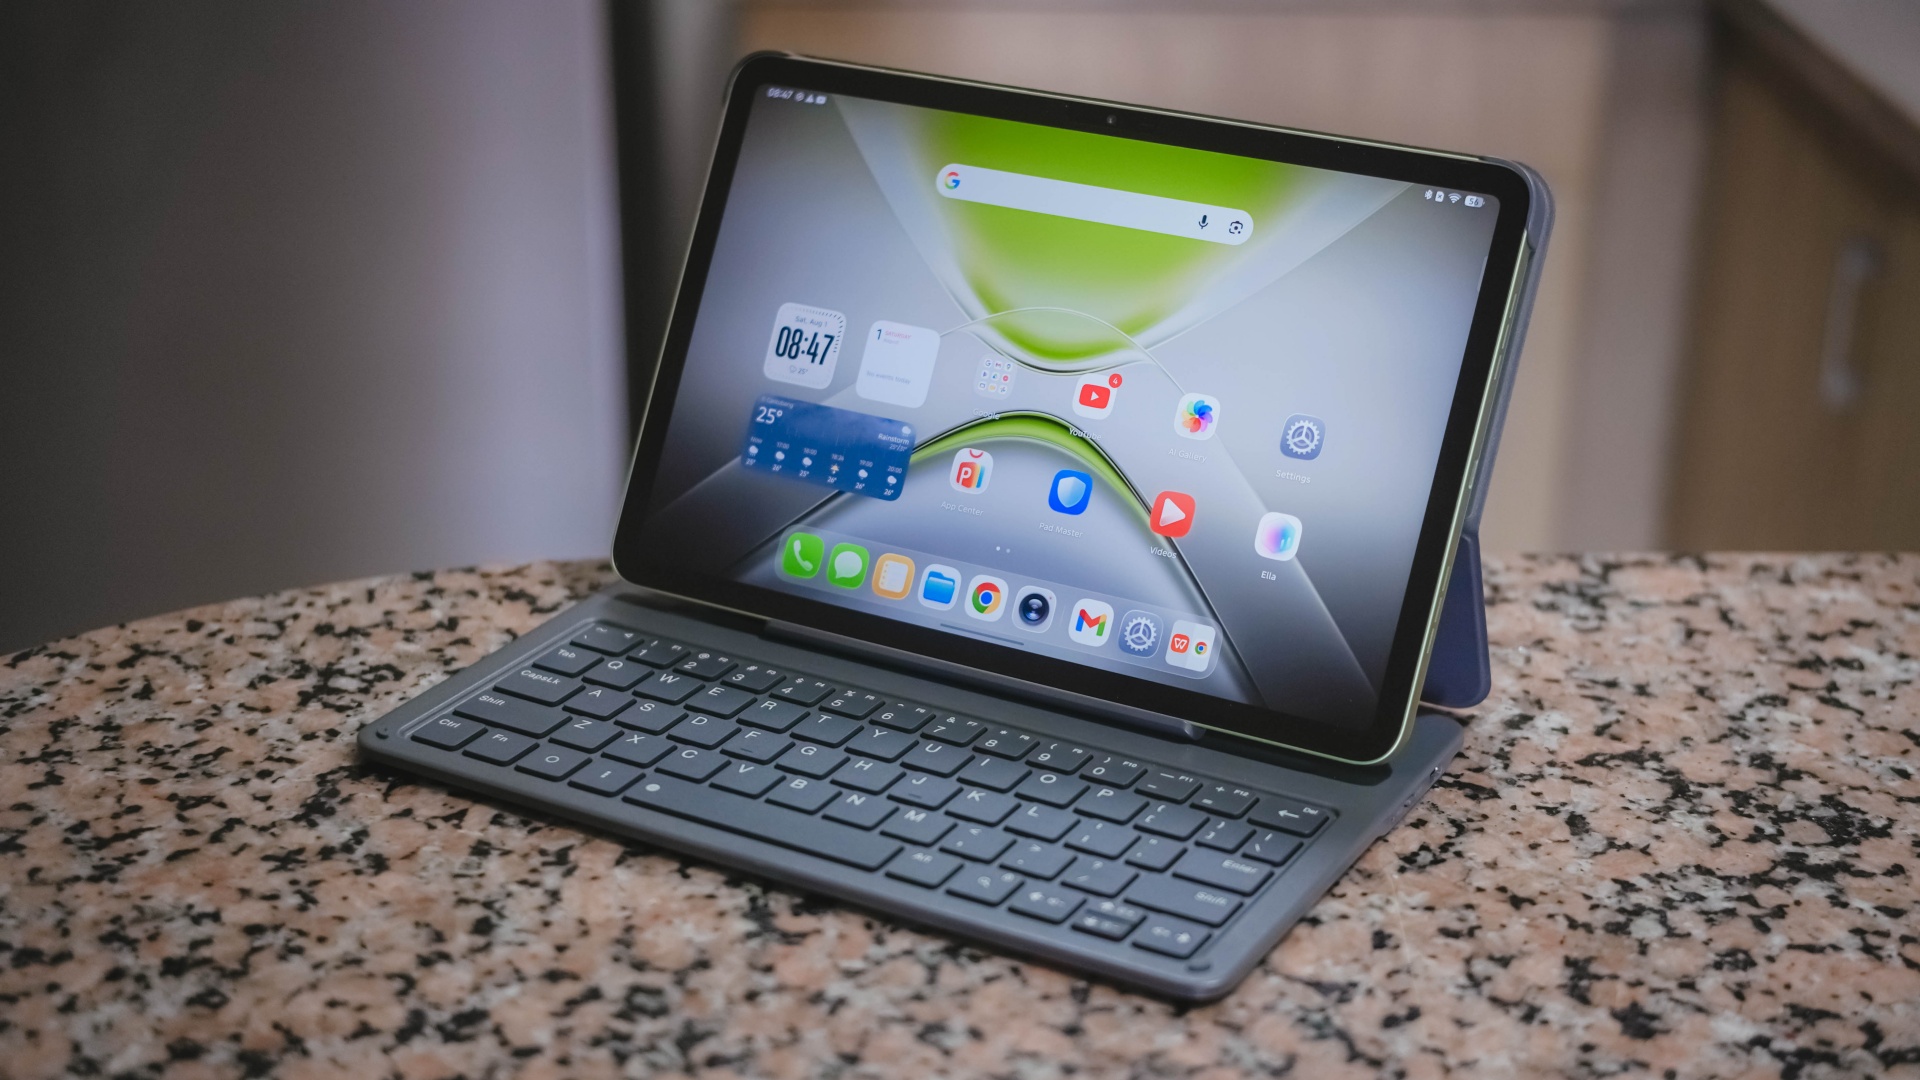
This is also me trying to say that the brand of chipmaker and number of cores in a processor aren’t enough basis to say how “fast” and “capable” a device is. Software optimization shouldn’t be downplayed as it’s also an important factor to consider.
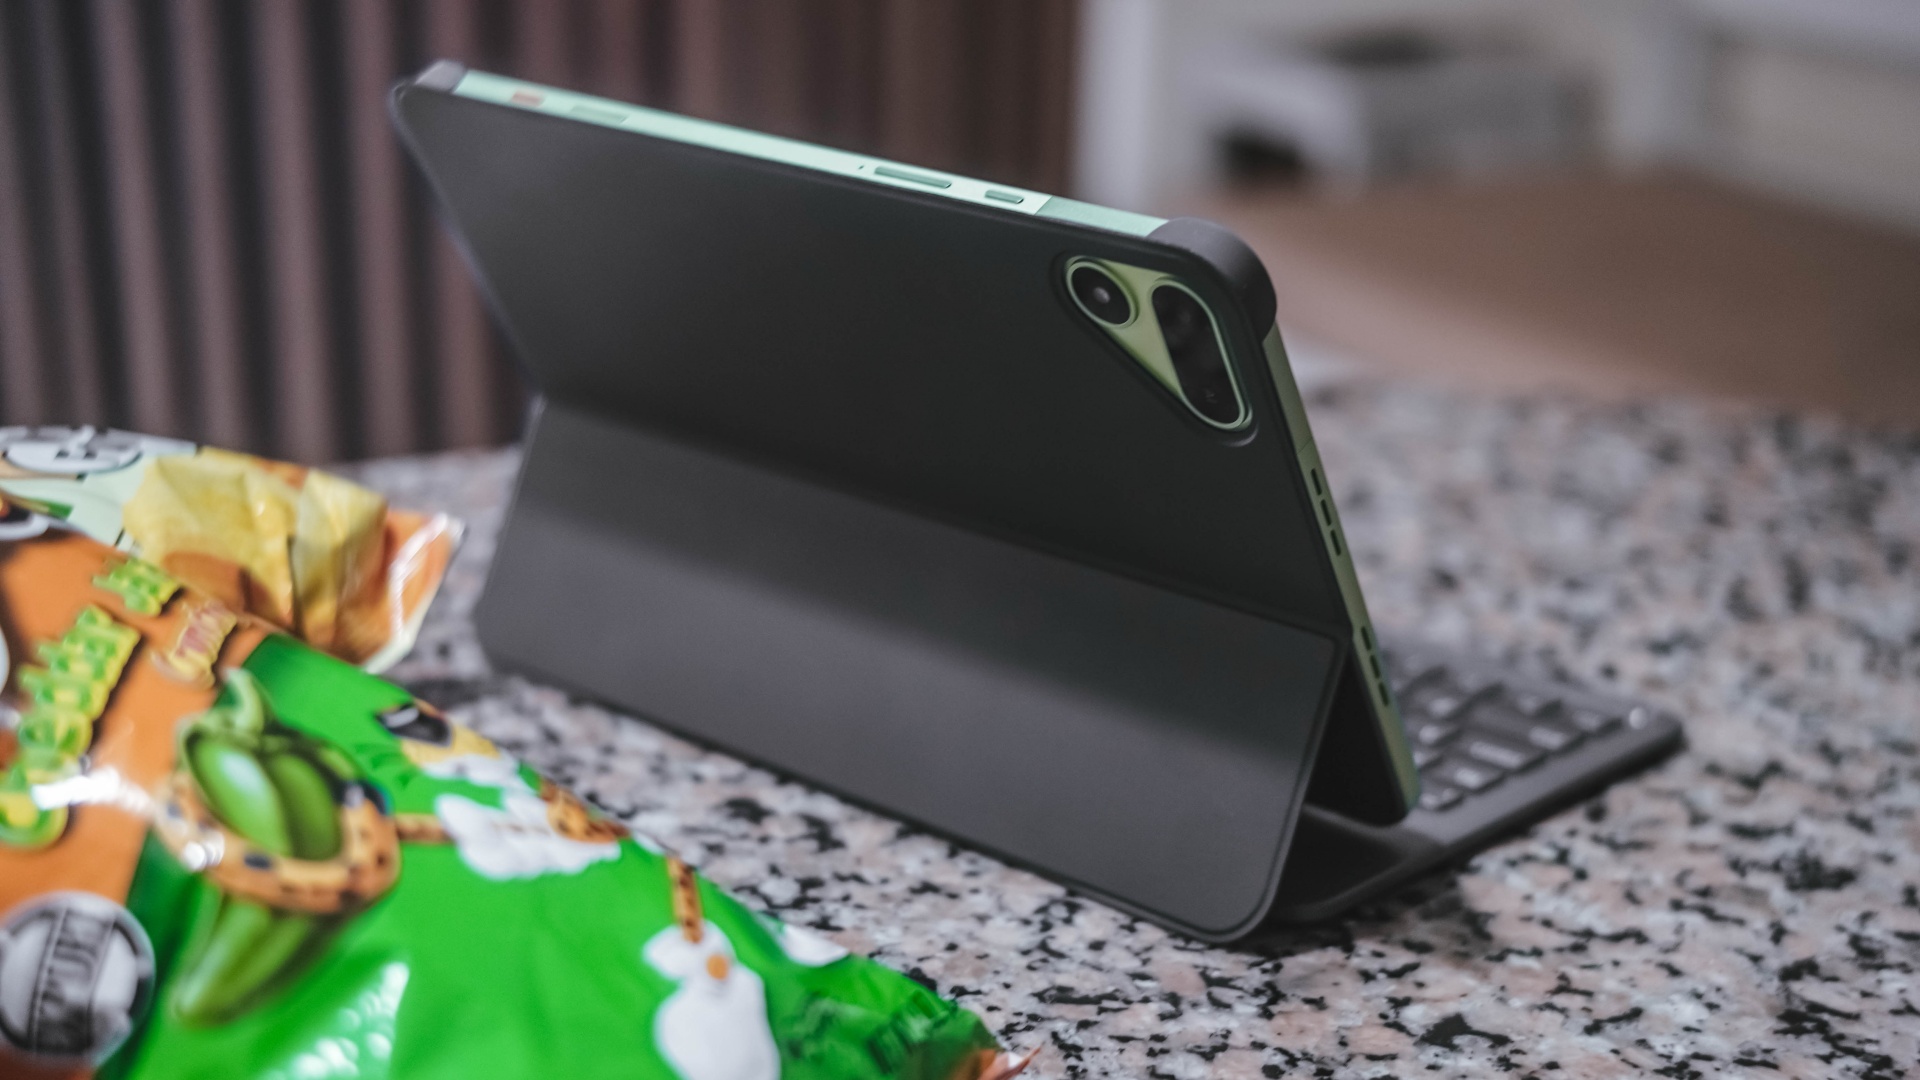
Sentiments aside, the MEGAPAD 2 has a slot for one nano SIM card that can provide speedy 4G LTE speeds. That’s a good addition if you work outdoors a lot.
Aside from the usual 128 or 256GB internal storage, it also supports a microSD card (up to 2TB) just beside the SIM slot — which is something you cannot have in modern smartphones and high-end tablets nowadays.
Base pad for two base users
The MEGAPAD 2 is a tablet that can be for everyone. However, two base users came up to my mind when writing this piece.
1. Learners and yearners
Students are obviously one of the biggest target markets of budget pads.
First, there’s the AI Problem Solving feature. Feed it your complex problem through typing or use its 8MP rear camera to capture the whole page and let TECNO AI do the process for you.
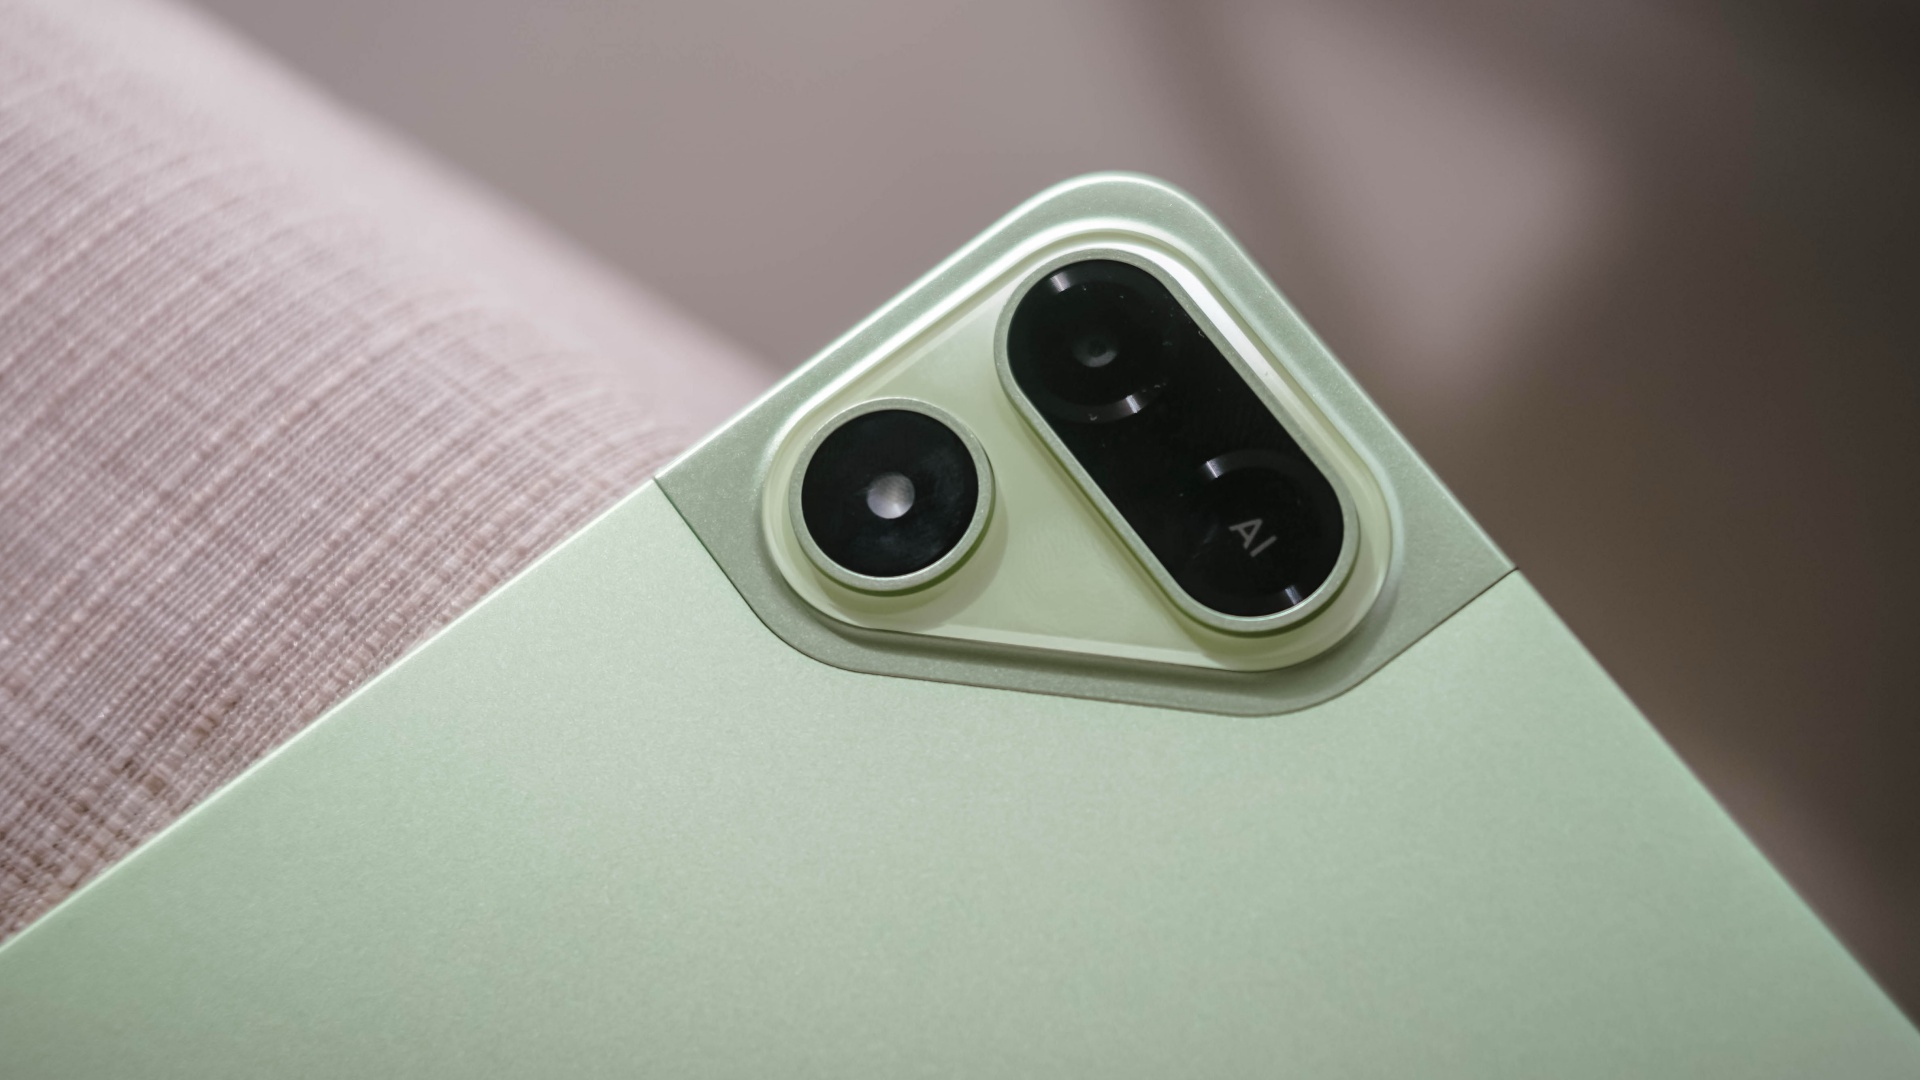
For the smaller kiddos, there’s a dedicated study hub dubbed “LearnUp” with free learning resources and a child-friendly interface. Another would be the Learning Center featuring thousands of K-12 lessons, stories, cartoons, songs, and so much more.
For those learning new languages, AI Translation can be of a great help.
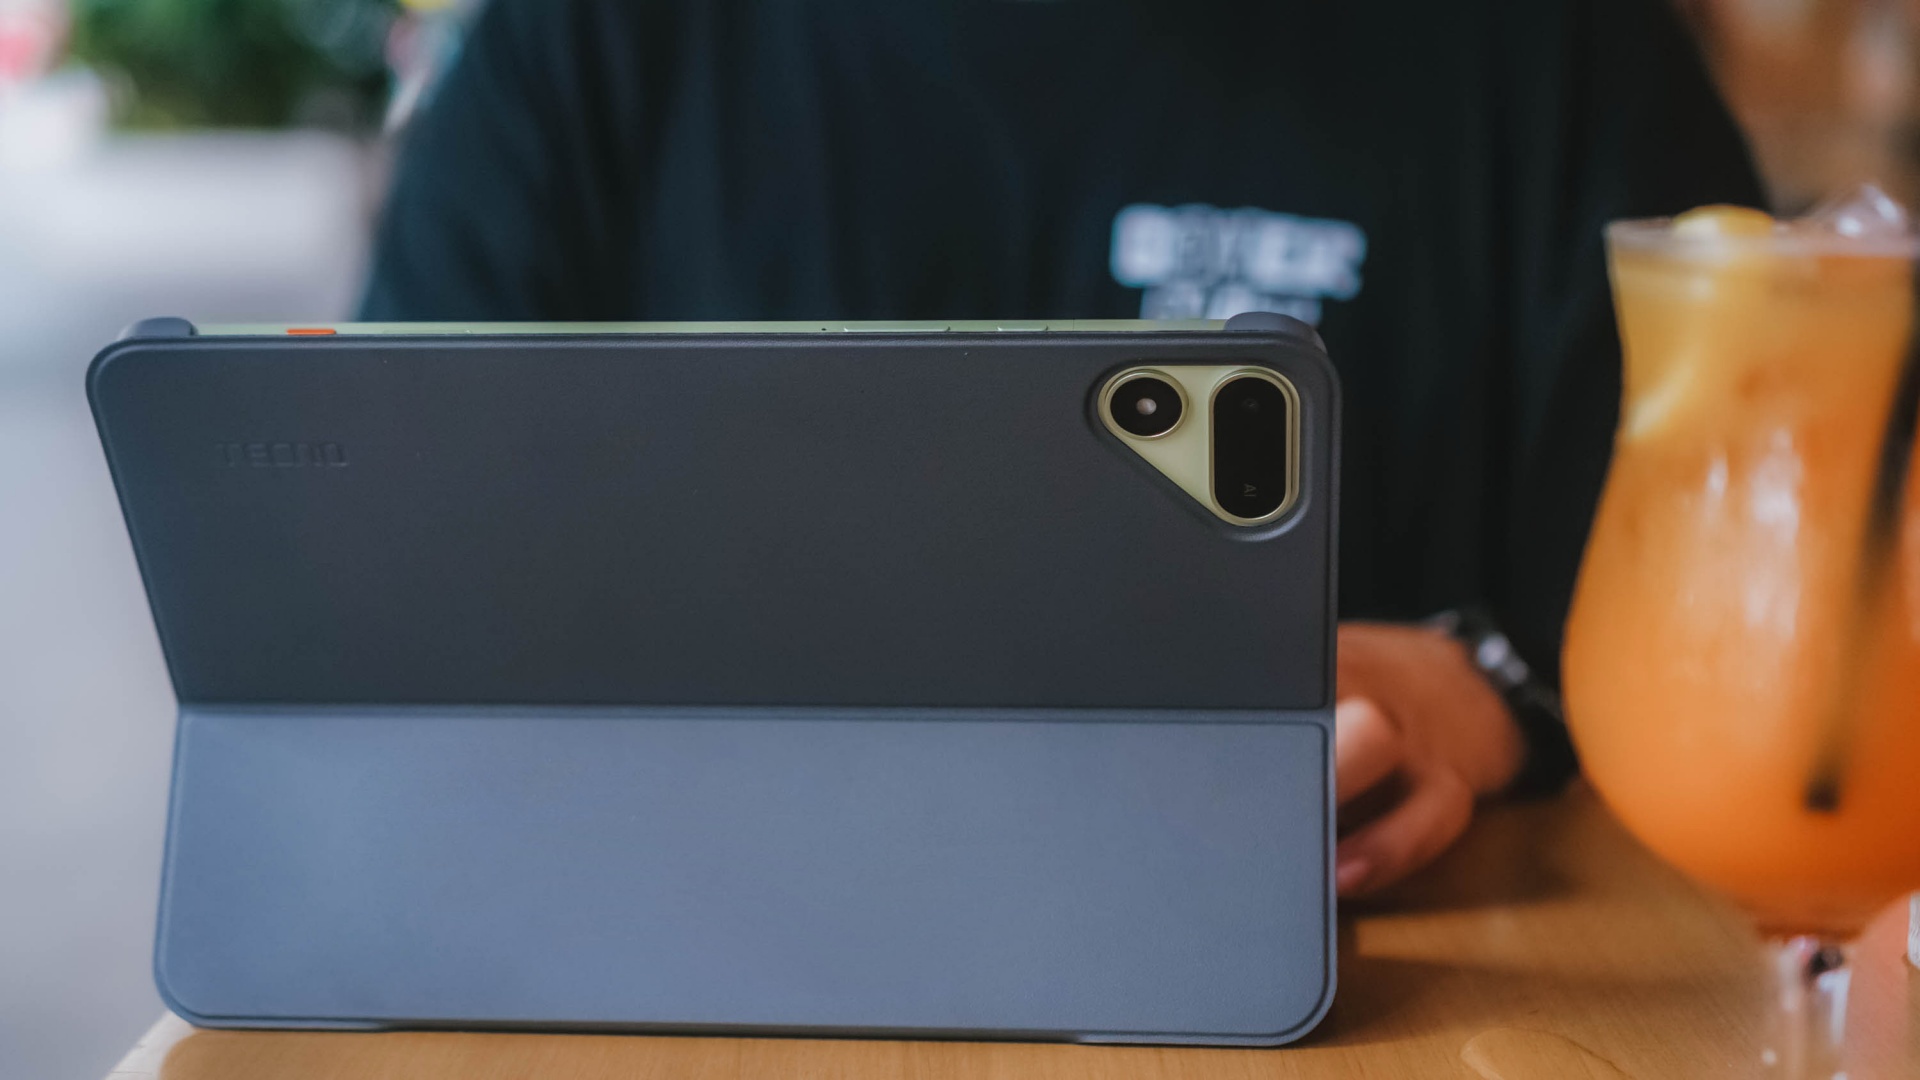
It’s not limited to just translating texts, images, and app content, there’s even AI Captions that can translate 30+ language offline (and 160+ languages when connected with the cloud) while watching videos.
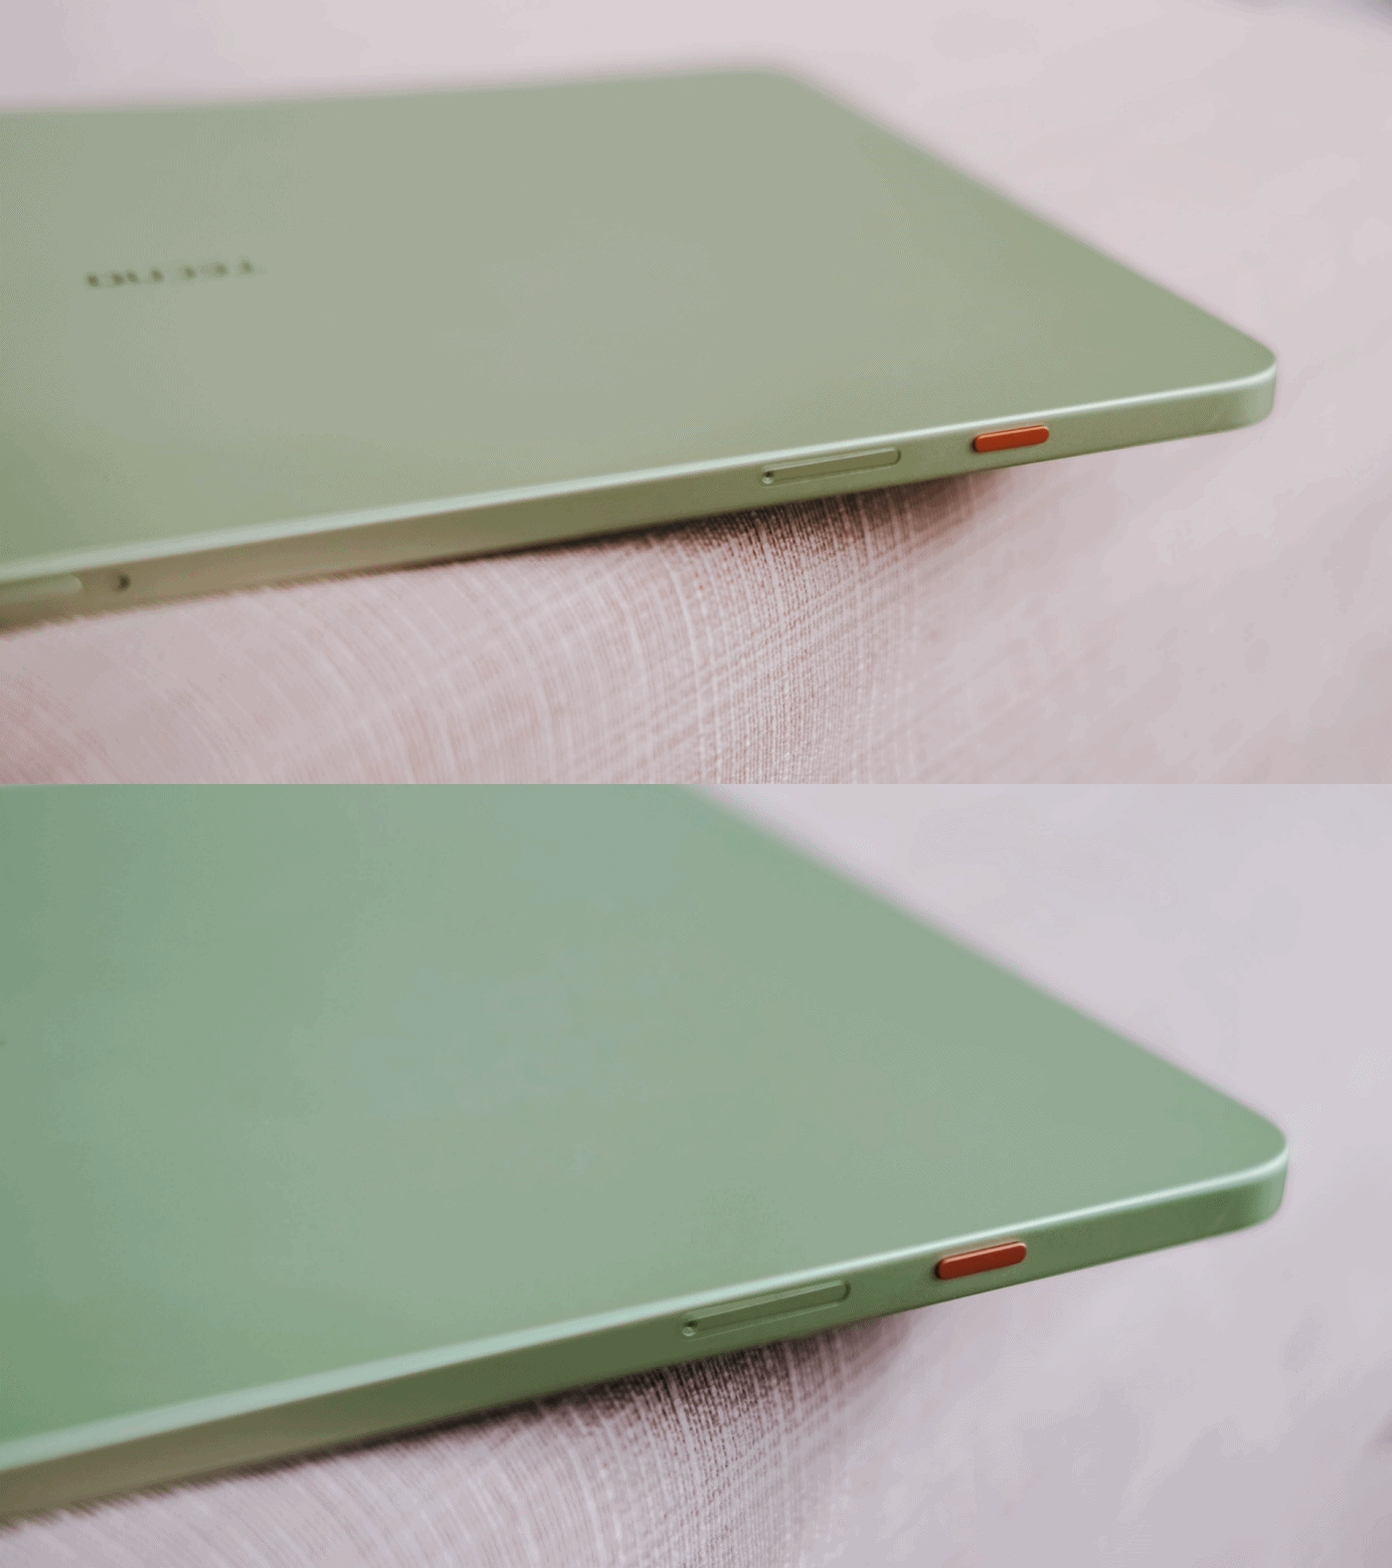
Thankfully, TECNO has a dedicated OneTap AI button to summon these AI features in one go. Best thing is that, they don’t want to completely lock you in as app assignments are still configurable in settings.
Lastly, if your child is feeling extra artsy, there’s even the TECNO MEGA Pencil that’s sold separately. Fire up the AI Drawing Board and the MEGAPAD 2 can transform your sketches into better ideas.
2. Productive pros
Other than kids and students, the MEGAPAD 2 is also directed towards working professionals. Teacher, manager, you name ’em!
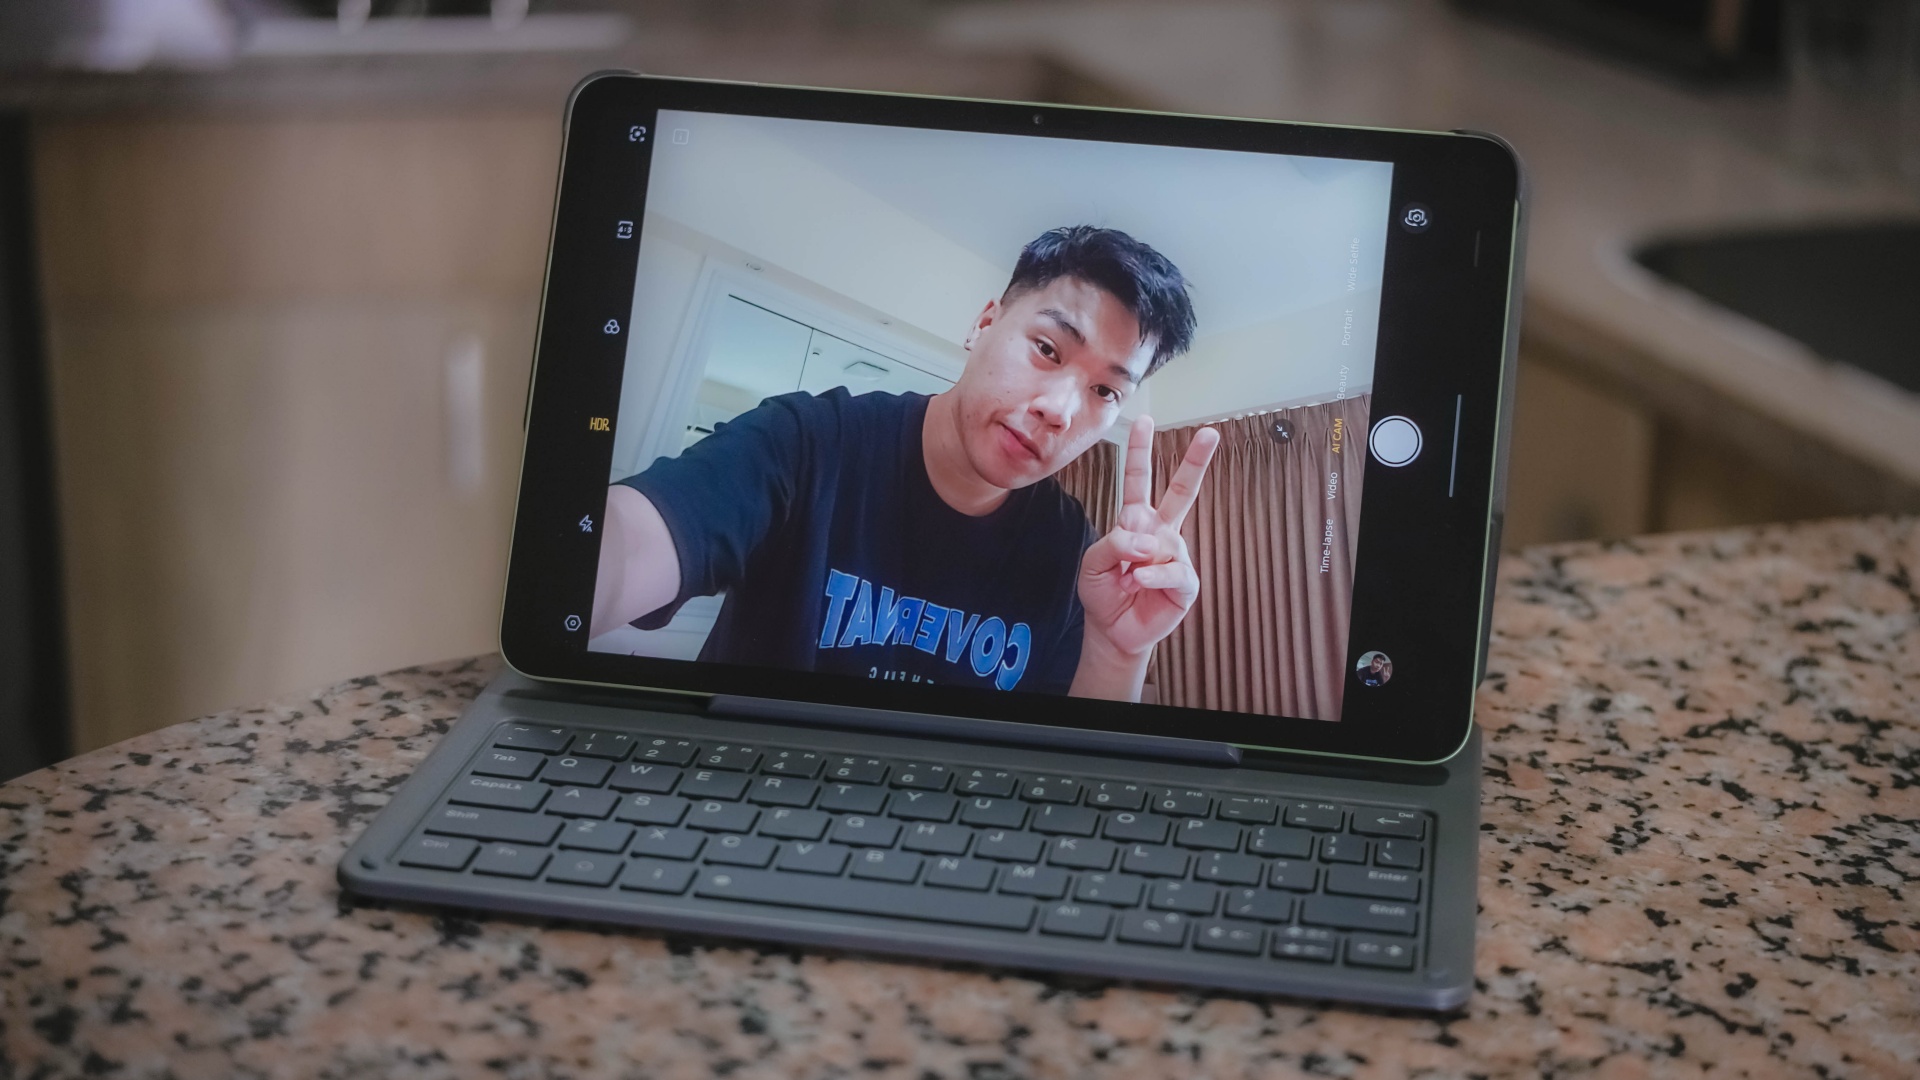
Aside from its rear camera, that 8MP front camera matters too — mostly for video calls and meetings on the go.
AI SnapMemo and MindHub are also helpful tools that do more than just capturing and keeping screenshots. And by that, it can analyze and even summarize the content you kept.
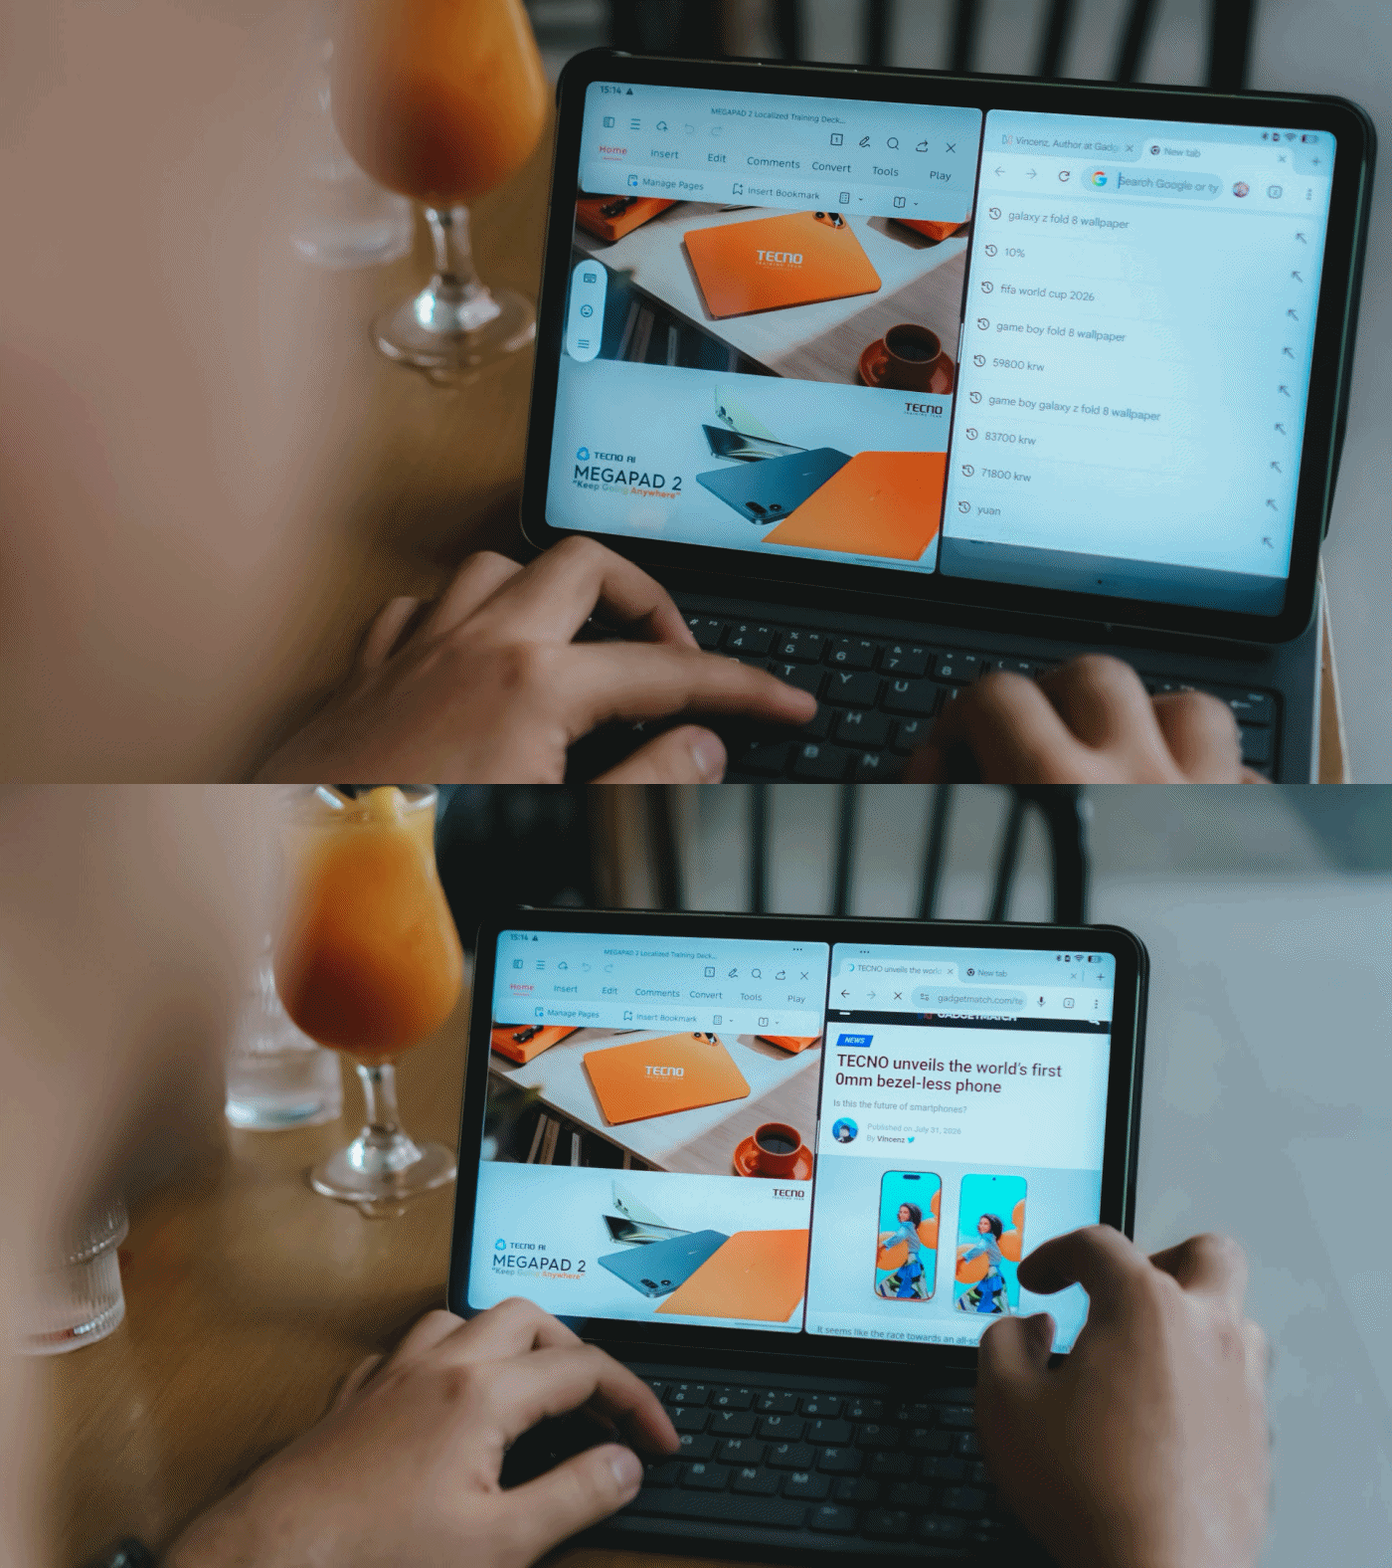
With that bundled Bluetooth keyboard alongside the ability to do split-screen multitasking, it’s easier to switch between two active apps side by side.
One can even scroll through spreadsheet cells or do several slides — especially with the WPS Office pre-installed upon initial set-up.
My only gripe about this accessory is how flimsy and easy it is for the display to fall down.
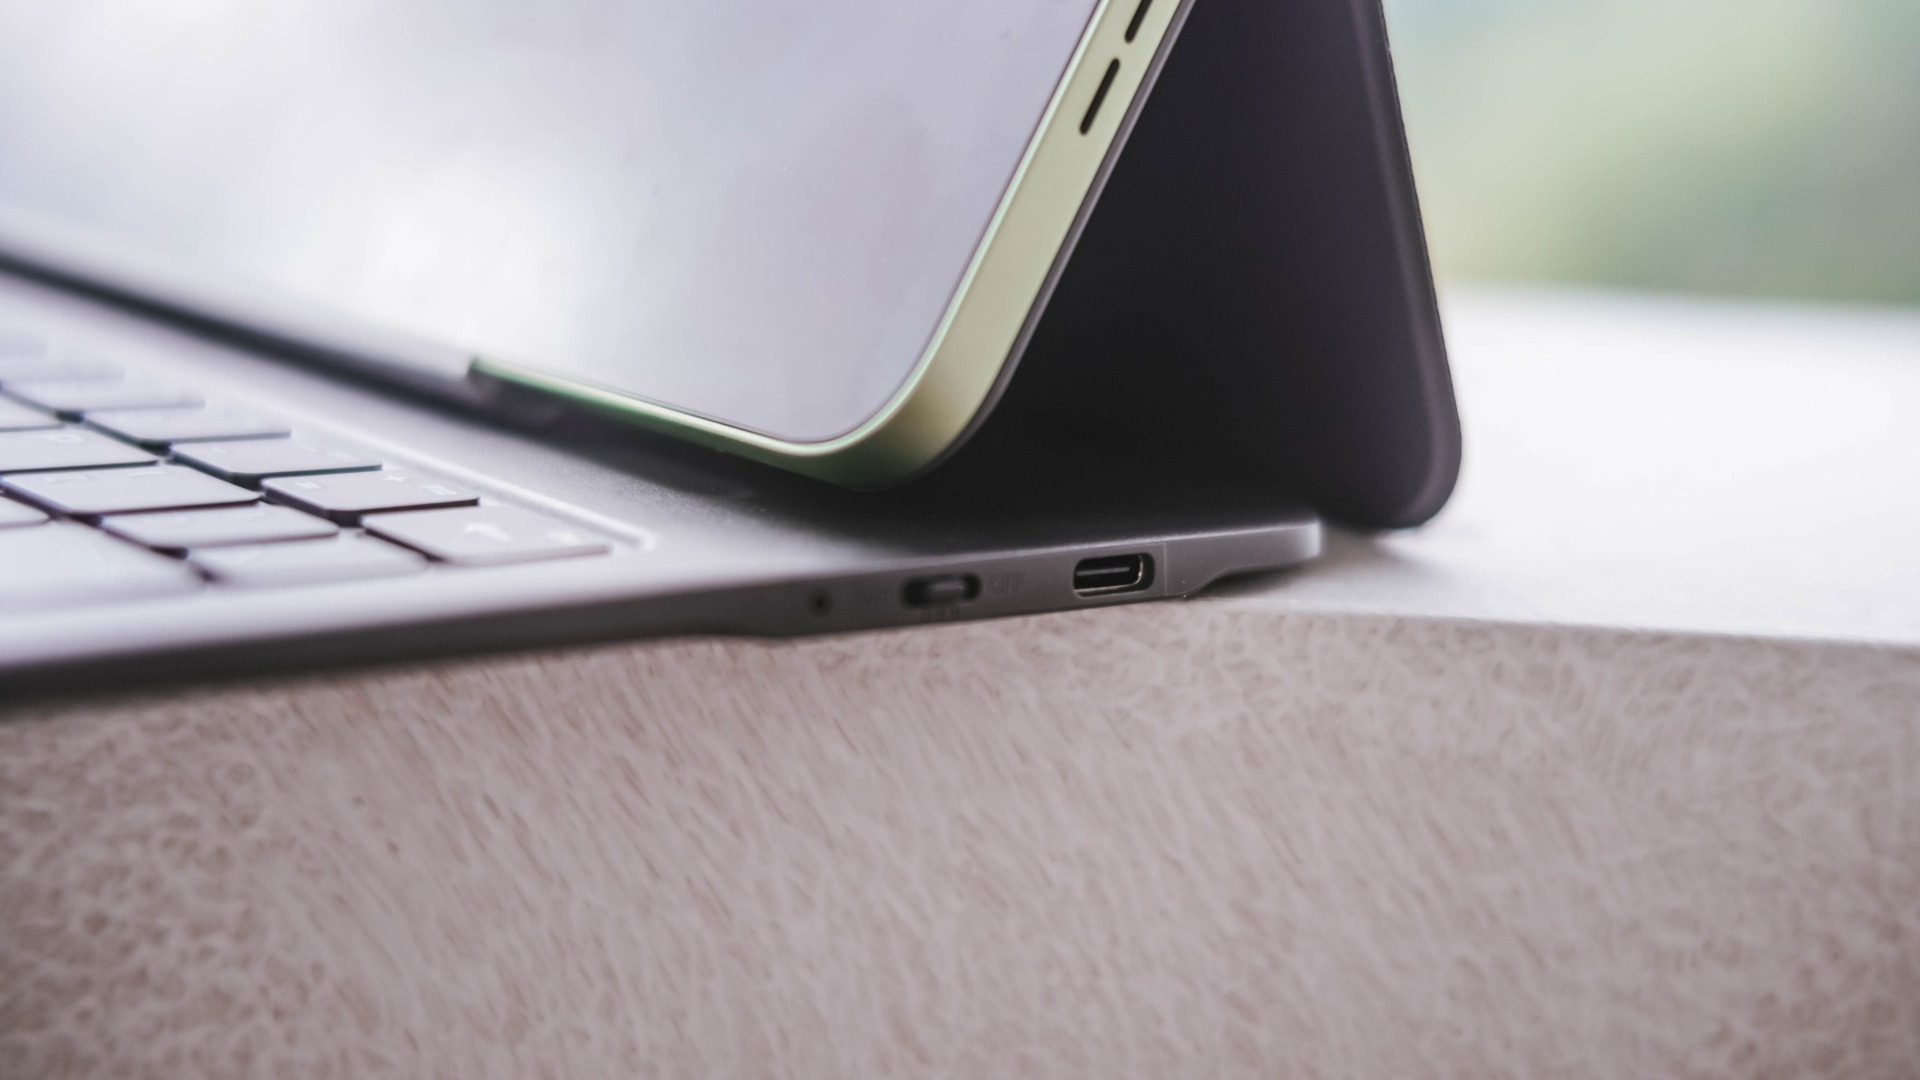
I just wish the recessed part on the keyboard would have been much deeper for the display stand to sit and lock in securely.
It’s also worth pointing out that it’s paired via Bluetooth and not pogo pins. That means you have to turn on that side switch and charge it via the USB-C port separately.
-
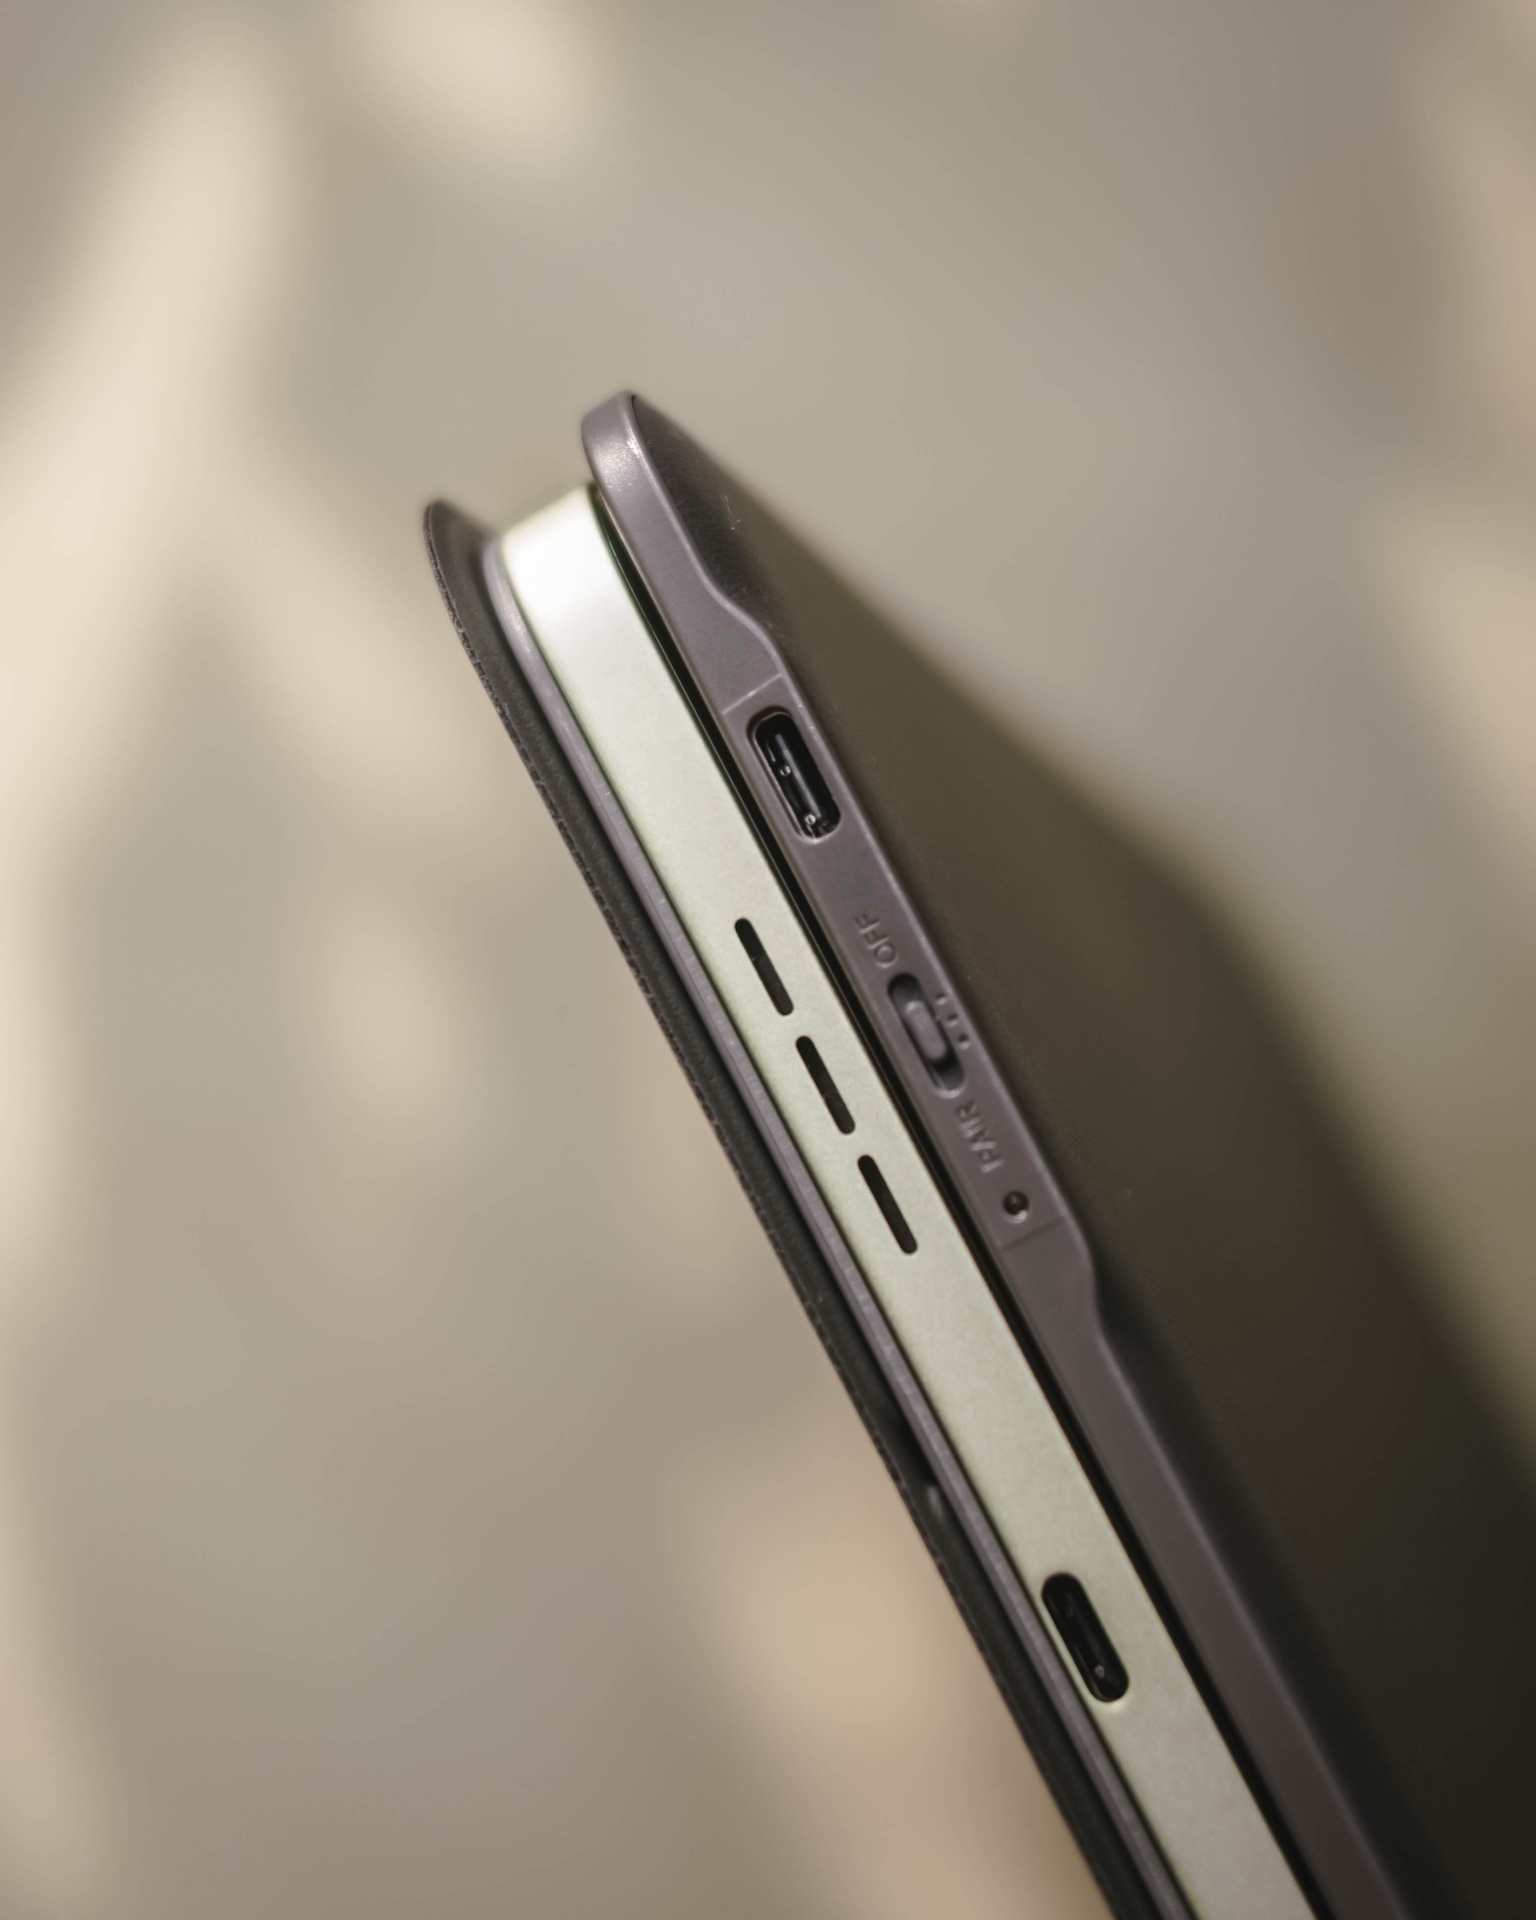
- Side switch and USB-C port
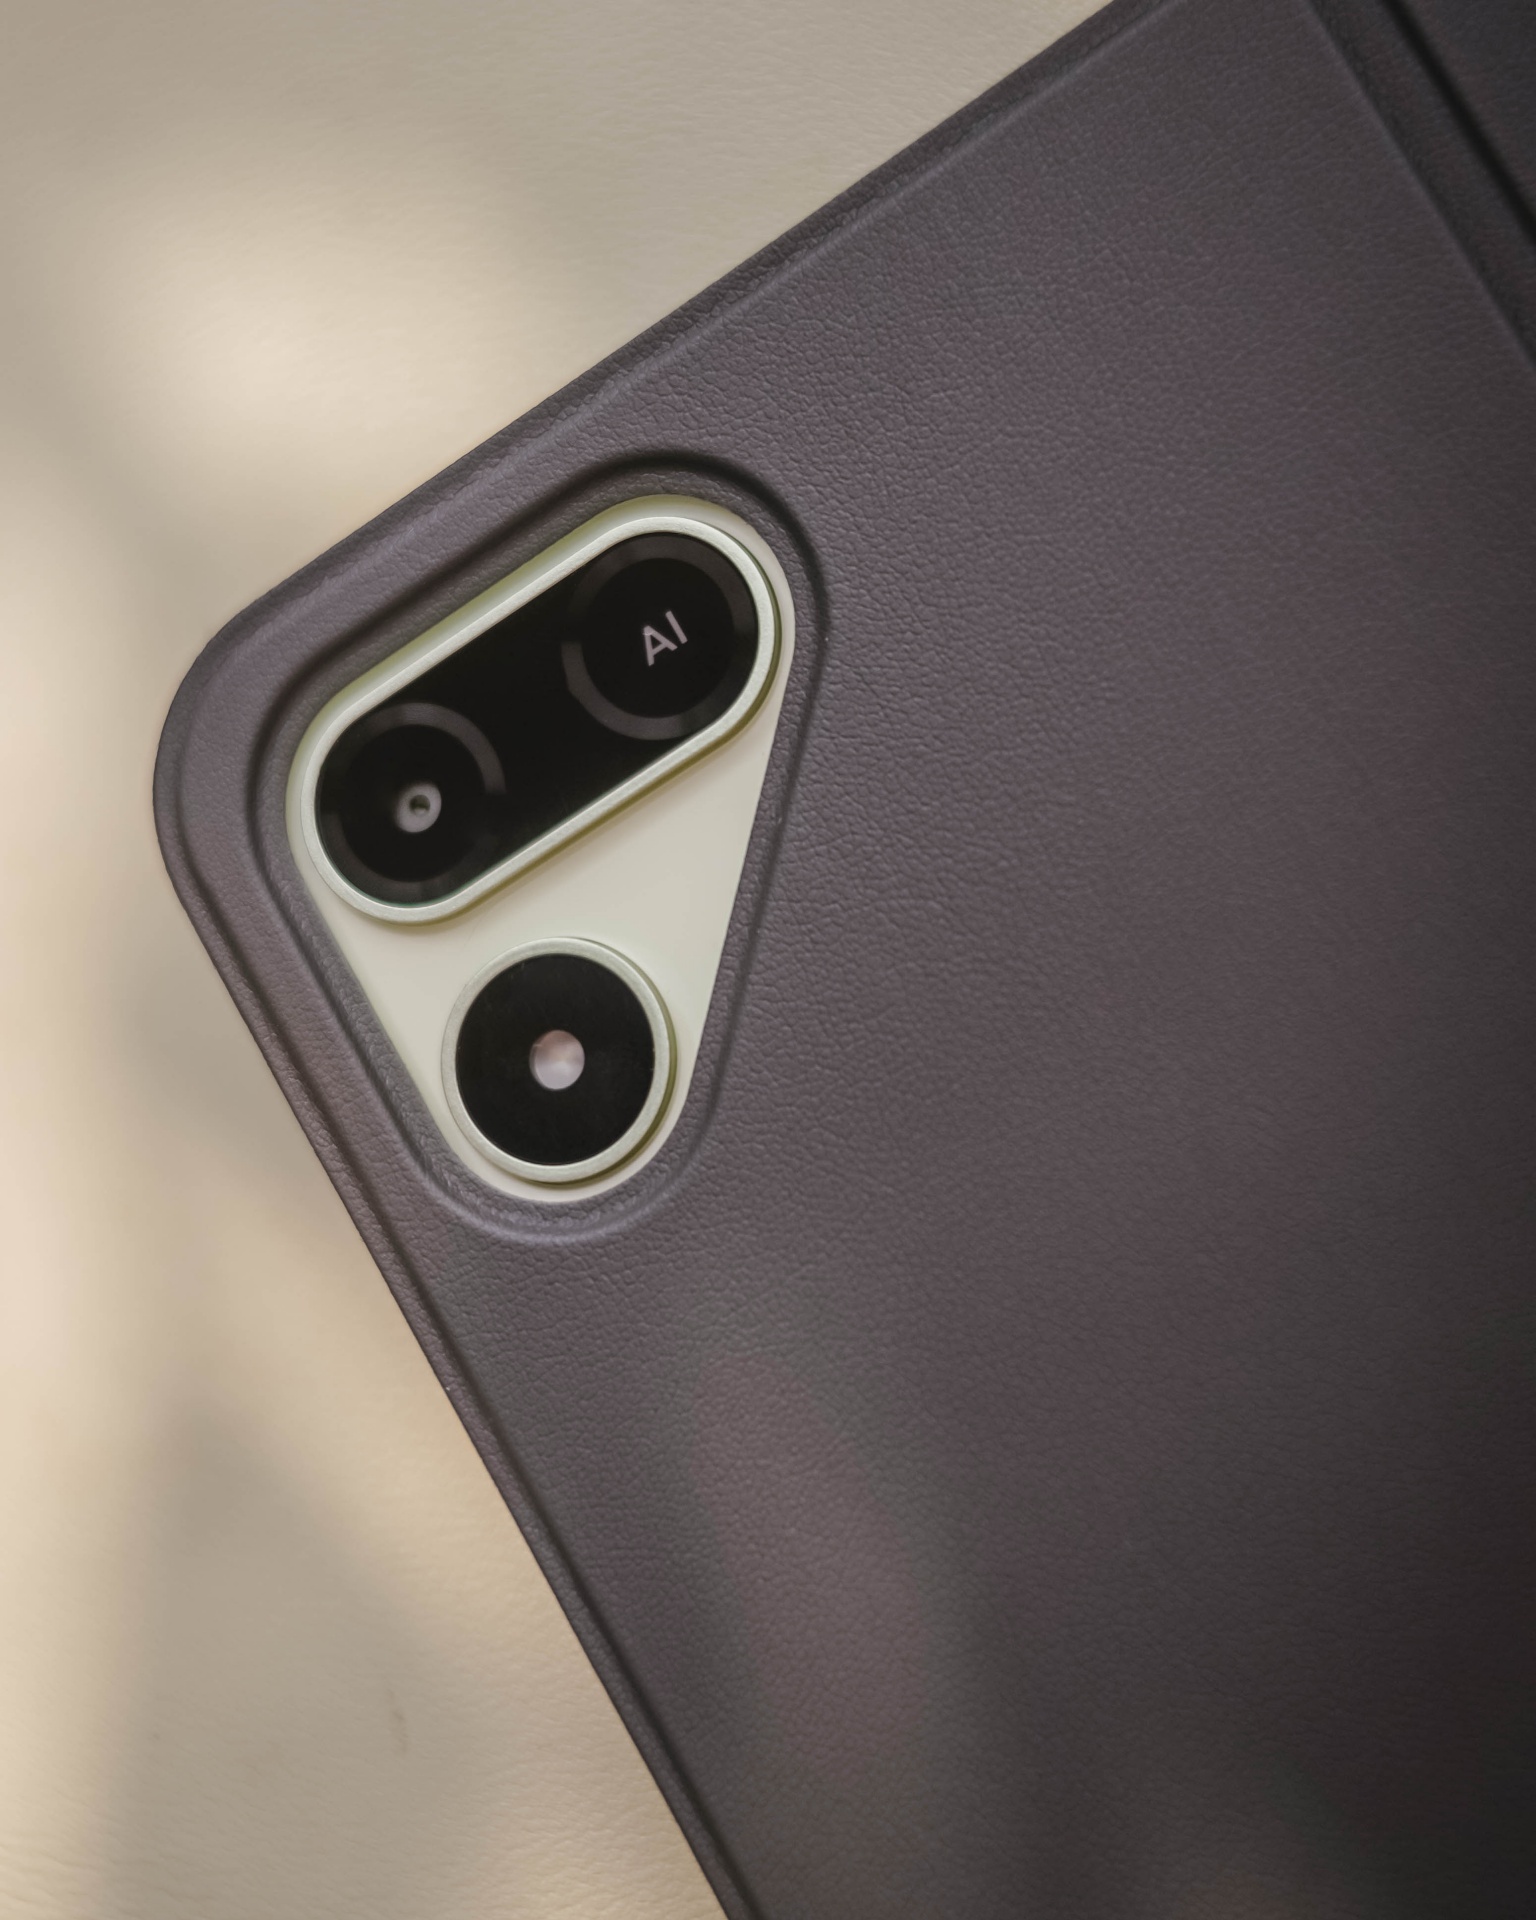
Still, it’s a bundled accessory that feels solid and also serves as the tablet’s full-on protection.
Moving over, TECNO’s OneLeap Ecosystem is also helpful as a productivity leverage. Not only it eases file transfers across your devices, it even maximizes a triple-screen setup when paired with your TECNO smartphone plus laptop (or PC).

Overall, the MEGAPAD 2 serves a great purpose not limited to doom-scrollers and binge-watchers. It can also be a trustworthy companion for students and paid professionals alike.
Made to last
The TECNO MEGAPAD 2 admittedly doesn’t have a MEGA battery capacity.
Compared to its competitors that boast 9000+mAh, the MEGAPAD 2 has a smaller 8200mAh tank.

Use-case will always vary. If you use the tablet for binging several episodes of a single K-Drama or lengthy documentaries on YouTube as early as 10 in the morning at around 70% brightness, it can last until dinner time.
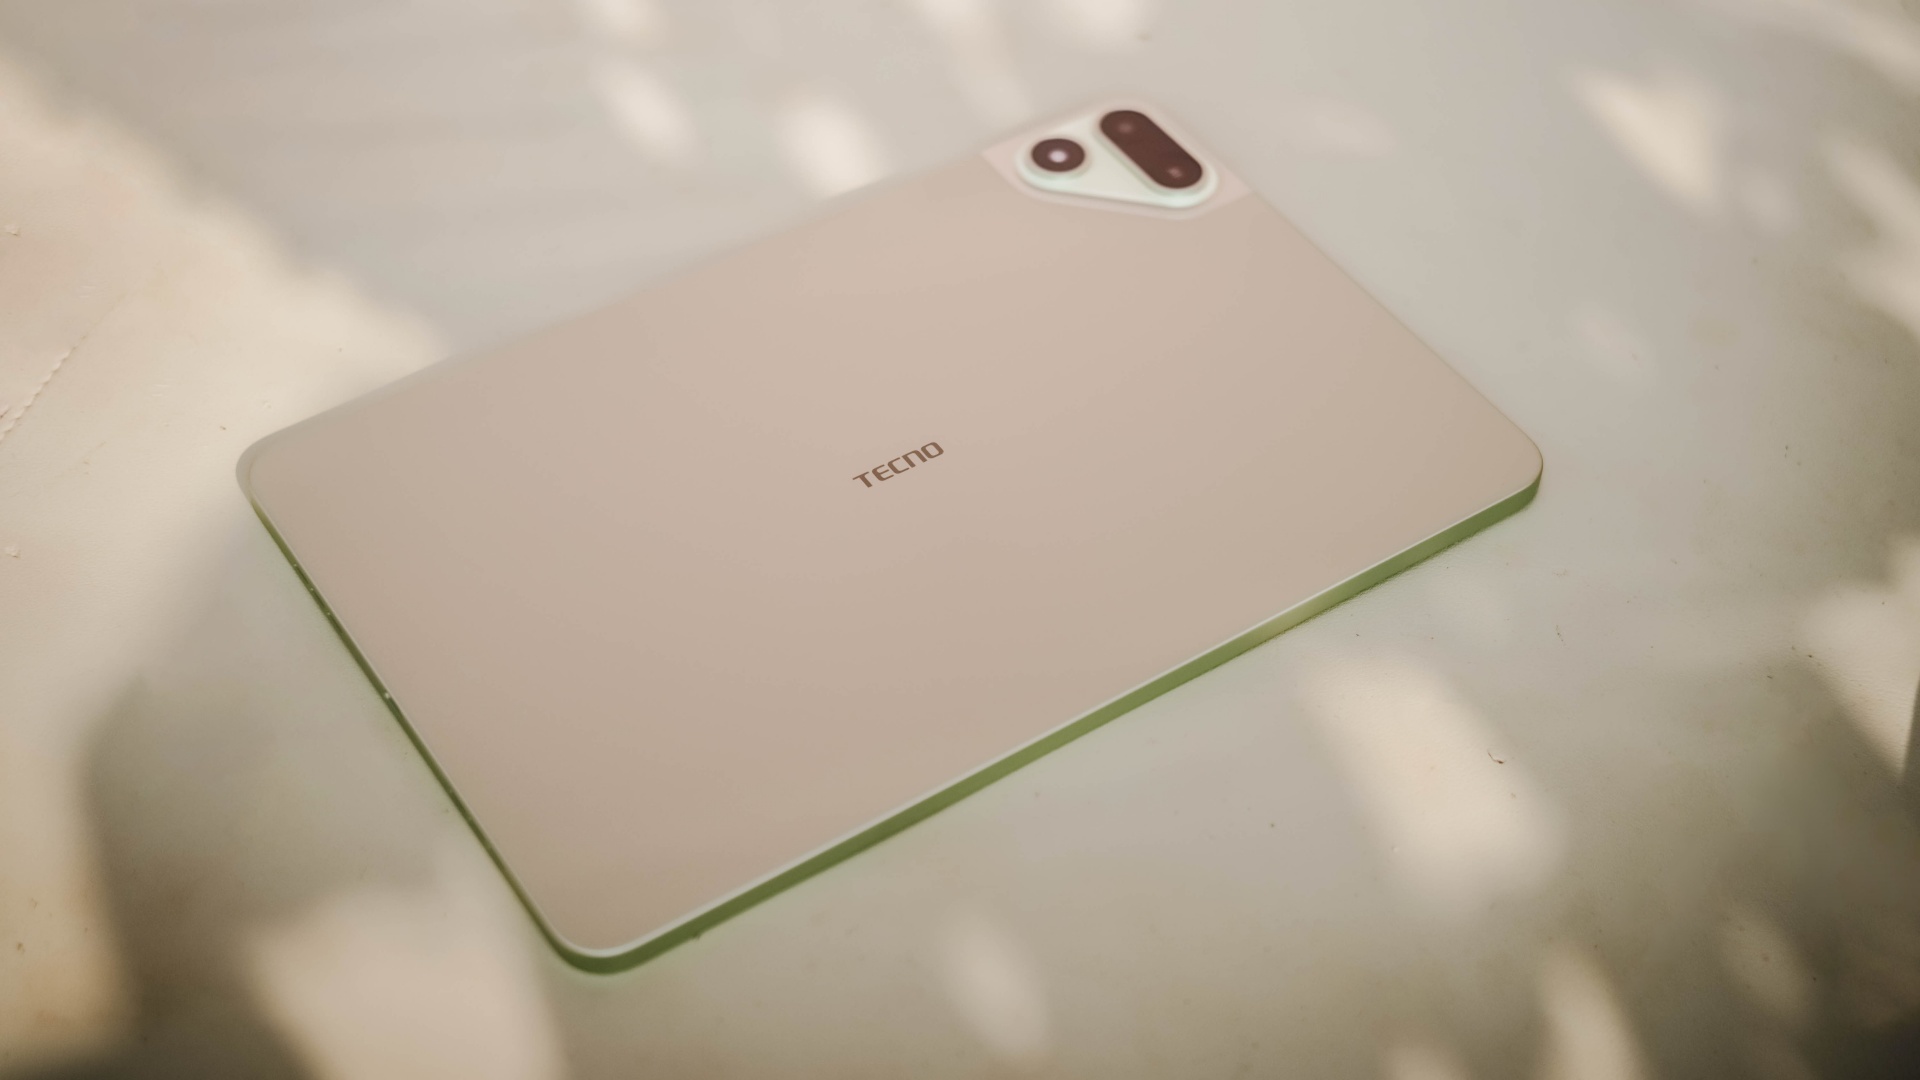
When placed in standby mode or left to rest overnight on your table top, it won’t consume much and can last more than a day (or two to three days at max). That’s shocking to witness considering it has an aging and less-efficient 6nm Helio chipset.
If its battery completely depletes, TECNO has bundled a proprietary charging brick and cable out of the box.
@gadgetmatch MEGA in size for 2 base users. Meet the TECNO MEGAPAD 2 💪🏼✌🏼
However, it has a painfully slow 18W charging — requiring you at least two hours to fully fill it.
TECNO MEGAPAD 2
|
|
START TIME (From 0%) |
3:40PM |
5 minutes |
3% |
10 minutes |
5% |
20 minutes |
12% |
30 minutes |
19% |
45 minutes |
28% |
1 hour |
38% |
1 hour 15 minutes |
50% |
1 hour 30 minutes |
60% |
1 hour 45 minutes |
70%
|
I obviously just gave up counting right after going over the 100-minute mark.
Is the TECNO MEGAPAD 2 your BudgetMatch?
With a starting price of PhP 16,999 for the 6+128GB model and PhP 19,999 for the 8+256GB variant, the TECNO MEGAPAD 2 is strategically situated along the budget tablet league.
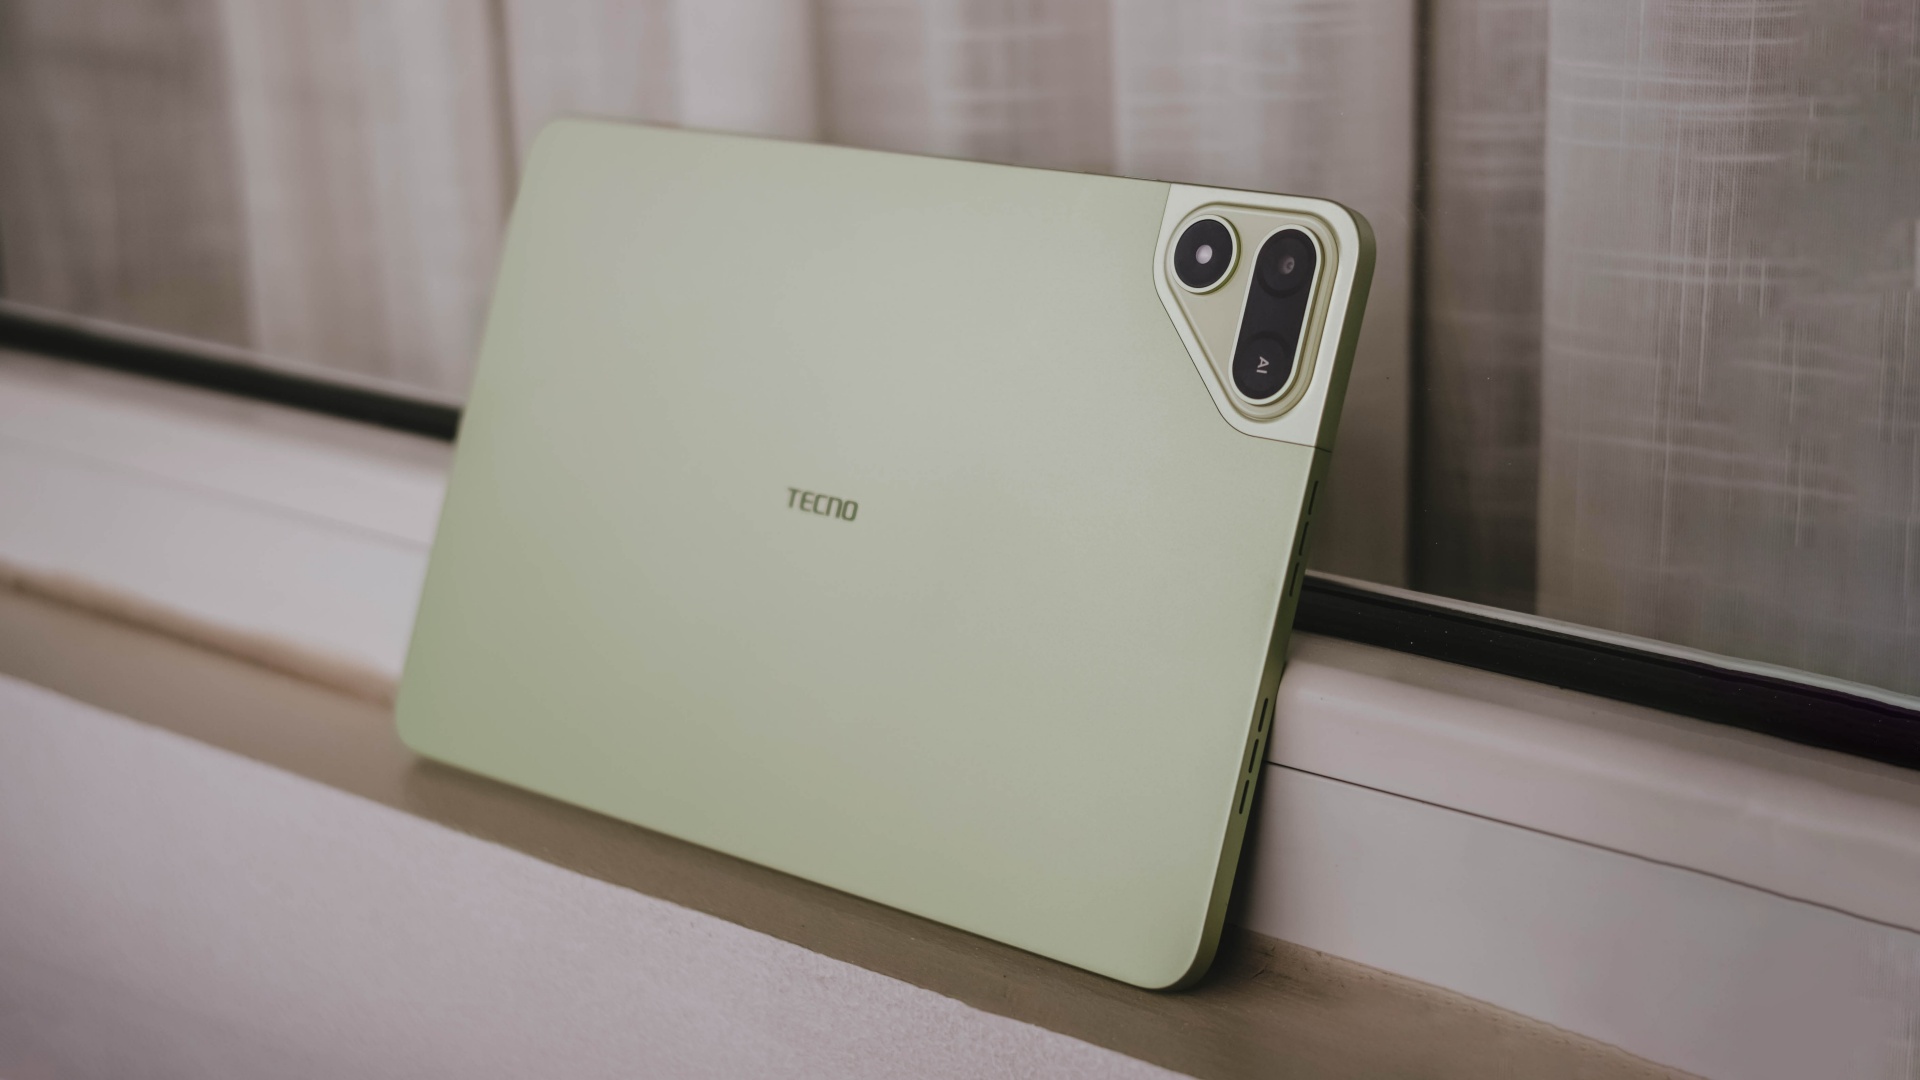
If you value performance, the MEGAPAD 2 is obviously a Swipe Left. There are other tablets that offer the newer and more power-efficient MediaTek Helio G100 SoC such as the OPPO Pad SE, REDMI Pad 2, and even the TechLife Pad Plus 2.
Samsung even offers the Galaxy Tab A11+ with a 5G-capable Dimensity 7300 chipset. Albeit, it has a higher price mark despite having the same base configuration and smaller 7040mAh battery.
That only means the MEGAPAD 2 still stands a chance.
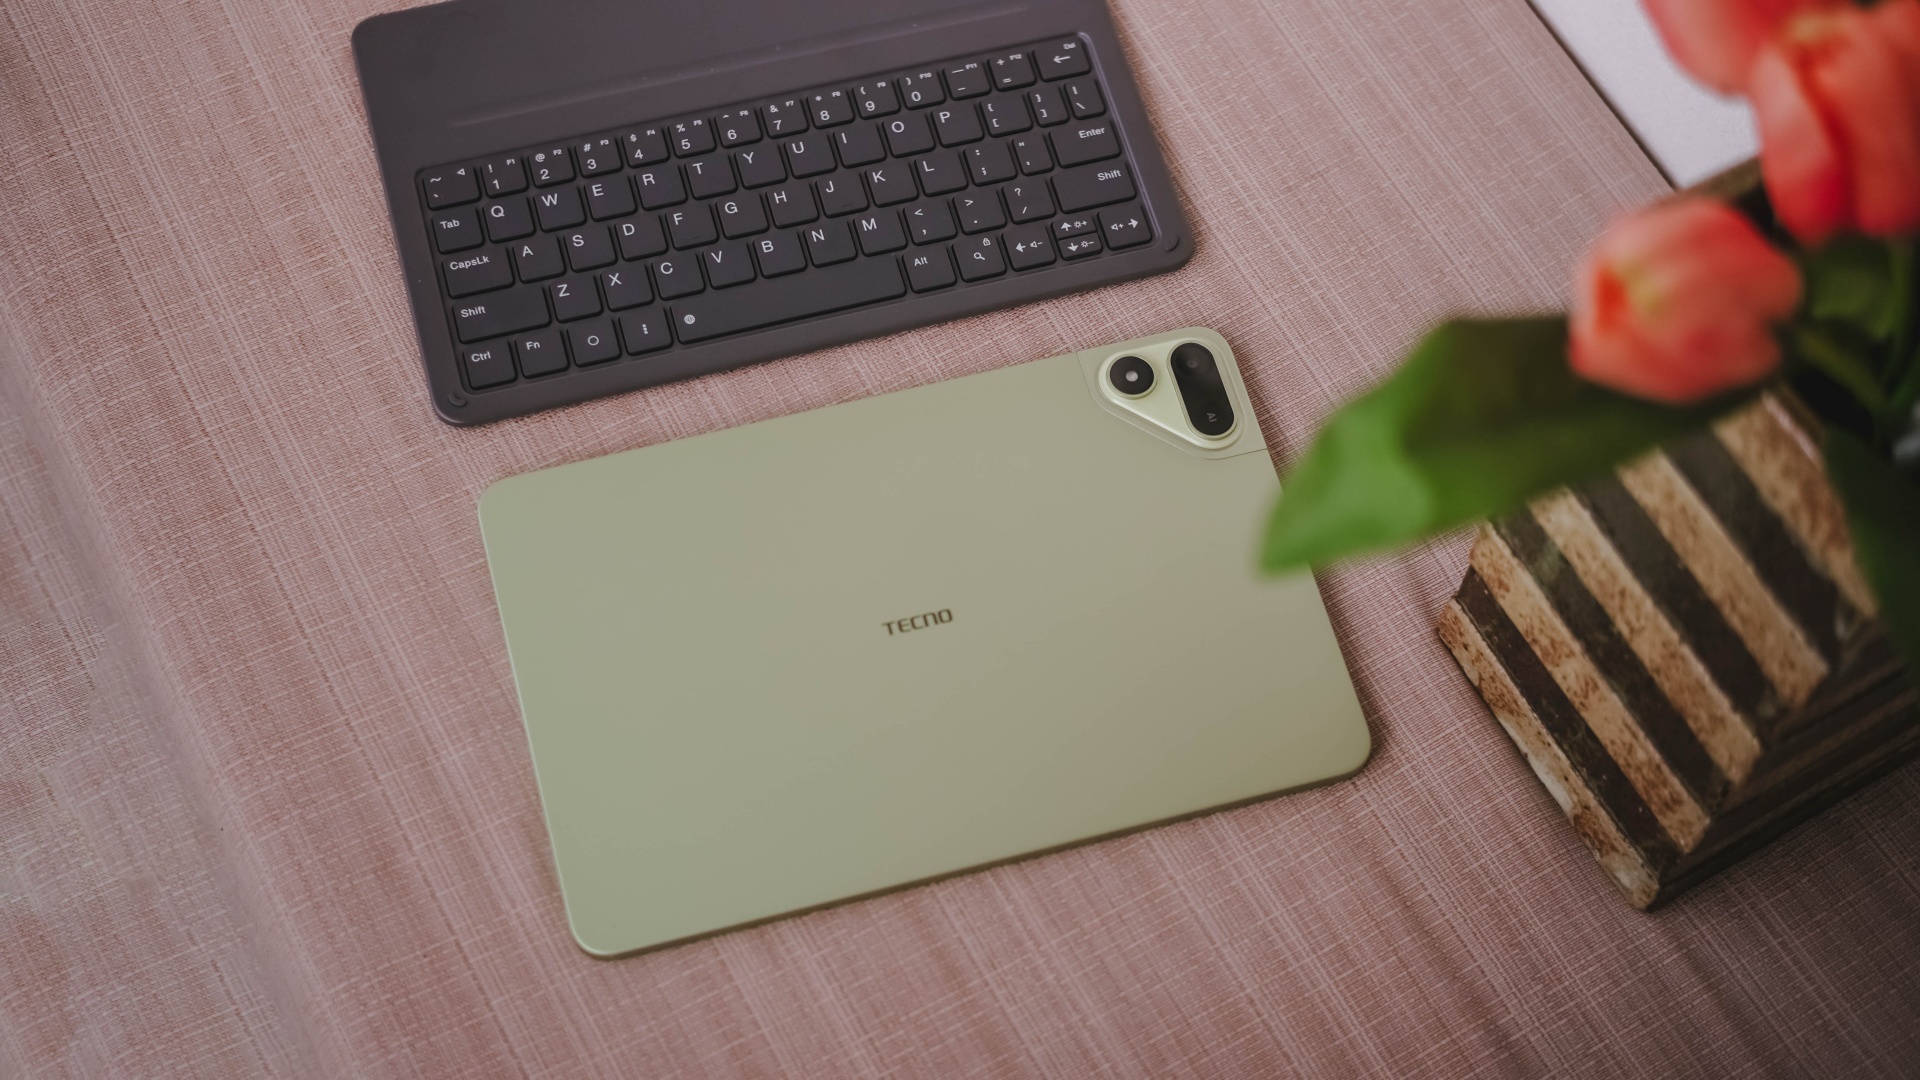
Although the HONOR Pad X8b (its closest rival) is compelling enough with its beastly 10,1000mAh battery, the MEGAPAD 2 still gains a Swipe Right with its larger memory (6GB versus 4GB). How can I even forget the keyboard bundled when you purchase this mighty pad?
And in all honesty, it still surprises me how TECNO managed to make their latest pad run a smooth, well-optimized, and even AI-powered software suit despite its aging core.
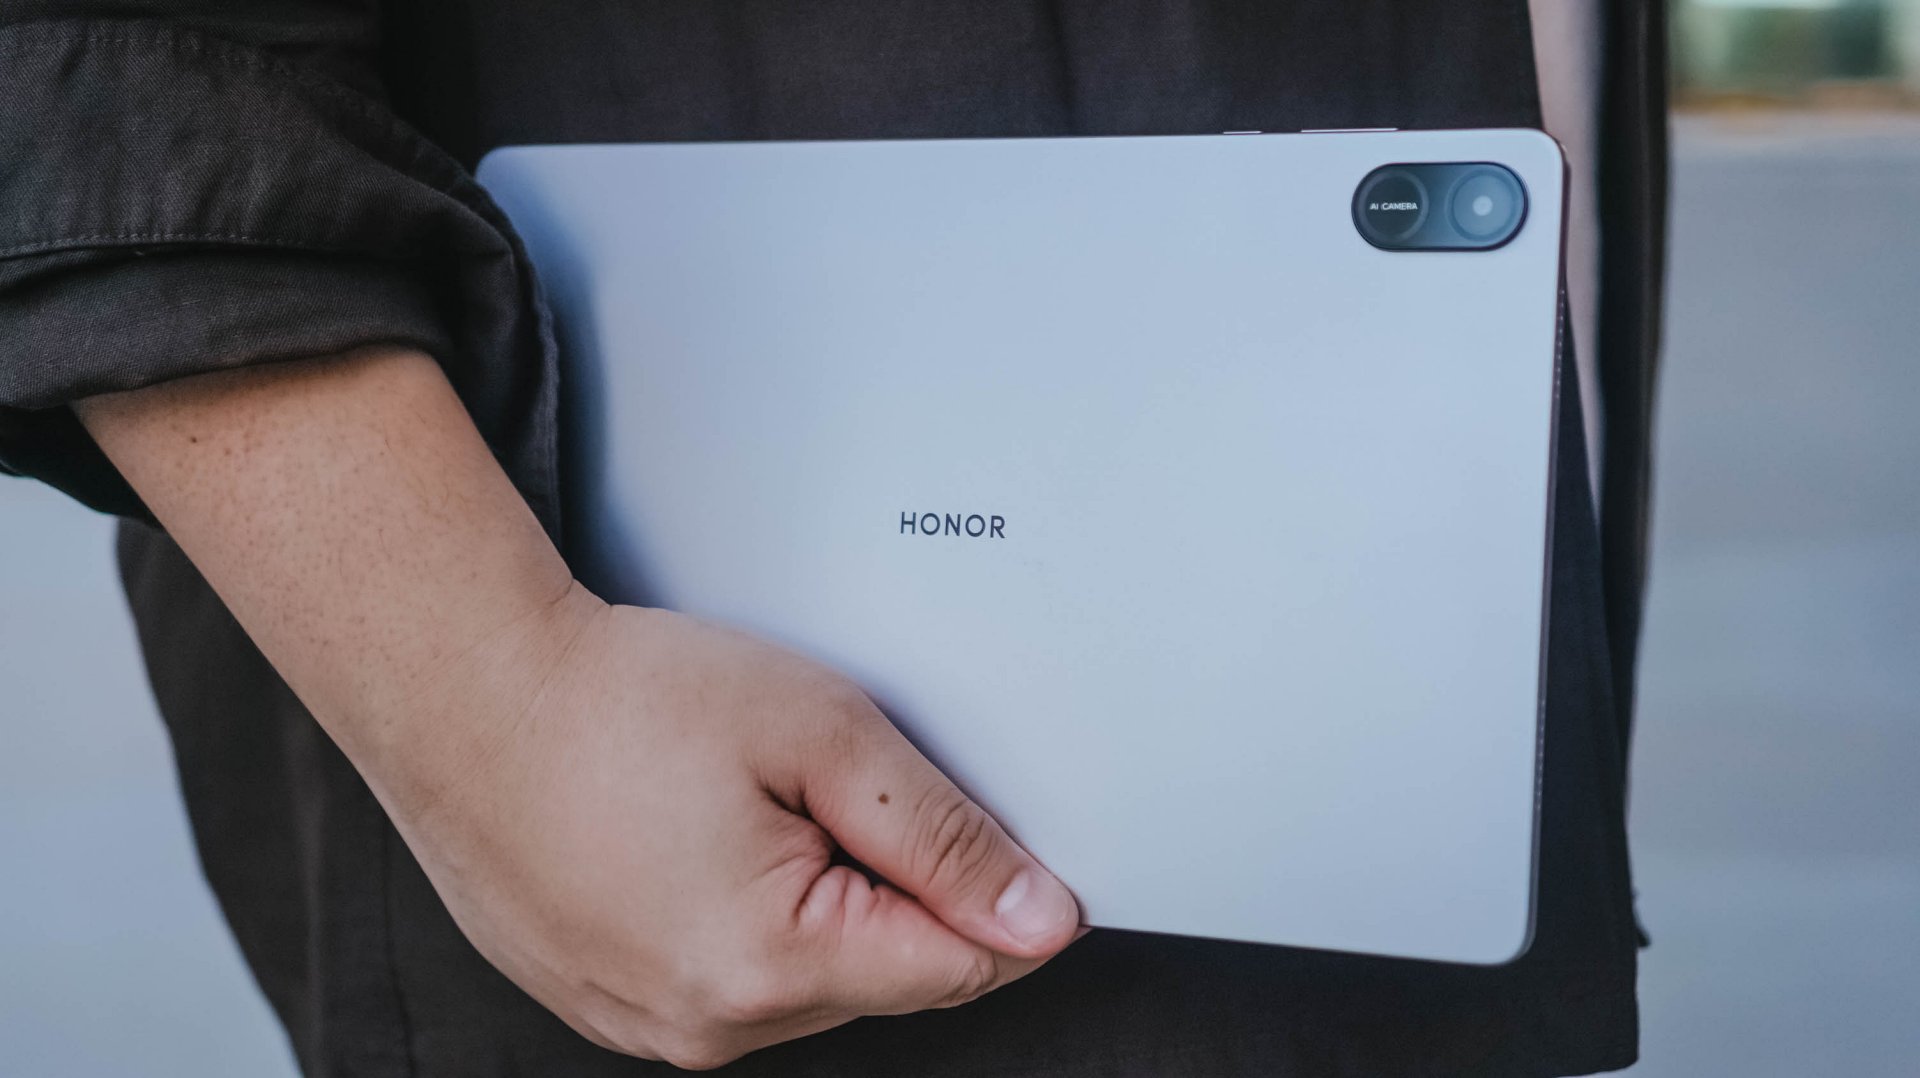
HONOR Pad X8b | 2026
Given that HONOR’s Pad X8b rocks a Snapdragon 680 4G chipset, it only has the a limiting AI ability with Google Gemini — which cannot do everything for users who rely on AI assistance for the apps they use and/or tablet tasks they do for work or school.
Let alone, the MEGAPAD 2 is an afforda-blet with a full metal body and full-on audiovisual experience — especially with its brighter and sharper display. Camera flash for document scanning not even forgotten.

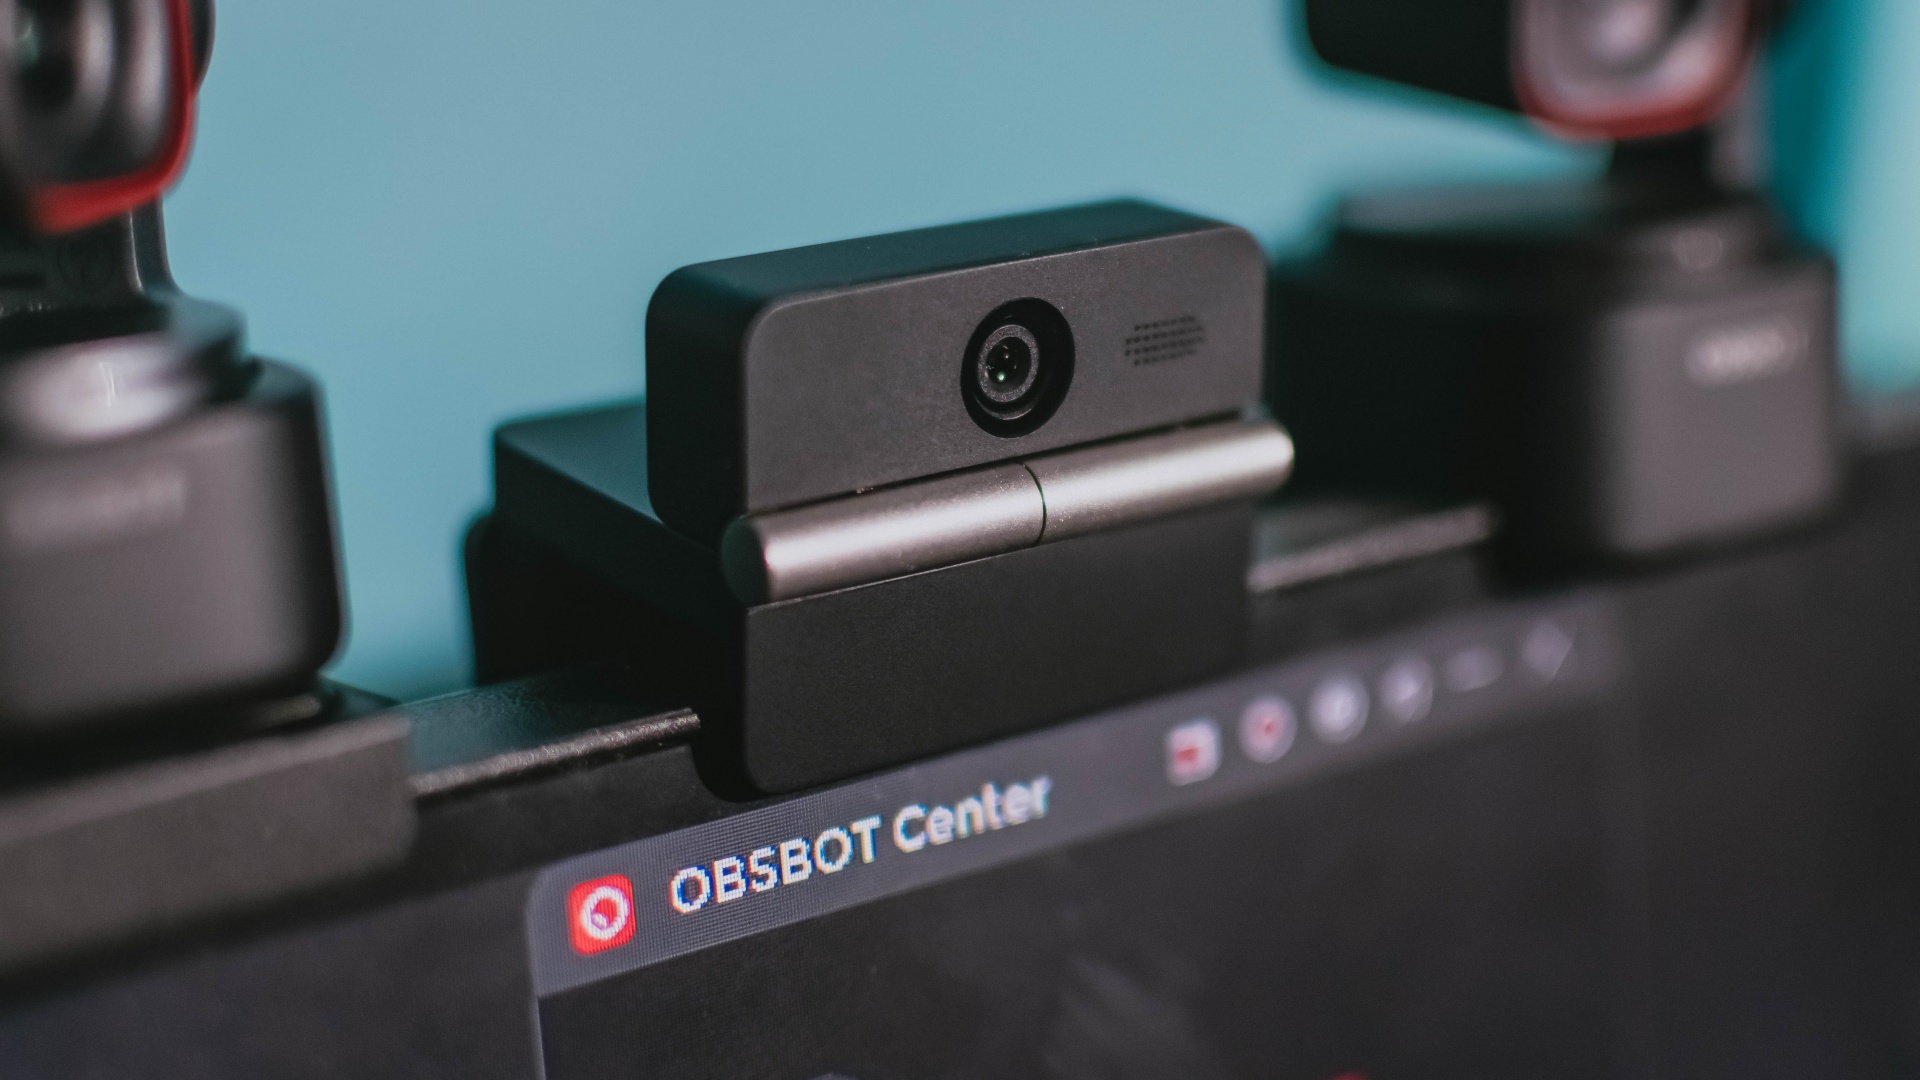
Phones flip and fold. Now webcams do too.
Foldable screens have found their way into phones, tablets, and laptops in recent years. Now, OBSBOT is taking that idea in a considerably smaller direction: the webcam.
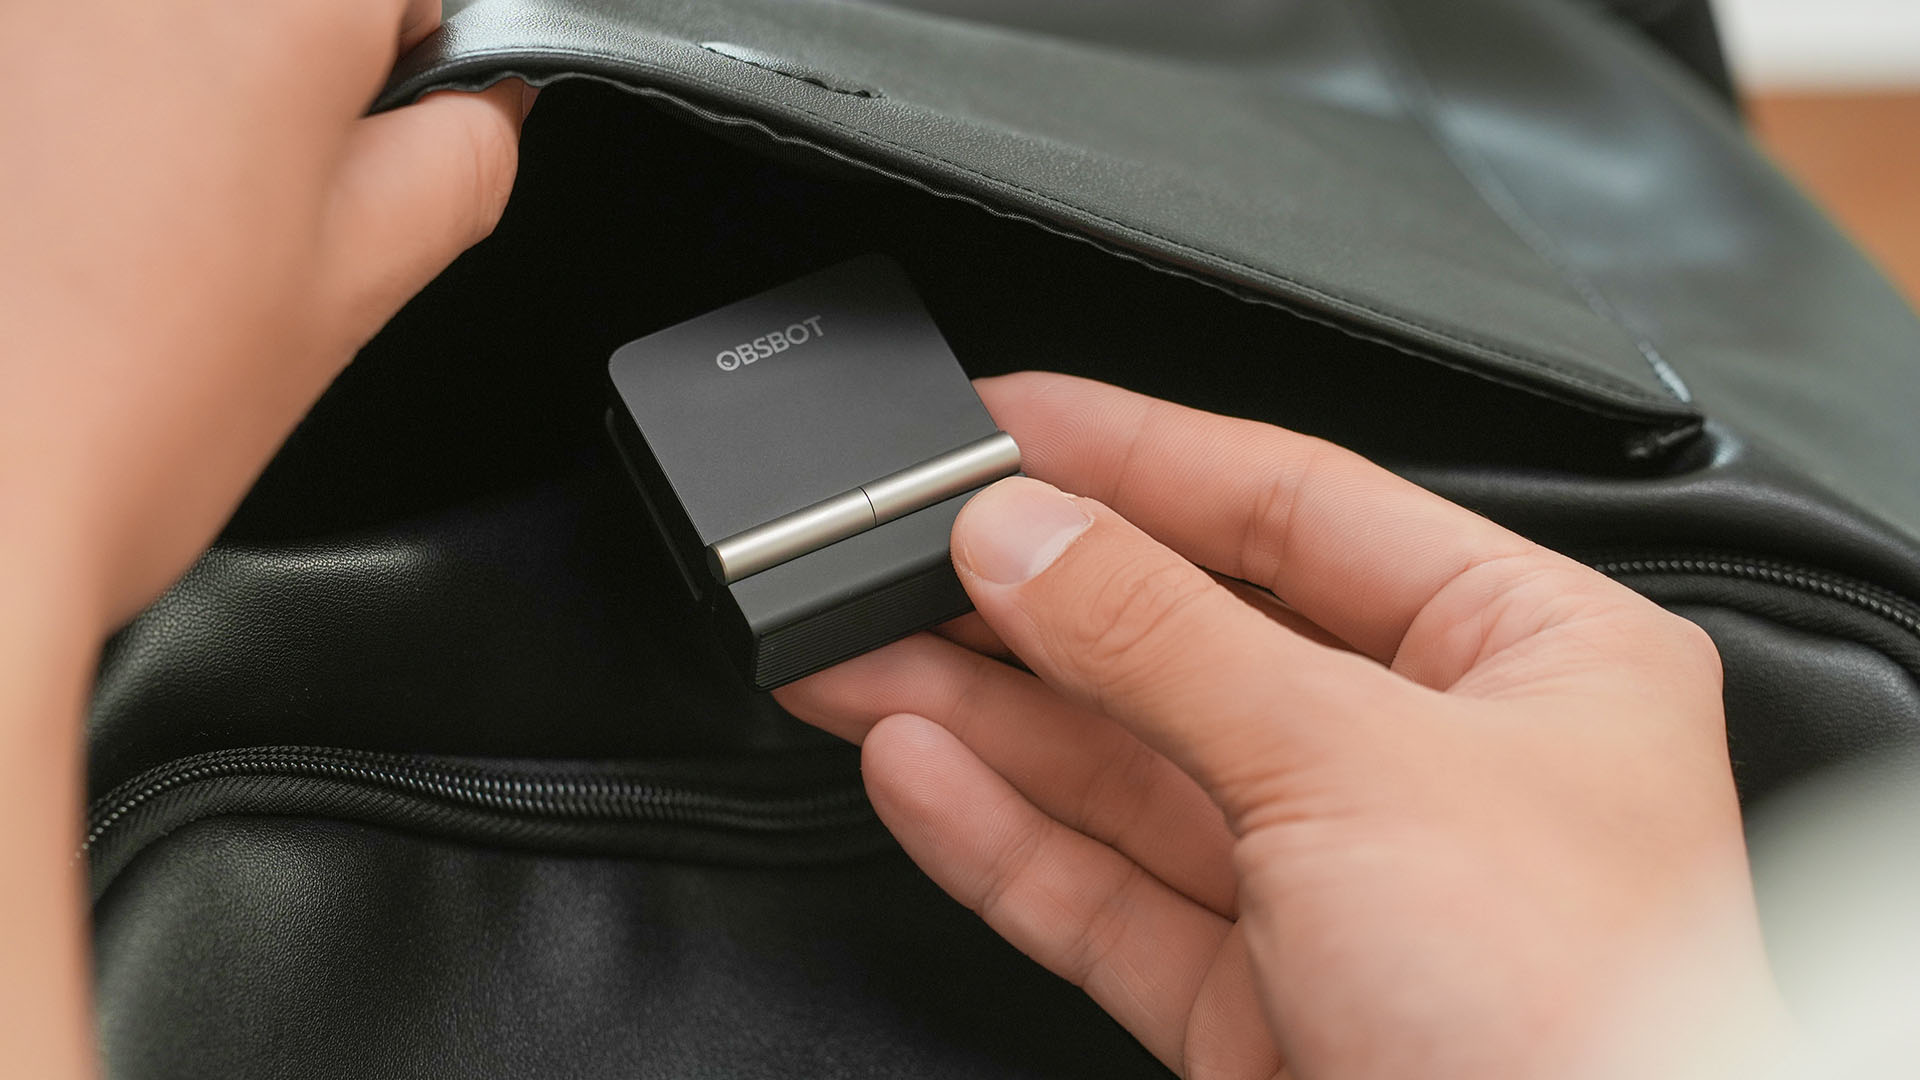
The OBSBOT Meet Flip is the company’s first foldable 4K webcam packing:
- 1/2-inch stacked CMOS sensor
- intelligent audio
- a collection of AI-powered meeting tools
All of these inside a body weighing just 37.7 grams.
A fold that does something, not just a gimmick
The OBSBOT Meet Flip isn’t foldable just to make it easier to throw into a bag.
Closing the webcam physically blocks the lens and puts the device into sleep mode. Open it when you want to be seen, flip it shut when you don’t.
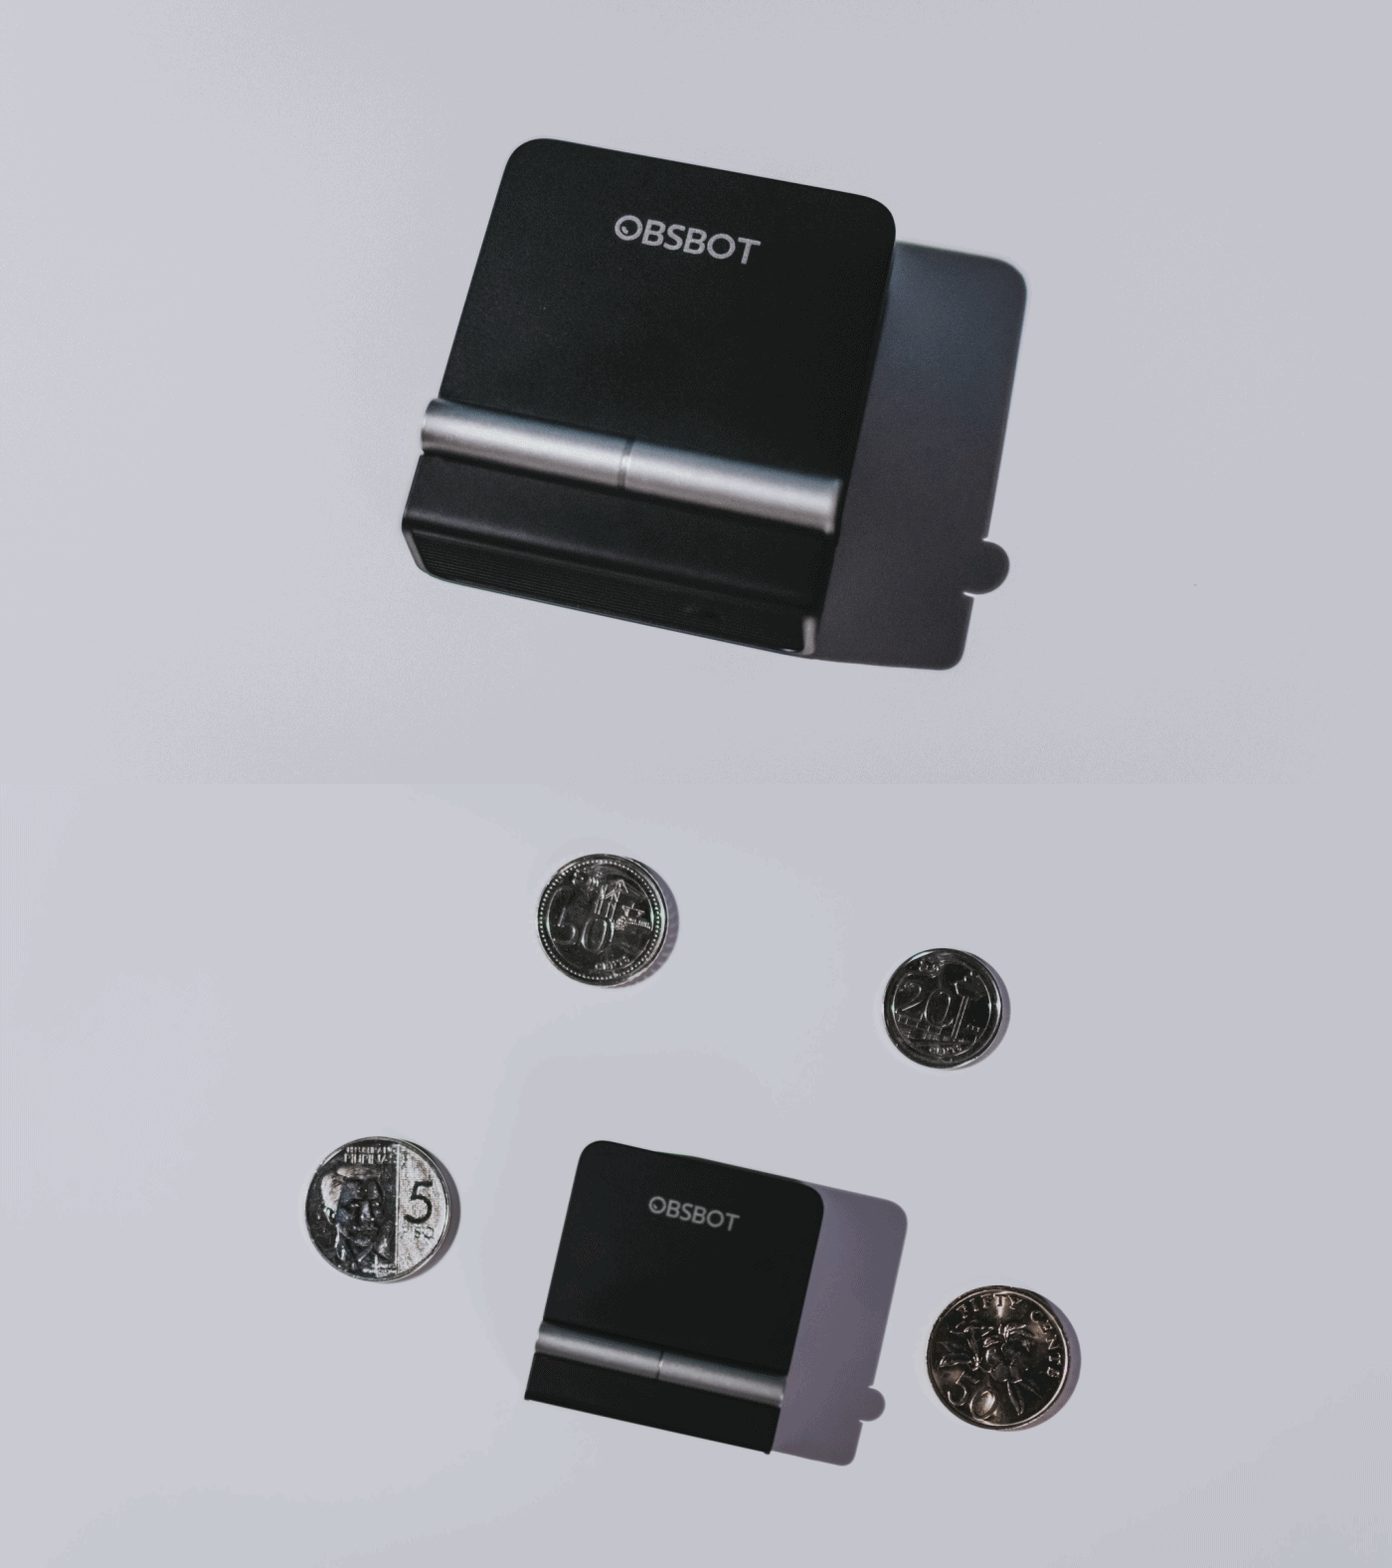
A physical privacy cover isn’t novel in itself. What’s clever here is how it’s part of the folding design.
As someone with a love-hate relationship with data privacy, I almost always keep some physical barrier over my laptop webcam. And if I can avoid having a webcam there entirely, even better.
Serious camera hardware in a pocket-sized webcam
Despite its size, OBSBOT hasn’t treated the Meet Flip like a basic laptop-camera replacement.
Inside is a 1/2-inch Exmor RS stacked CMOS sensor with Quad Bayer technology, capable of recording 4K UHD at 30 fps or 1080p at 60 fps. It also packs an f/1.8 aperture, HDR, PDAF autofocus, ISO 100–6400, and up to 4x digital zoom.
At its core is a 1/2-inch Exmor RS stacked CMOS sensor with Quad Bayer technology.
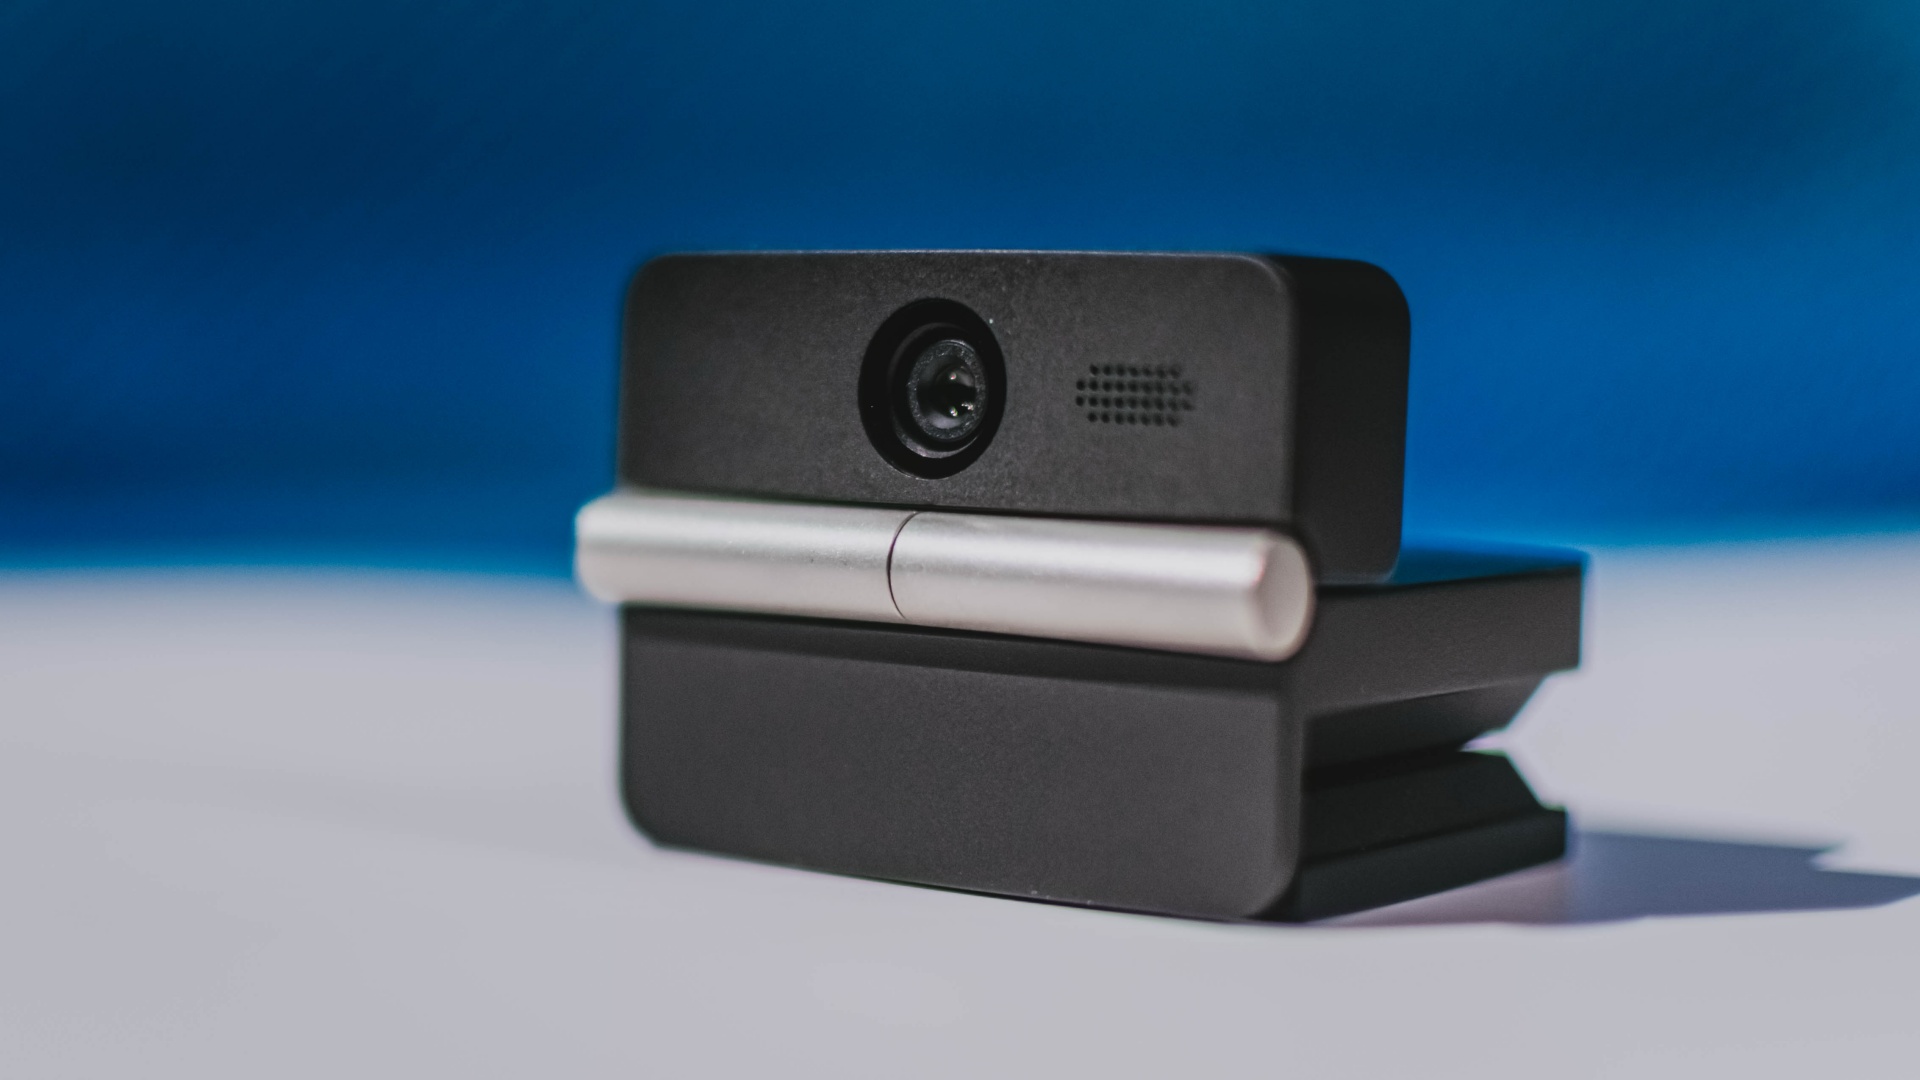
It can record:
- 4K UHD at 30fps
- 1080p at 60fps
You also get:
- f/1.8 aperture
- HDR
- PDAF autofocus
- ISO 100–6400
- up to 4x digital zoom
On paper, that gives the Meet Flip a better shot at handling the situations built-in laptop webcams often struggle with: dim rooms, harsh backlighting, changing lighting conditions, or simply moving around in front of the camera.
HDR helps keep faces visible against bright backgrounds, while PDAF autofocus continuously adjusts focus as you move closer to or farther from the lens.
The wider f/1.8 aperture should also help in less-than-ideal lighting.
The point is that once the Meet Flip is set up, you shouldn’t have to spend much time thinking about the camera itself.
It listens differently depending on the room setup
The Meet Flip also uses an intelligent dual-microphone system combining omnidirectional and directional microphones.
Instead of relying on one pickup pattern for every situation, it offers four audio modes for different setups:
Directional Mode focuses on sound coming from the front, making it the obvious choice for solo calls.
Dual-Directional Mode listens to both the front and rear of the webcam, which could be useful for interviews or conversations between two people sitting across from each other.

Smart Omni Mode is designed for group meetings, picking up voices from around the room.
And Pure Audio Mode provides unprocessed left and right stereo channels for users who would rather handle the audio themselves in post-production.
Auto Gain and AI Noise Reduction also work across the first three modes, helping clean up audio without requiring much manual adjustment.
It gives the Meet Flip more flexibility than a typical webcam microphone, especially if you regularly switch between solo calls, interviews, and group meetings.
AI that doesn’t intrude
AI has become an almost obligatory addition to new hardware in 2026, but several of the Meet Flip’s features put it to work on real-world meeting annoyances.
AI Auto Framing keeps you in frame, with options for:
- Group
- Single Close-up
- Upper Body
- Full Body
Gesture controls can also toggle Auto Framing or adjust the zoom without reaching for a keyboard or mouse.
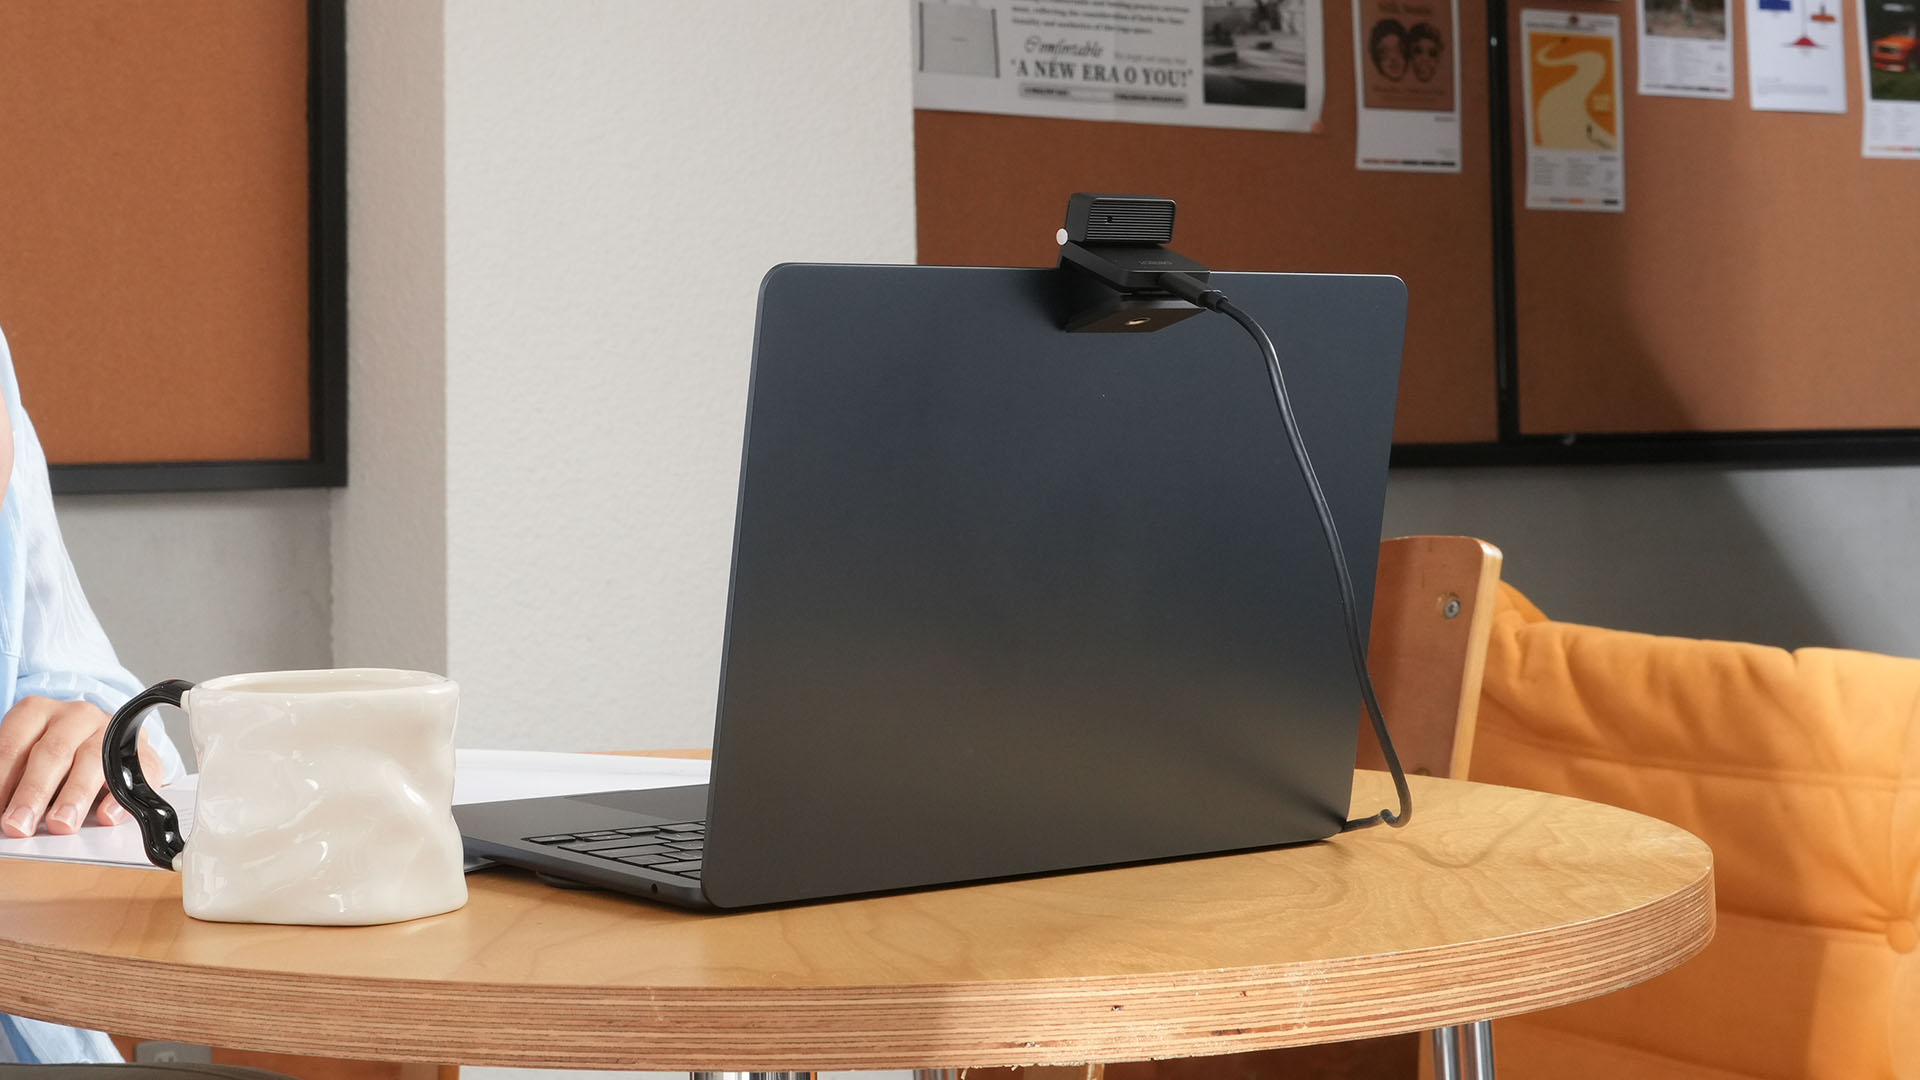
More interesting is AI Magic Notes.
Through OBSBOT Center, it provides real-time transcription and can automatically generate meeting summaries with key points, decisions, and action items. It works across Google Meet, Zoom, and Microsoft Teams.
Although AI Magic Notes is offered as a subscription service, every Meet Flip includes 120 complimentary minutes to get started.
MORE with OBSBOT Center & OBSBOT Live
There are plenty of other software features as well. OBSBOT Center includes:
- Background Blur and Background Replacement
- Real-Time Beauty Mode
- Picture-in-Picture overlays
- Smart Eye Tracking
- Teleprompter support
- Detailed image adjustments
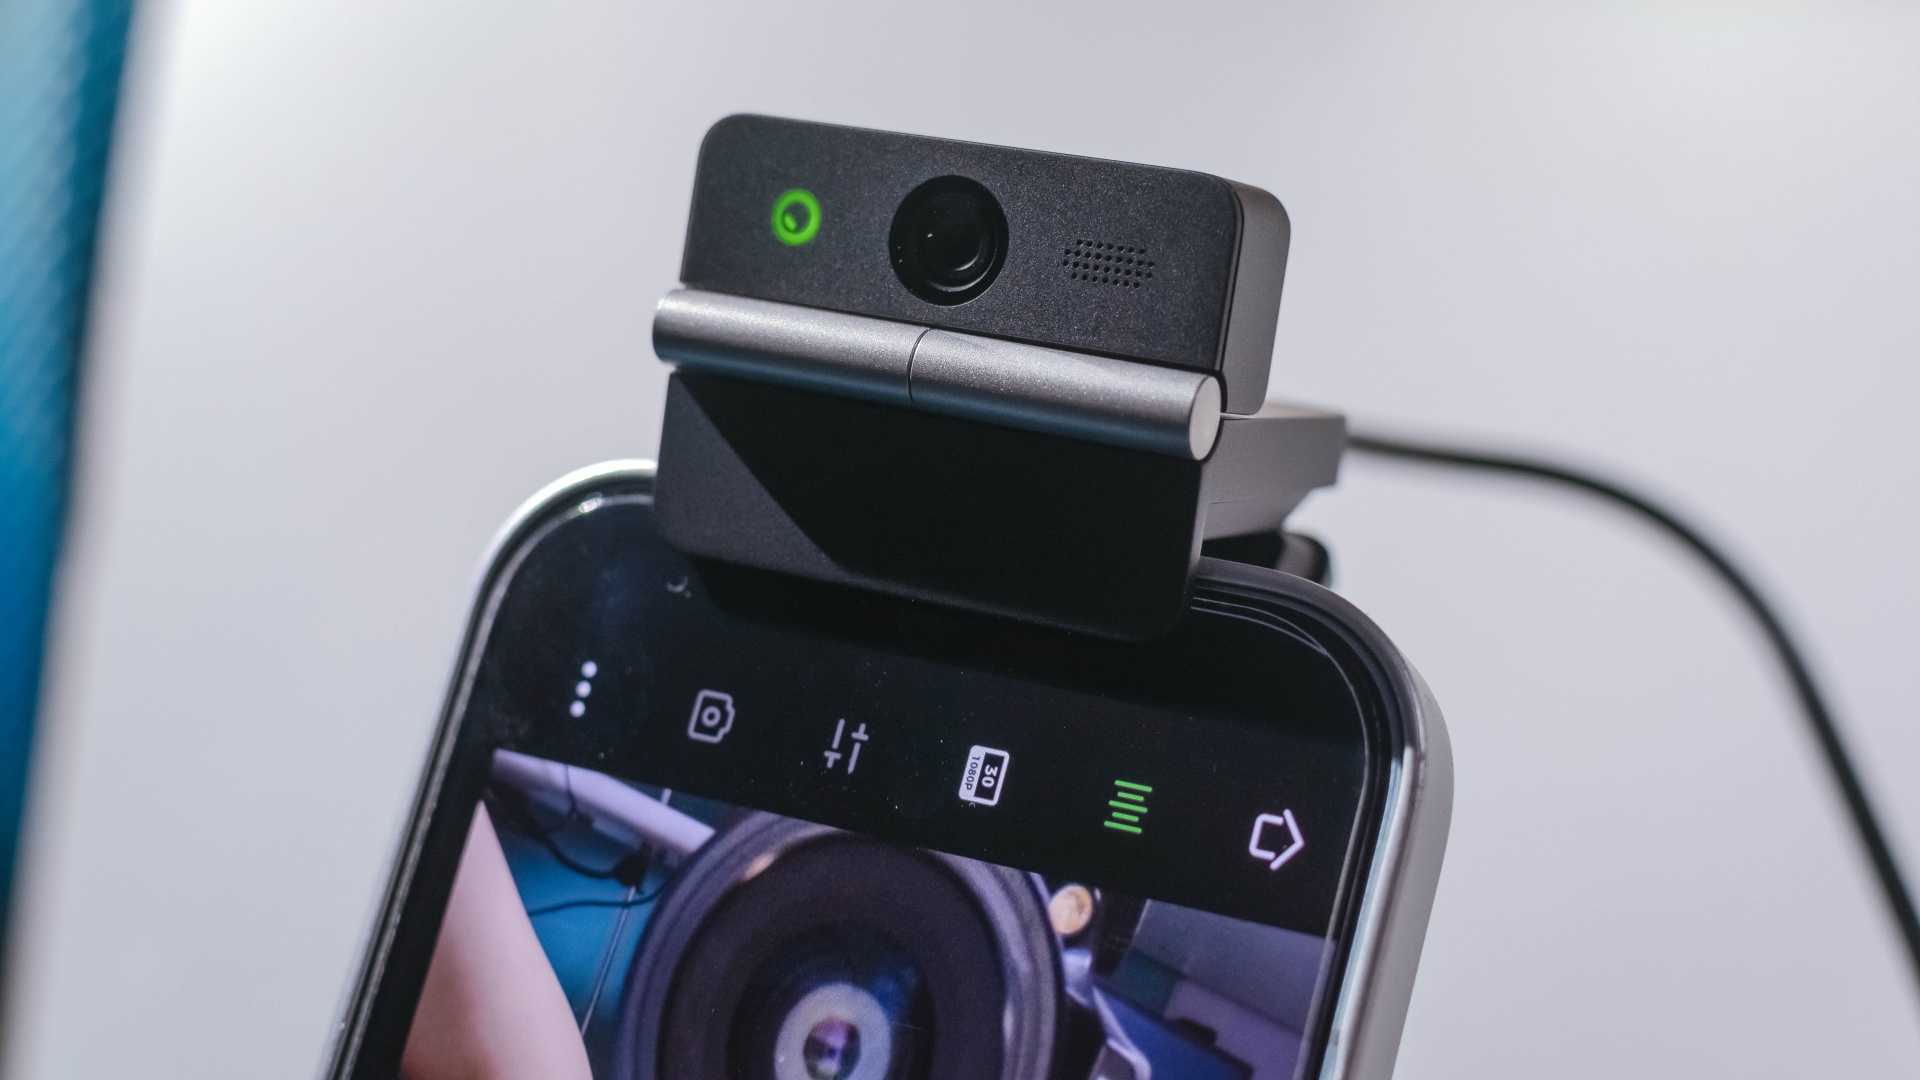
The Meet Flip isn’t limited to laptops or desktops either. Through OBSBOT Live, it can connect directly to smartphones and tablets over USB-C for mobile streaming and content creation.
Flip it open. Fold it away.
None of those features reinvent the webcam on their own.
Taken together, though, they make the Meet Flip a more thoughtful take on a piece of hardware whose basic design and features have barely changed.
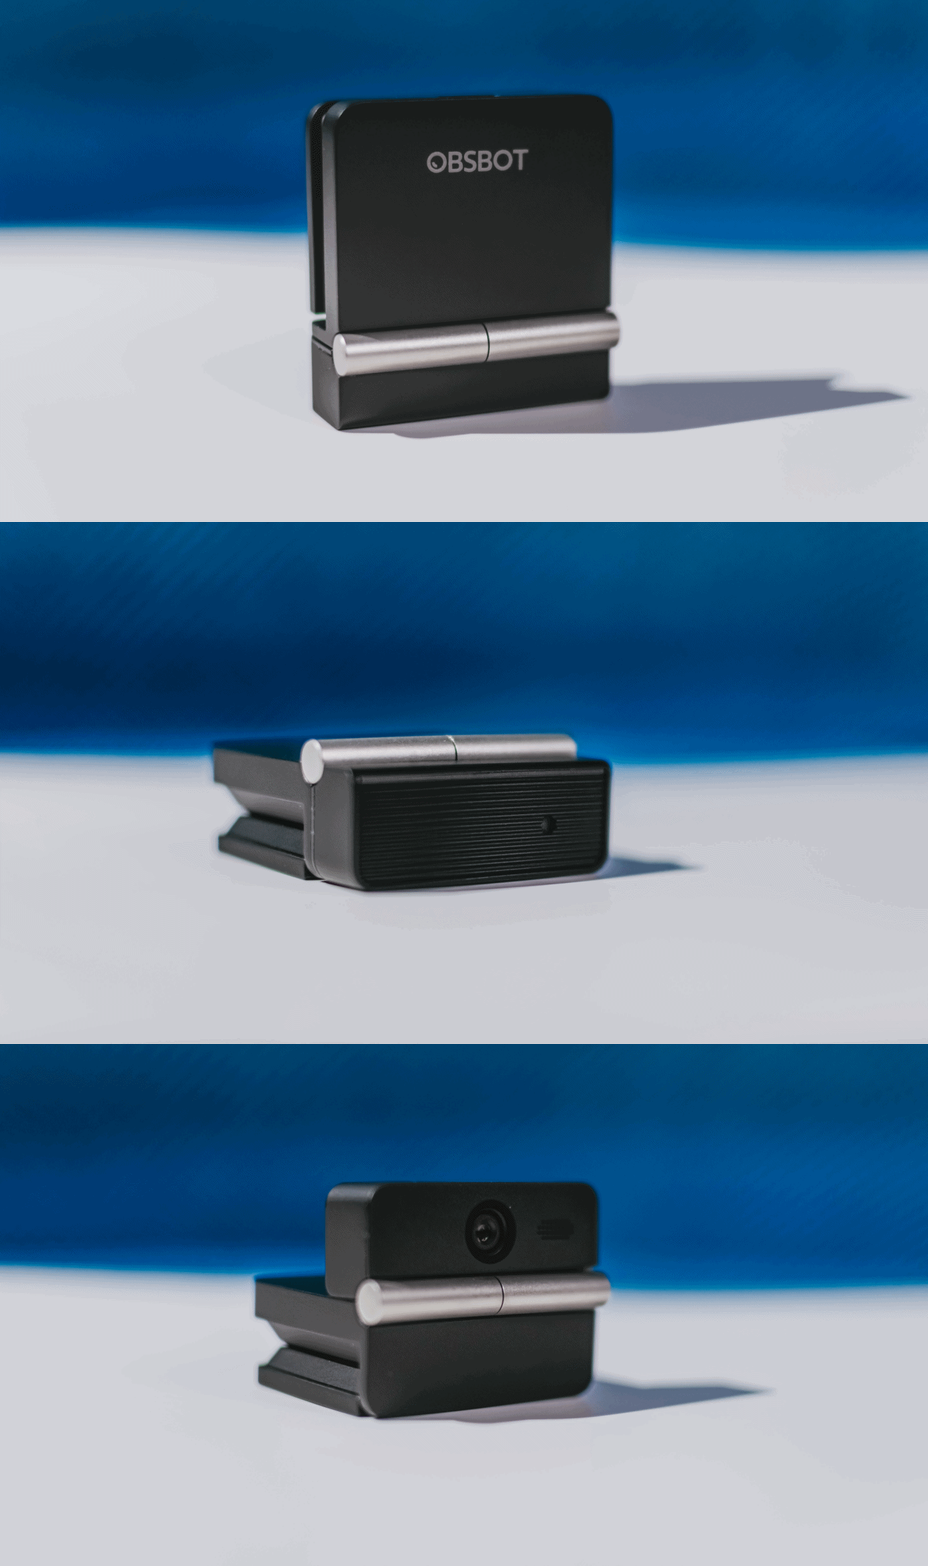
The flip may grab your attention first, but it’s how OBSBOT uses that design alongside its camera, audio, and software features that makes the Meet Flip interesting.
The OBSBOT Meet Flip is now available at US$ 119 and is currently available through OBSBOT’s official store, Amazon US, and select retailers.
&
@gadgetmatchPhones flip. Now webcams do too. 👀 Meet the OBSBOT Meet Flip, a tiny foldable 4K webcam with a lot packed inside. ✨
If you buy one, here’s what you’ll get out of the box!





Disney+ is moving to a global app experience

Now Playing: Elden Ring Tarnished Edition

TECNO’s POVA 8 Pro gets a stealthy makeover

The original PlayStation gets the LEGO treatment

NBA 2K’s MyCAREER needs to play the long game

TECNO MEGAPAD 2 review: Eyes on the size

realme 16T 5G with 8000mAh battery, IP69 Pro rating launches in PH

REDMI Note 17 Series focuses on long-term reliability

realme 16T to come with 8,000mAh battery, 7-year battery health guarantee

HUAWEI Pura X View is 2026’s first WIDE slab-type smartphone


-
 Reviews2 weeks ago
TECNO MEGAPAD 2 review: Eyes on the size
-
 News7 days ago
realme 16T 5G with 8000mAh battery, IP69 Pro rating launches in PH
-
 Singapore1 week ago
REDMI Note 17 Series: Price, availability in Singapore
-
 News1 week ago
REDMI reveals the refreshed Note 17 and Note 17 Pro series
-
 Cameras1 week ago
Insta360 Luna Ultra review: My new solo coverage camera
-
 Reviews1 week ago
REDMI Note 17 Pro review: What a rollercoaster ride!
-
 News2 weeks ago
HONOR Magic V6: Price, availability in the Philippines
-

 Features6 days ago
The designated photographer’s new favorite phone: OPPO Reno16 Series 5G