
Reviews
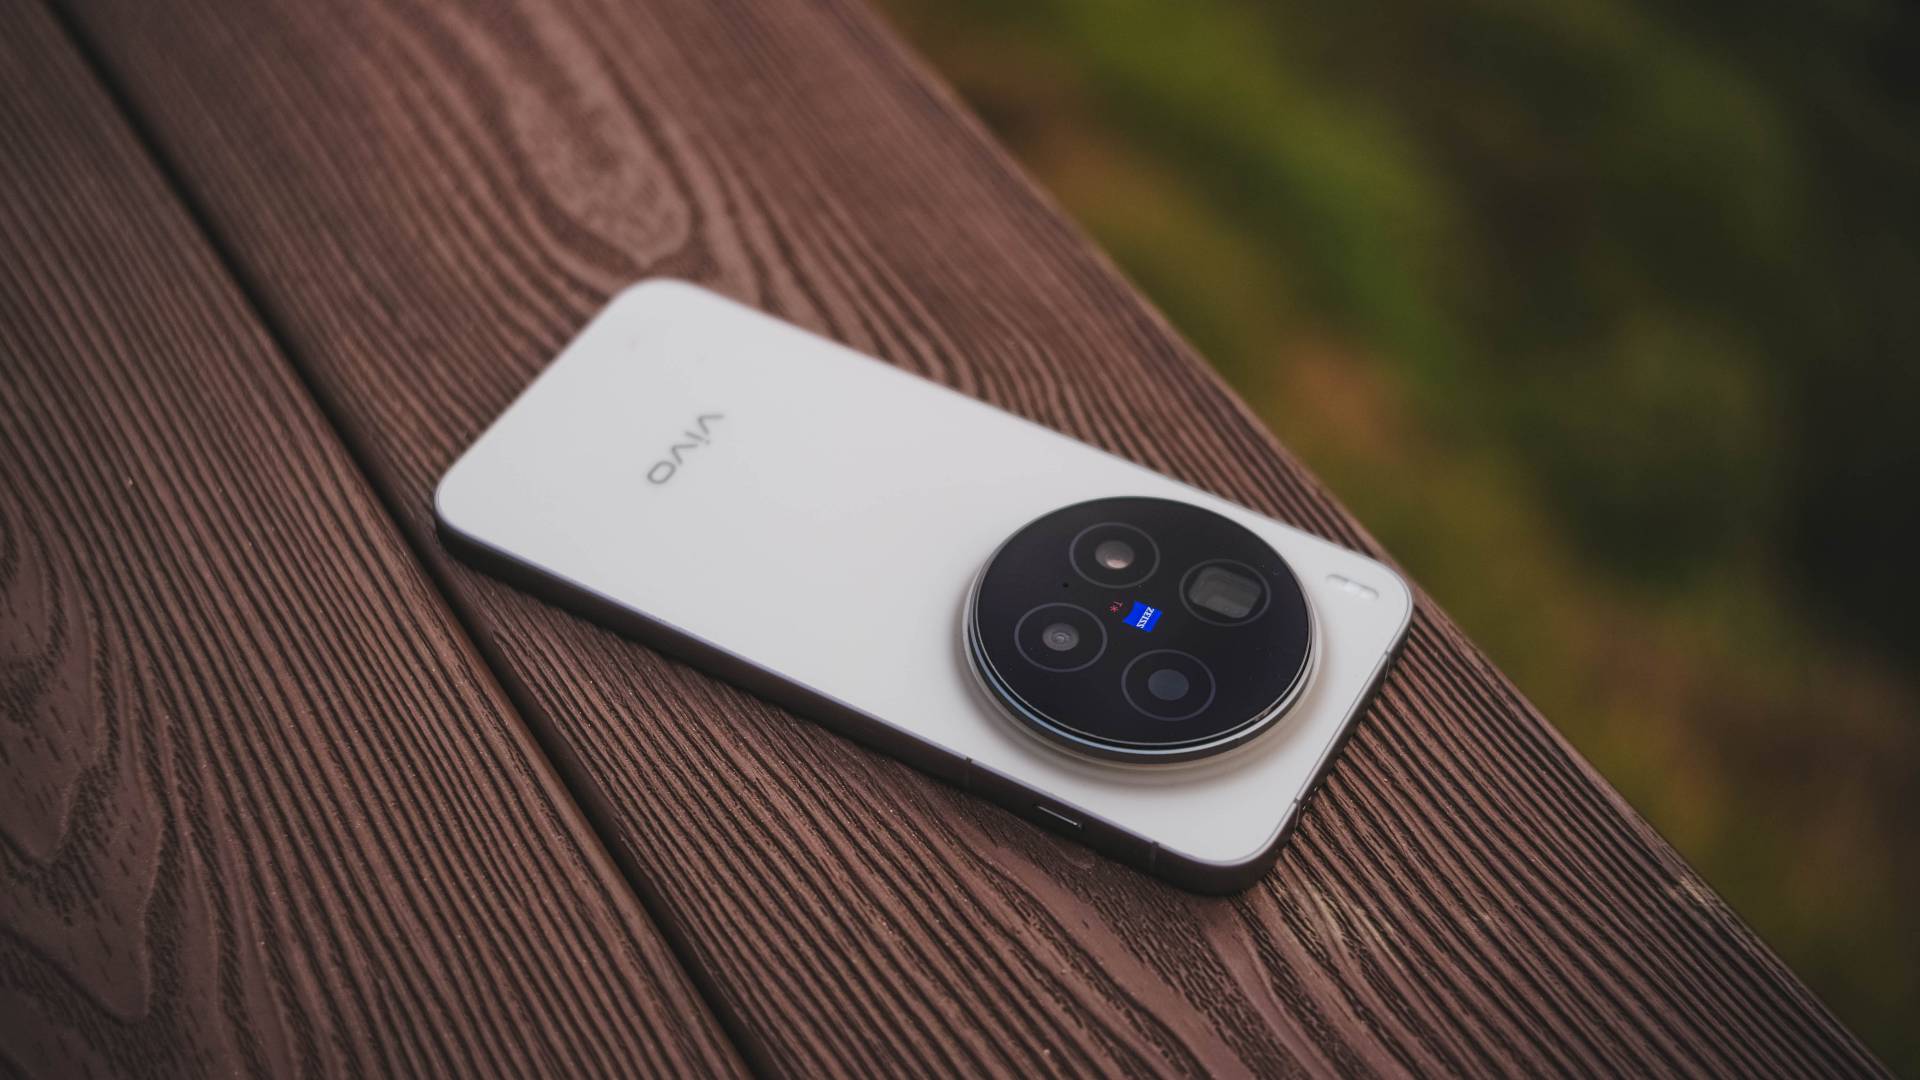
vivo X300 Pro review: Going the X-tra Mile
300+ Hours Later with vivo’s latest and greatest X-flagship

In a surprising turn of events, vivo has already made the X300 Pro globally available as short as three weeks after the exclusive Mainland launch.
It was first introduced to European regions. Next in line were Asian markets such as Singapore, Malaysia, Thailand, Vietnam, India, and definitely, the Philippines.
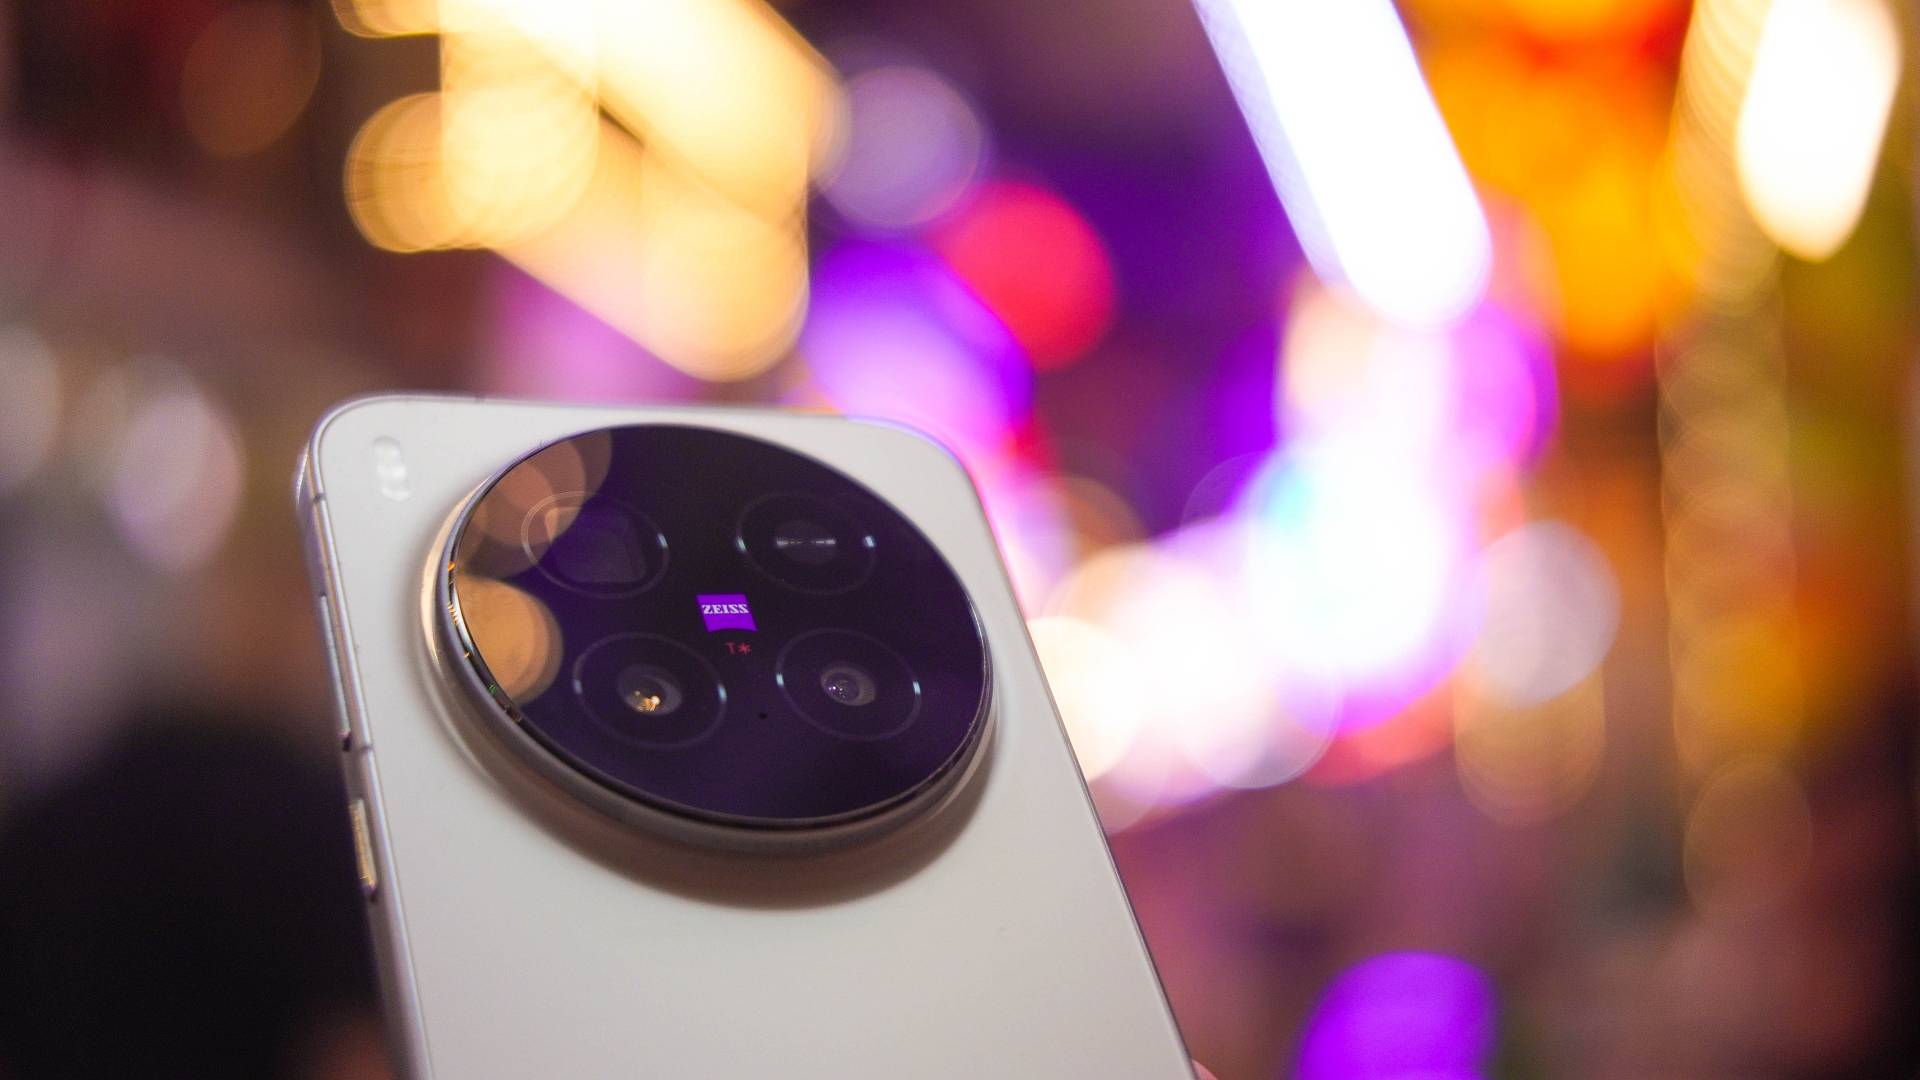
Without any frills, here’s my X-tensive review of the latest and greatest flagship from vivo — 300+ hours after I started using it.
For context: we unboxed the unit exactly October 31st. But it was only during the first day of my Vietnam trip (November 10) that I was able to fully utilize and maximize the X300 Pro. Counting those days (or hours), I’ve been using vivo’s latest X-phone for around 386 hours as I’m writing this piece.
X-cellent Cameras
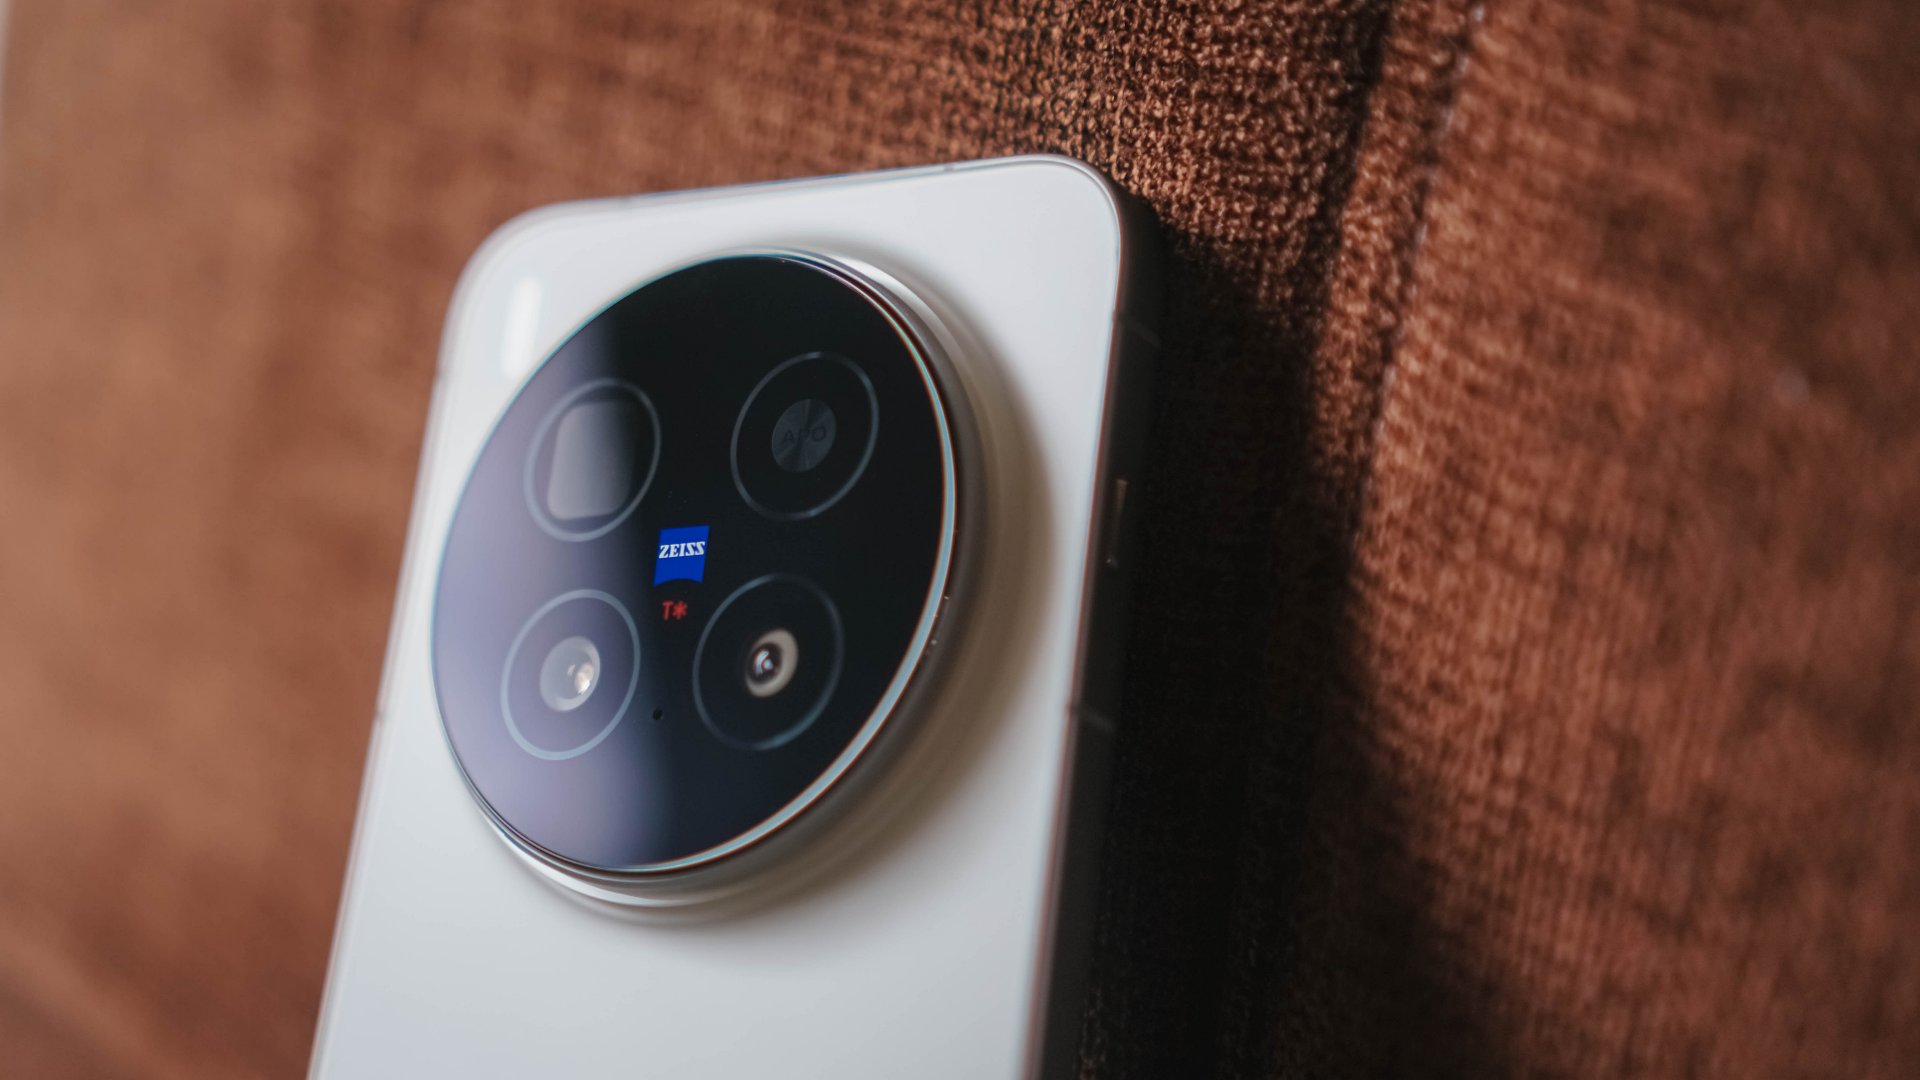
Without beating around the bush, we all know the main reason why we’re eyeing the X300 Pro, and it’s none other than its intricate camera setup.
vivo X300 Pro |
vivo X200 Pro |
|
Wide |
50MP f/1.57
|
50MP f/1.57
|
Ultra-Wide |
50MP f/2.0
|
50MP f/2.0
|
Telephoto |
200MP f/2.67 ZEISS APO
|
200MP f/2.67 ZEISS APO
|
Selfie |
50MP f/2.0
|
32MP f/2.0 |
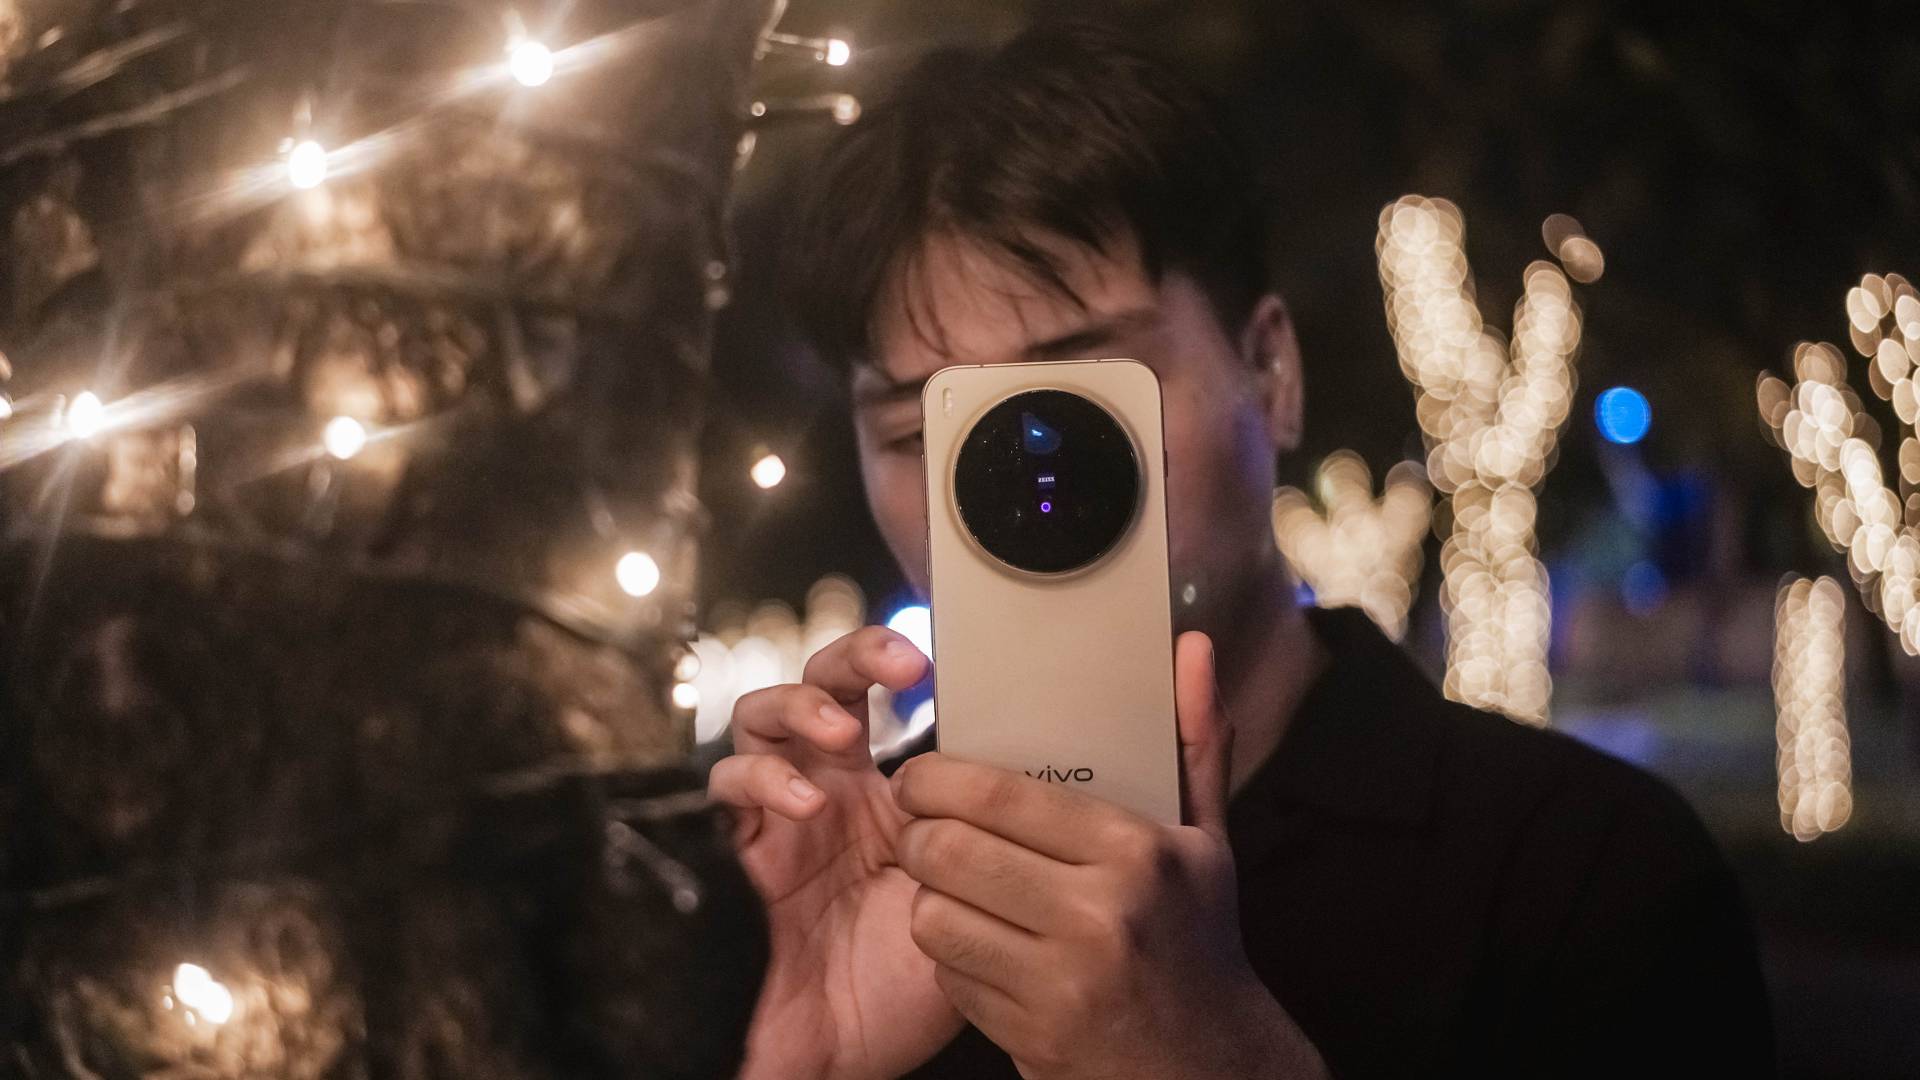
Specs-wise, there hasn’t been a massive difference — just newer sensors equipped.
But, as I always say in my write-ups, hardware is just one factor. Actual photo output is what truly makes or breaks the performance of the phone’s cameras.
To somewhat entice you, here are some of my postcards from my very recent Vietnam trip — obviously shot on the vivo X300 Pro.
(Brace yourself, there’s a lot to come!)

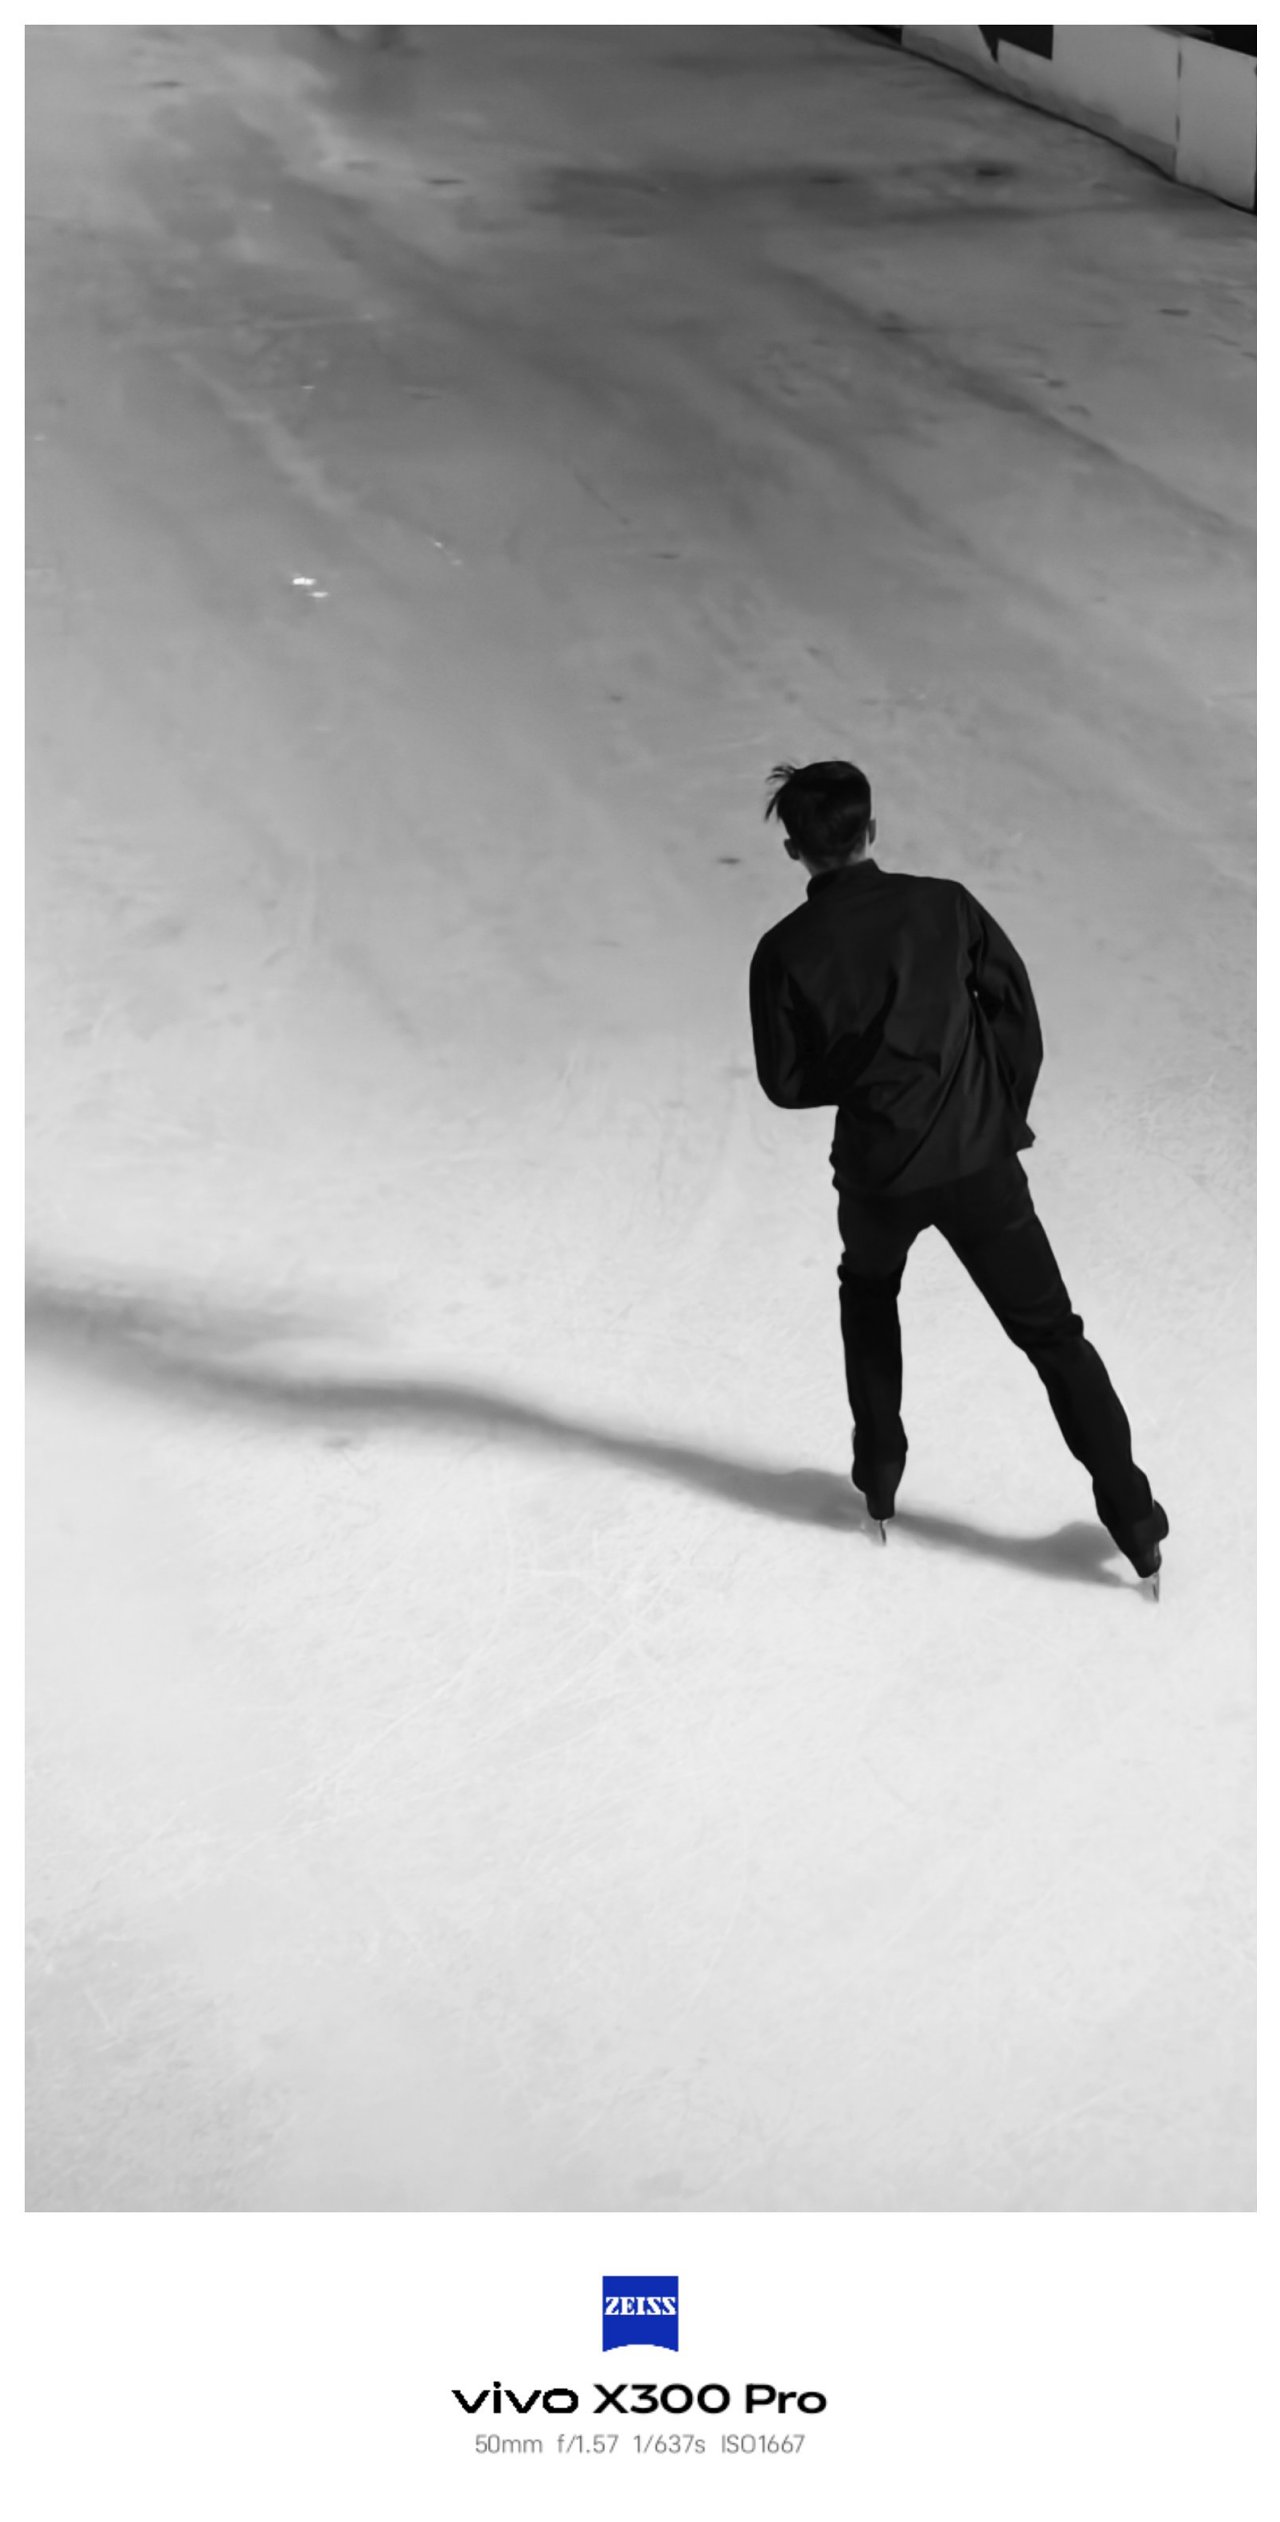
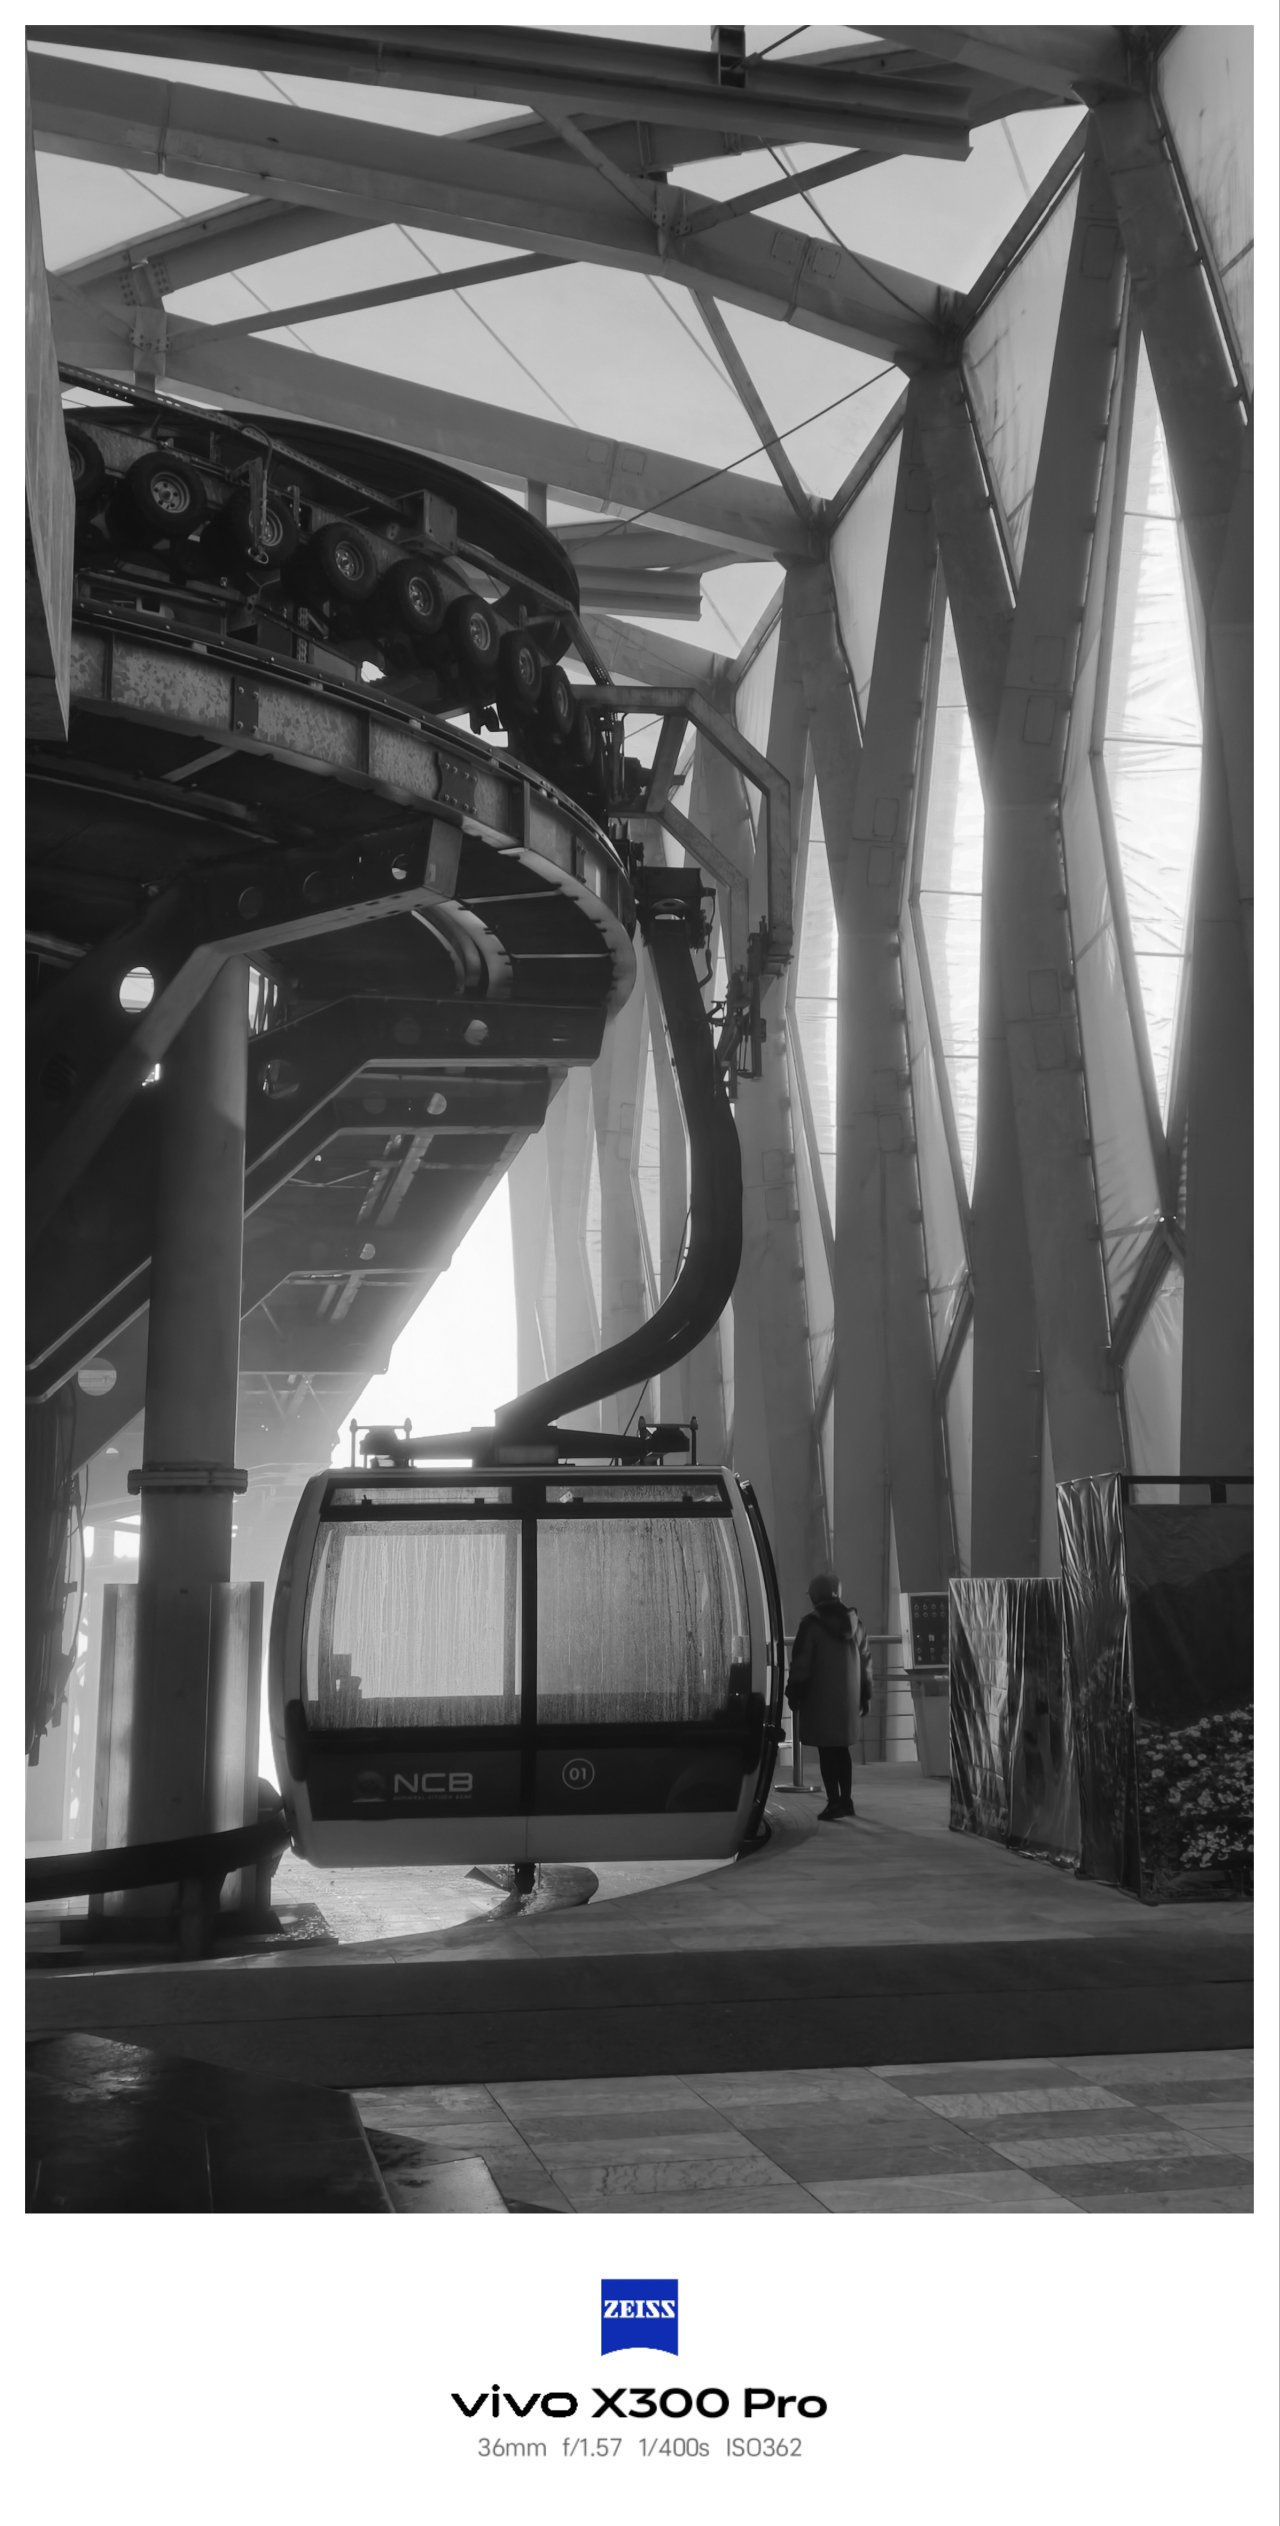
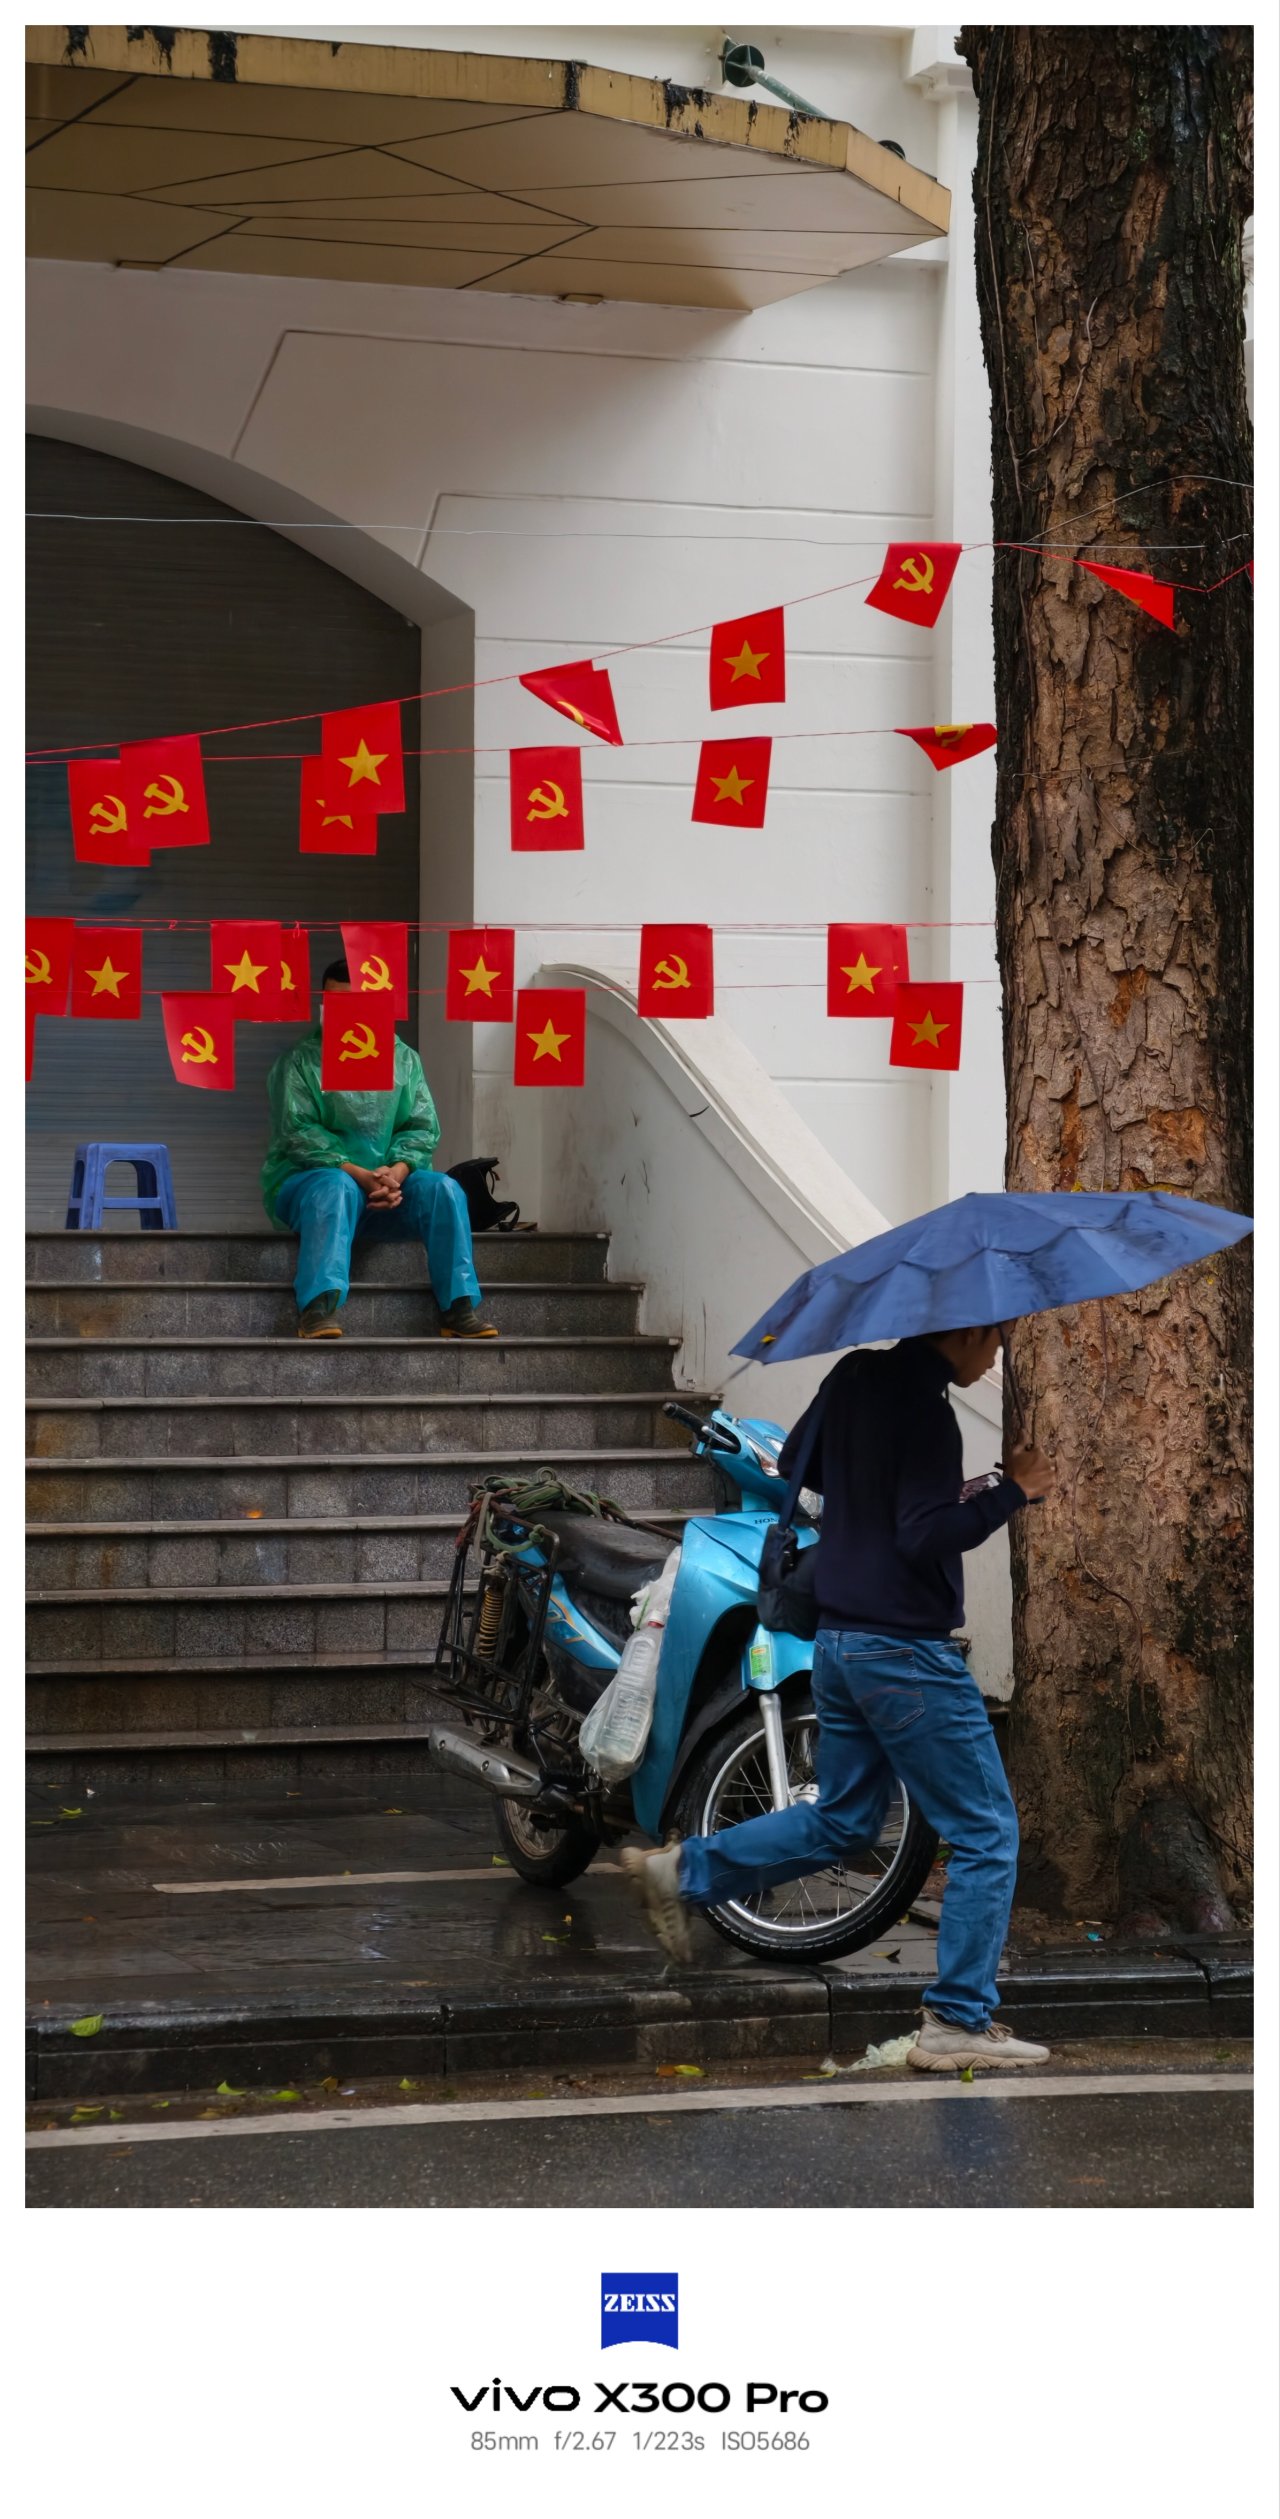
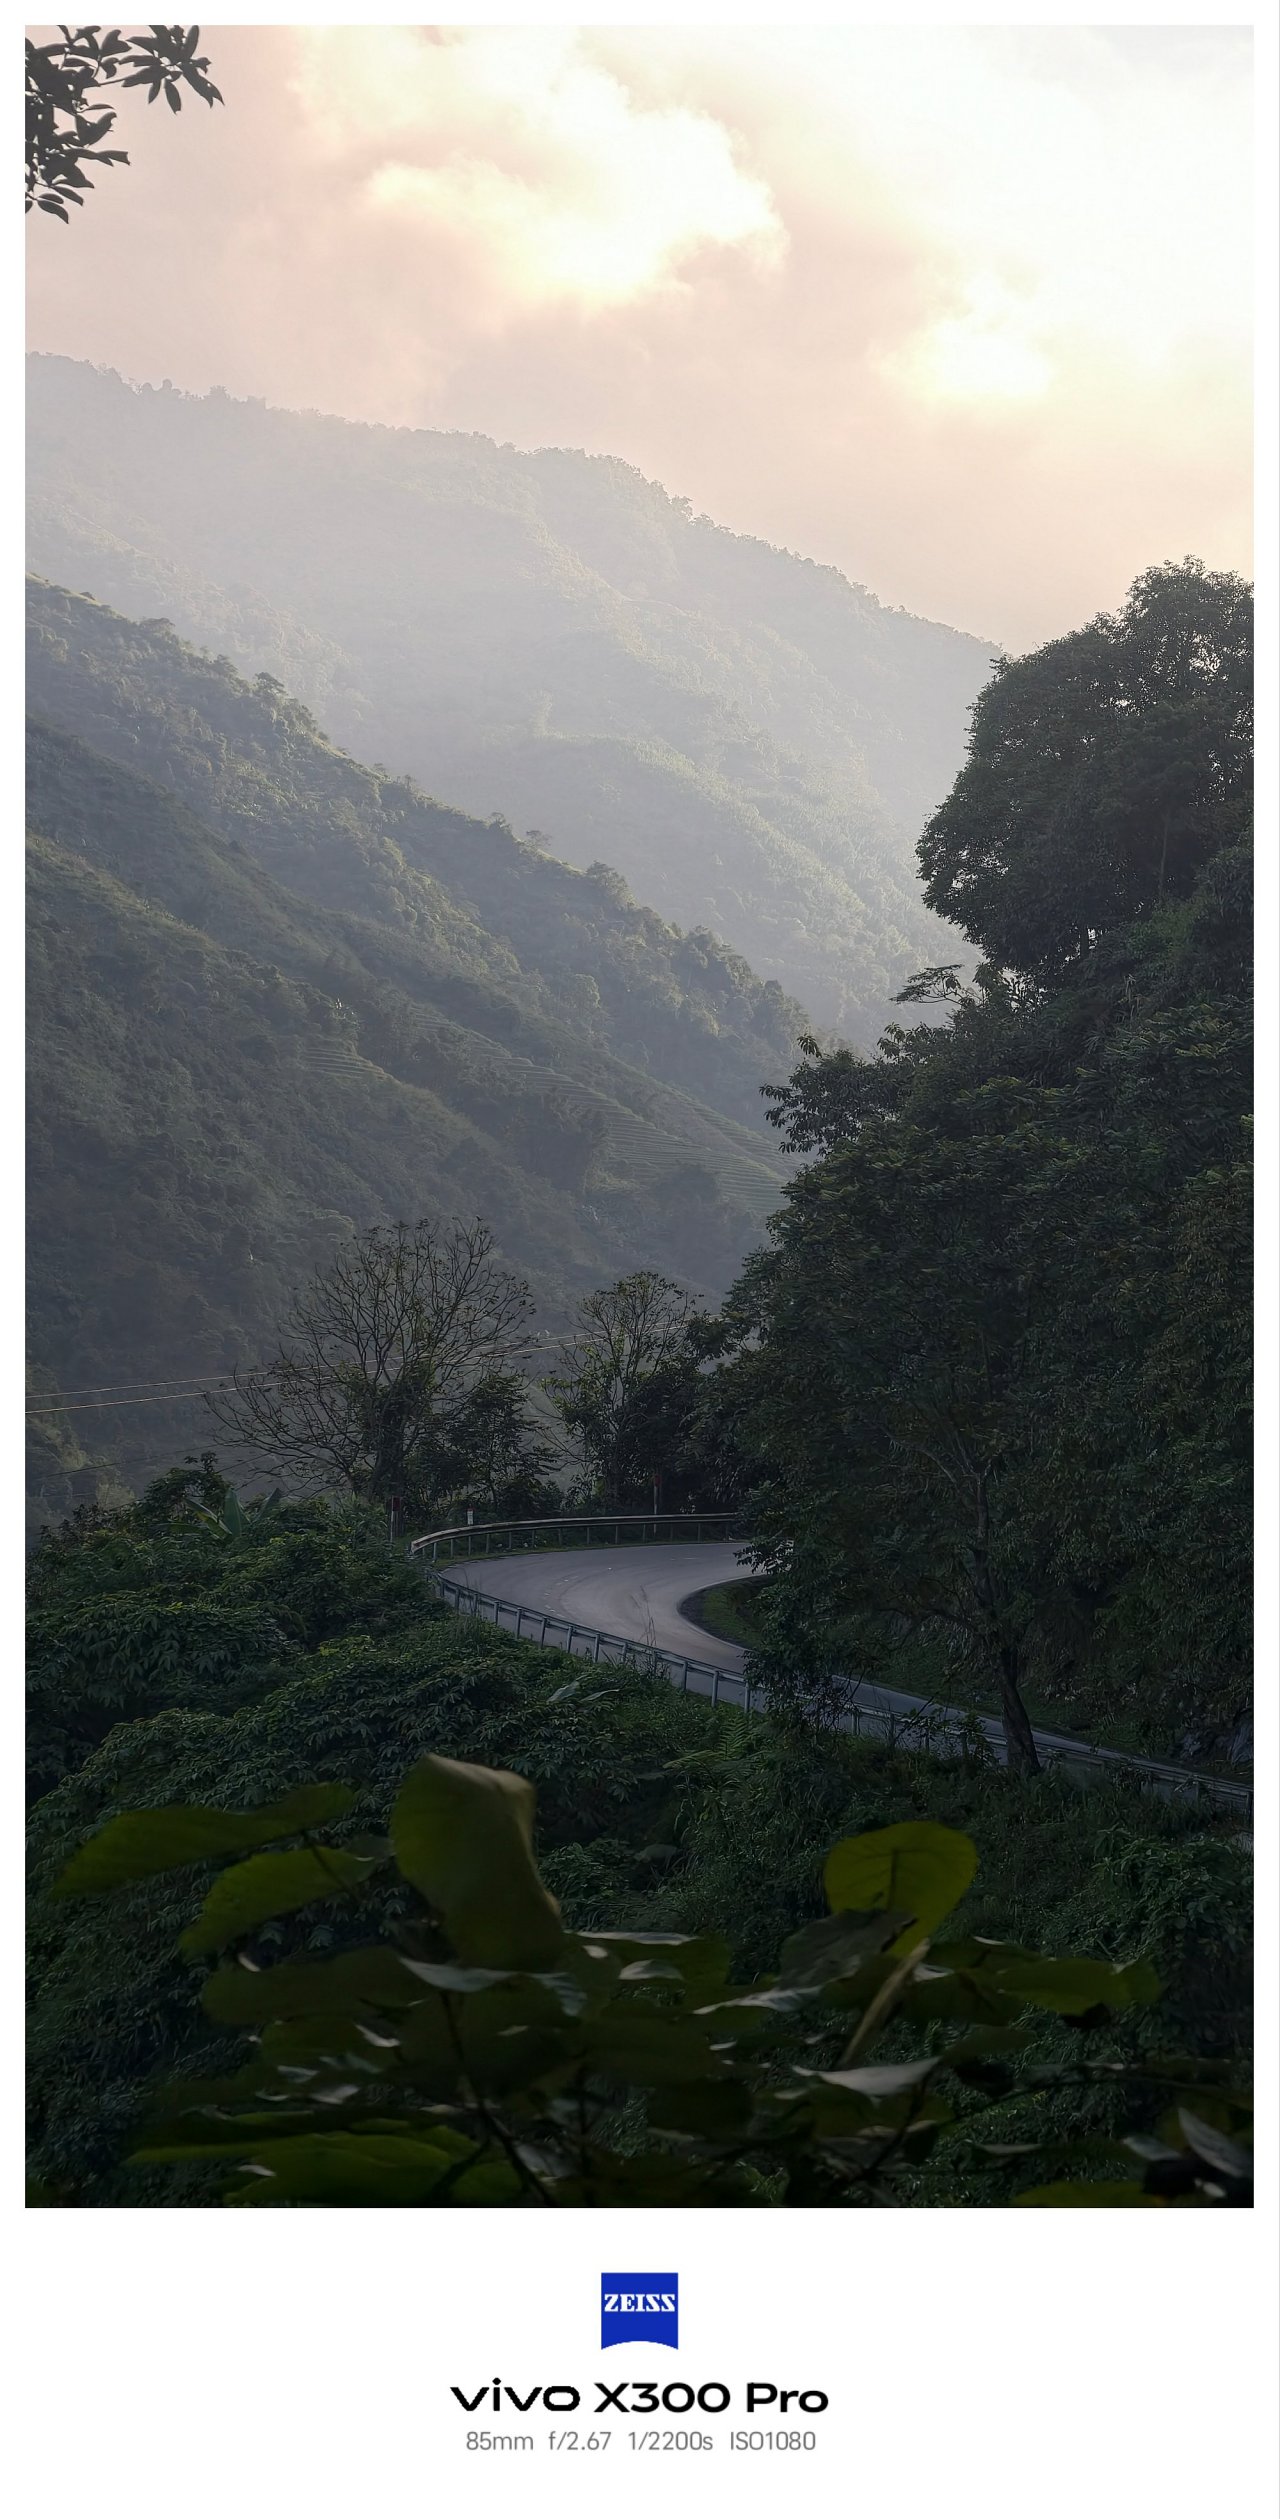
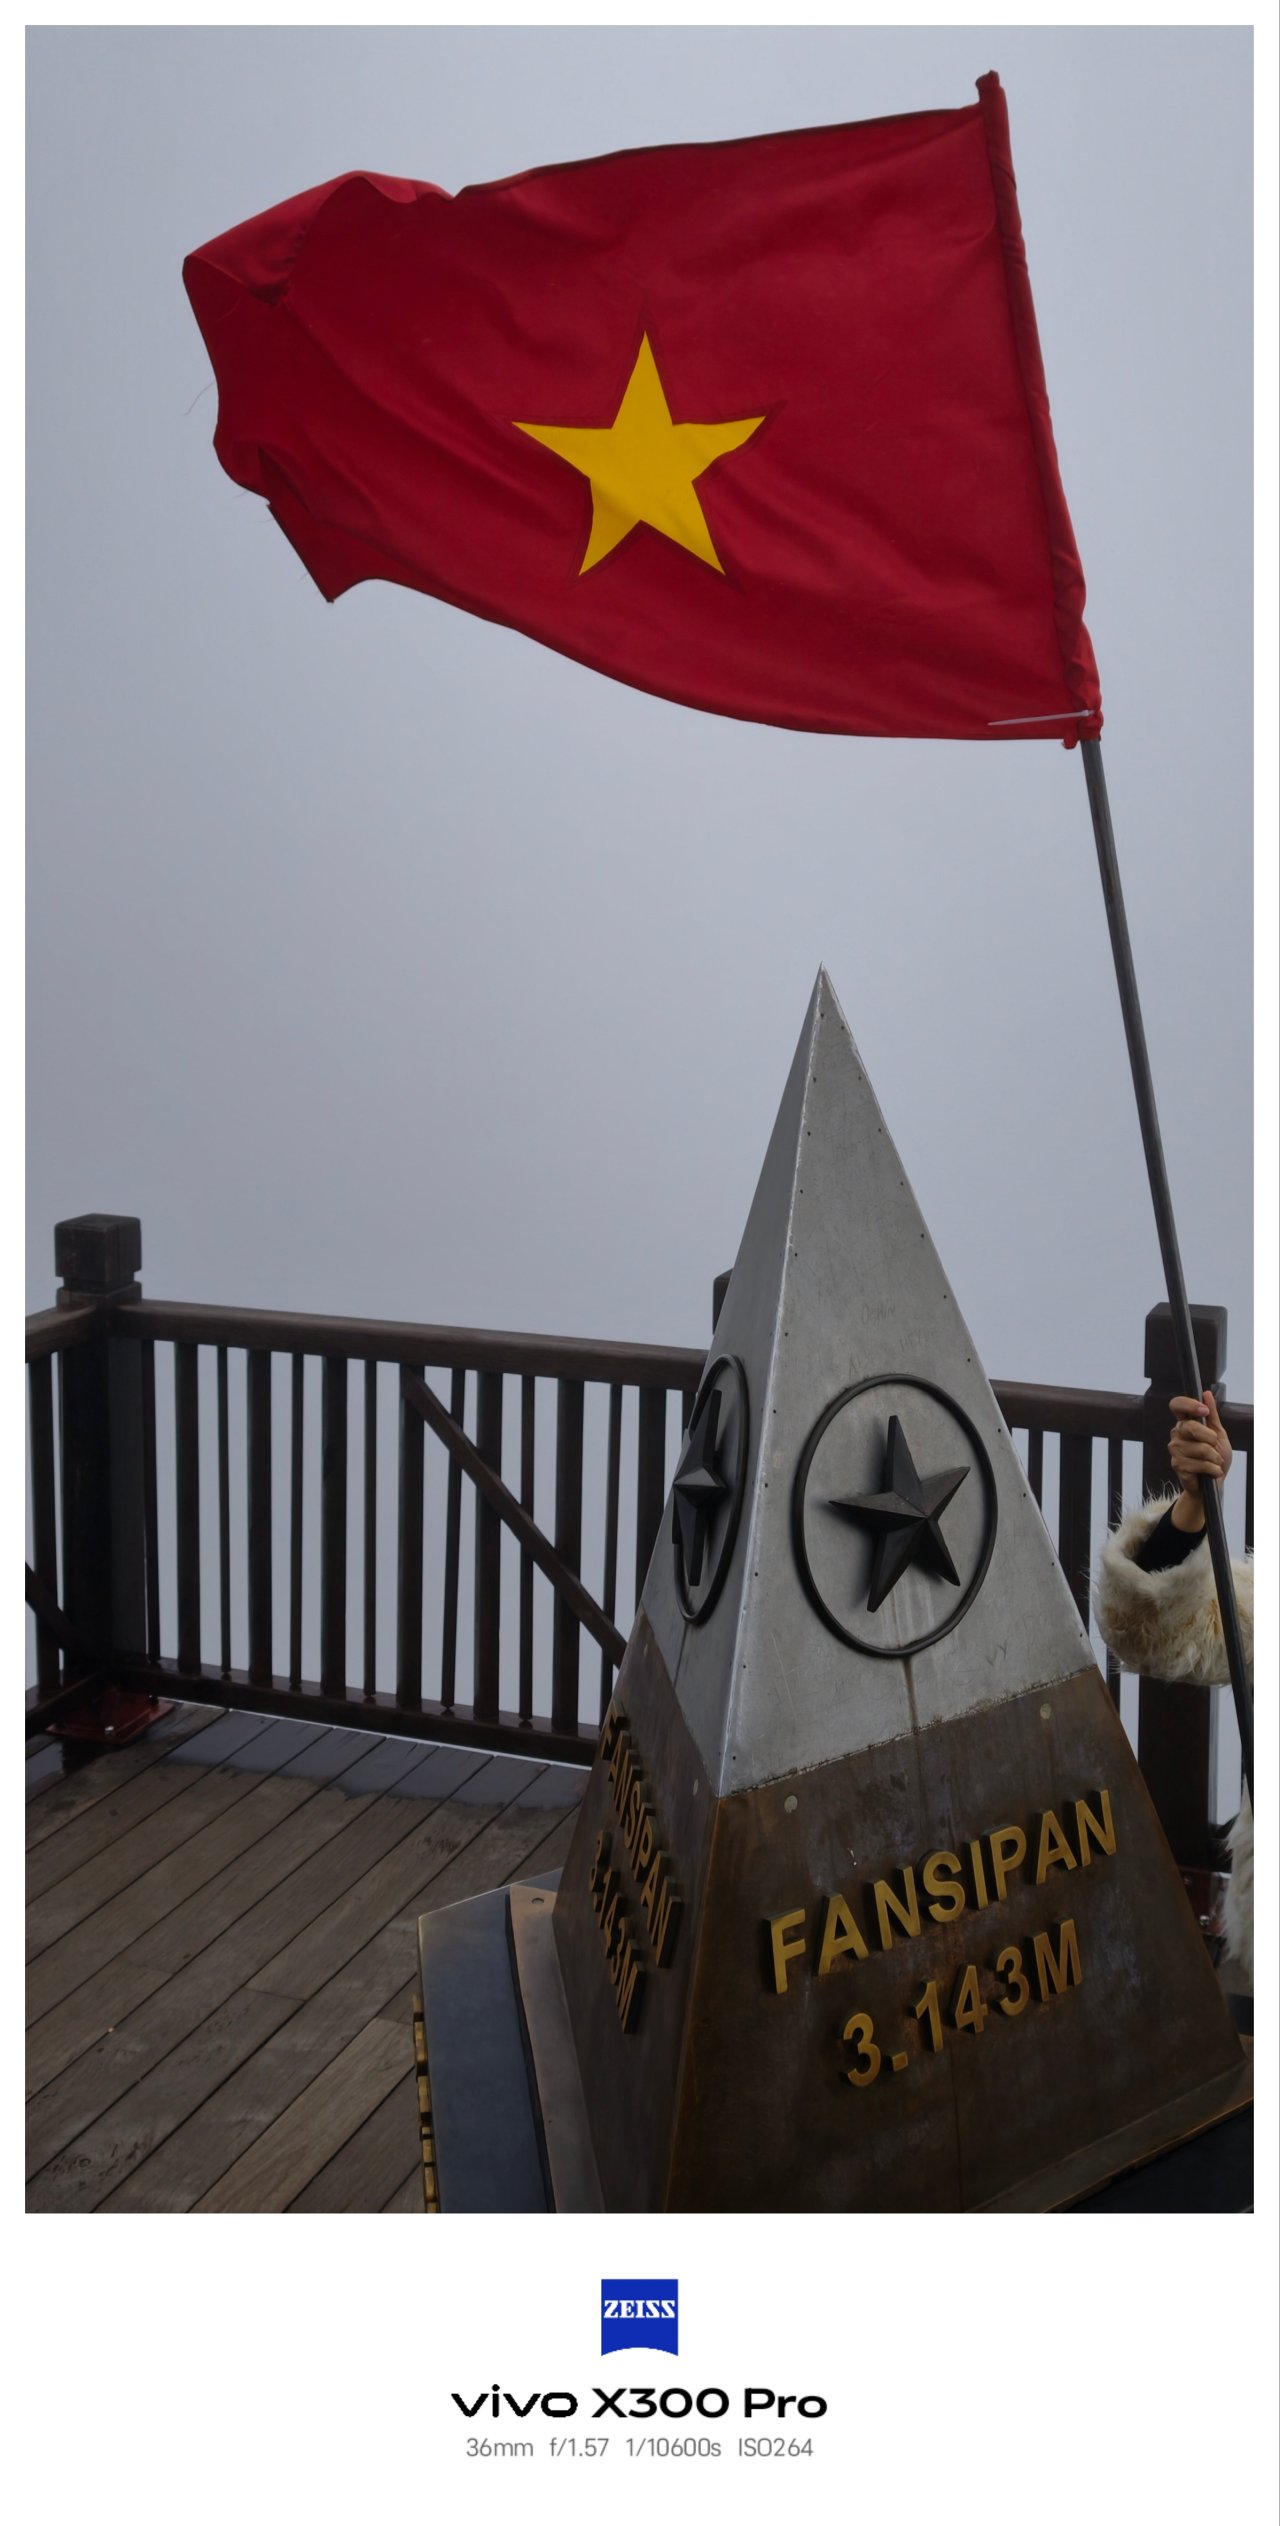
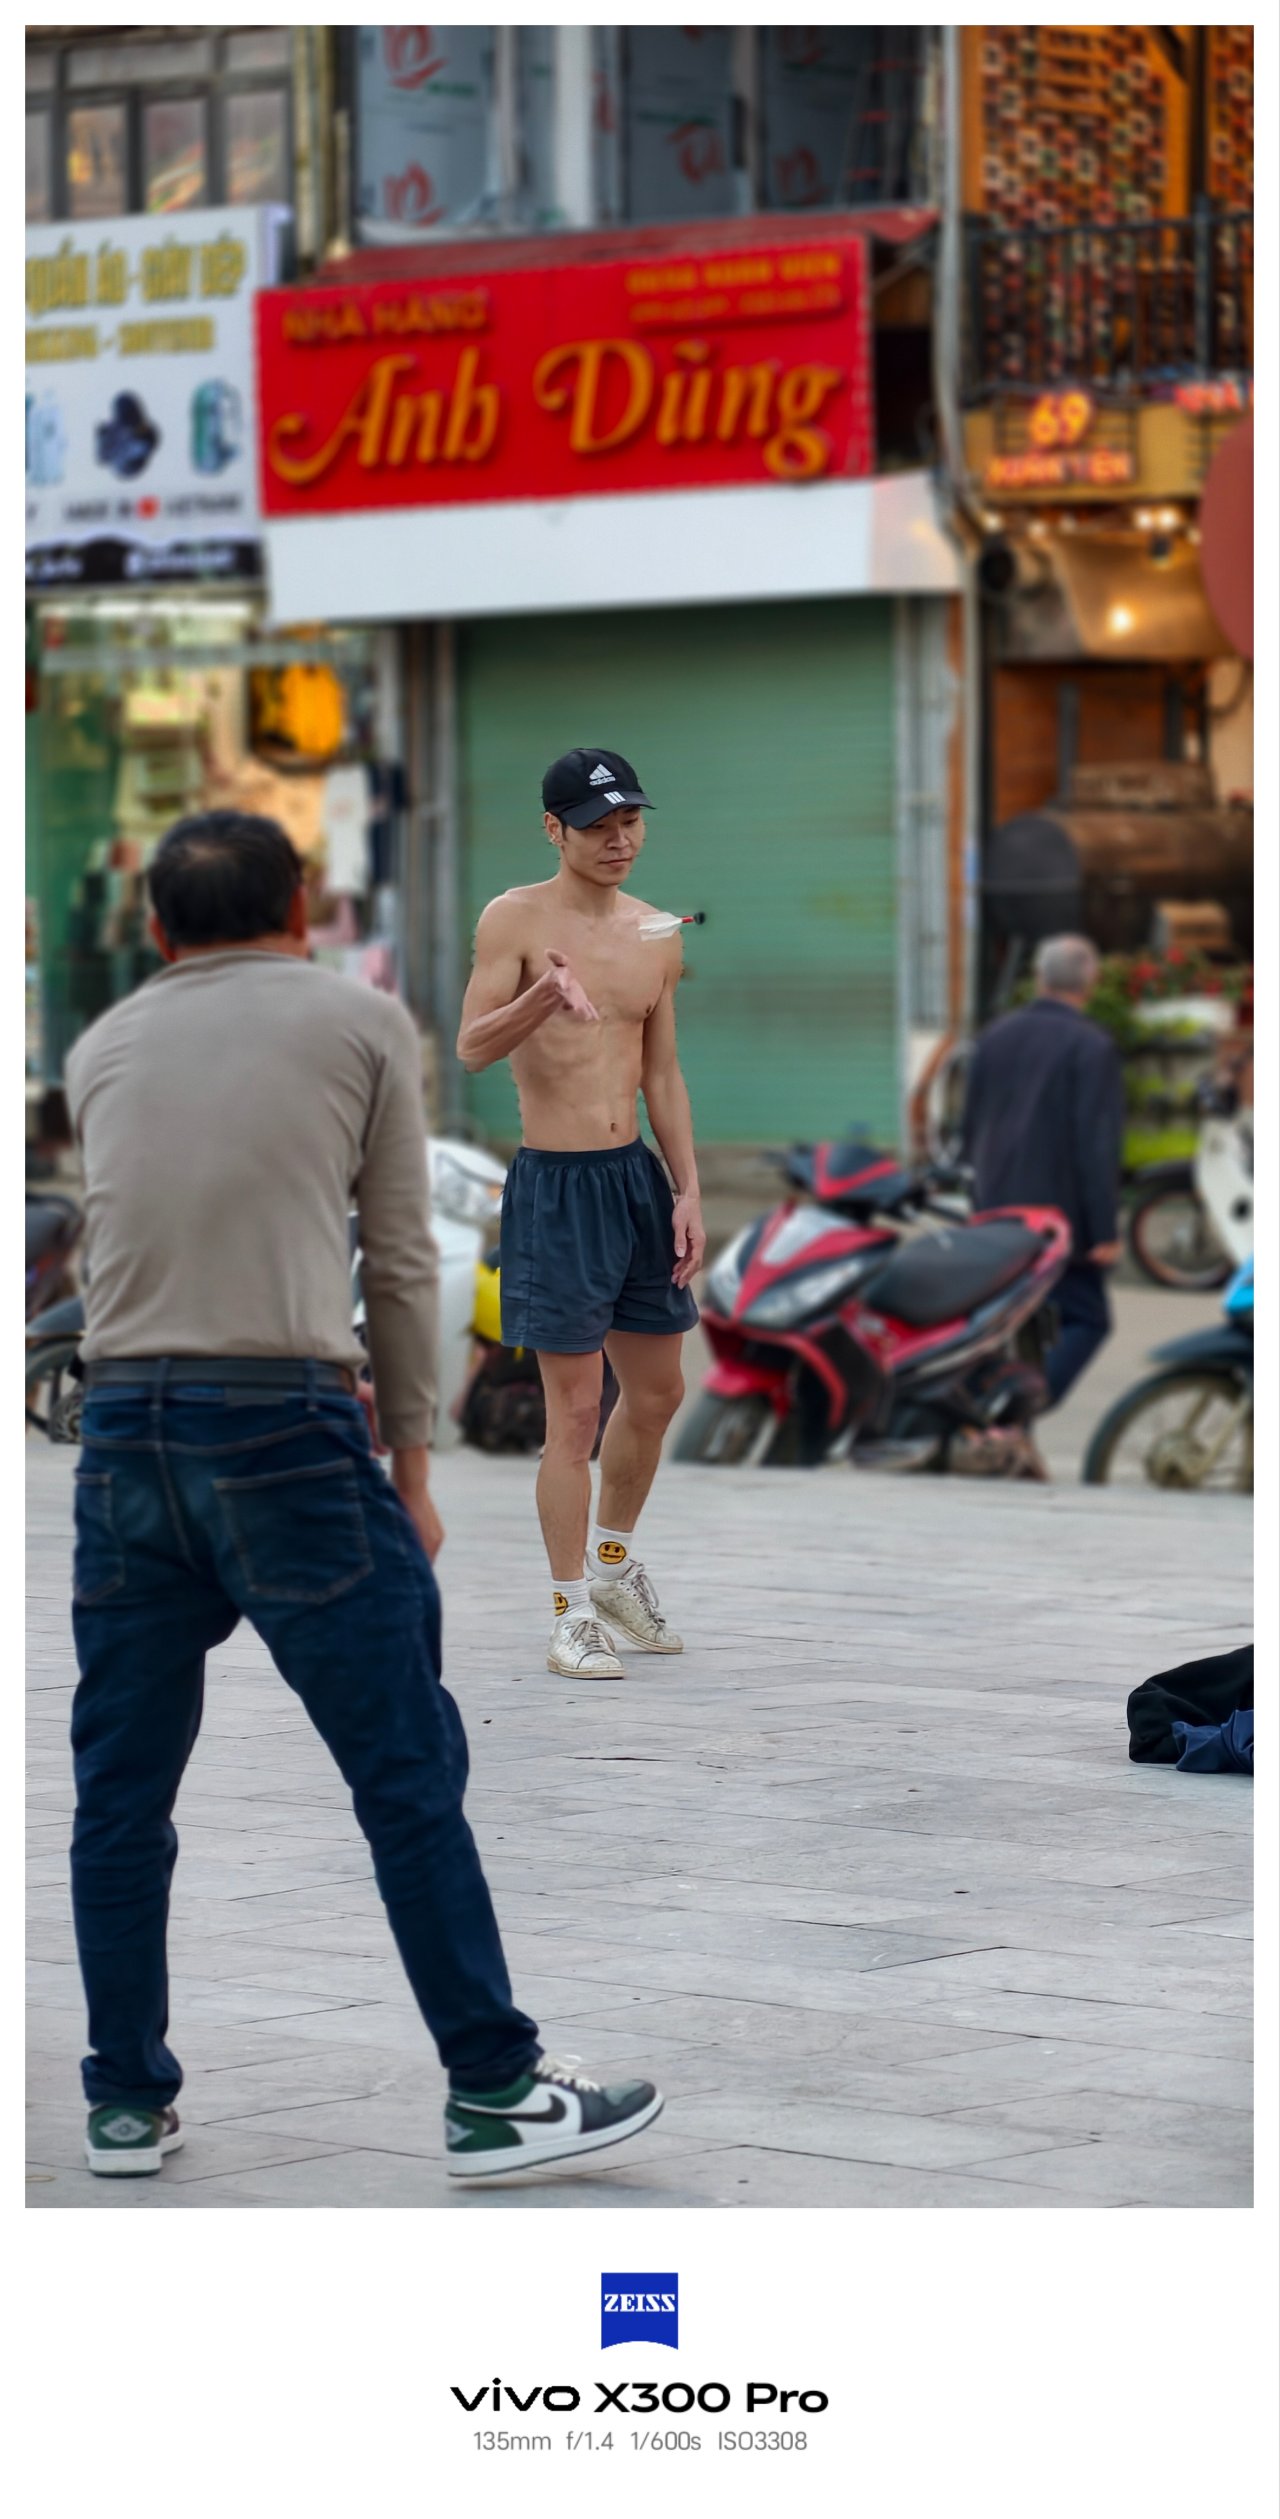


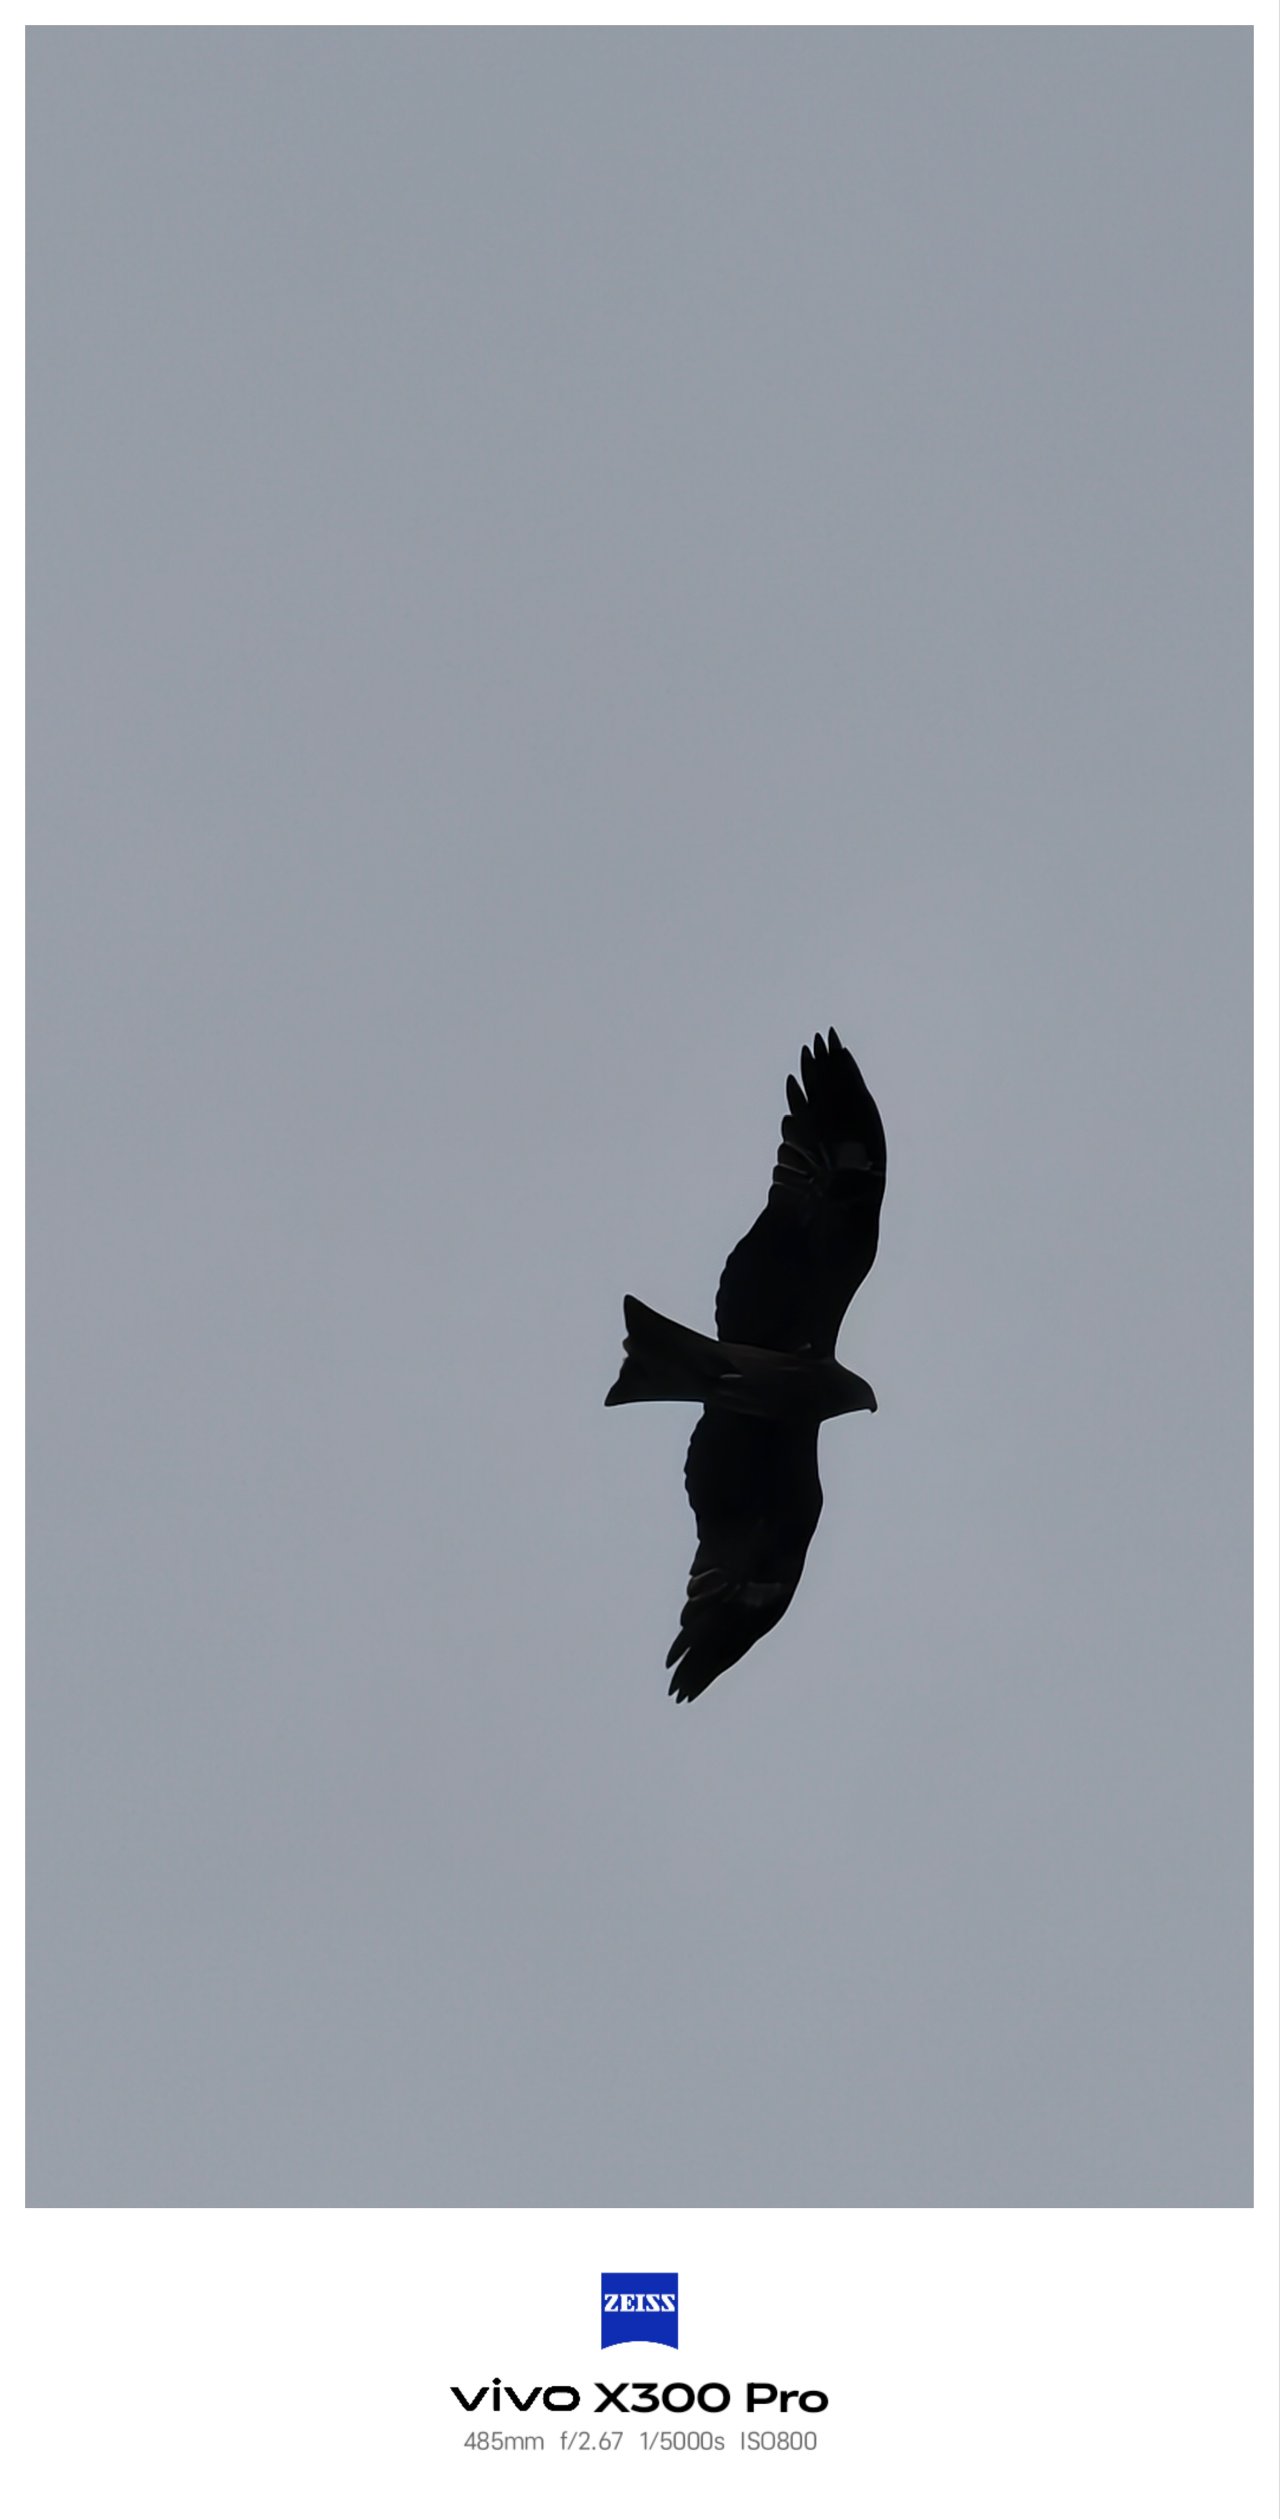
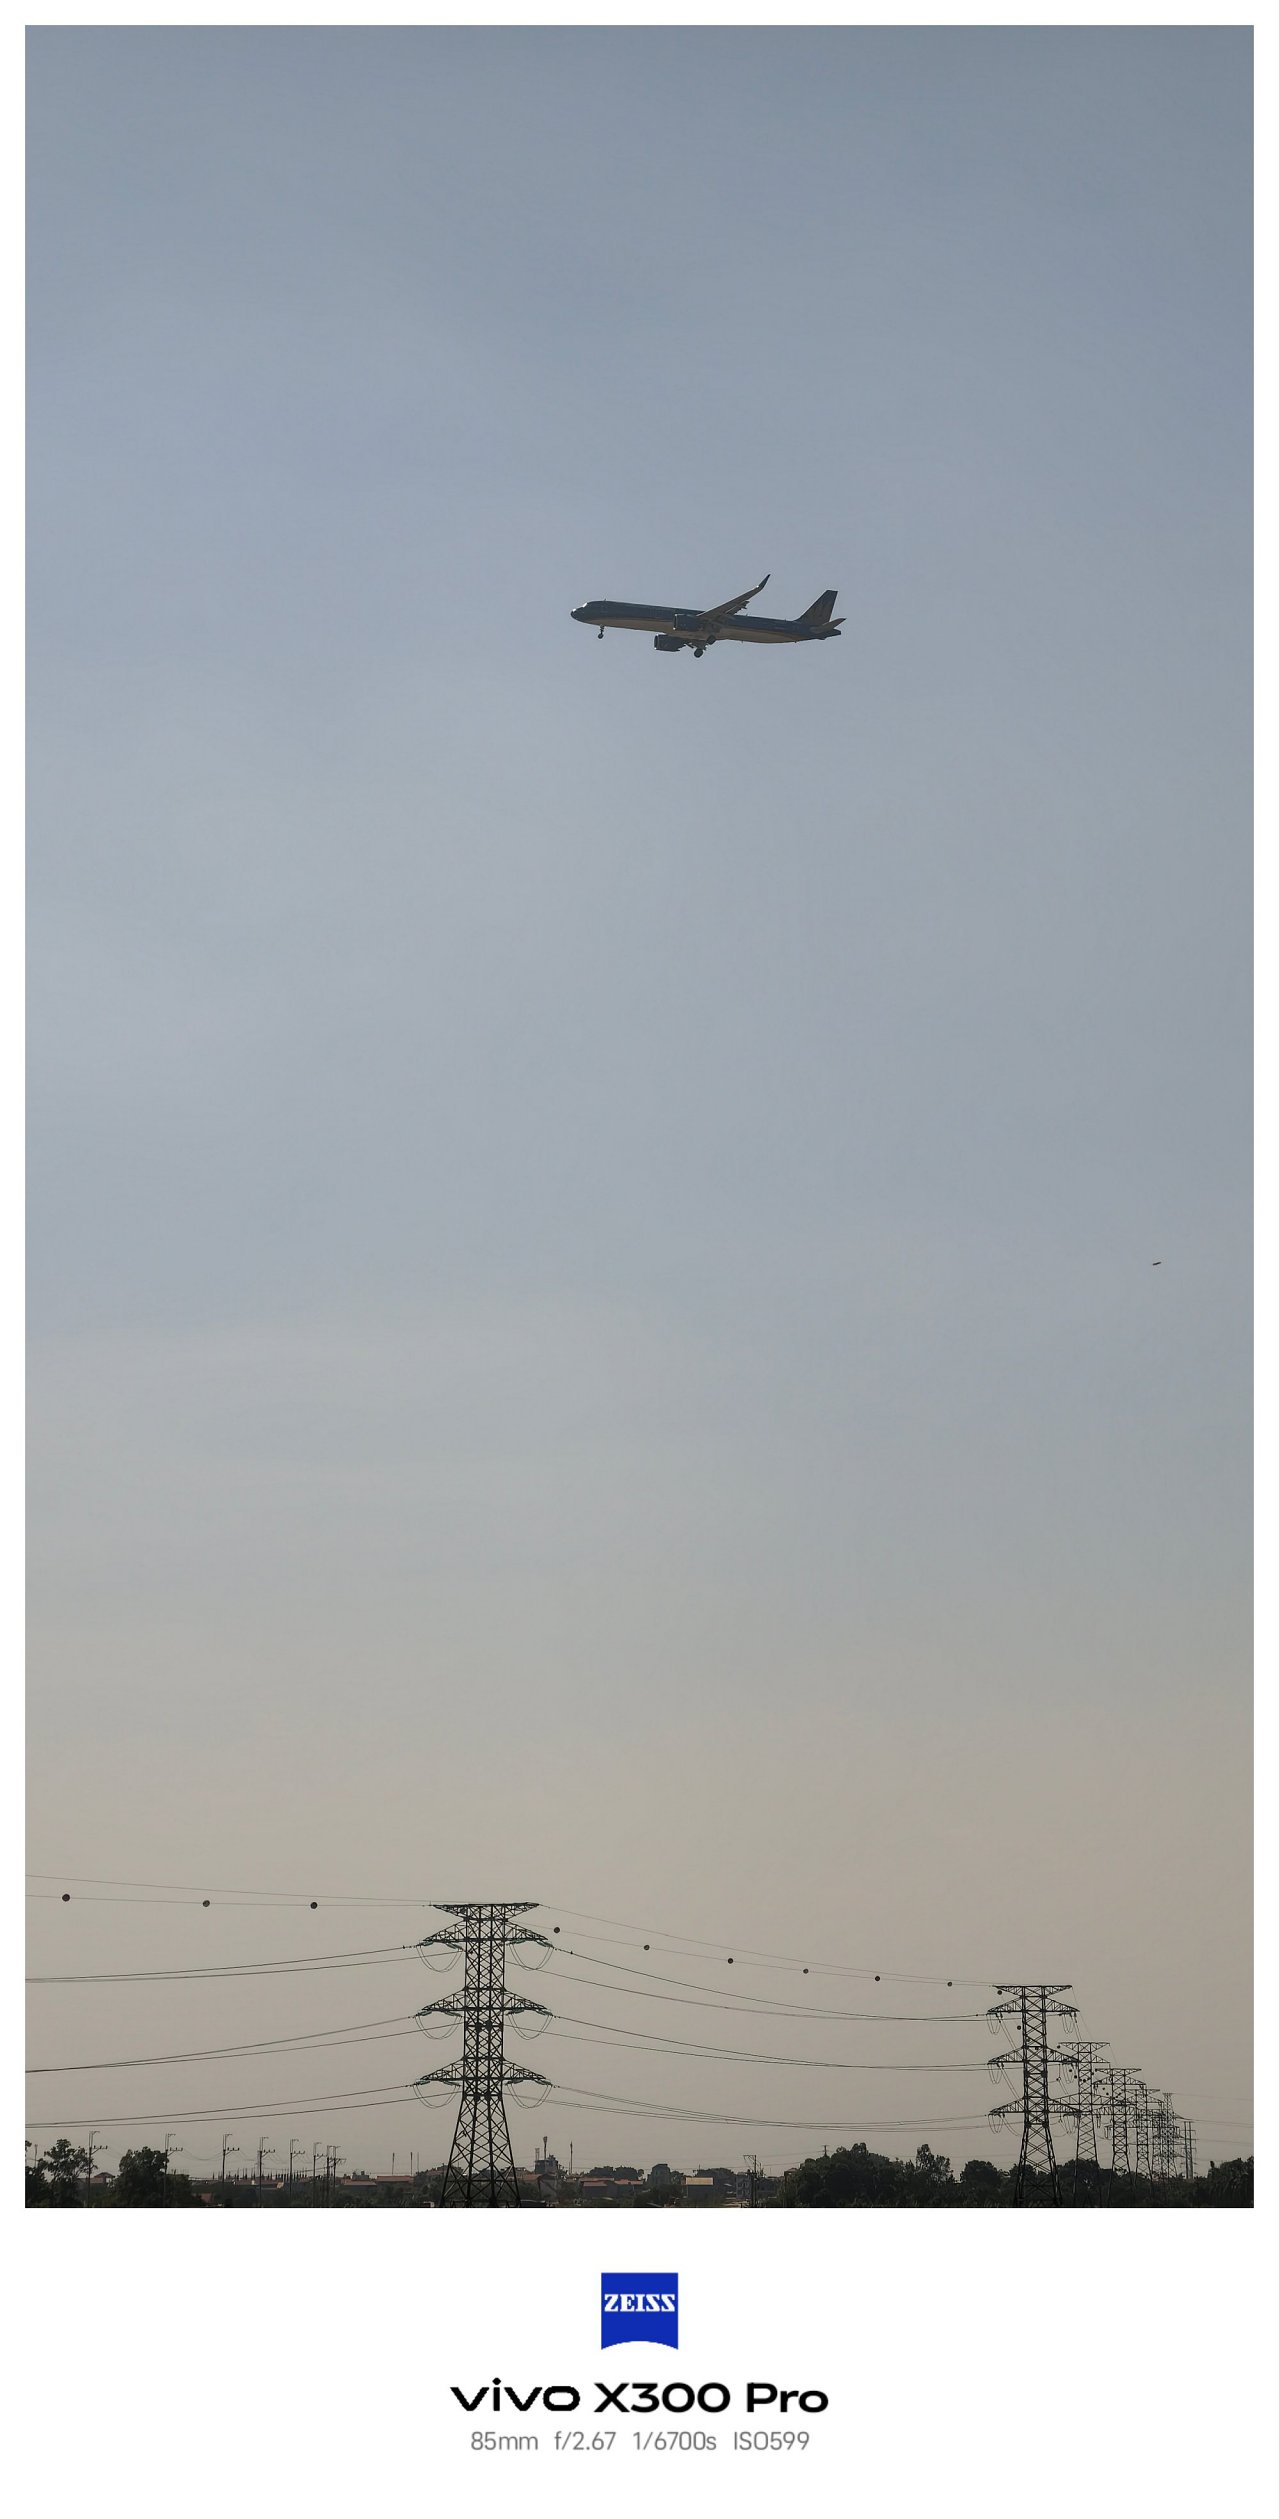



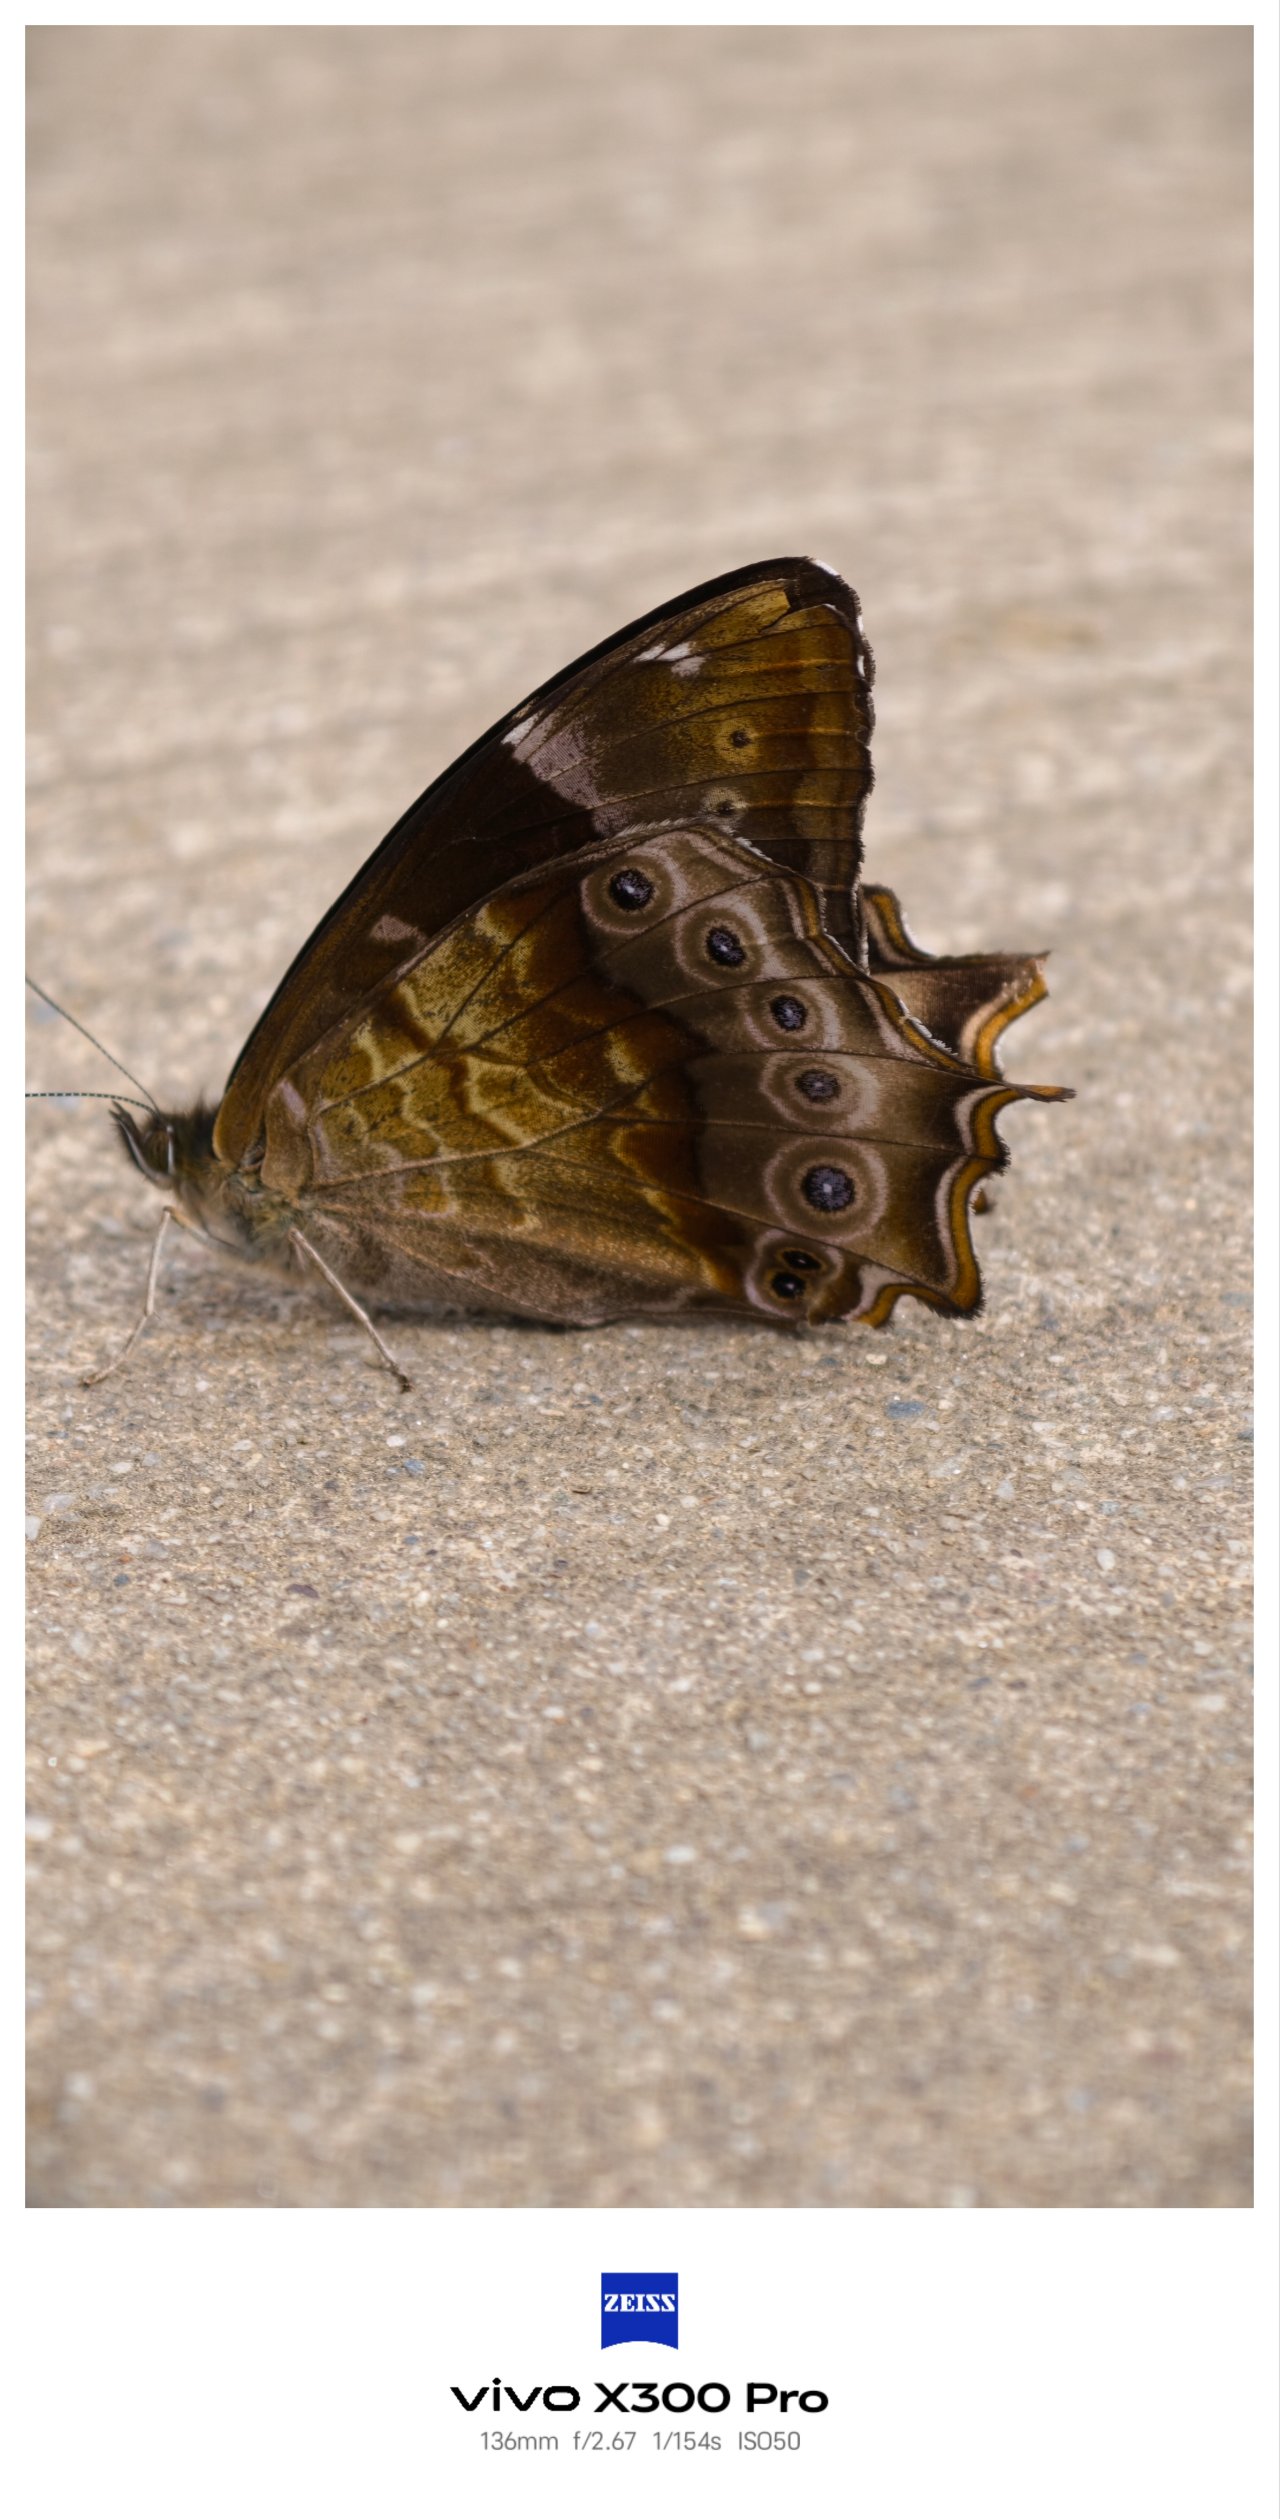
Just like hopping along three cities in Vietnam, I used the three lenses of the X300 Pro more extensively due to their overall flexibility — more than what I did with my mirrorless camera and the recently-bought 35mm prime lens attached to it.
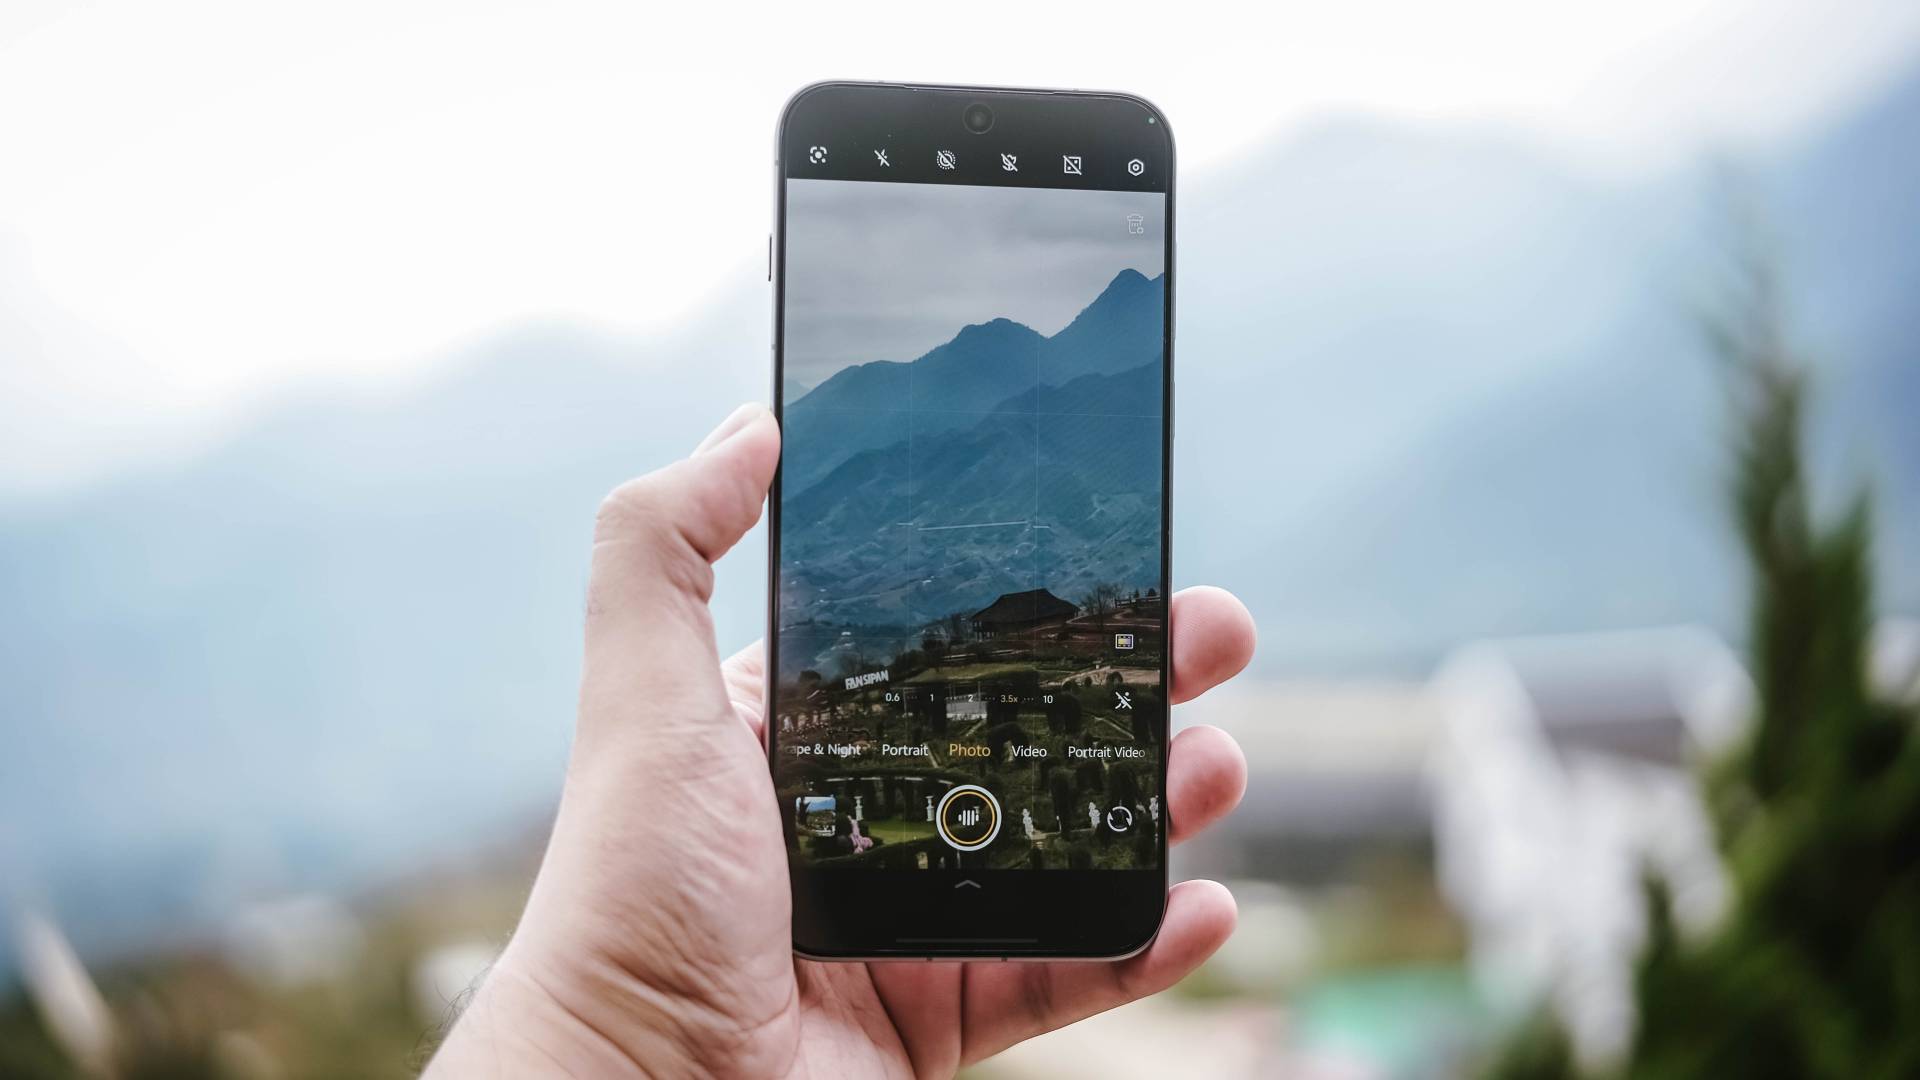
And by that, it’s the phone’s capability to switch seamlessly between several focal length options with little to no degradation.
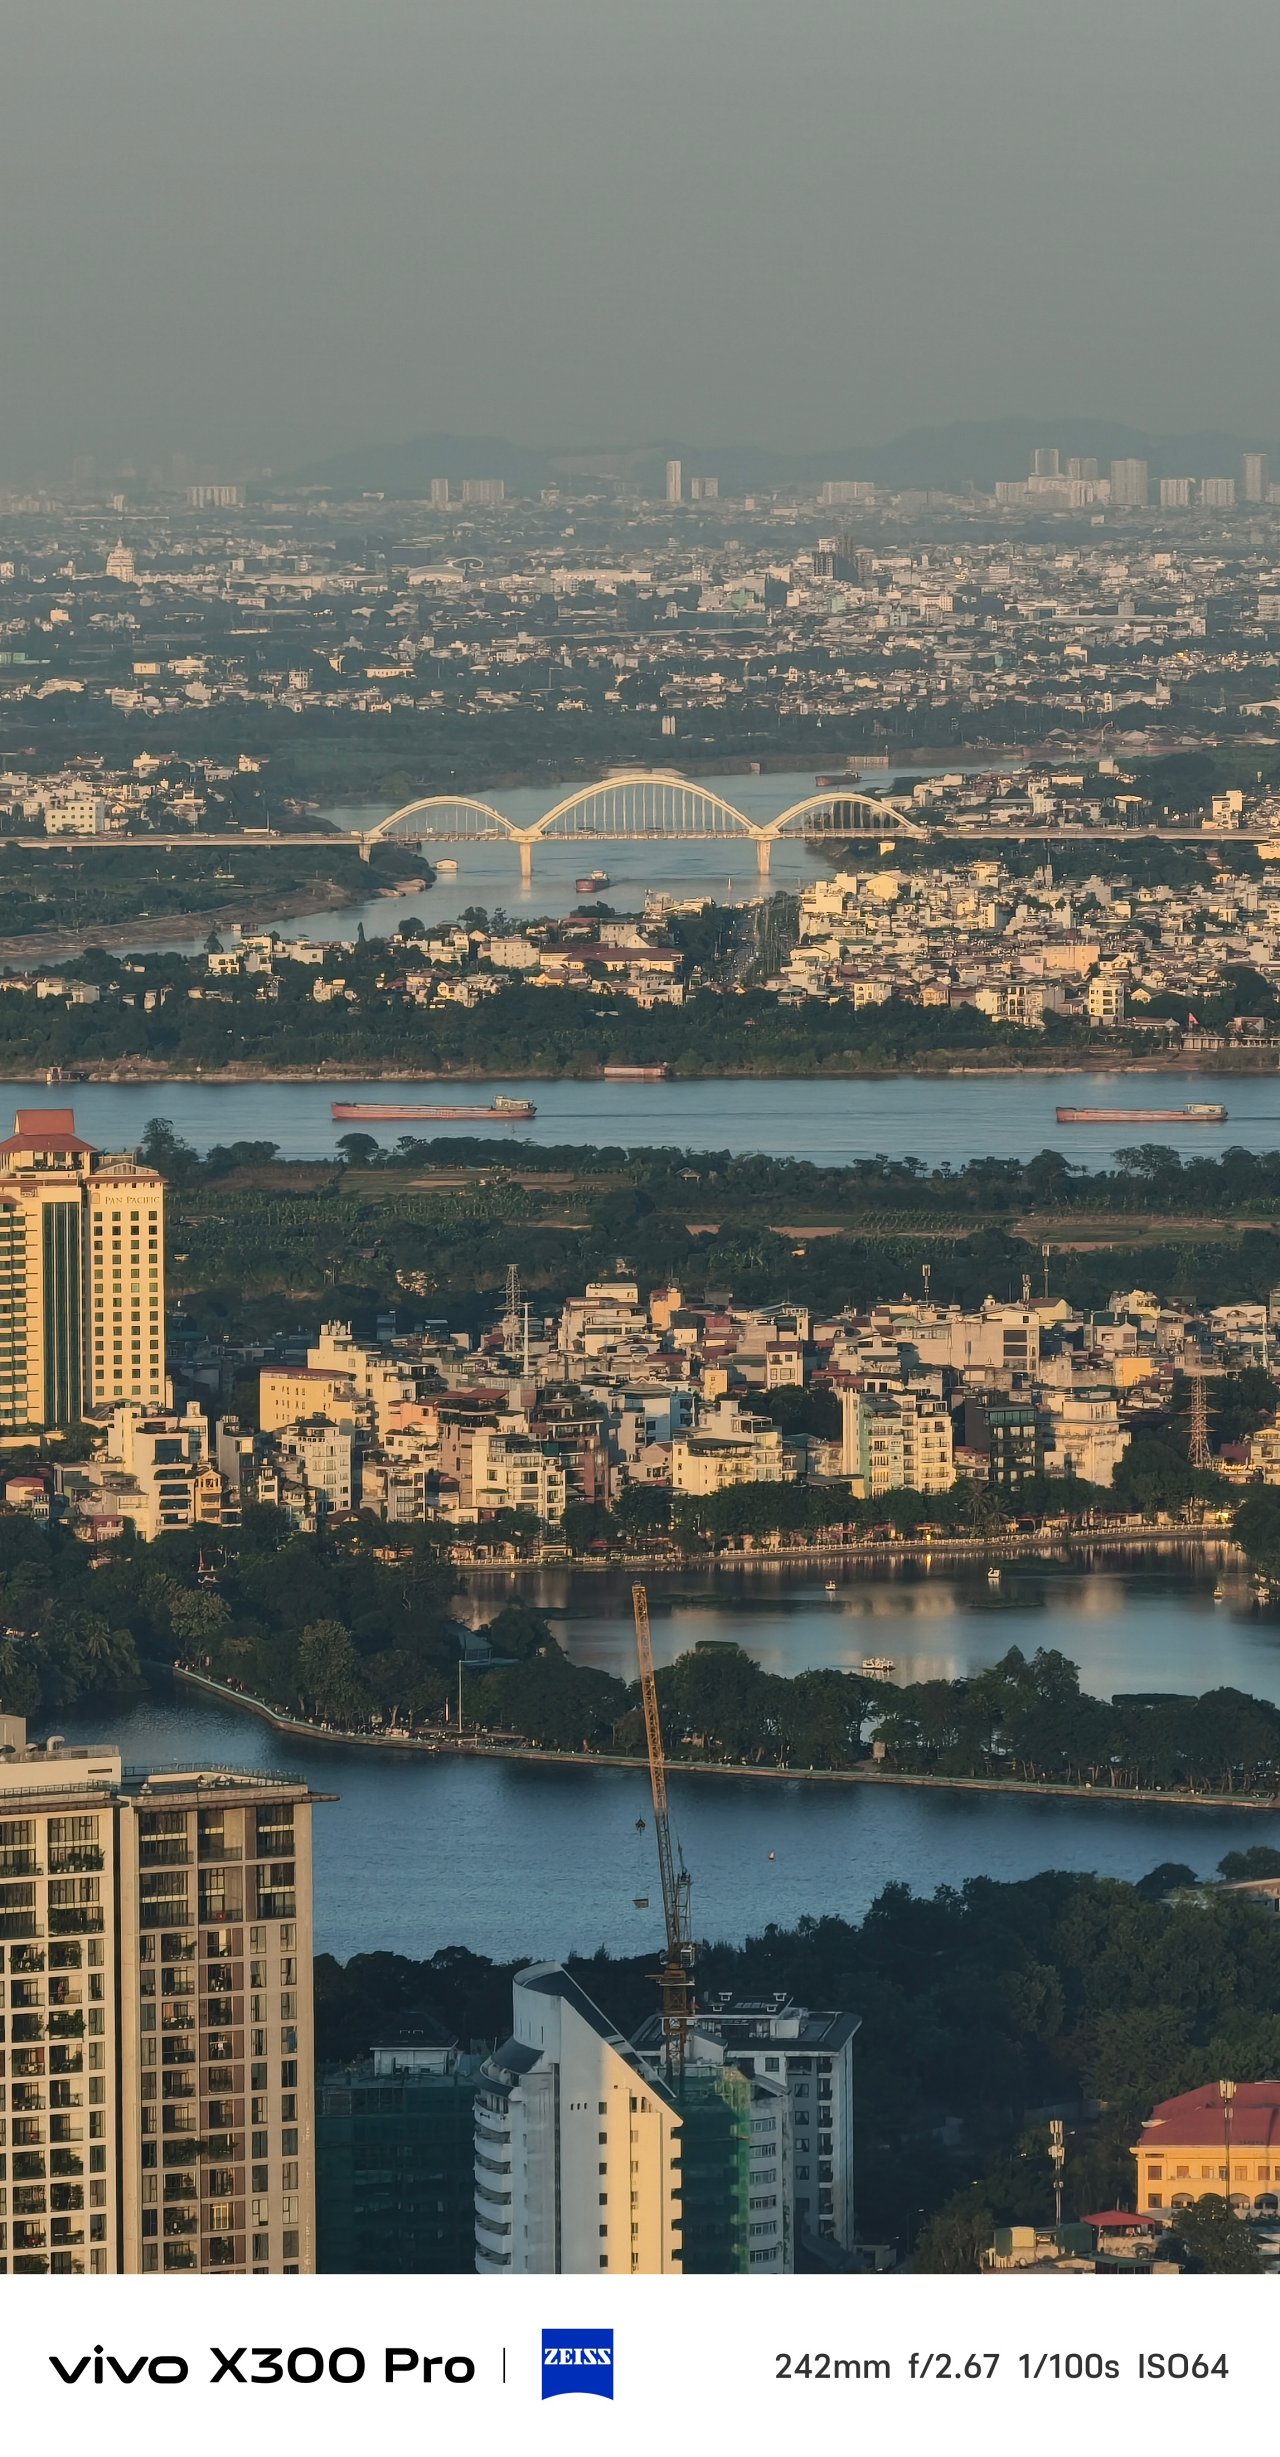
That also meant consistent colors regardless if you use the main 1x mode, UWA (ultra-wide angle), its optical 3.5x zoom, or even beyond 5x lossless zoom.
X-ceptional Collab
The superiority of vivo X300 Pro’s cameras doesn’t revolve only around its hardware. Over the years, vivo has strengthened its ties with ZEISS even further. Starting it all with the X60 all the way to X300 series, the brand’s exceptional collab is stronger than ever.
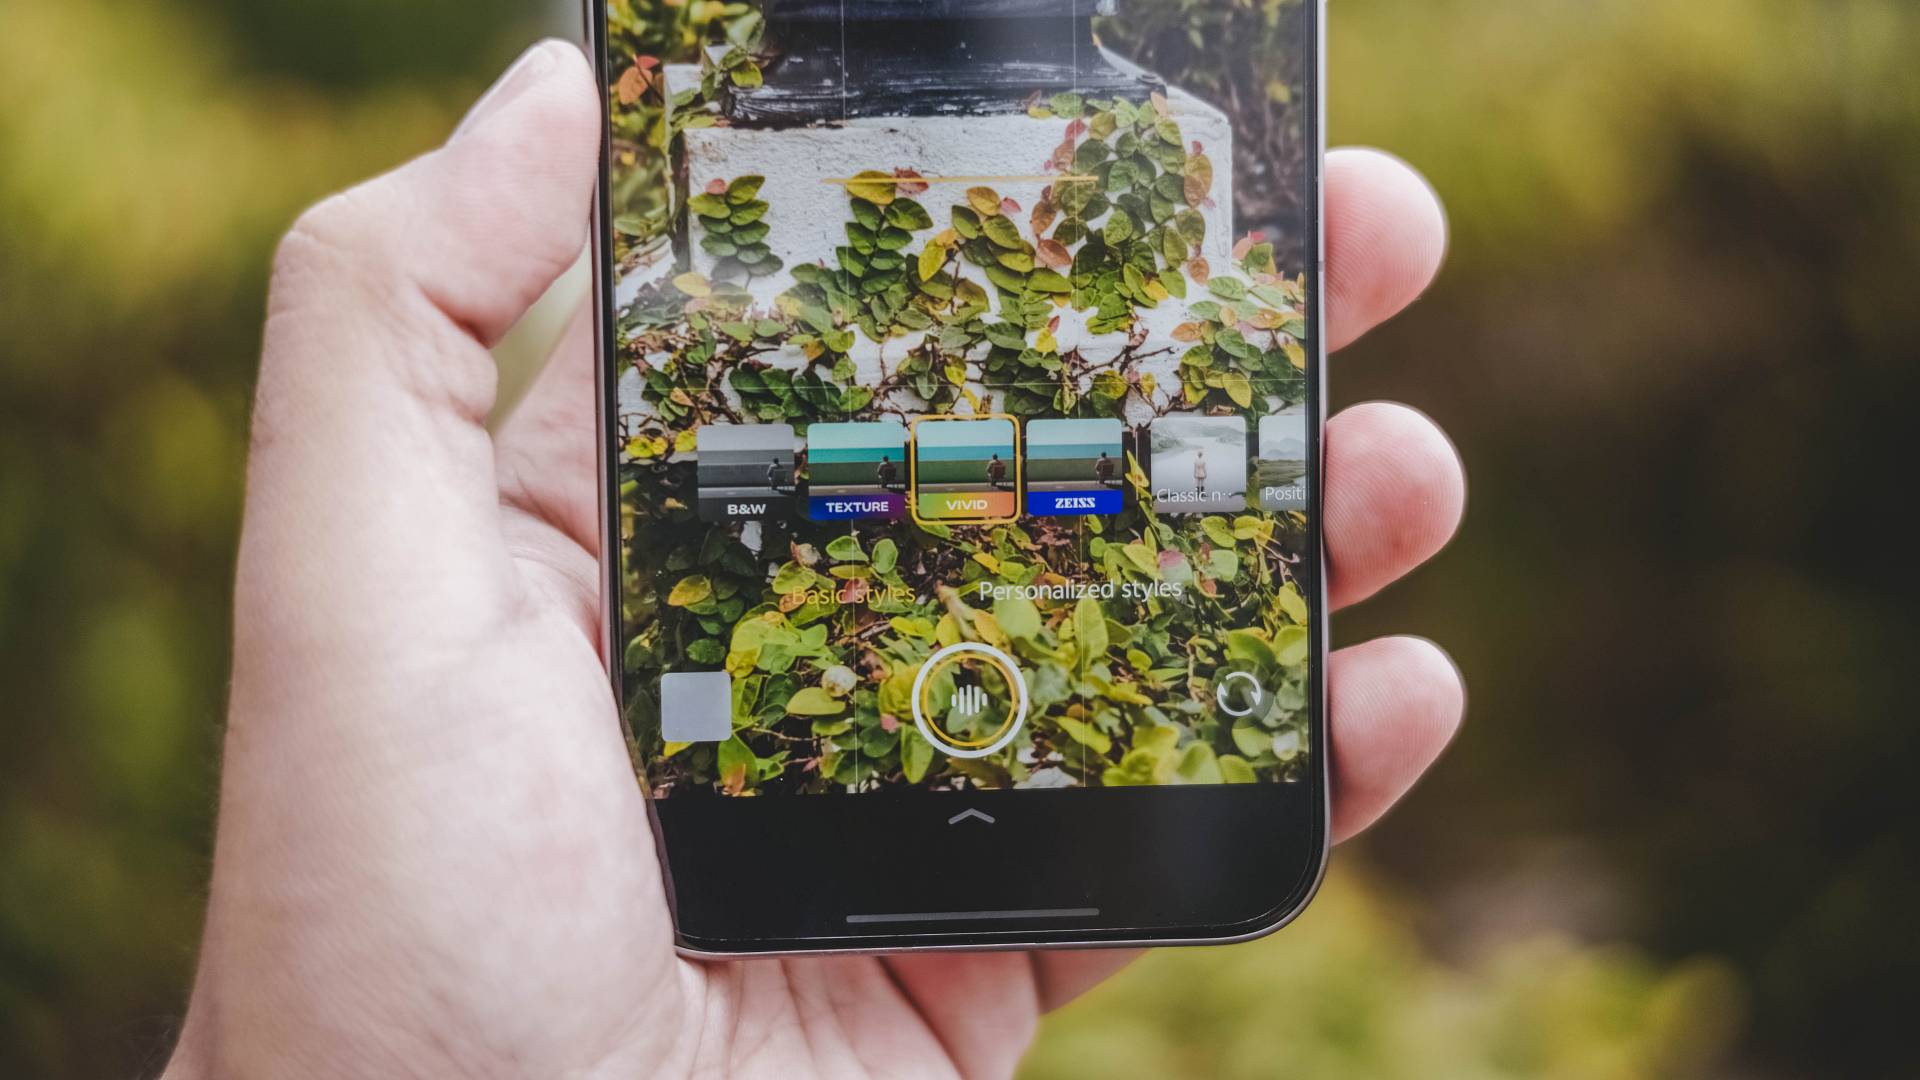
The default ZEISS color profile captures photos that look natural without being too flat. I’ve been using this in subjects that offers the best balance in shadows and saturation.
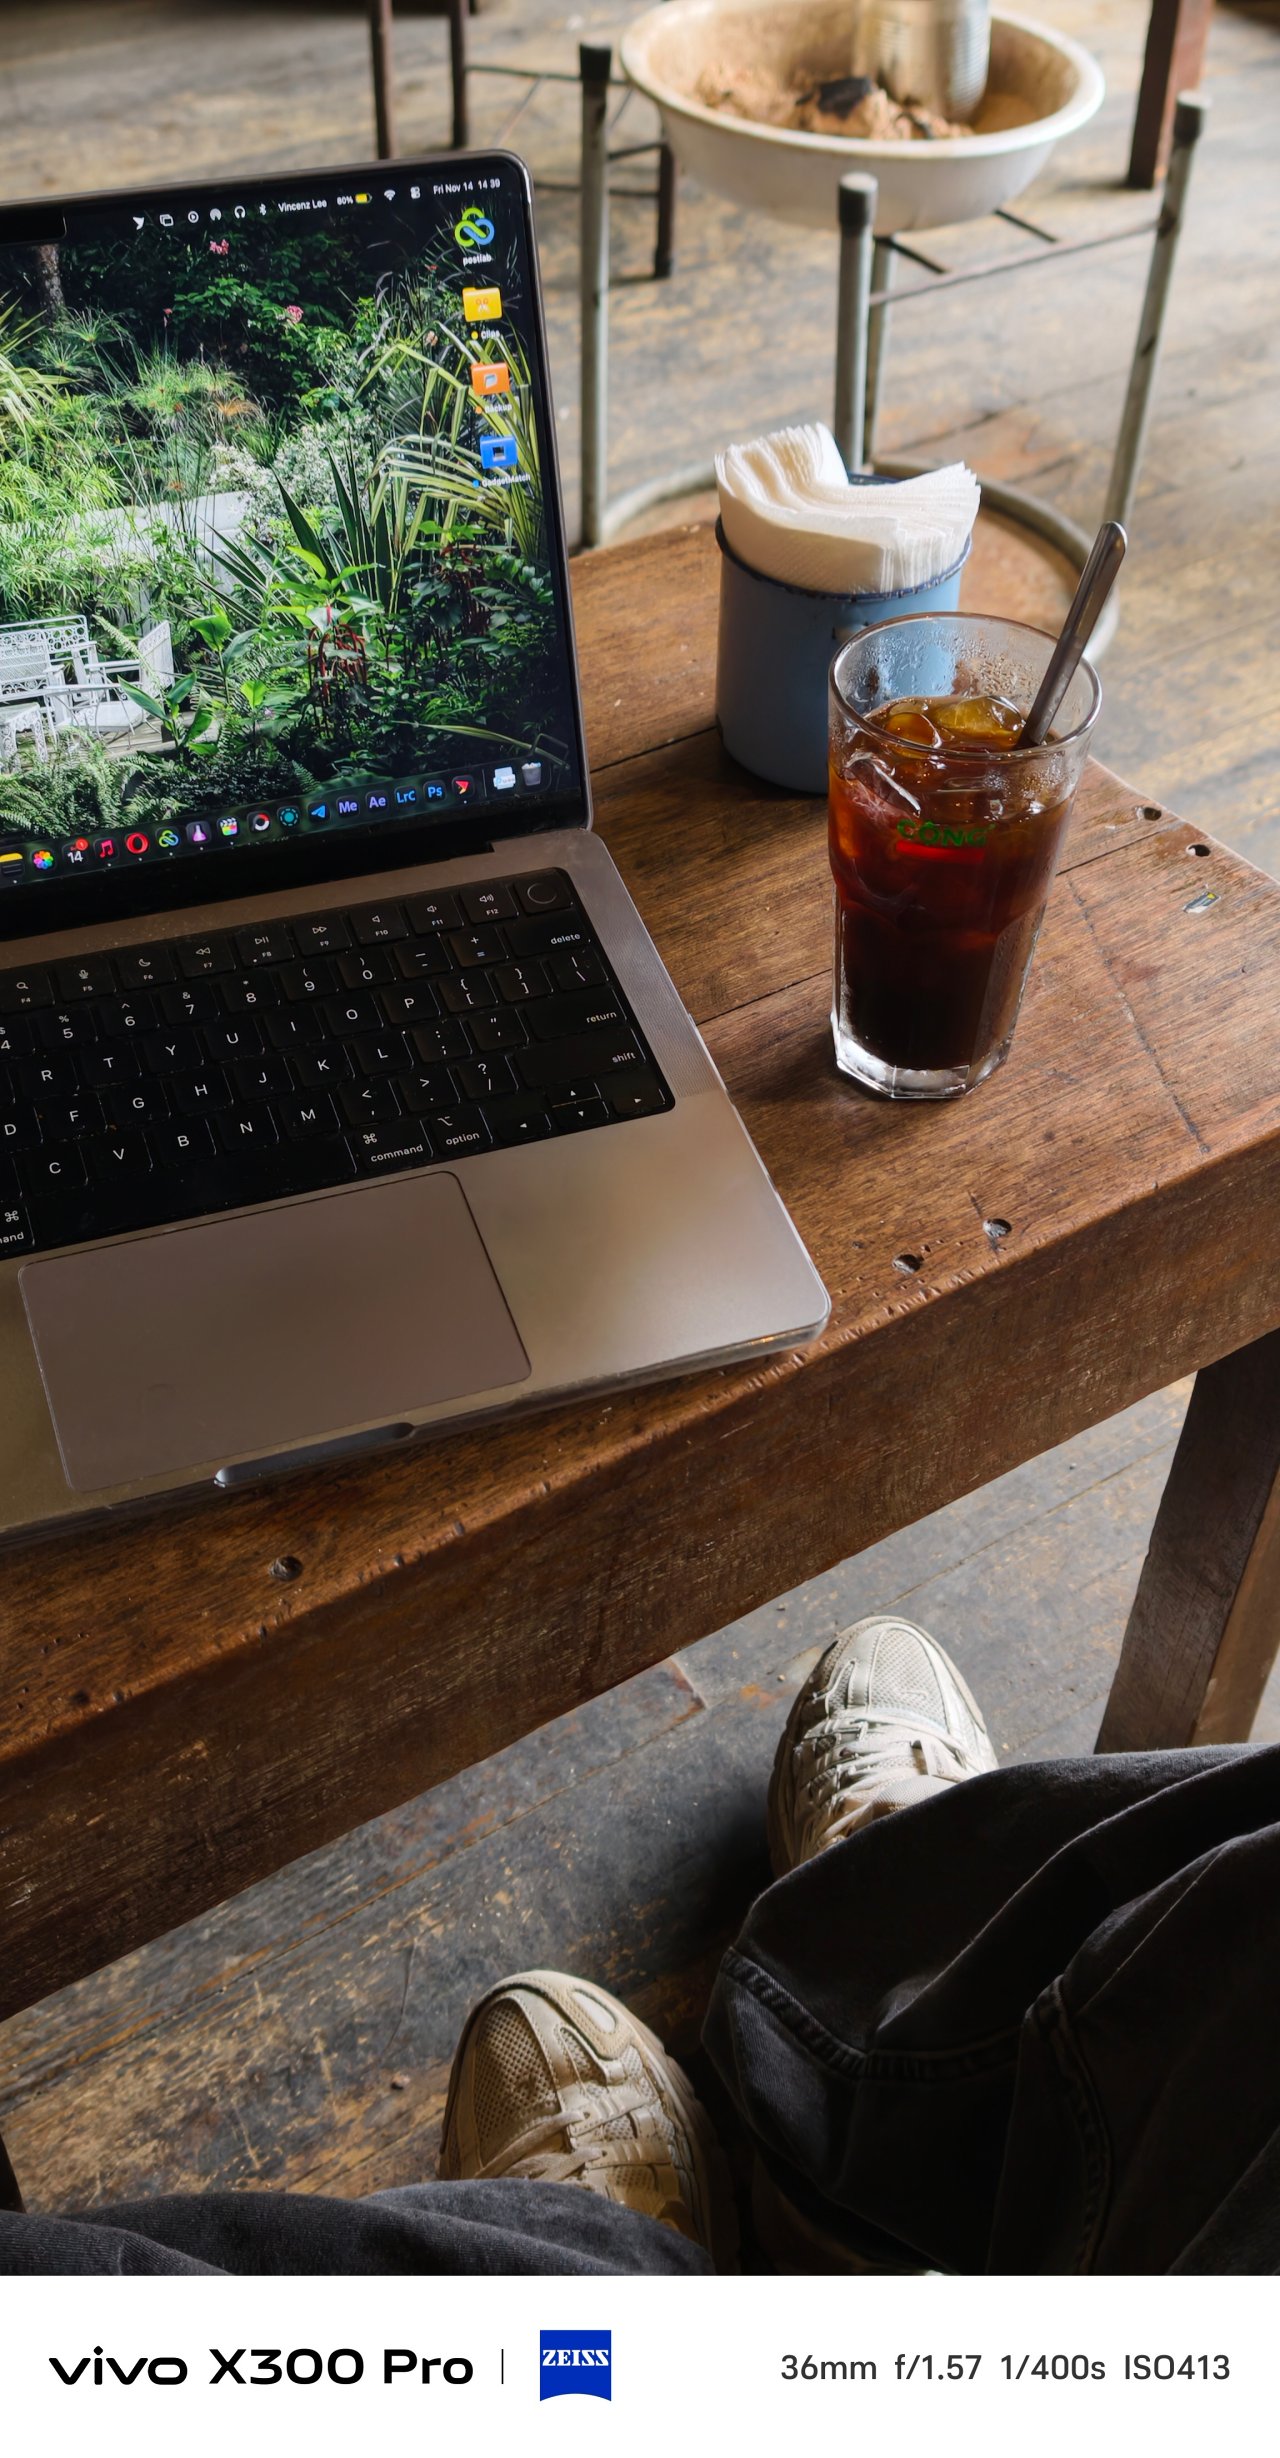


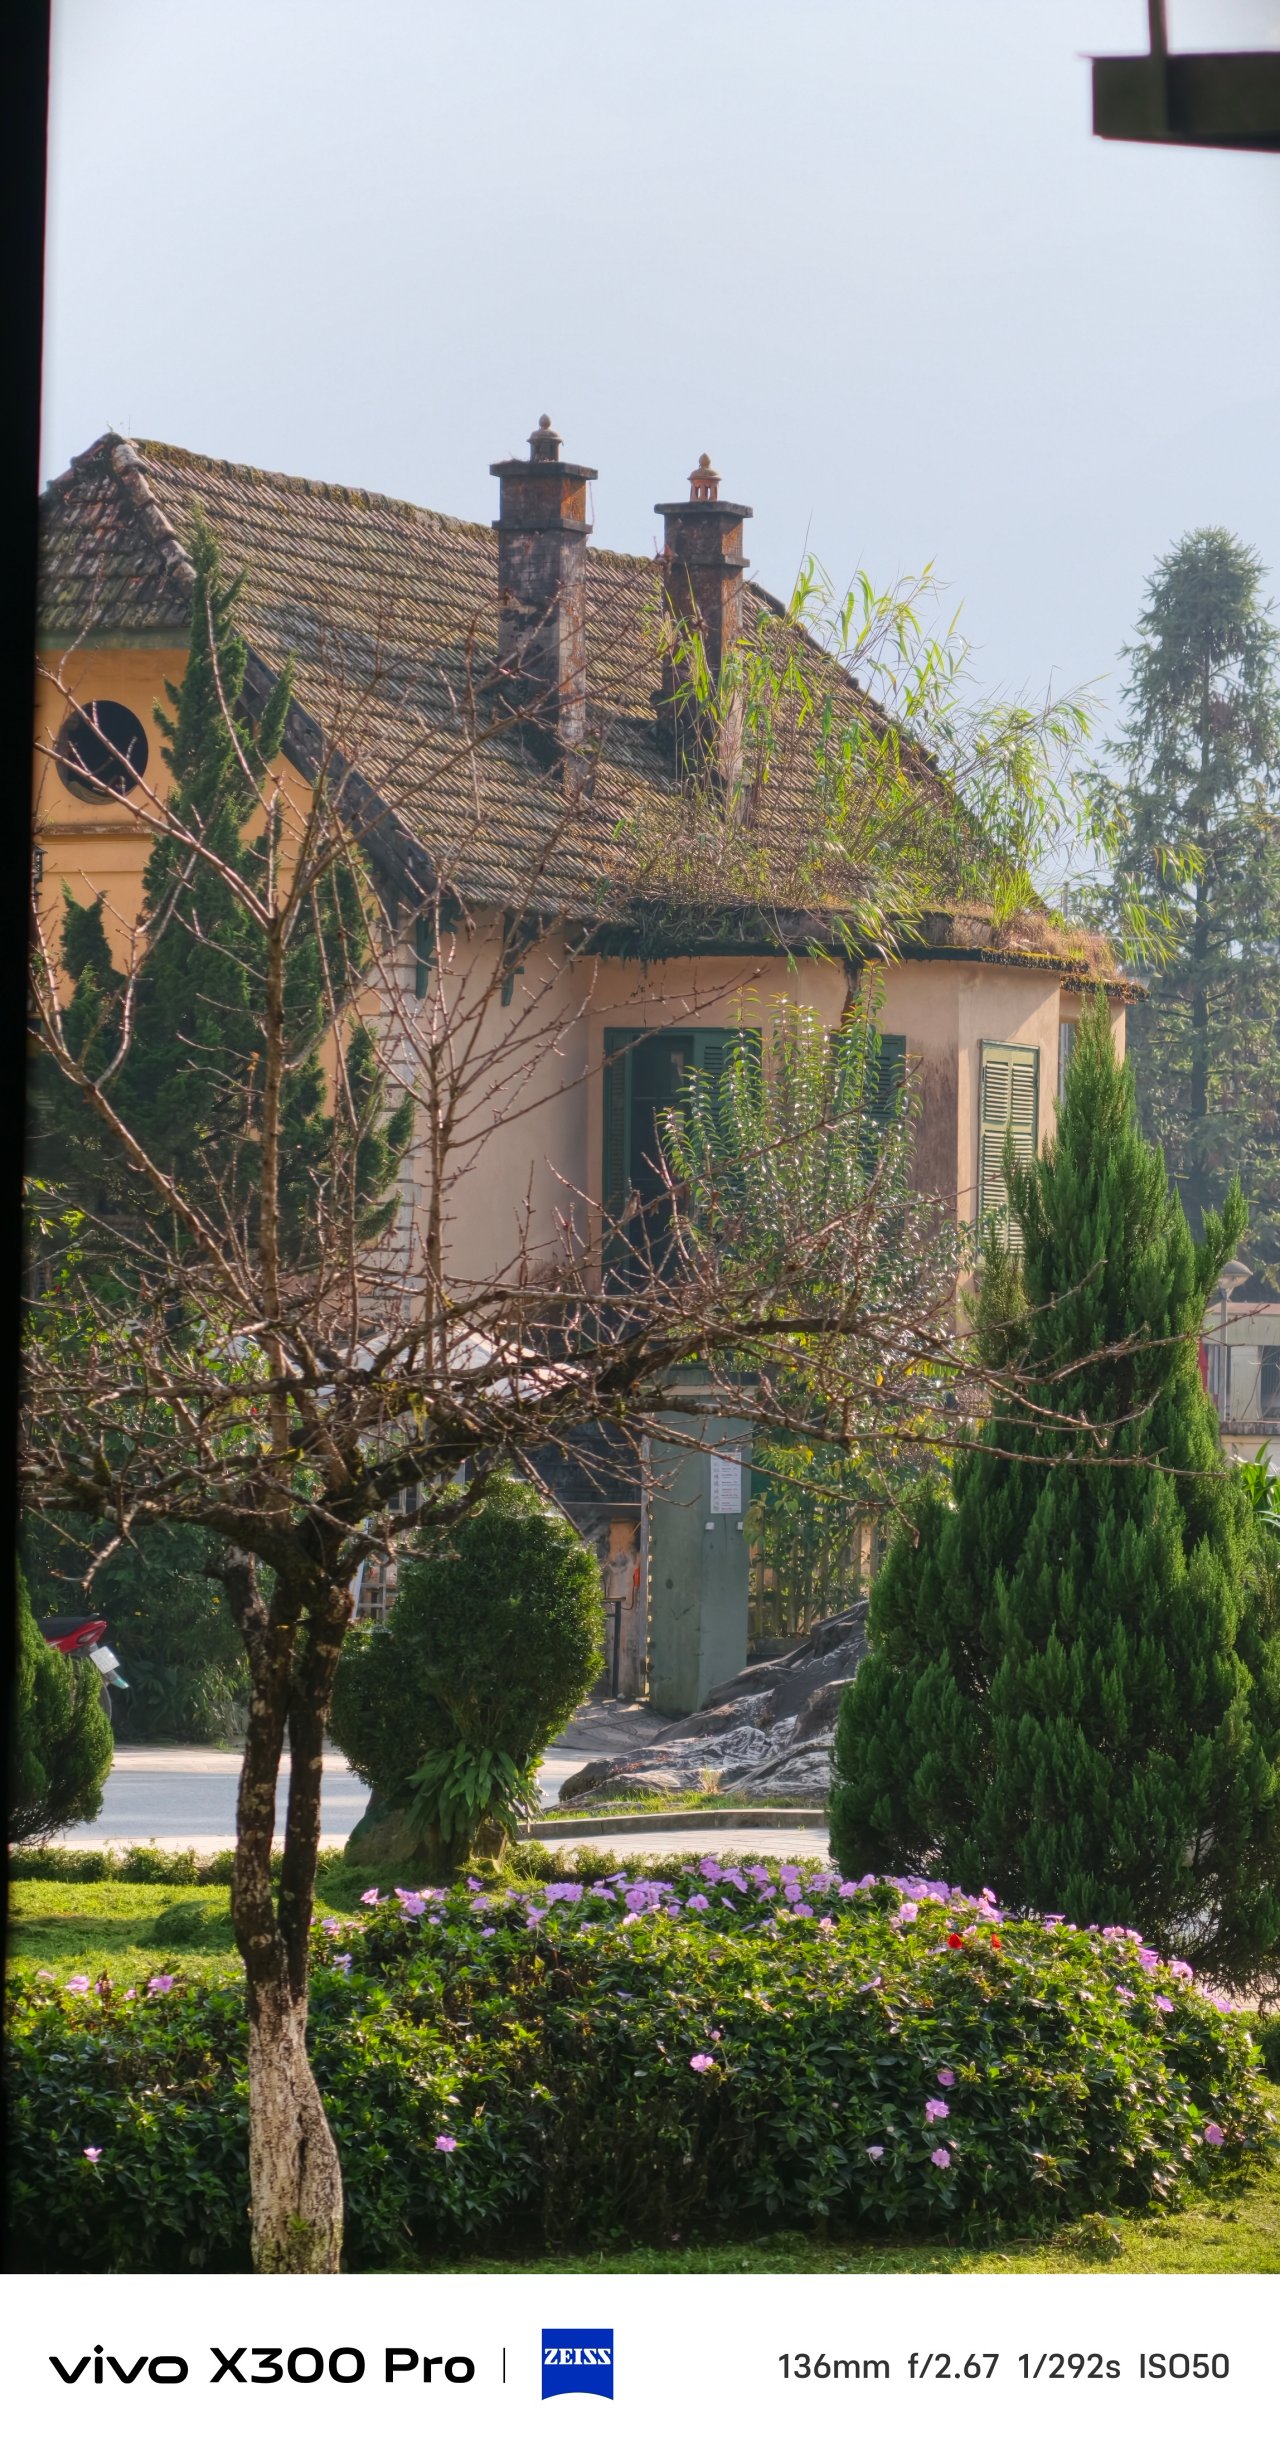

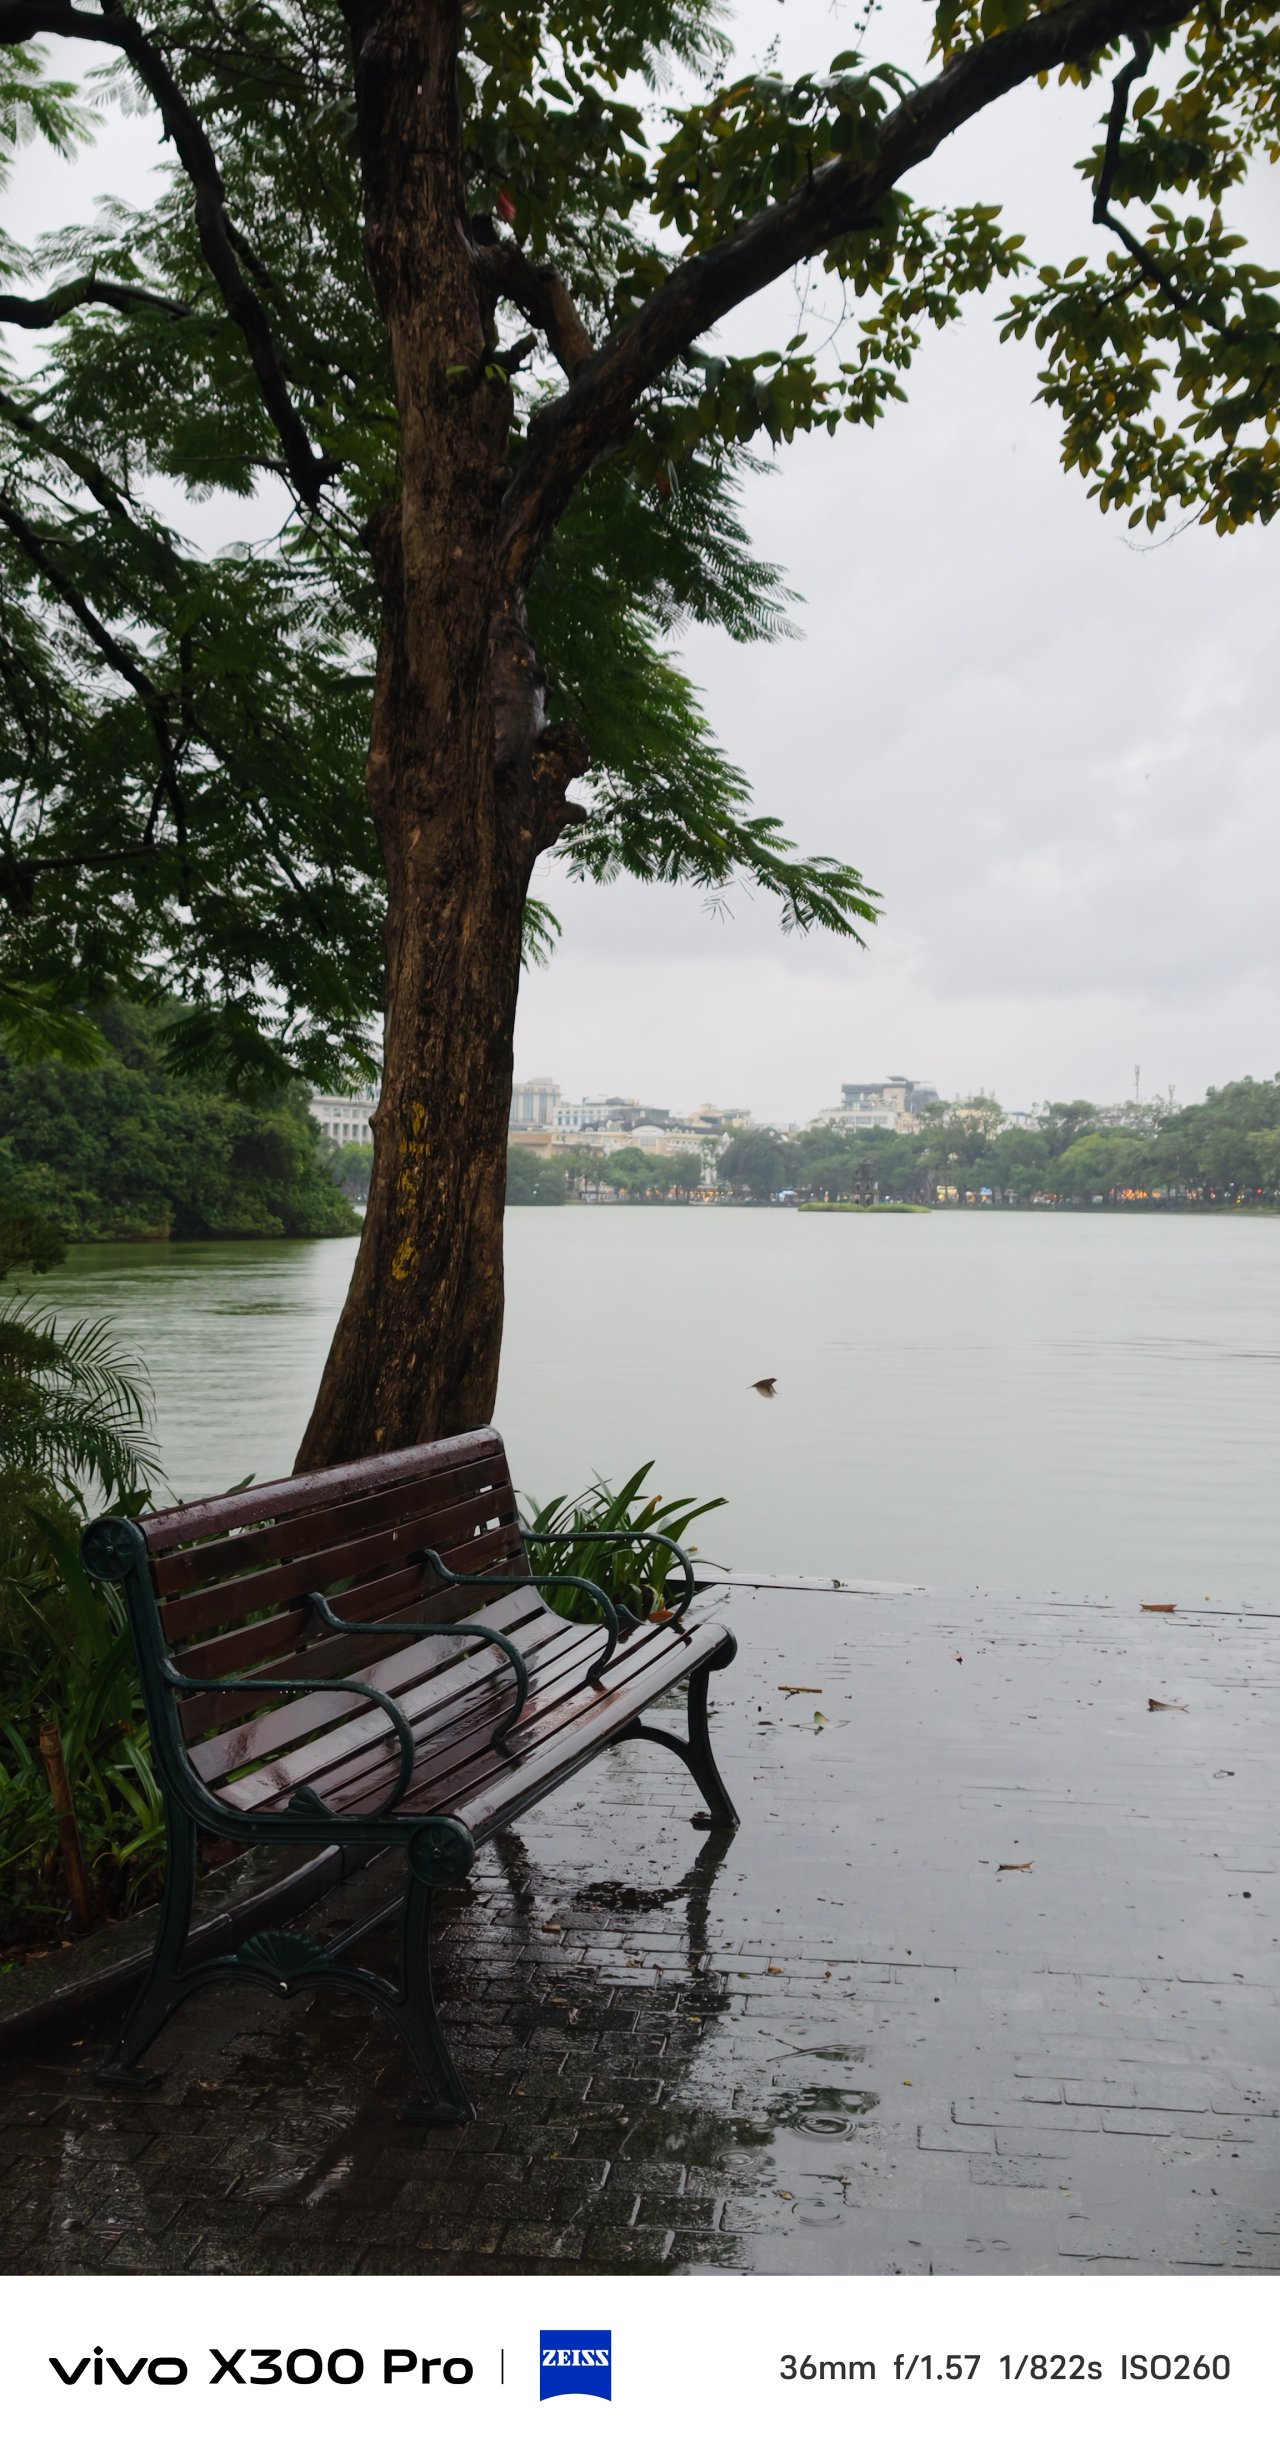
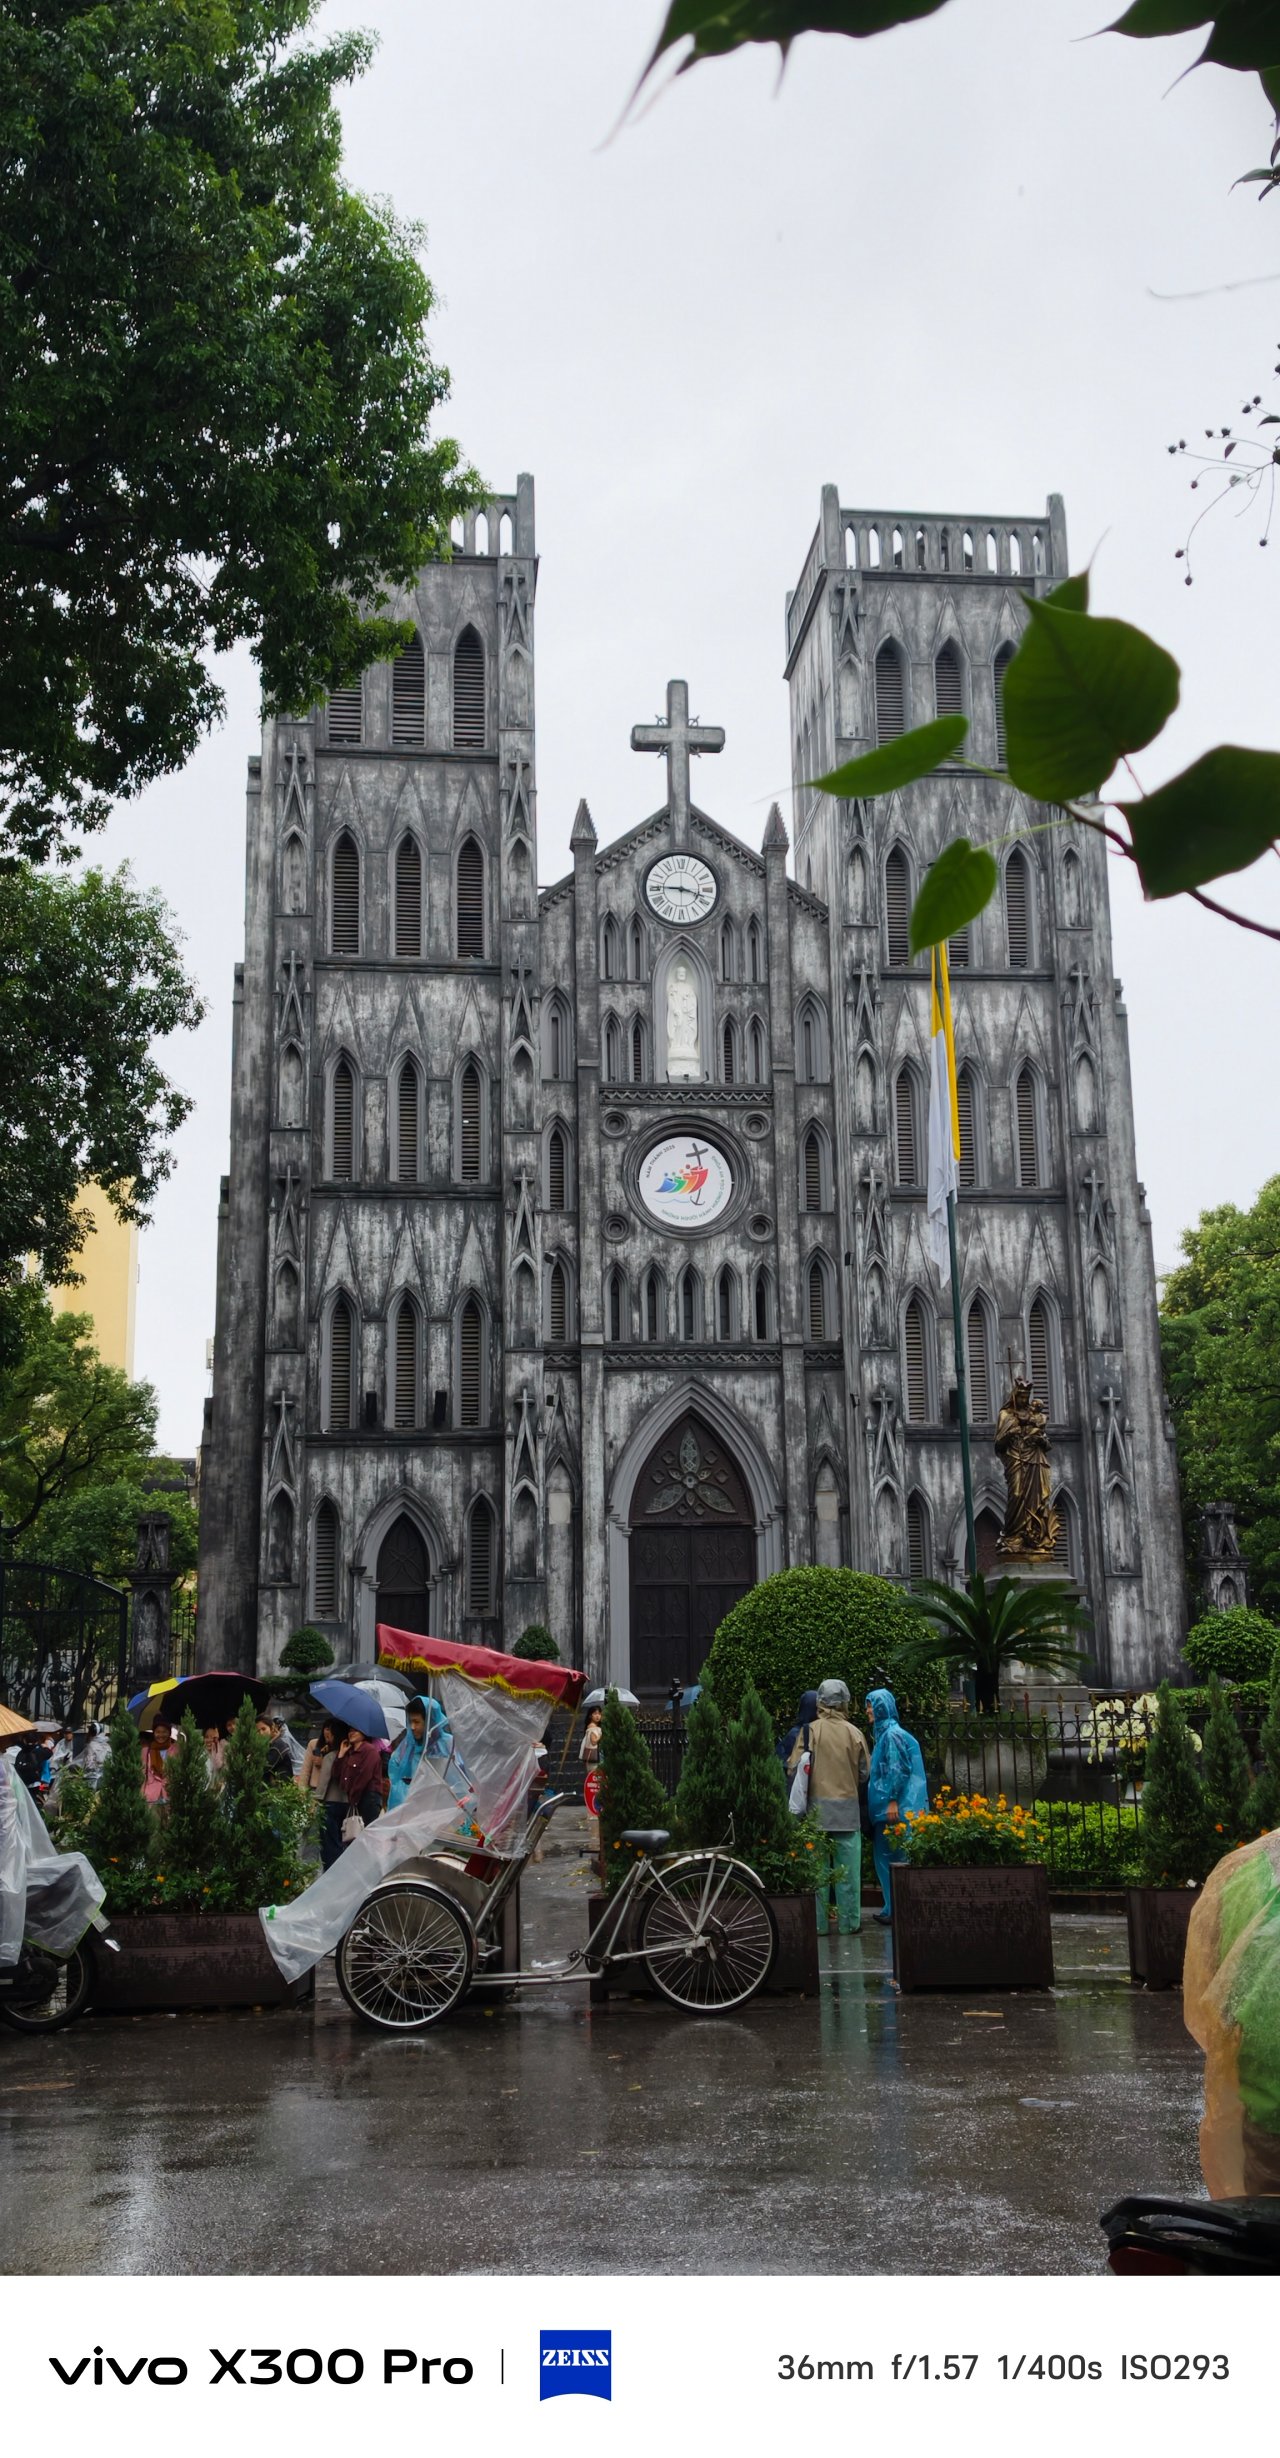
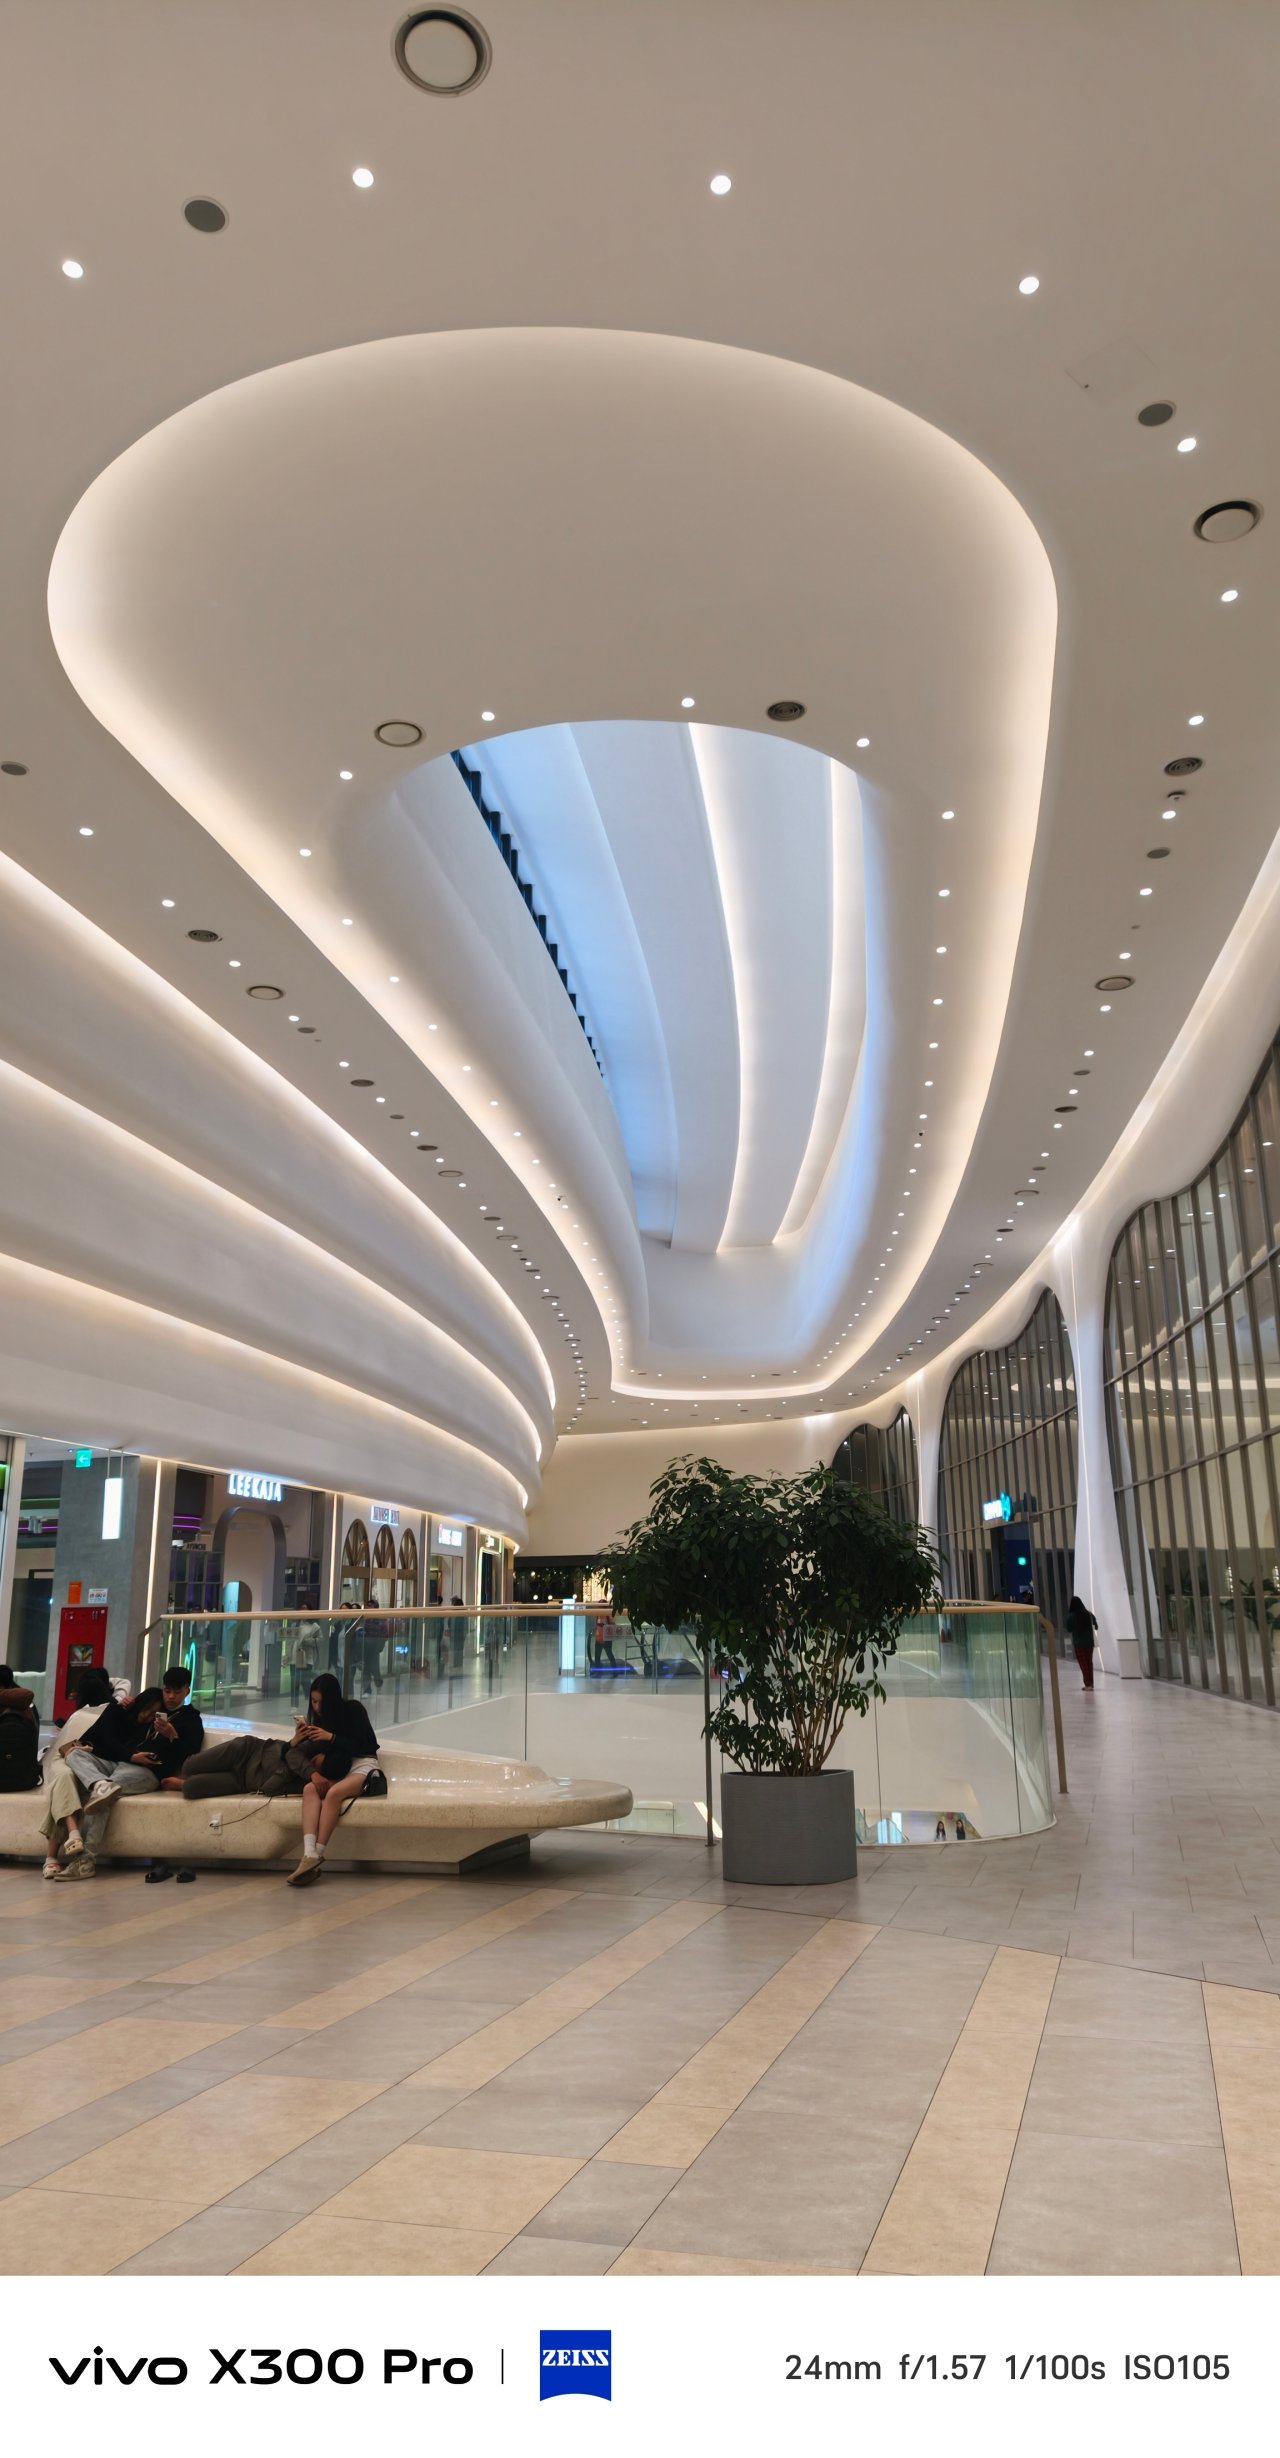

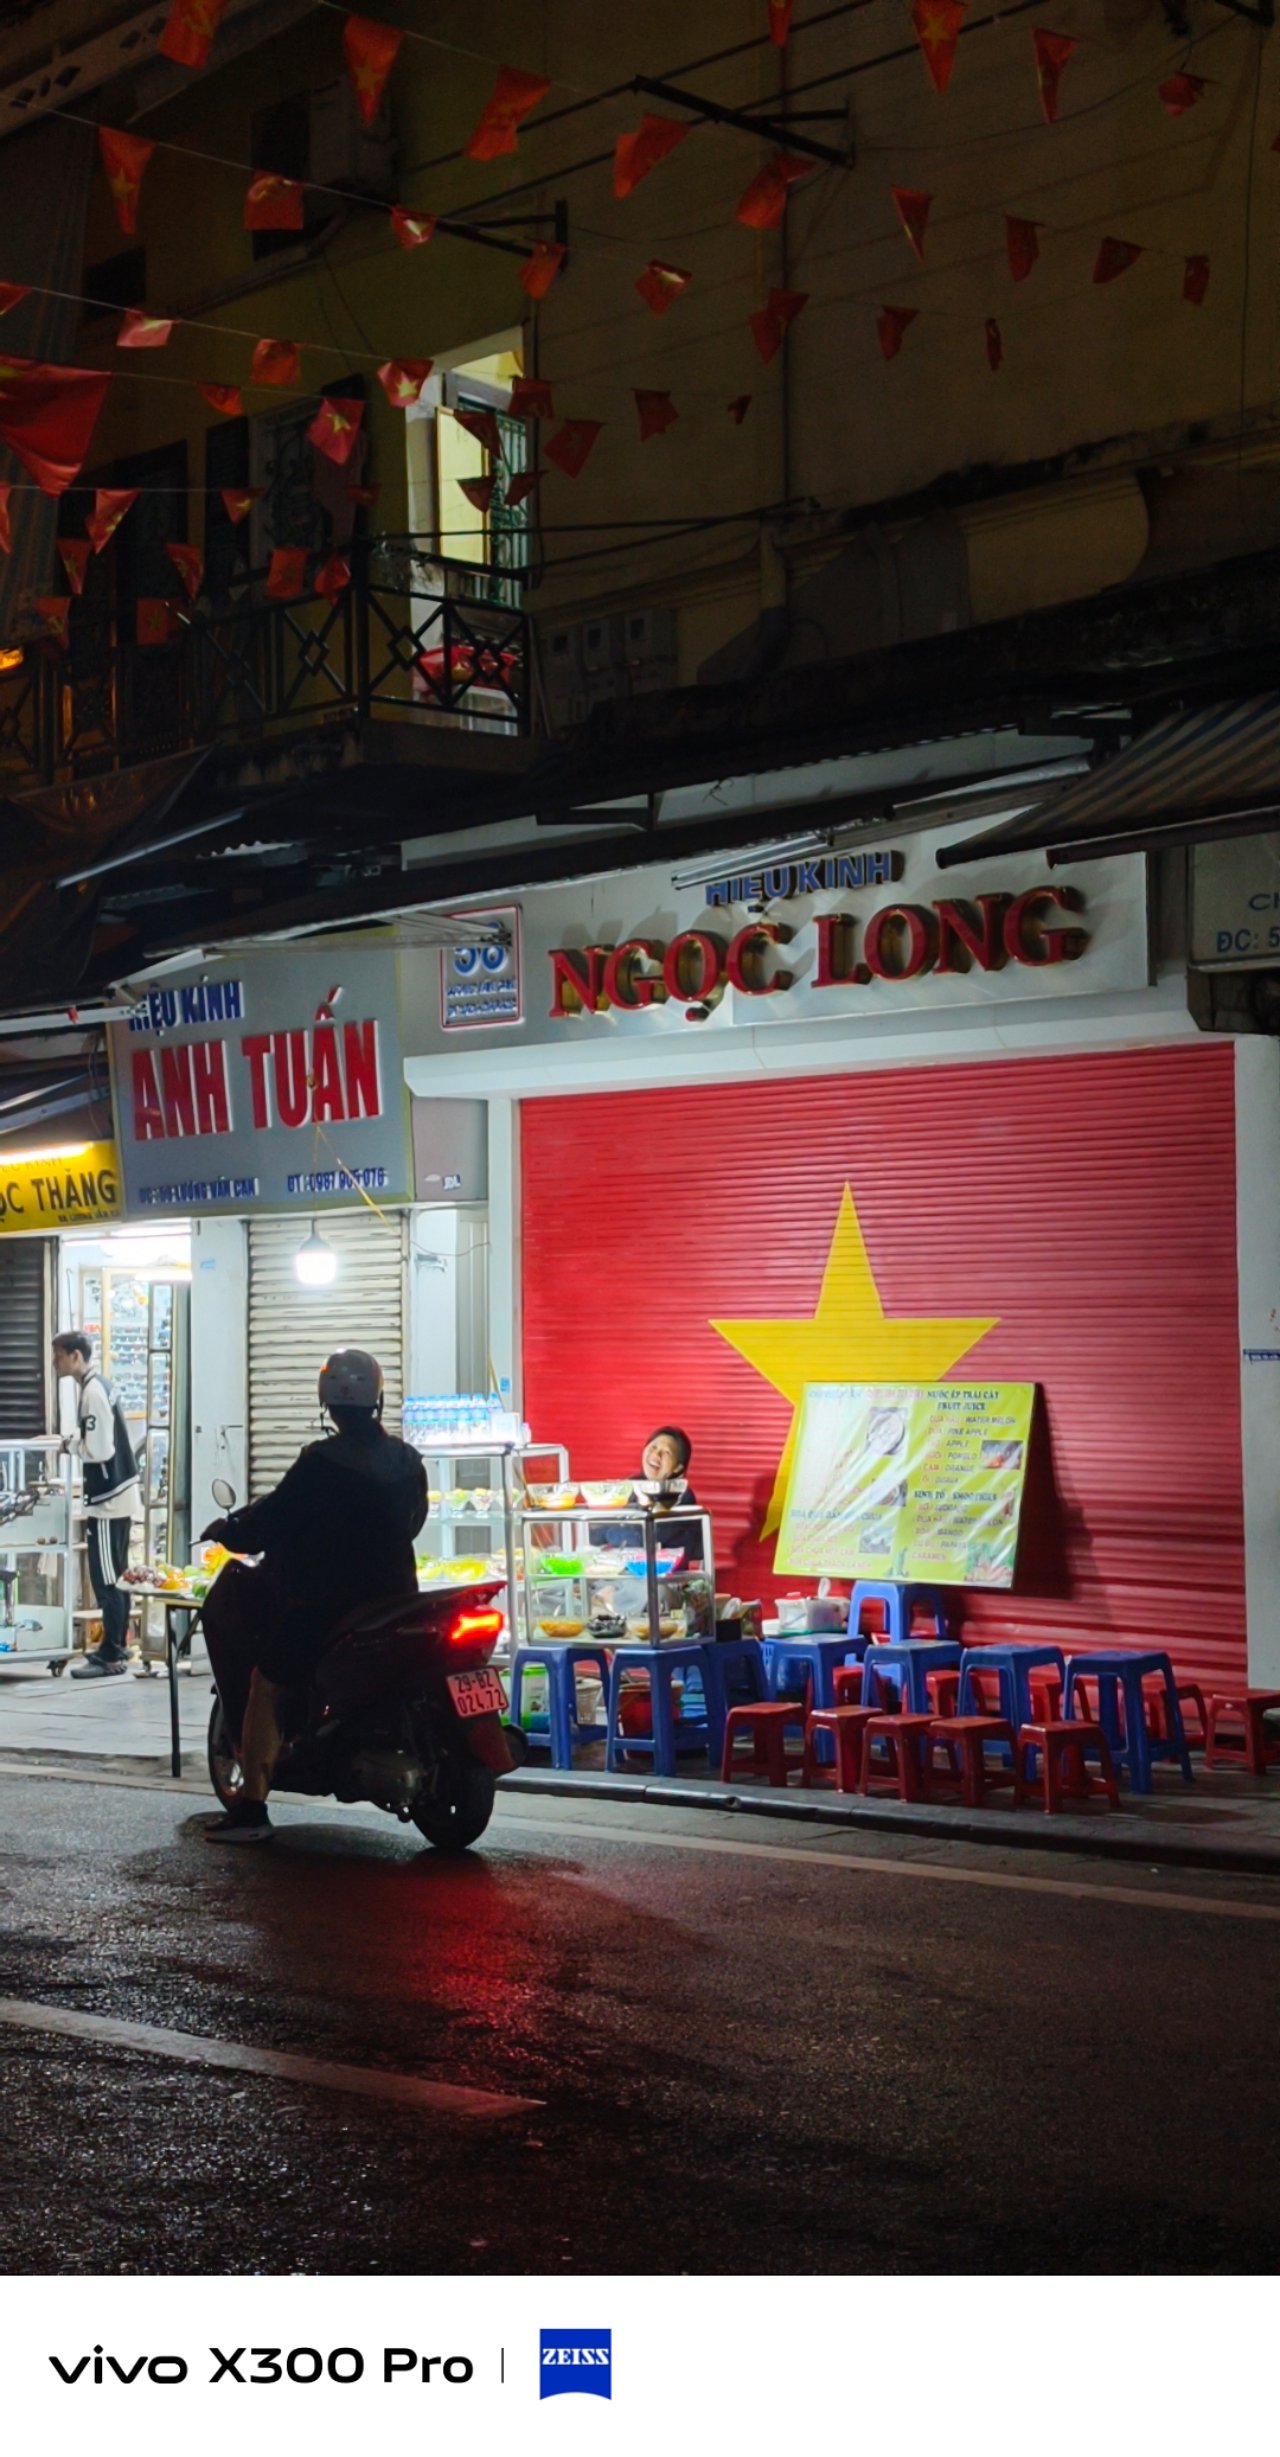

That said, vivo providing two more profiles just means they want the user to be as creative and as free as possible.
When it comes to food, switching to Vivid is deemed the best option. This profile gives the best pop of colors in the scene.



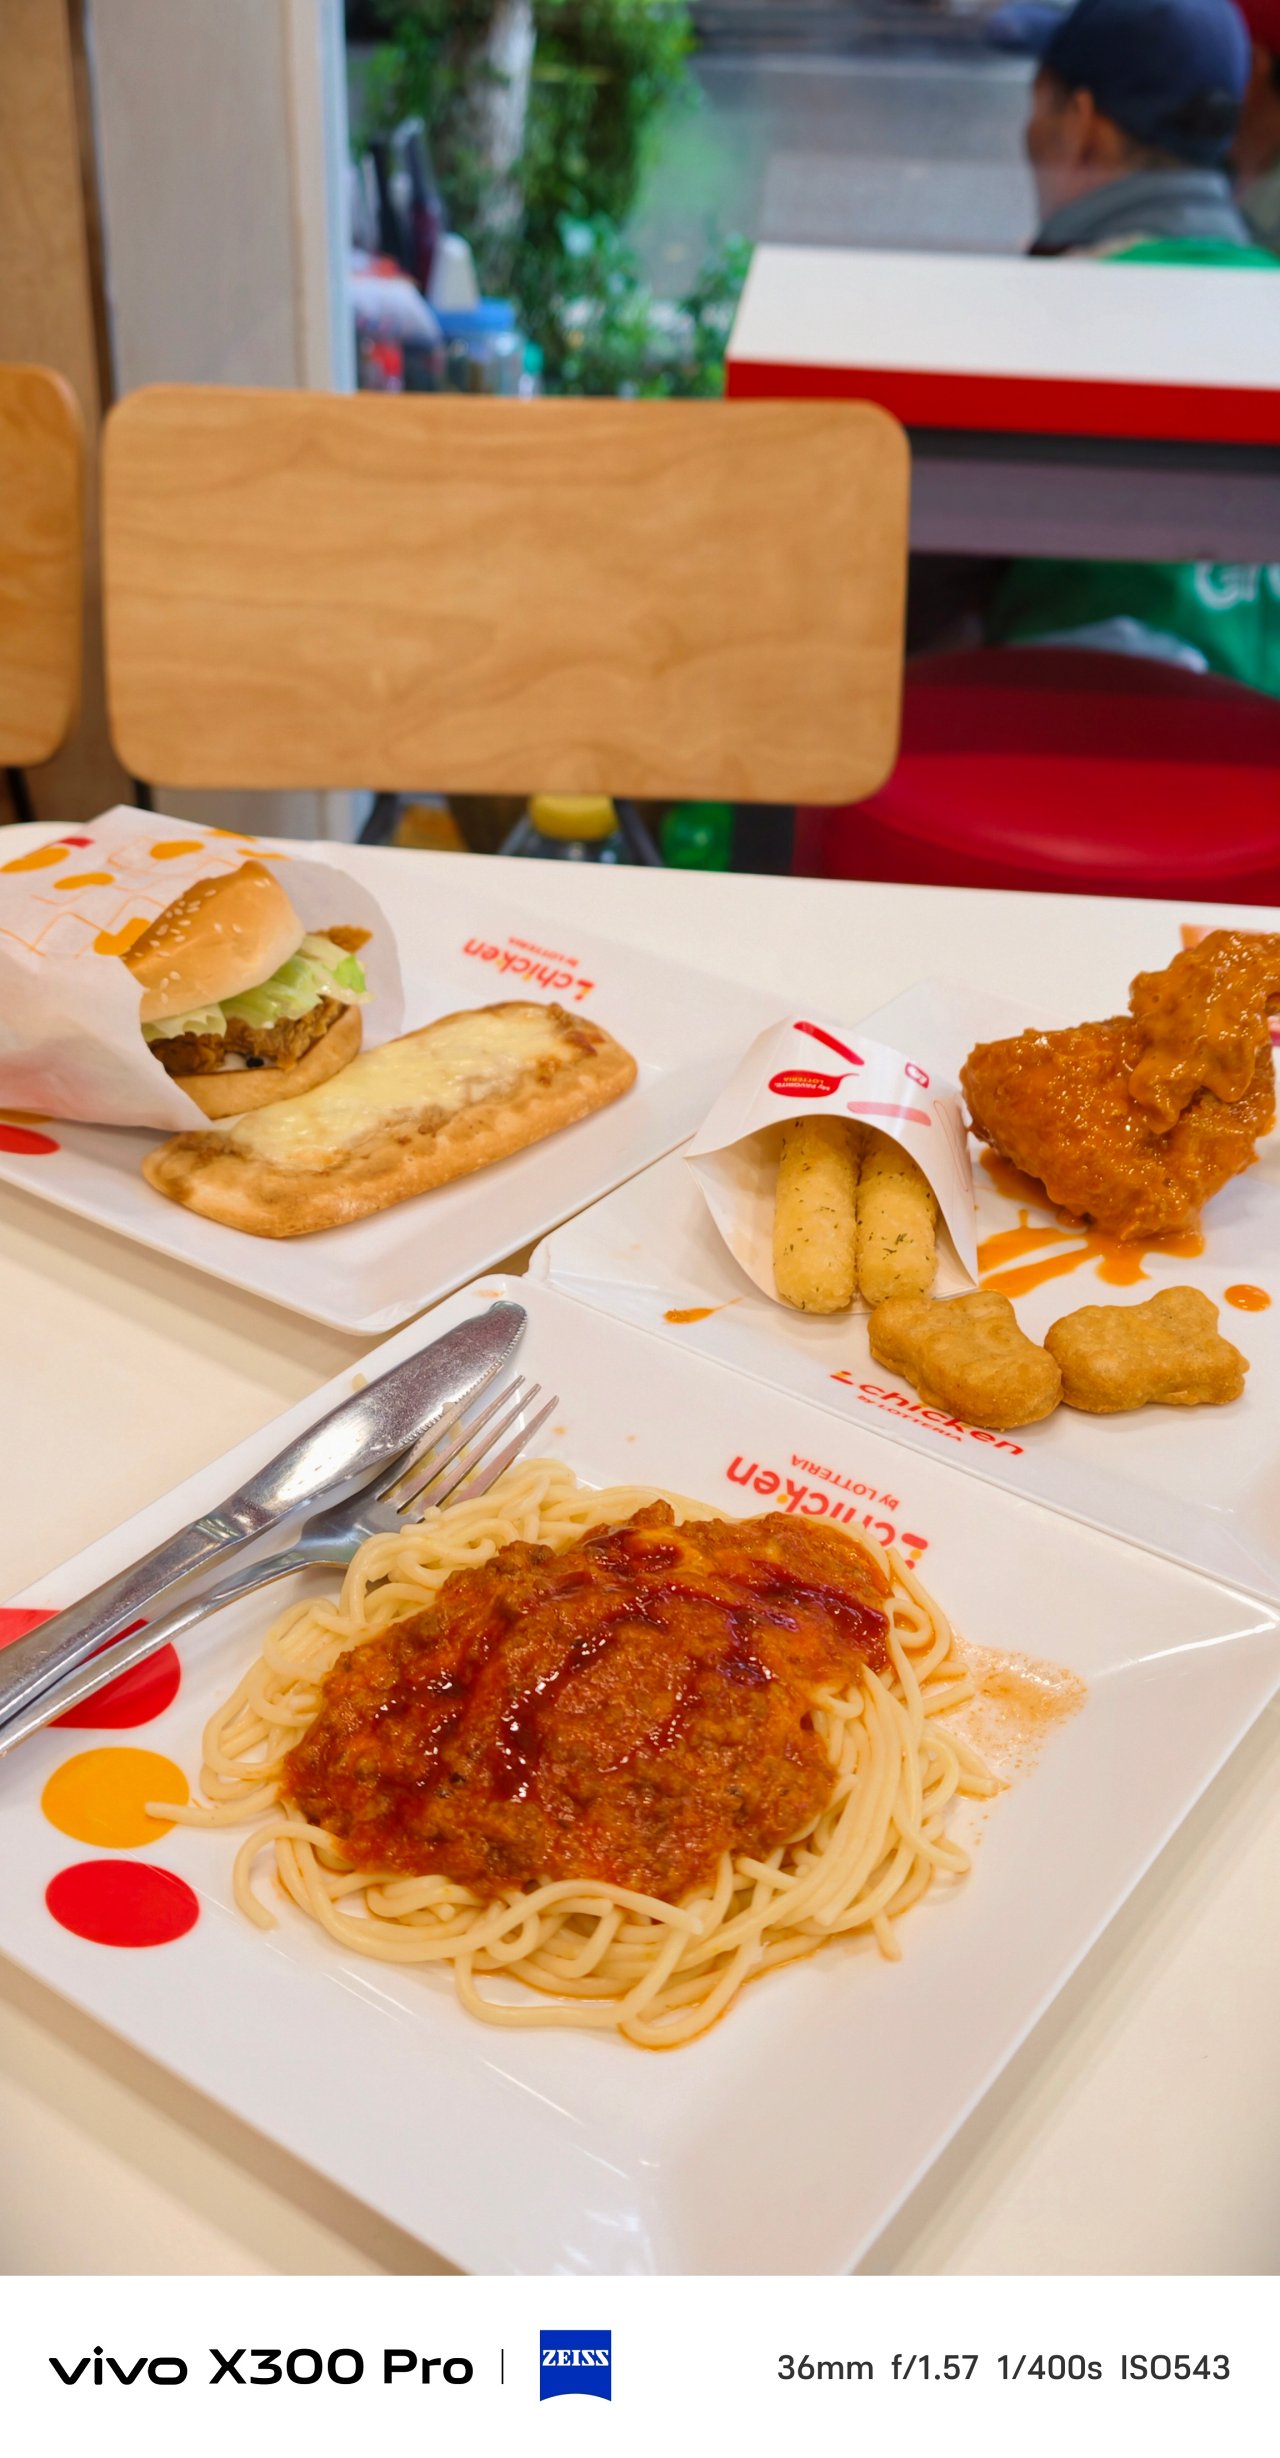




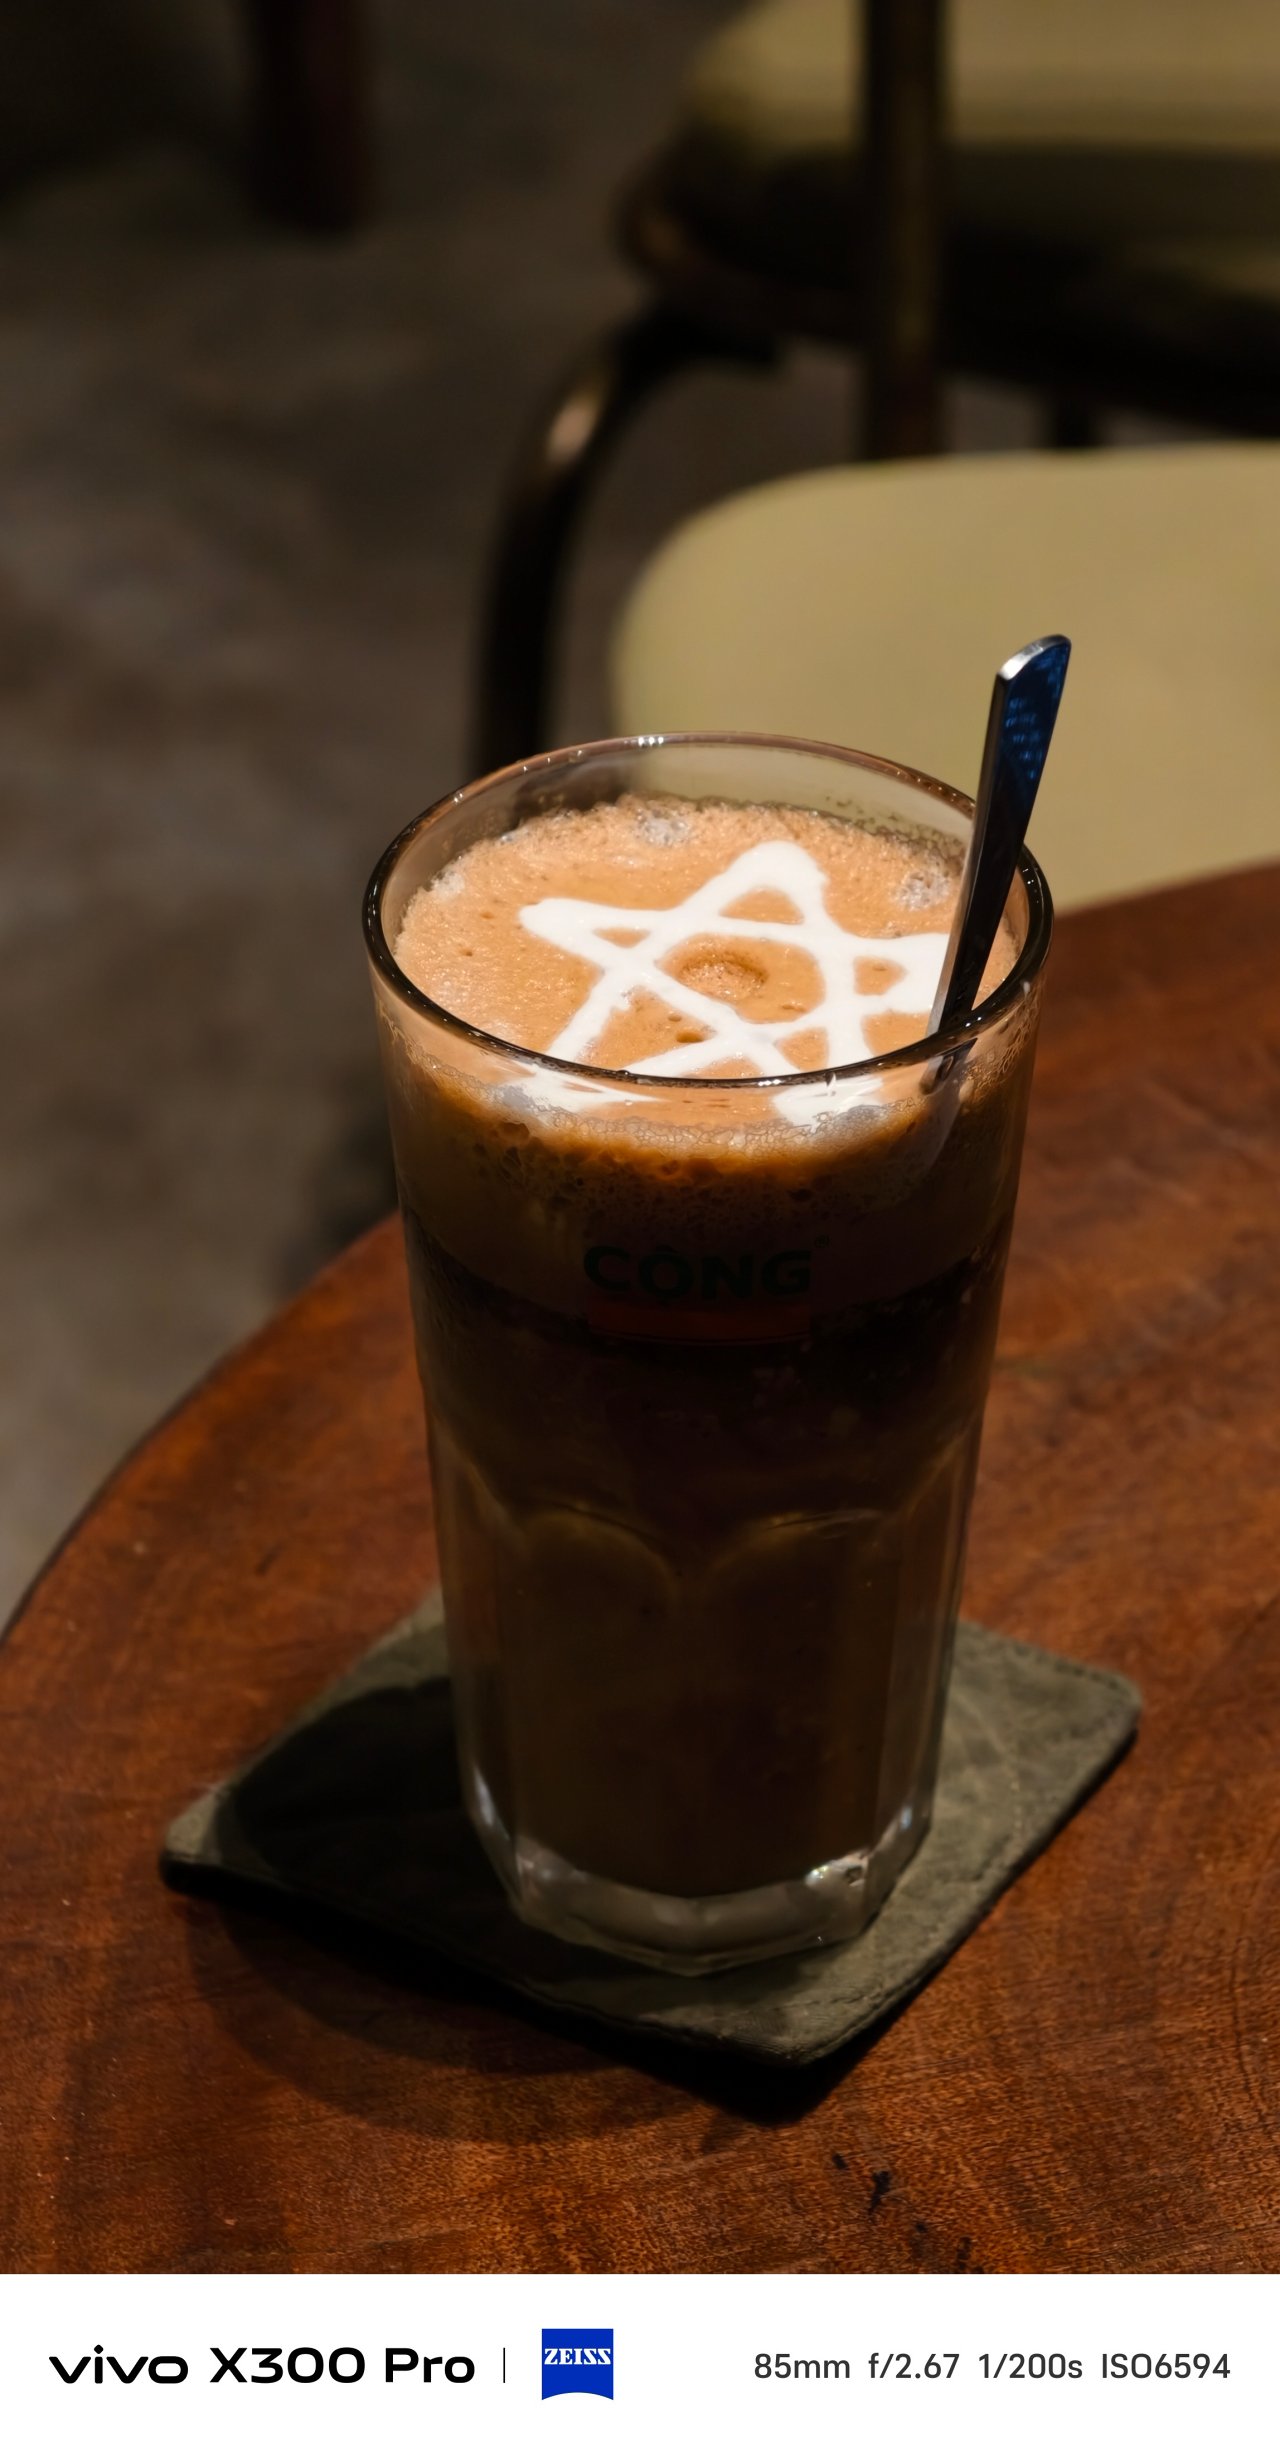

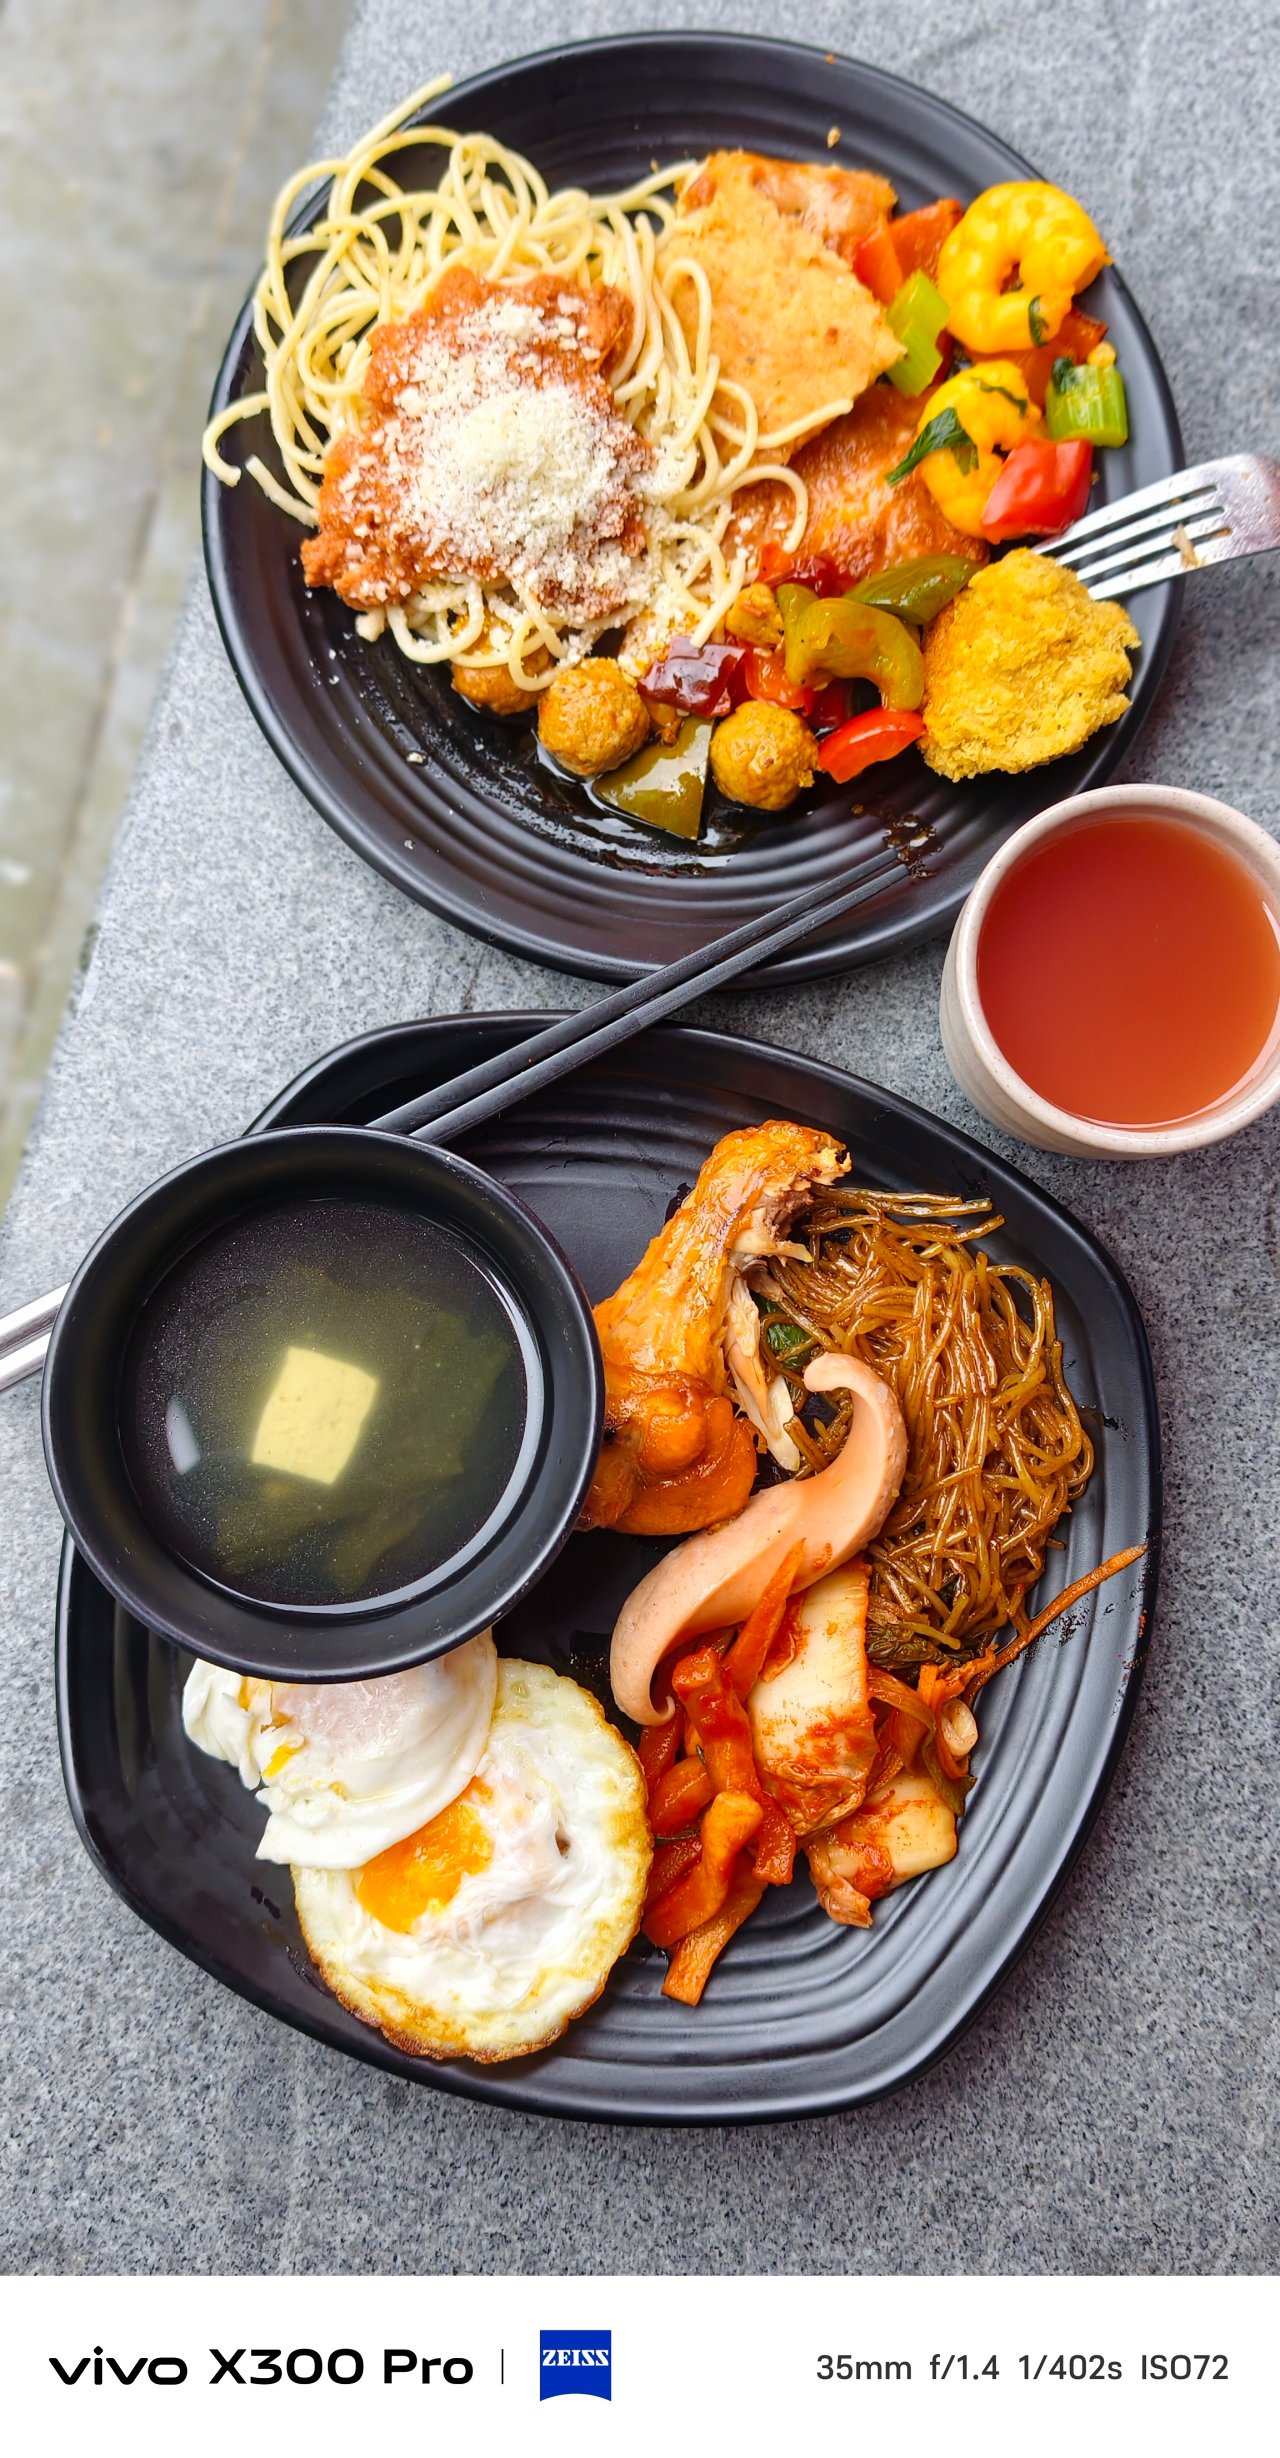
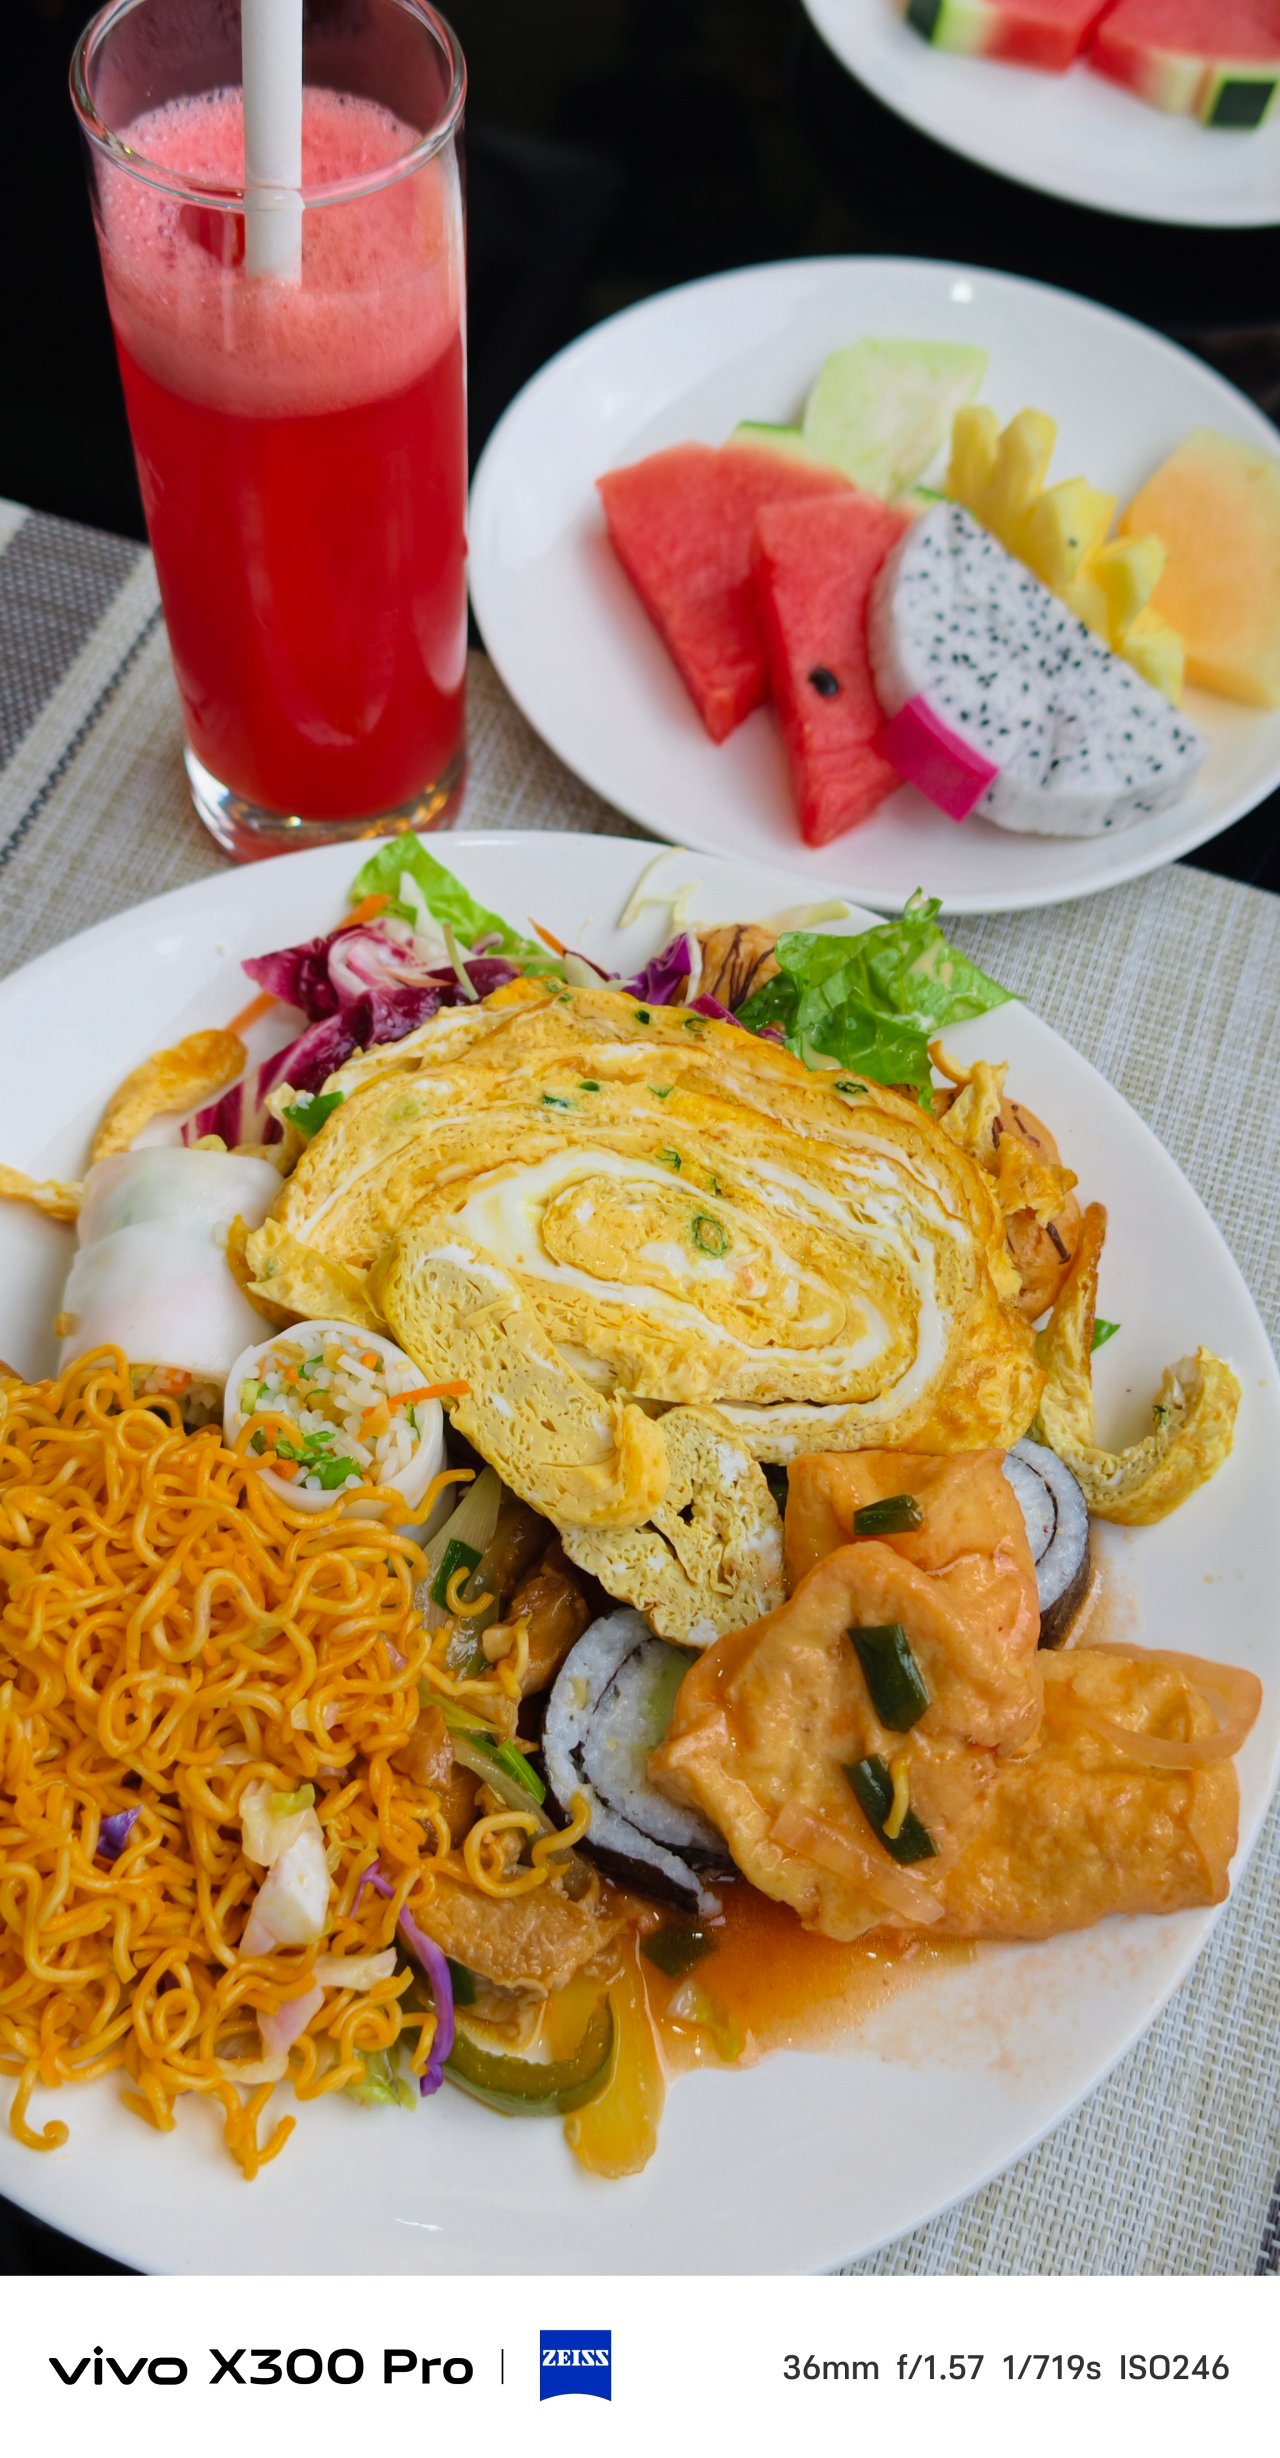
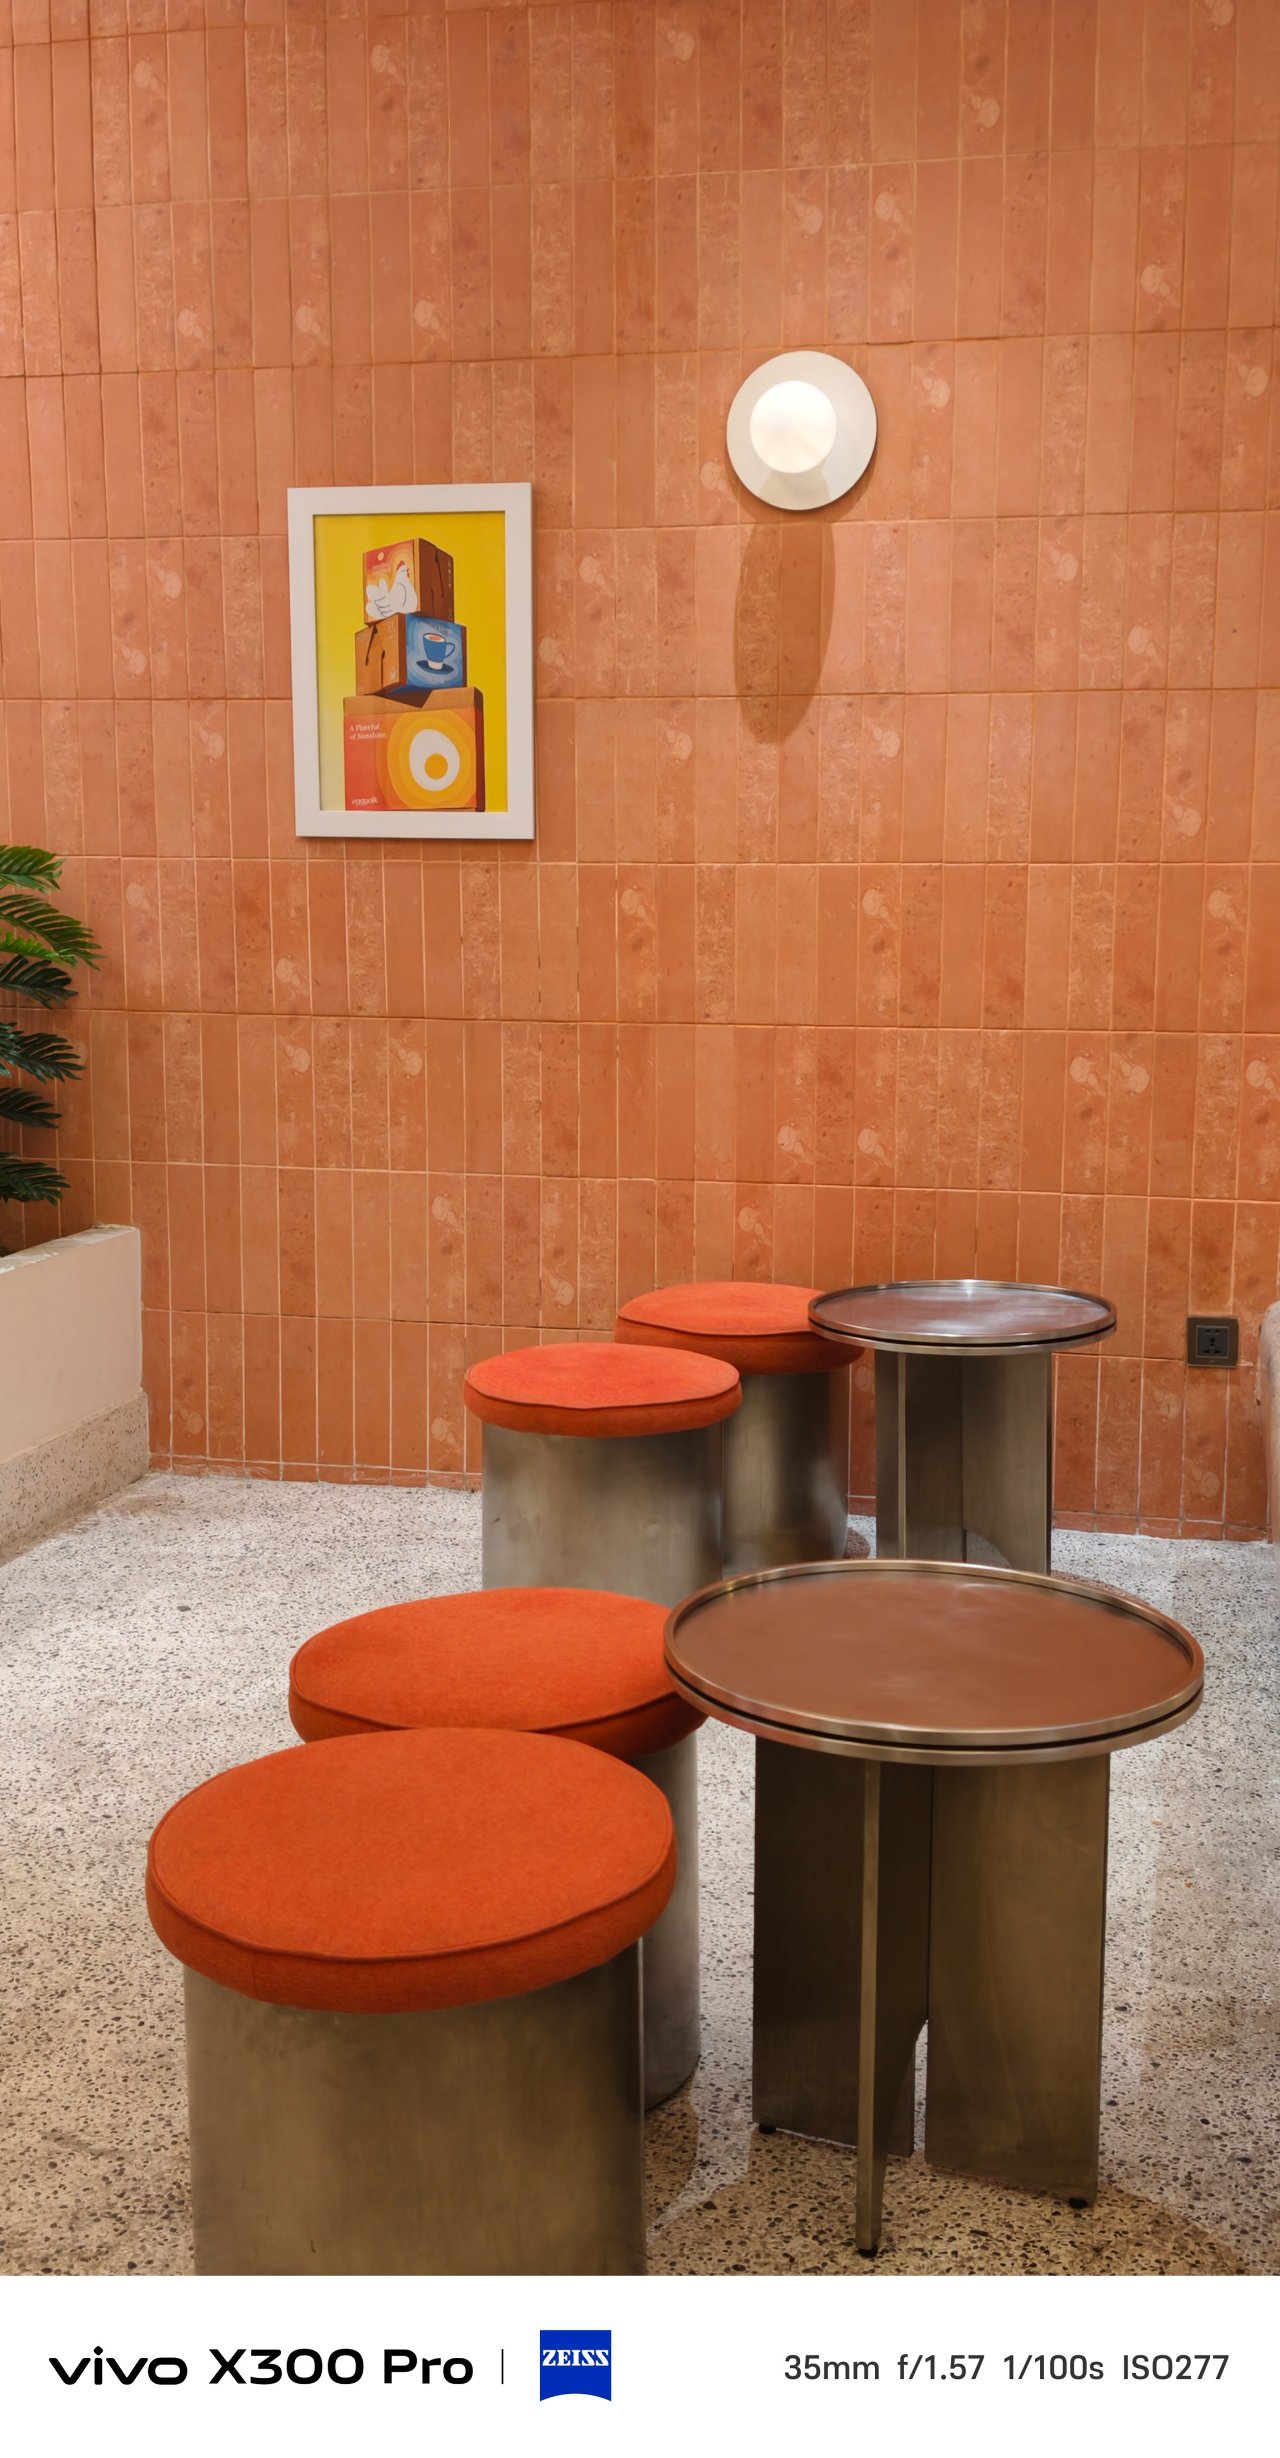
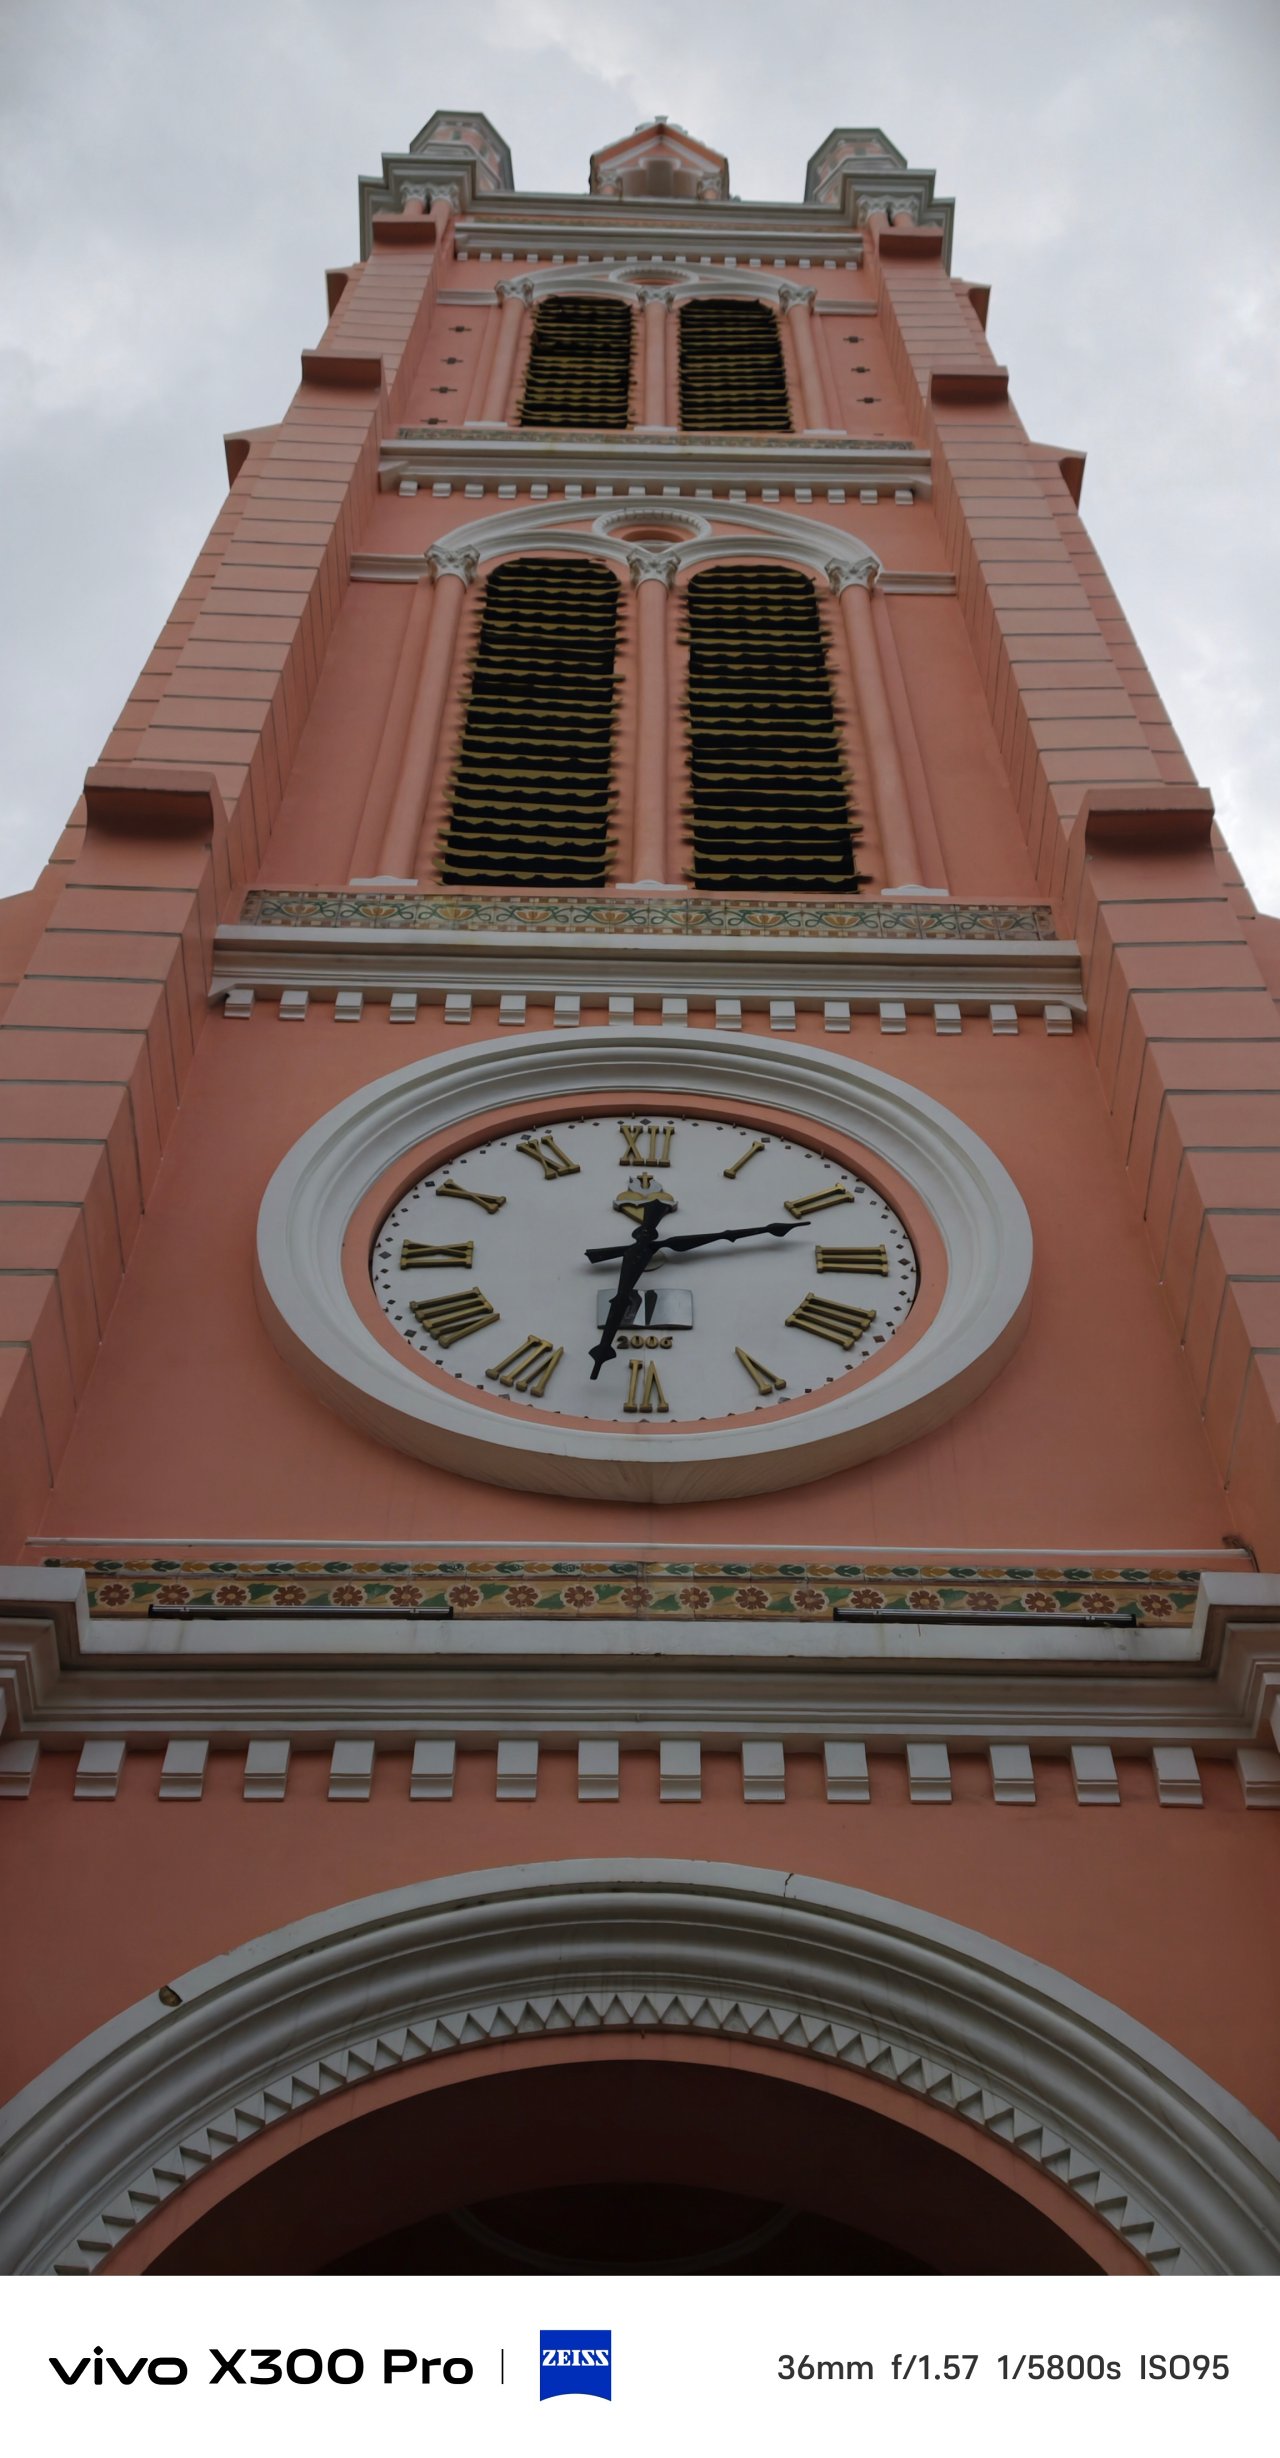
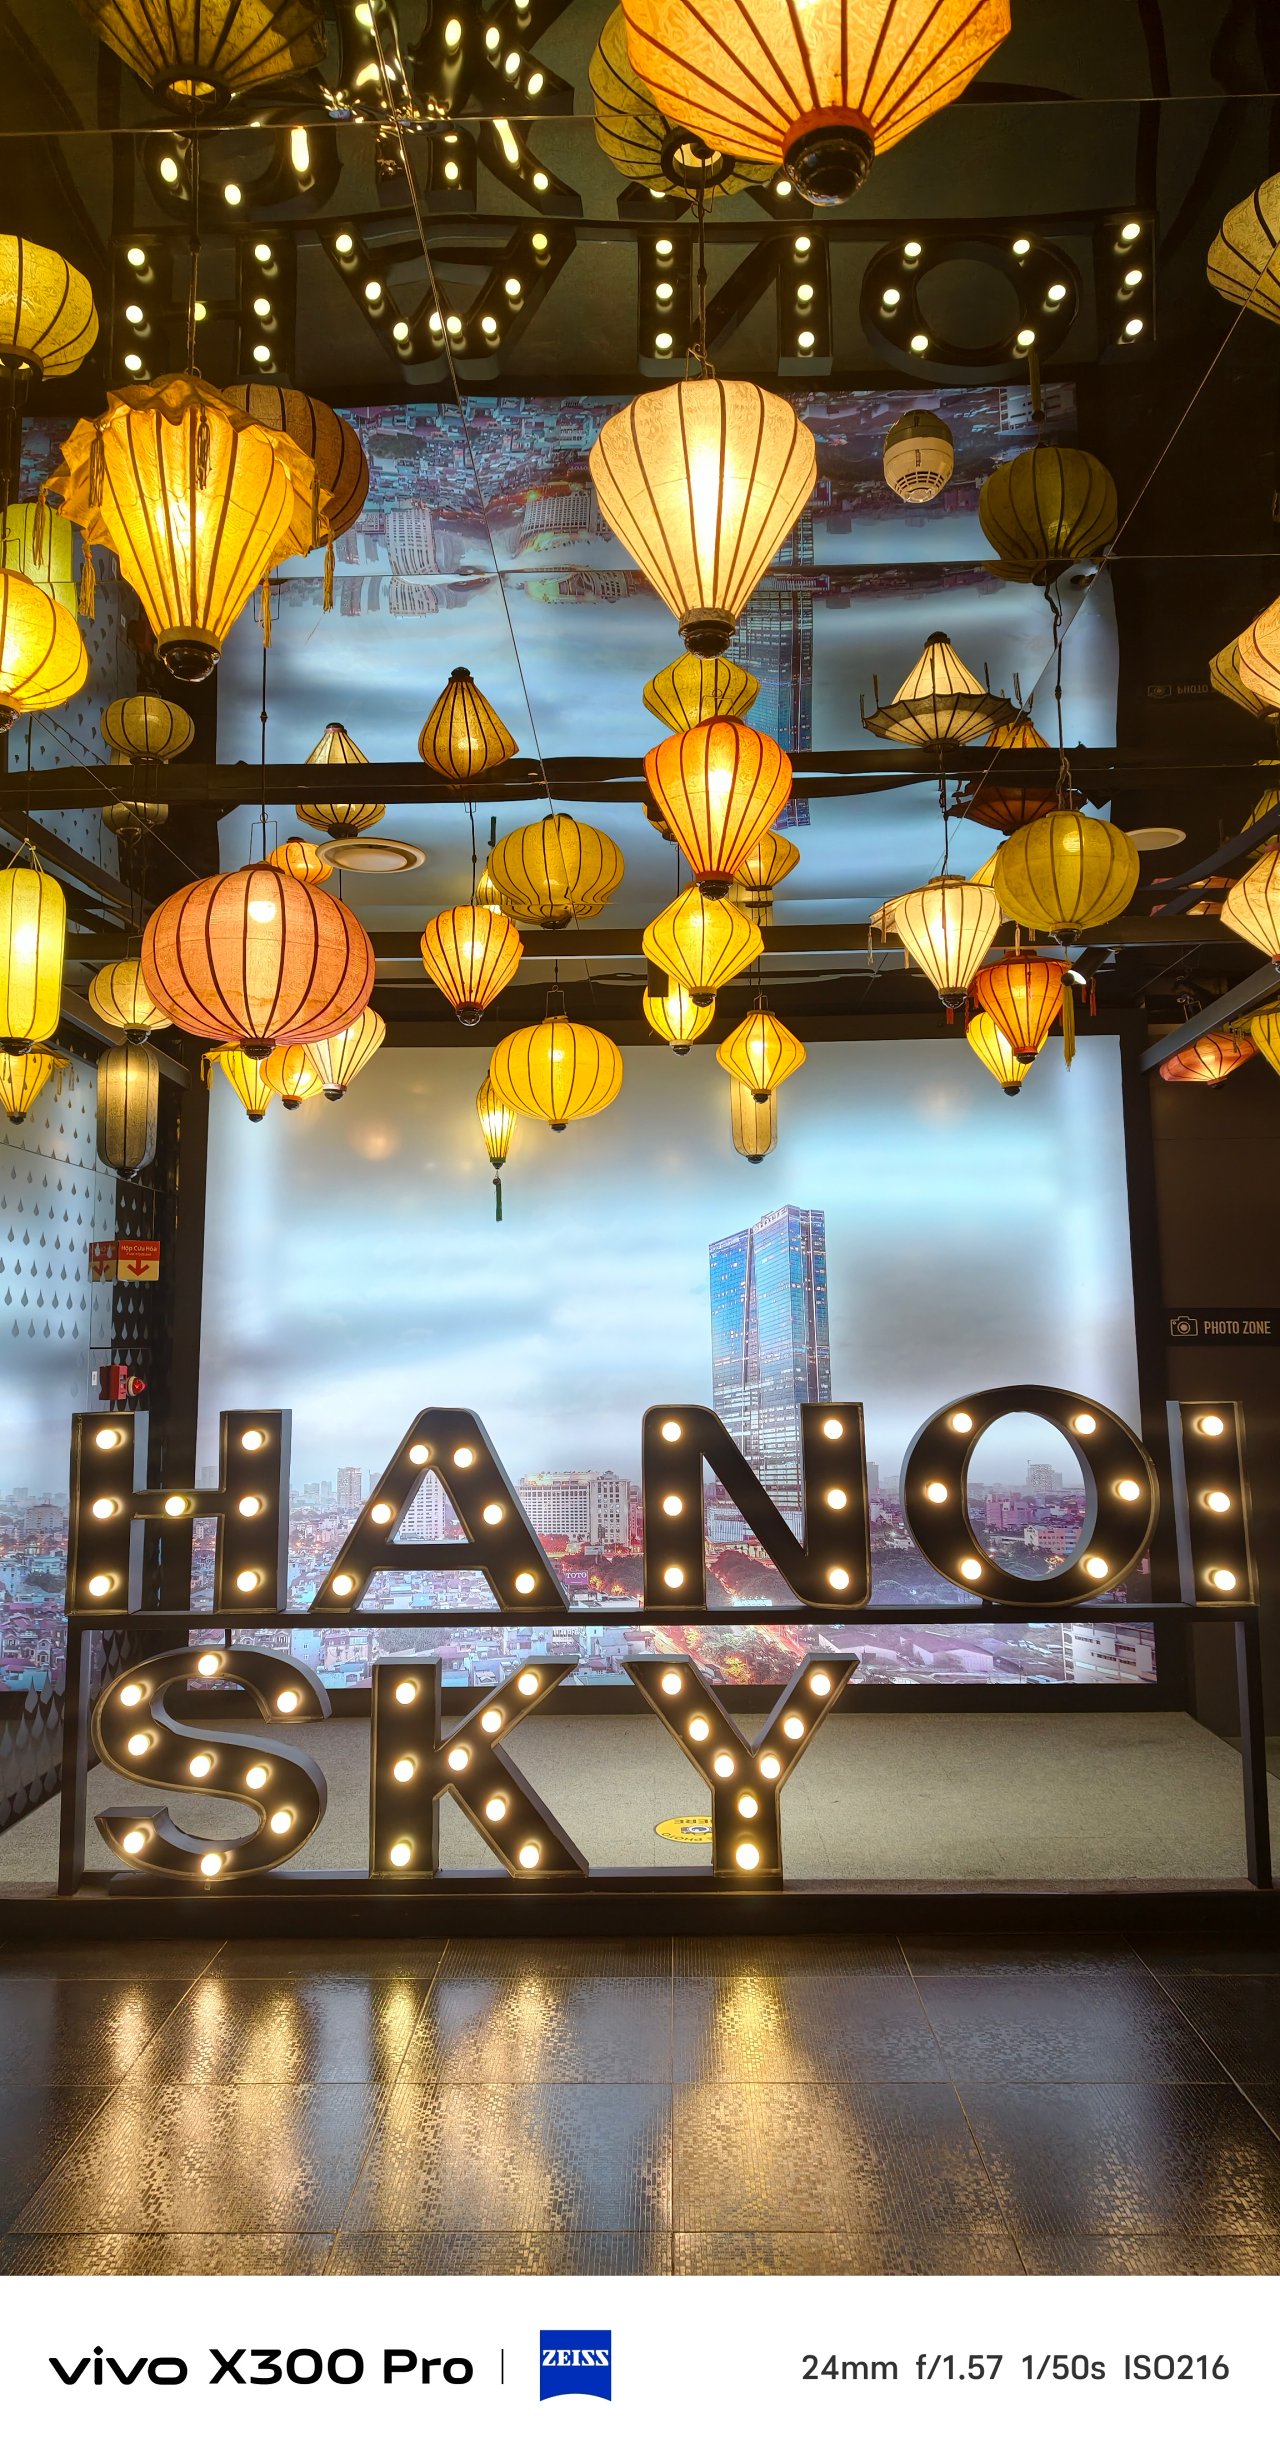
Architecture and interior should not be exempted when using this punchy profile.


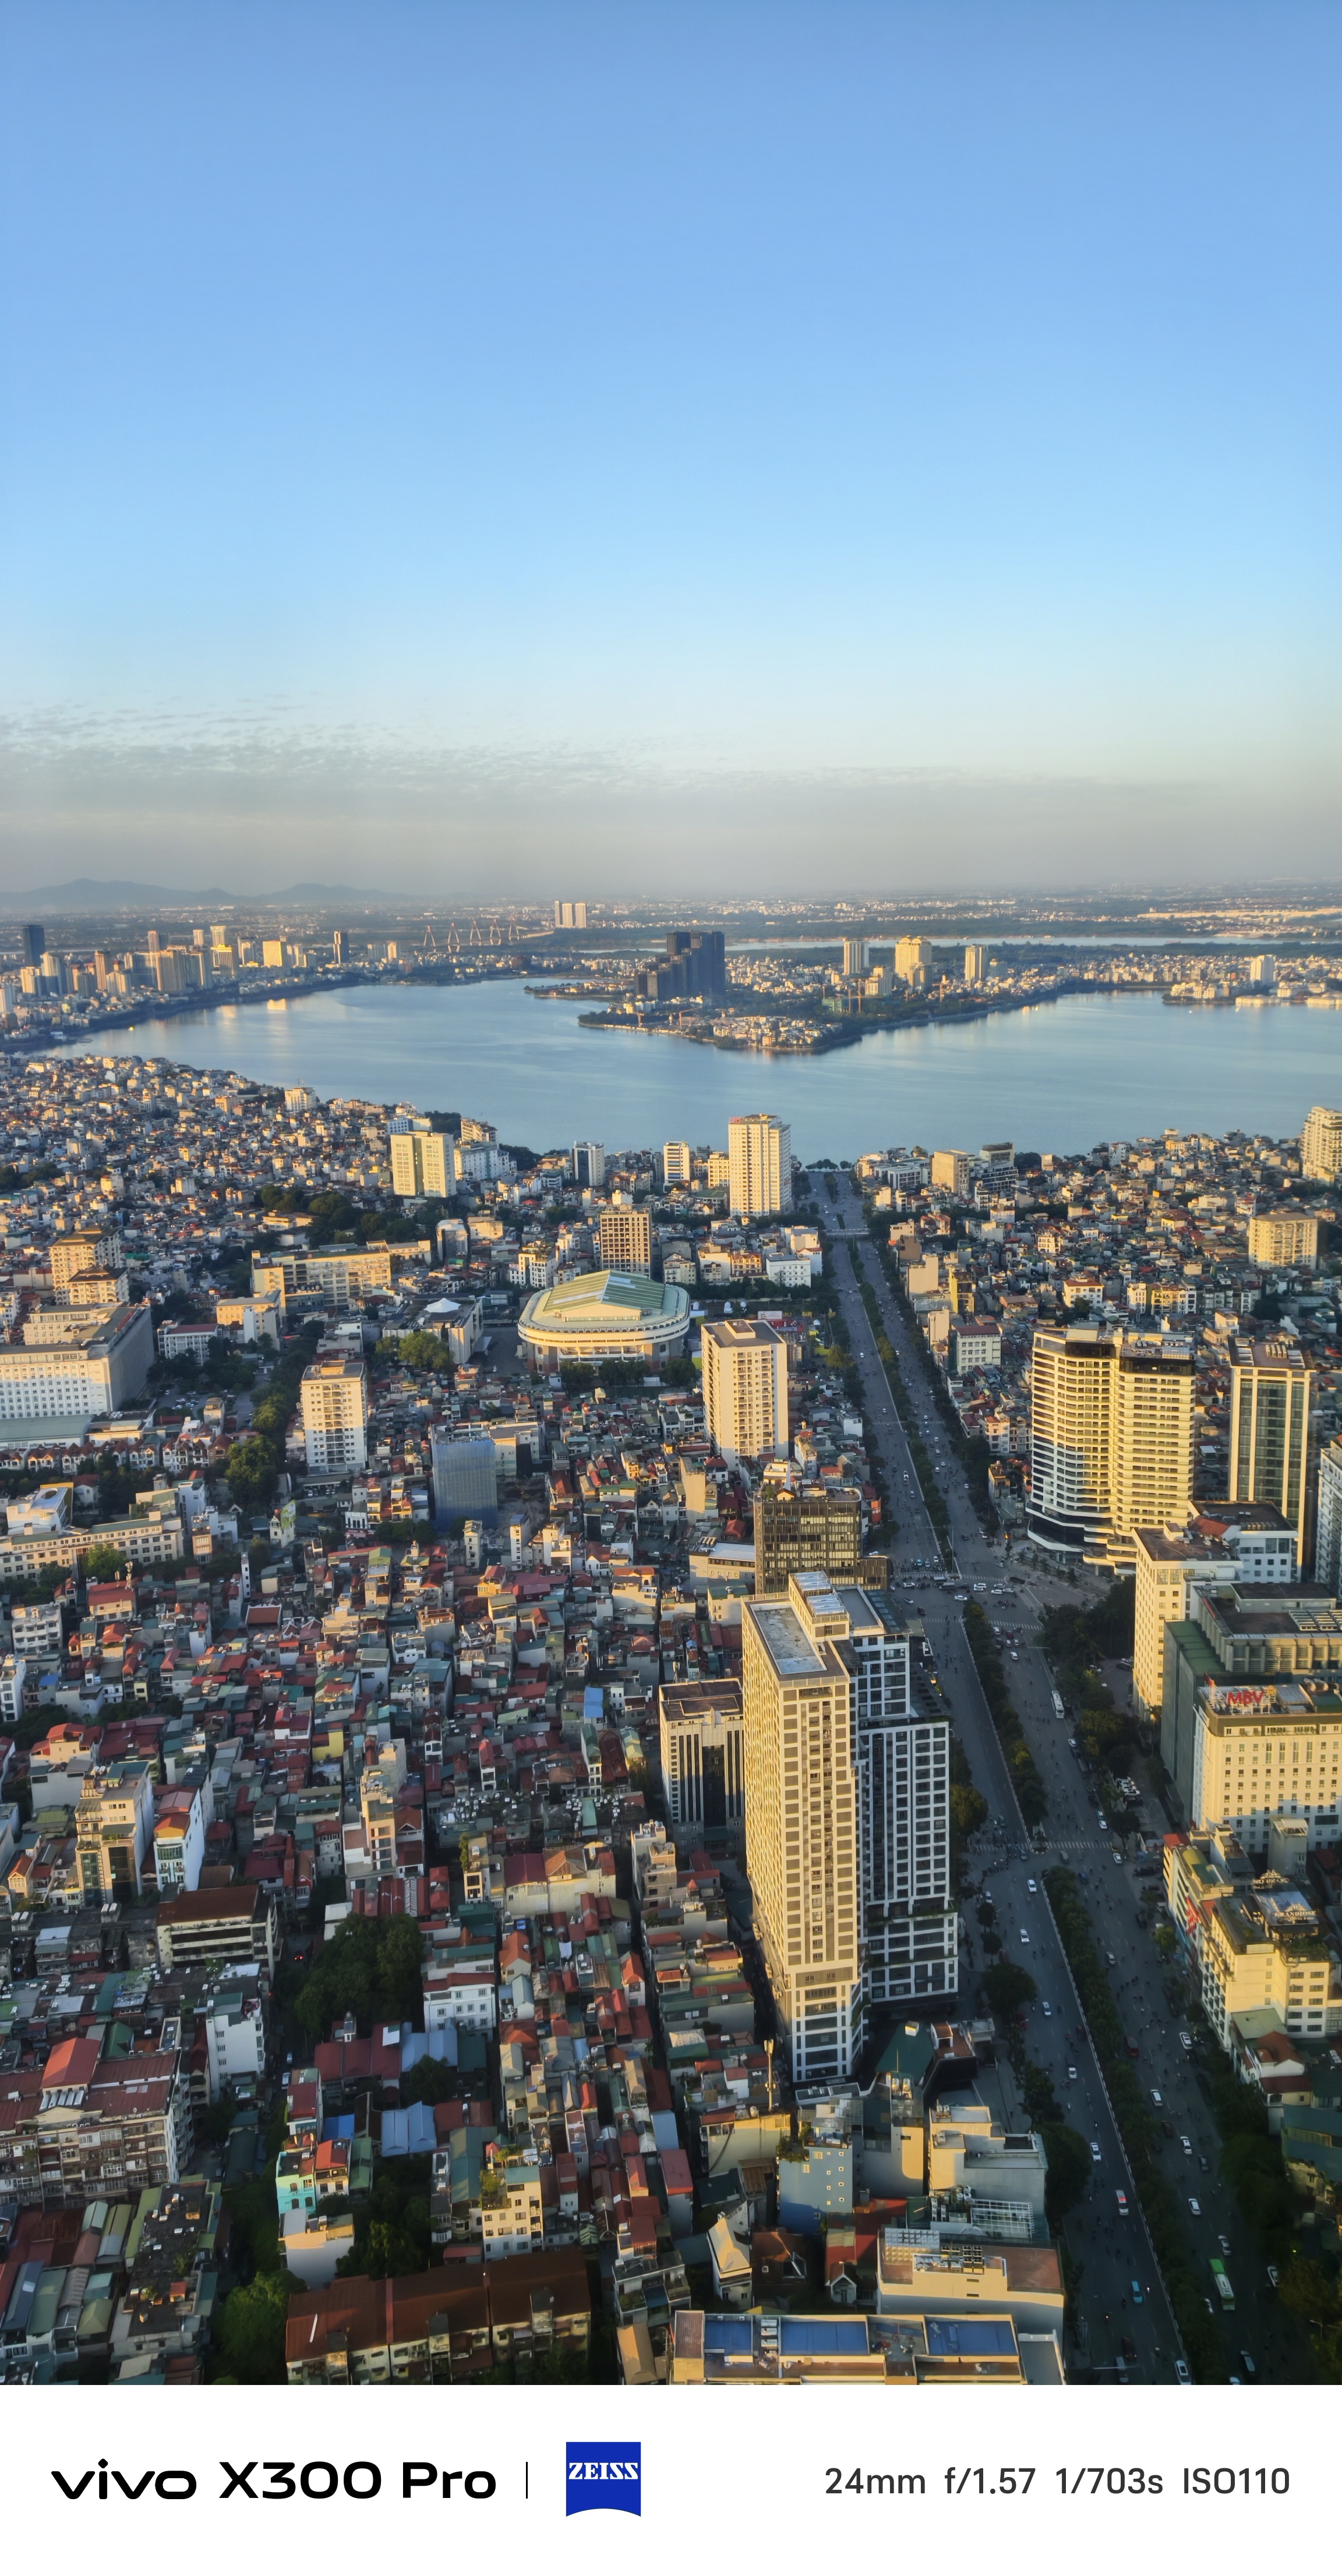
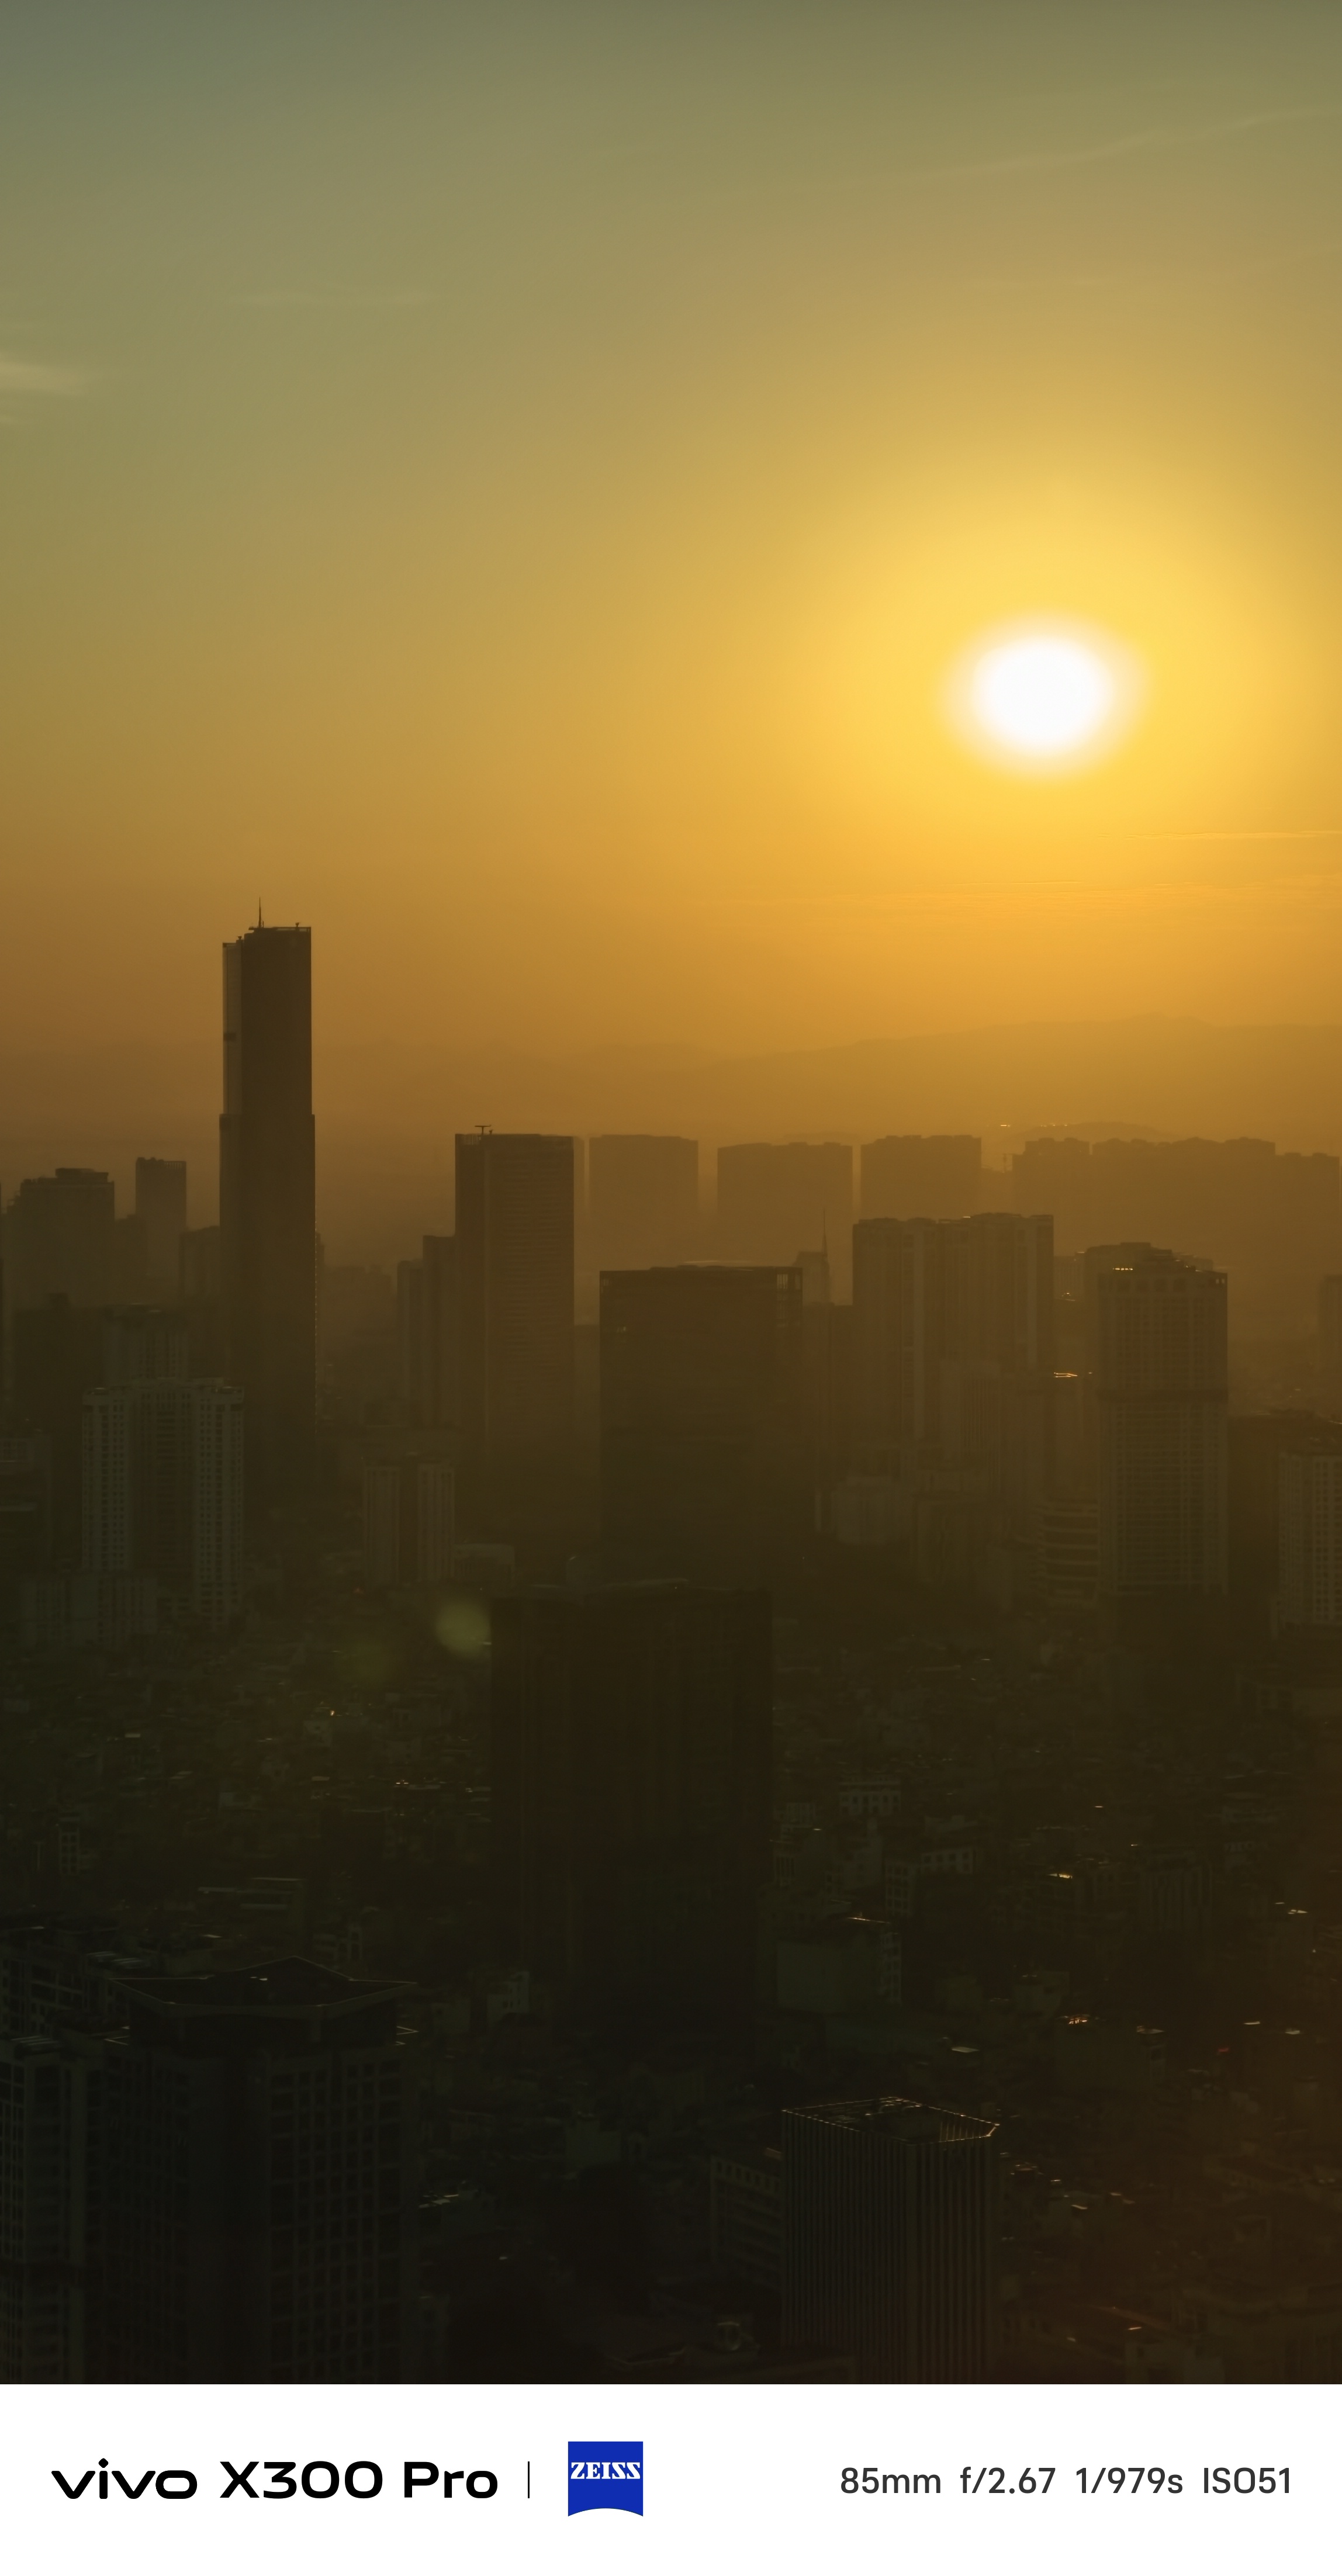
It also made these golden hour shots more favorable than just sticking with the default ZEISS calibration.
📍 Lotte Mall West Lake (Hồ Tây)

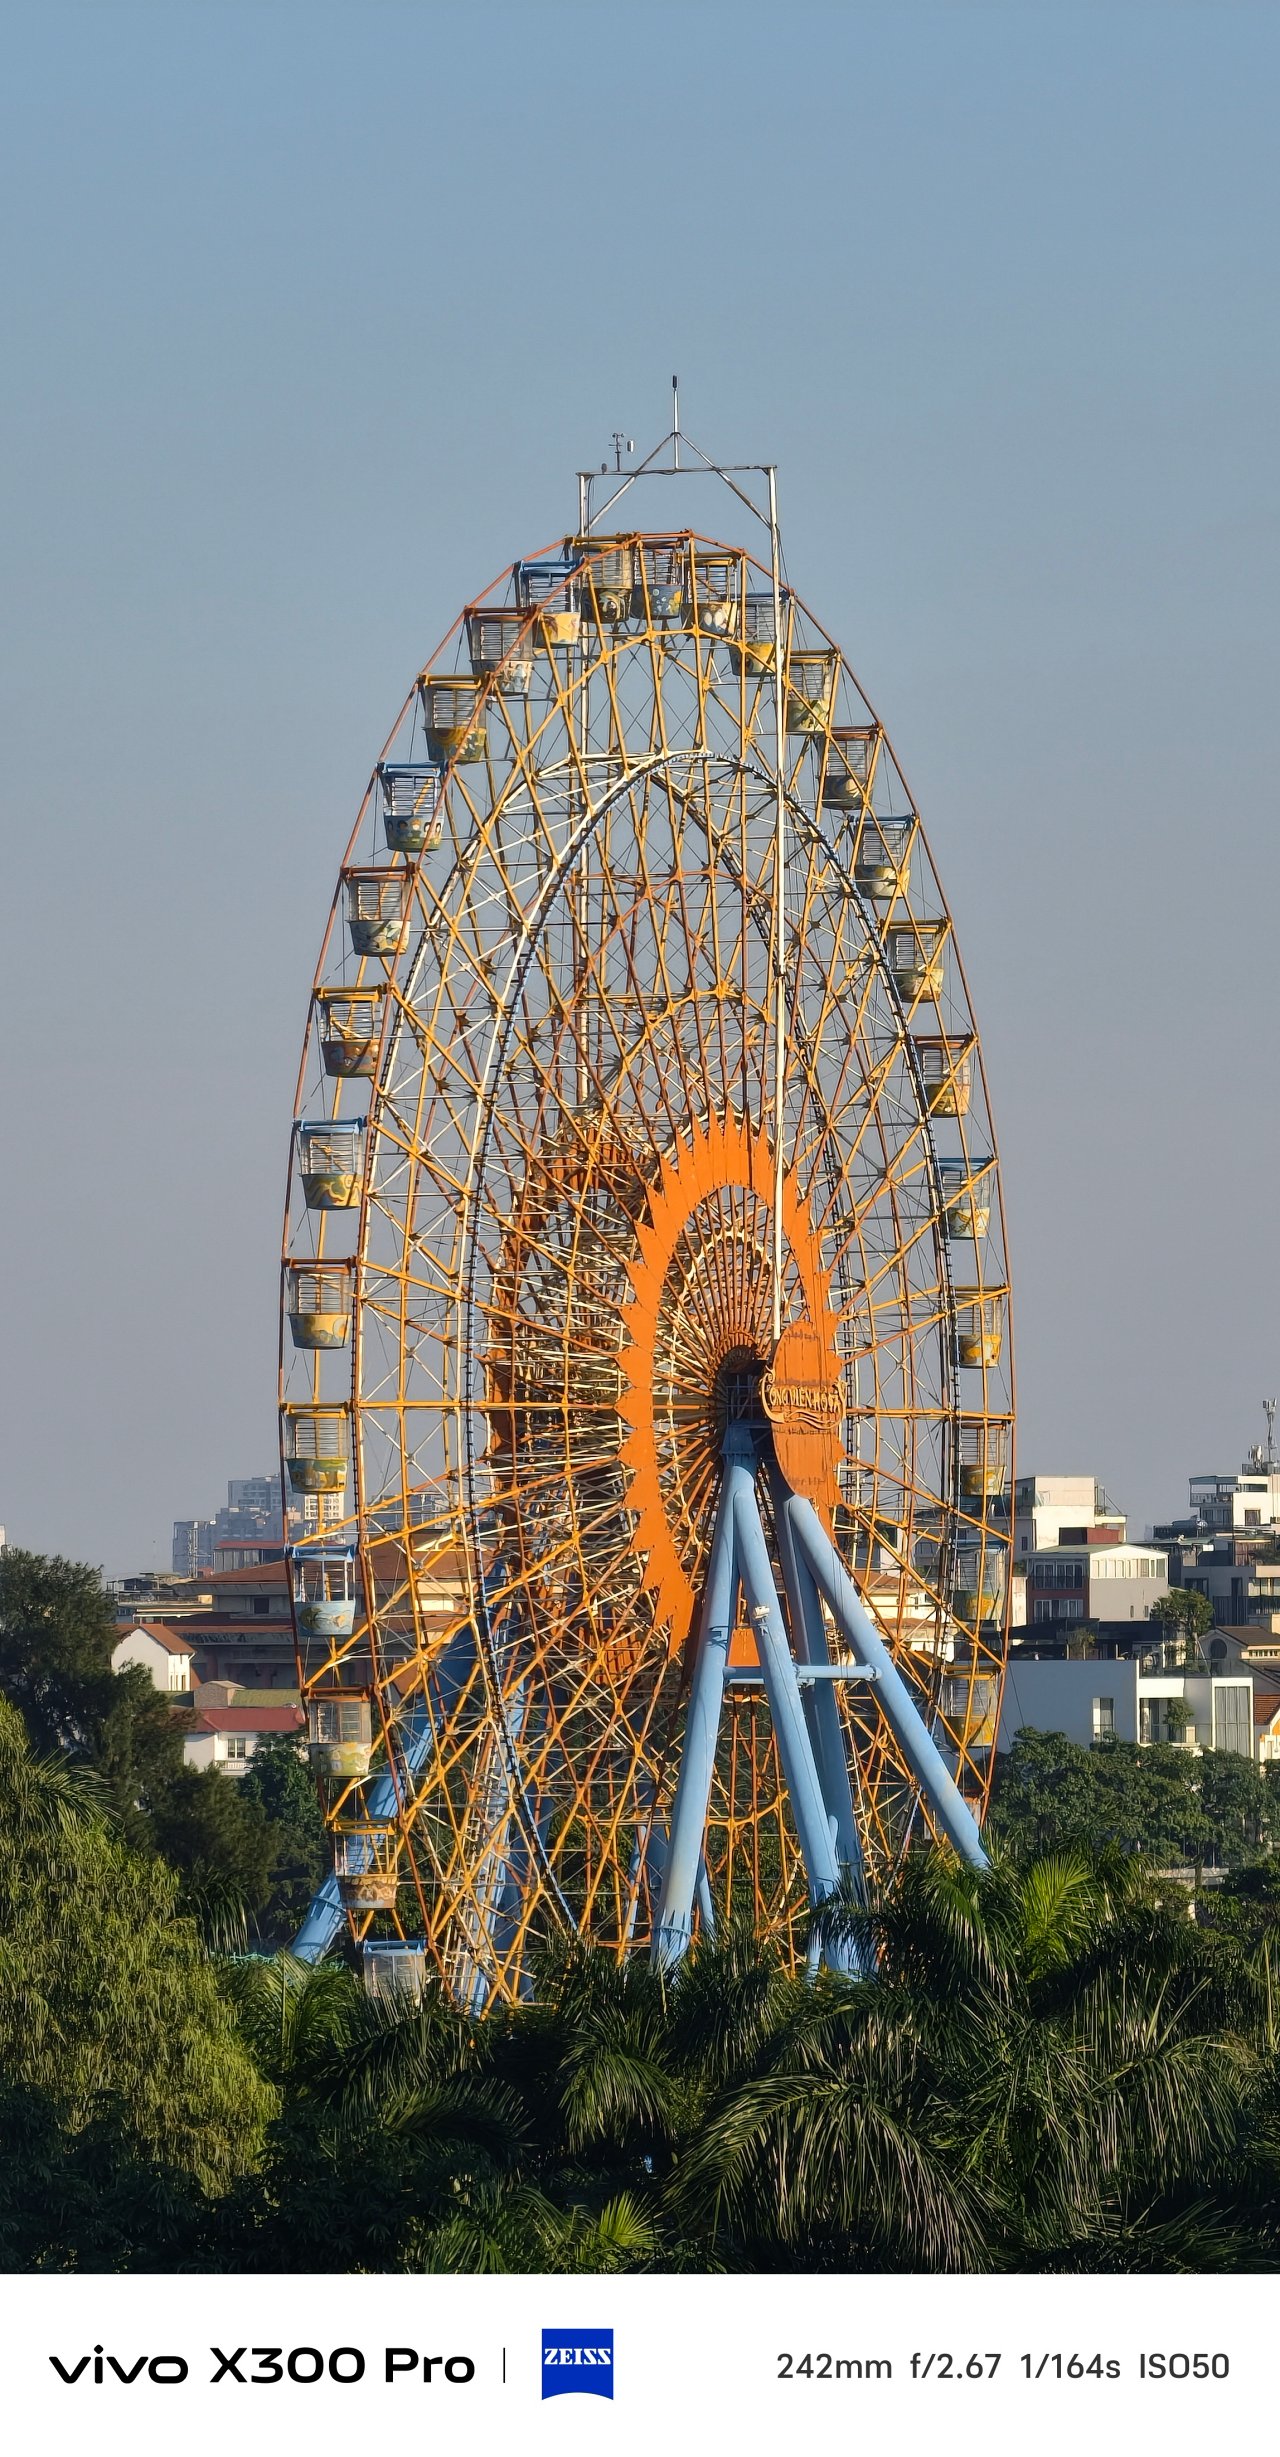
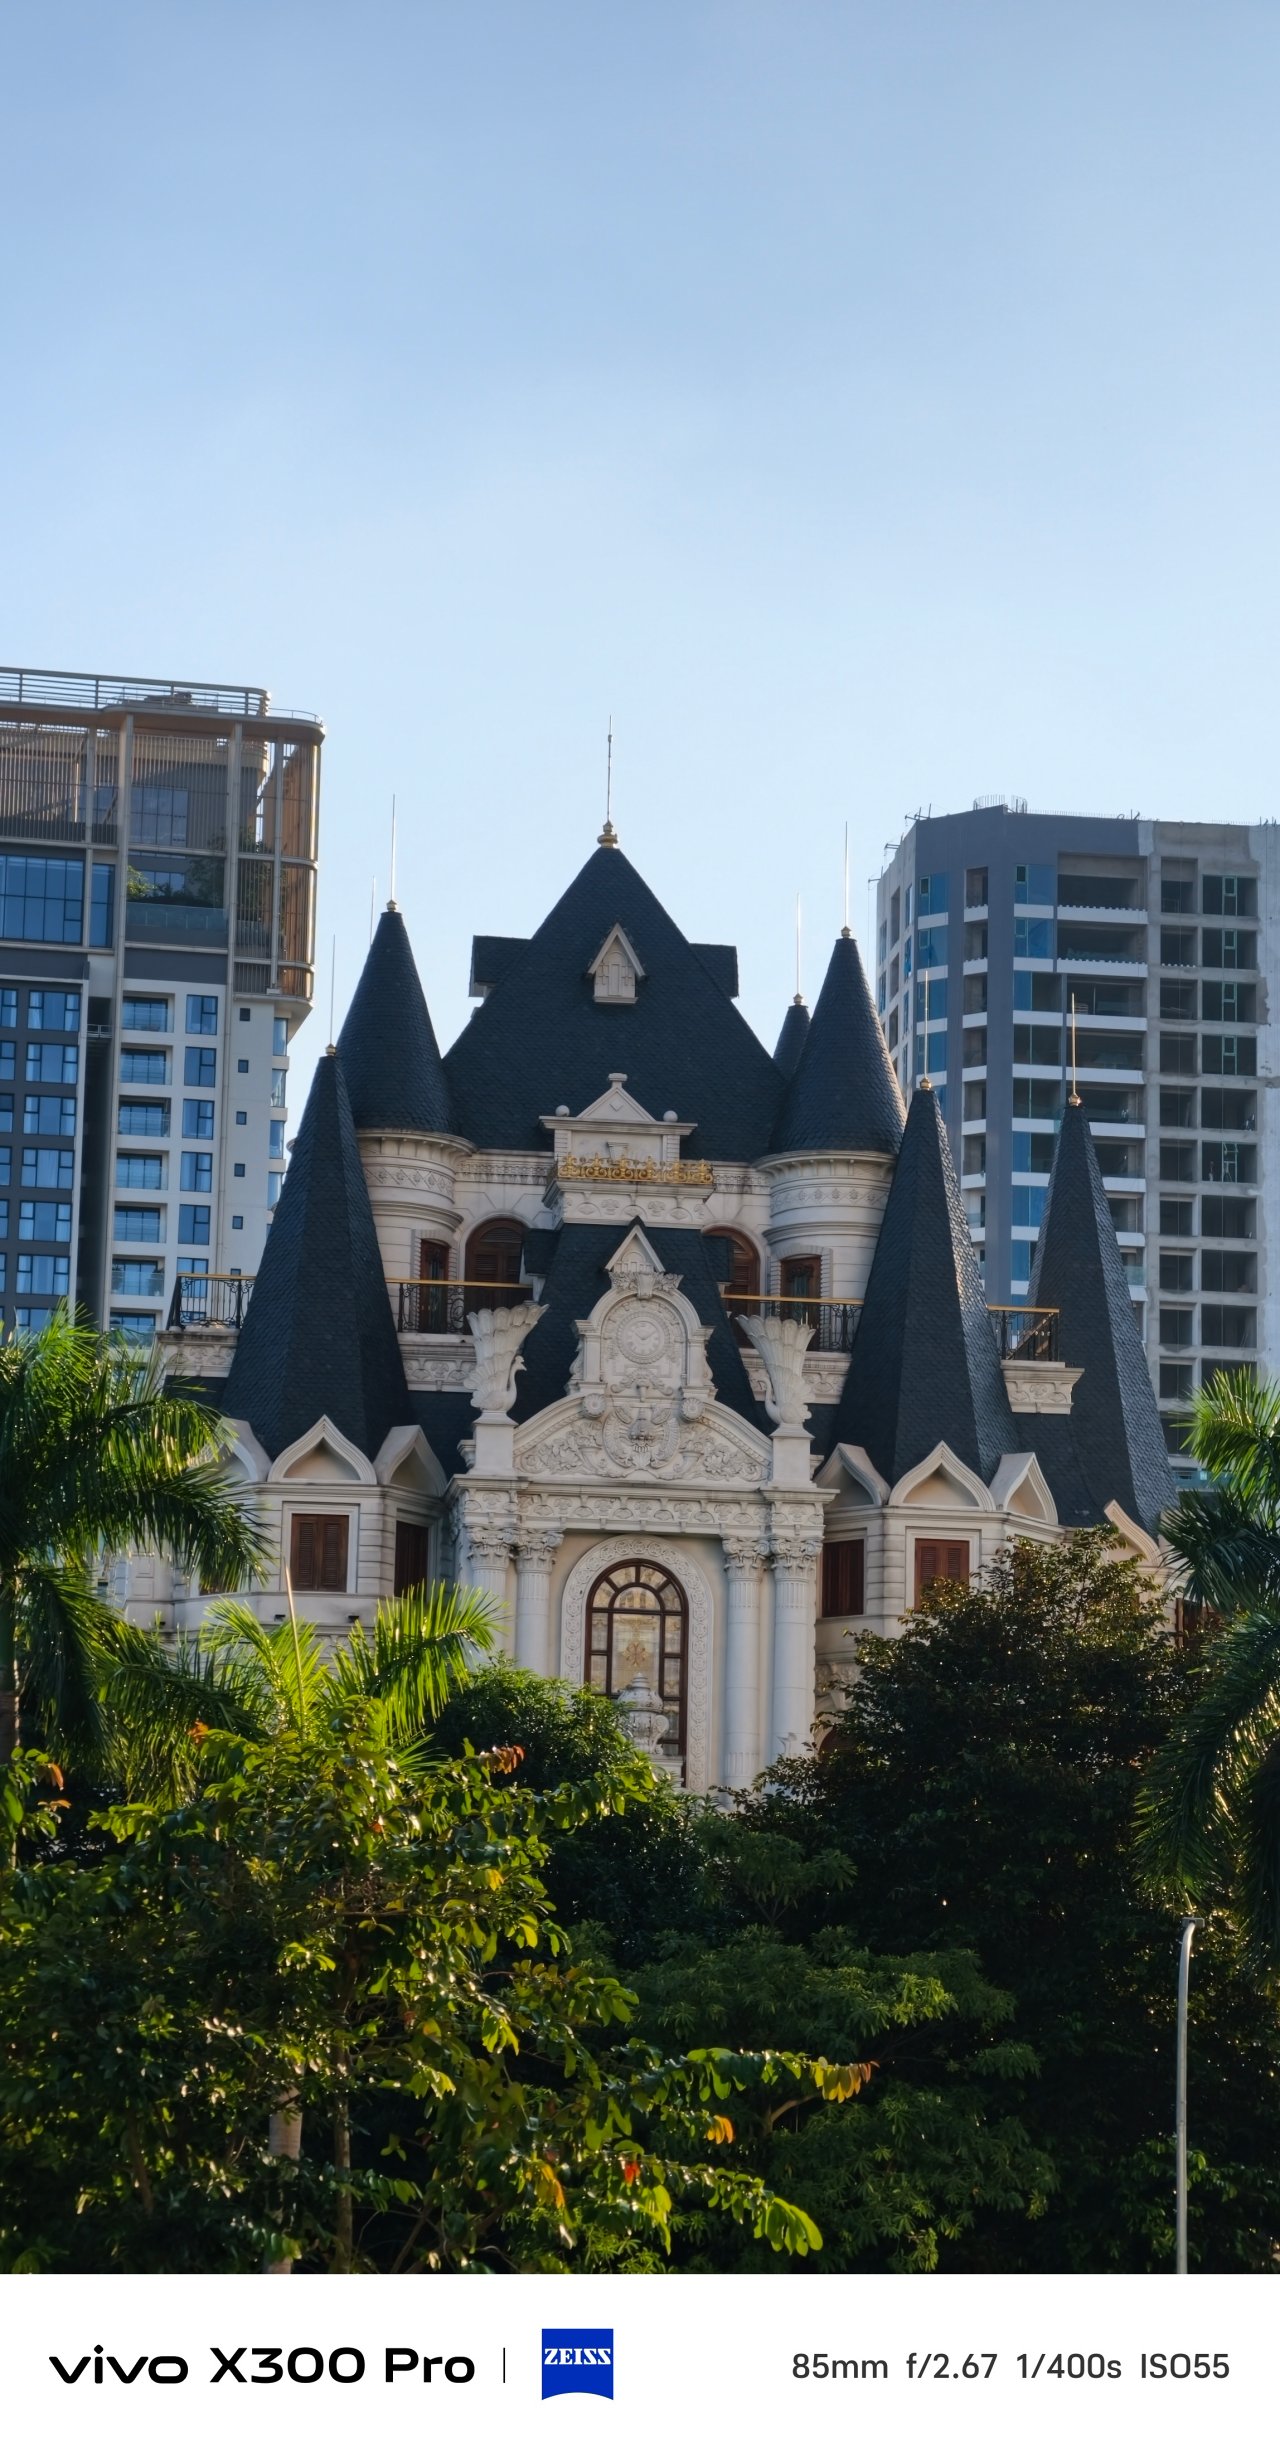
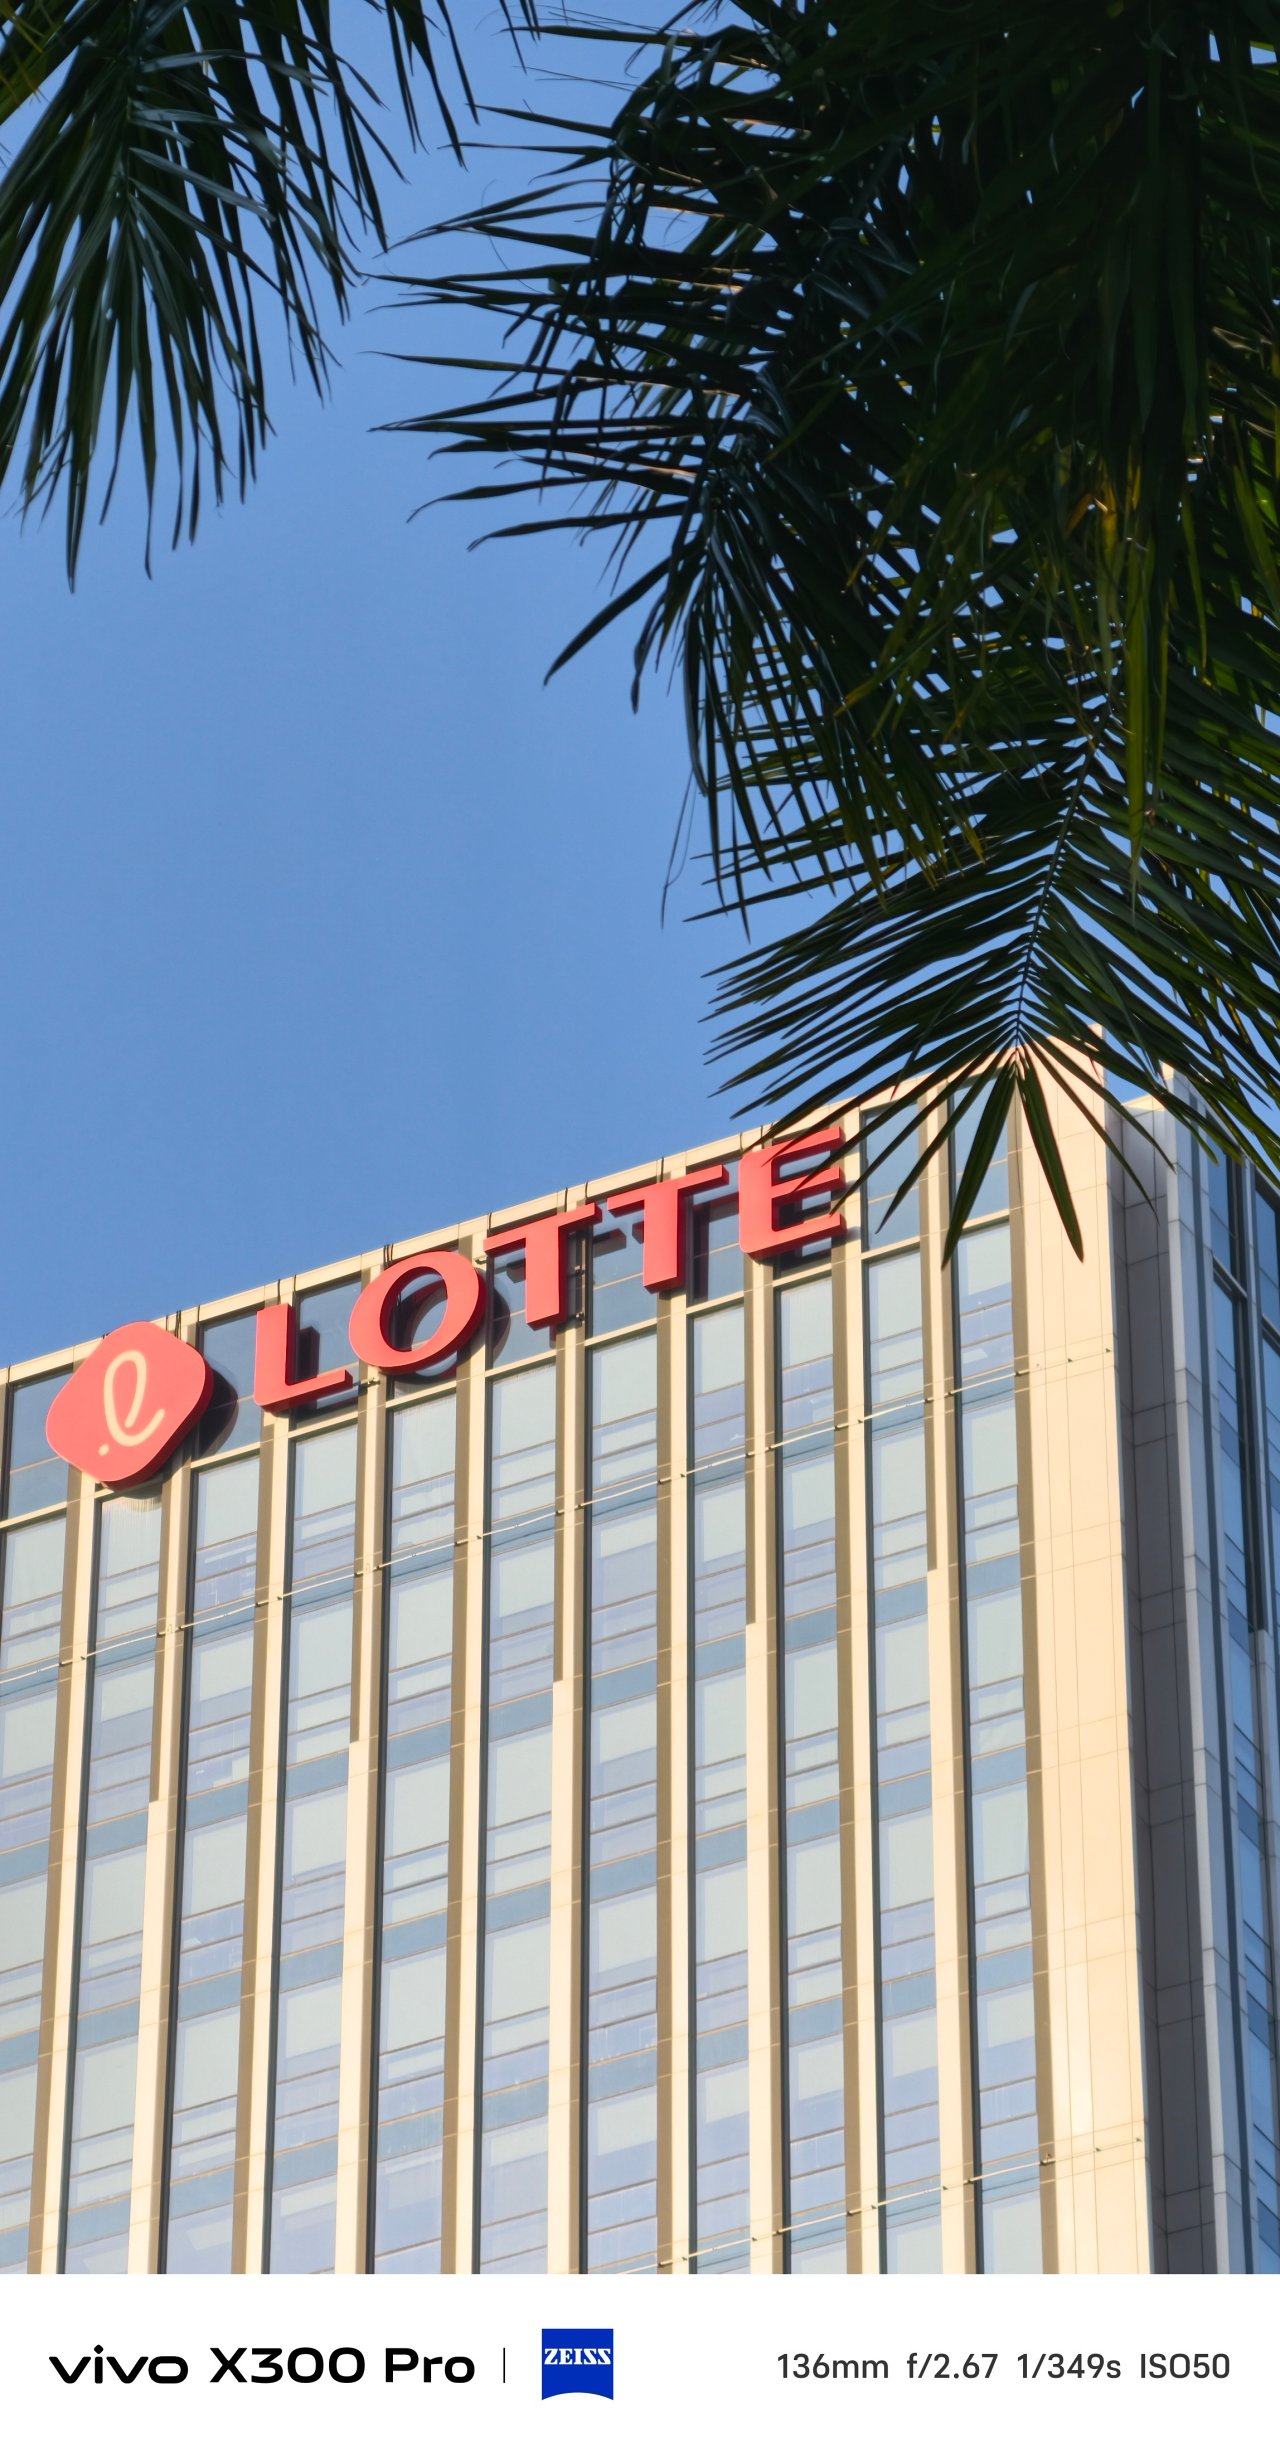
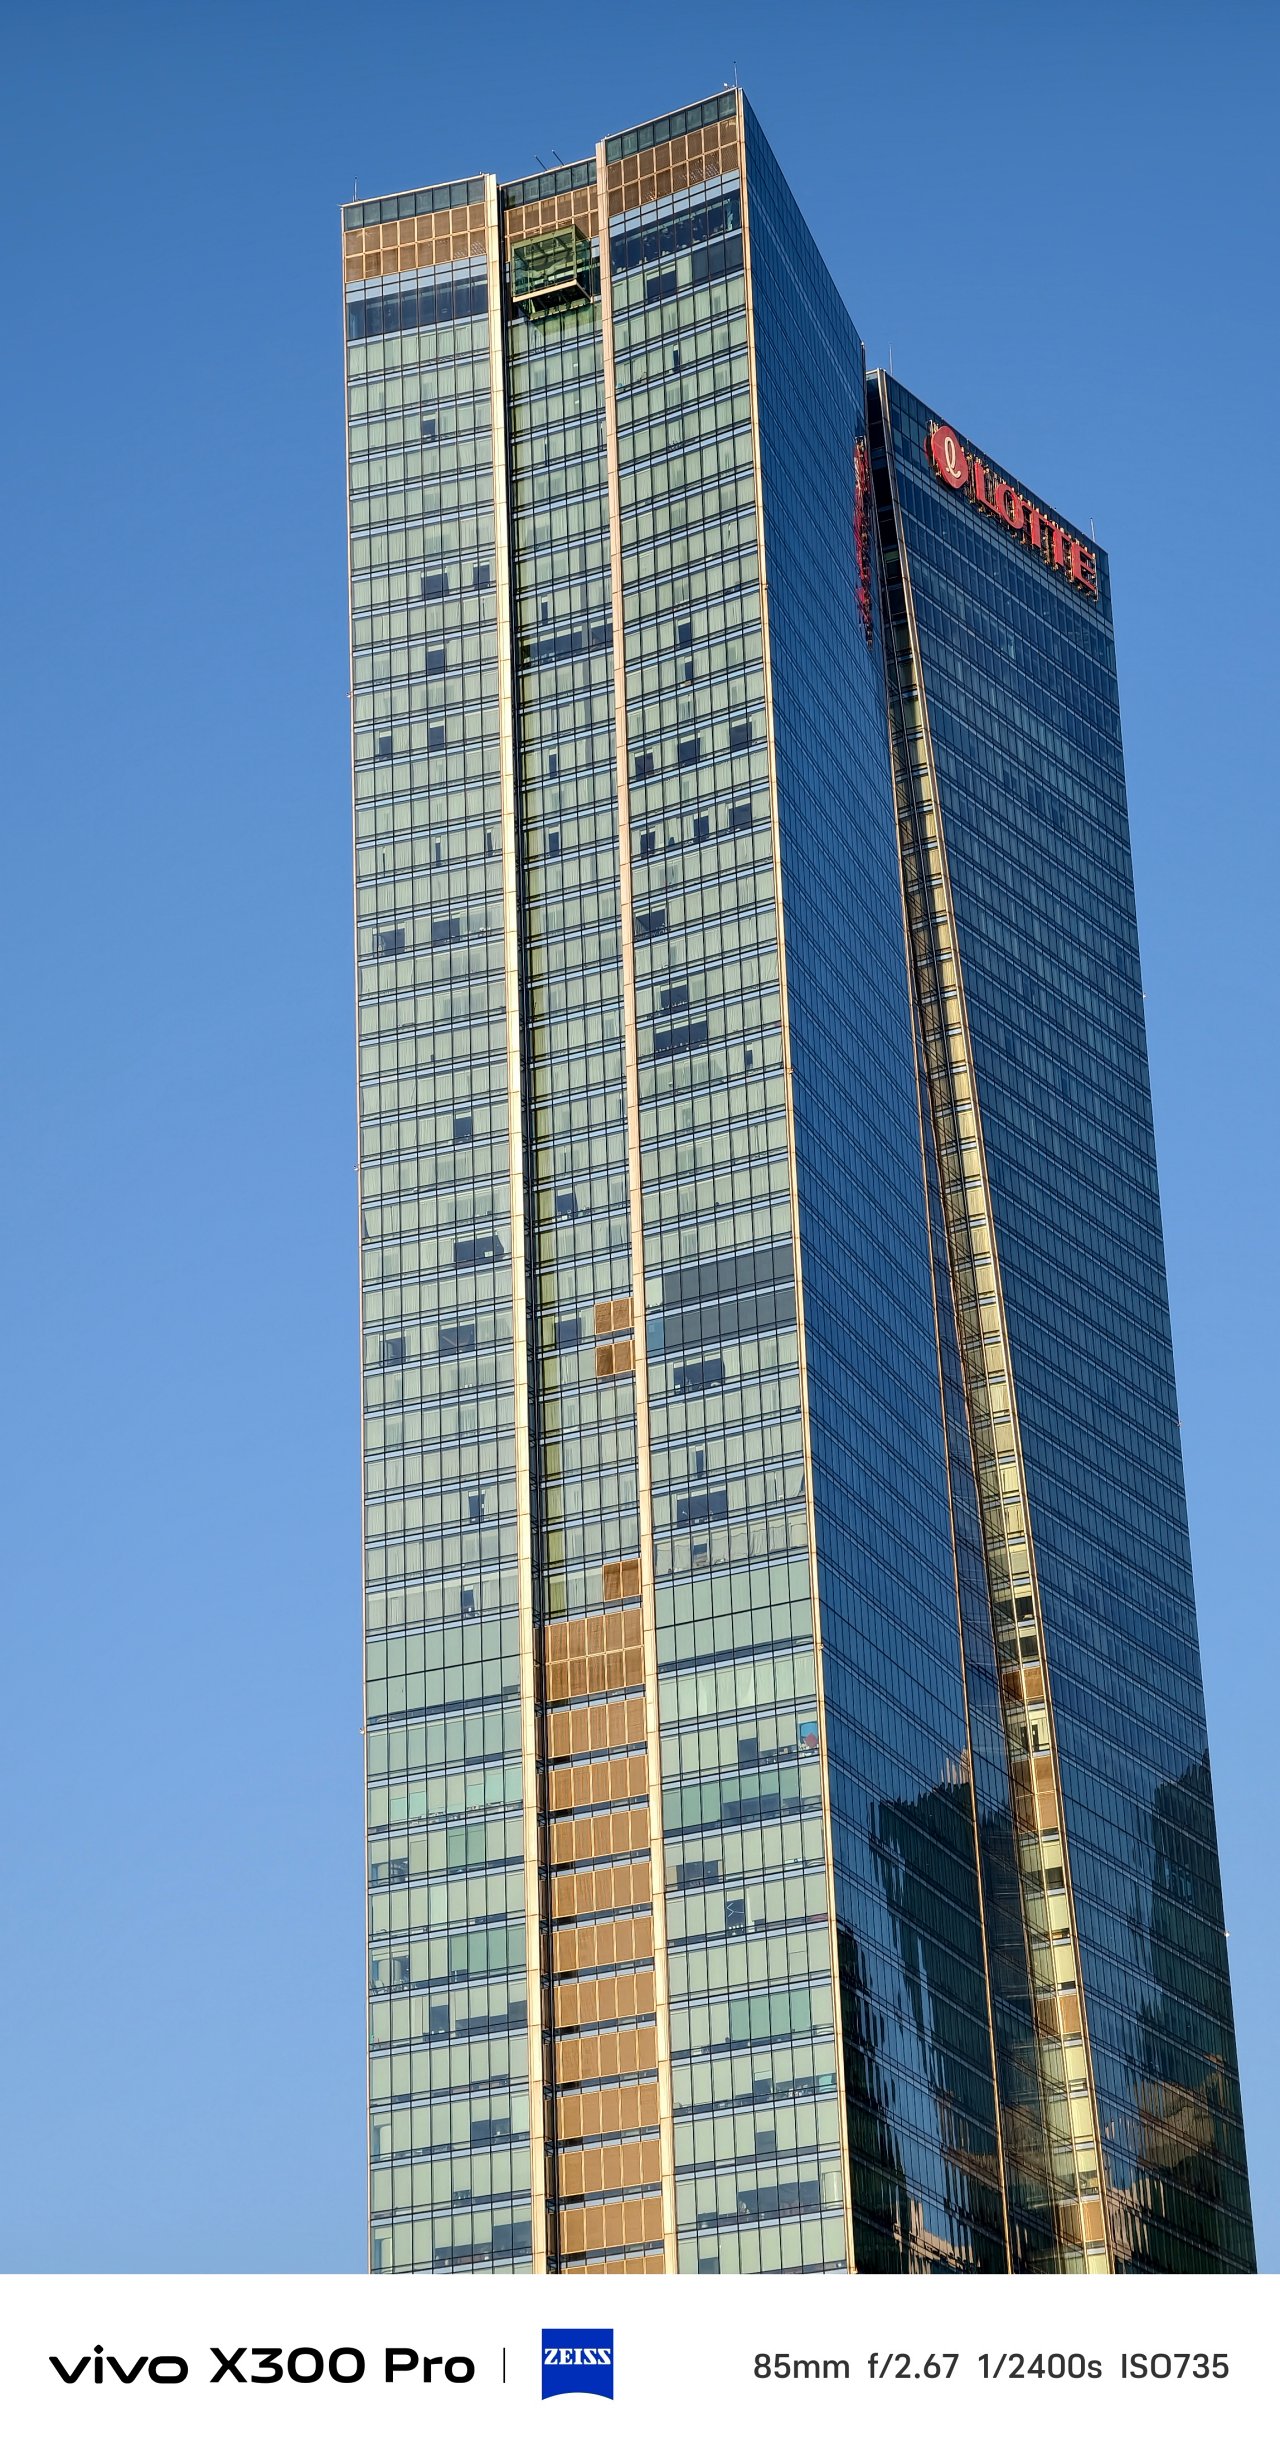


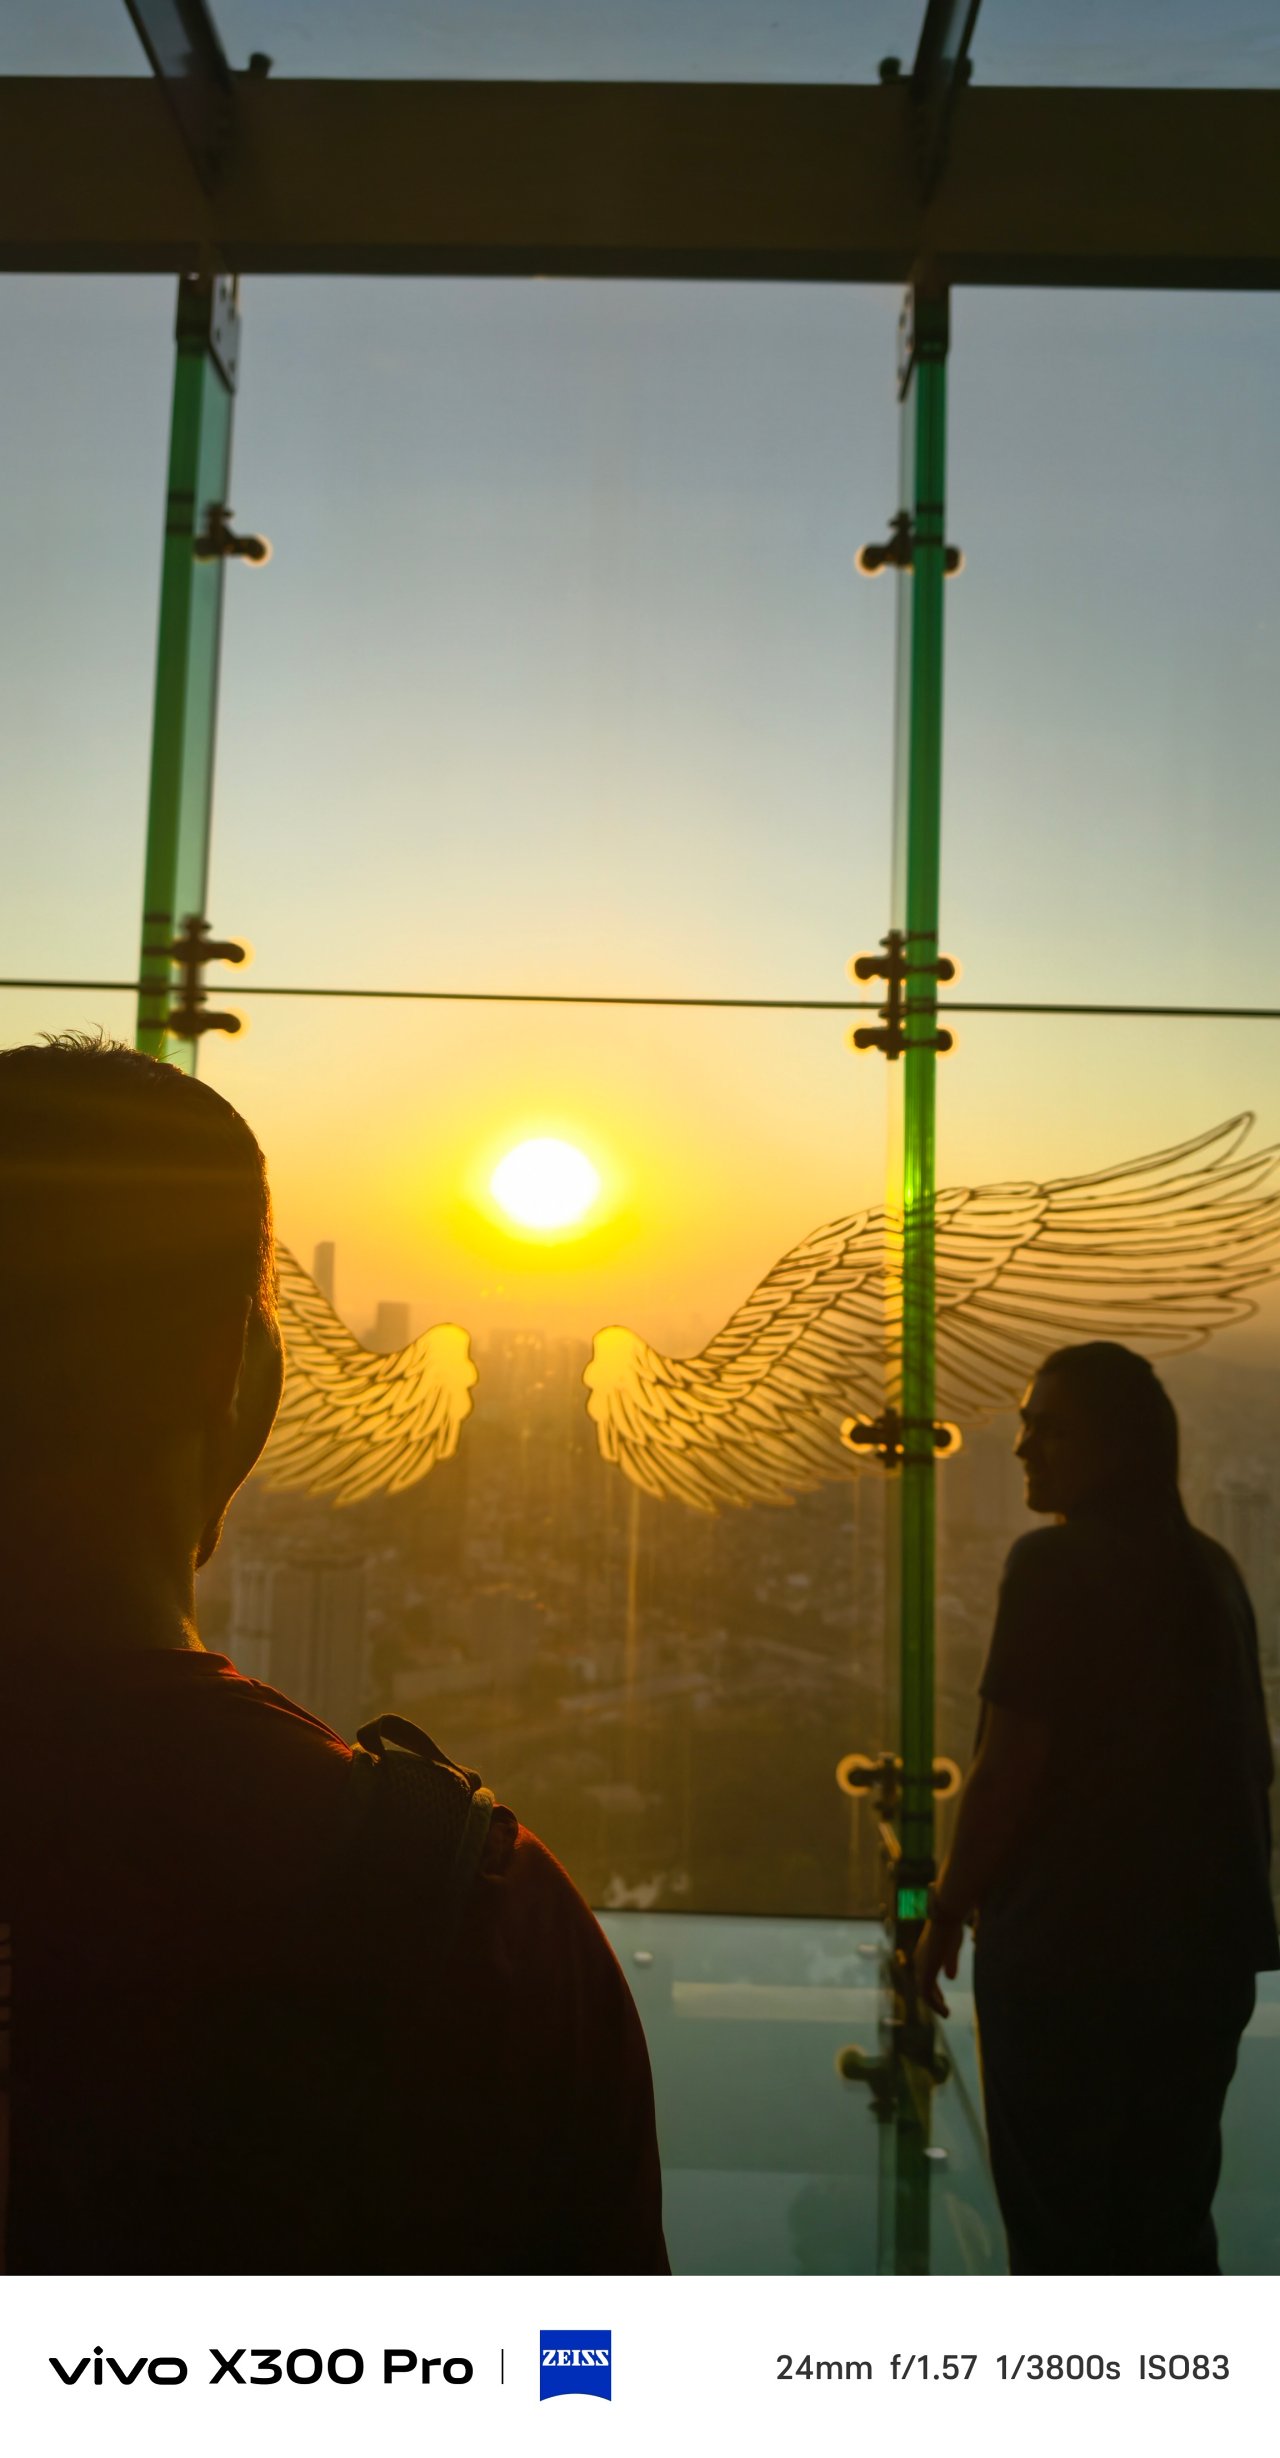
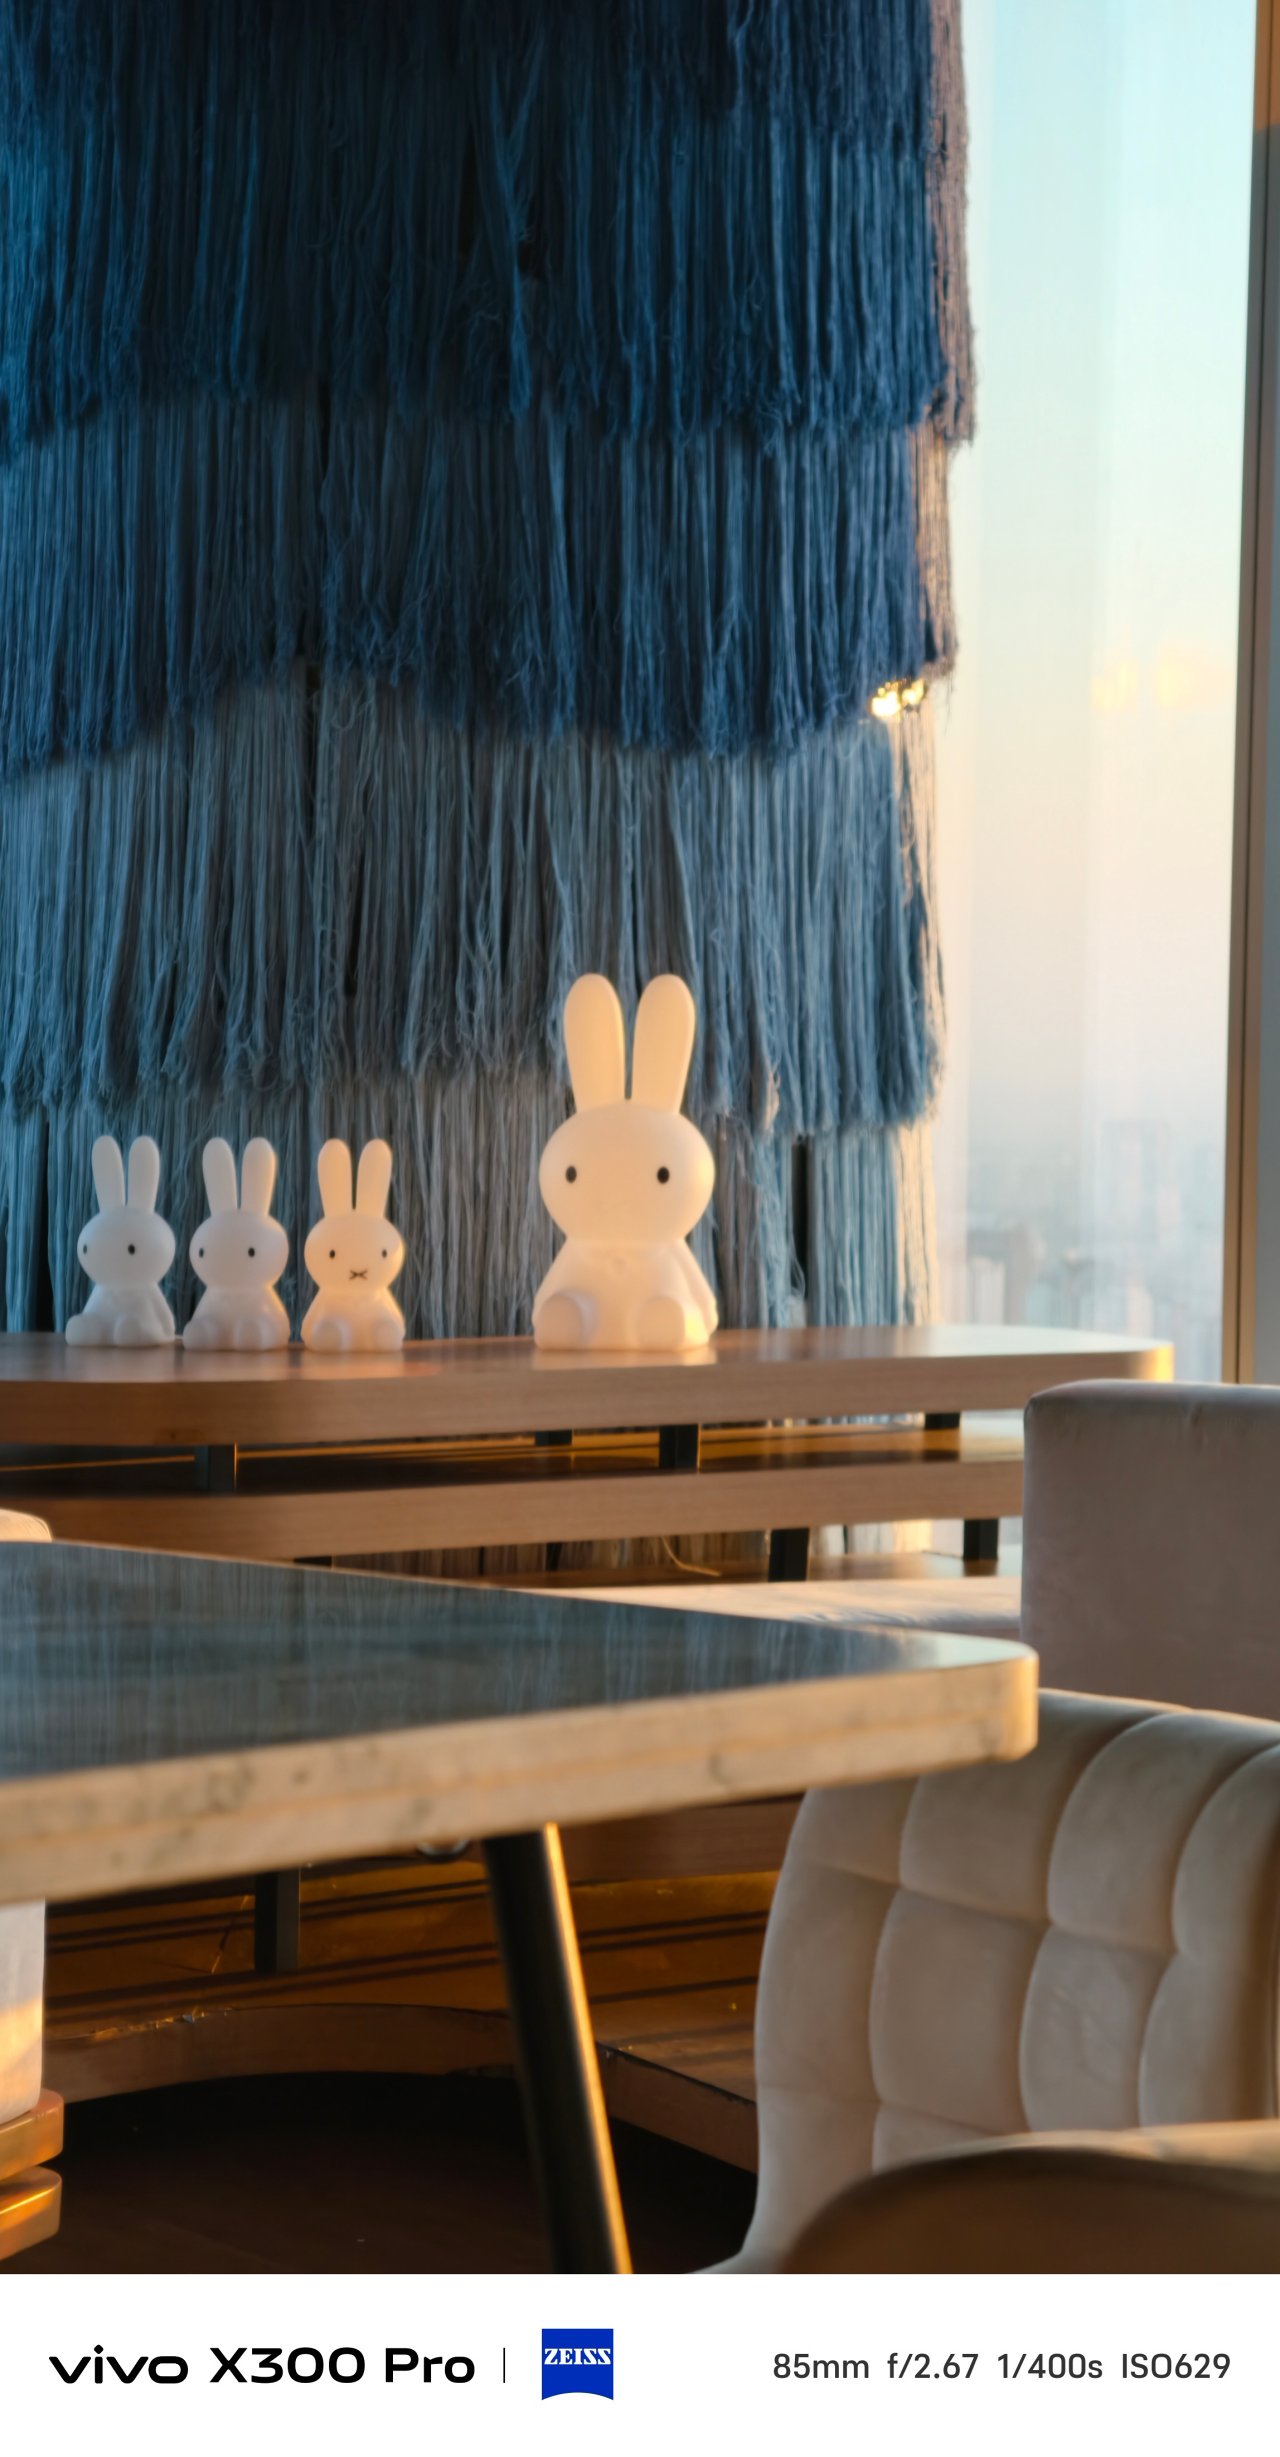
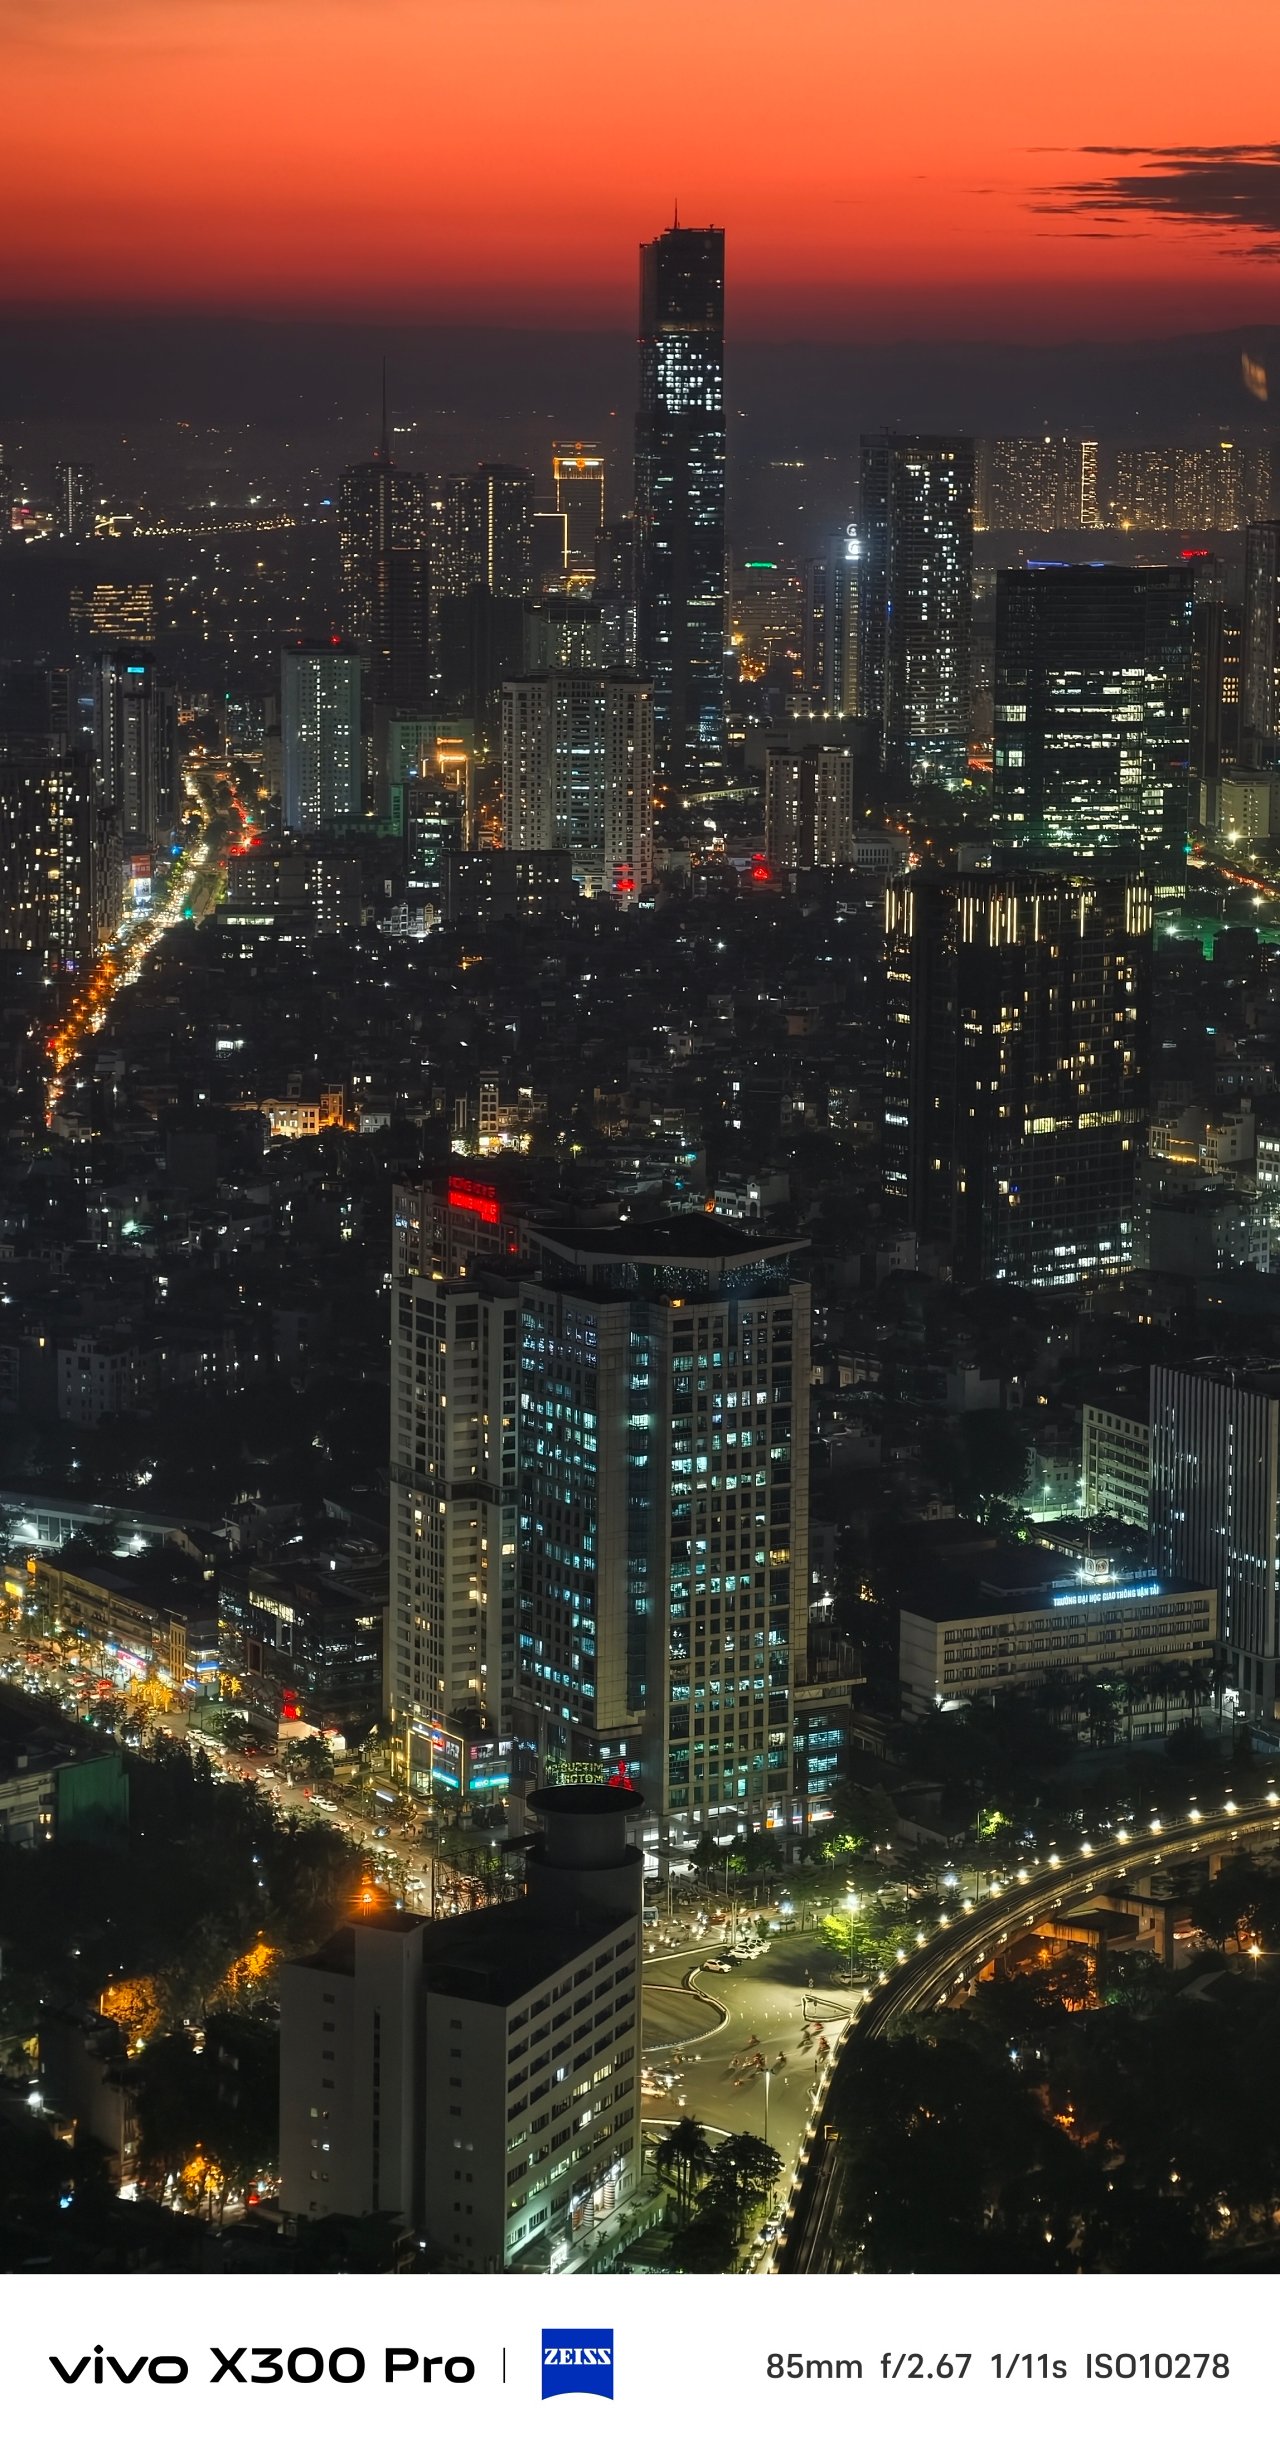
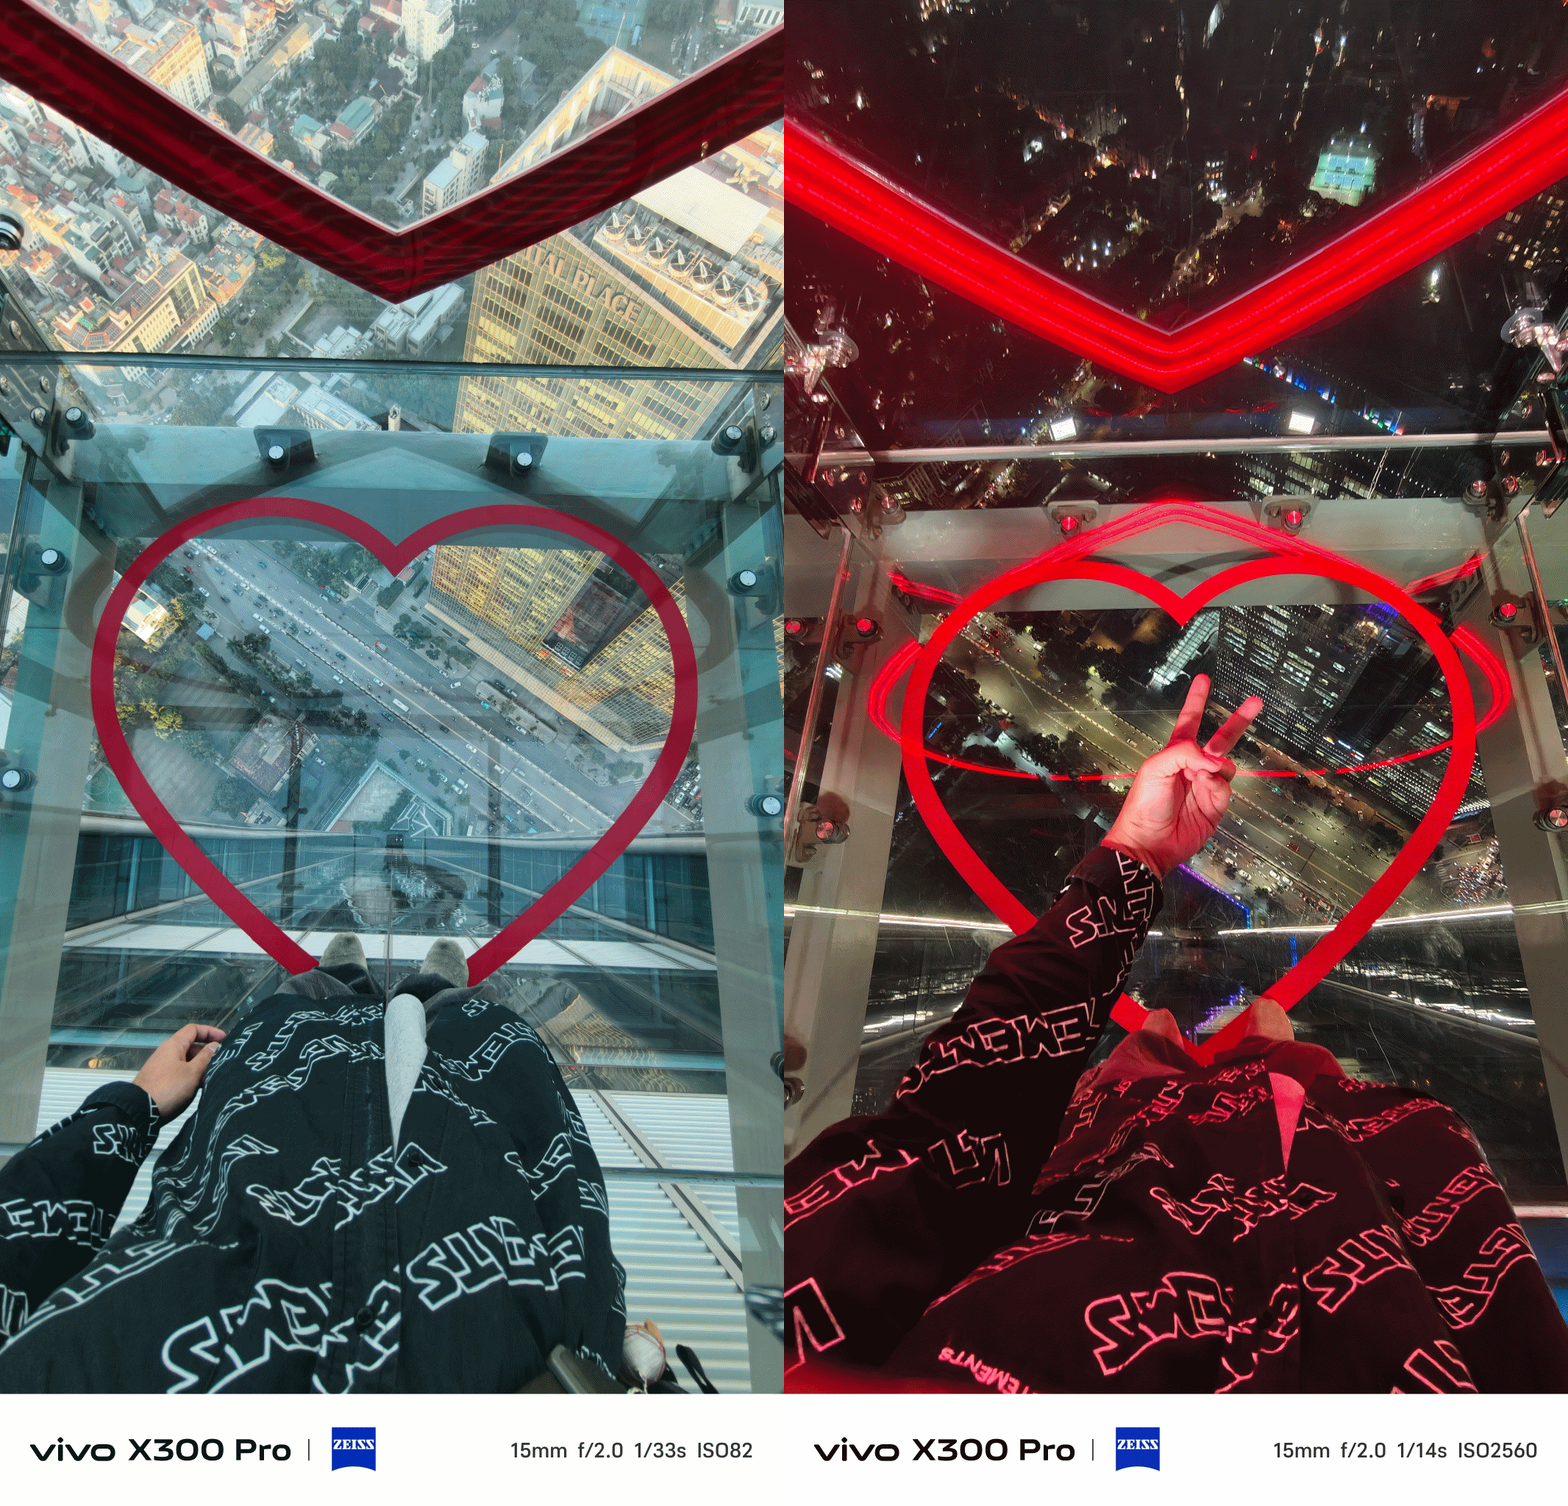
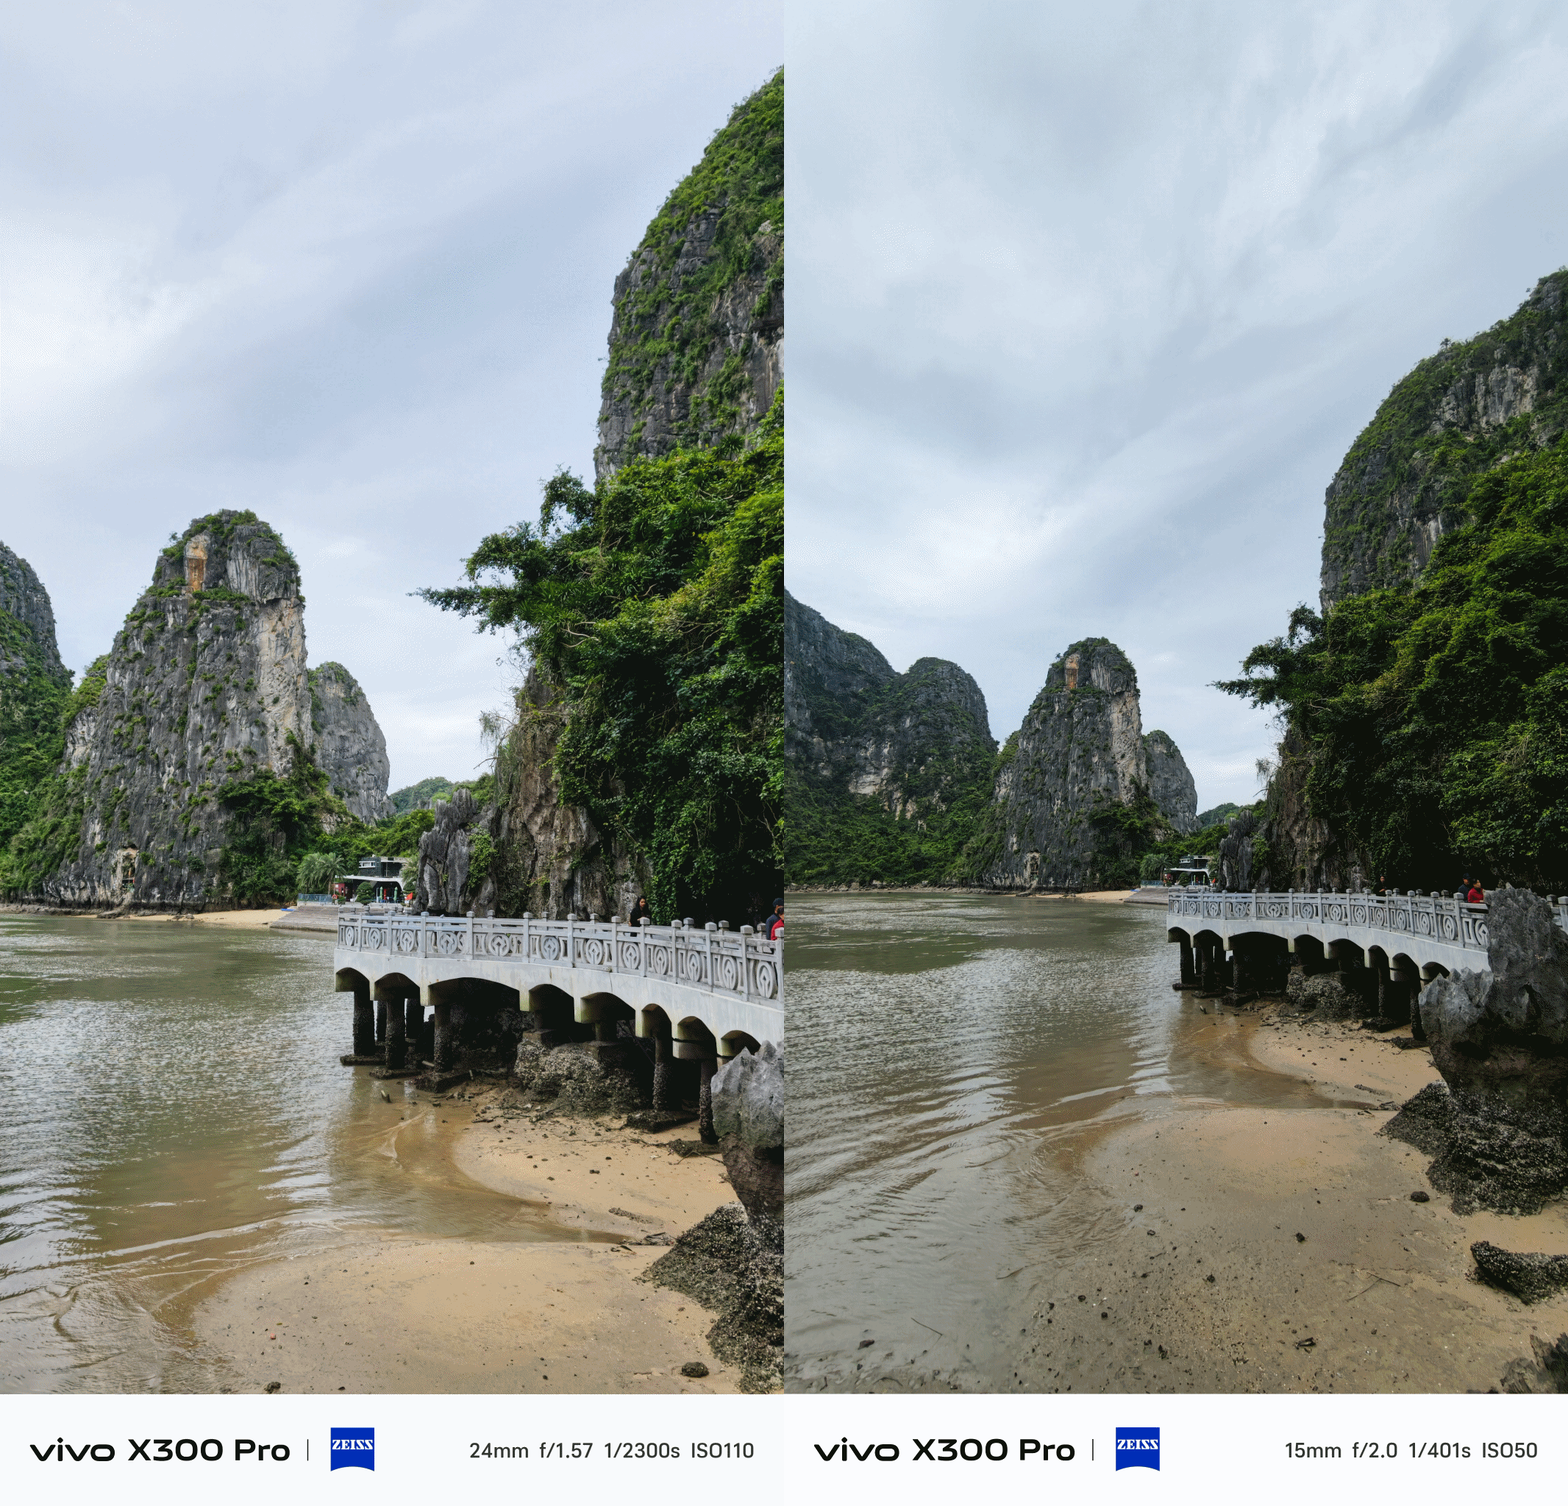
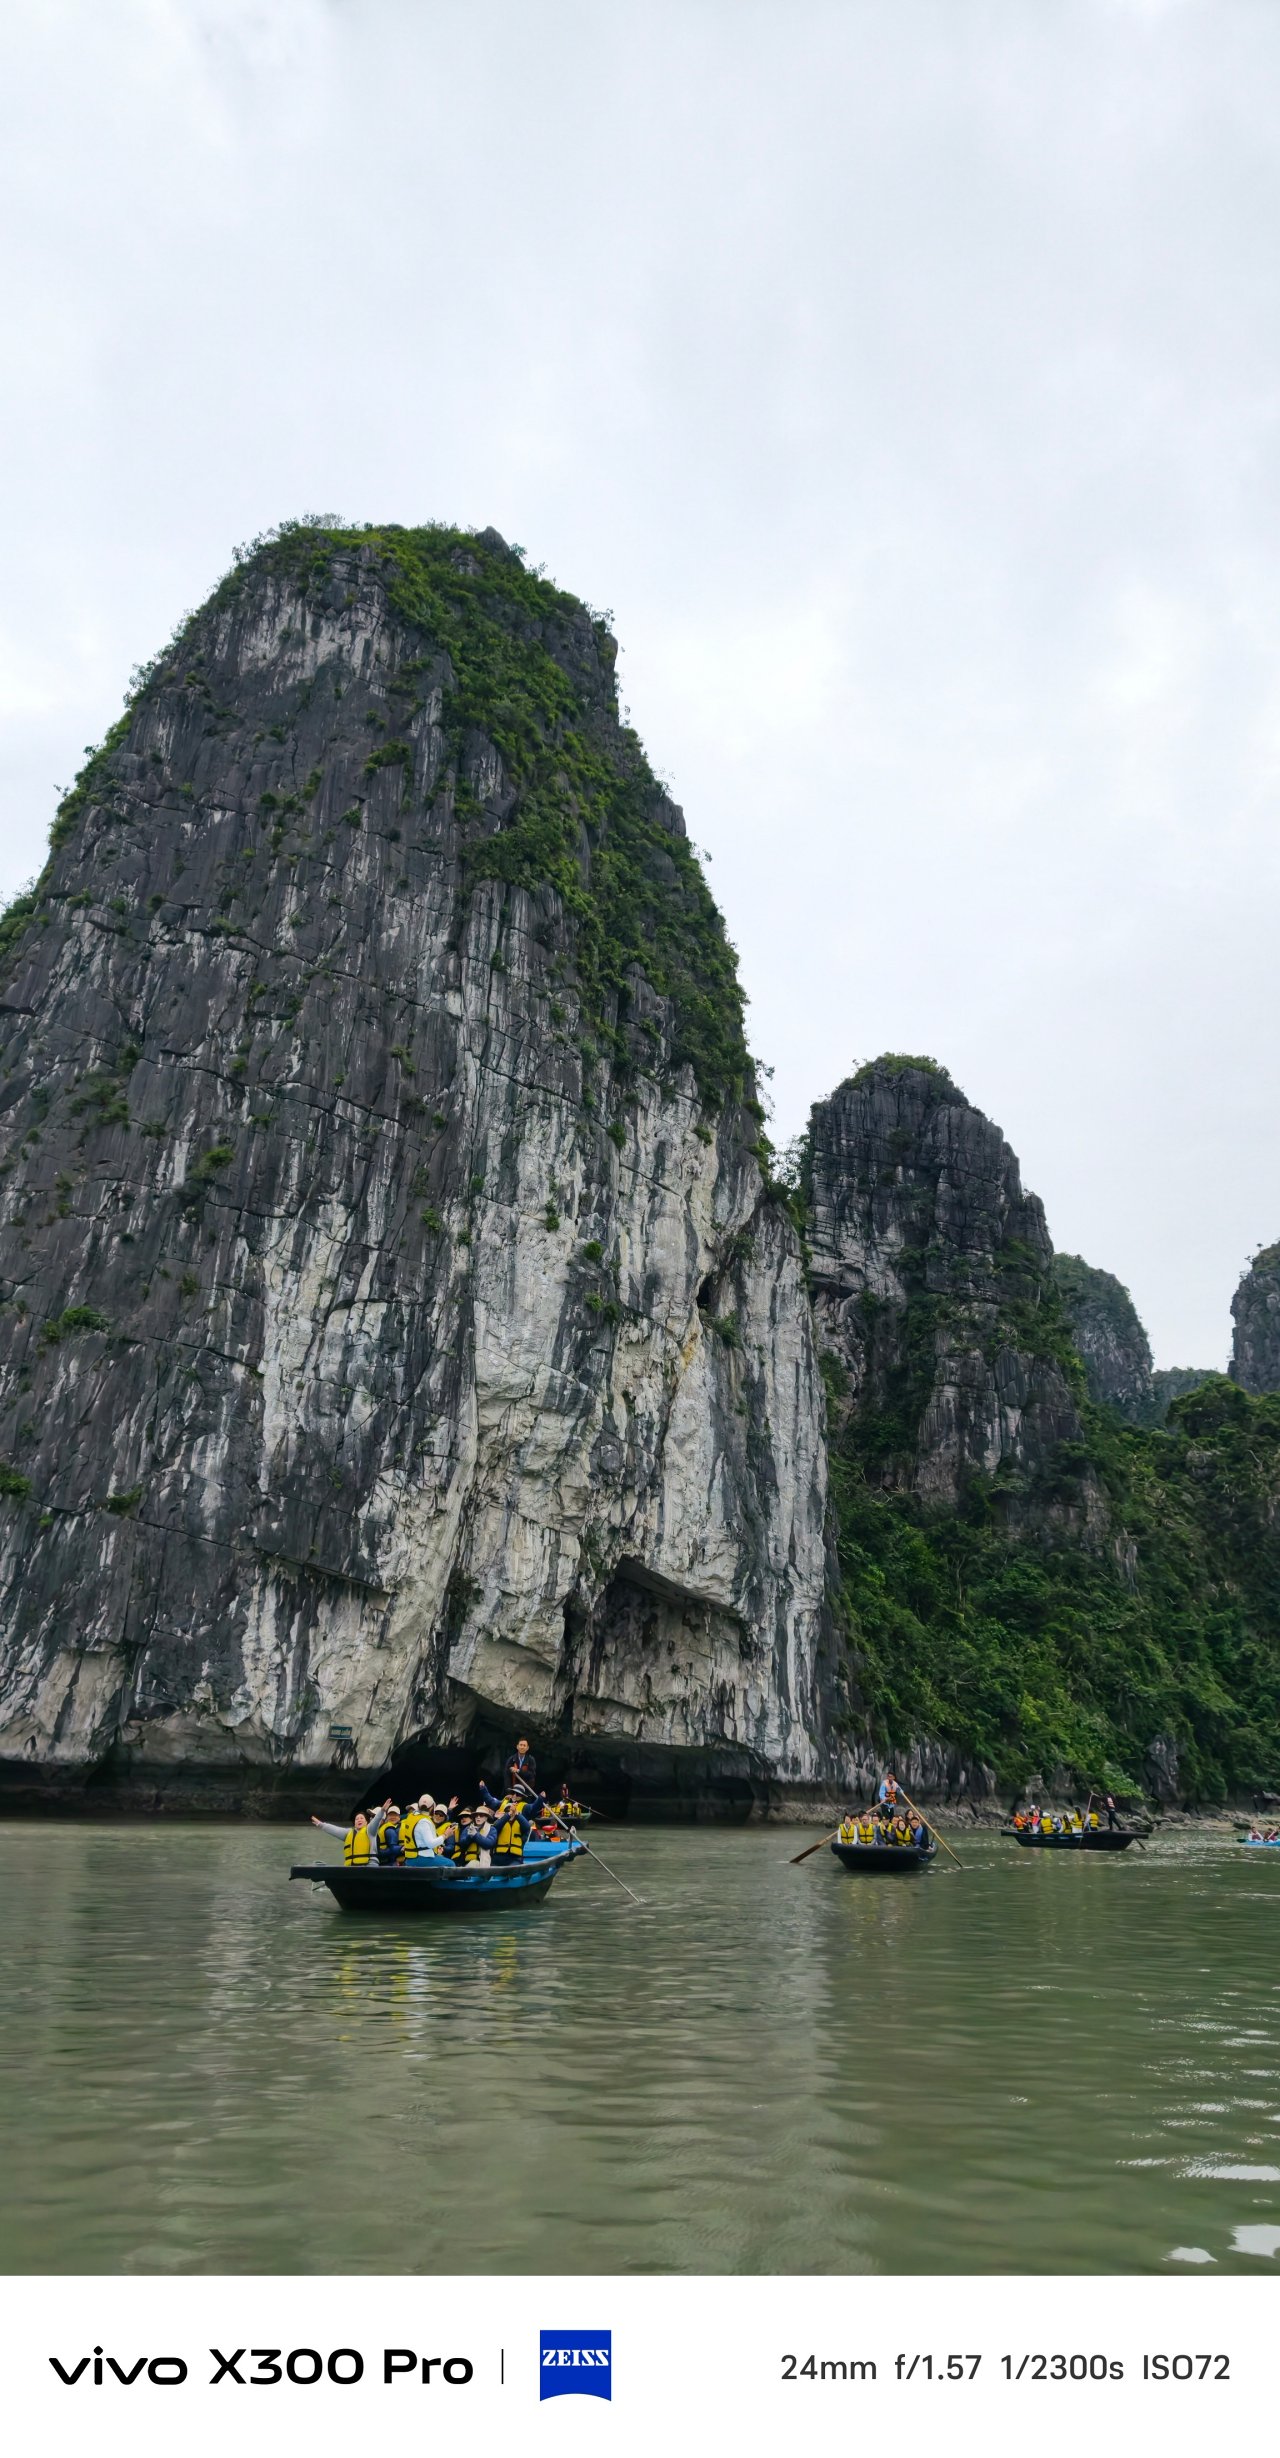
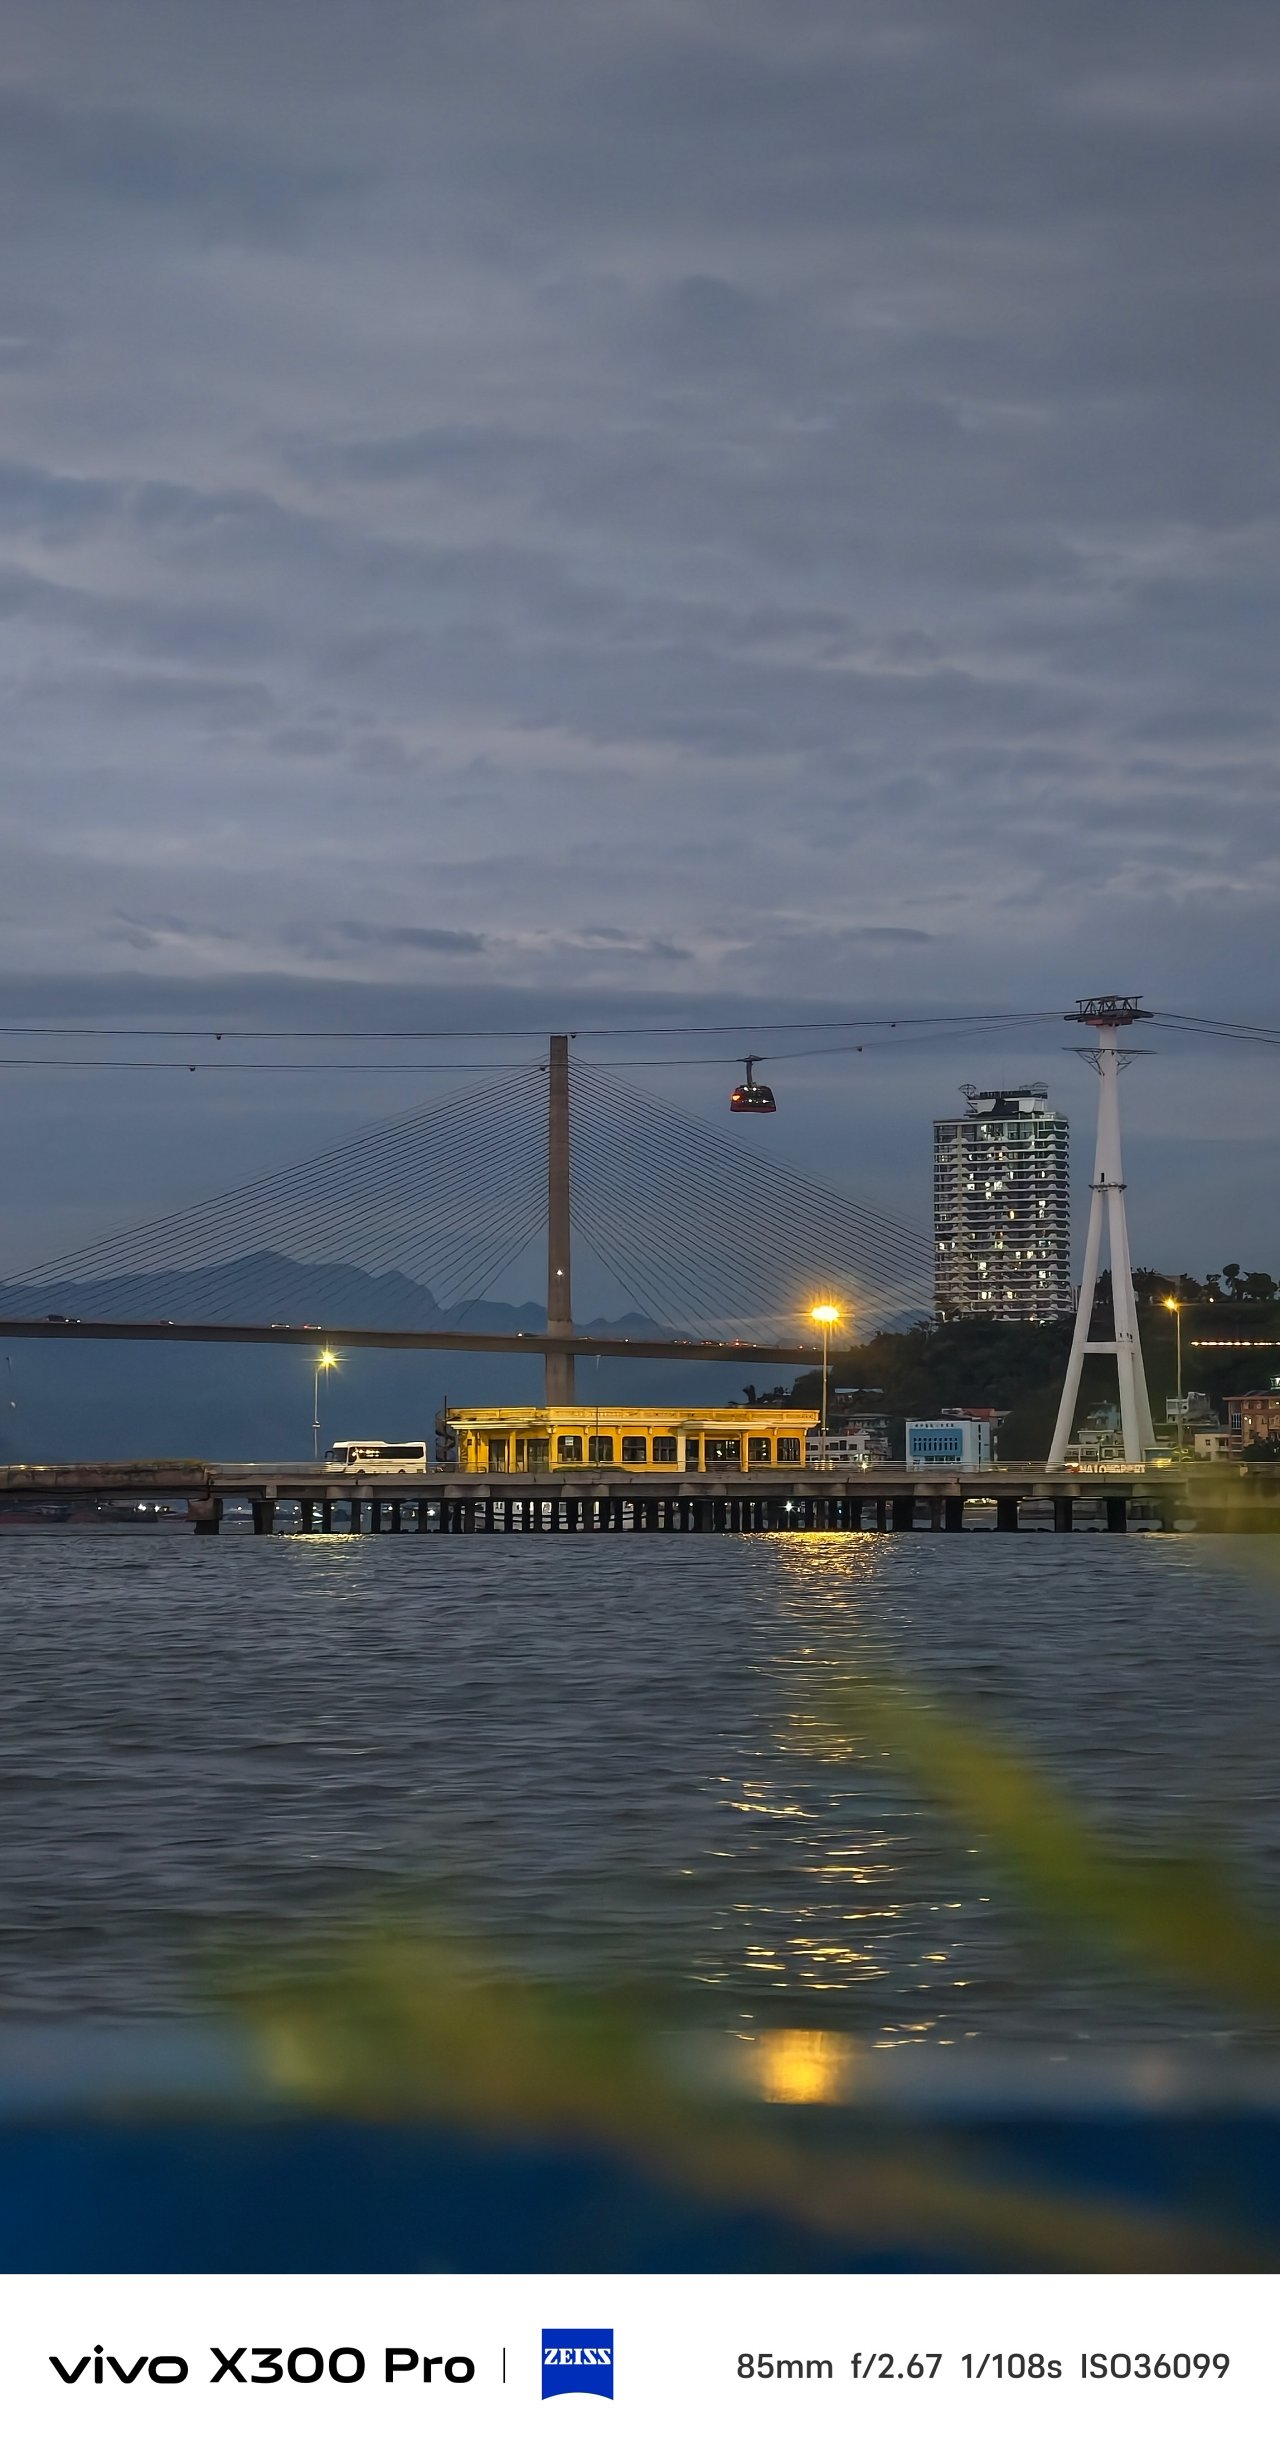
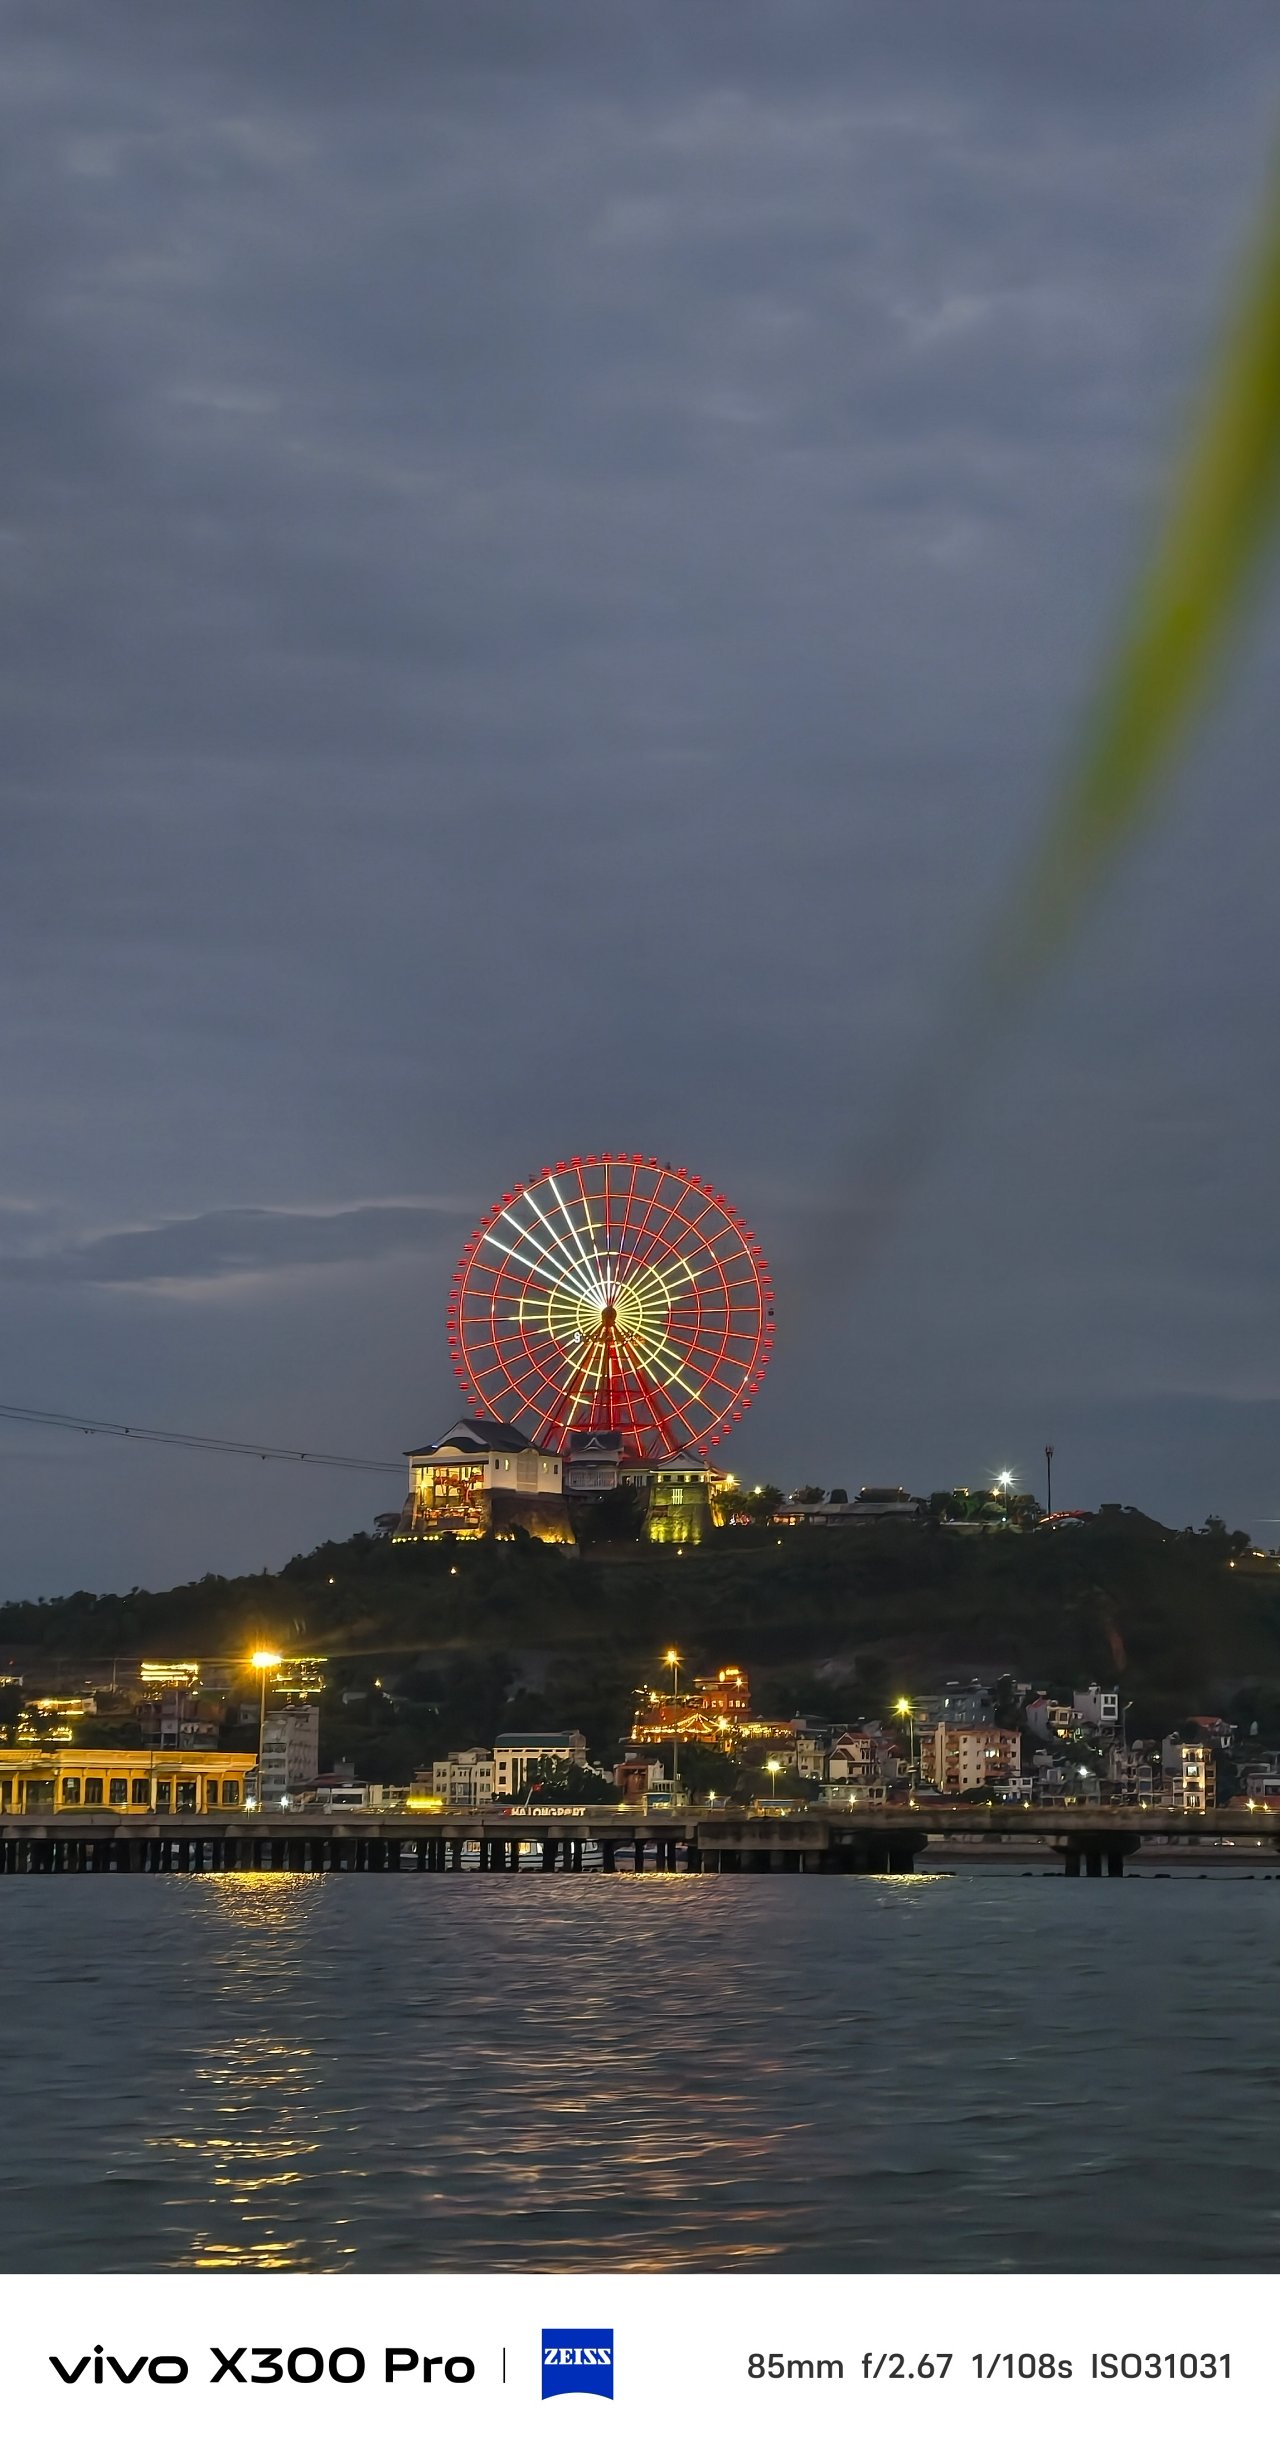
But, for the entirety of my trip, I relied heavily on Textured as I love how my shots look more soulful in this profile with ample amount of shadows and toned-down highlights.
📍 Hạ Long Bay







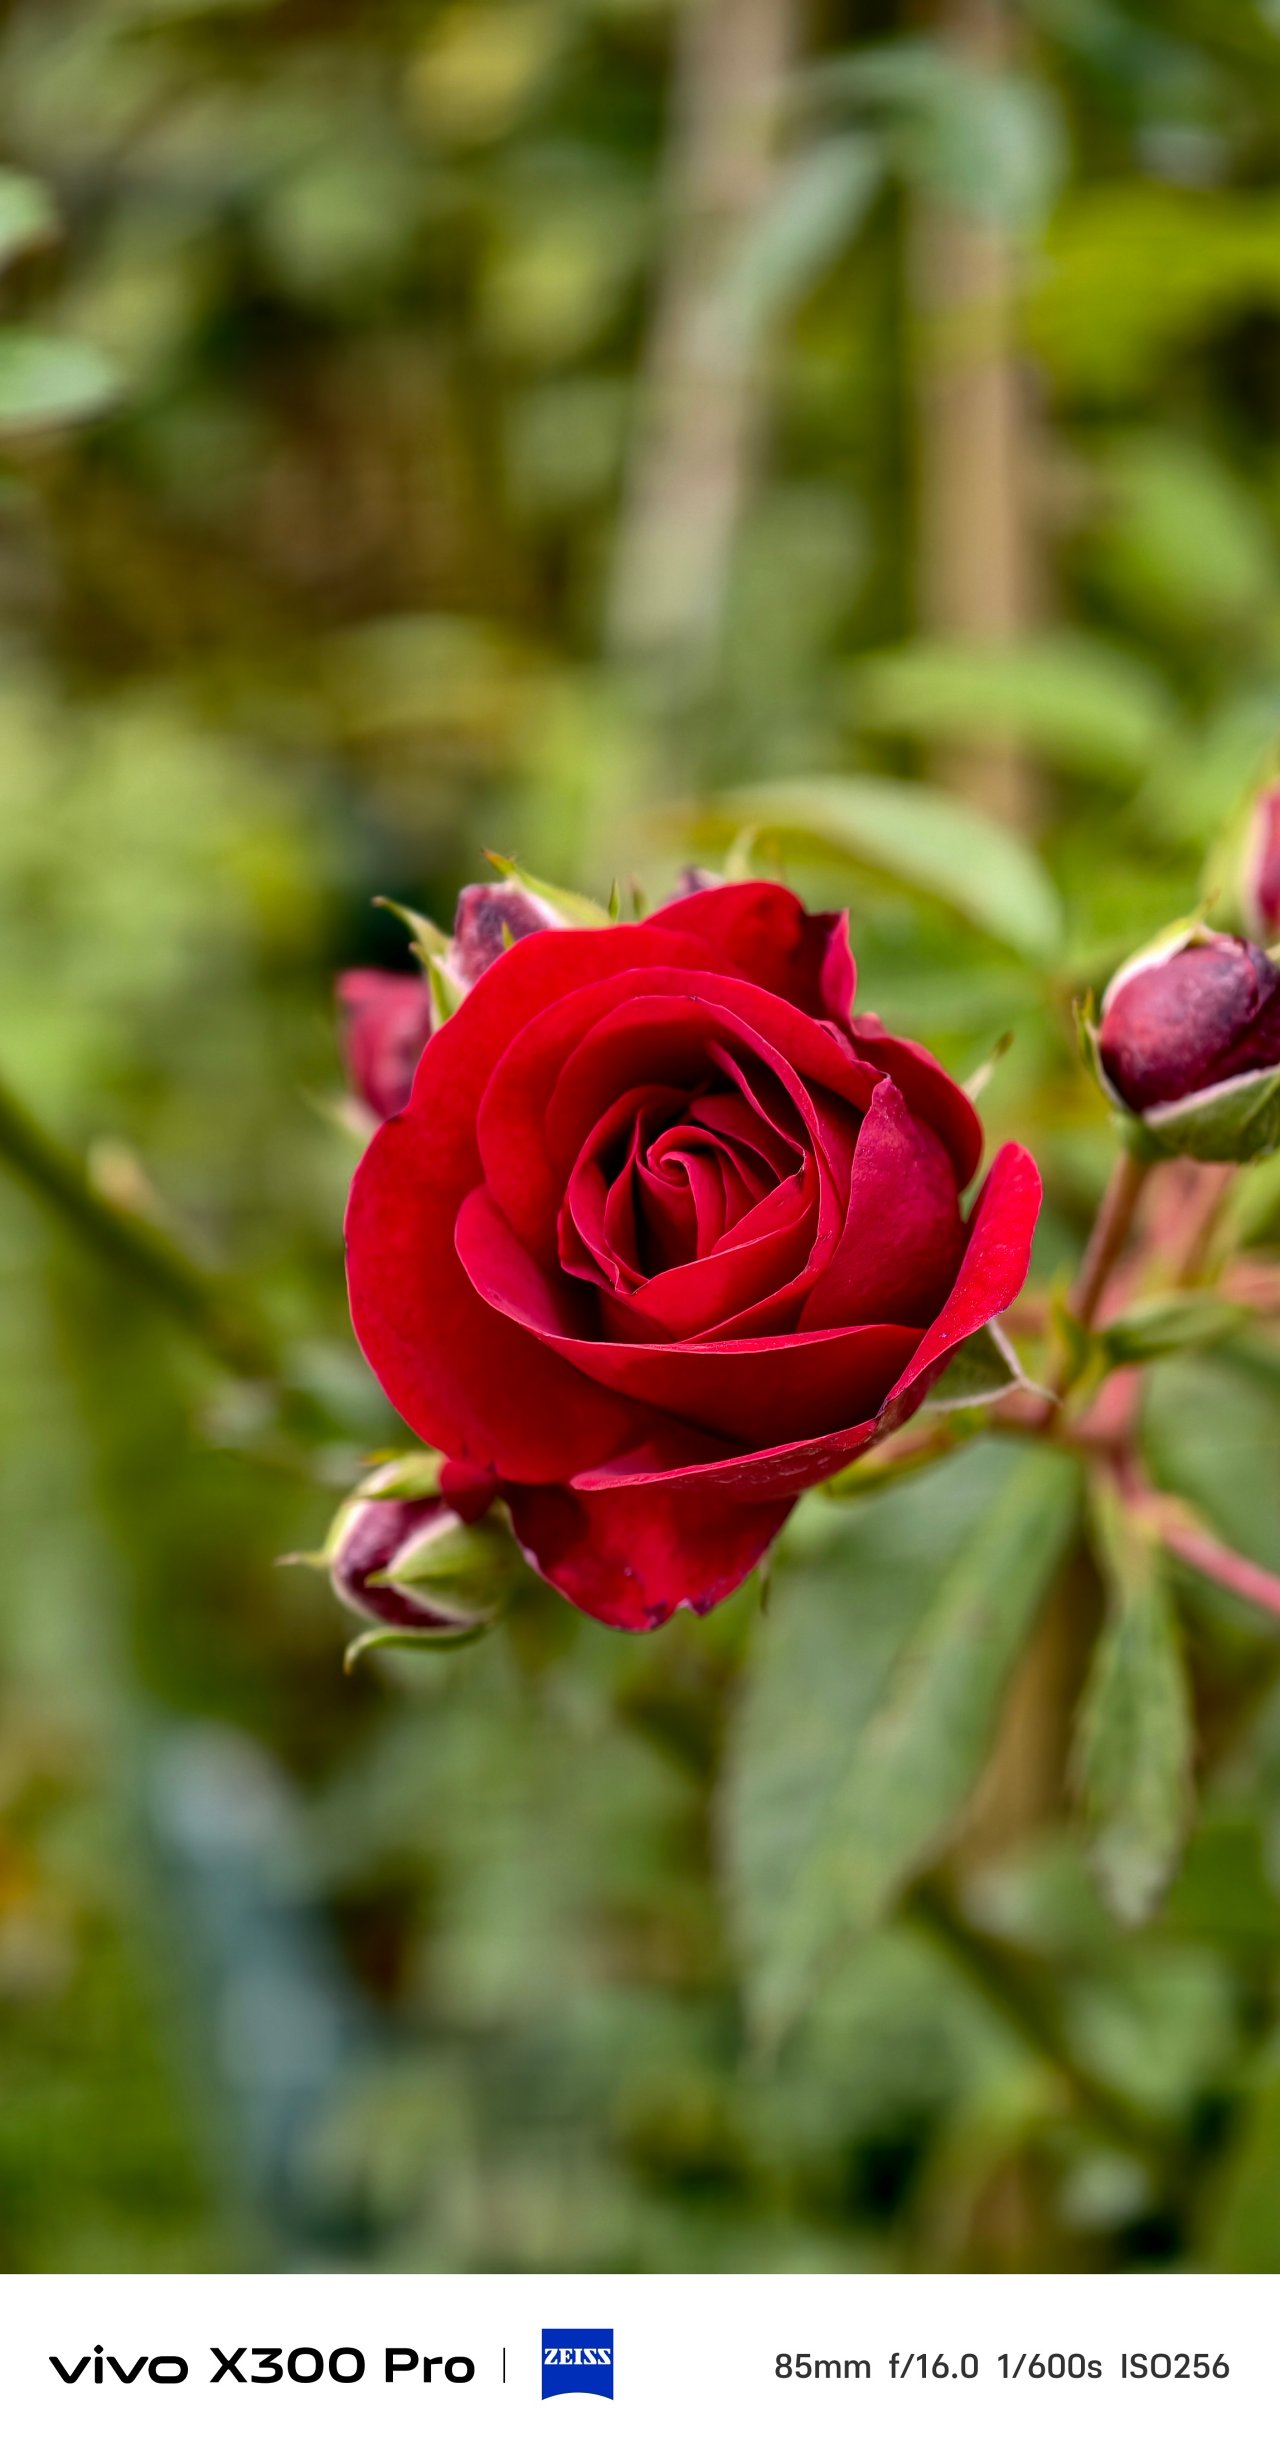

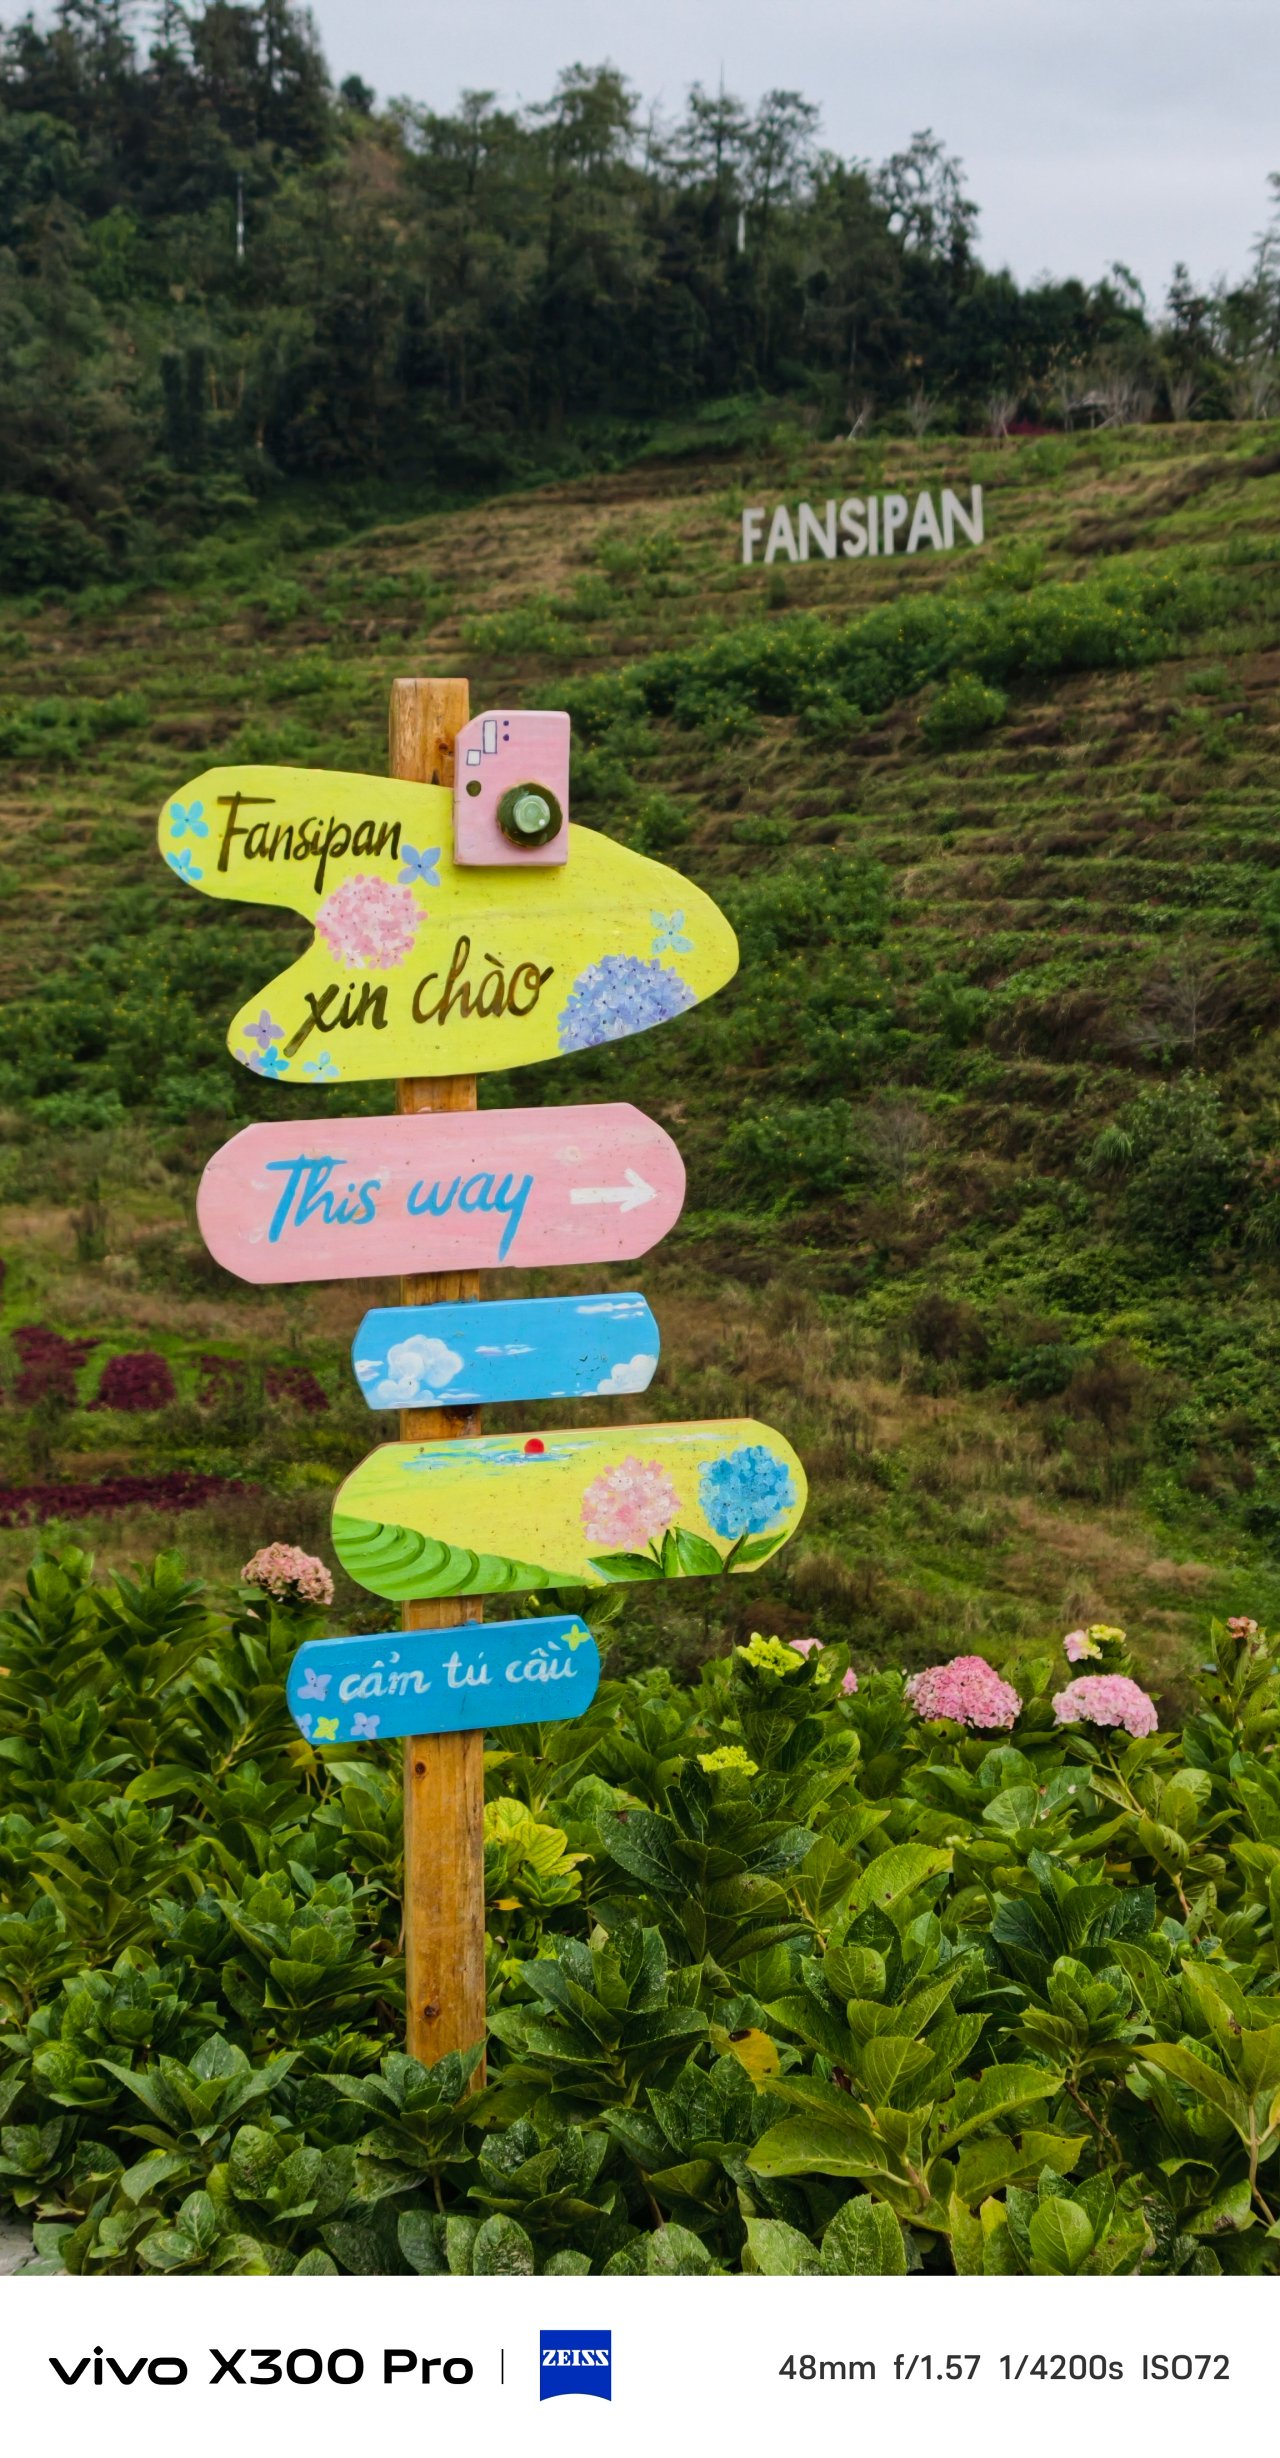

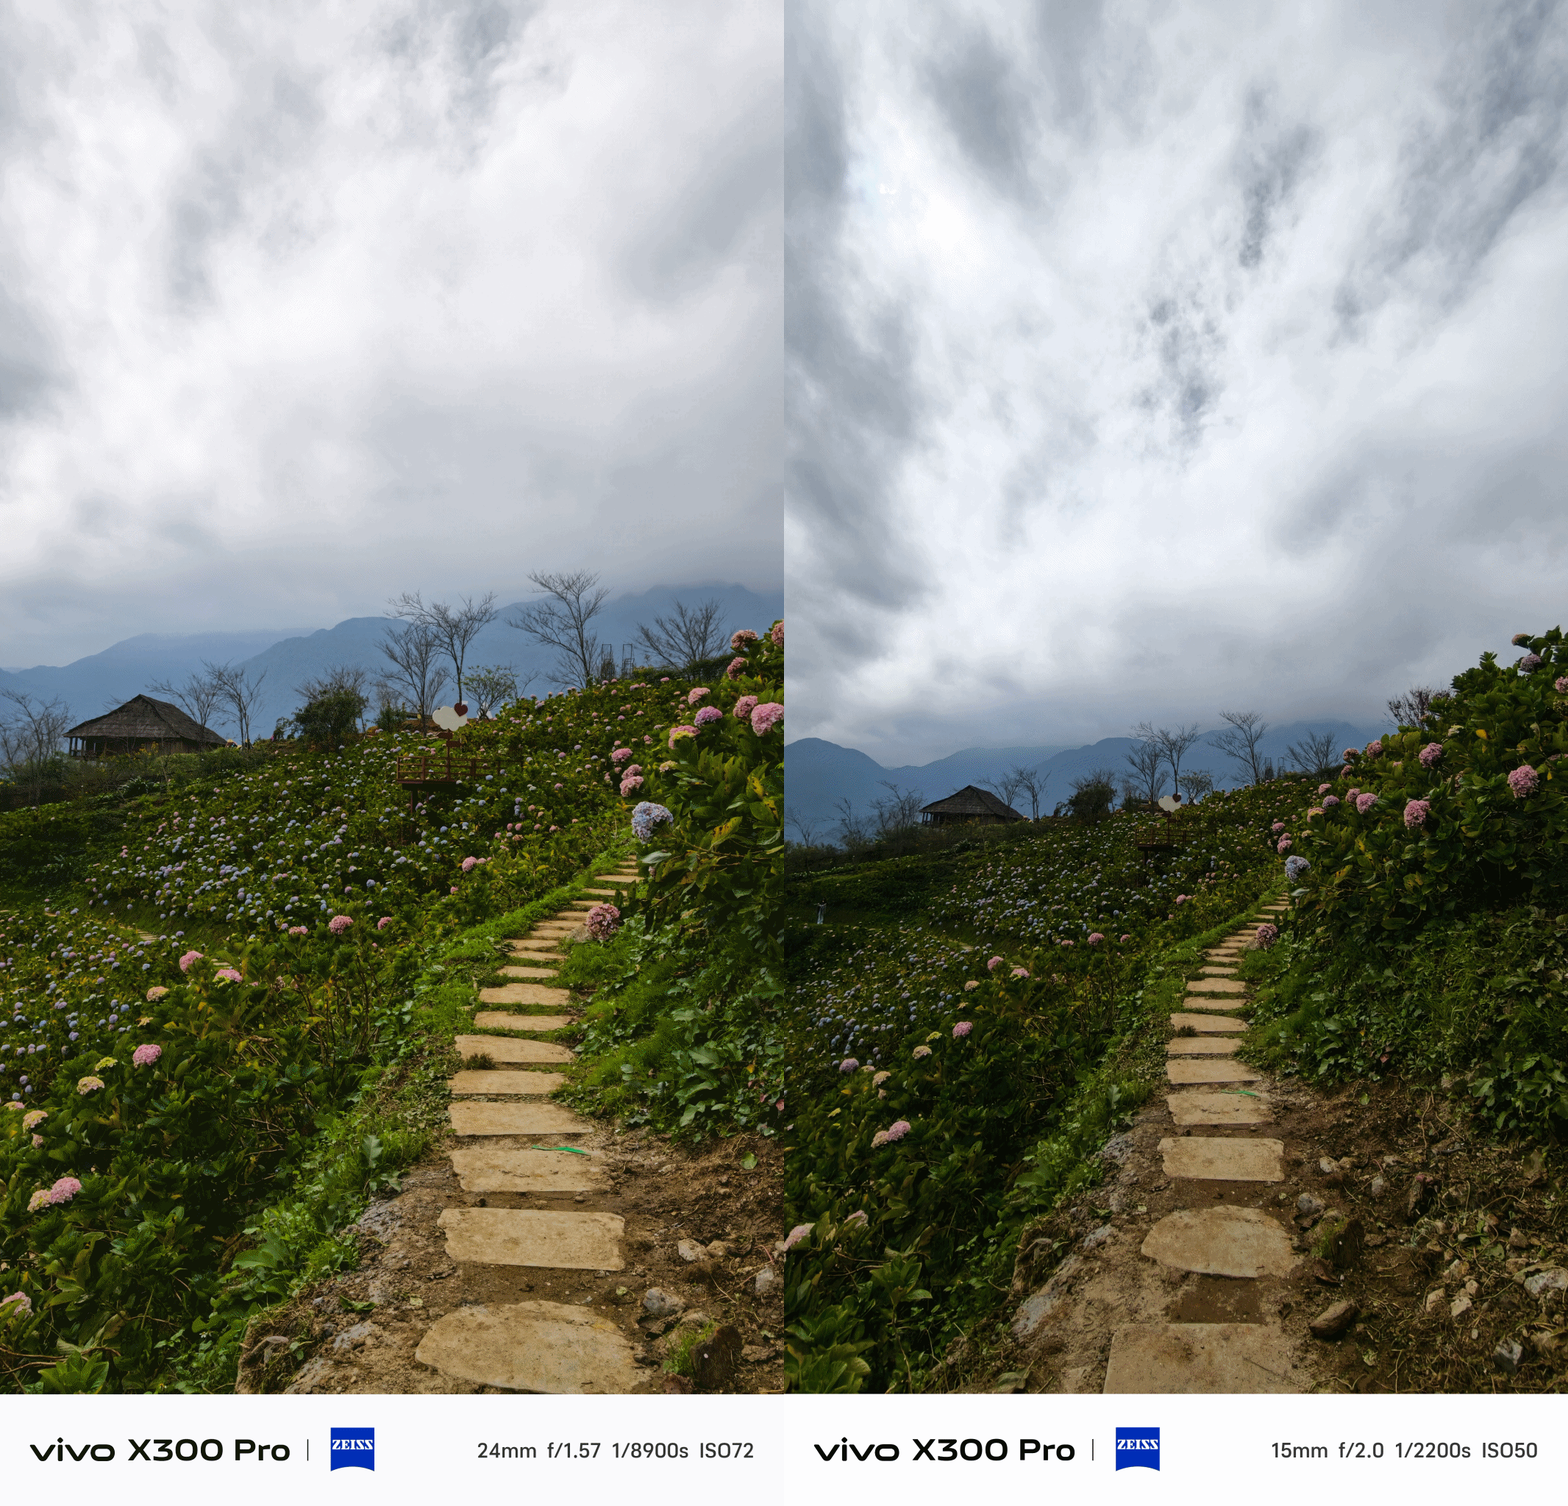



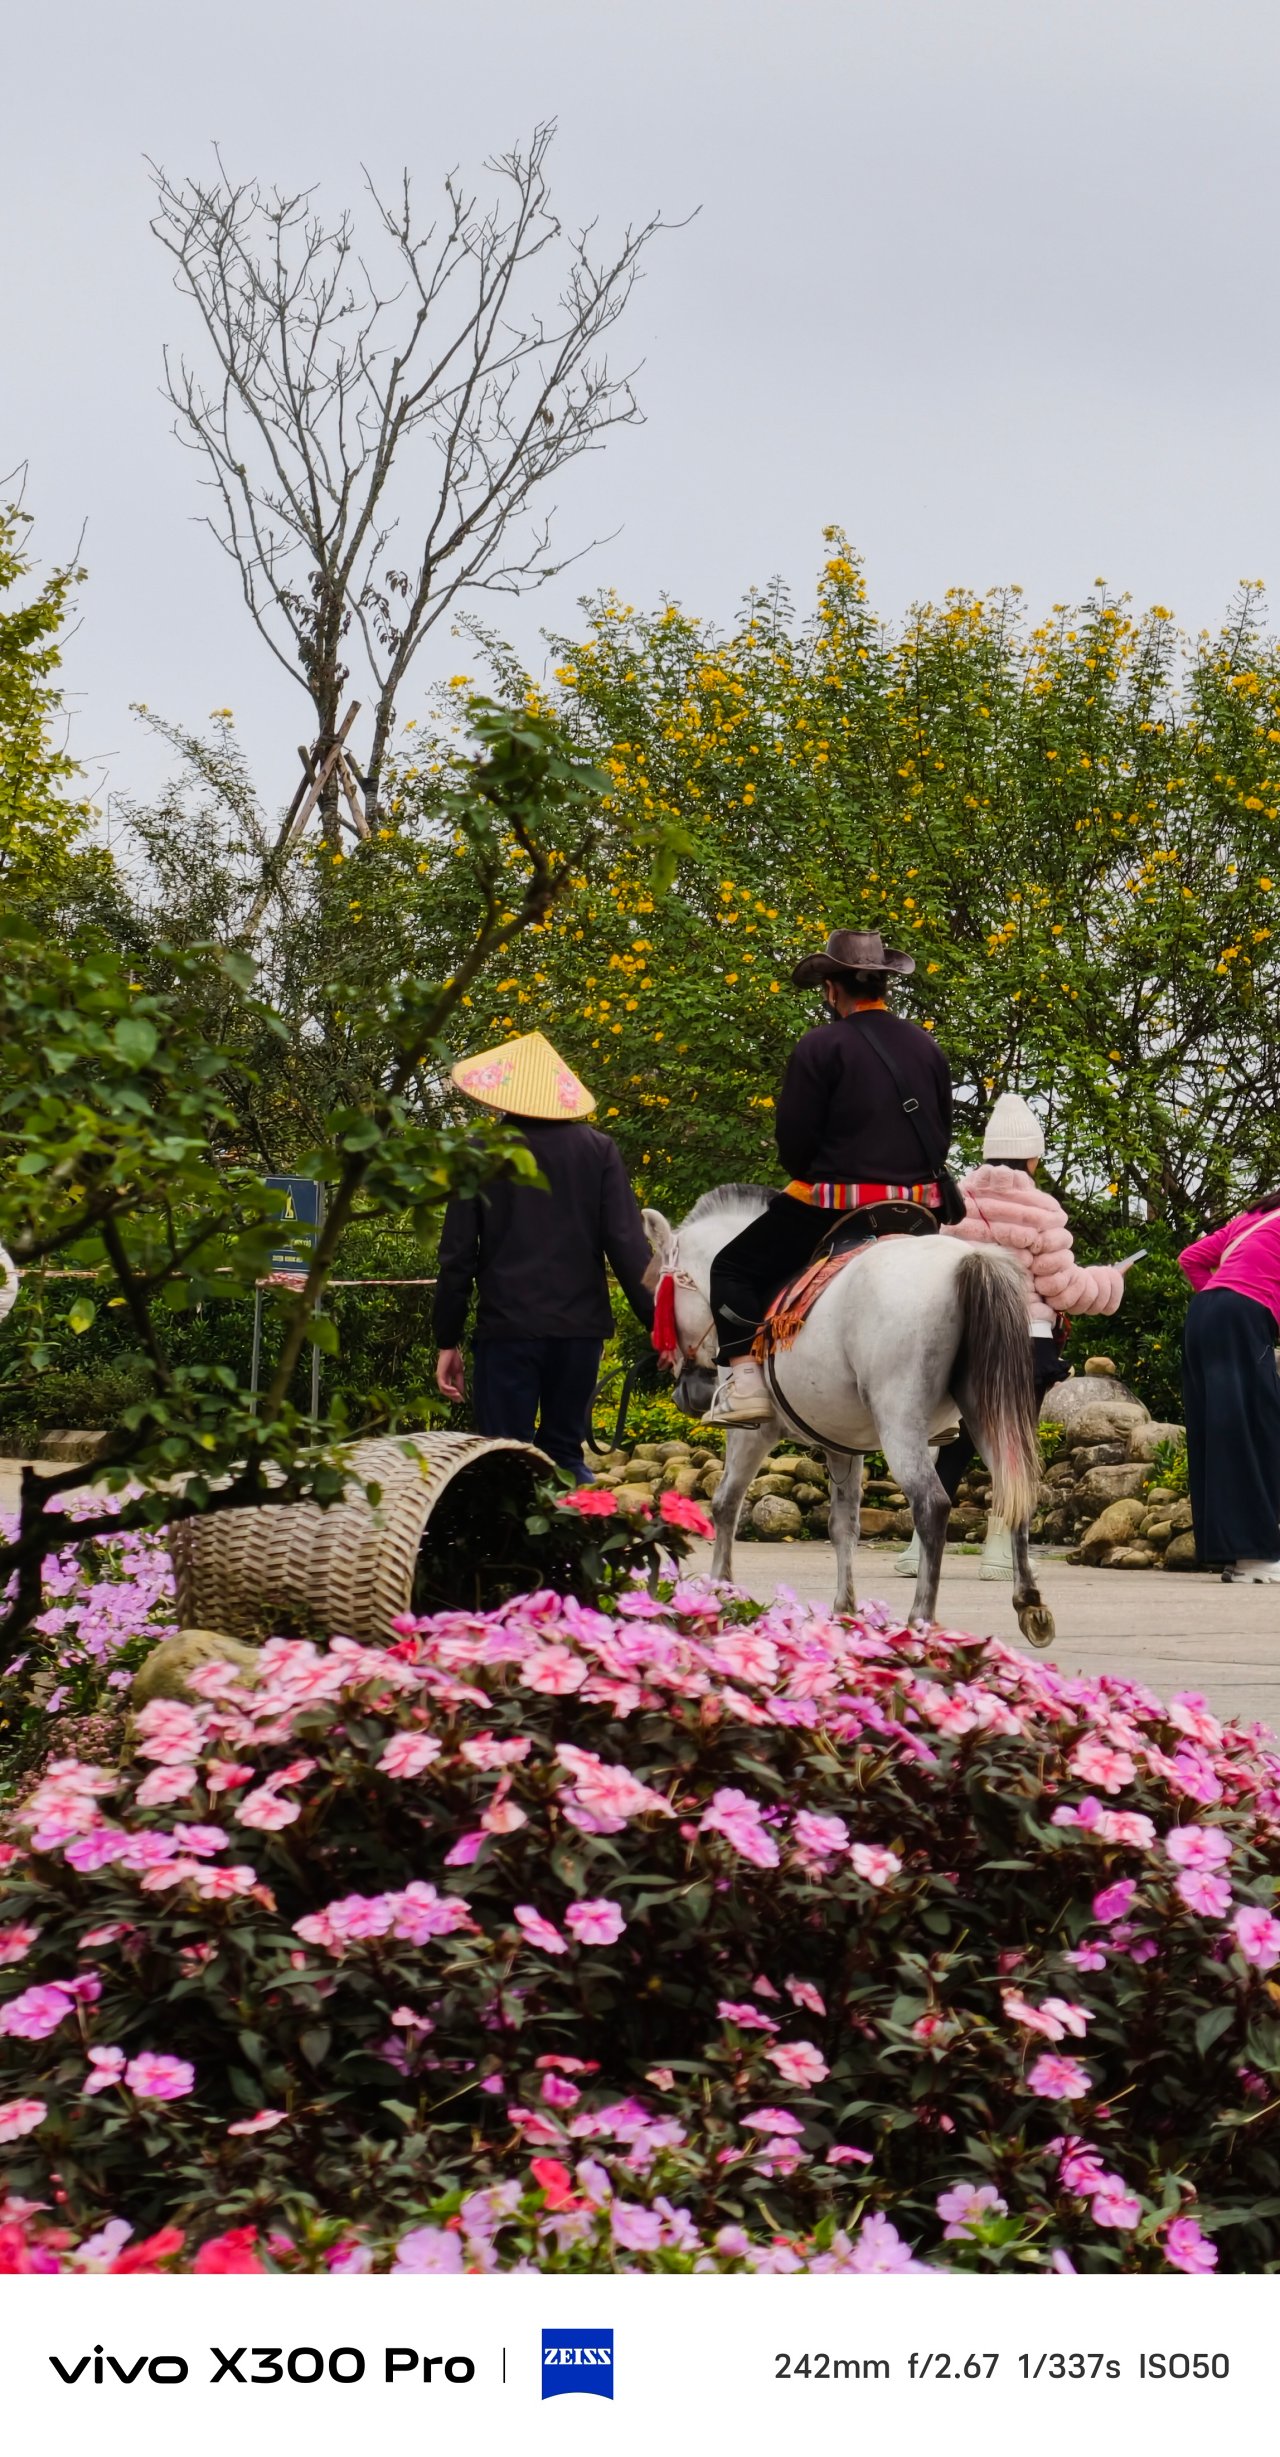


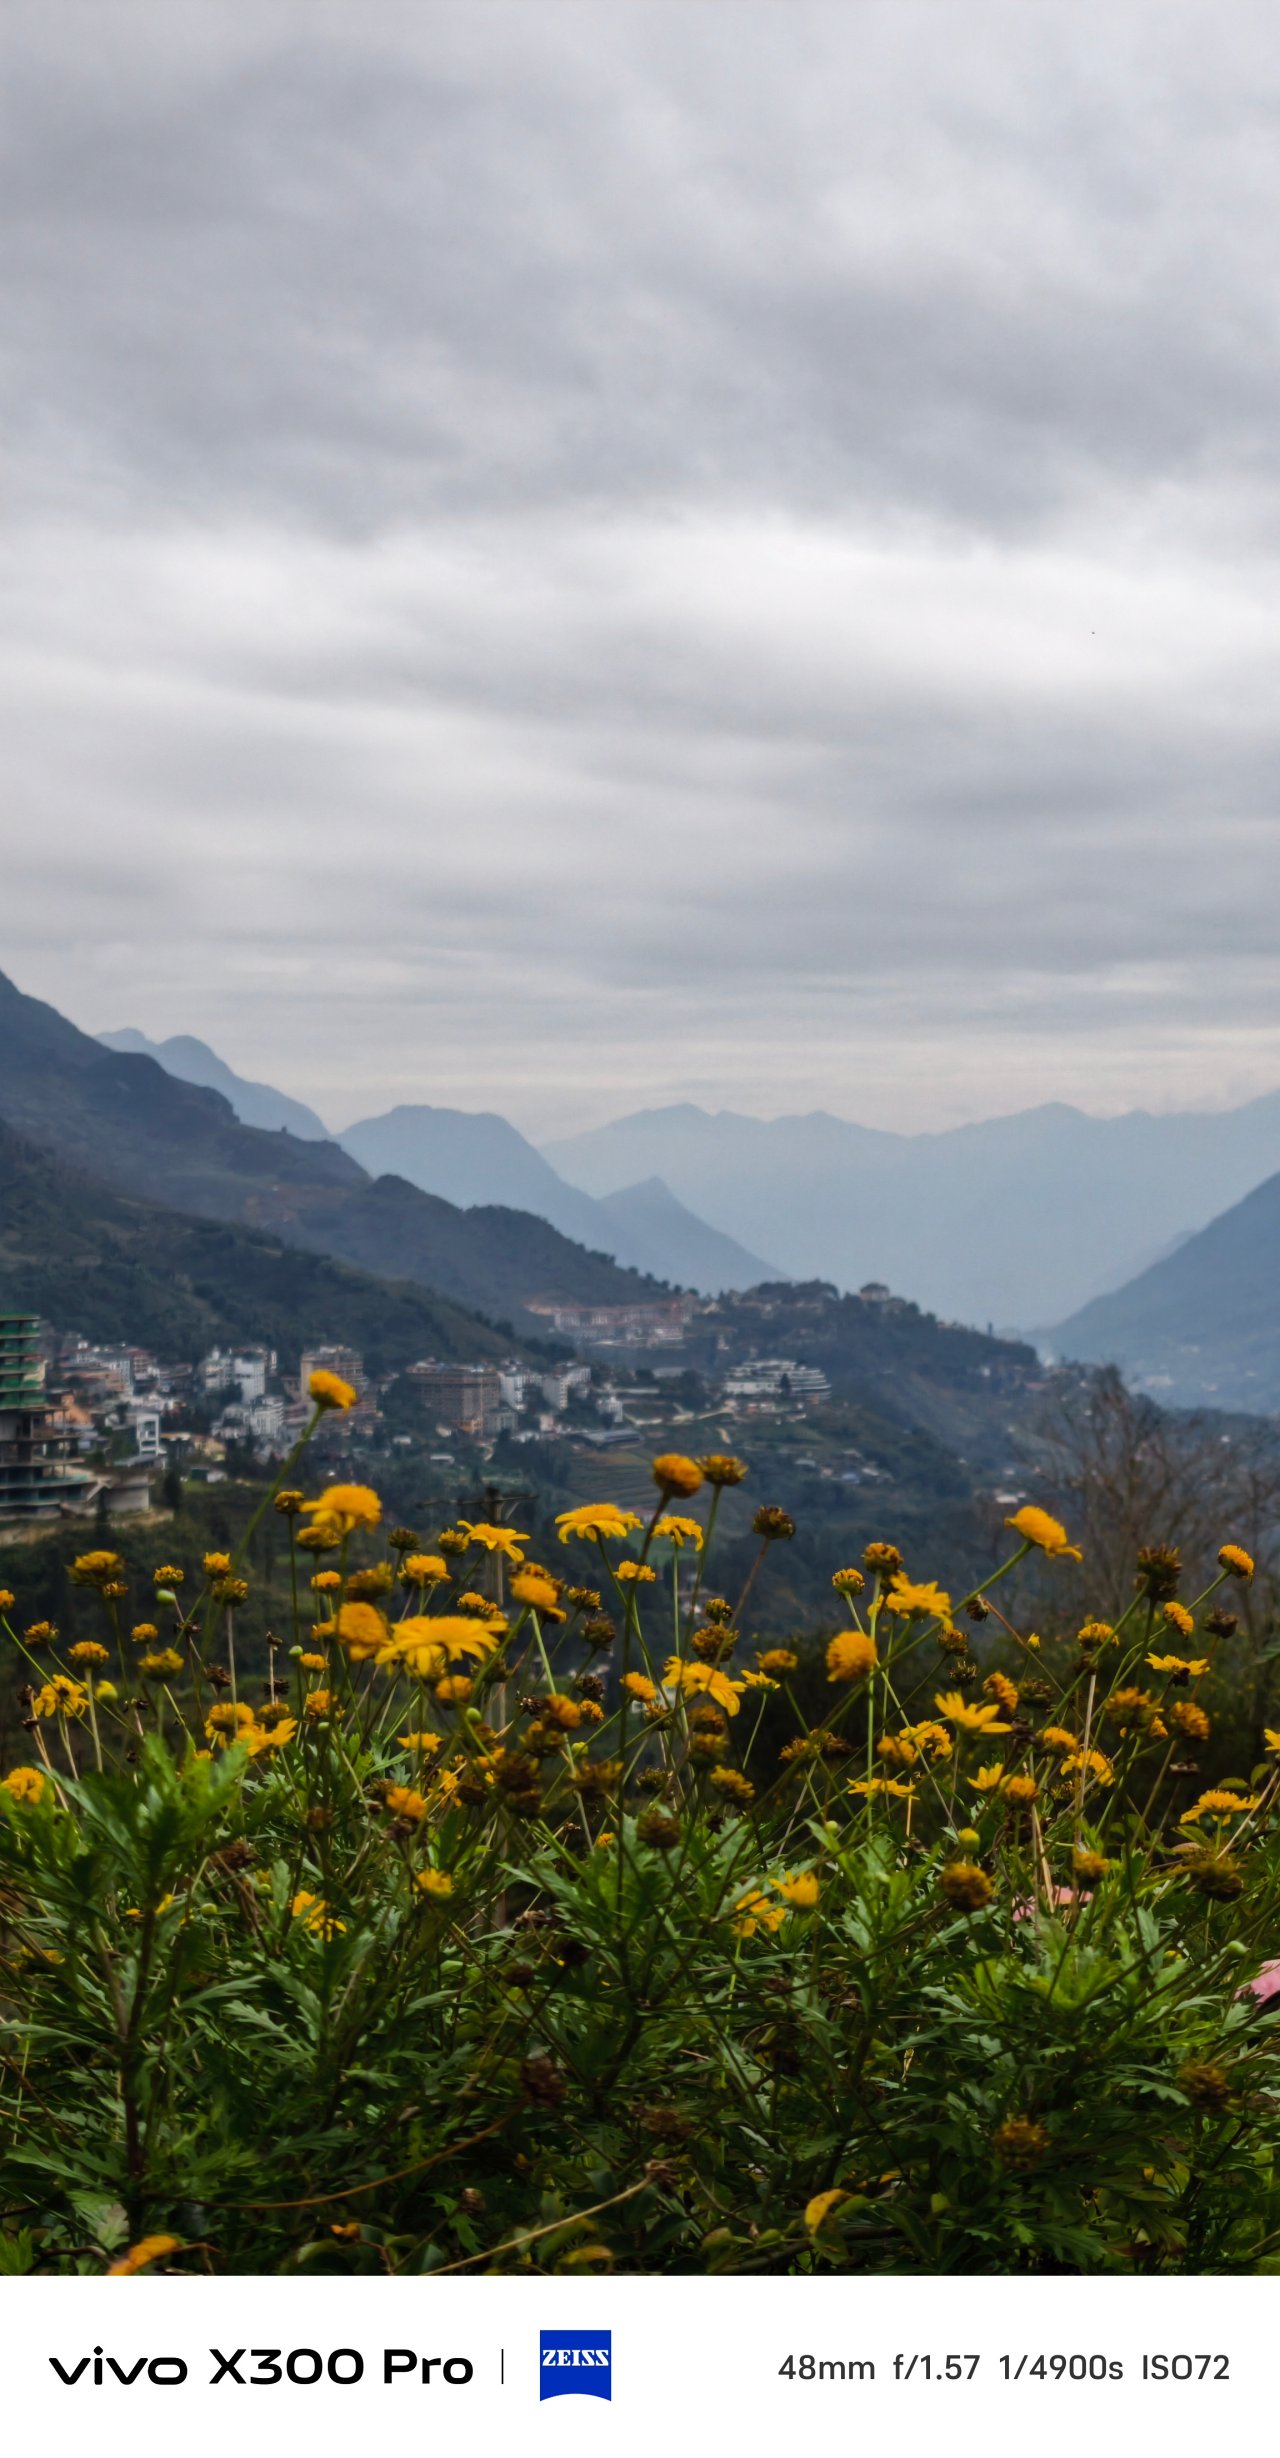




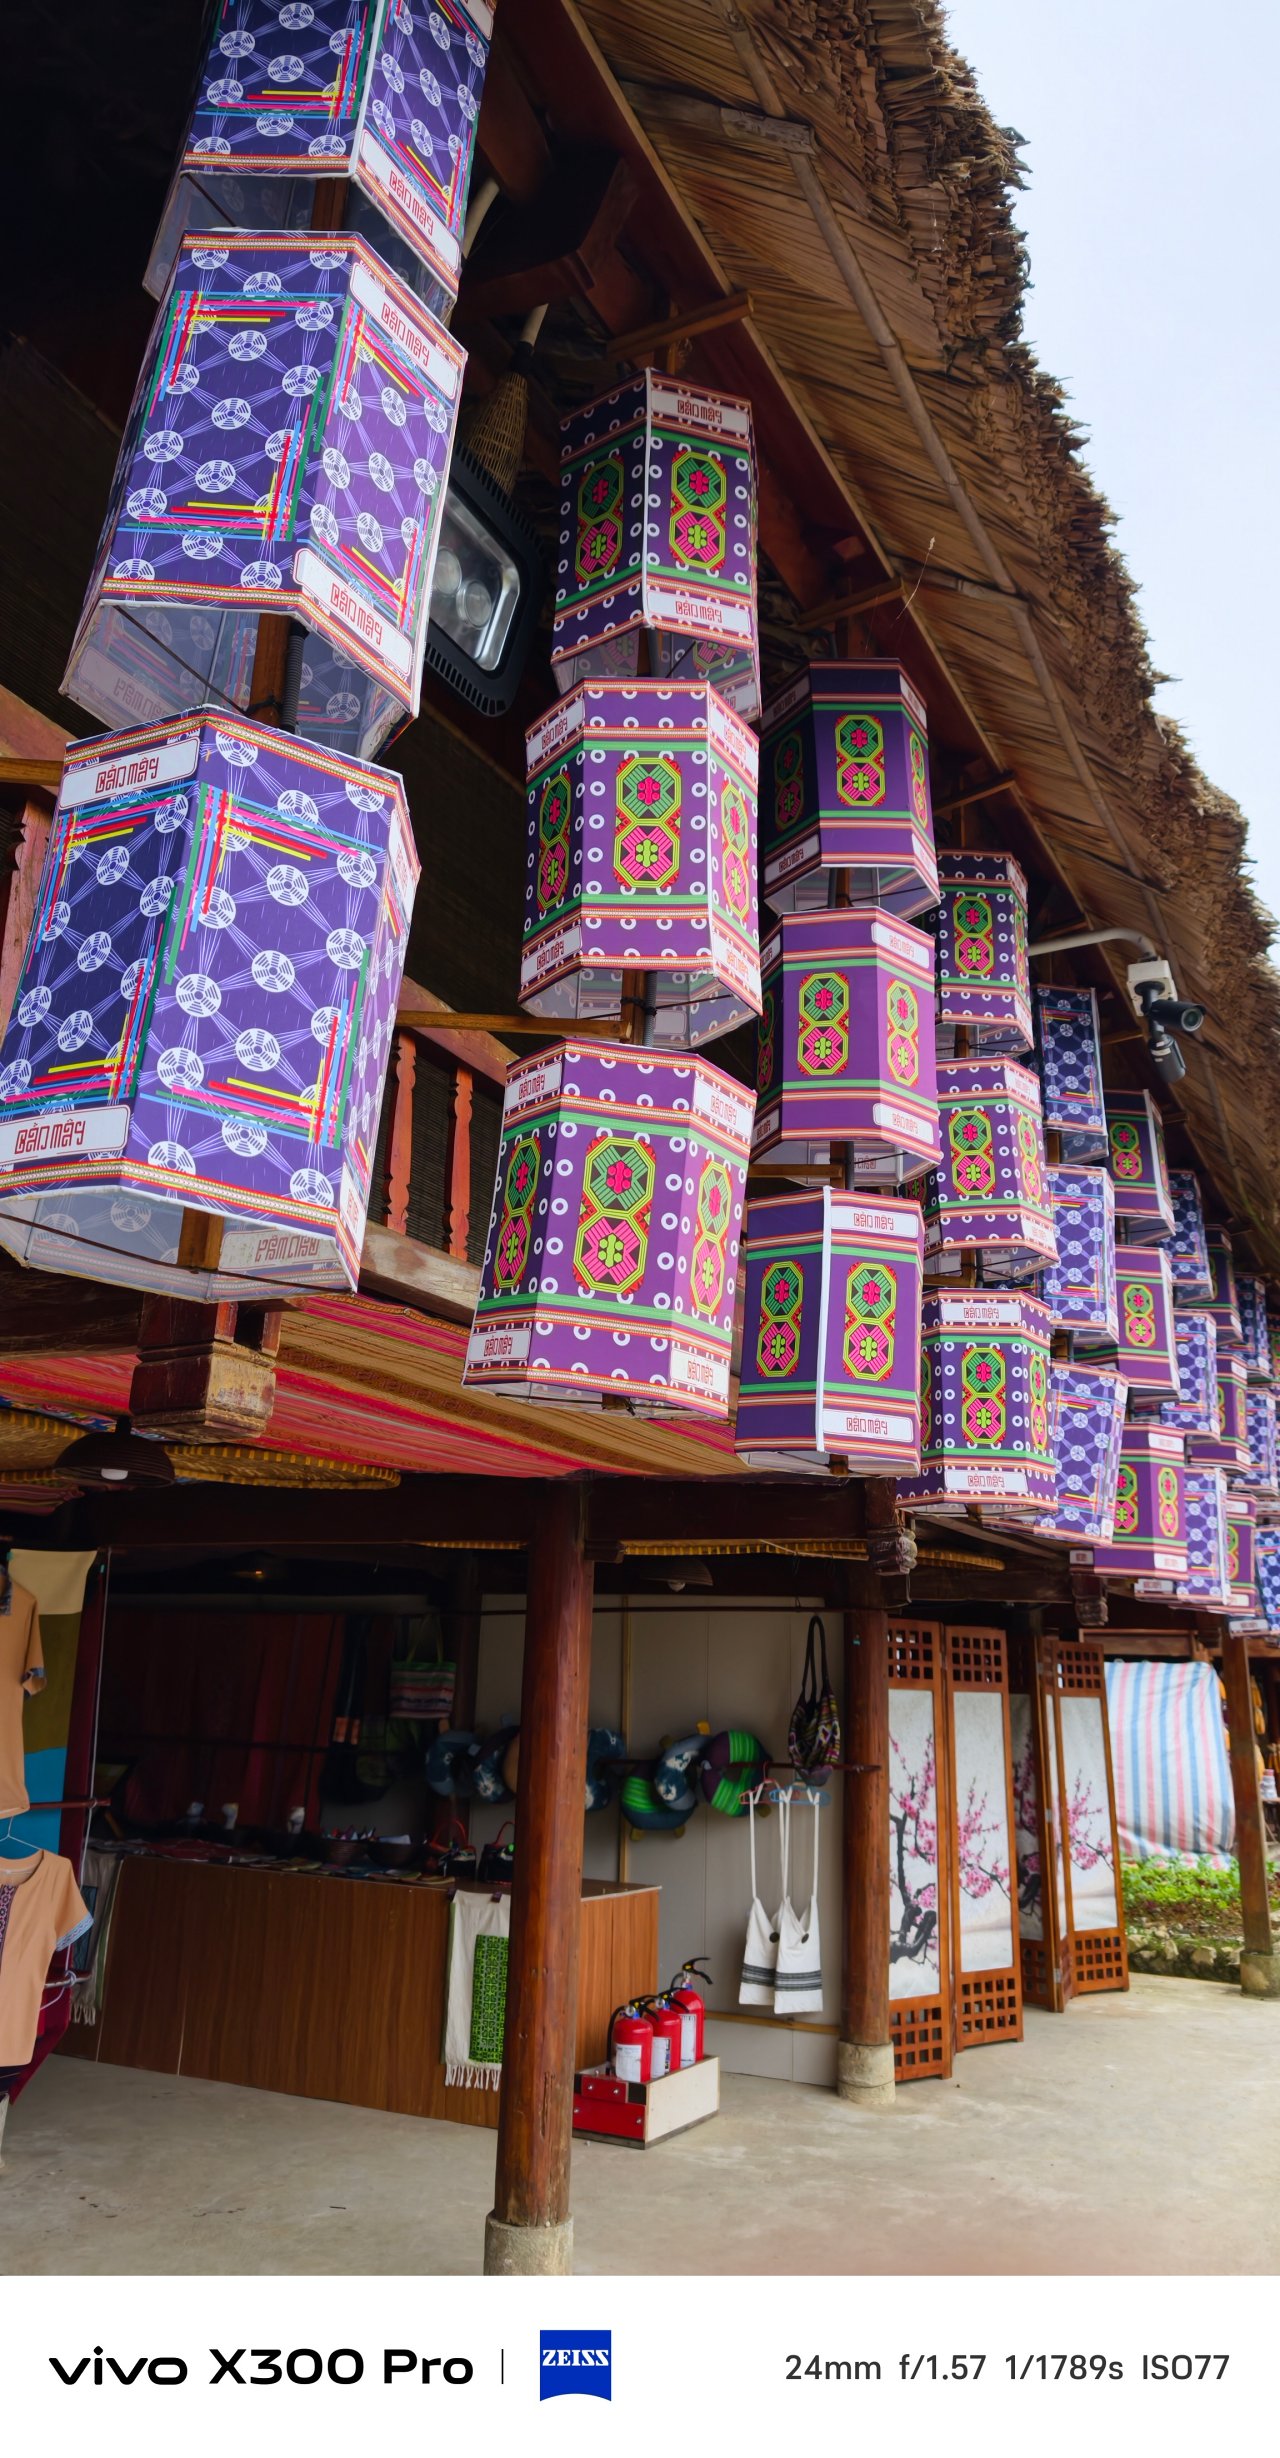

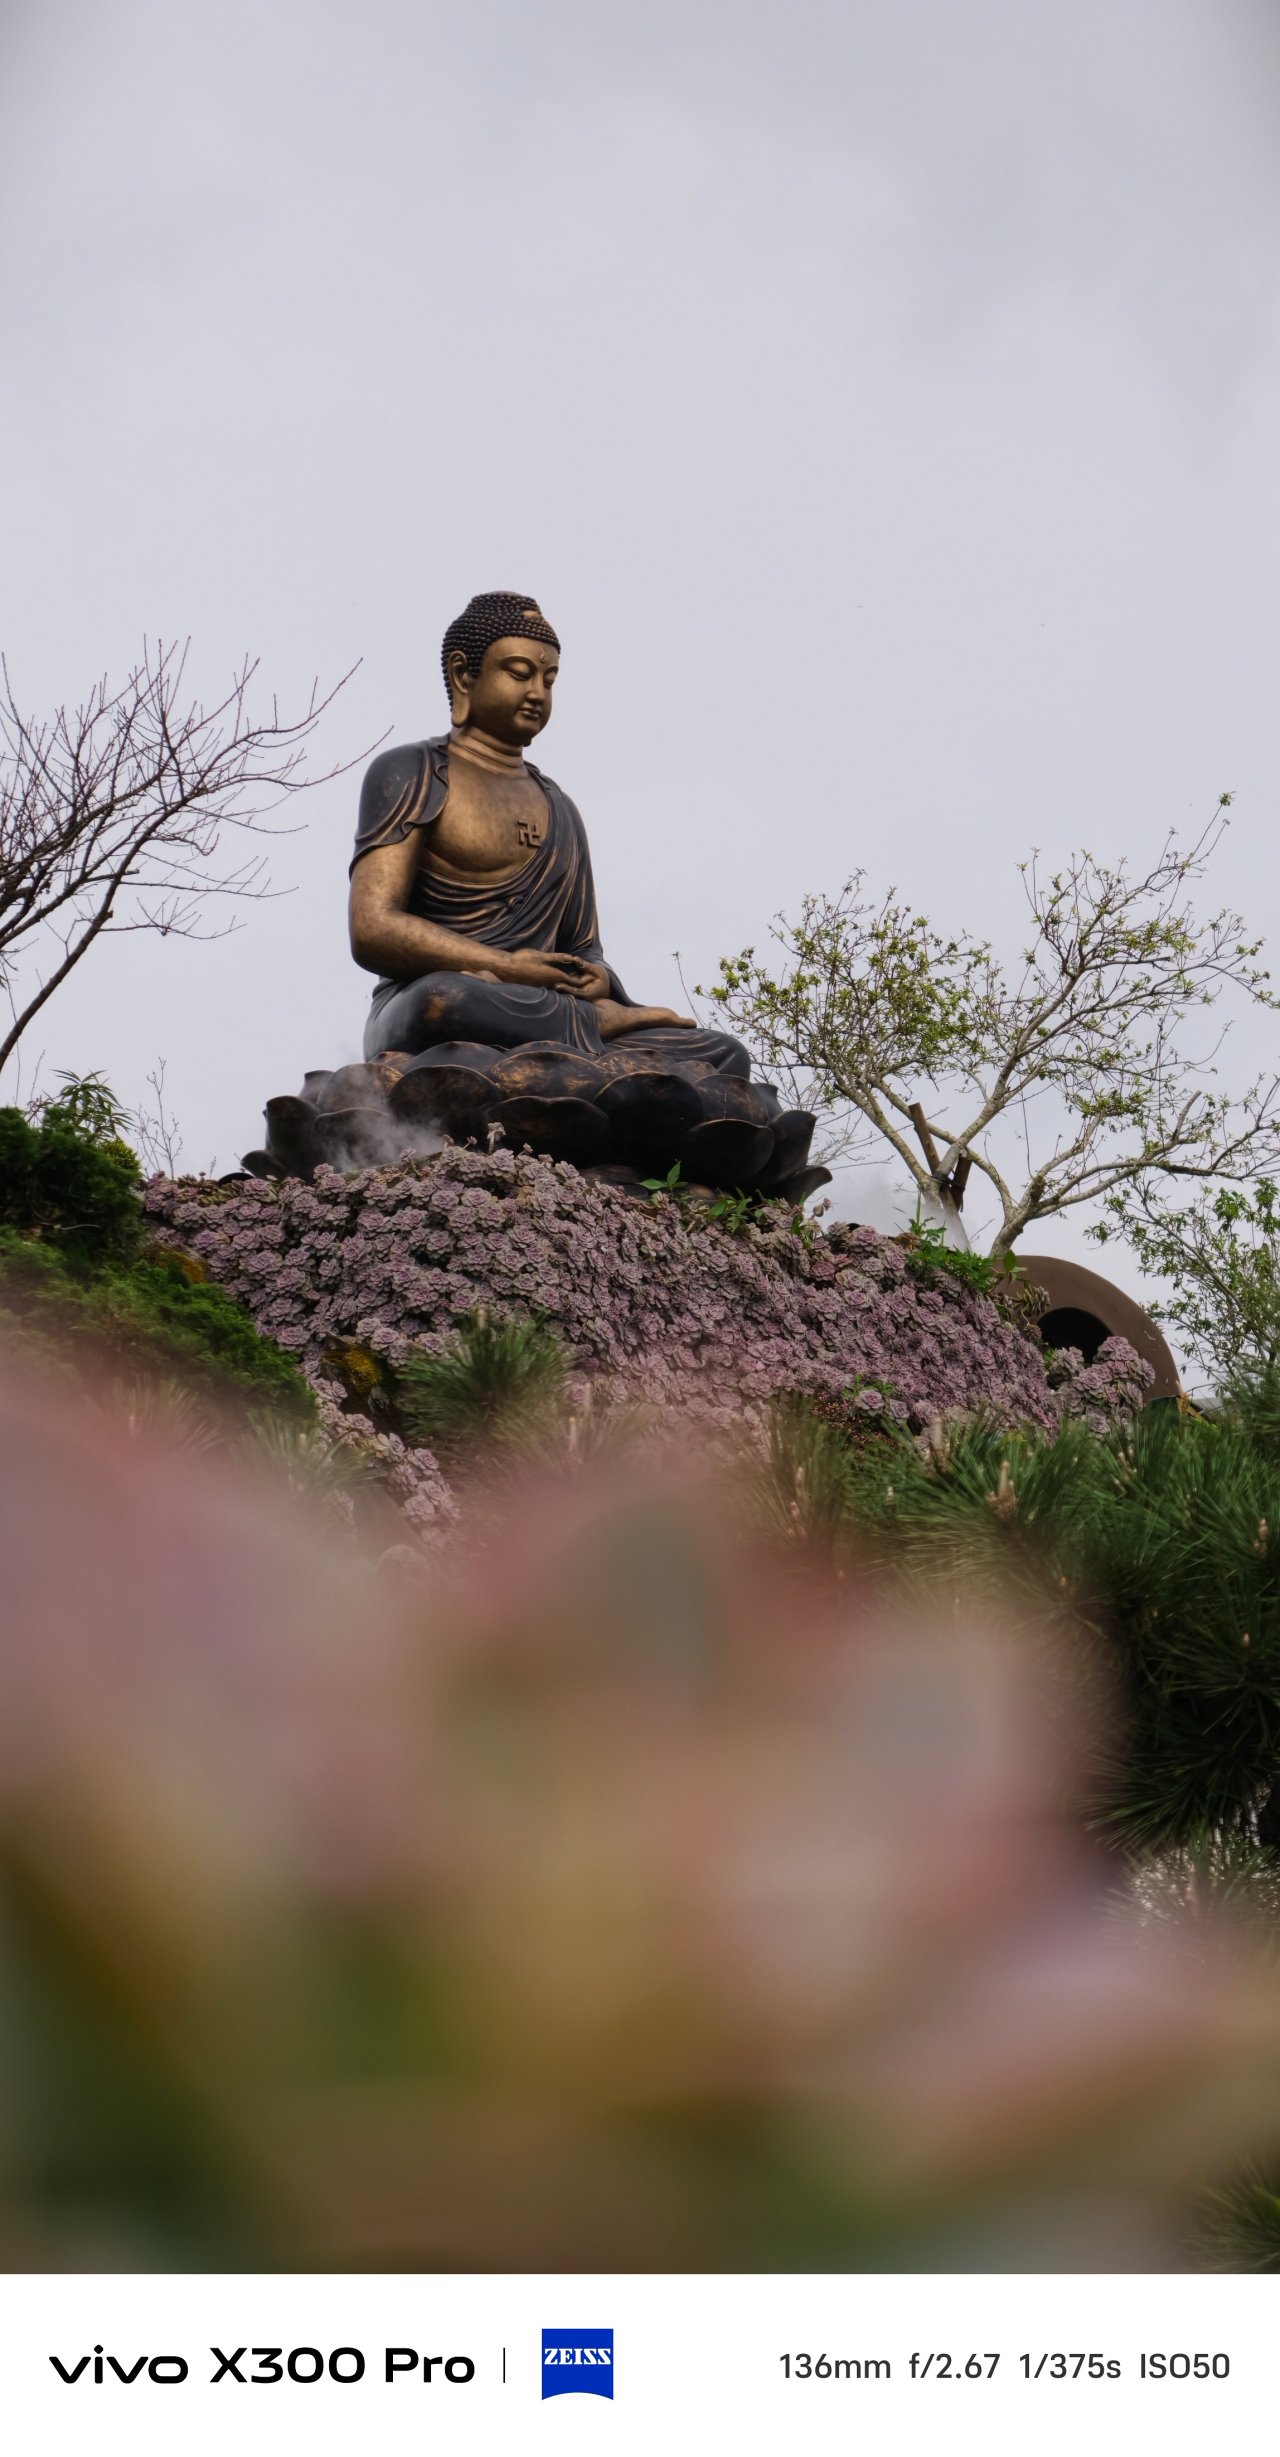

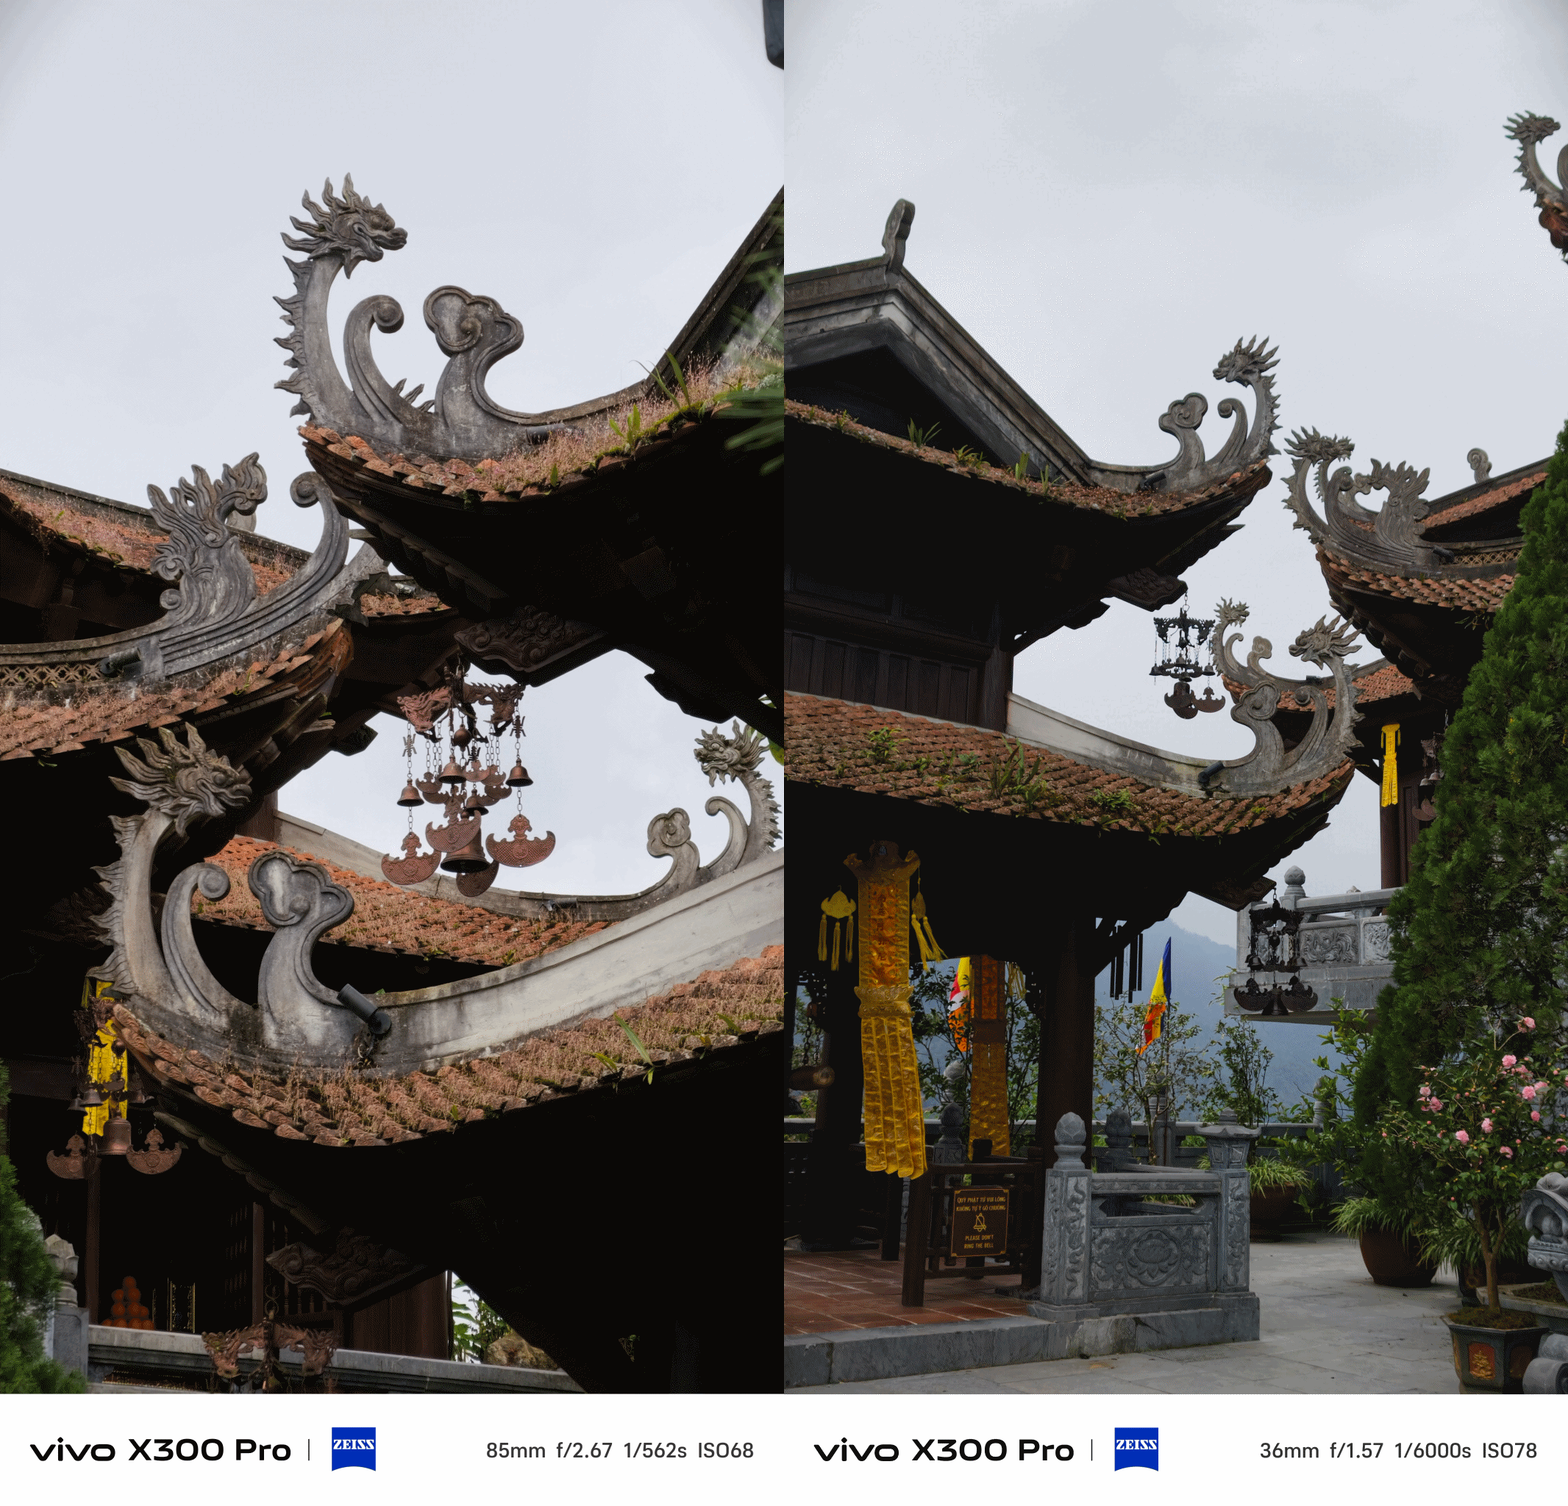

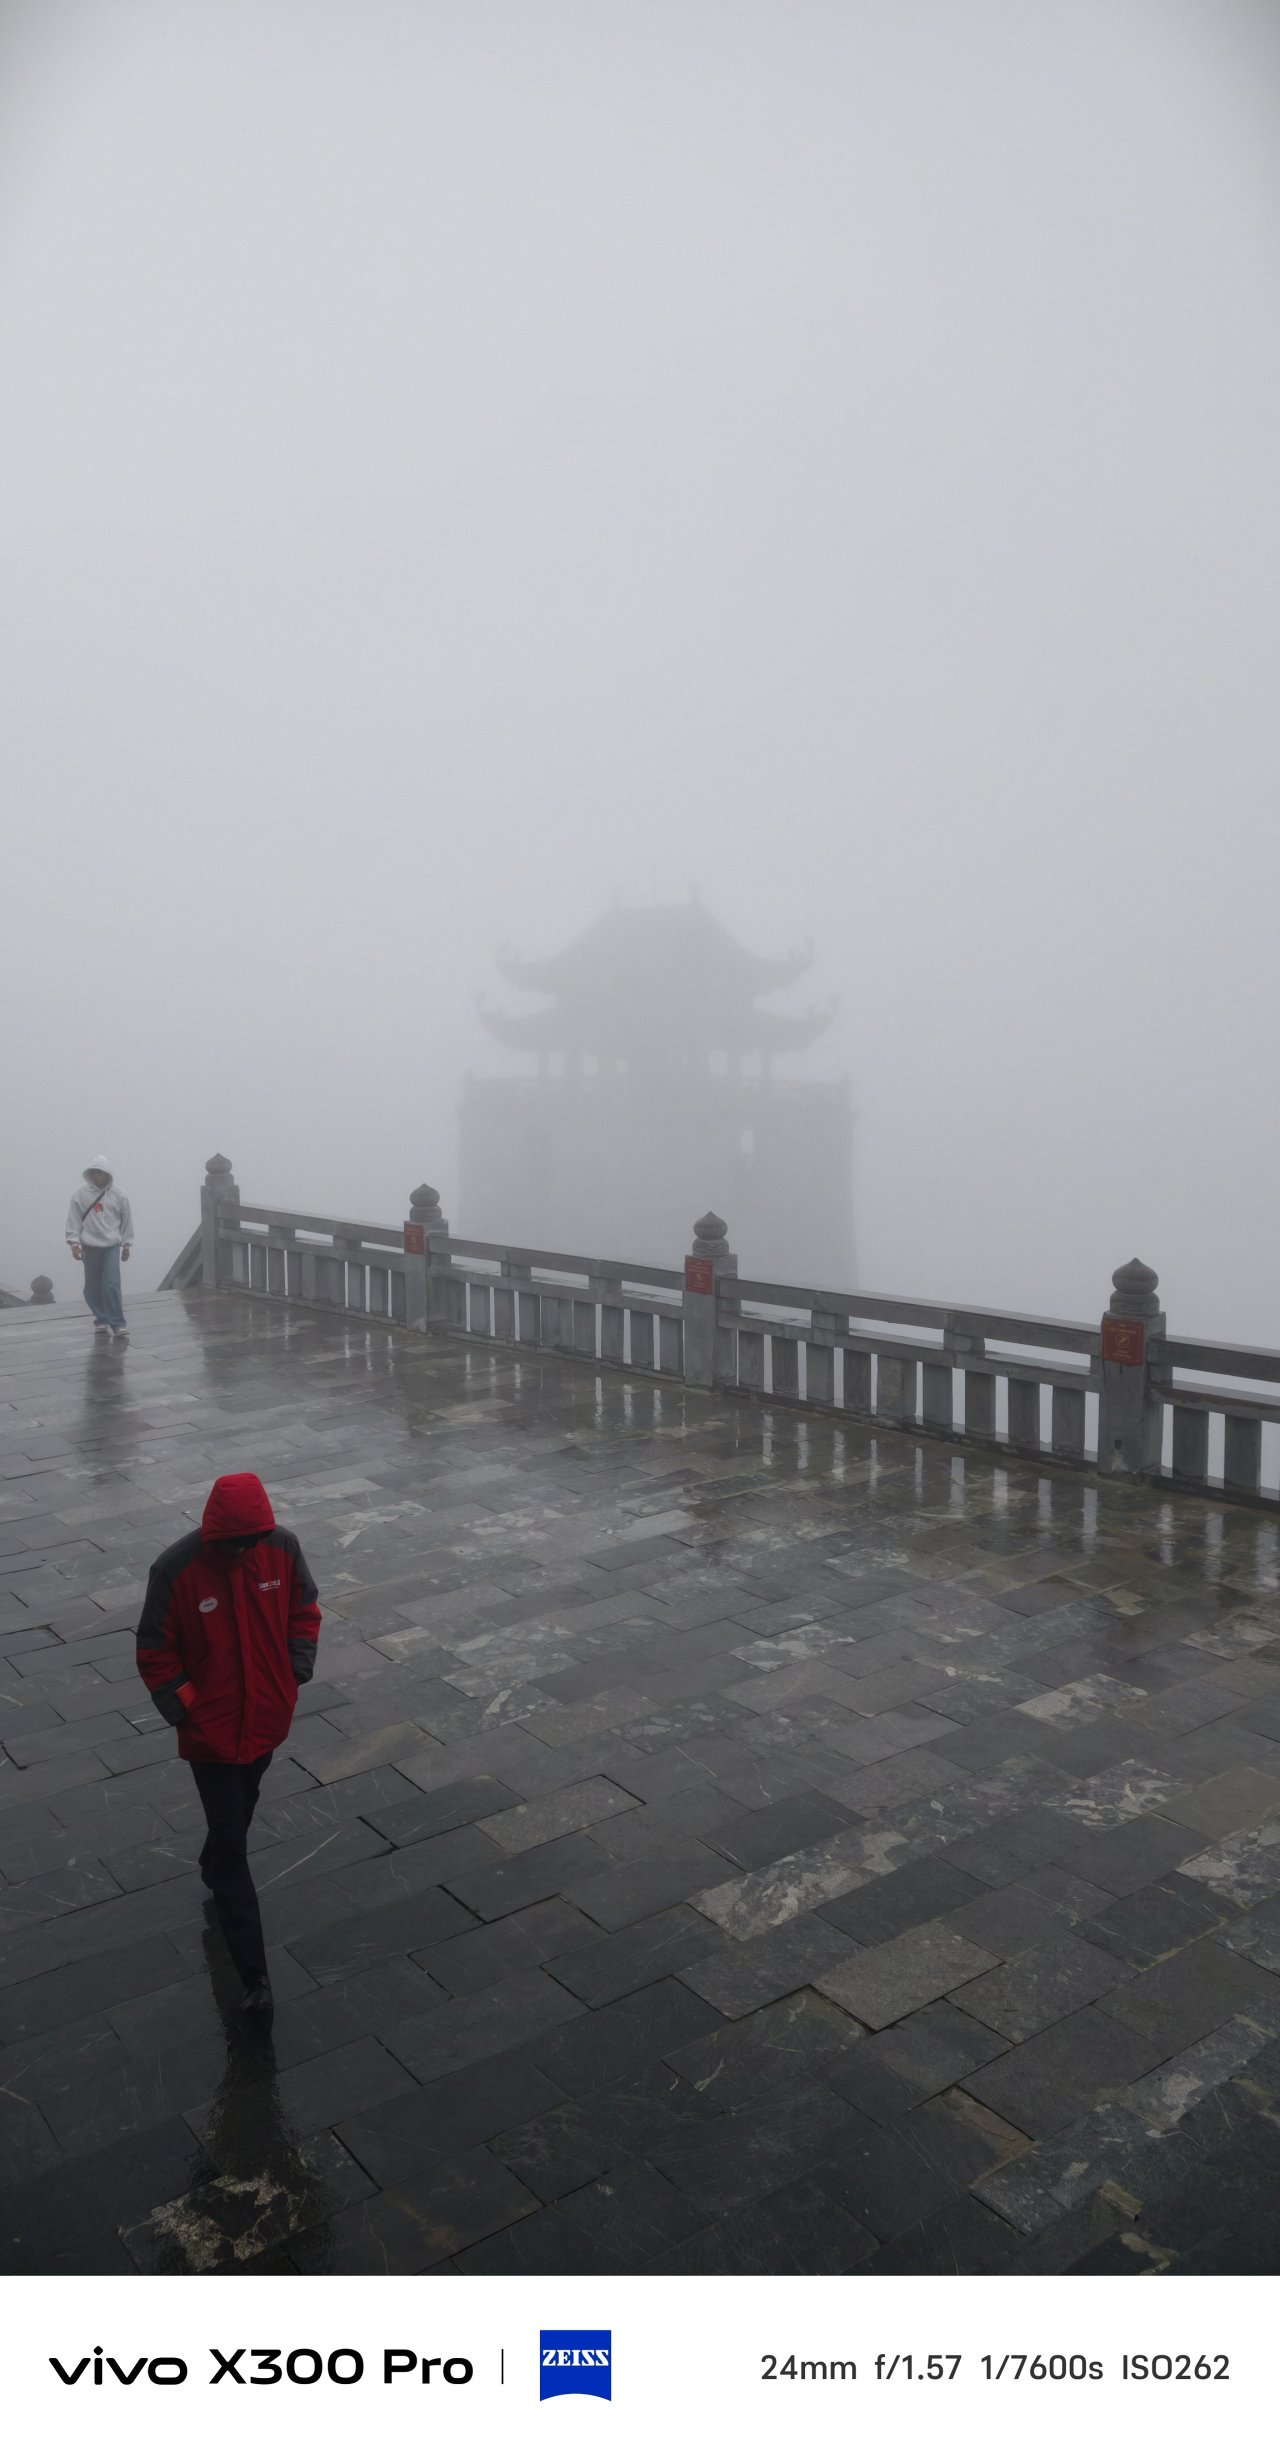
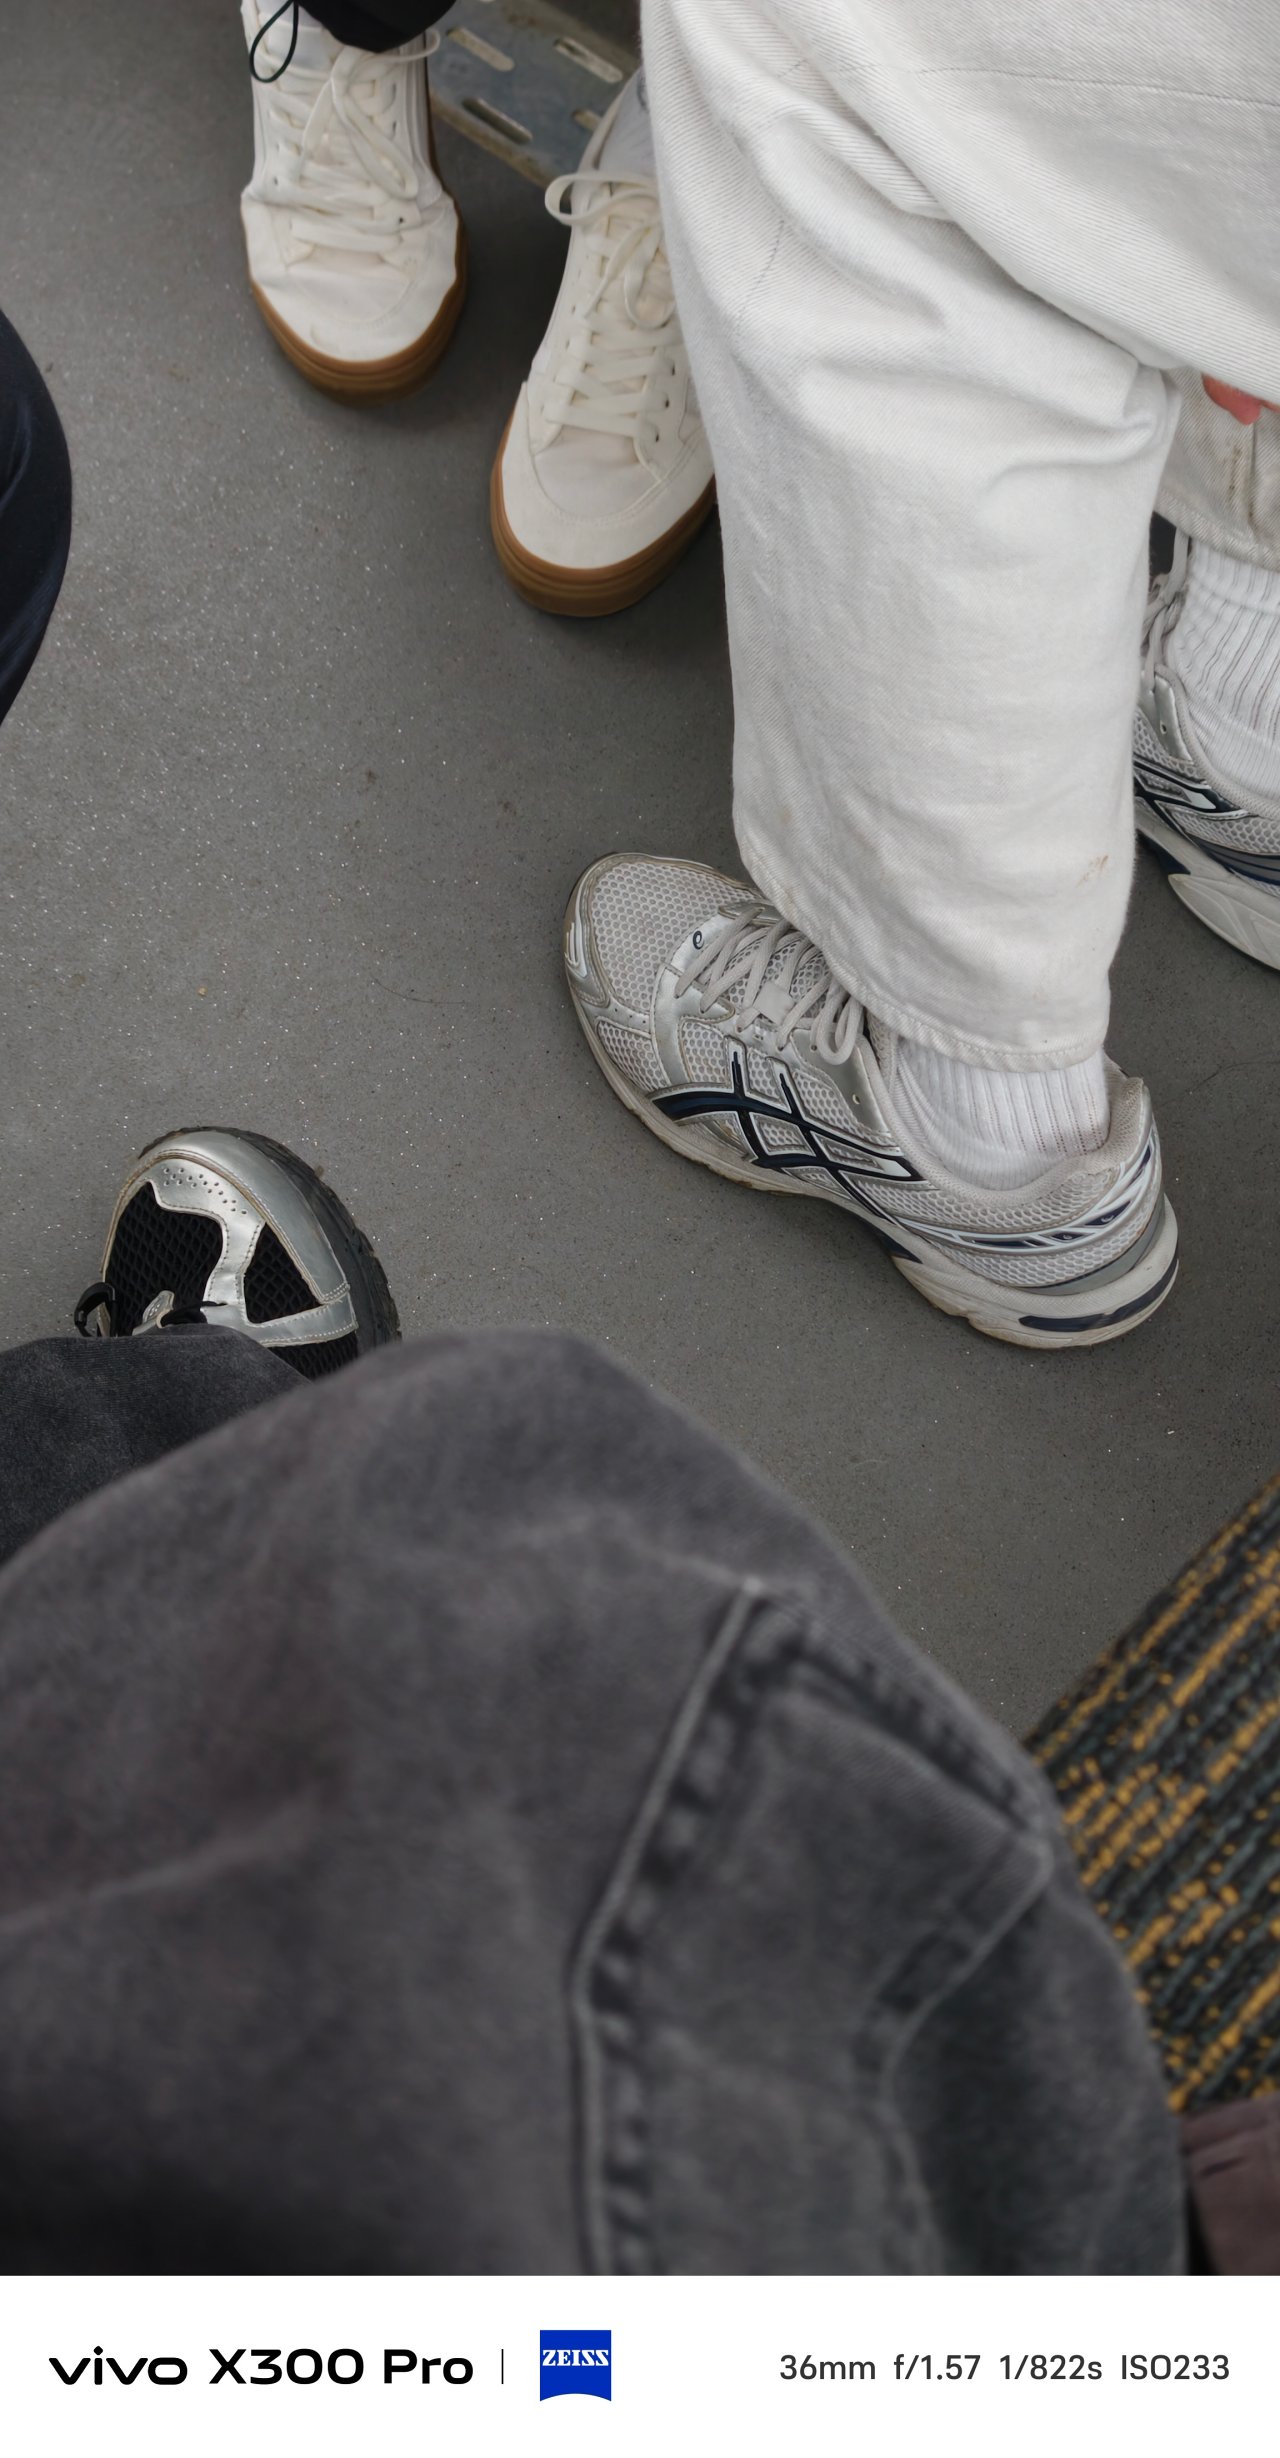

📍 SaPa Center


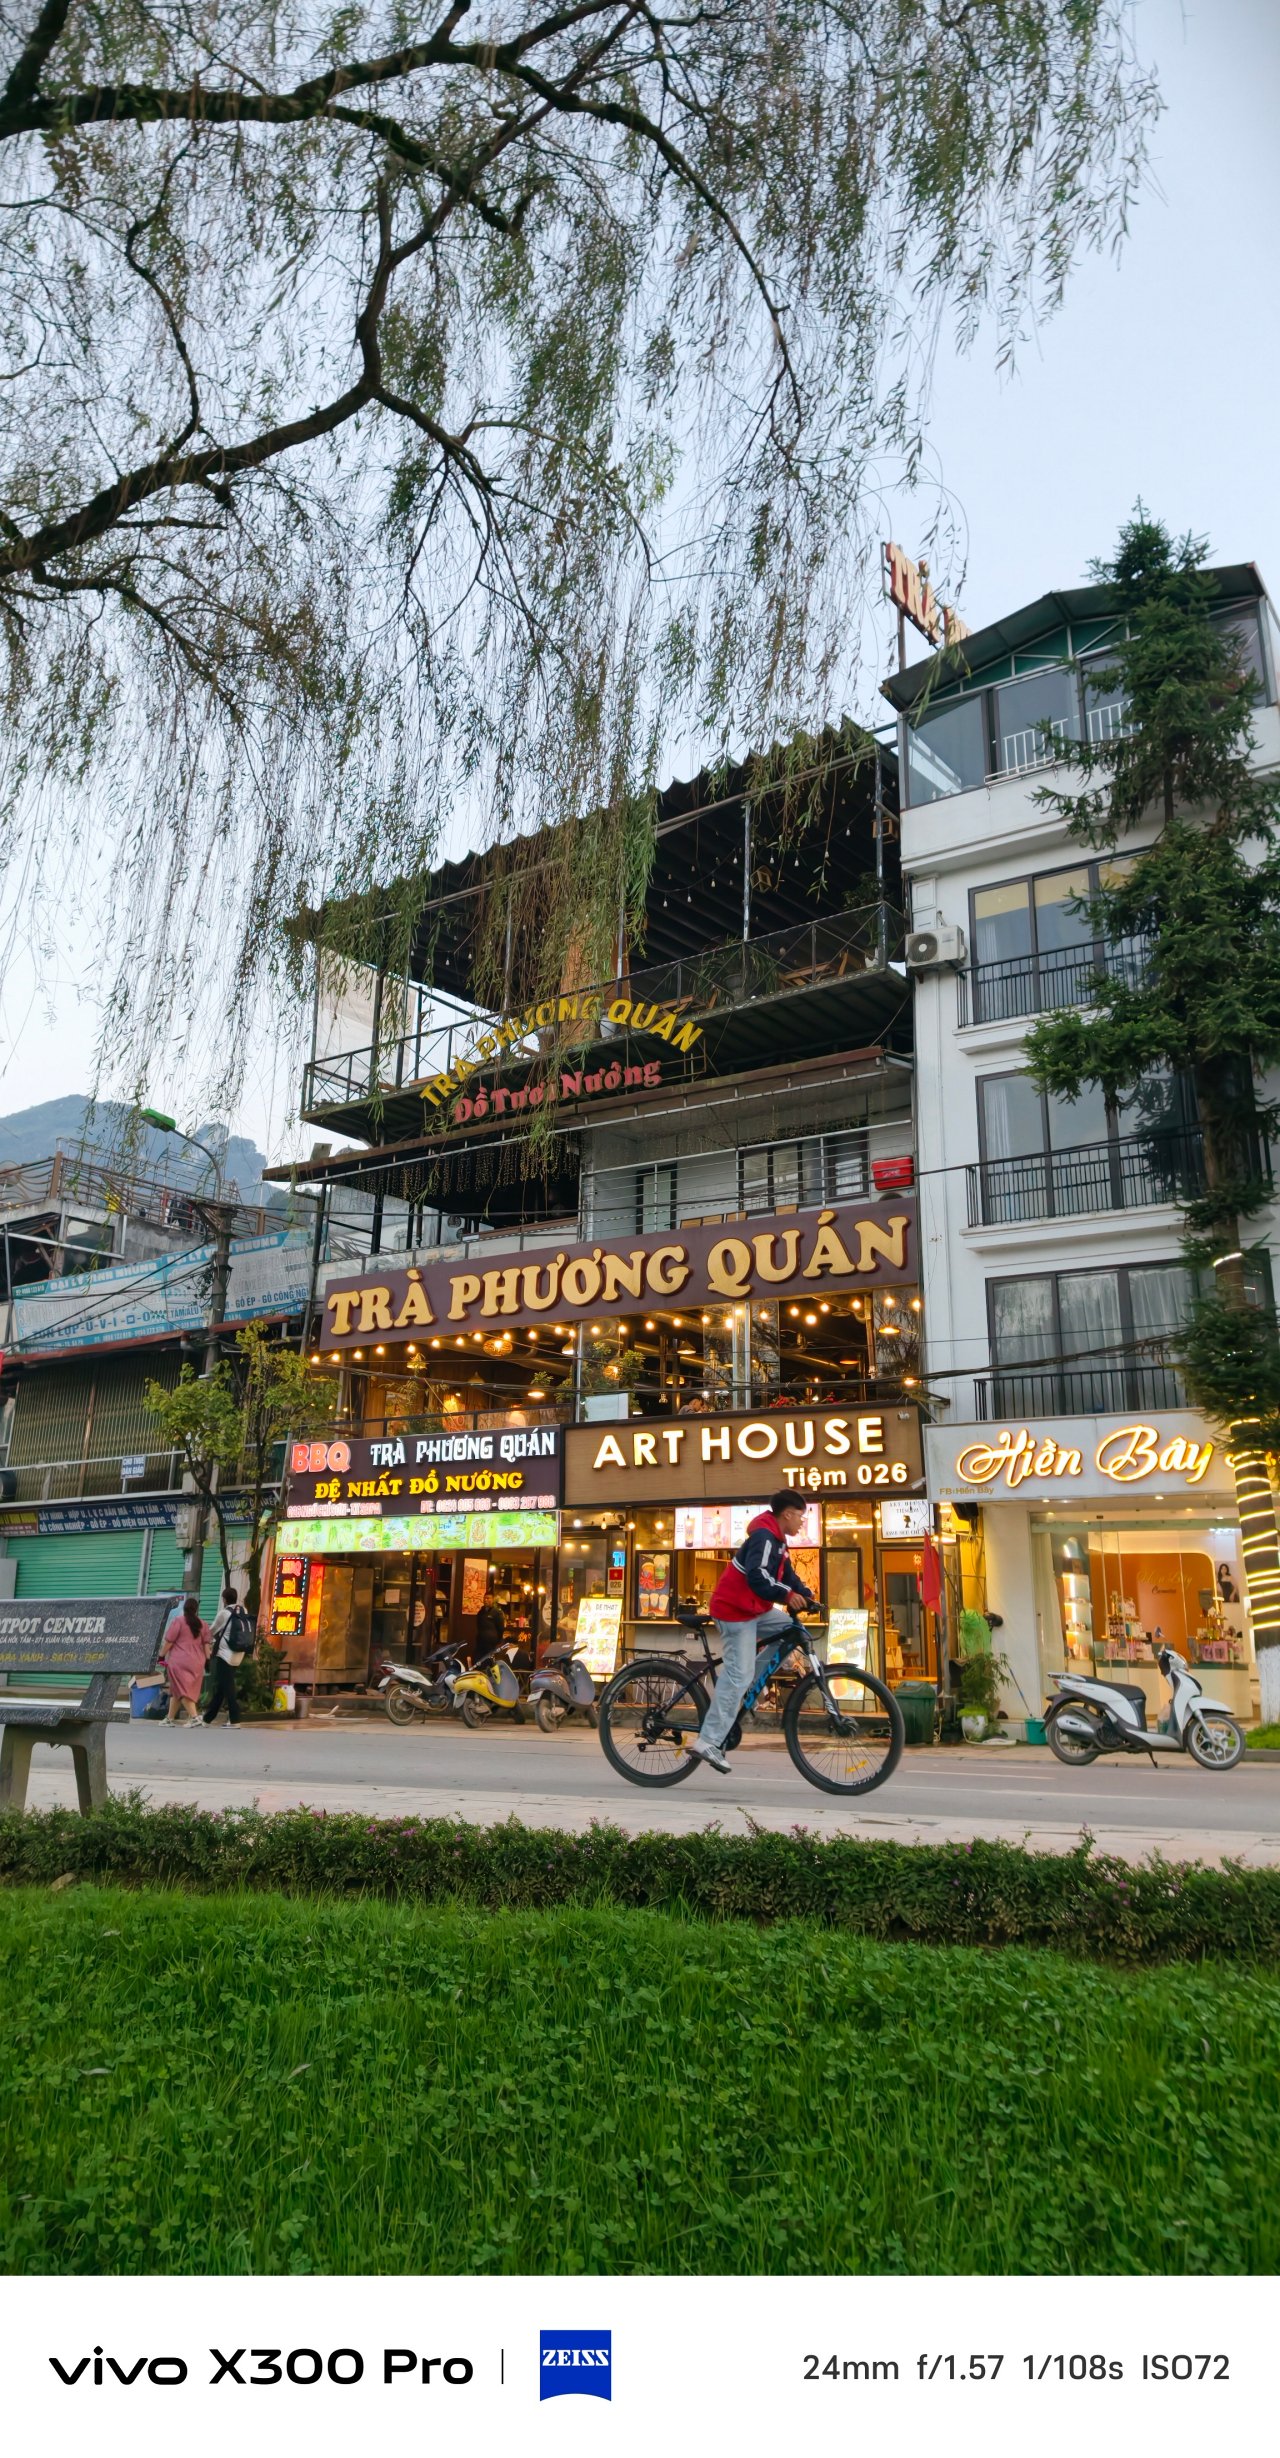
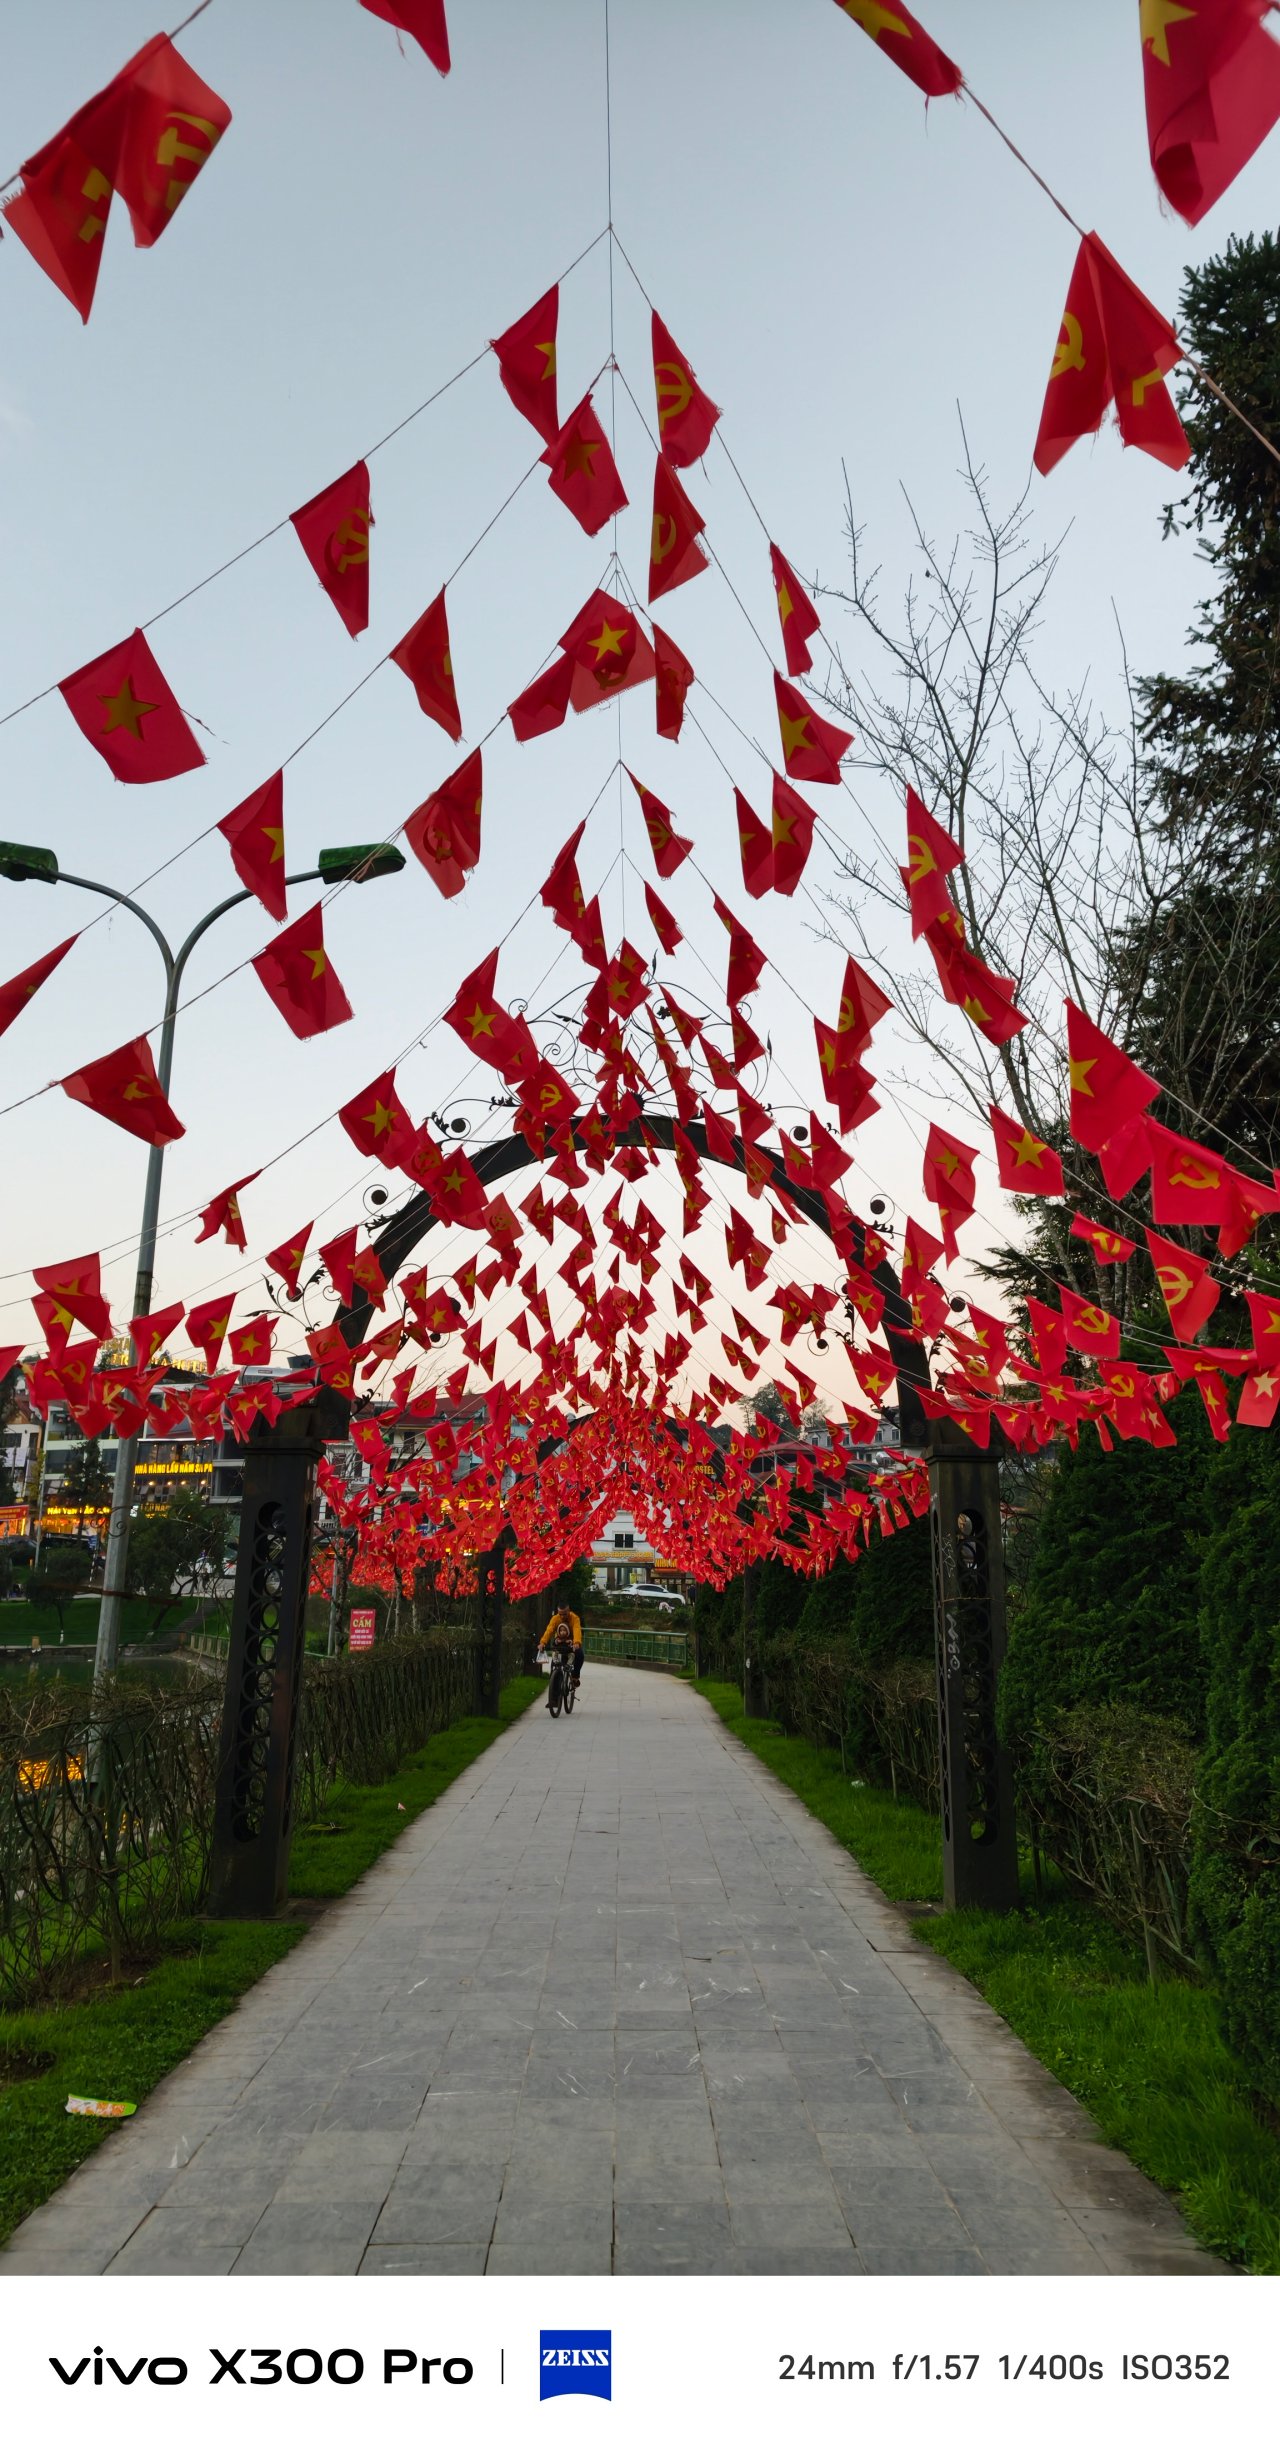

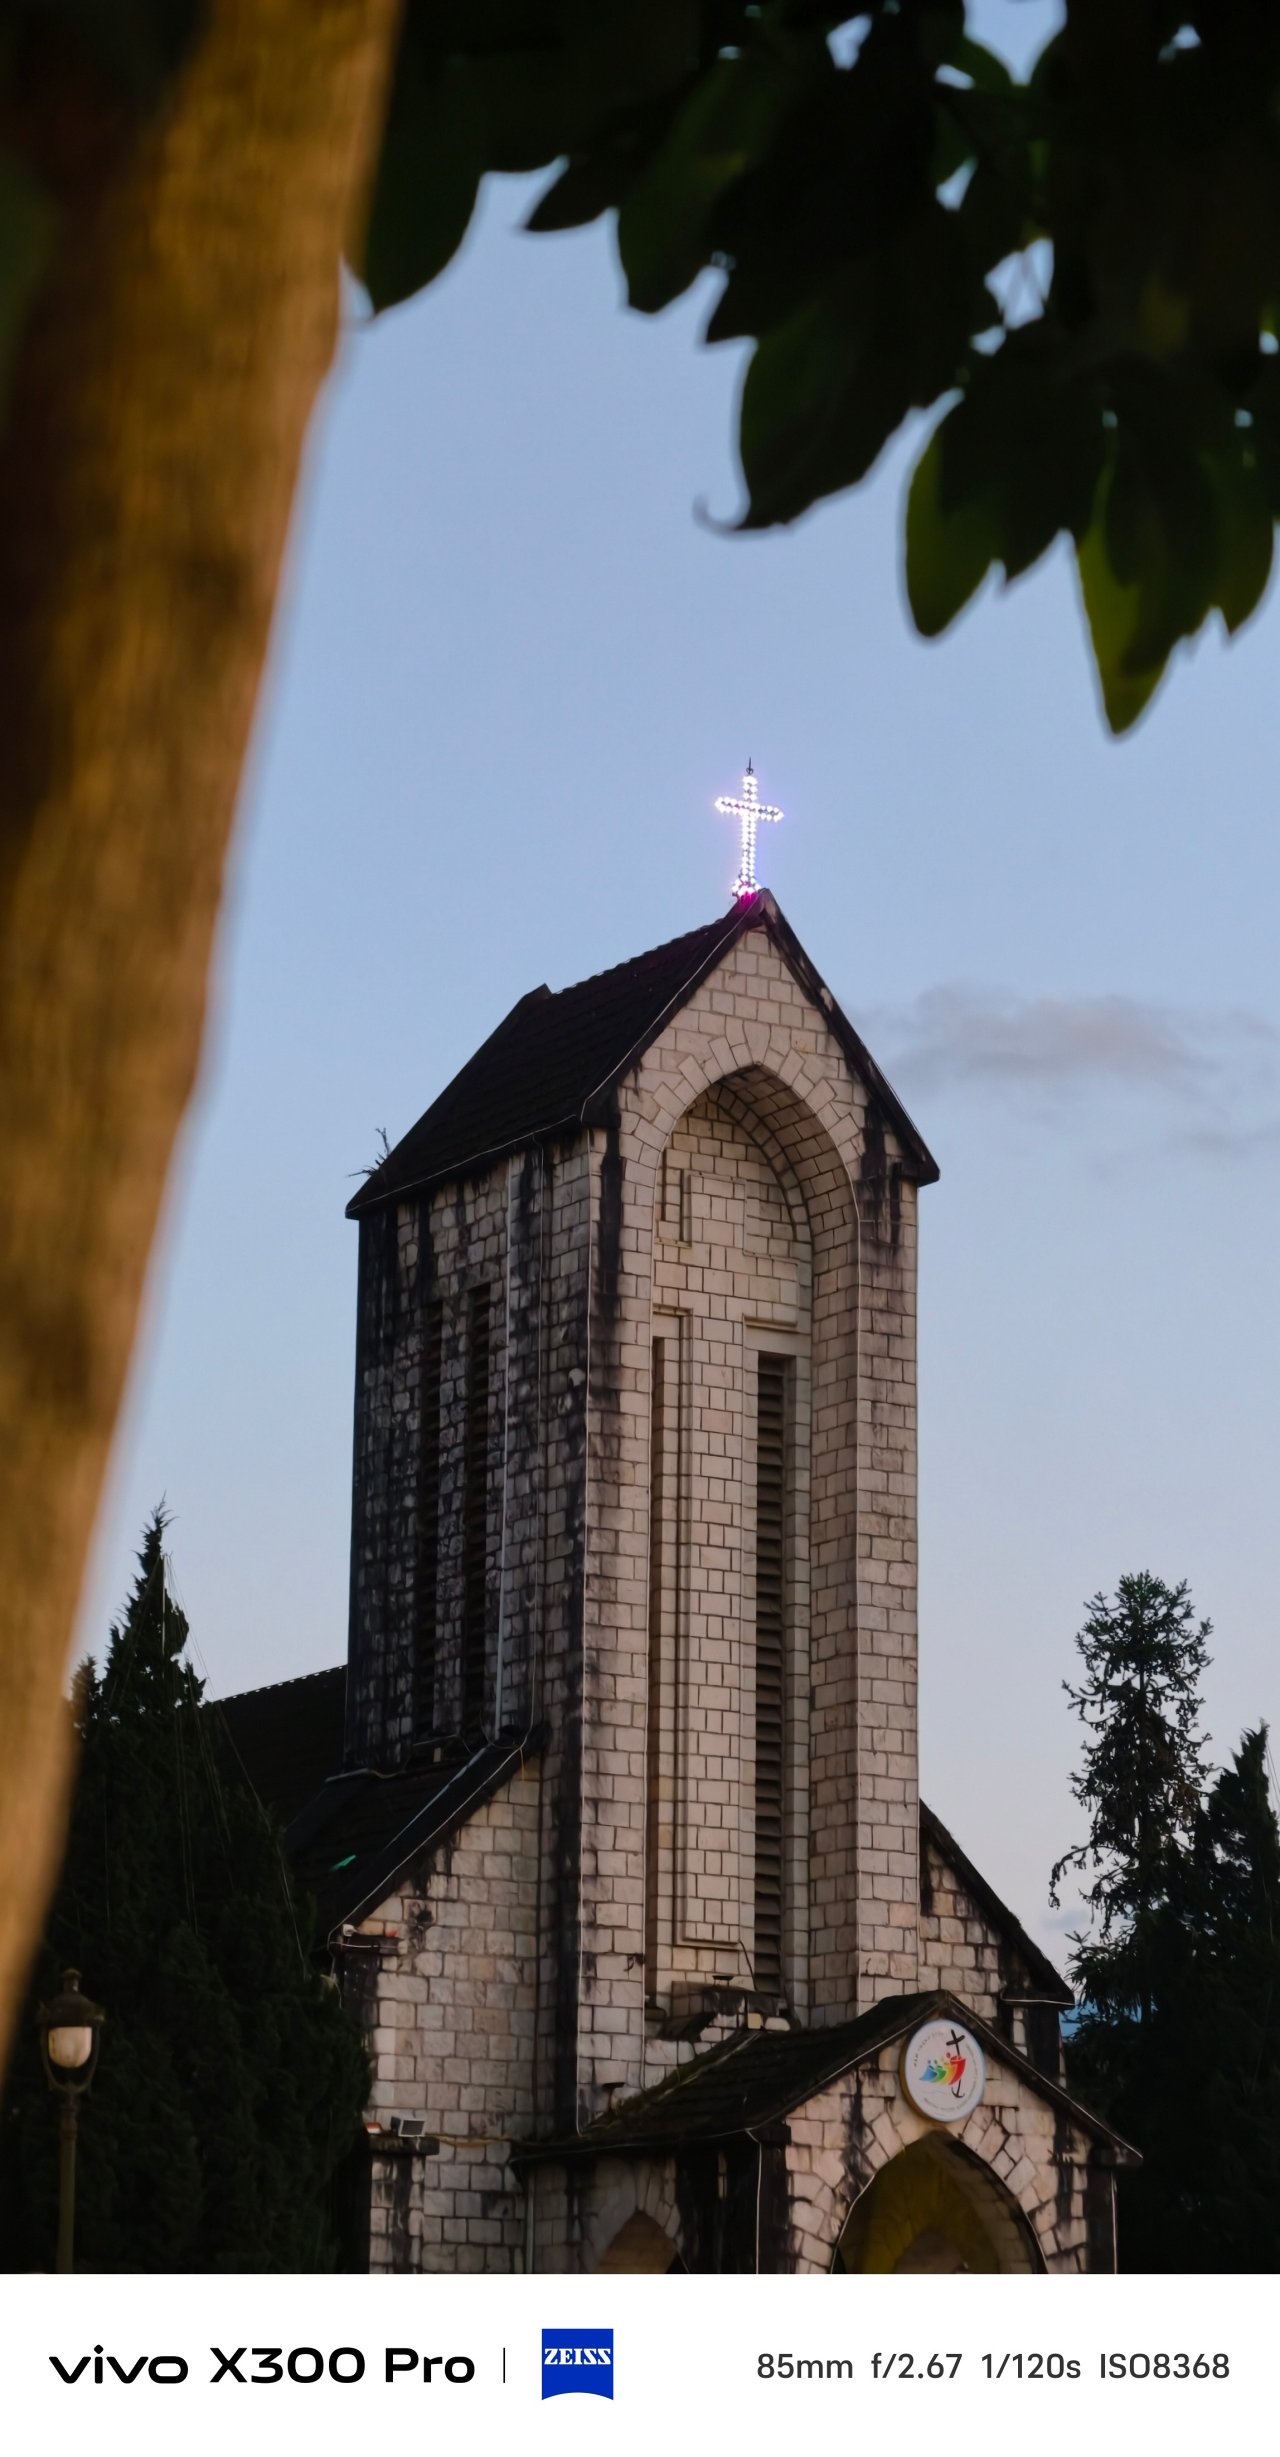
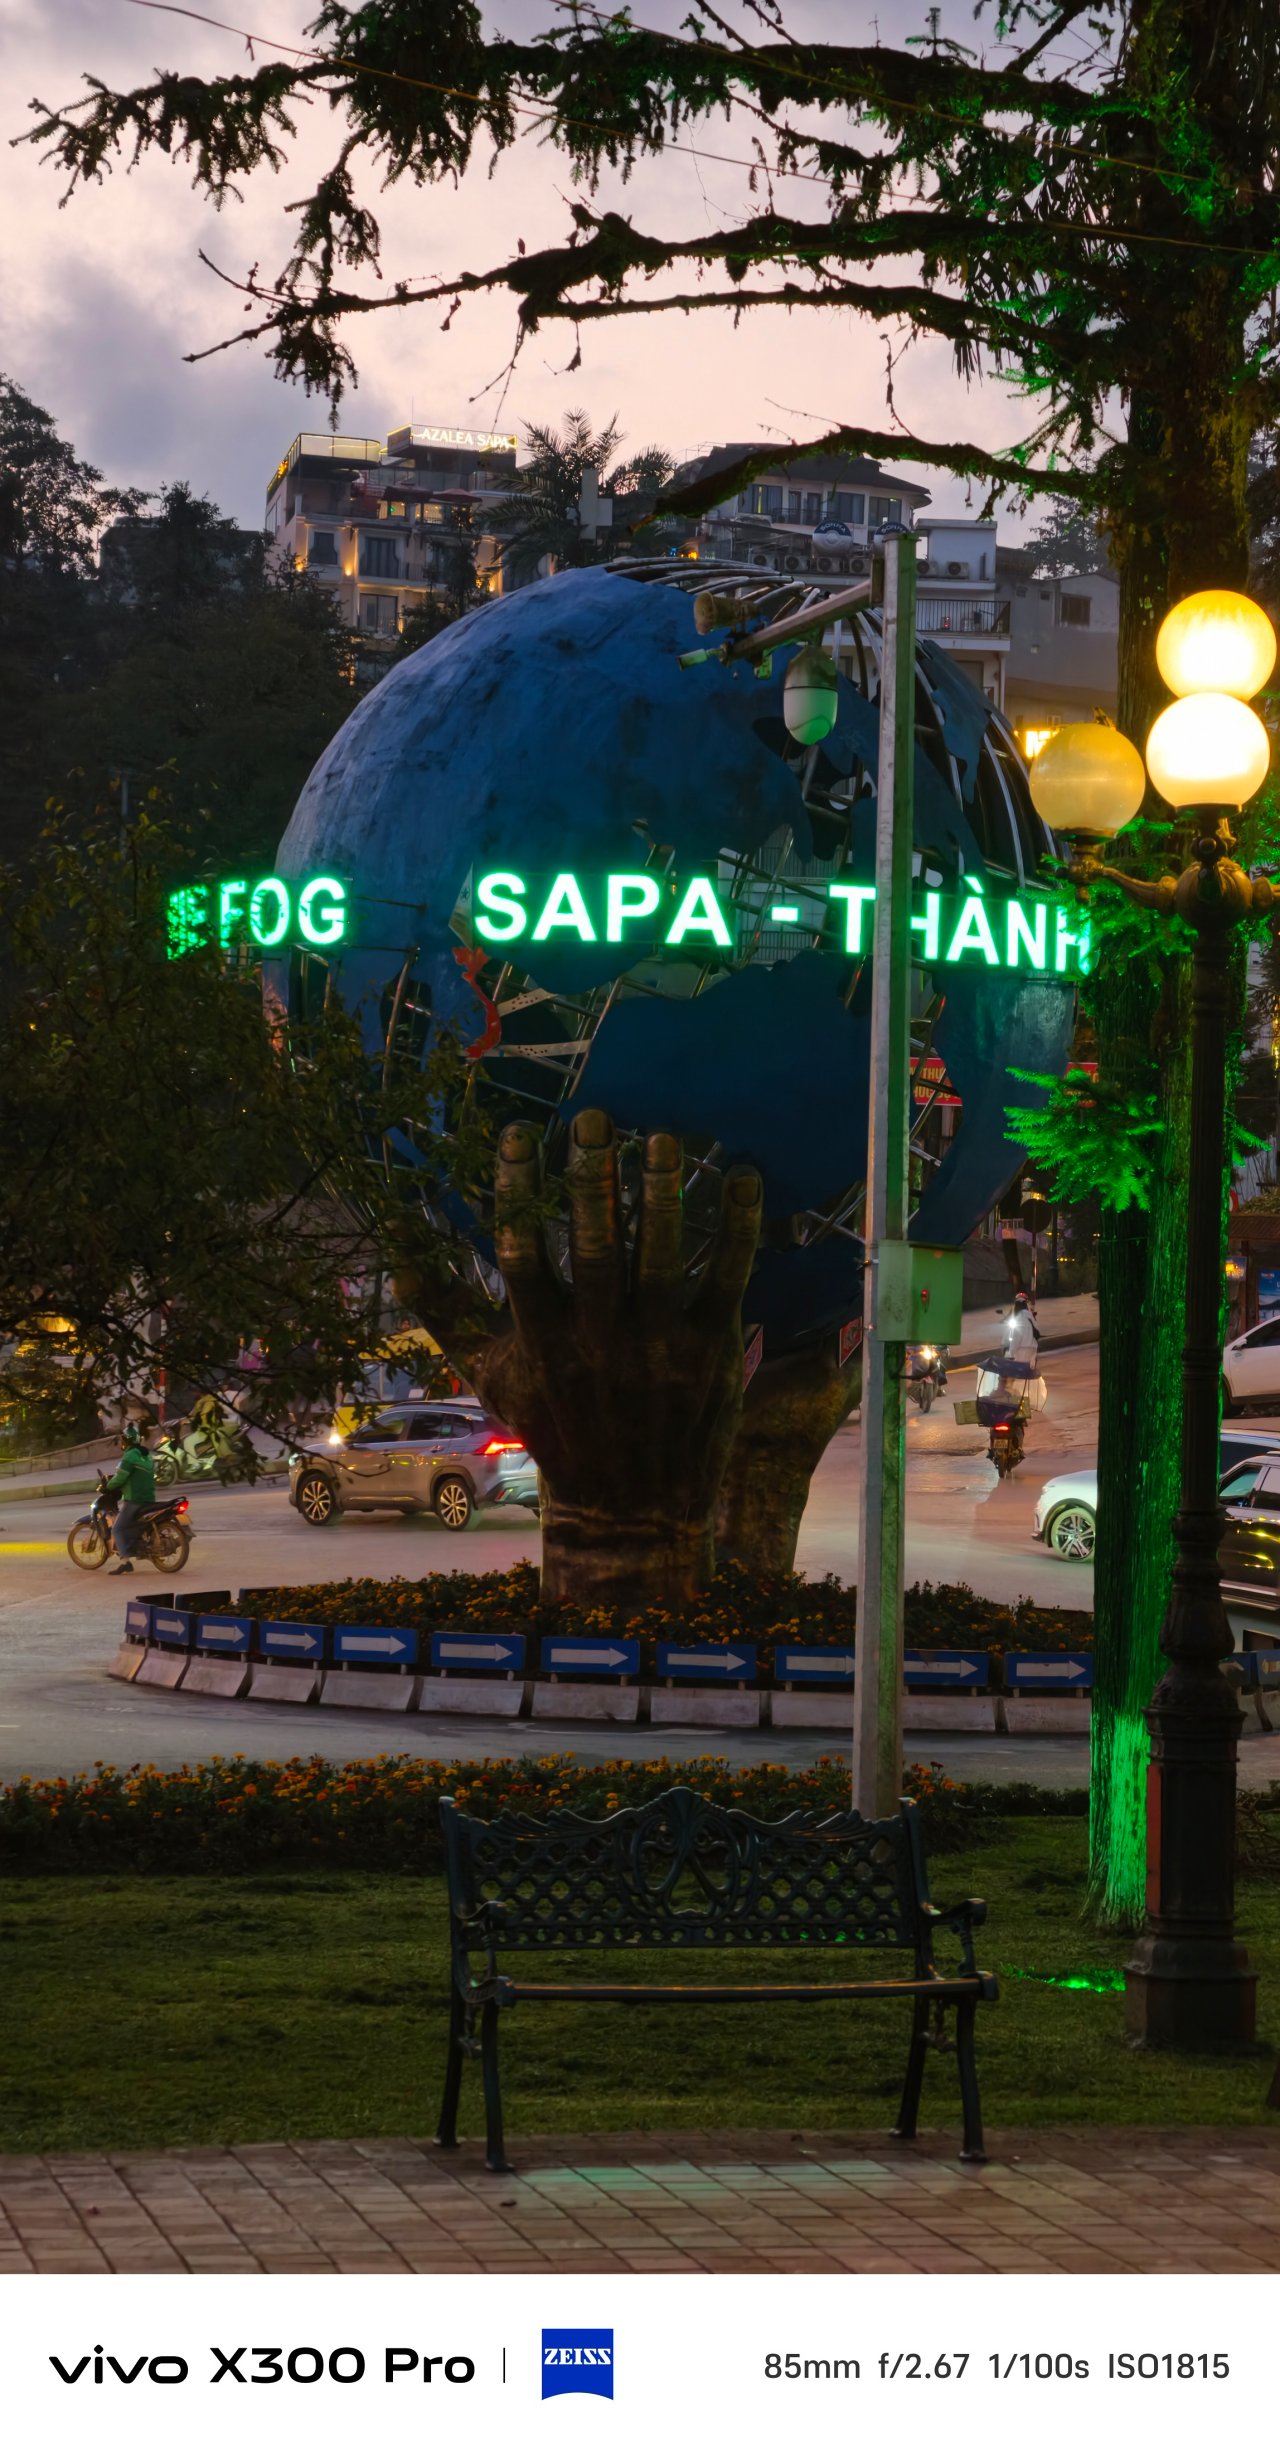
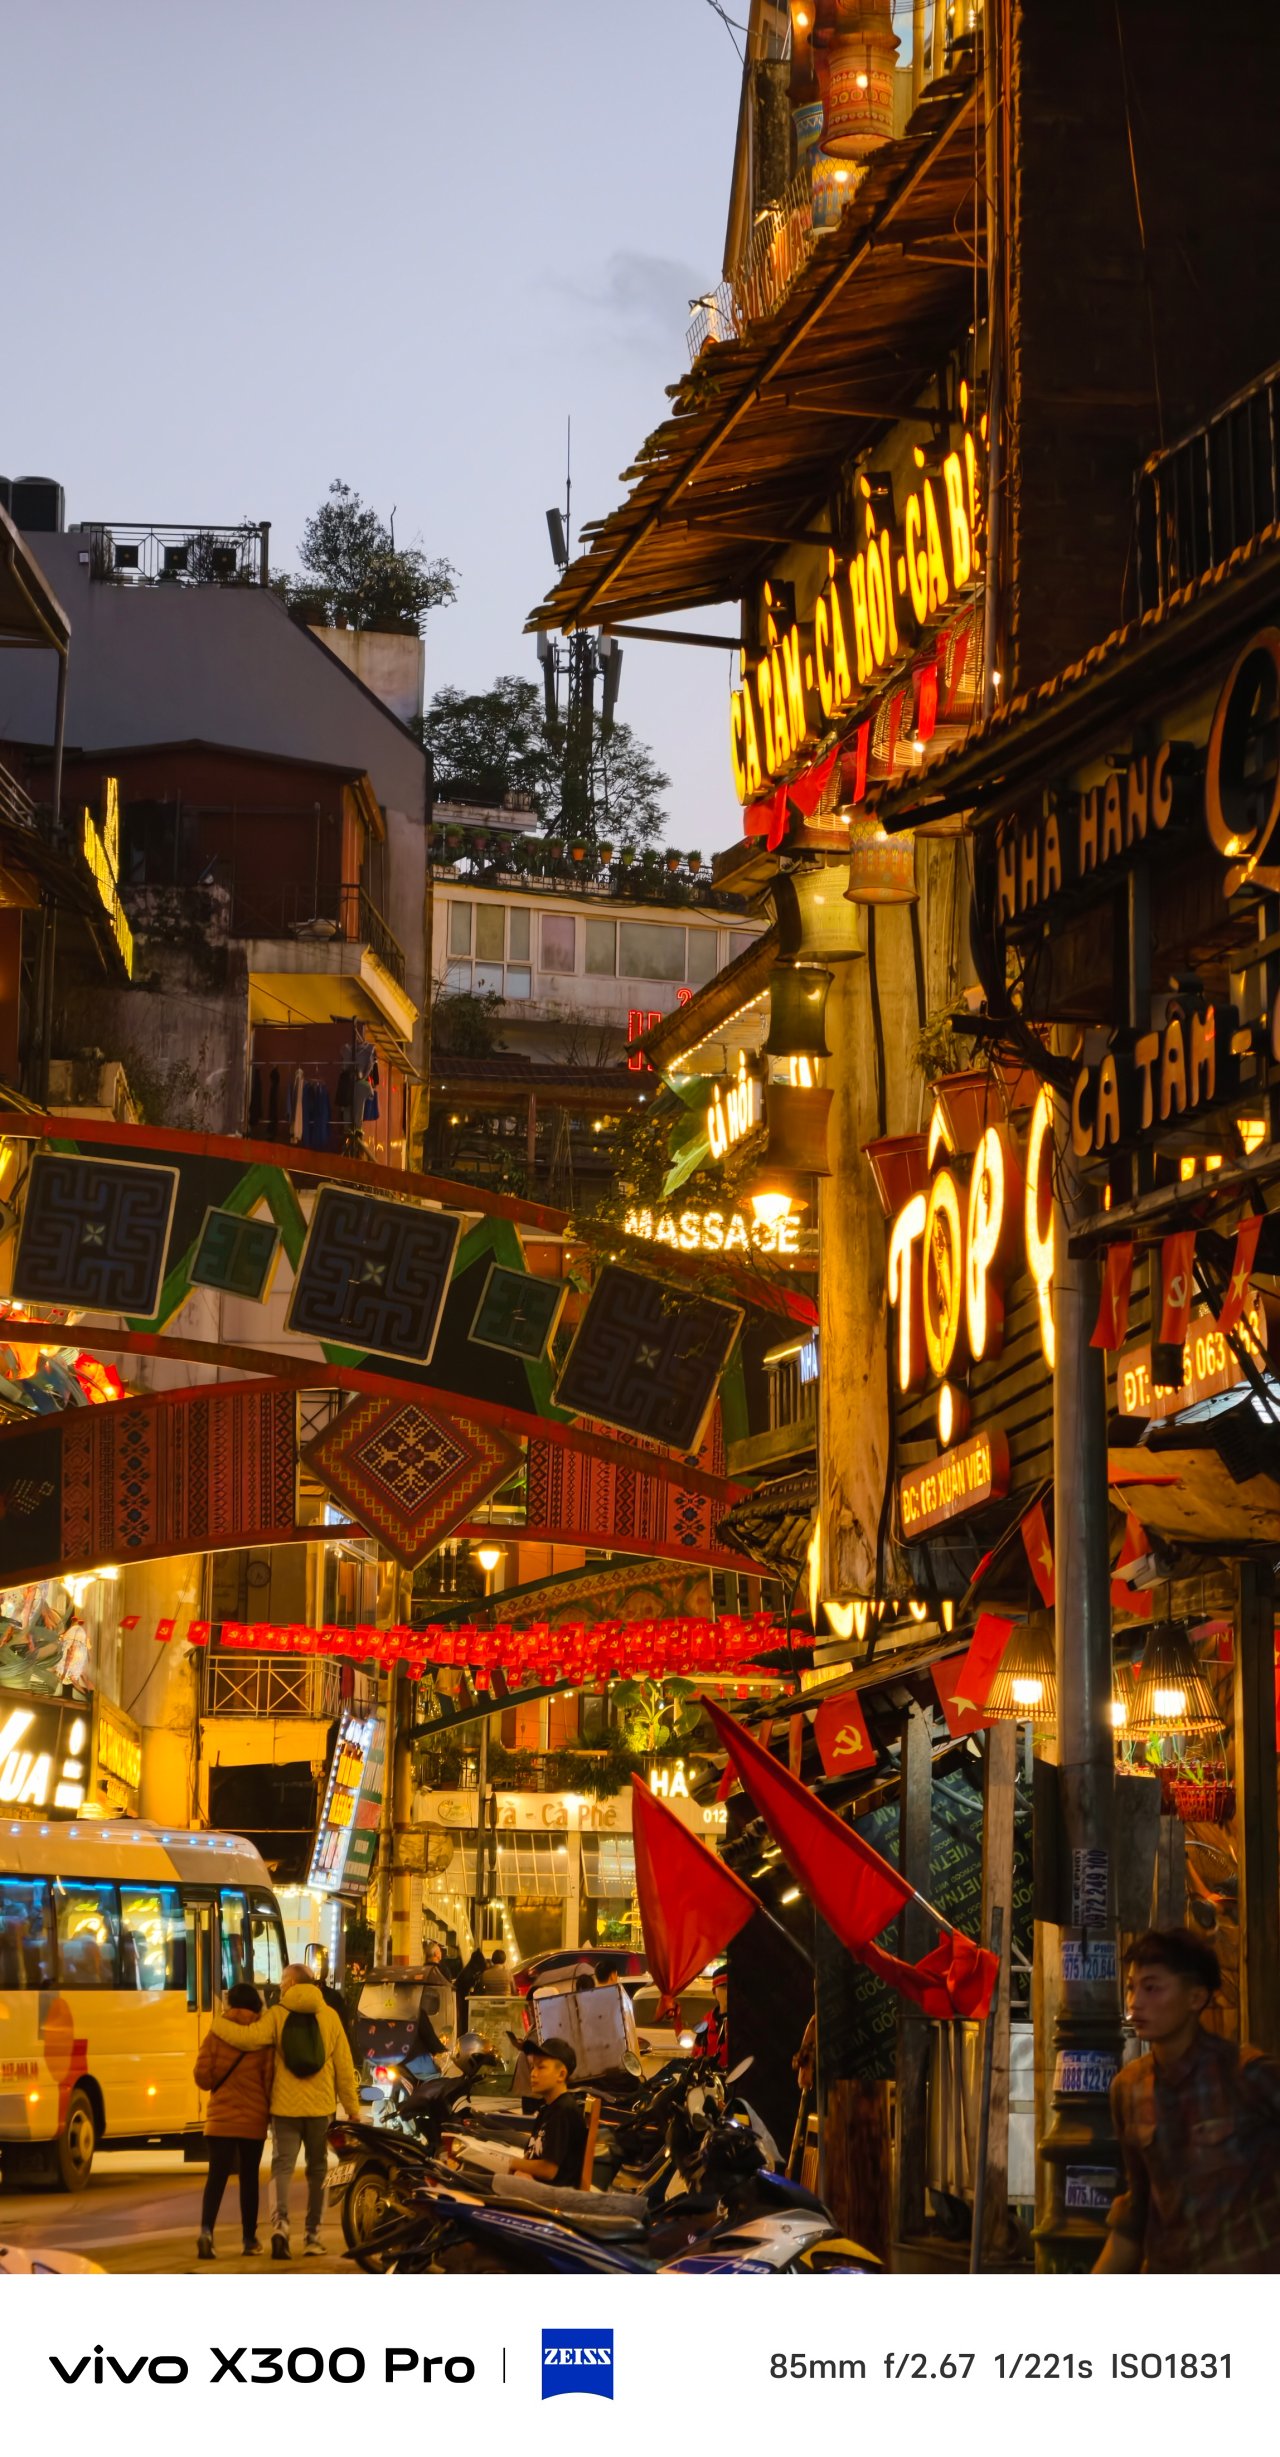

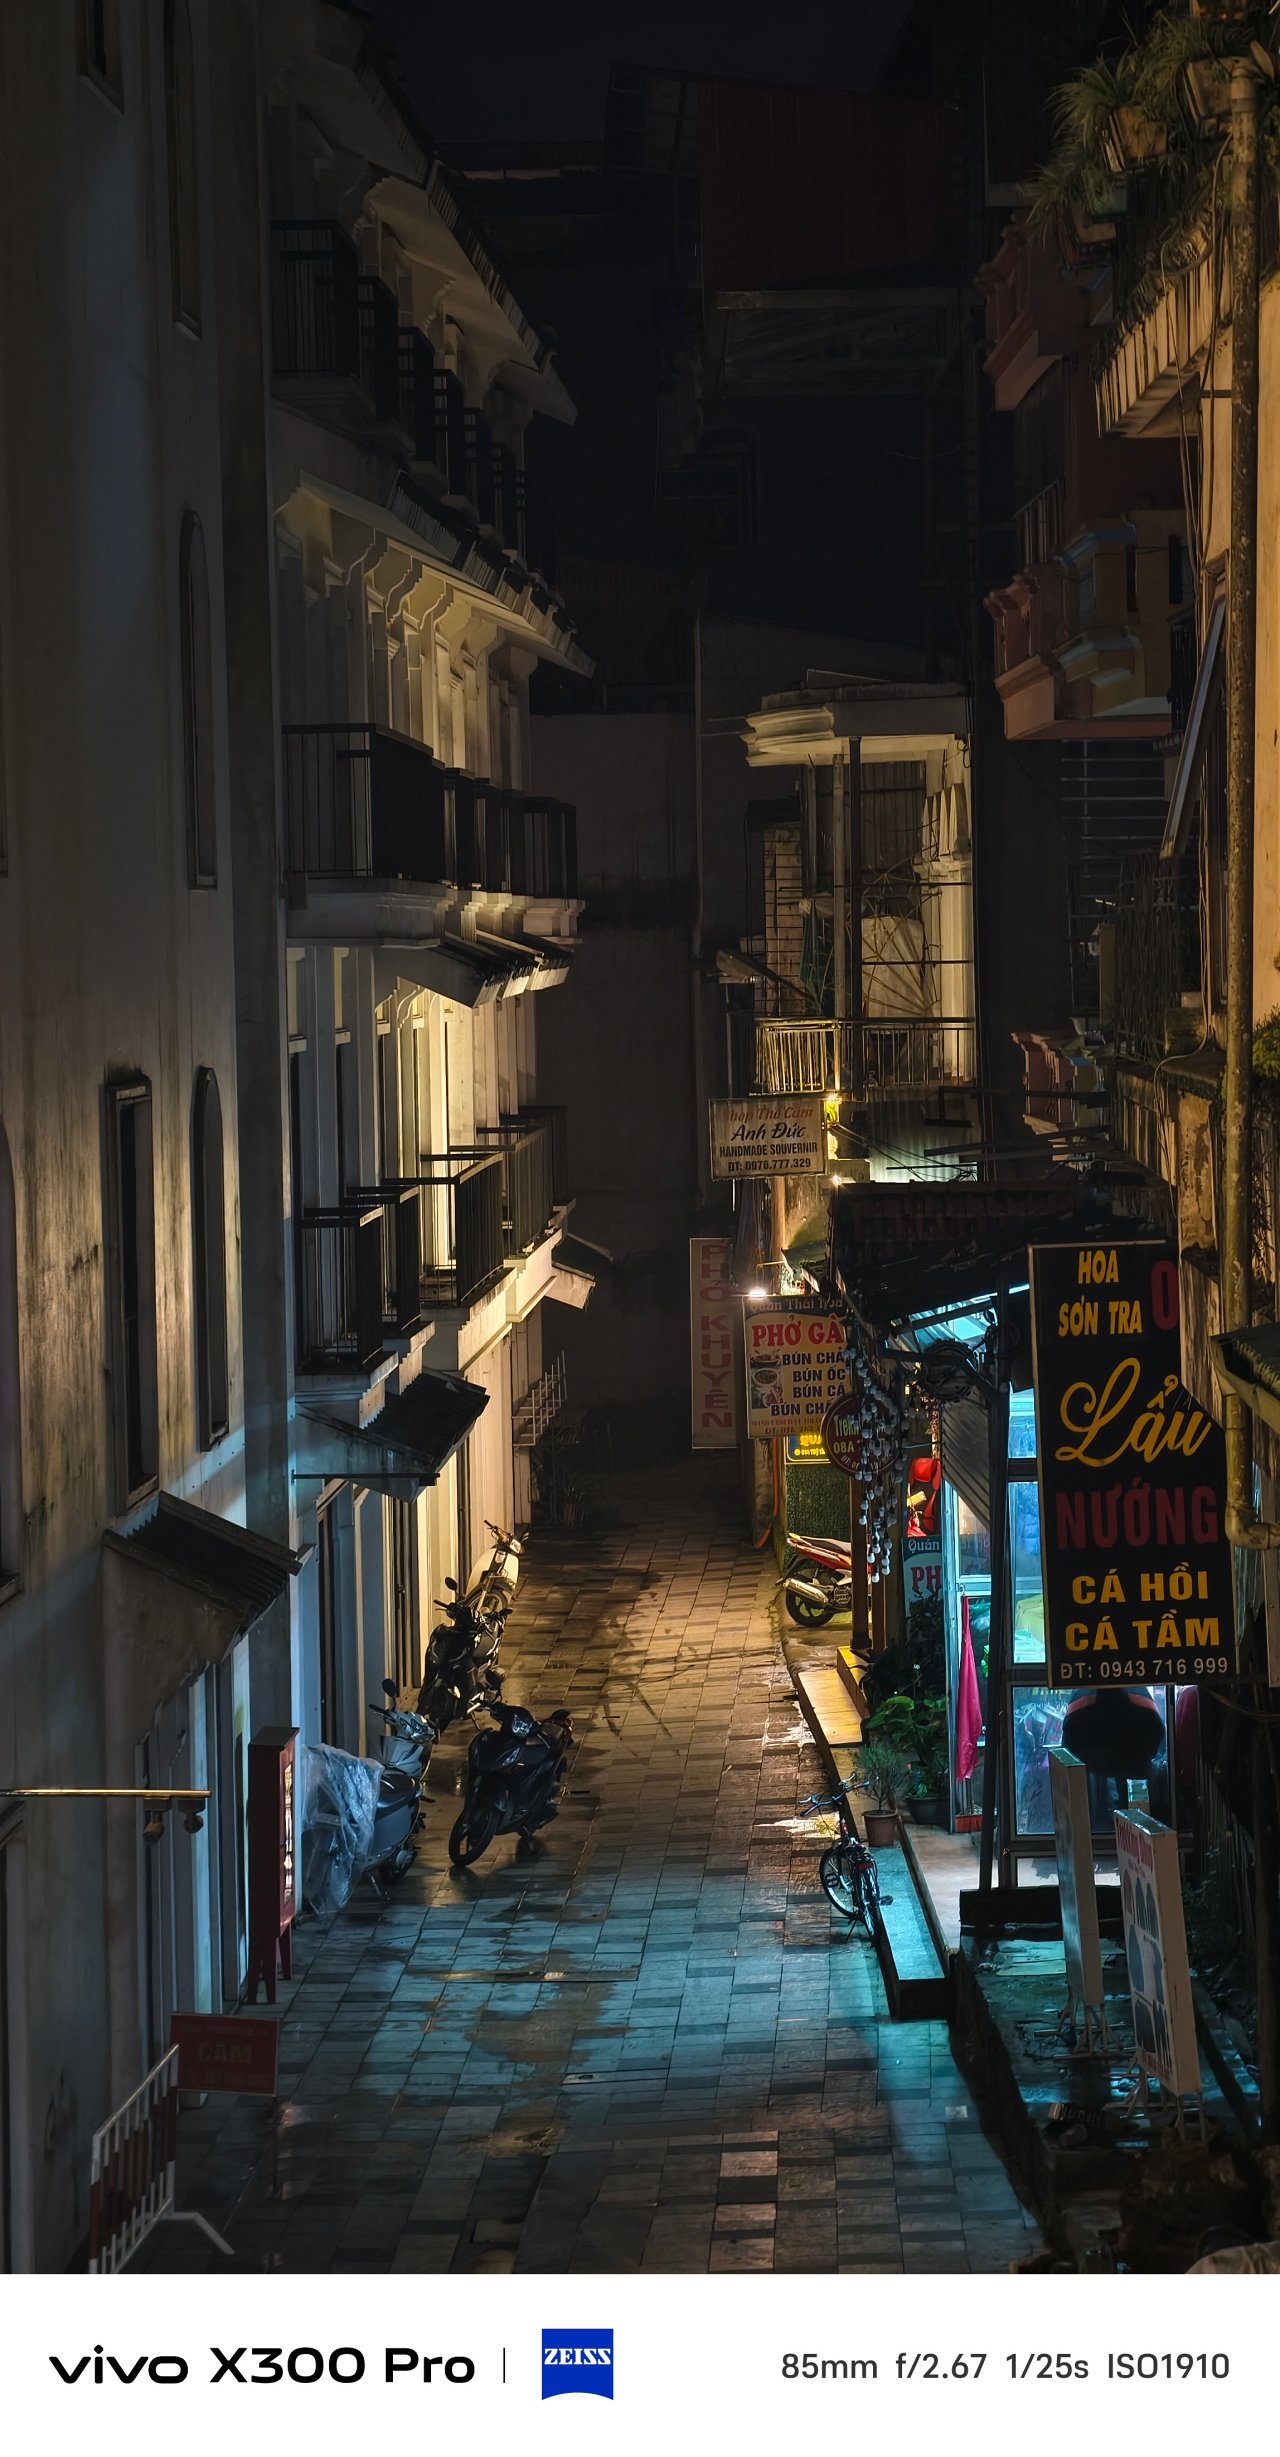
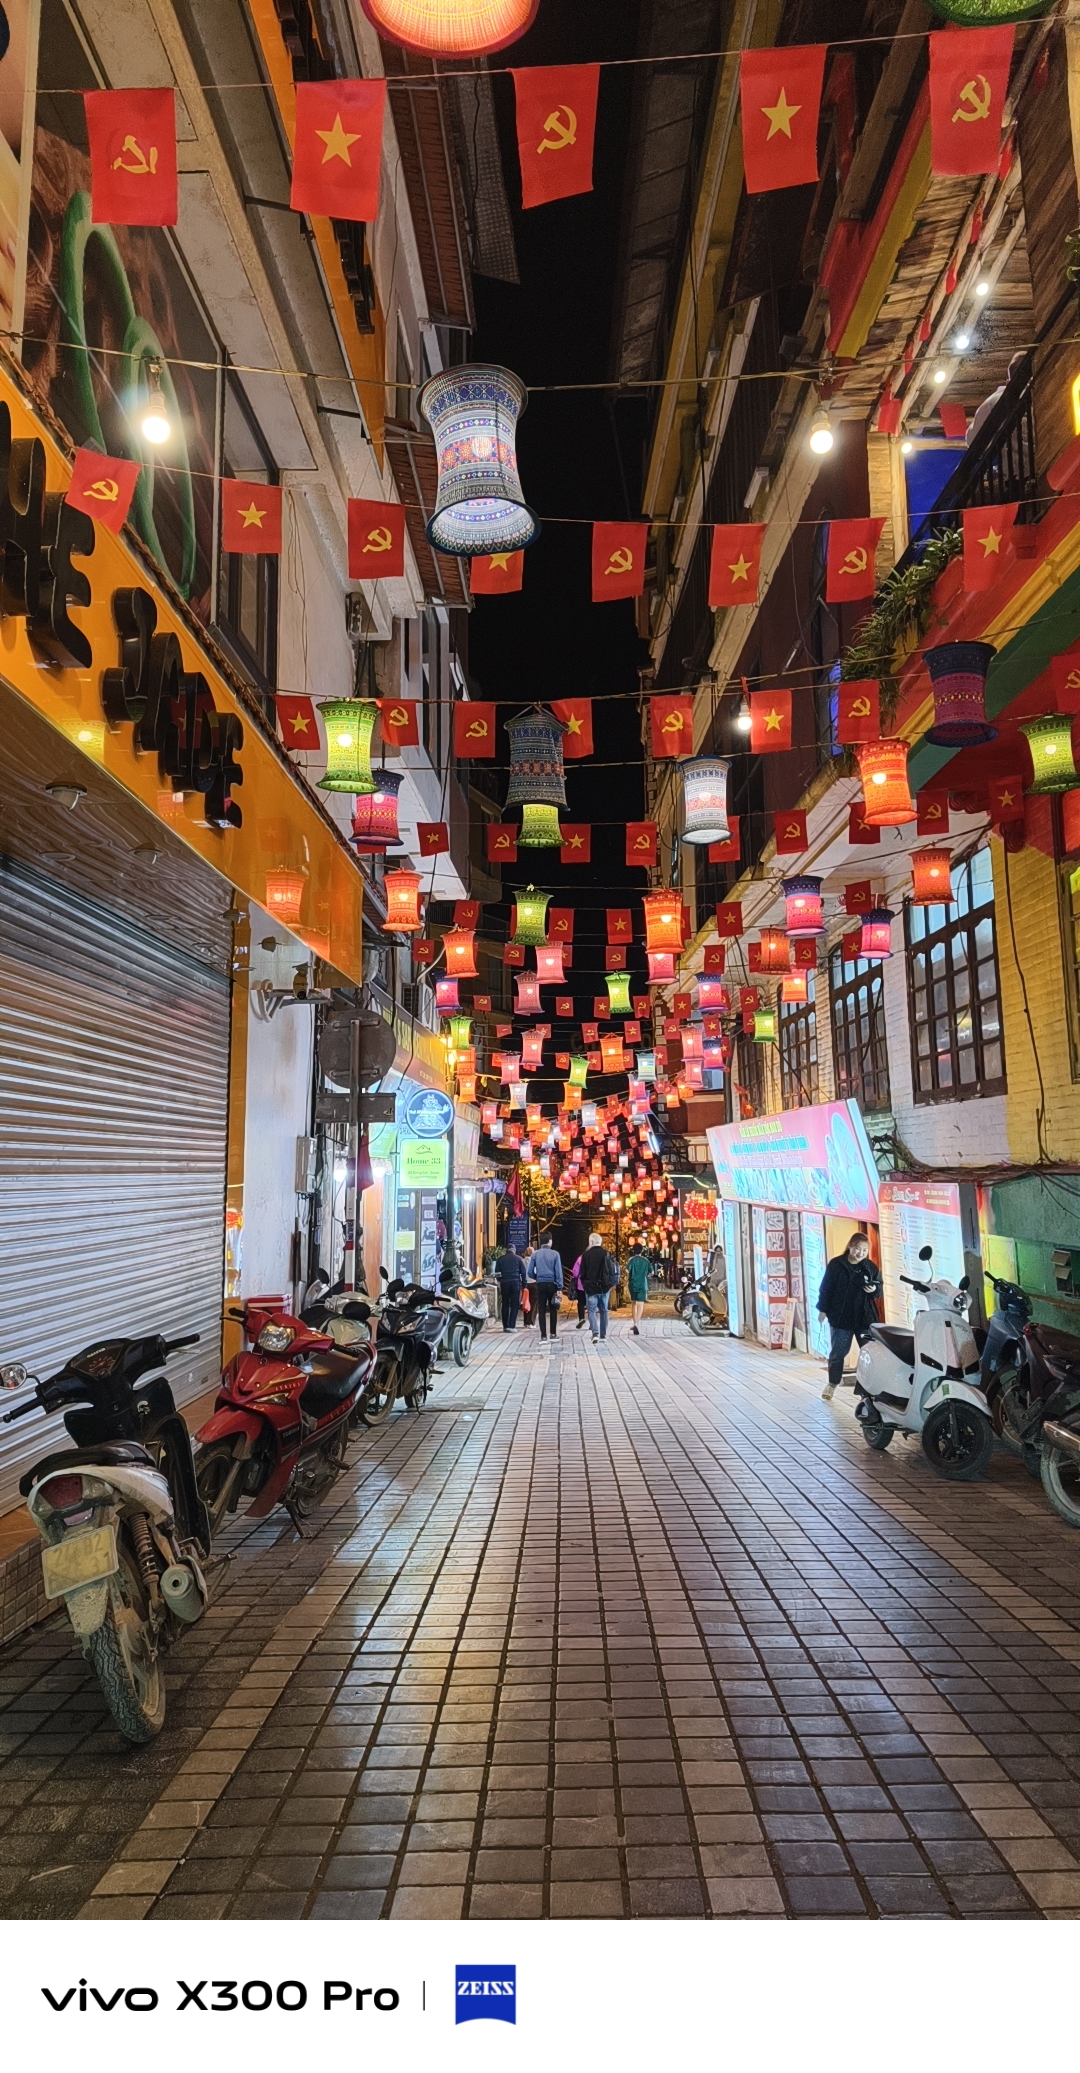



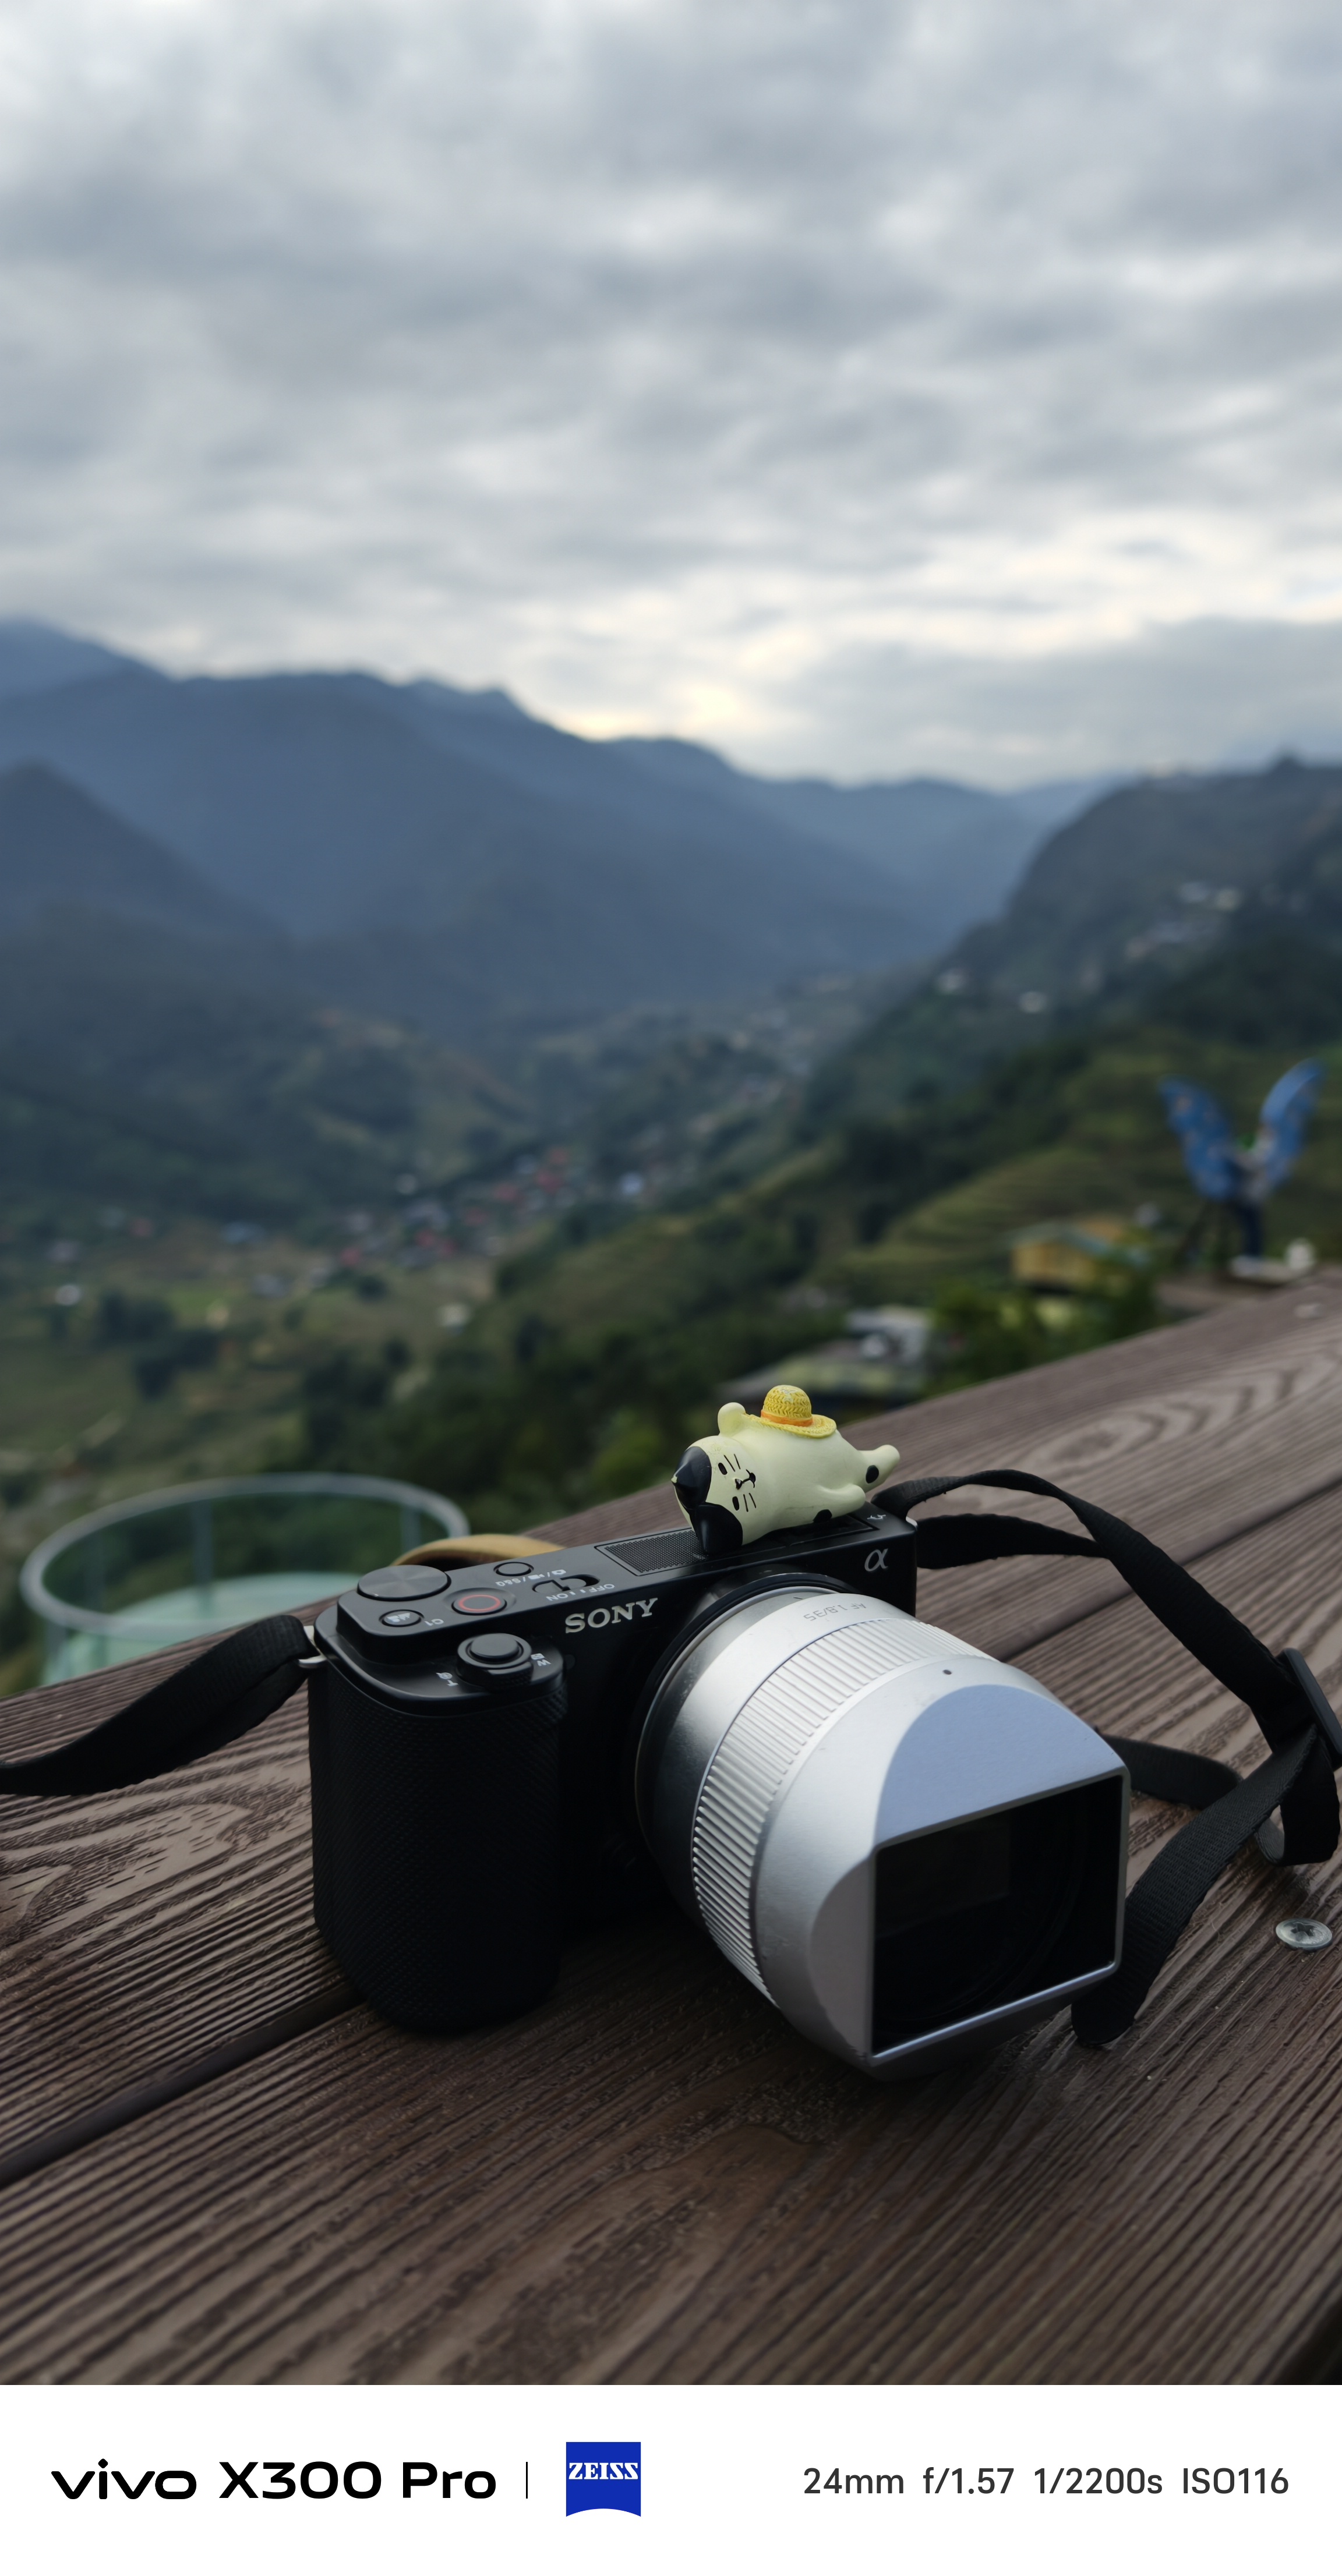


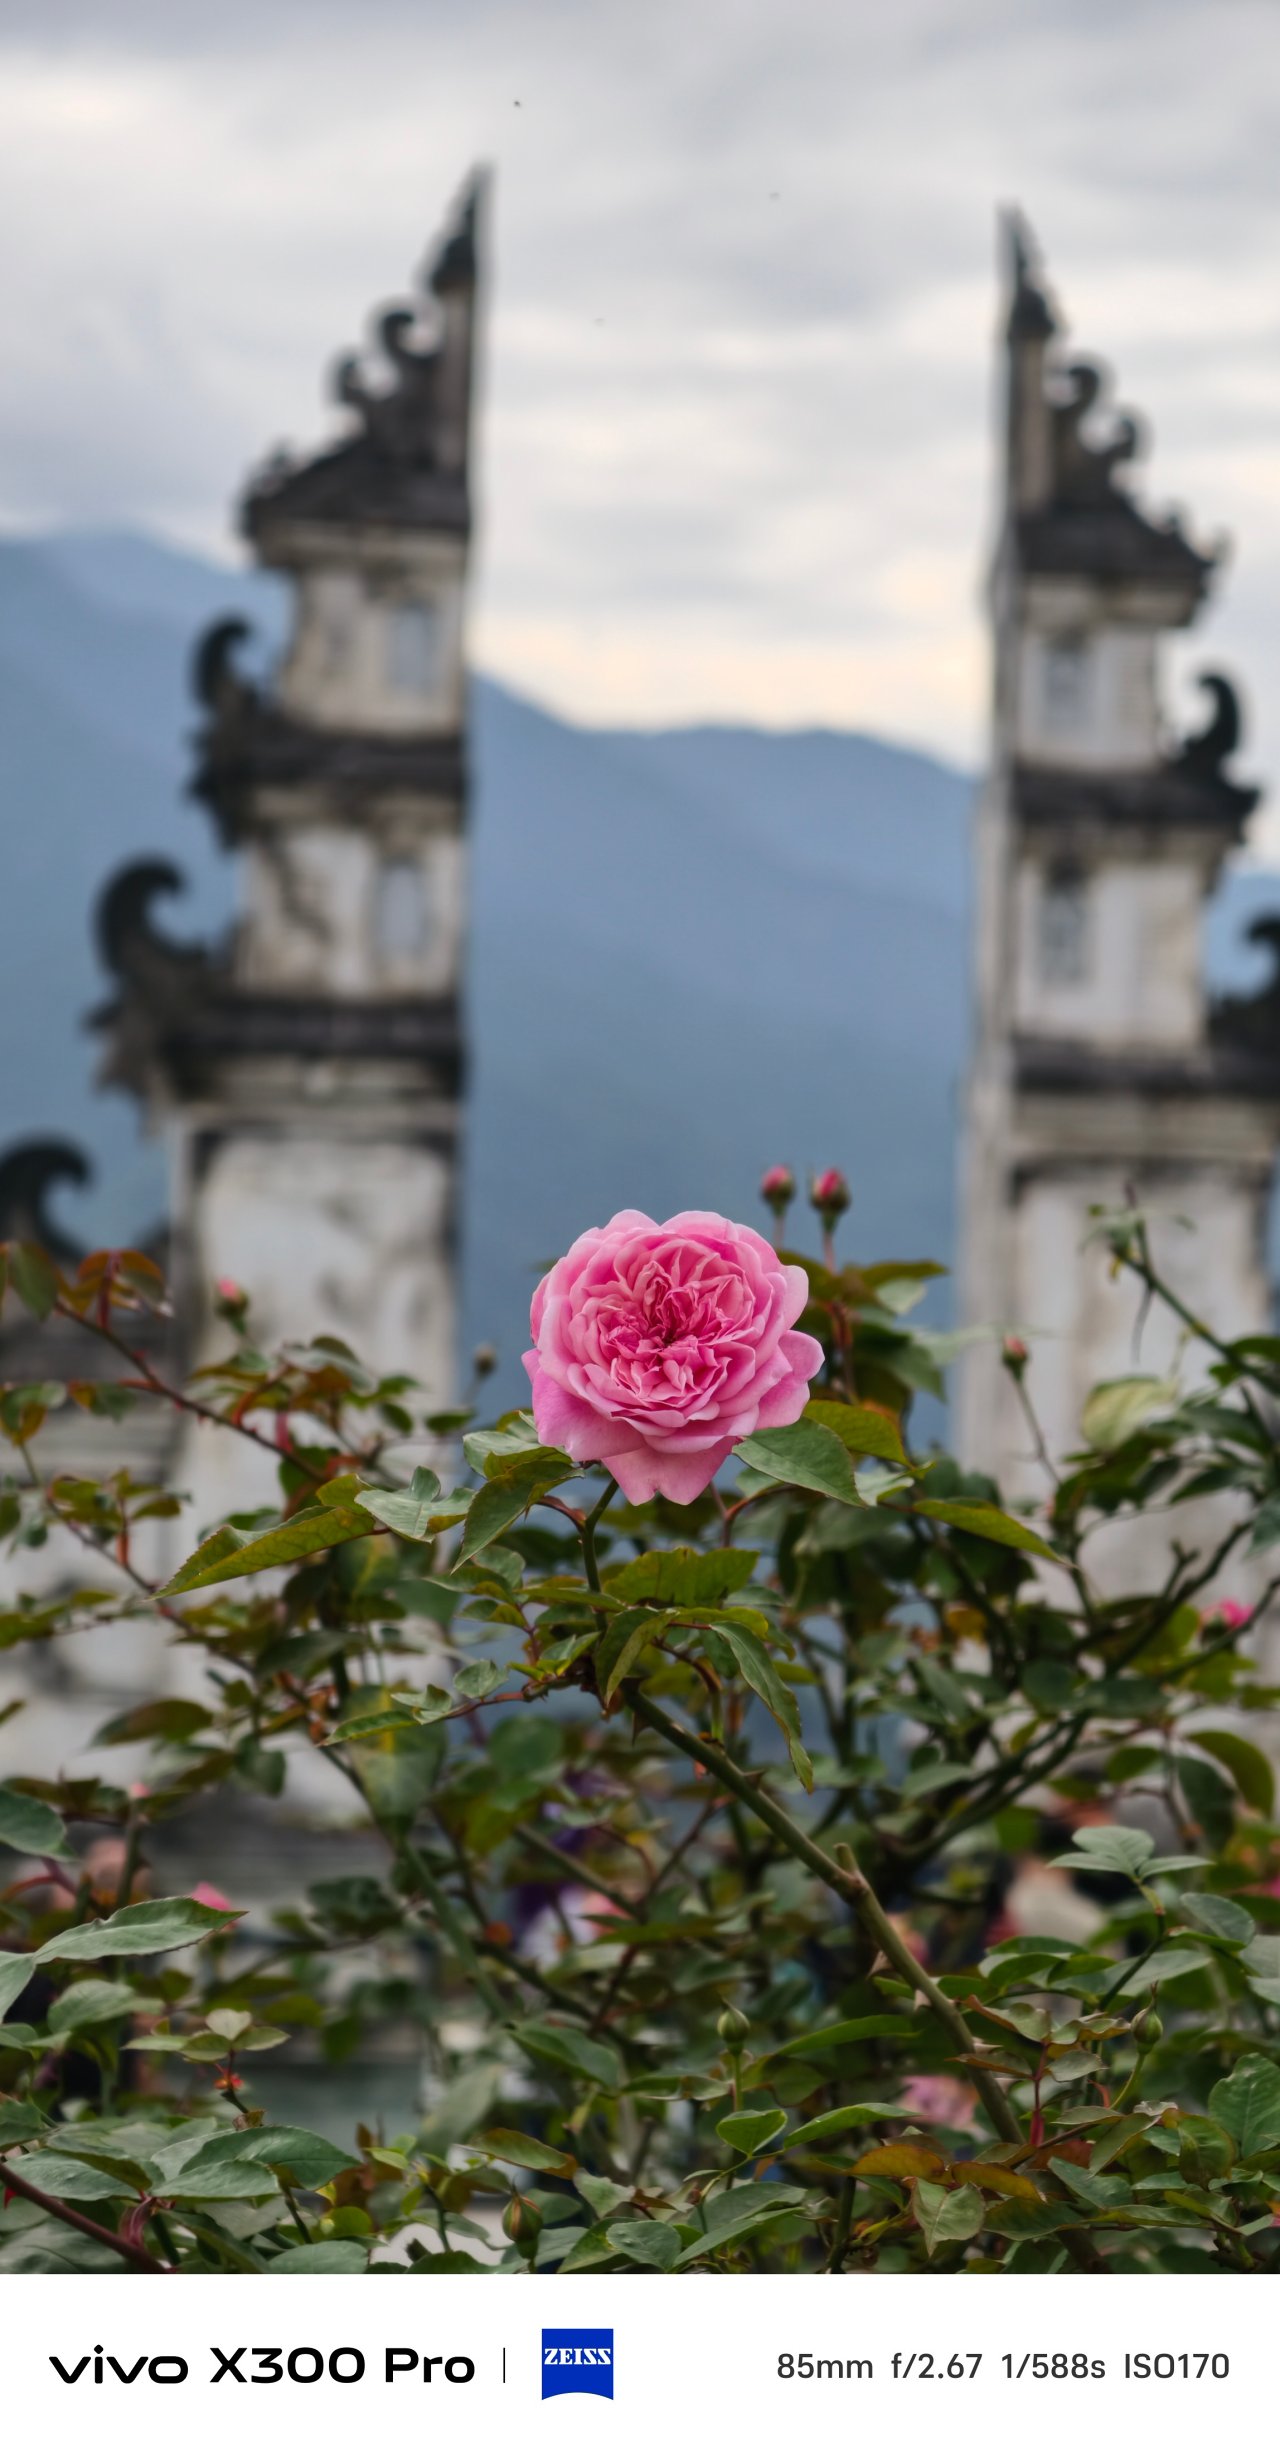



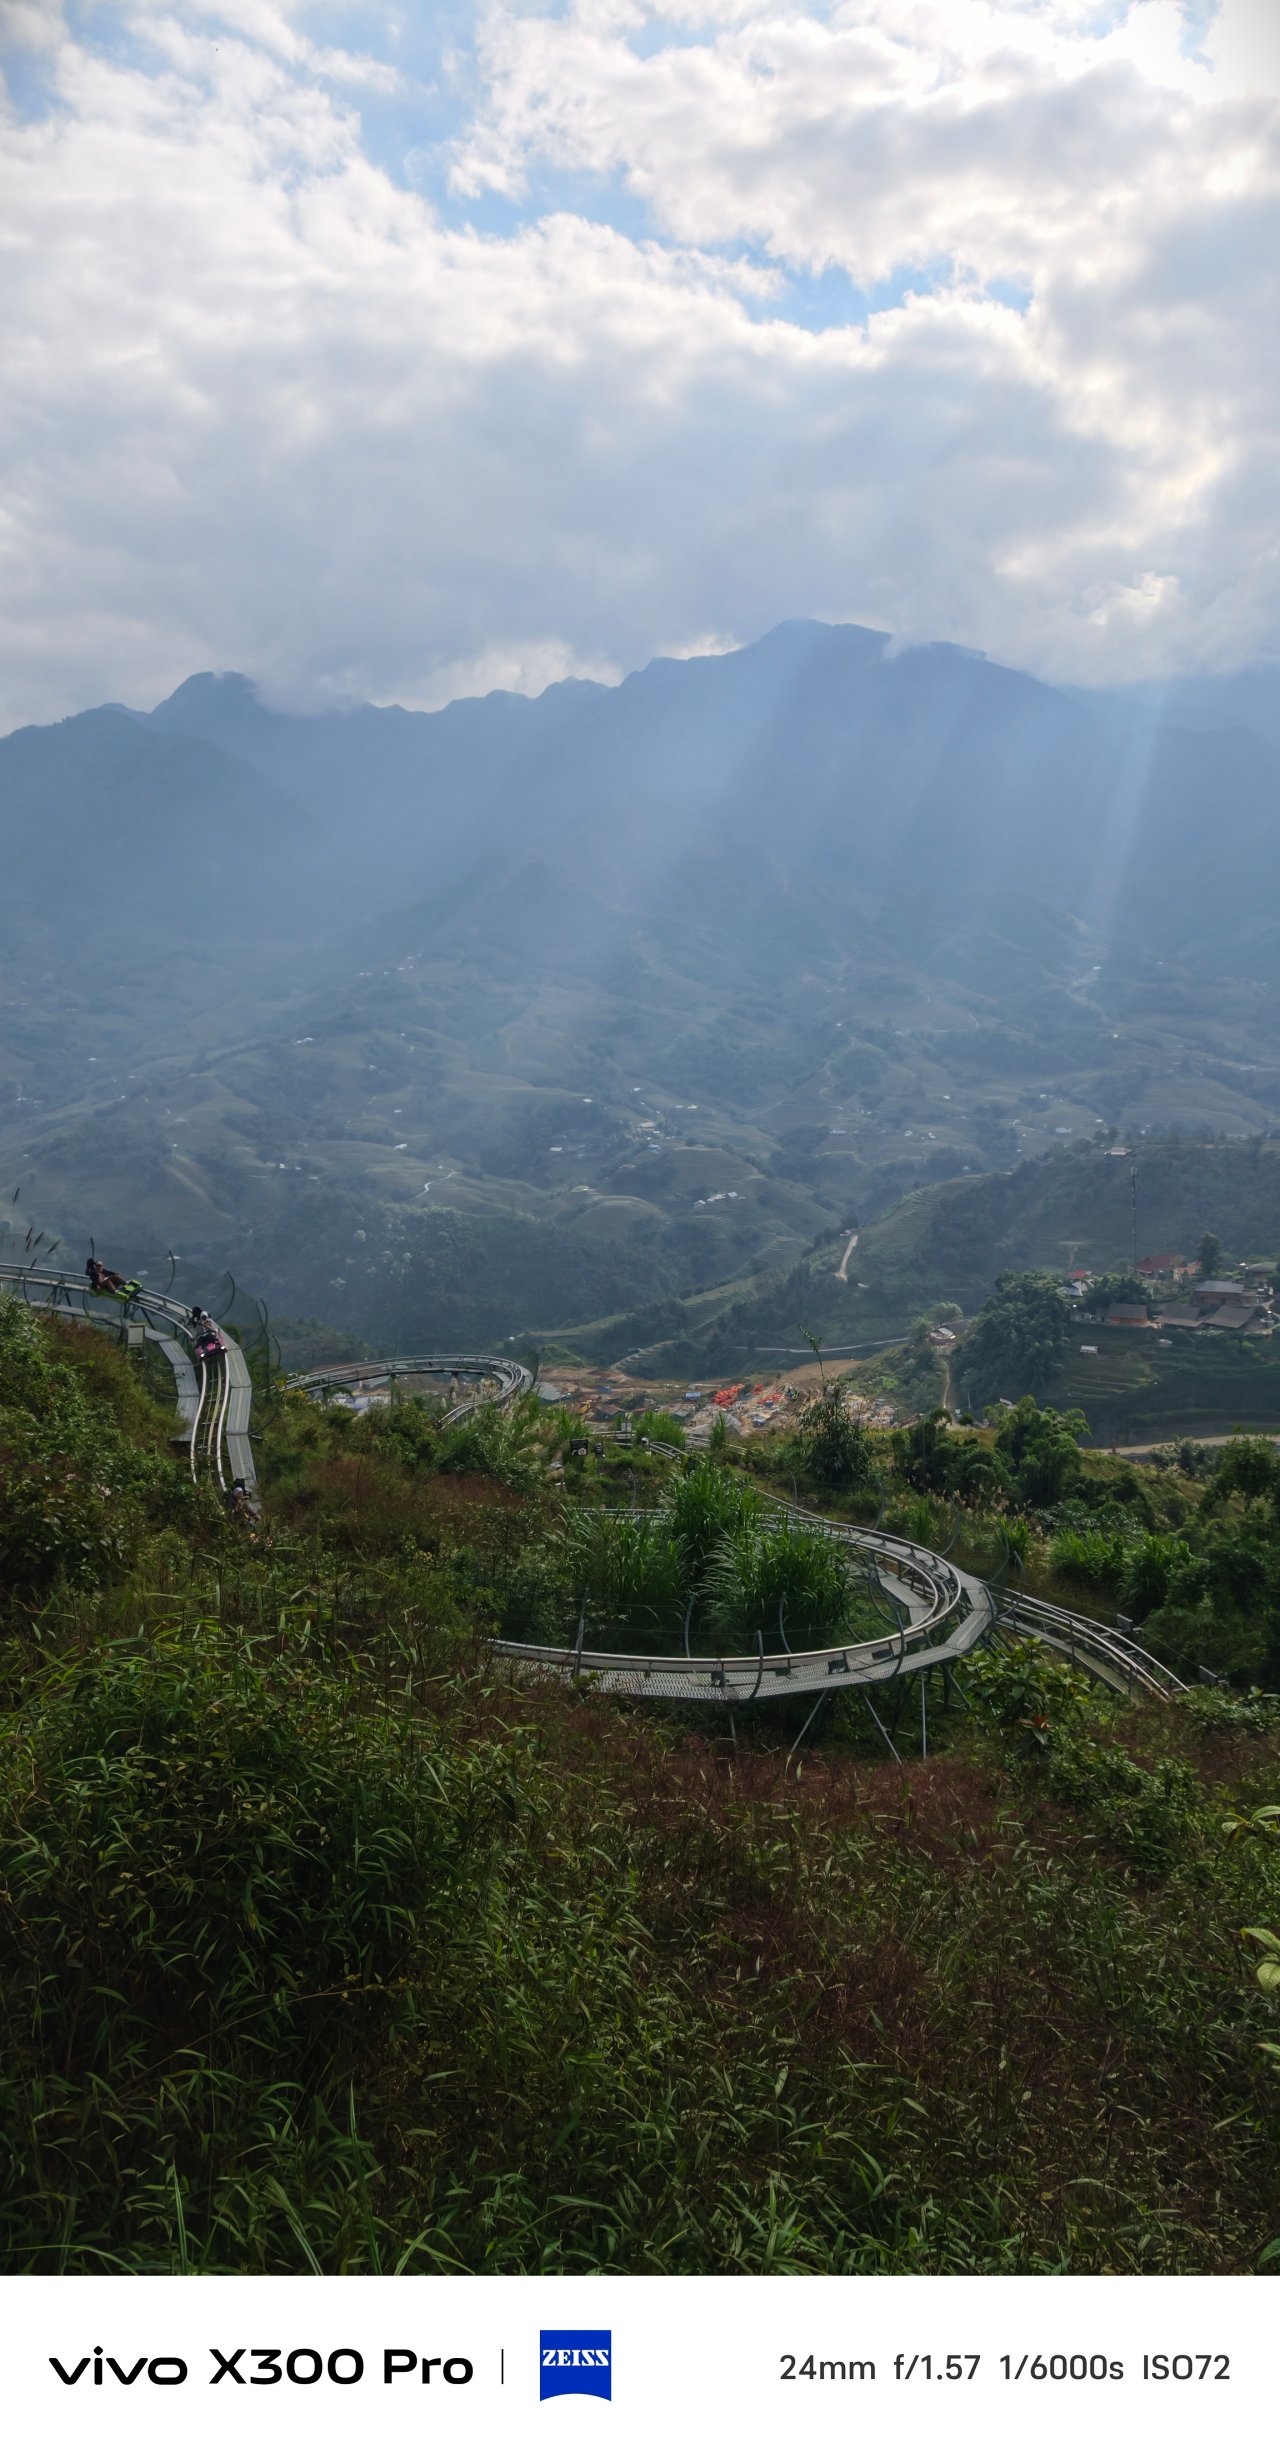
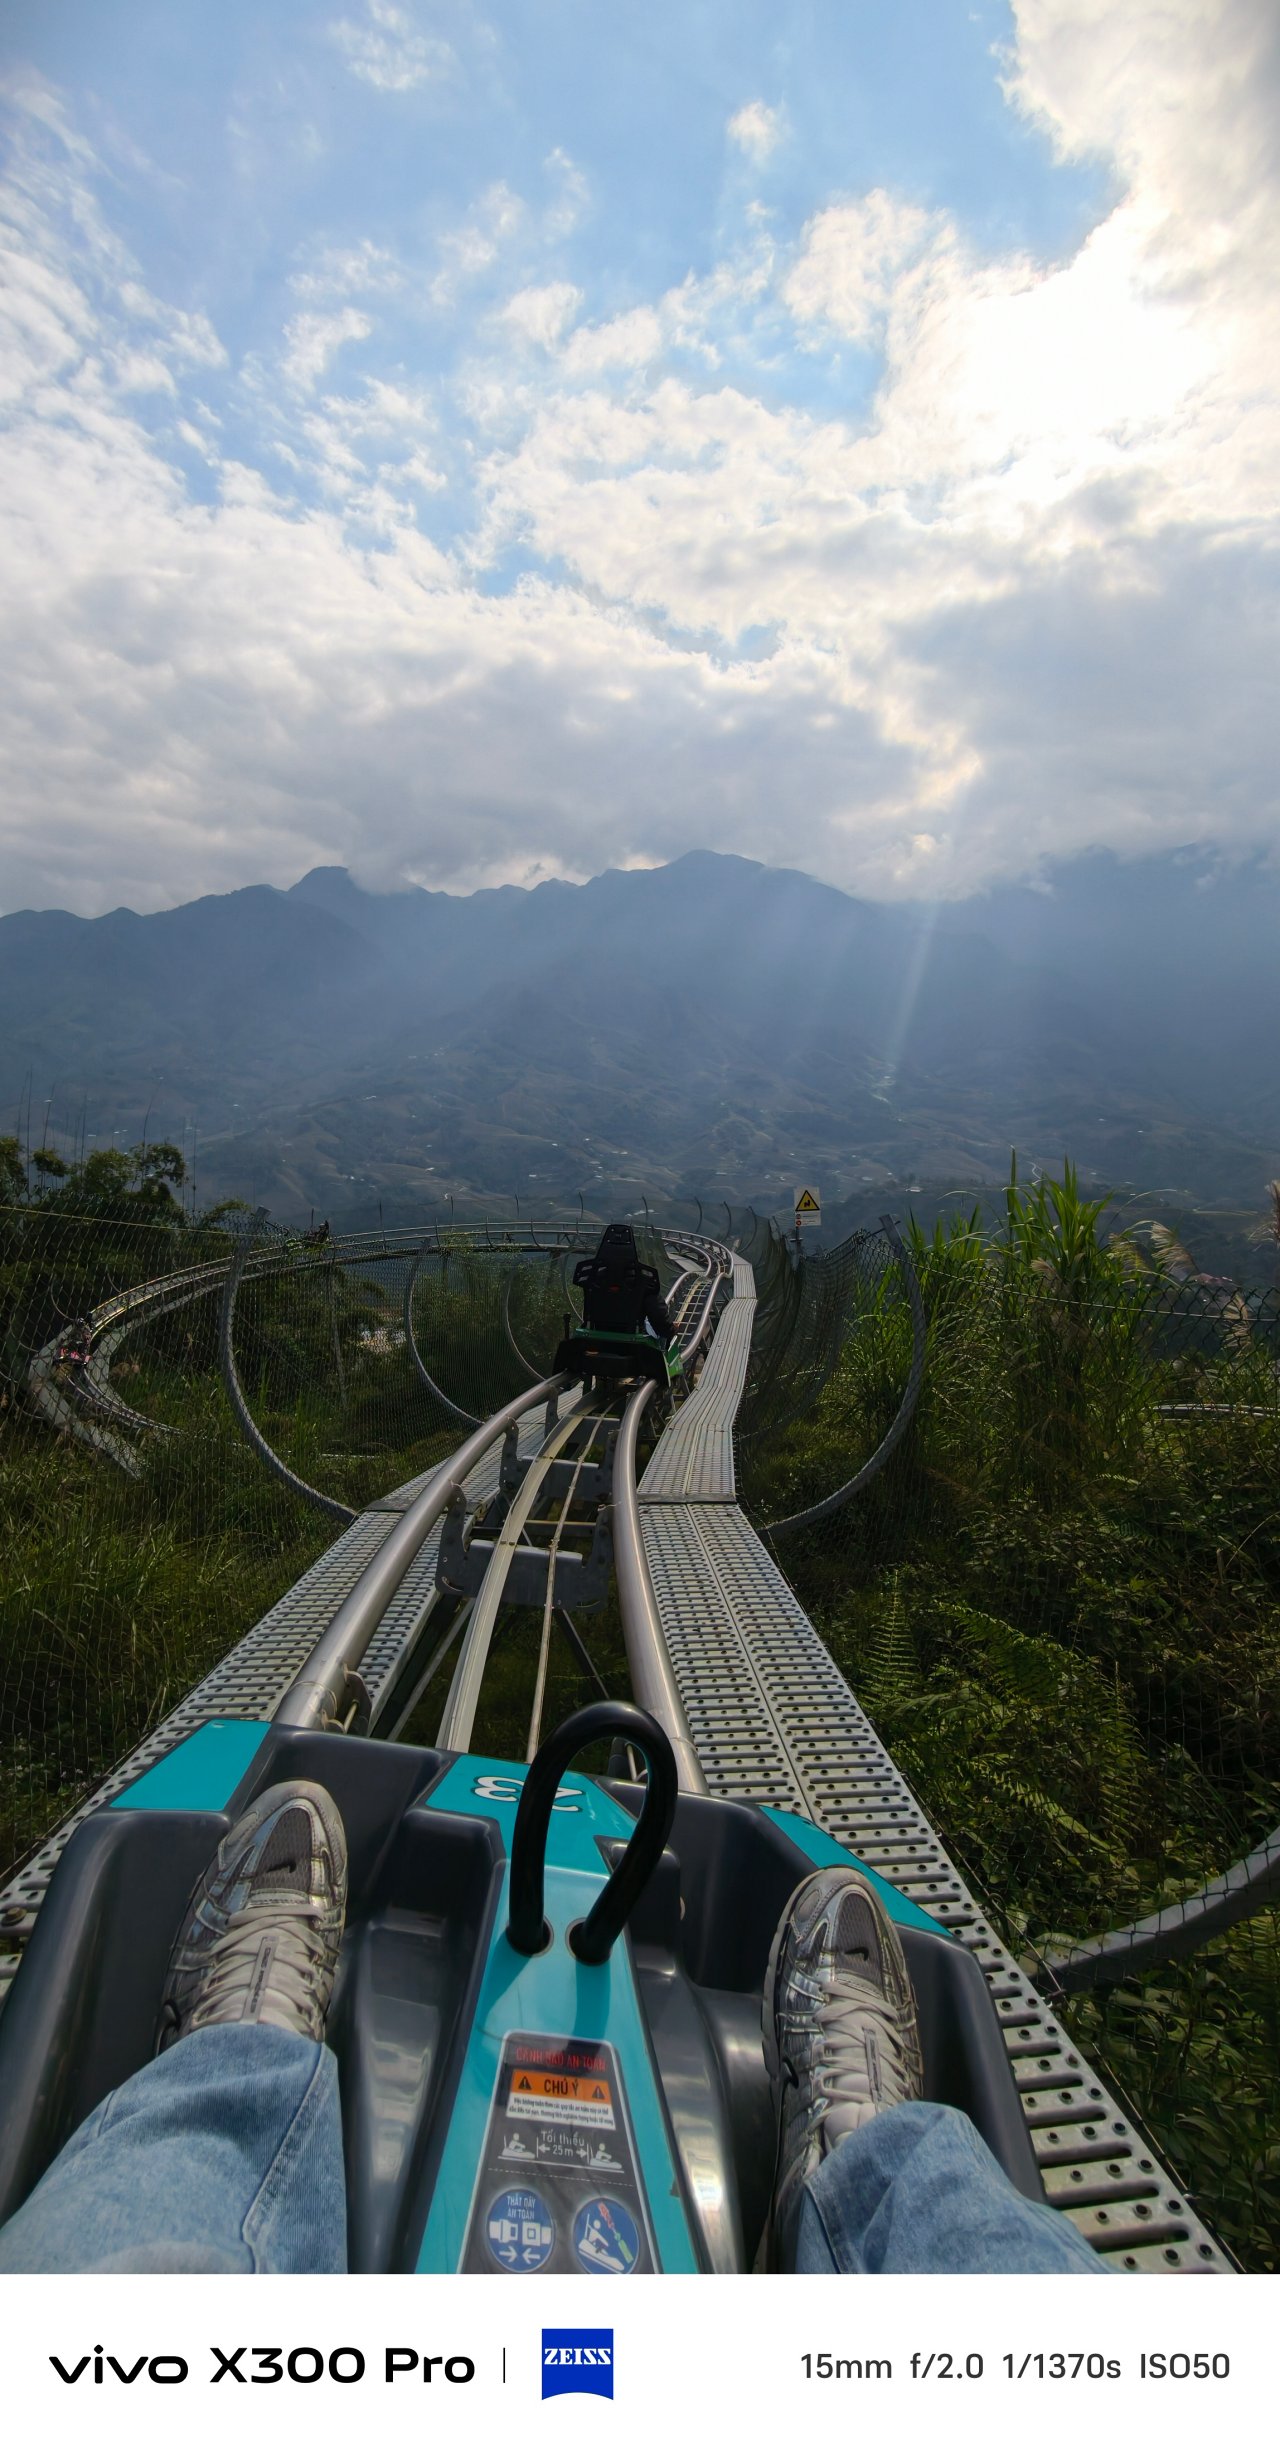
📍 Hanoi Train Street


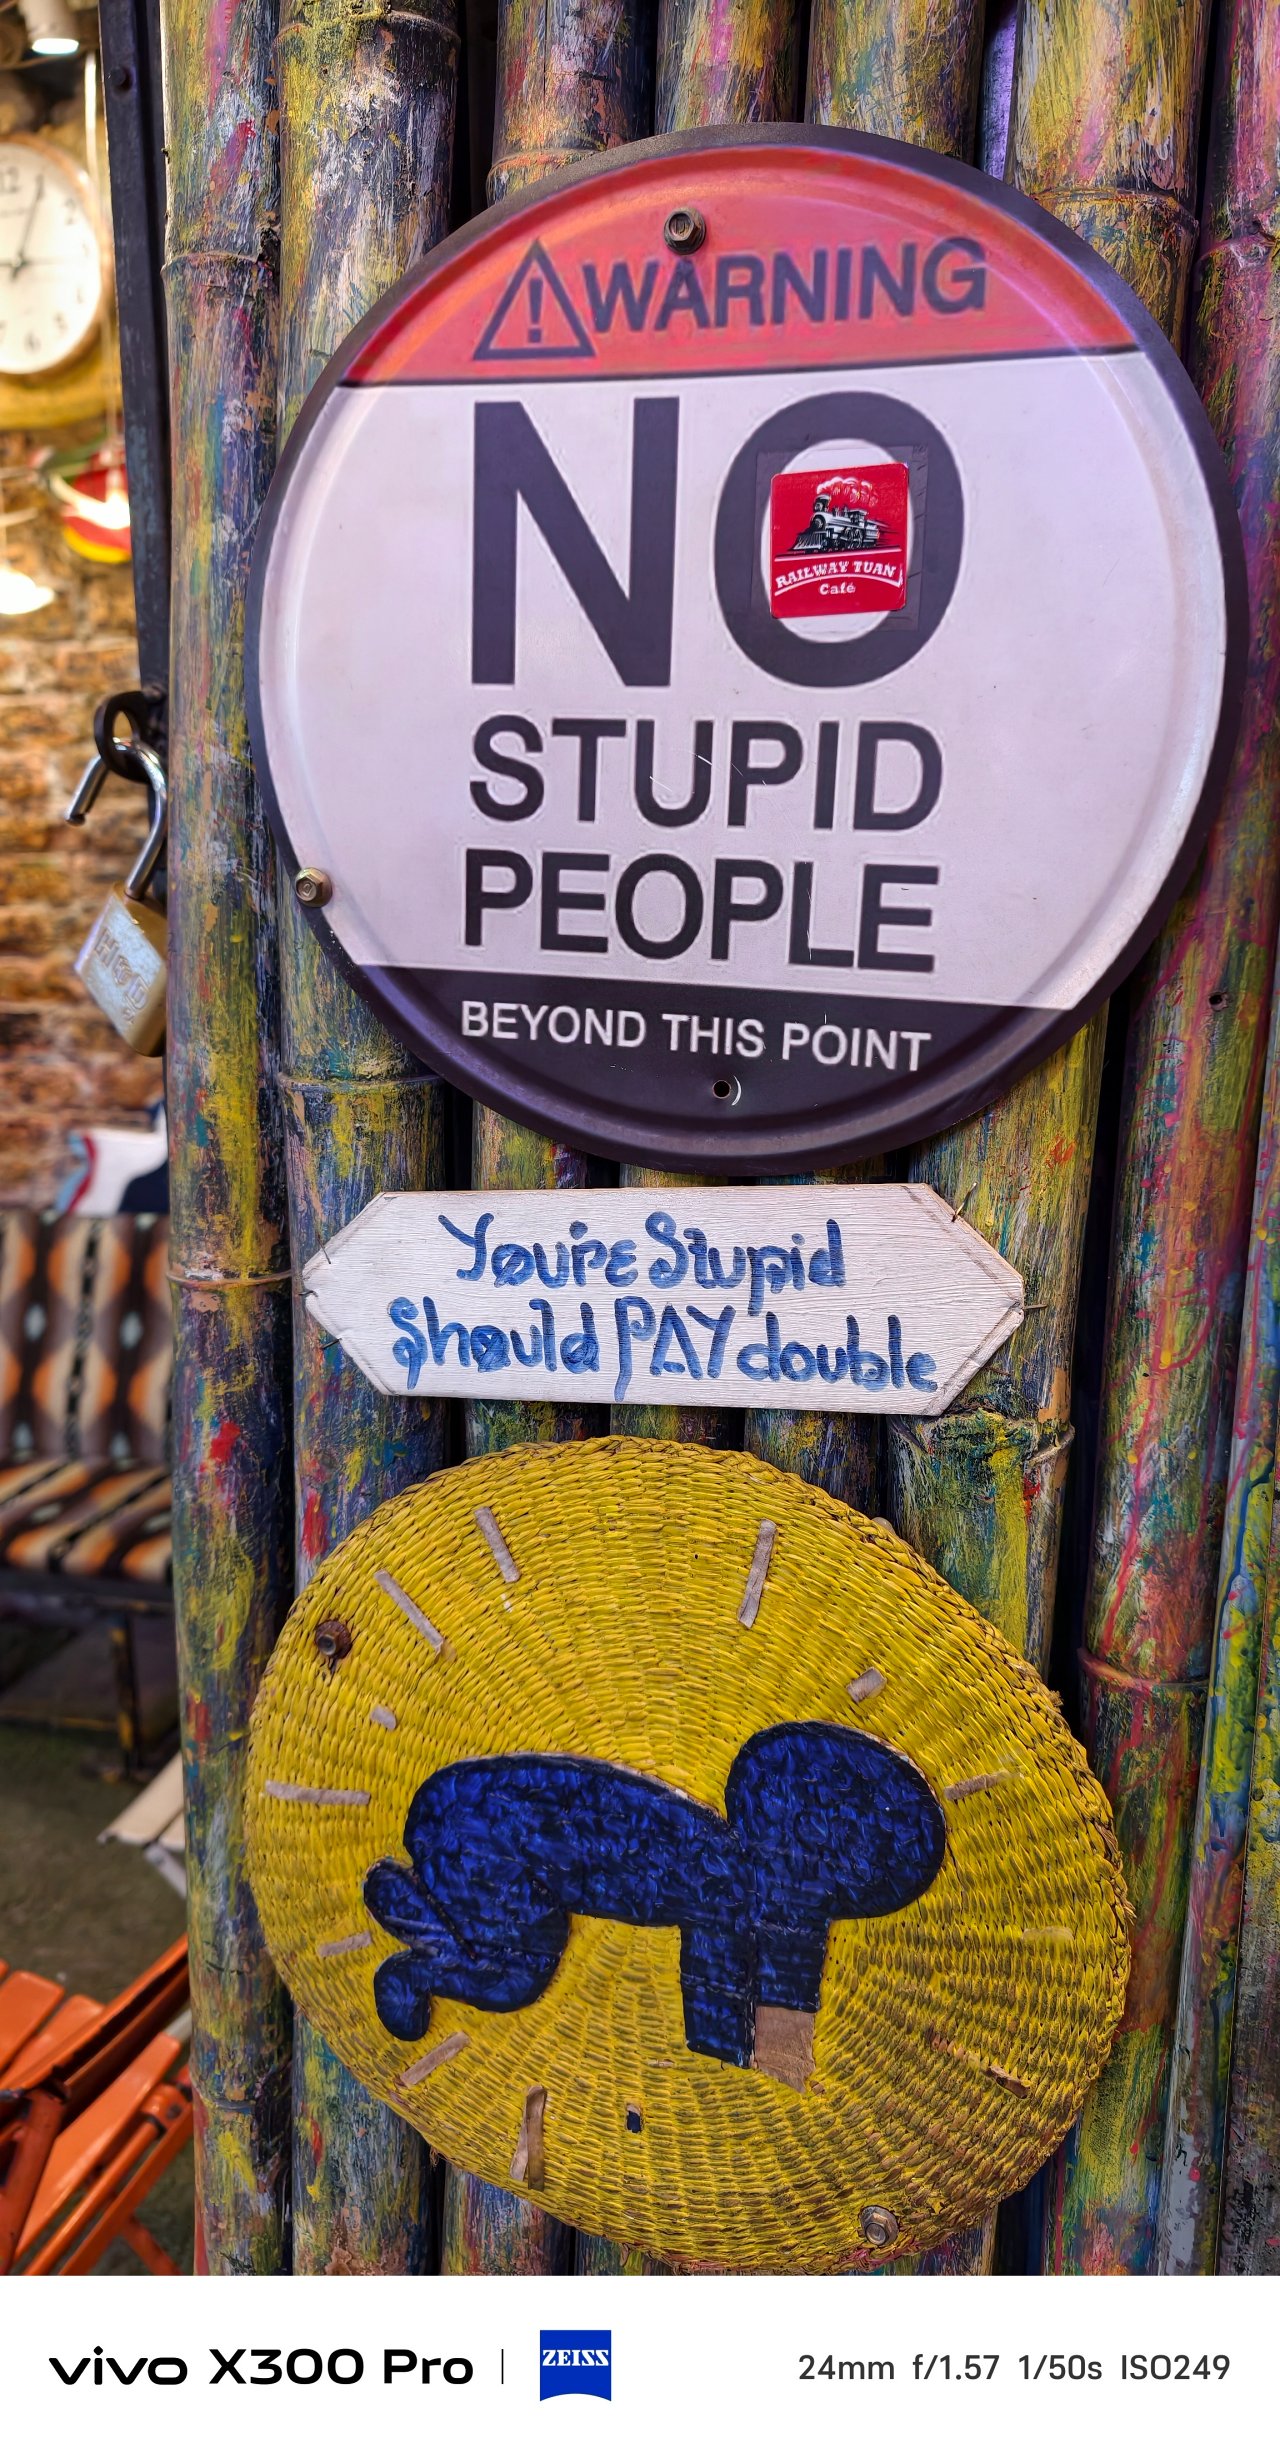
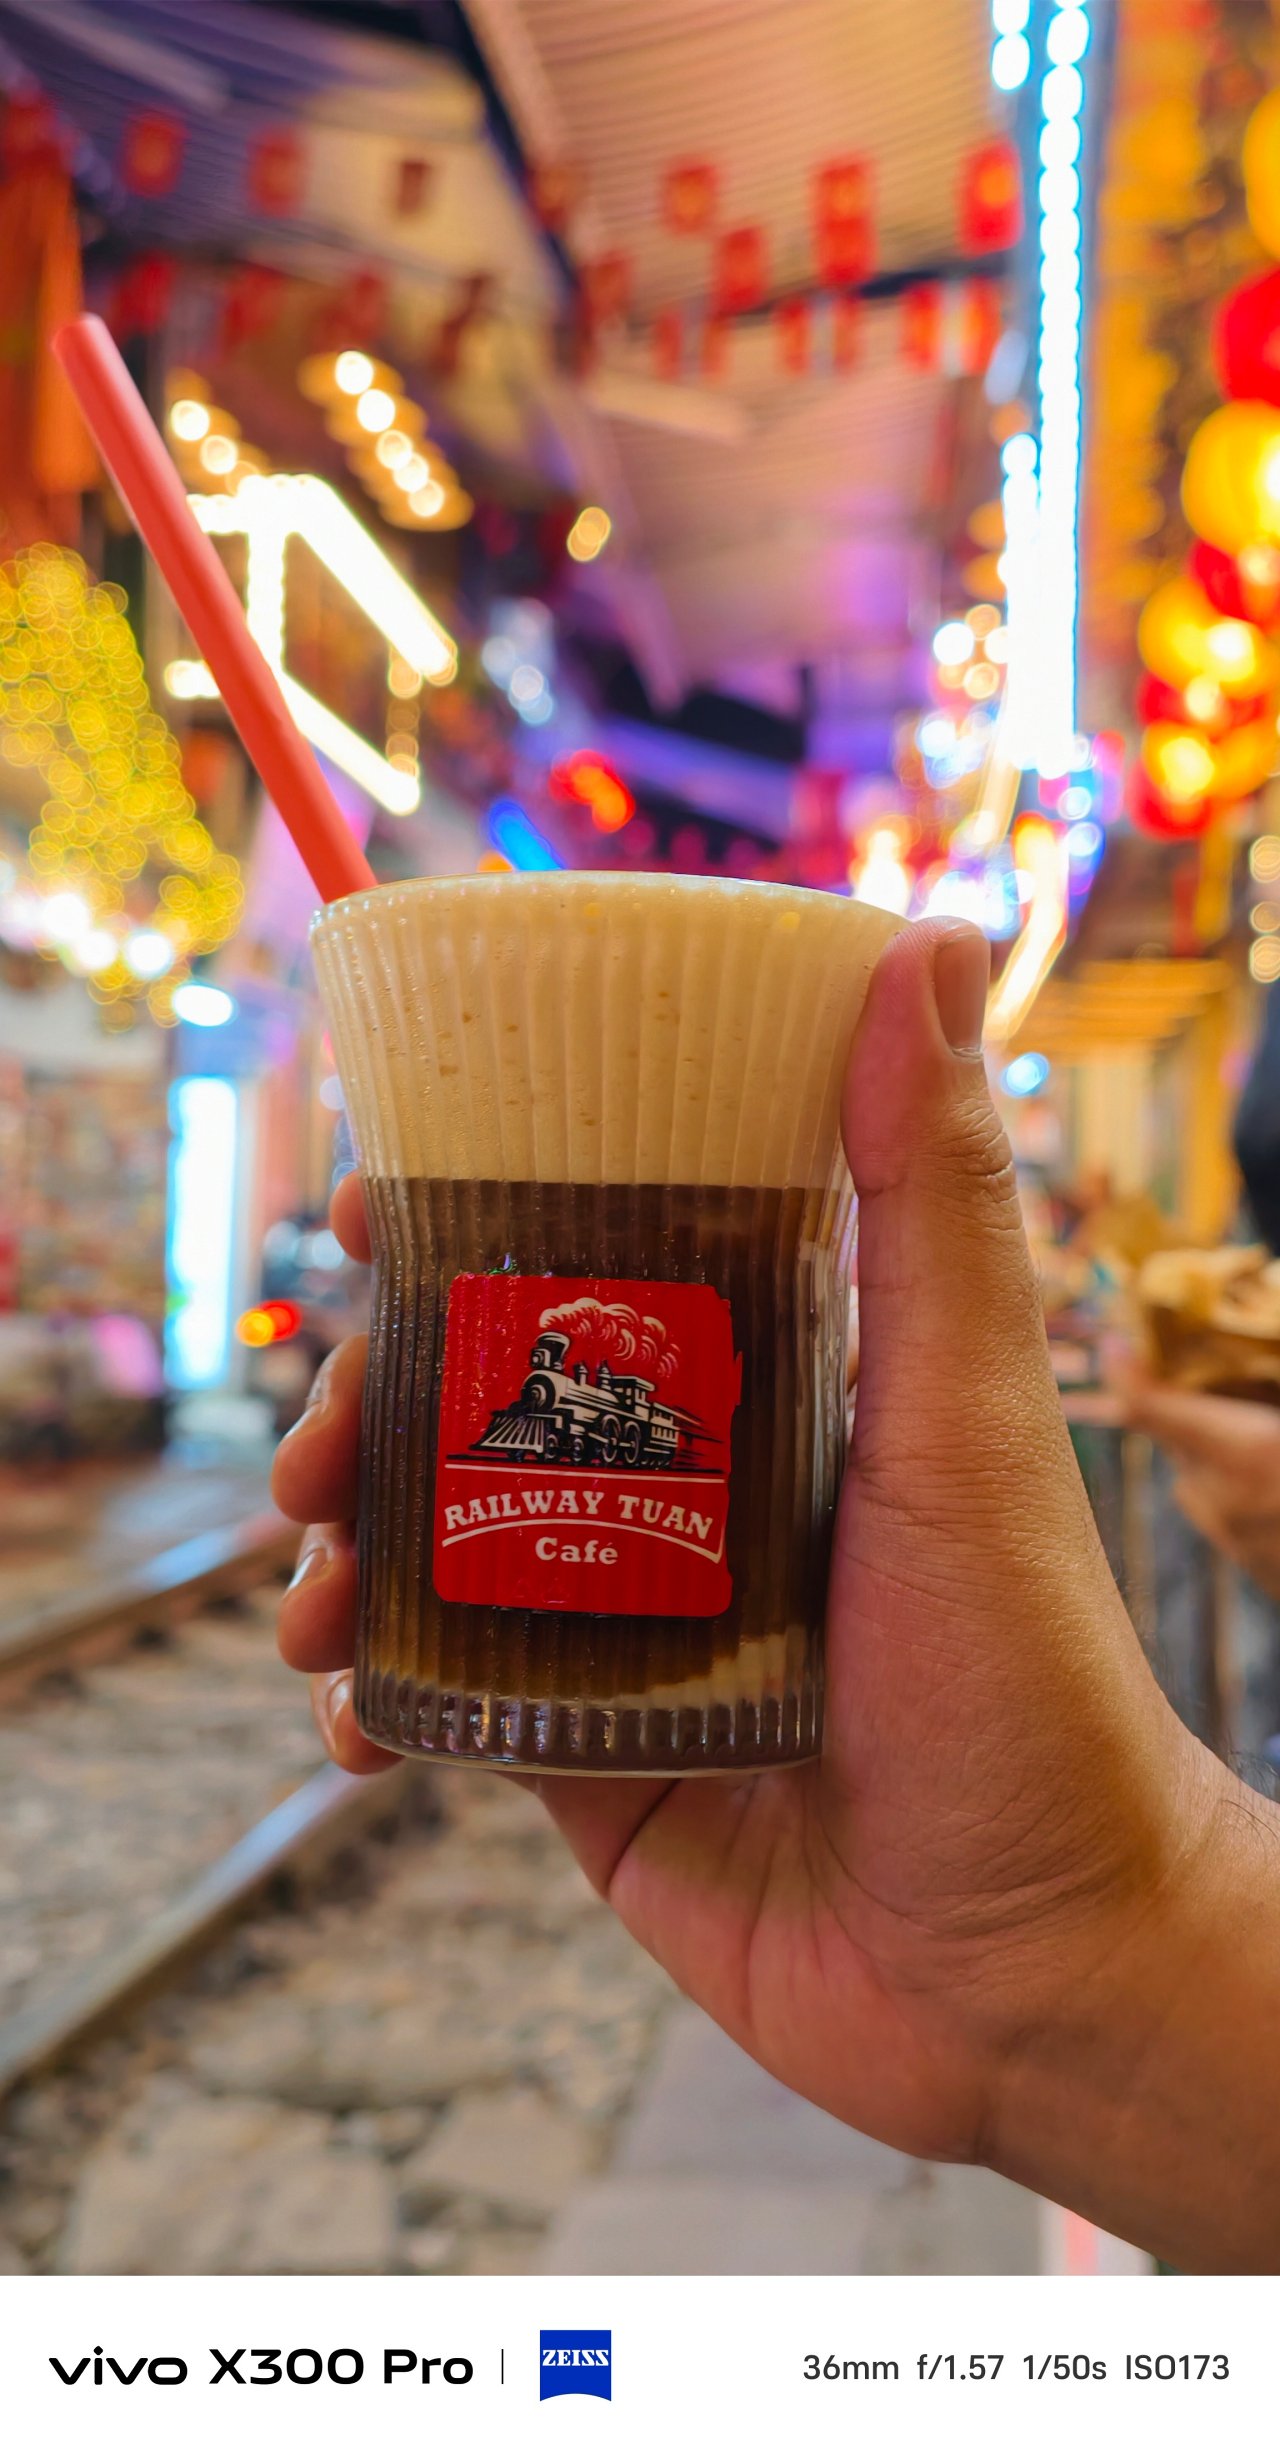


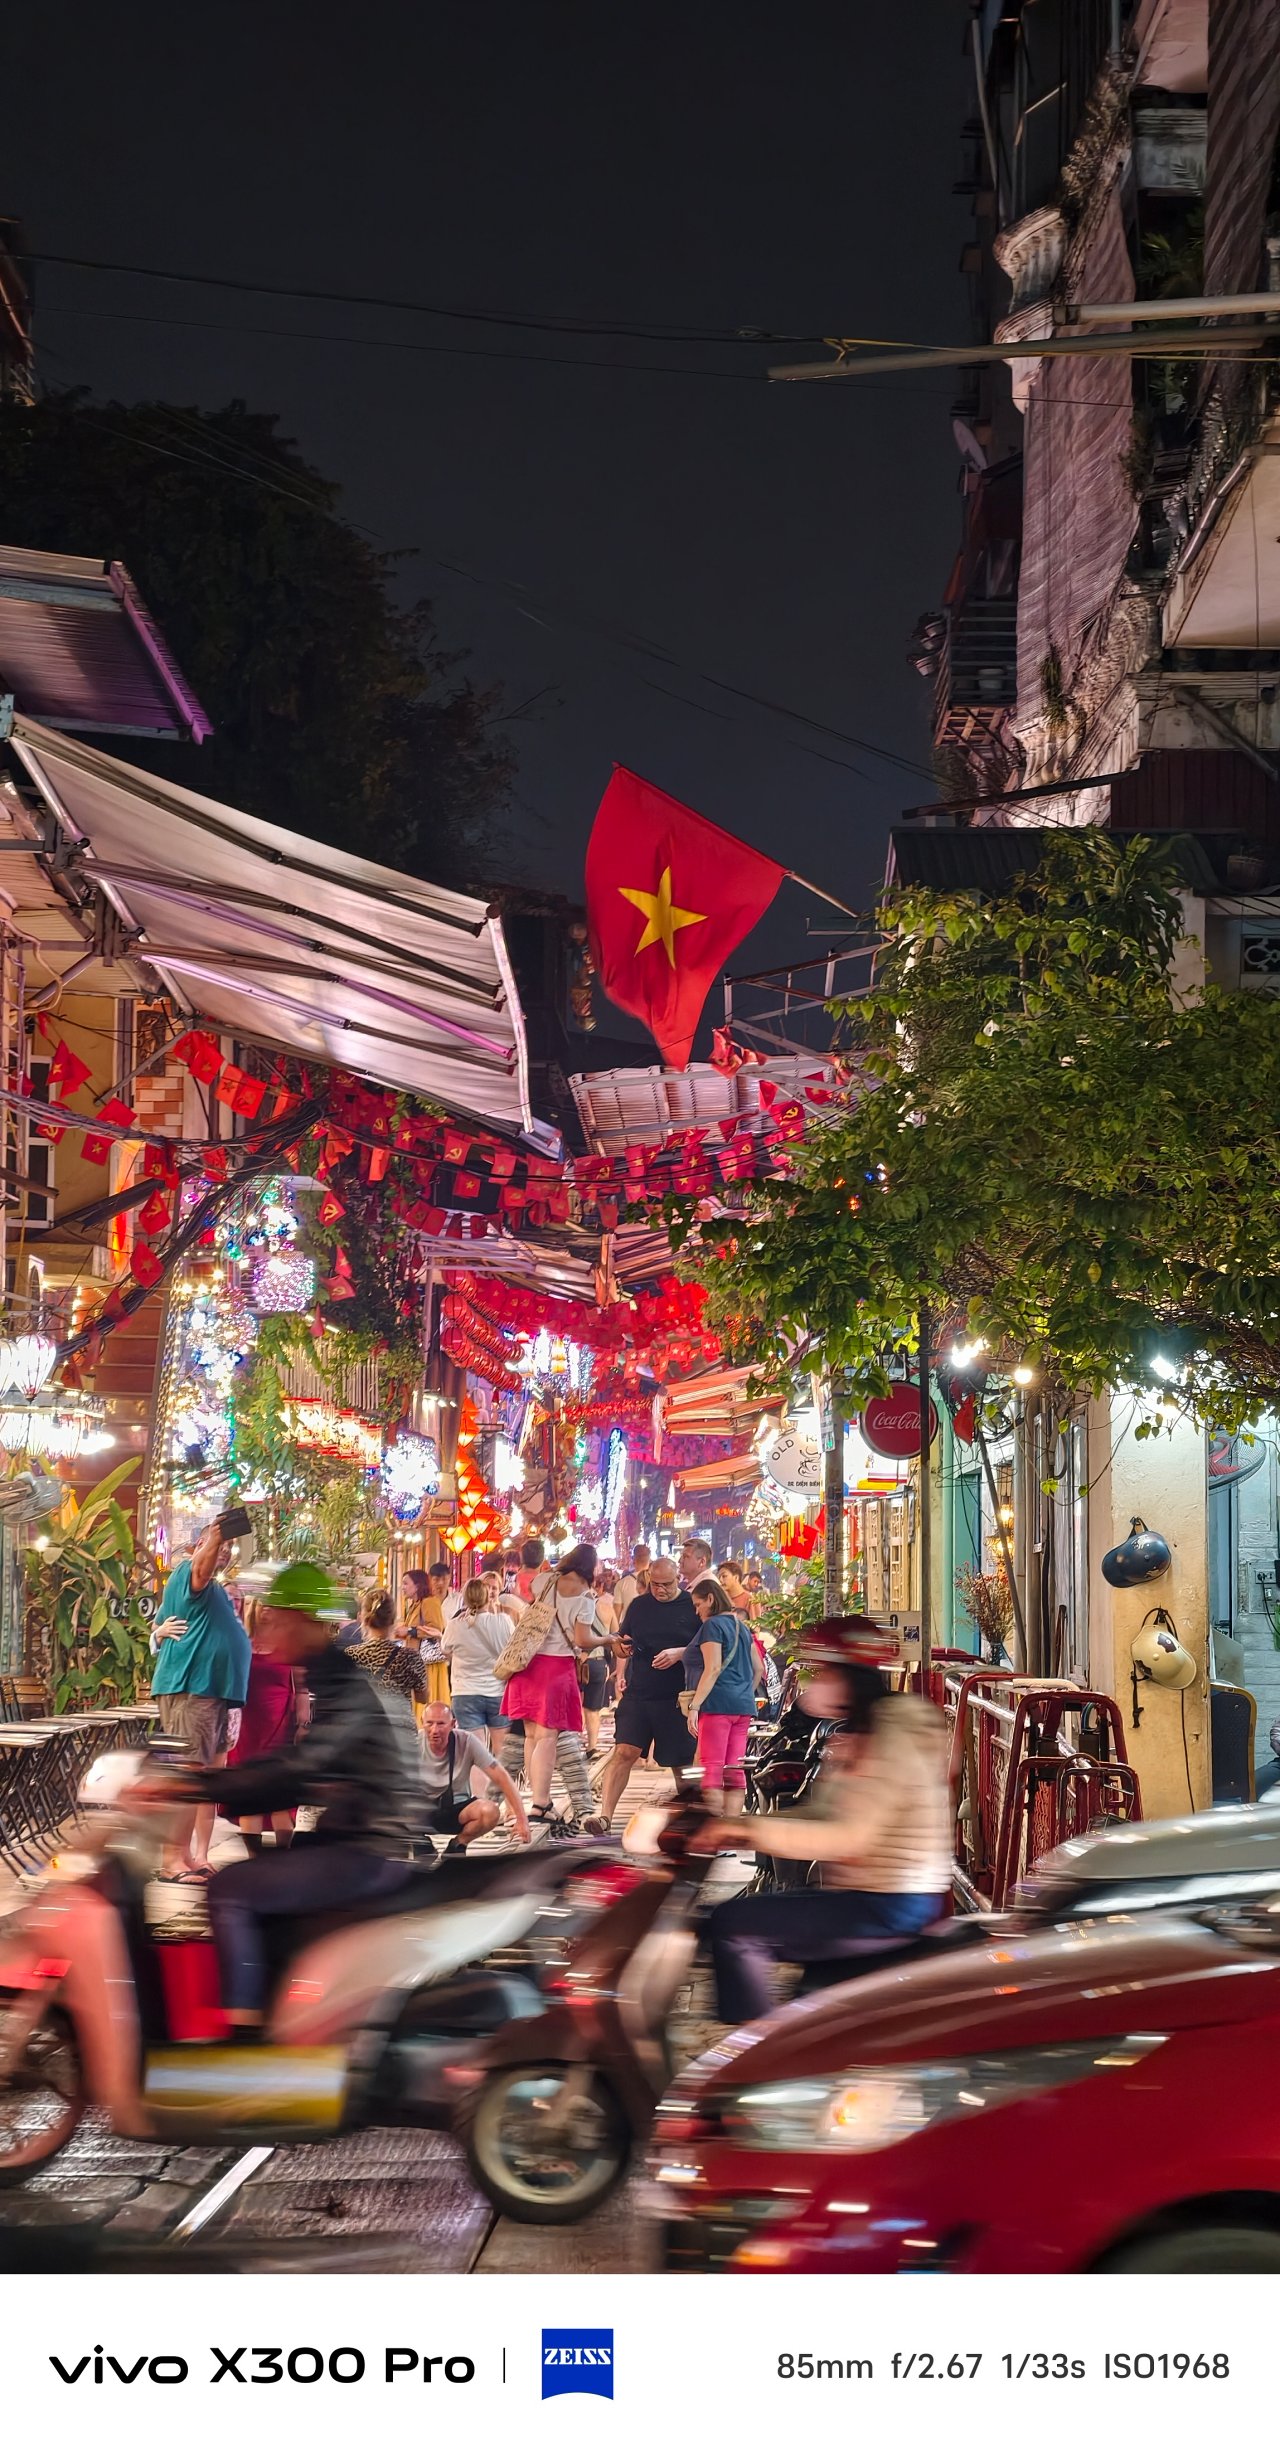
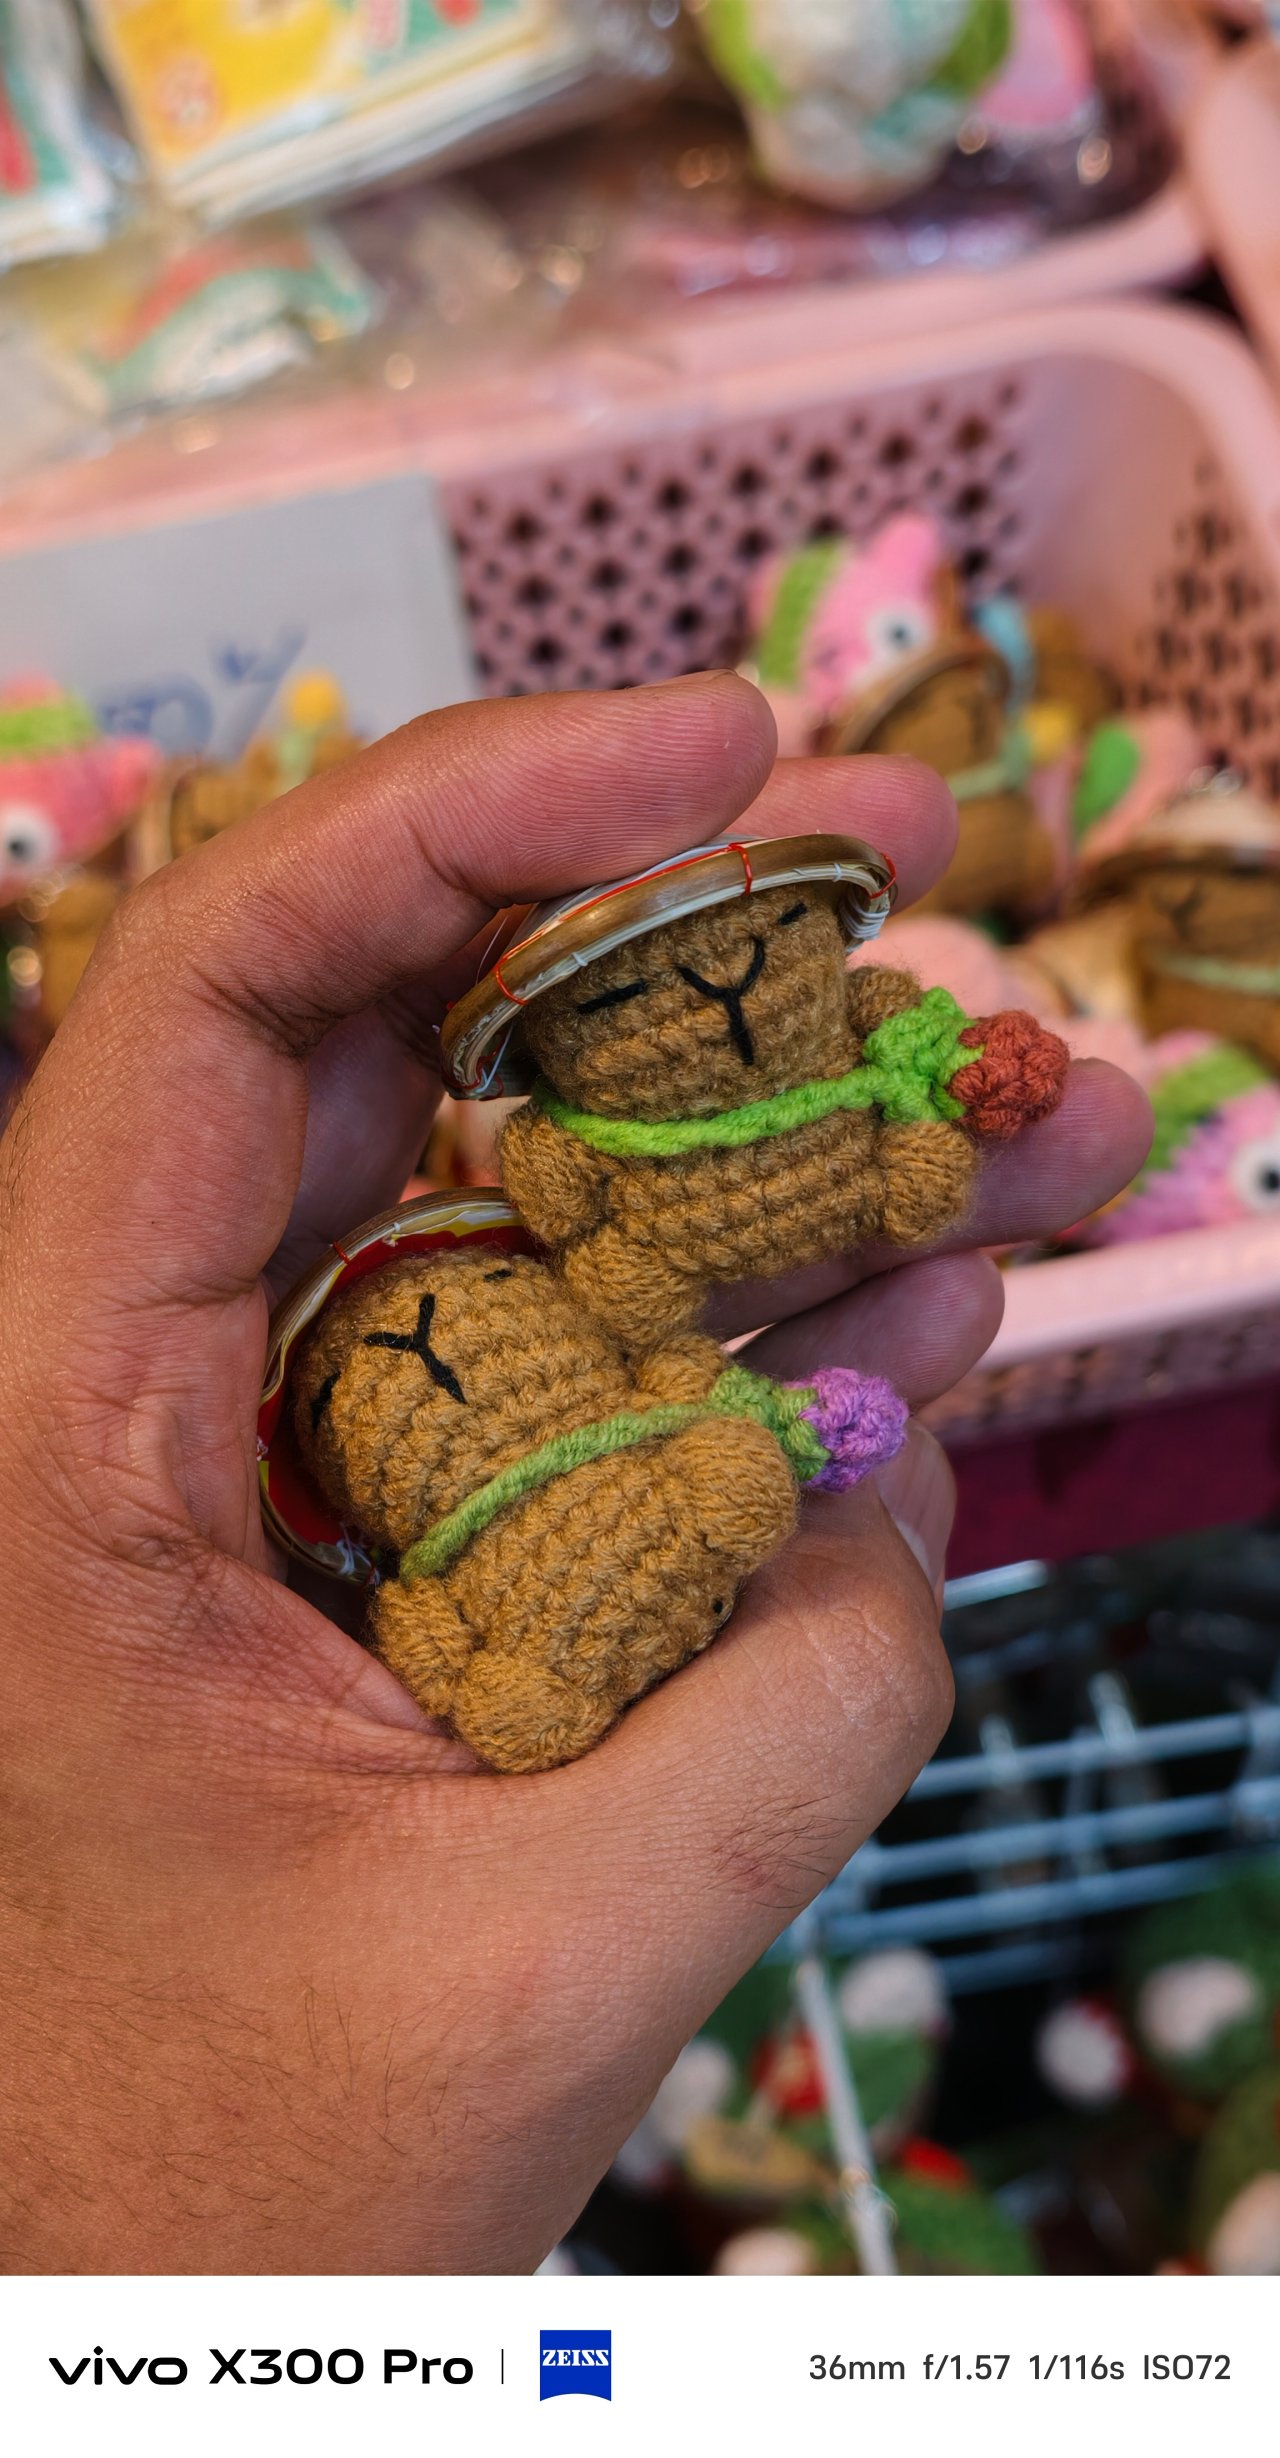
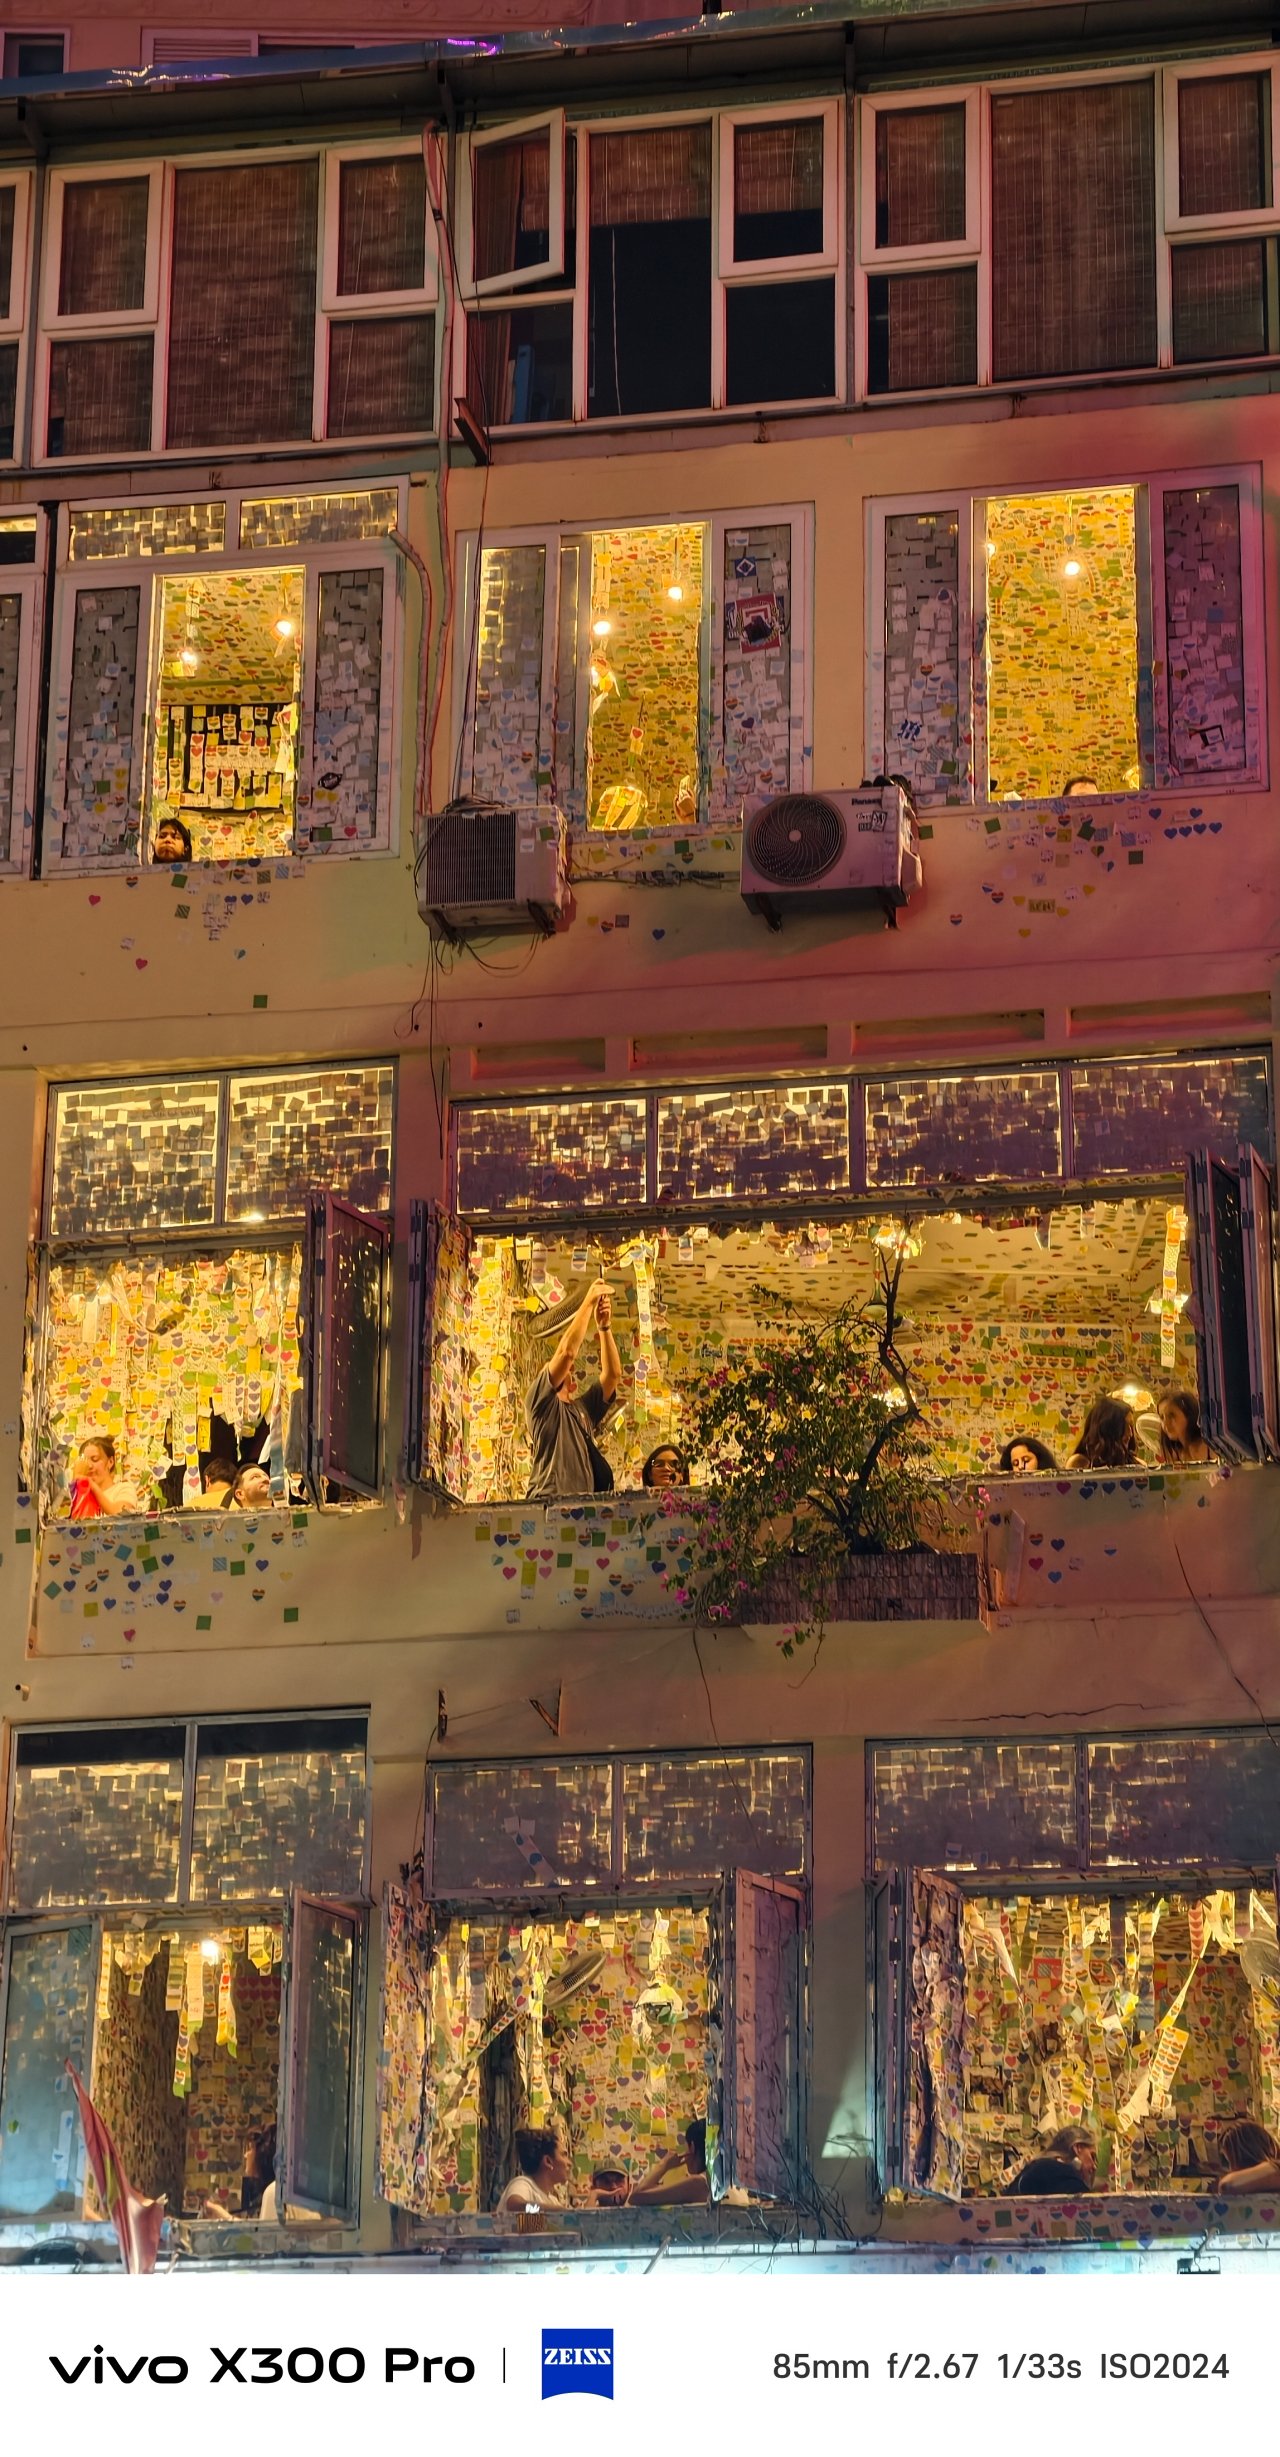
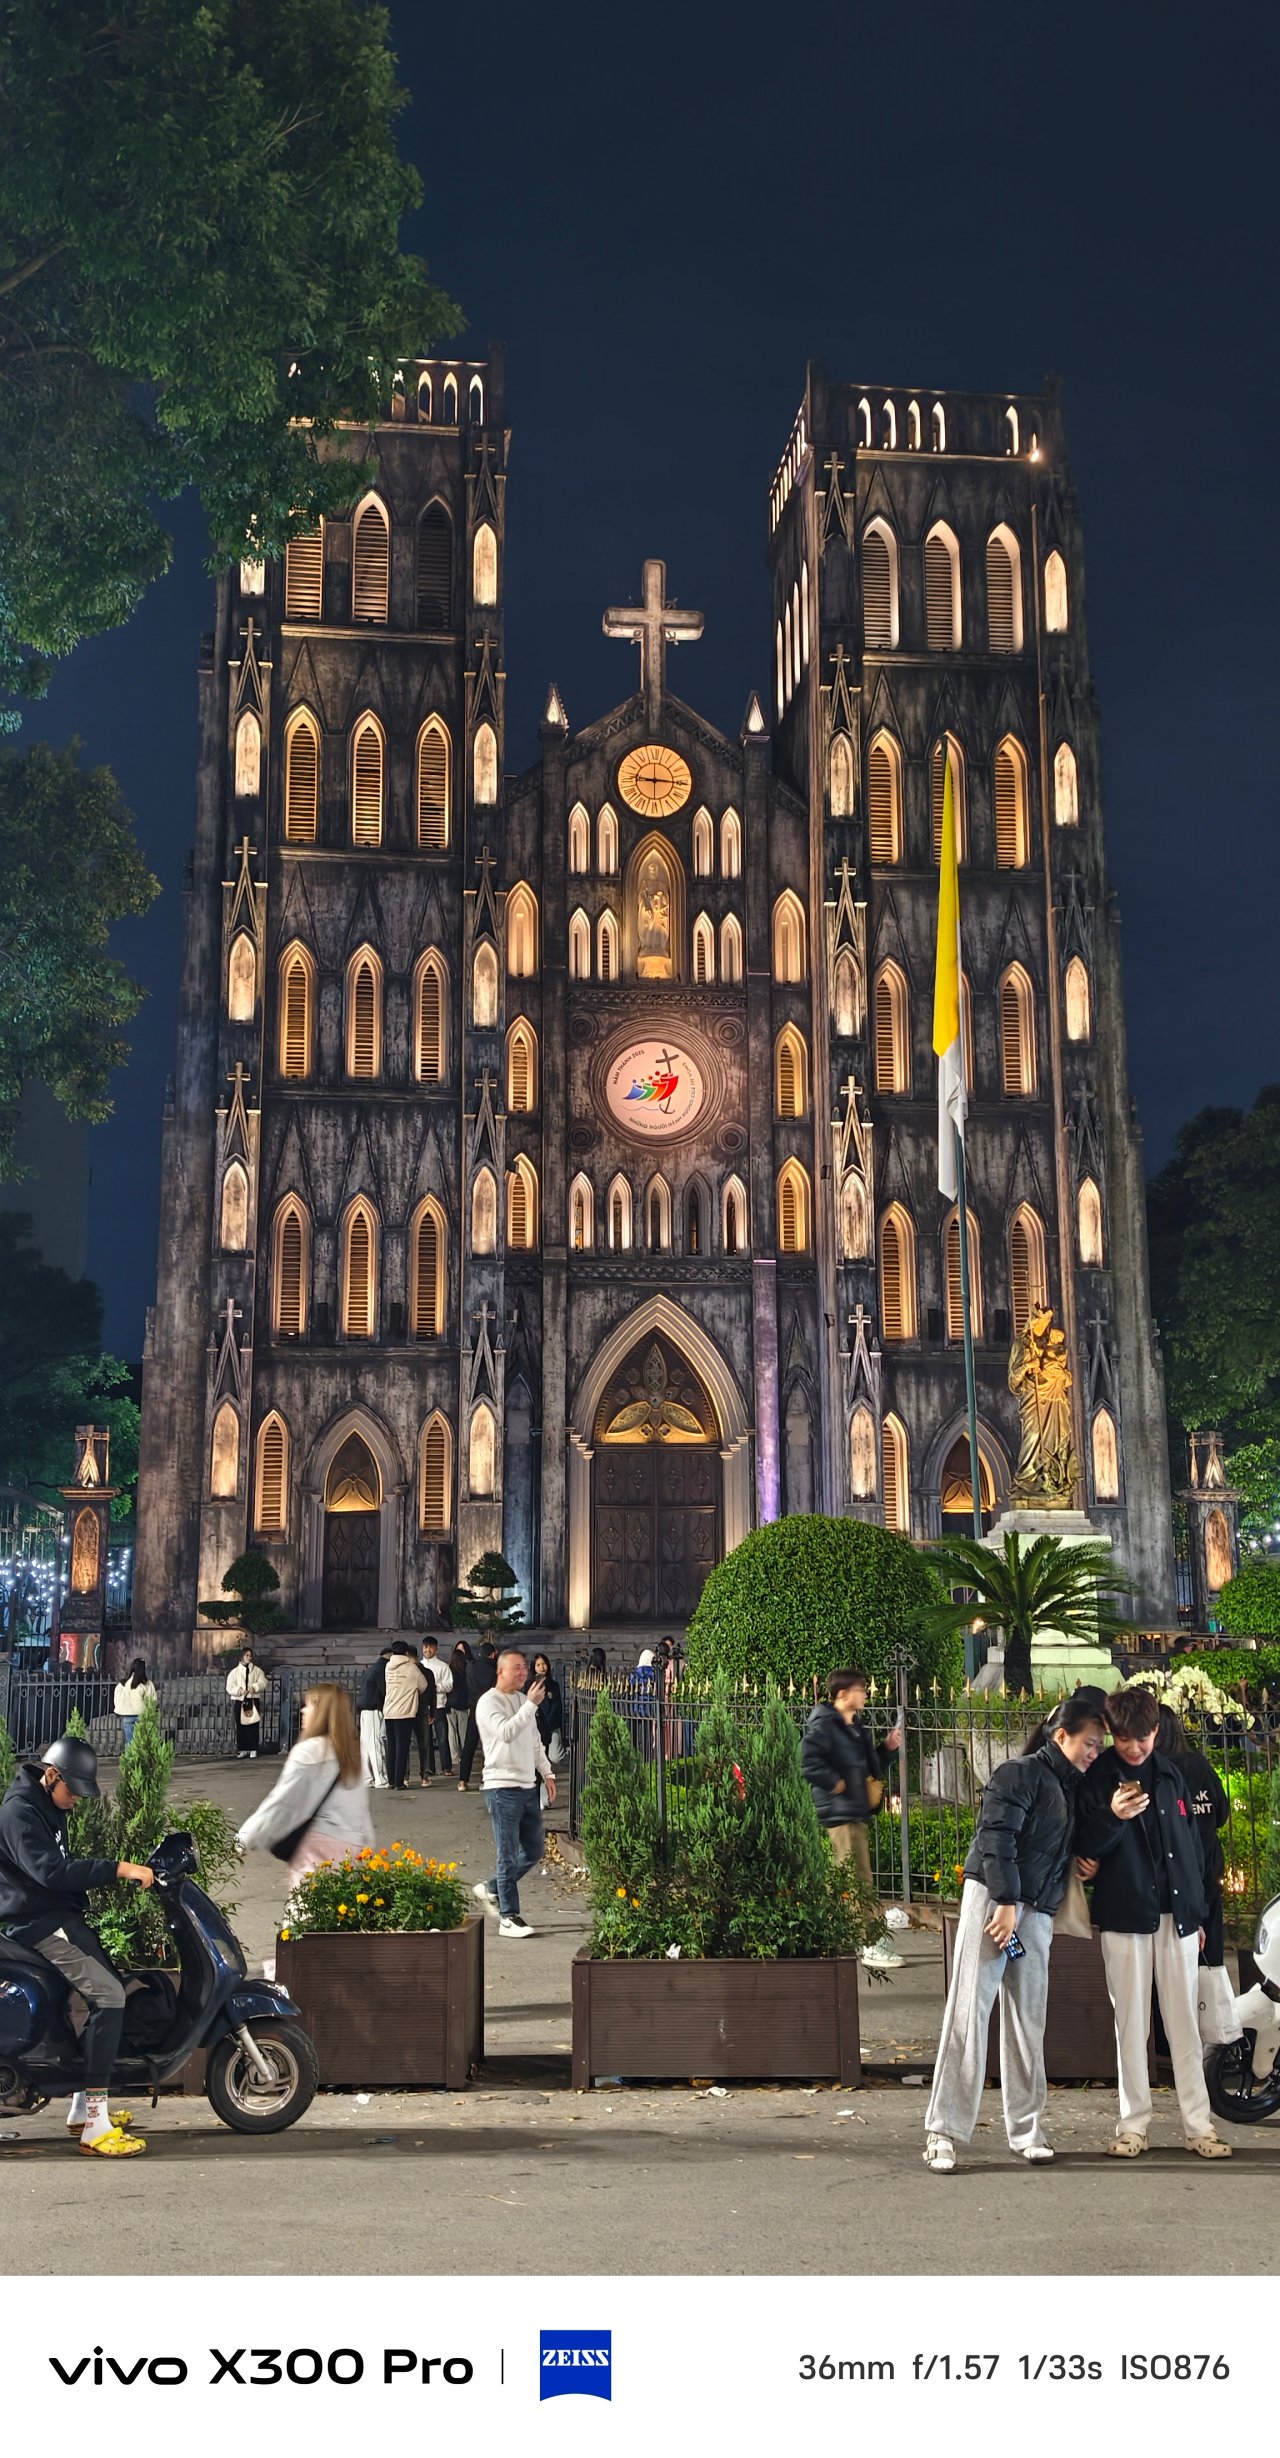
📍 Phố cổ Hà Nội + Hoàn Kiếm
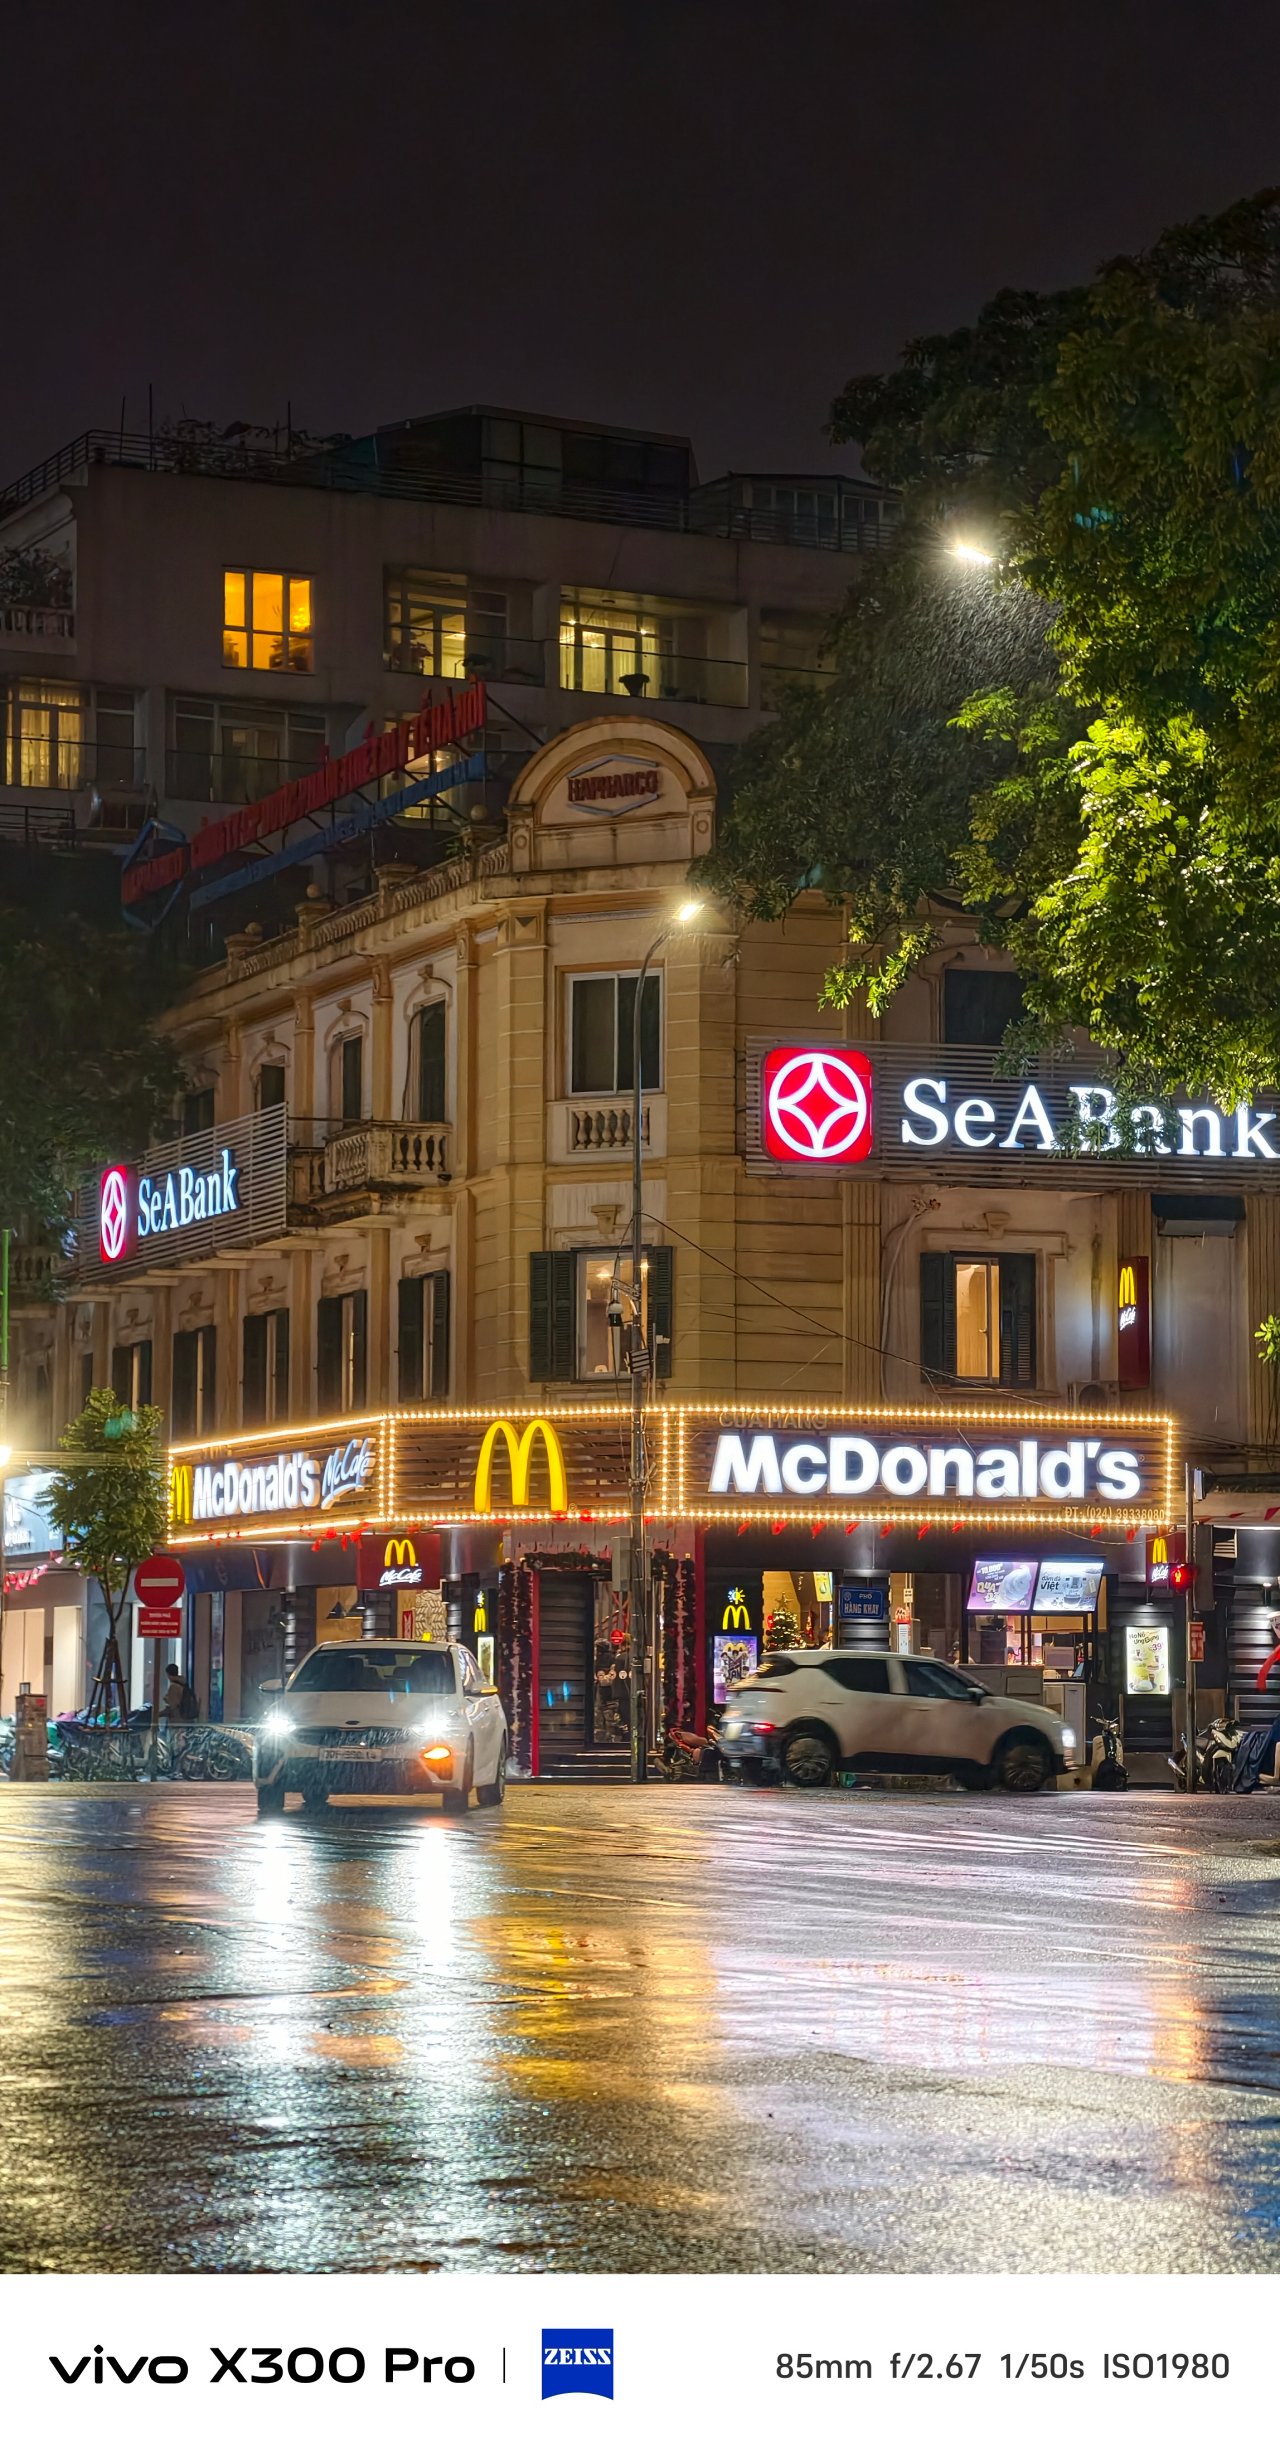
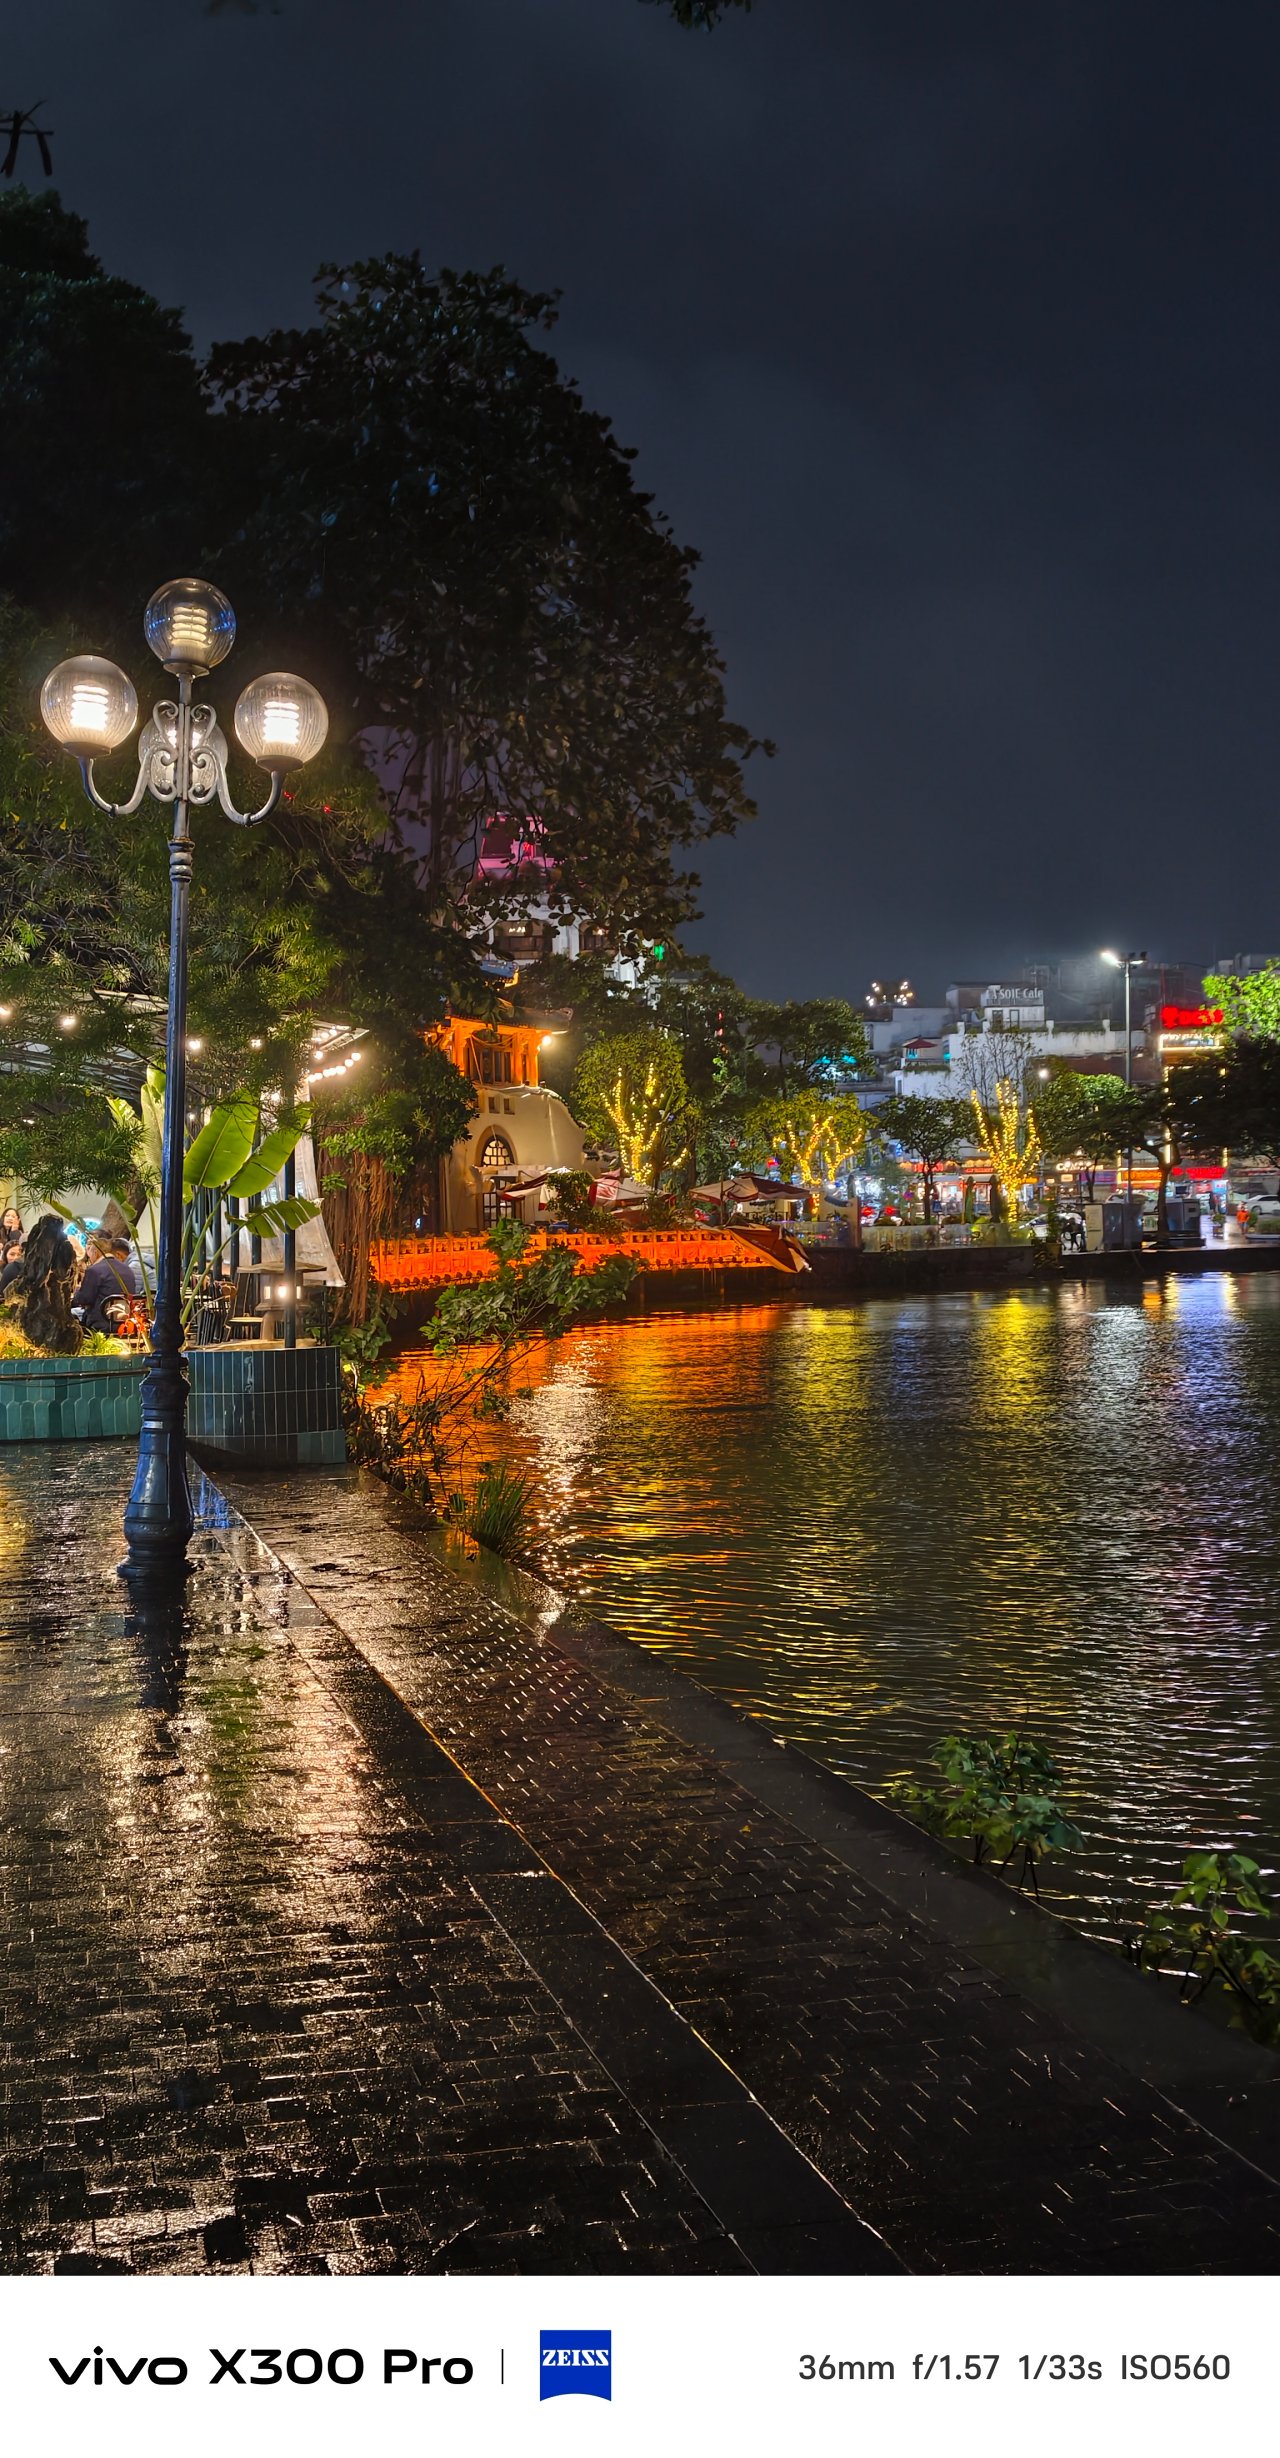
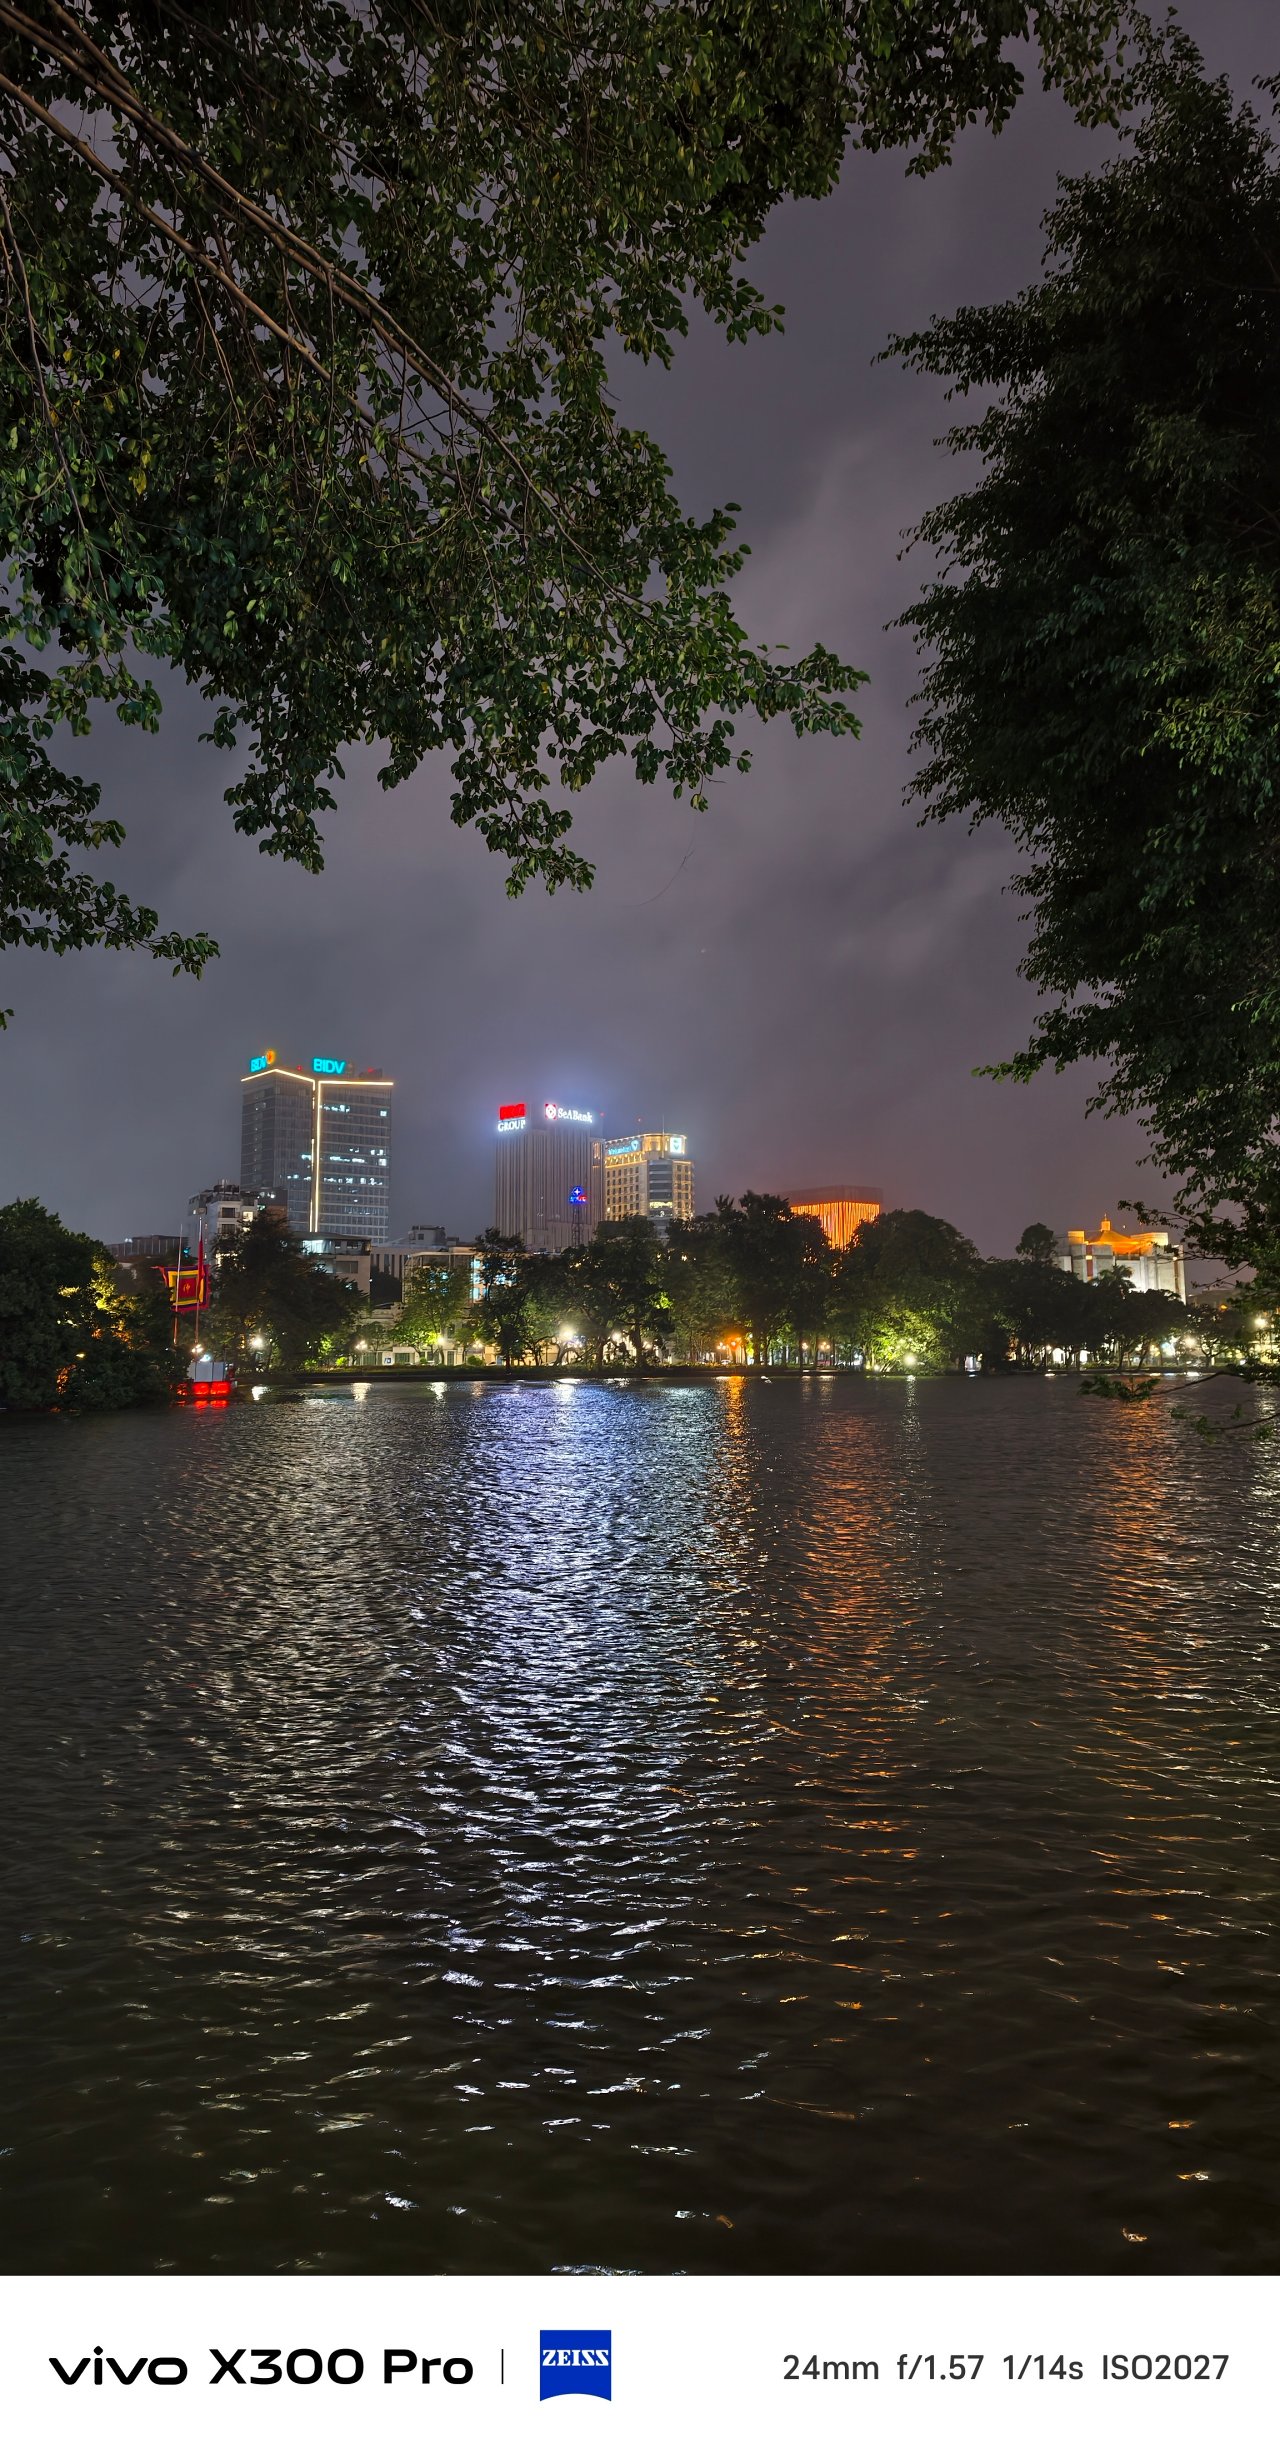
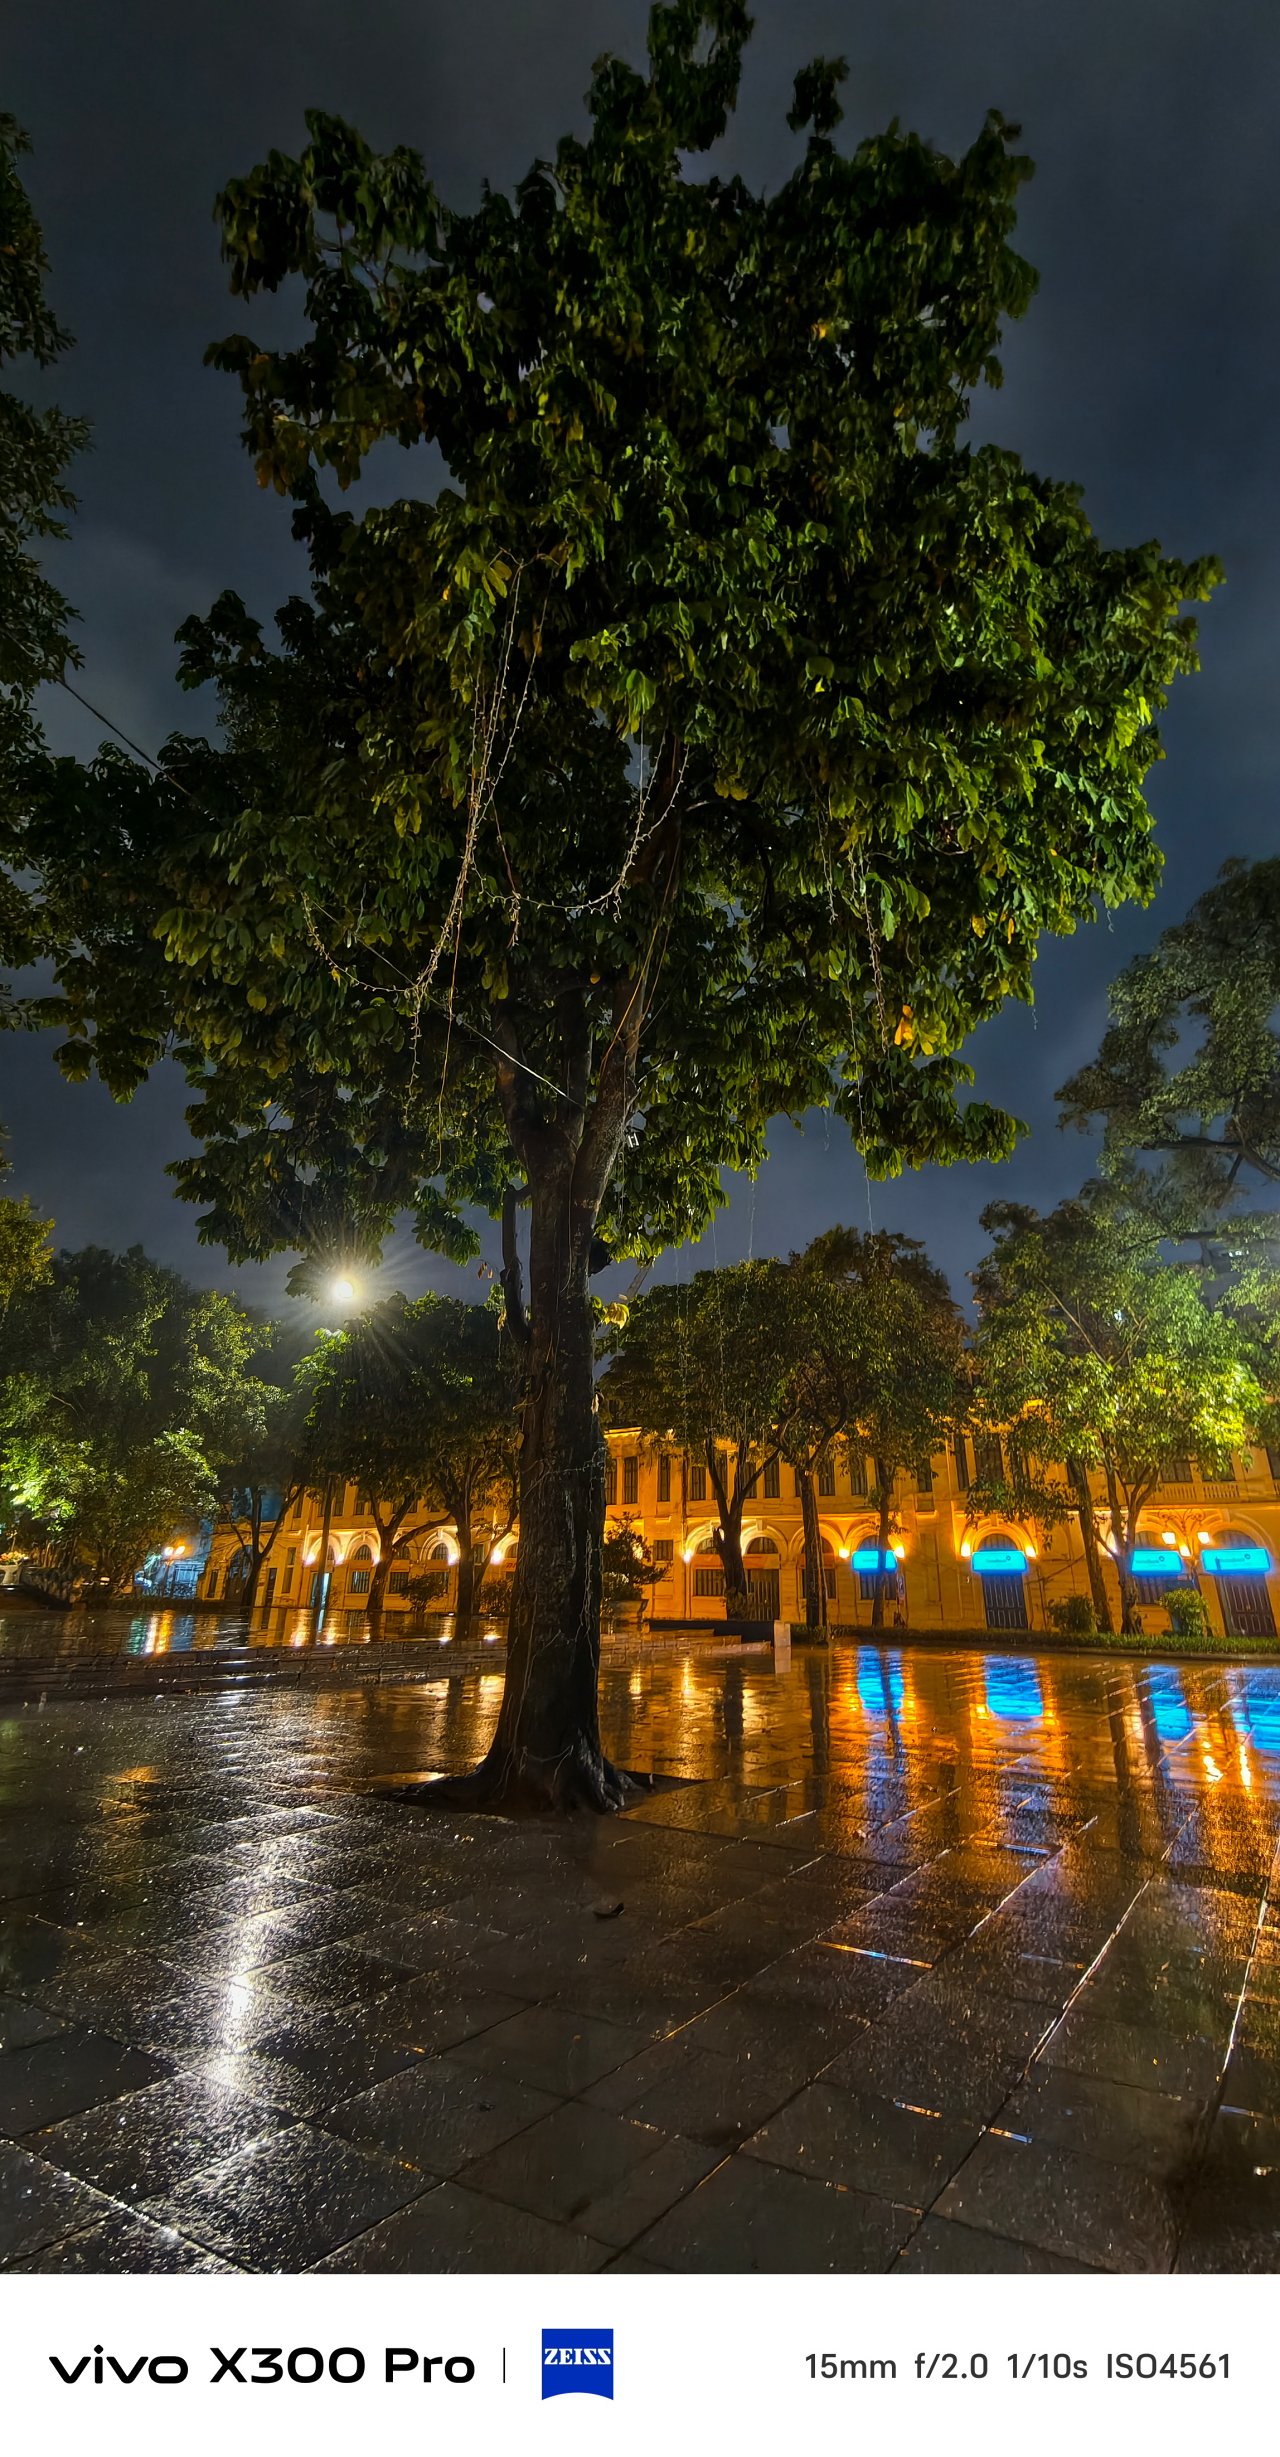
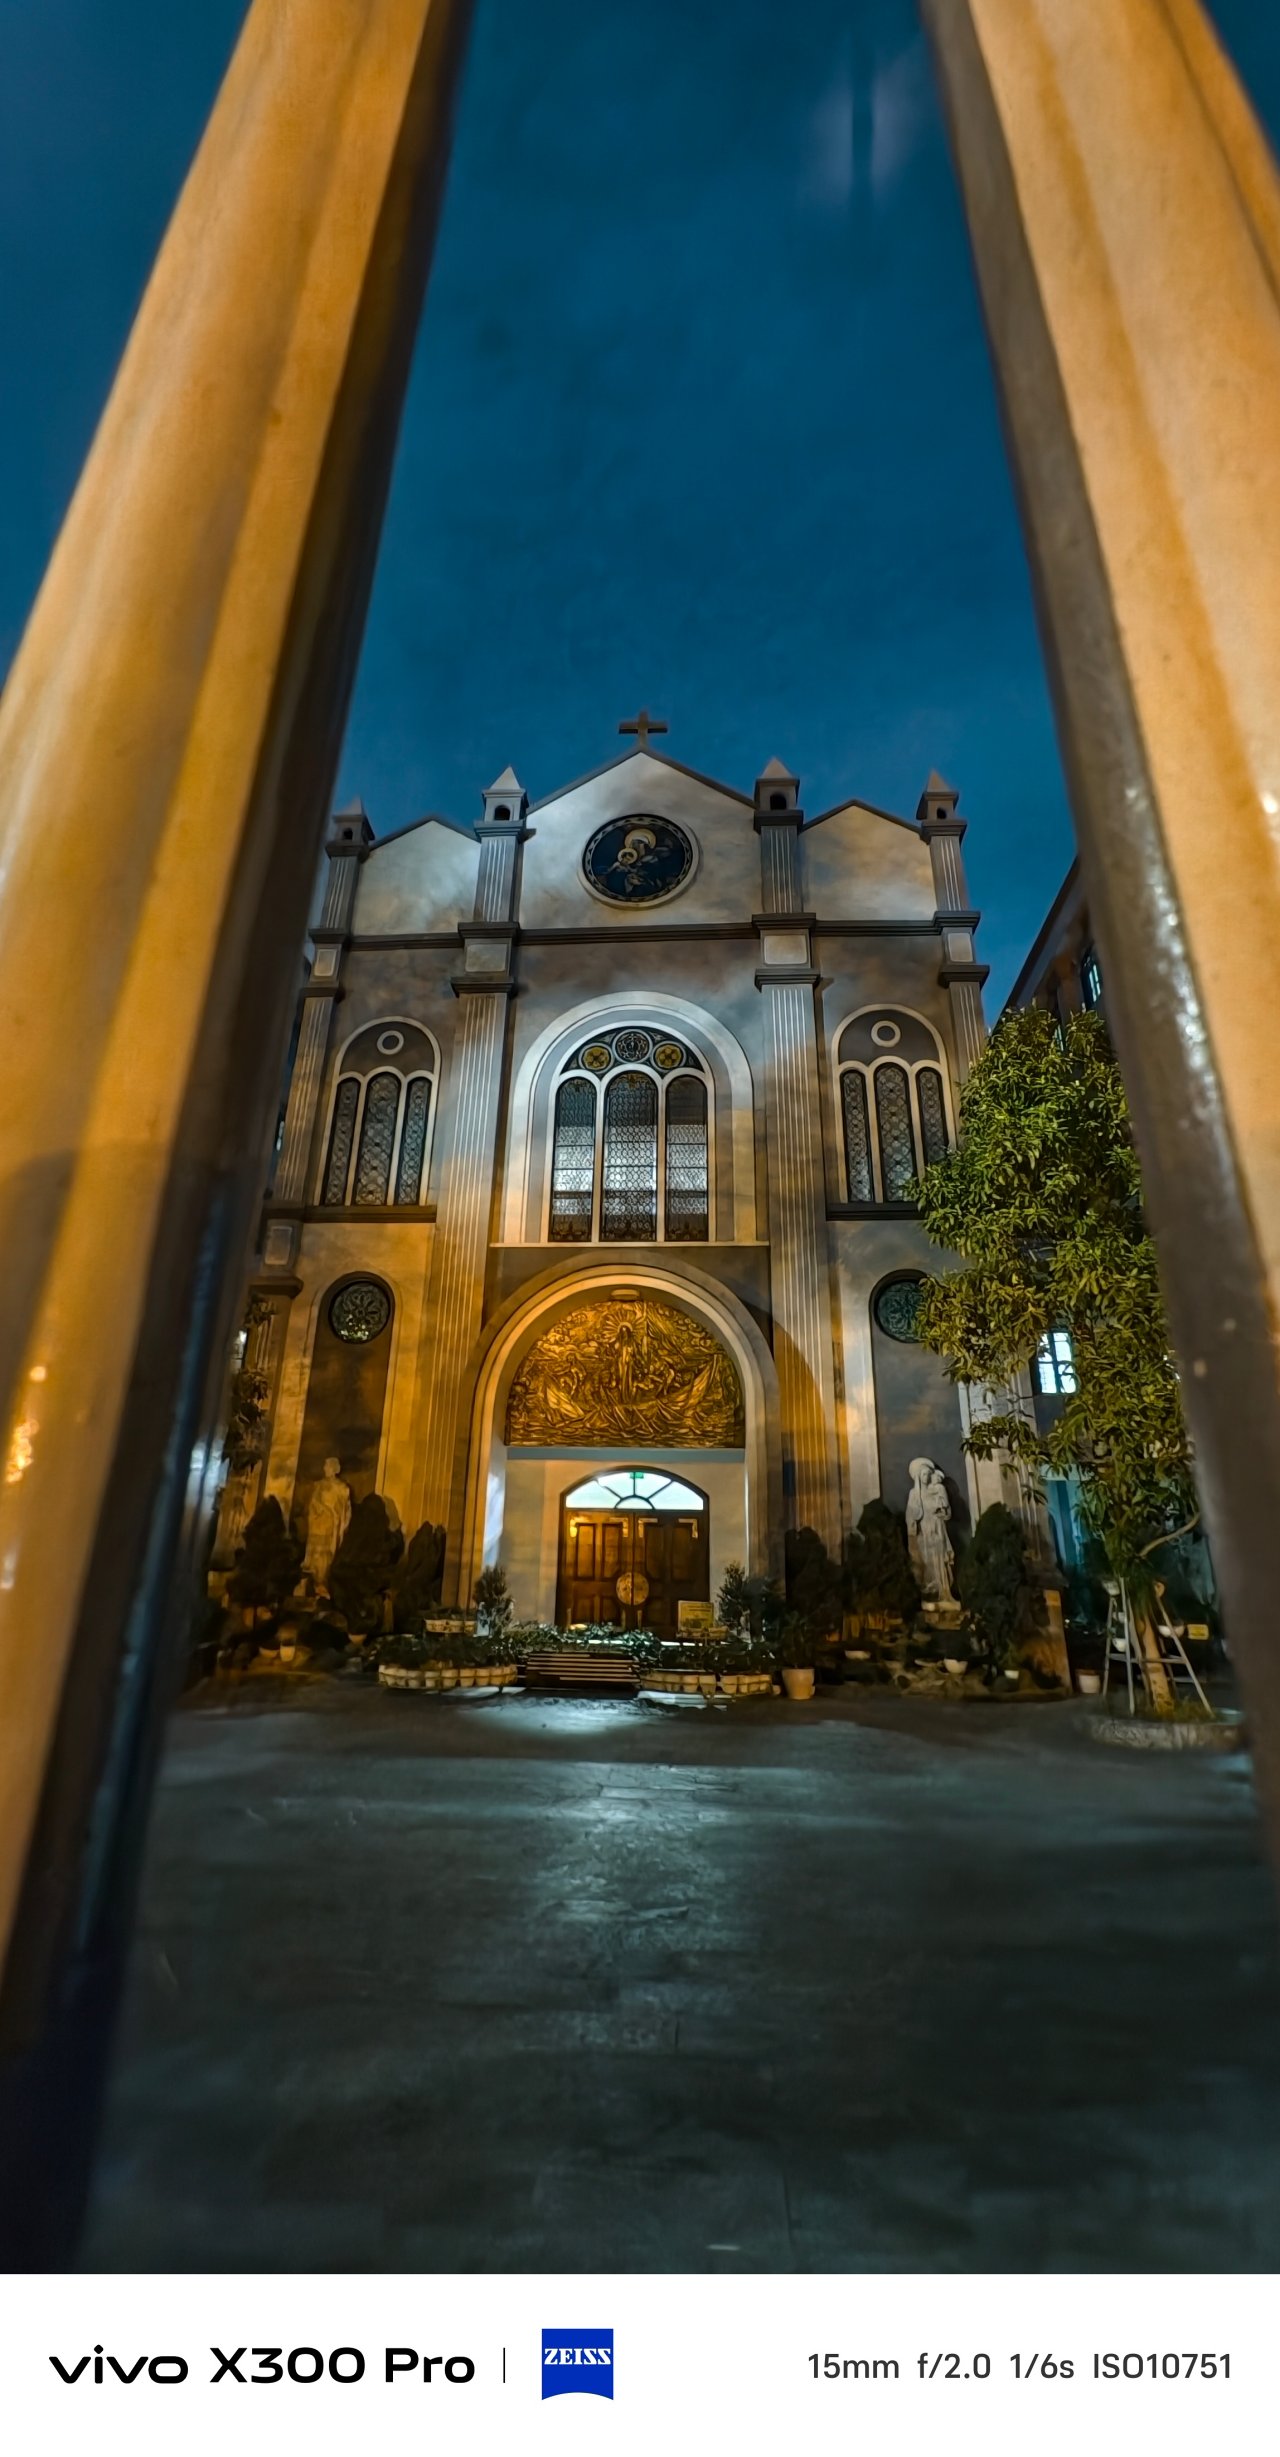
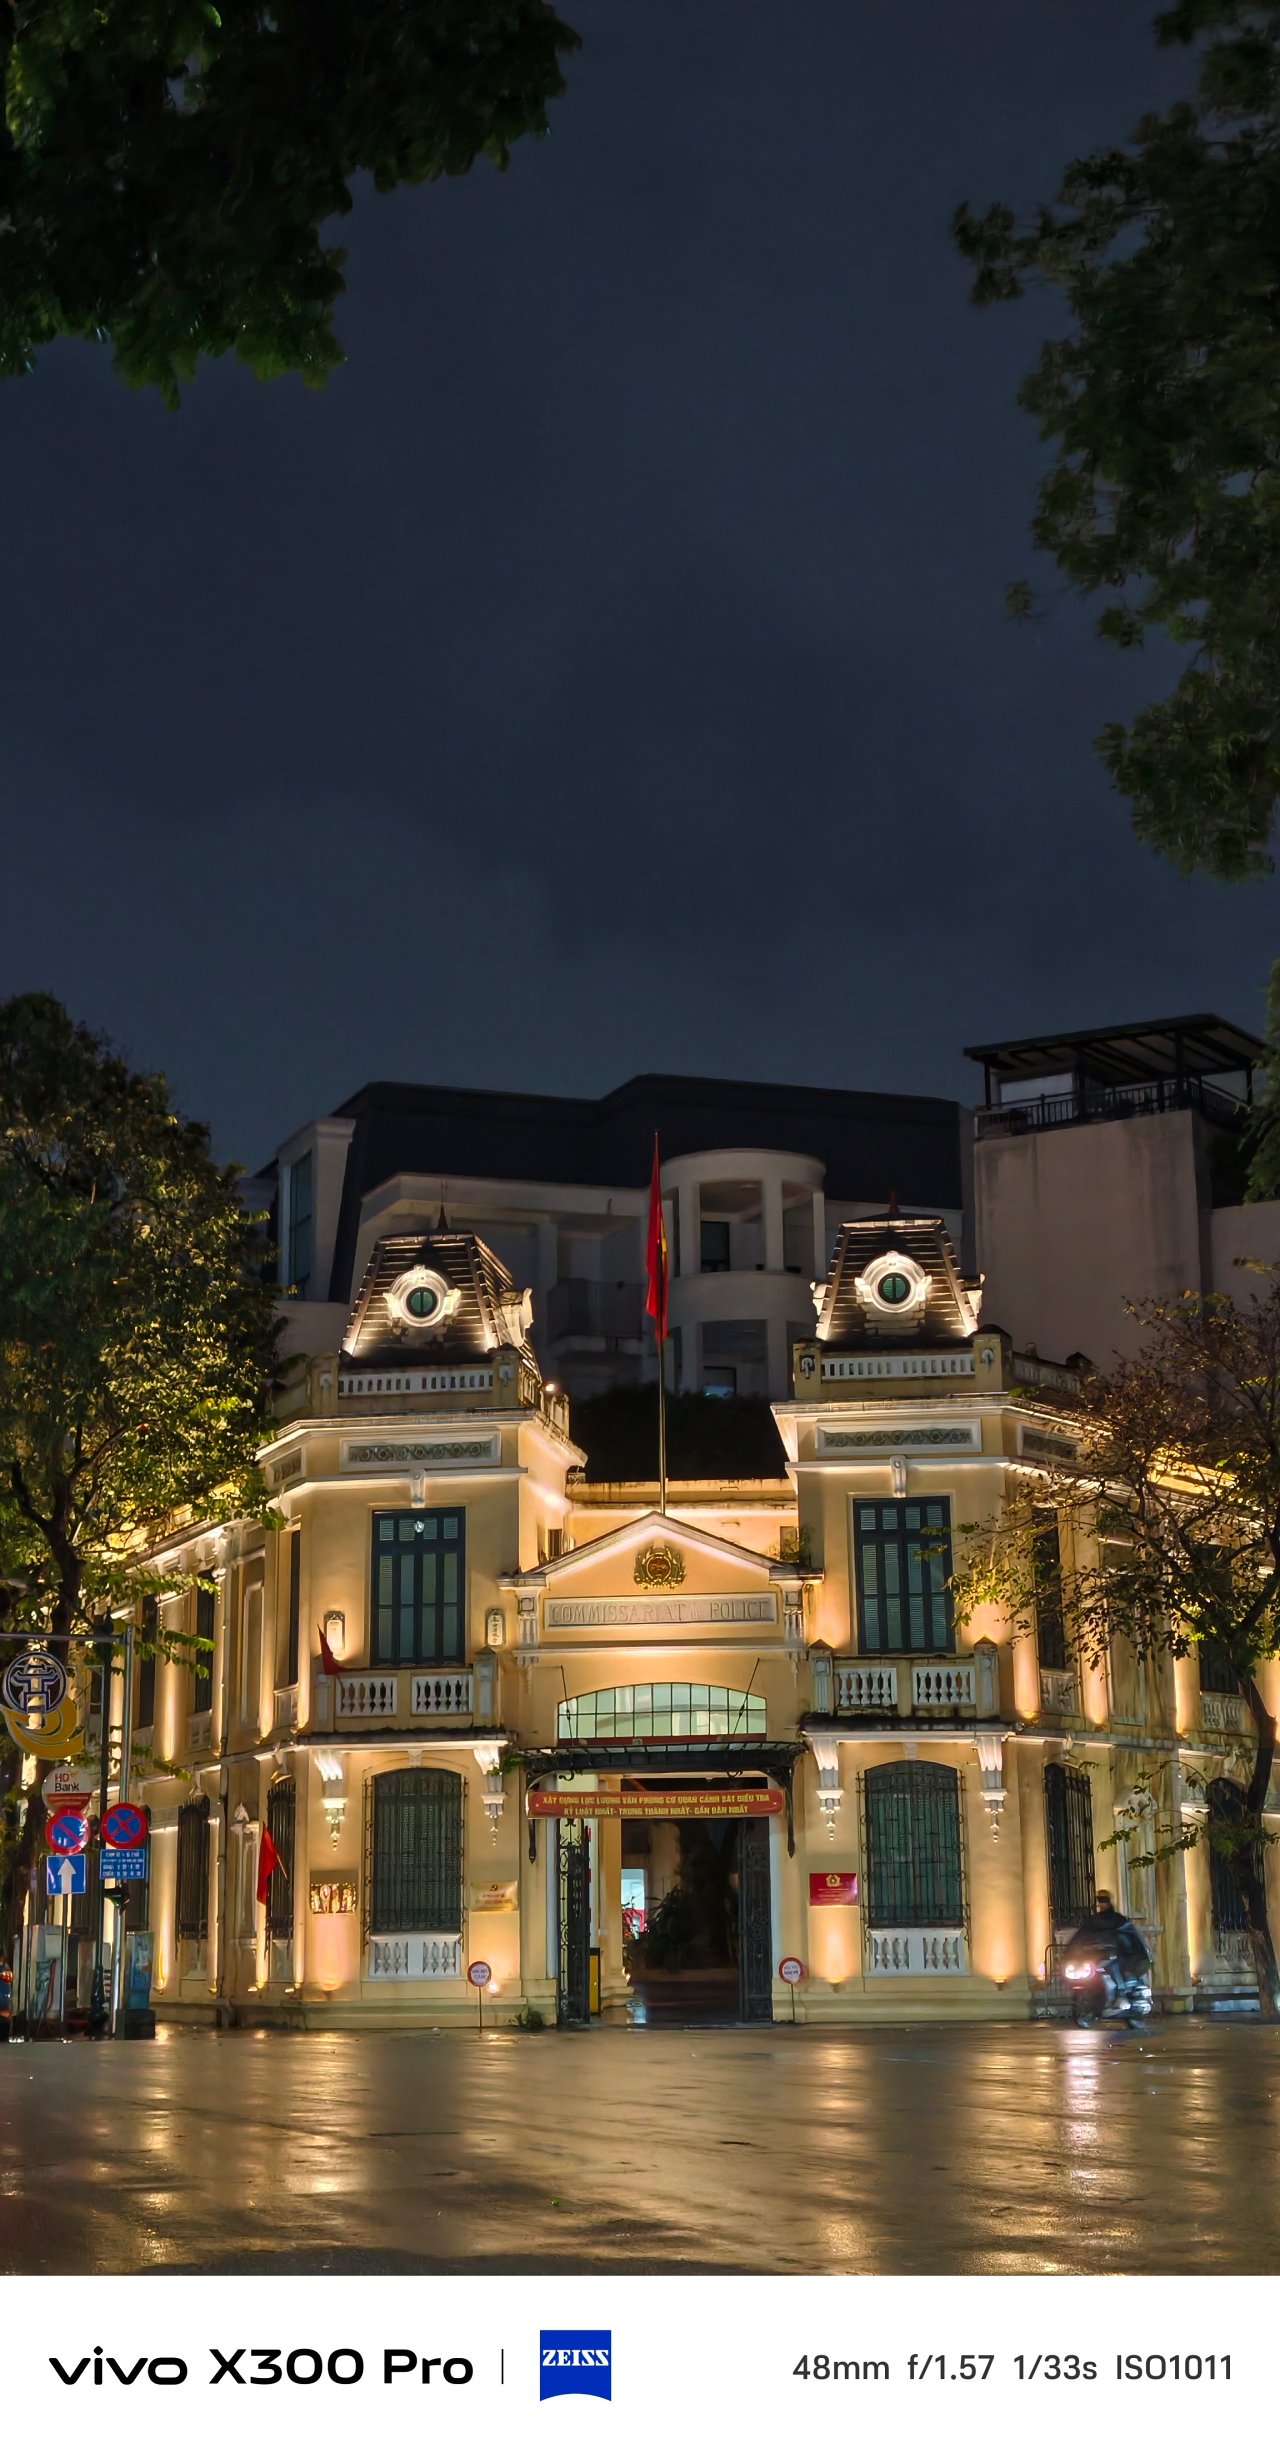
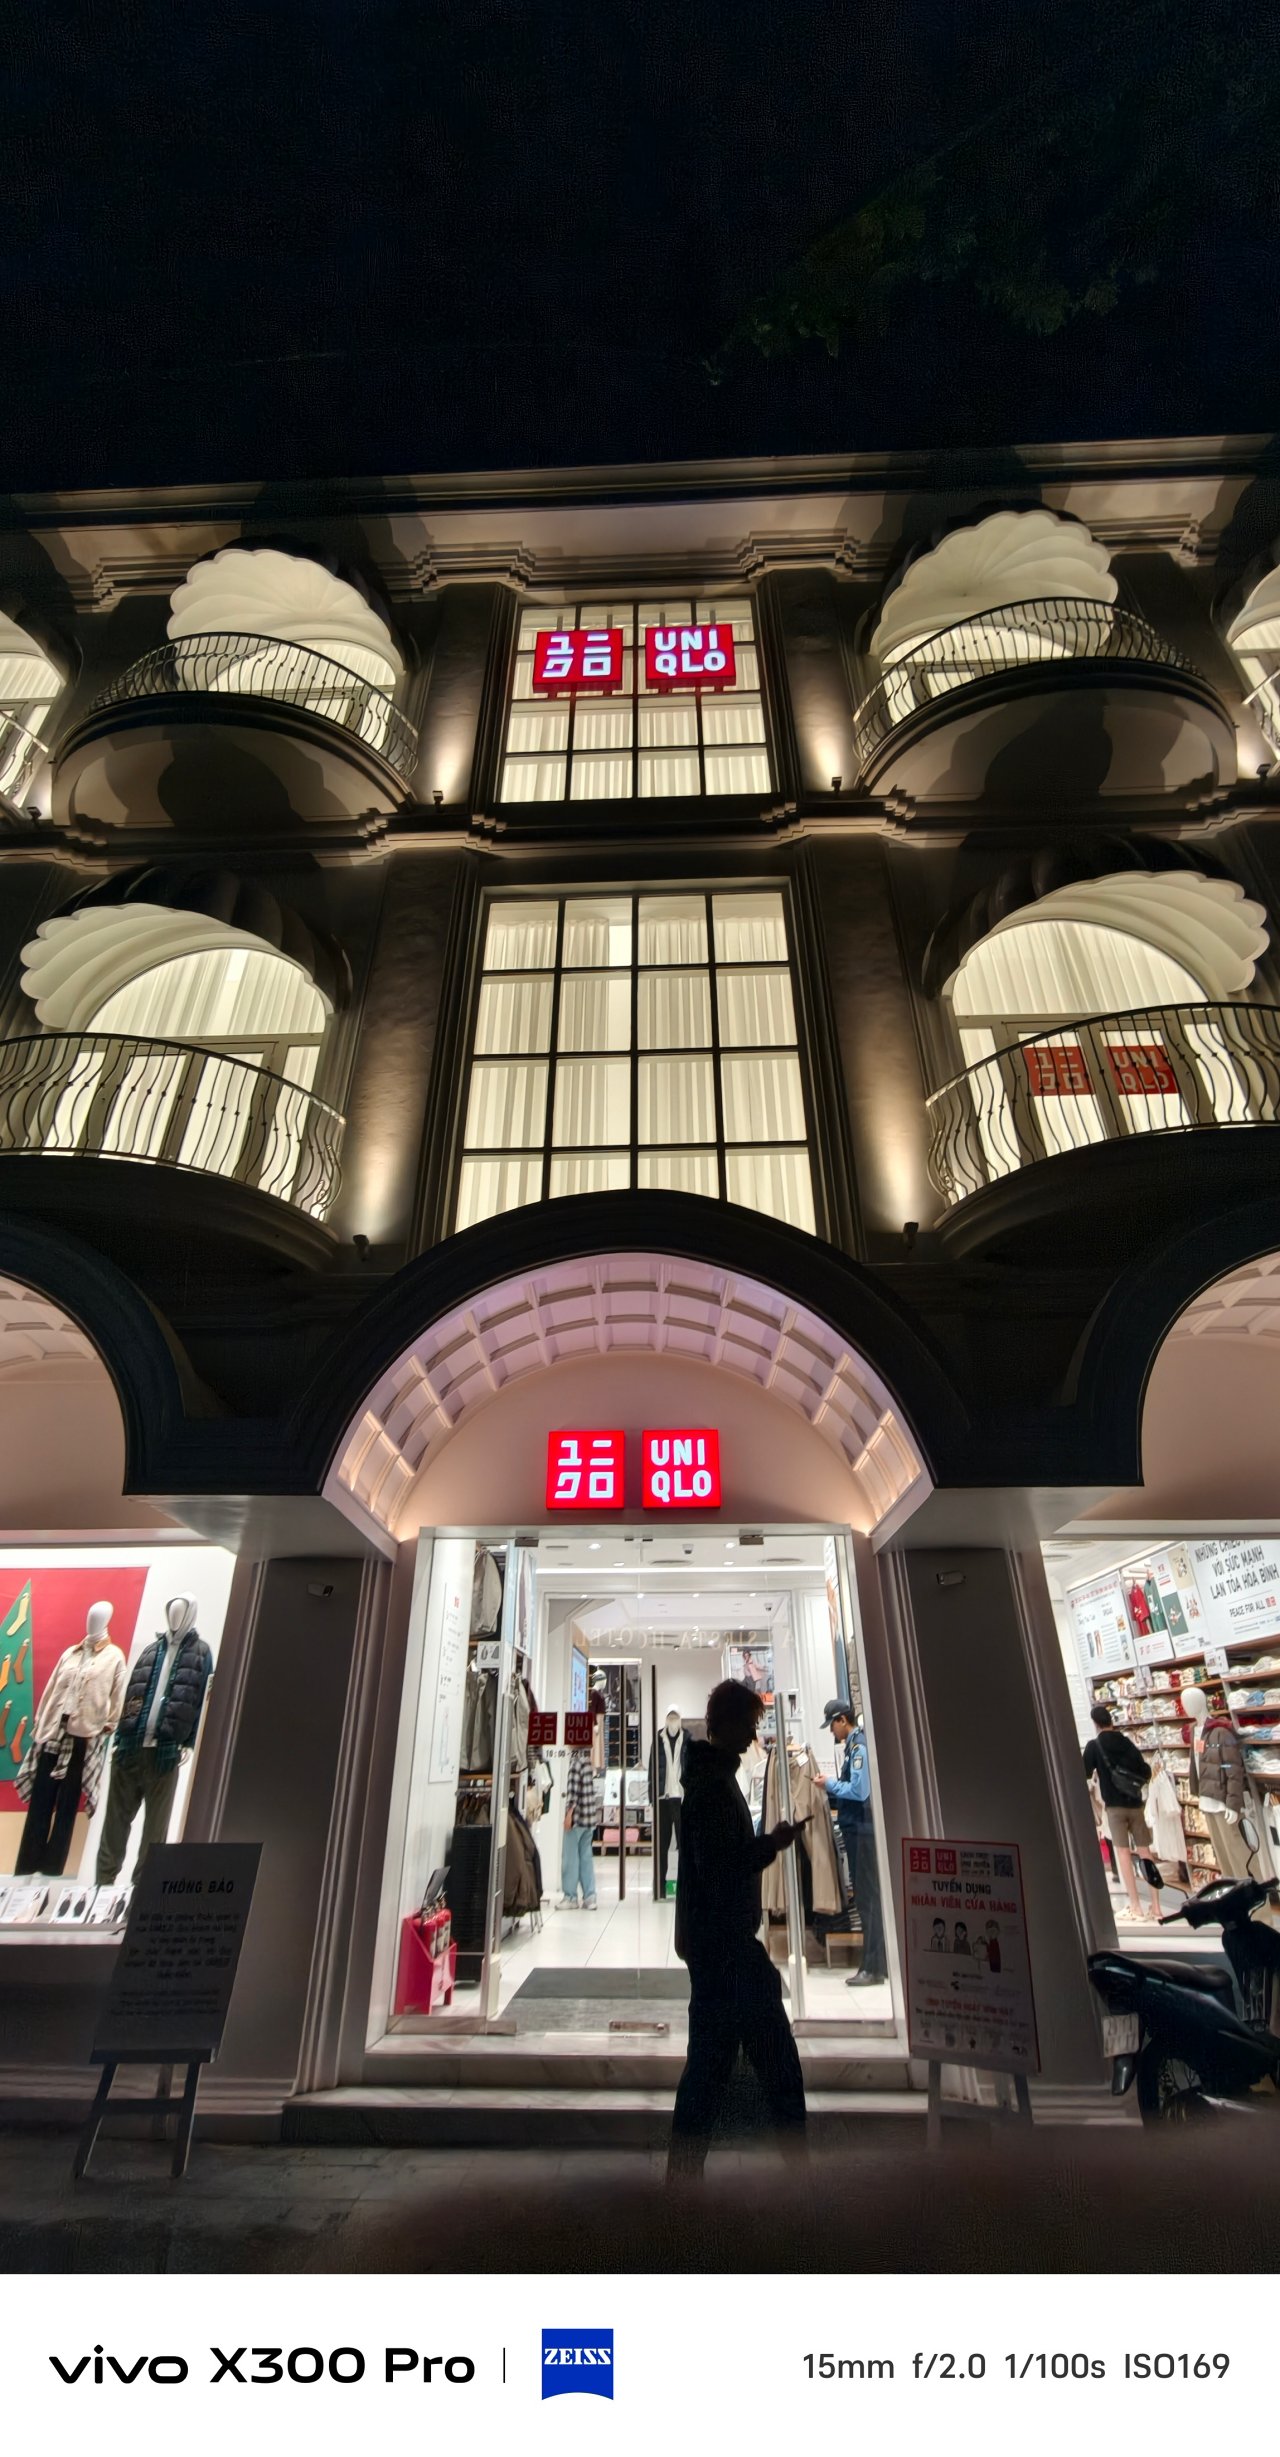
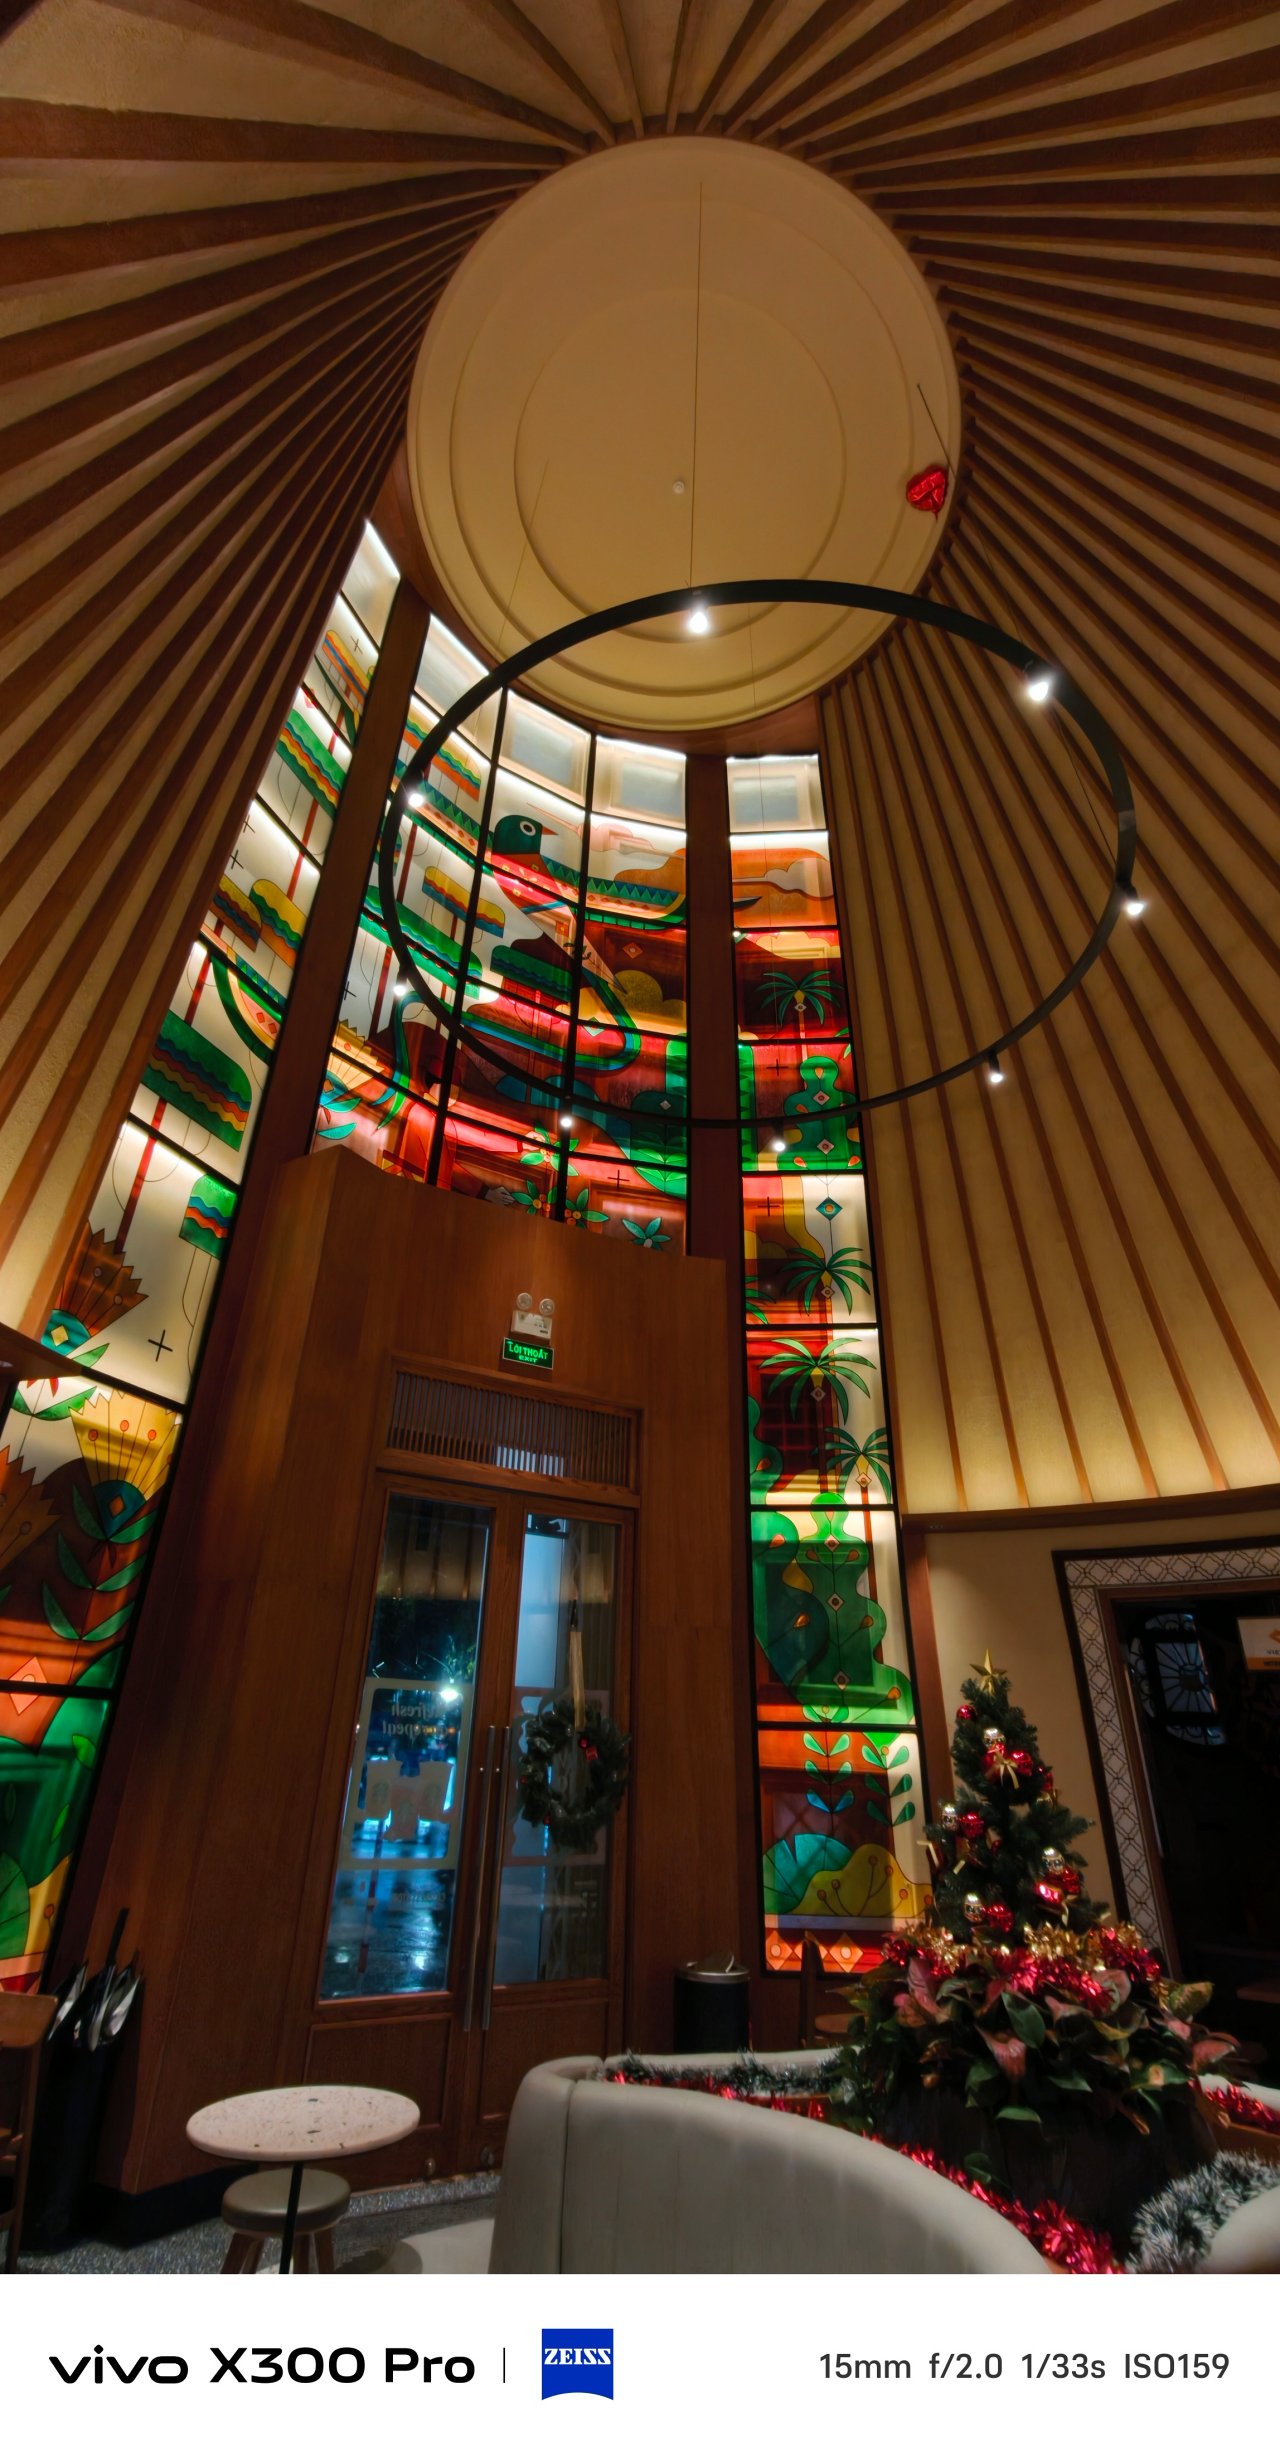
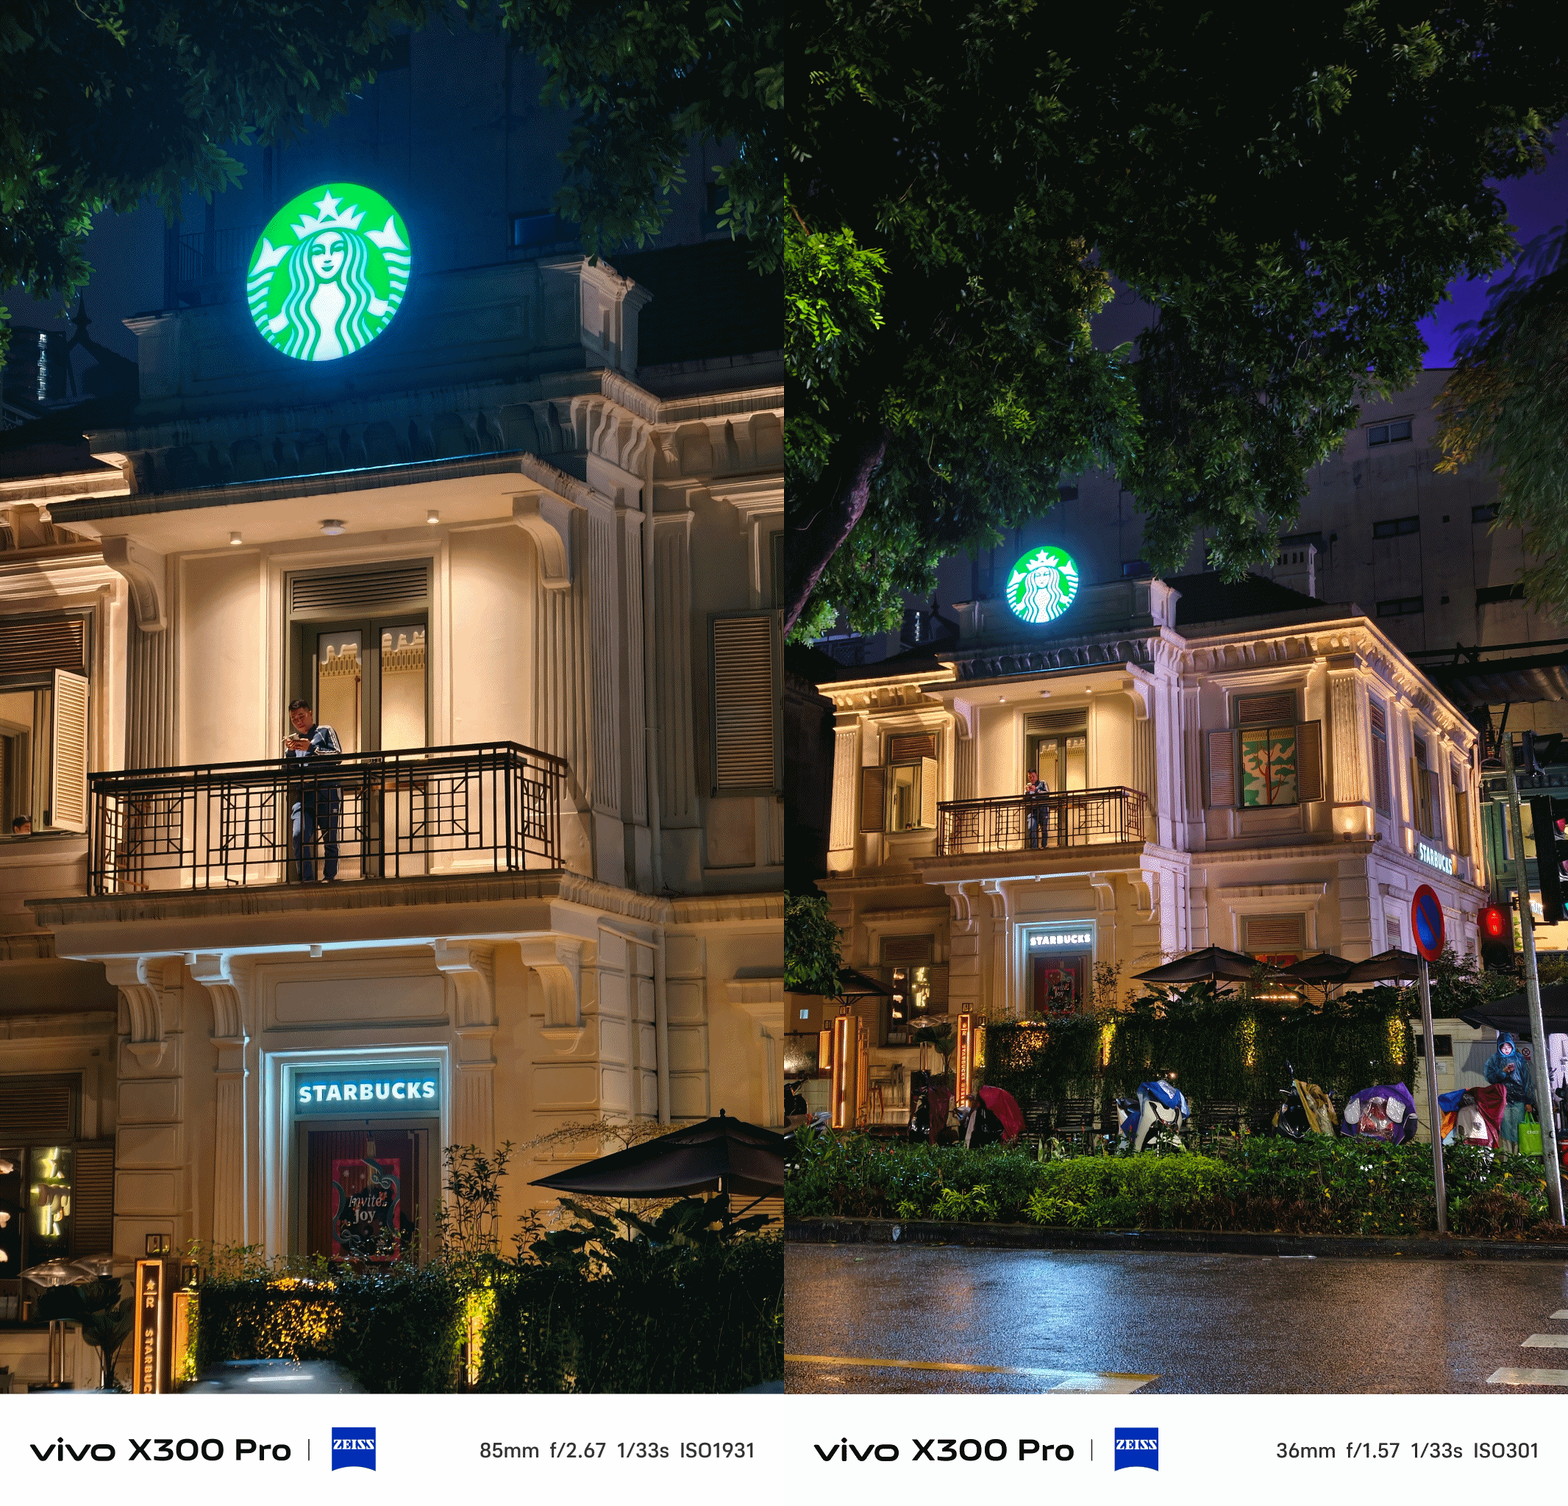
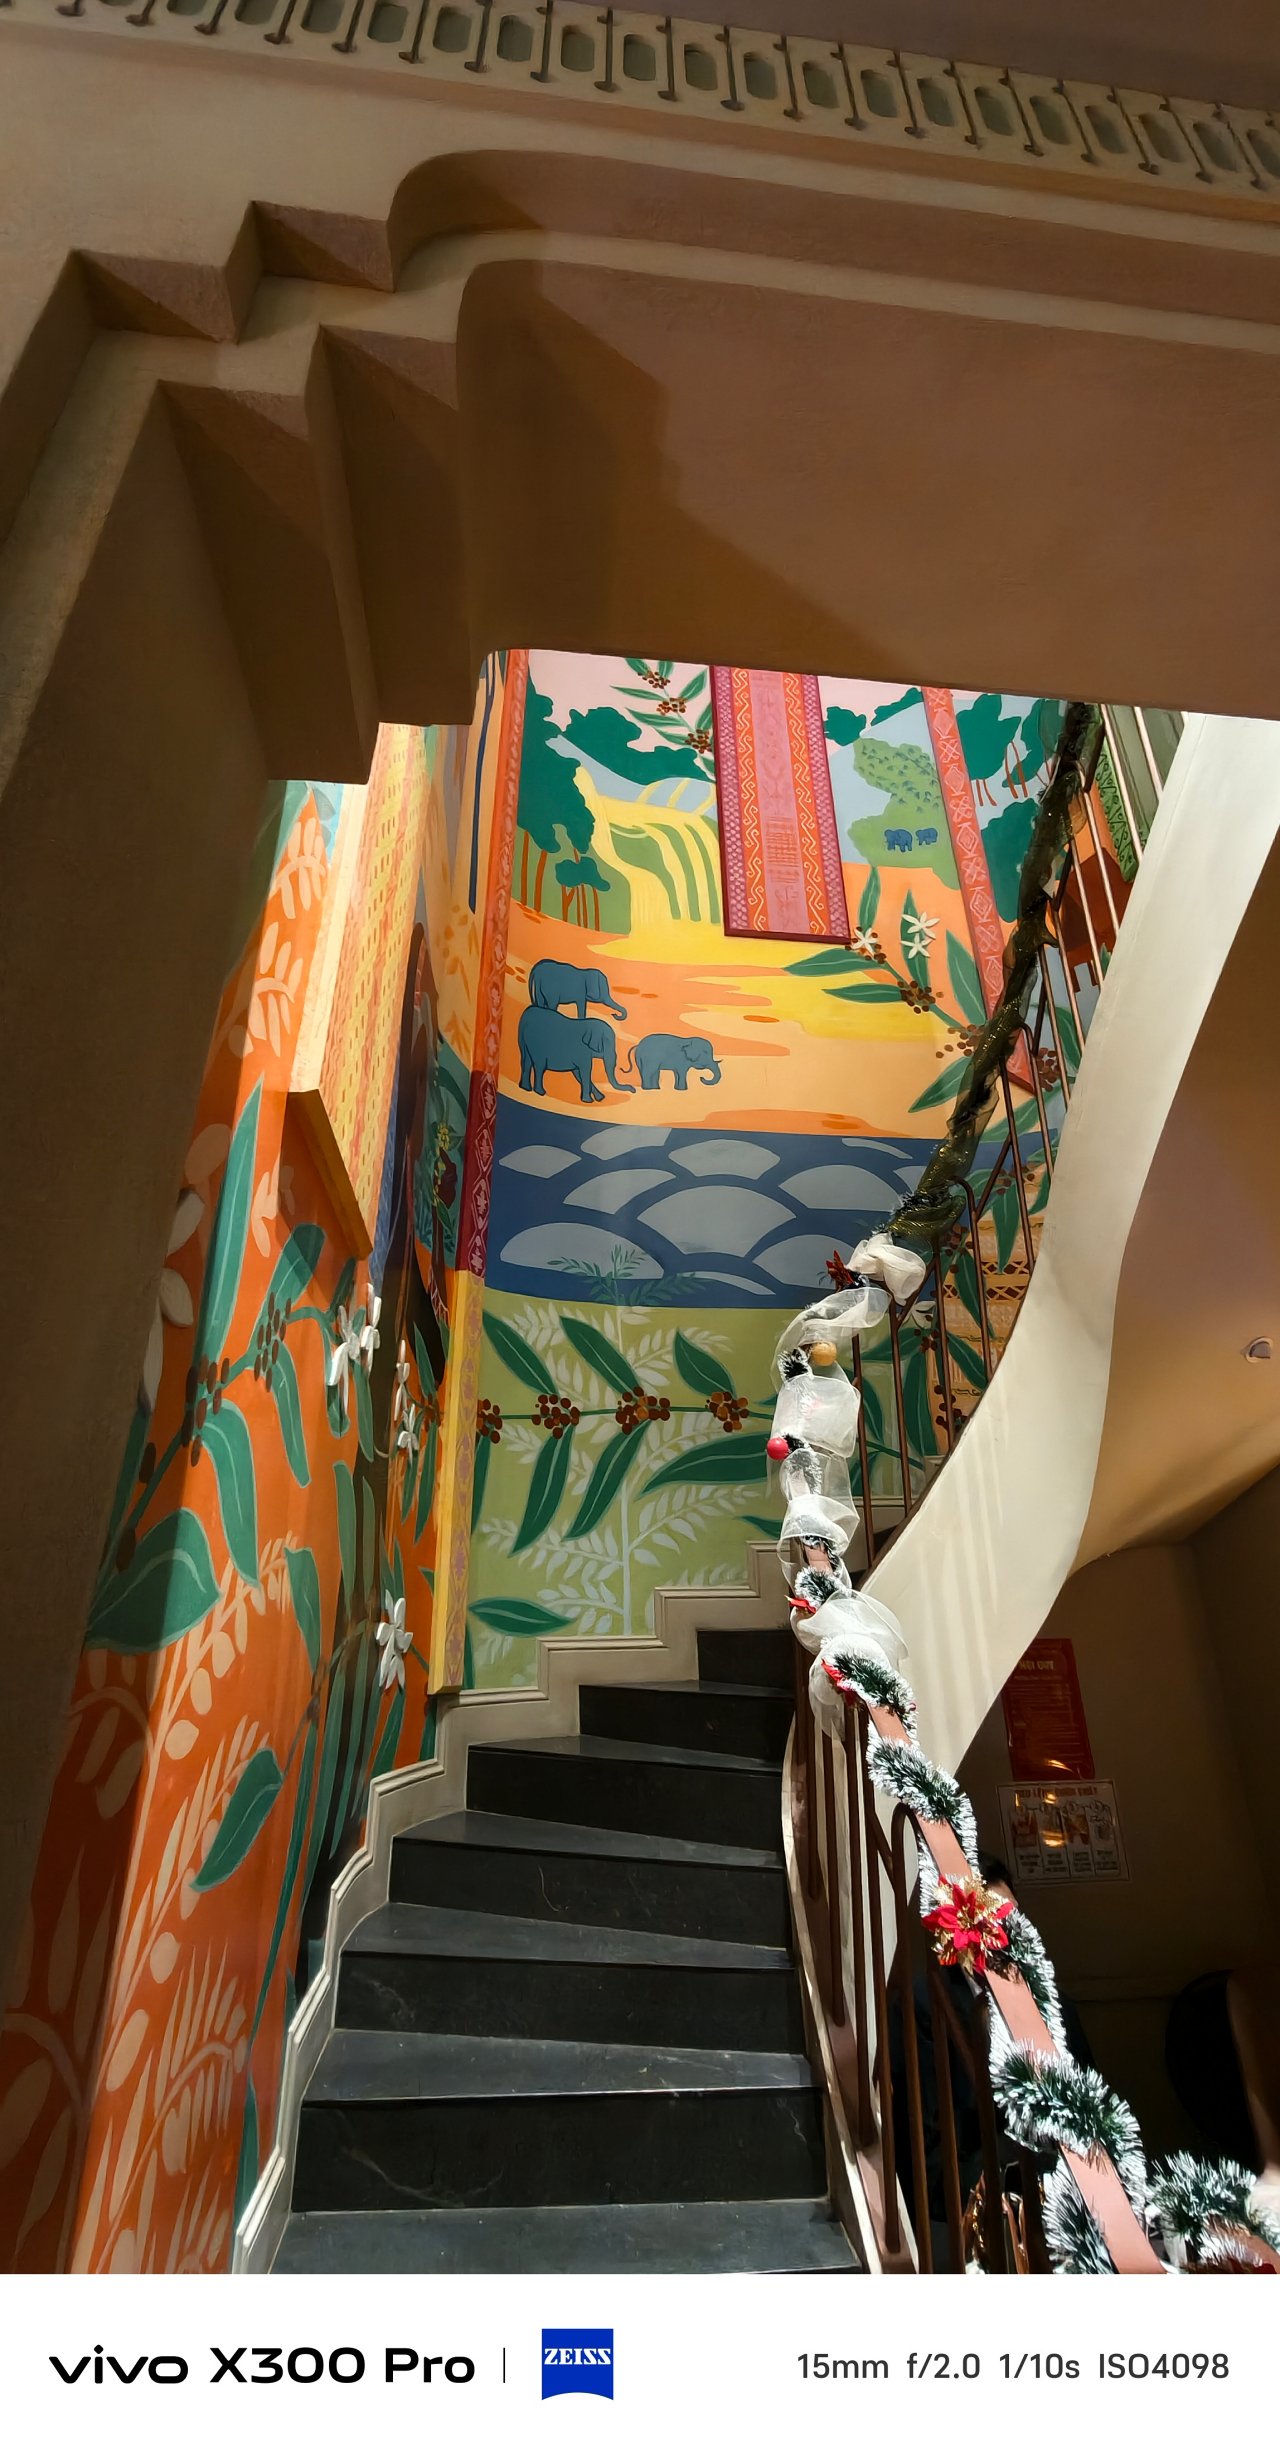
📍 Thành phố Hồ Chí Minh / Sài Gòn
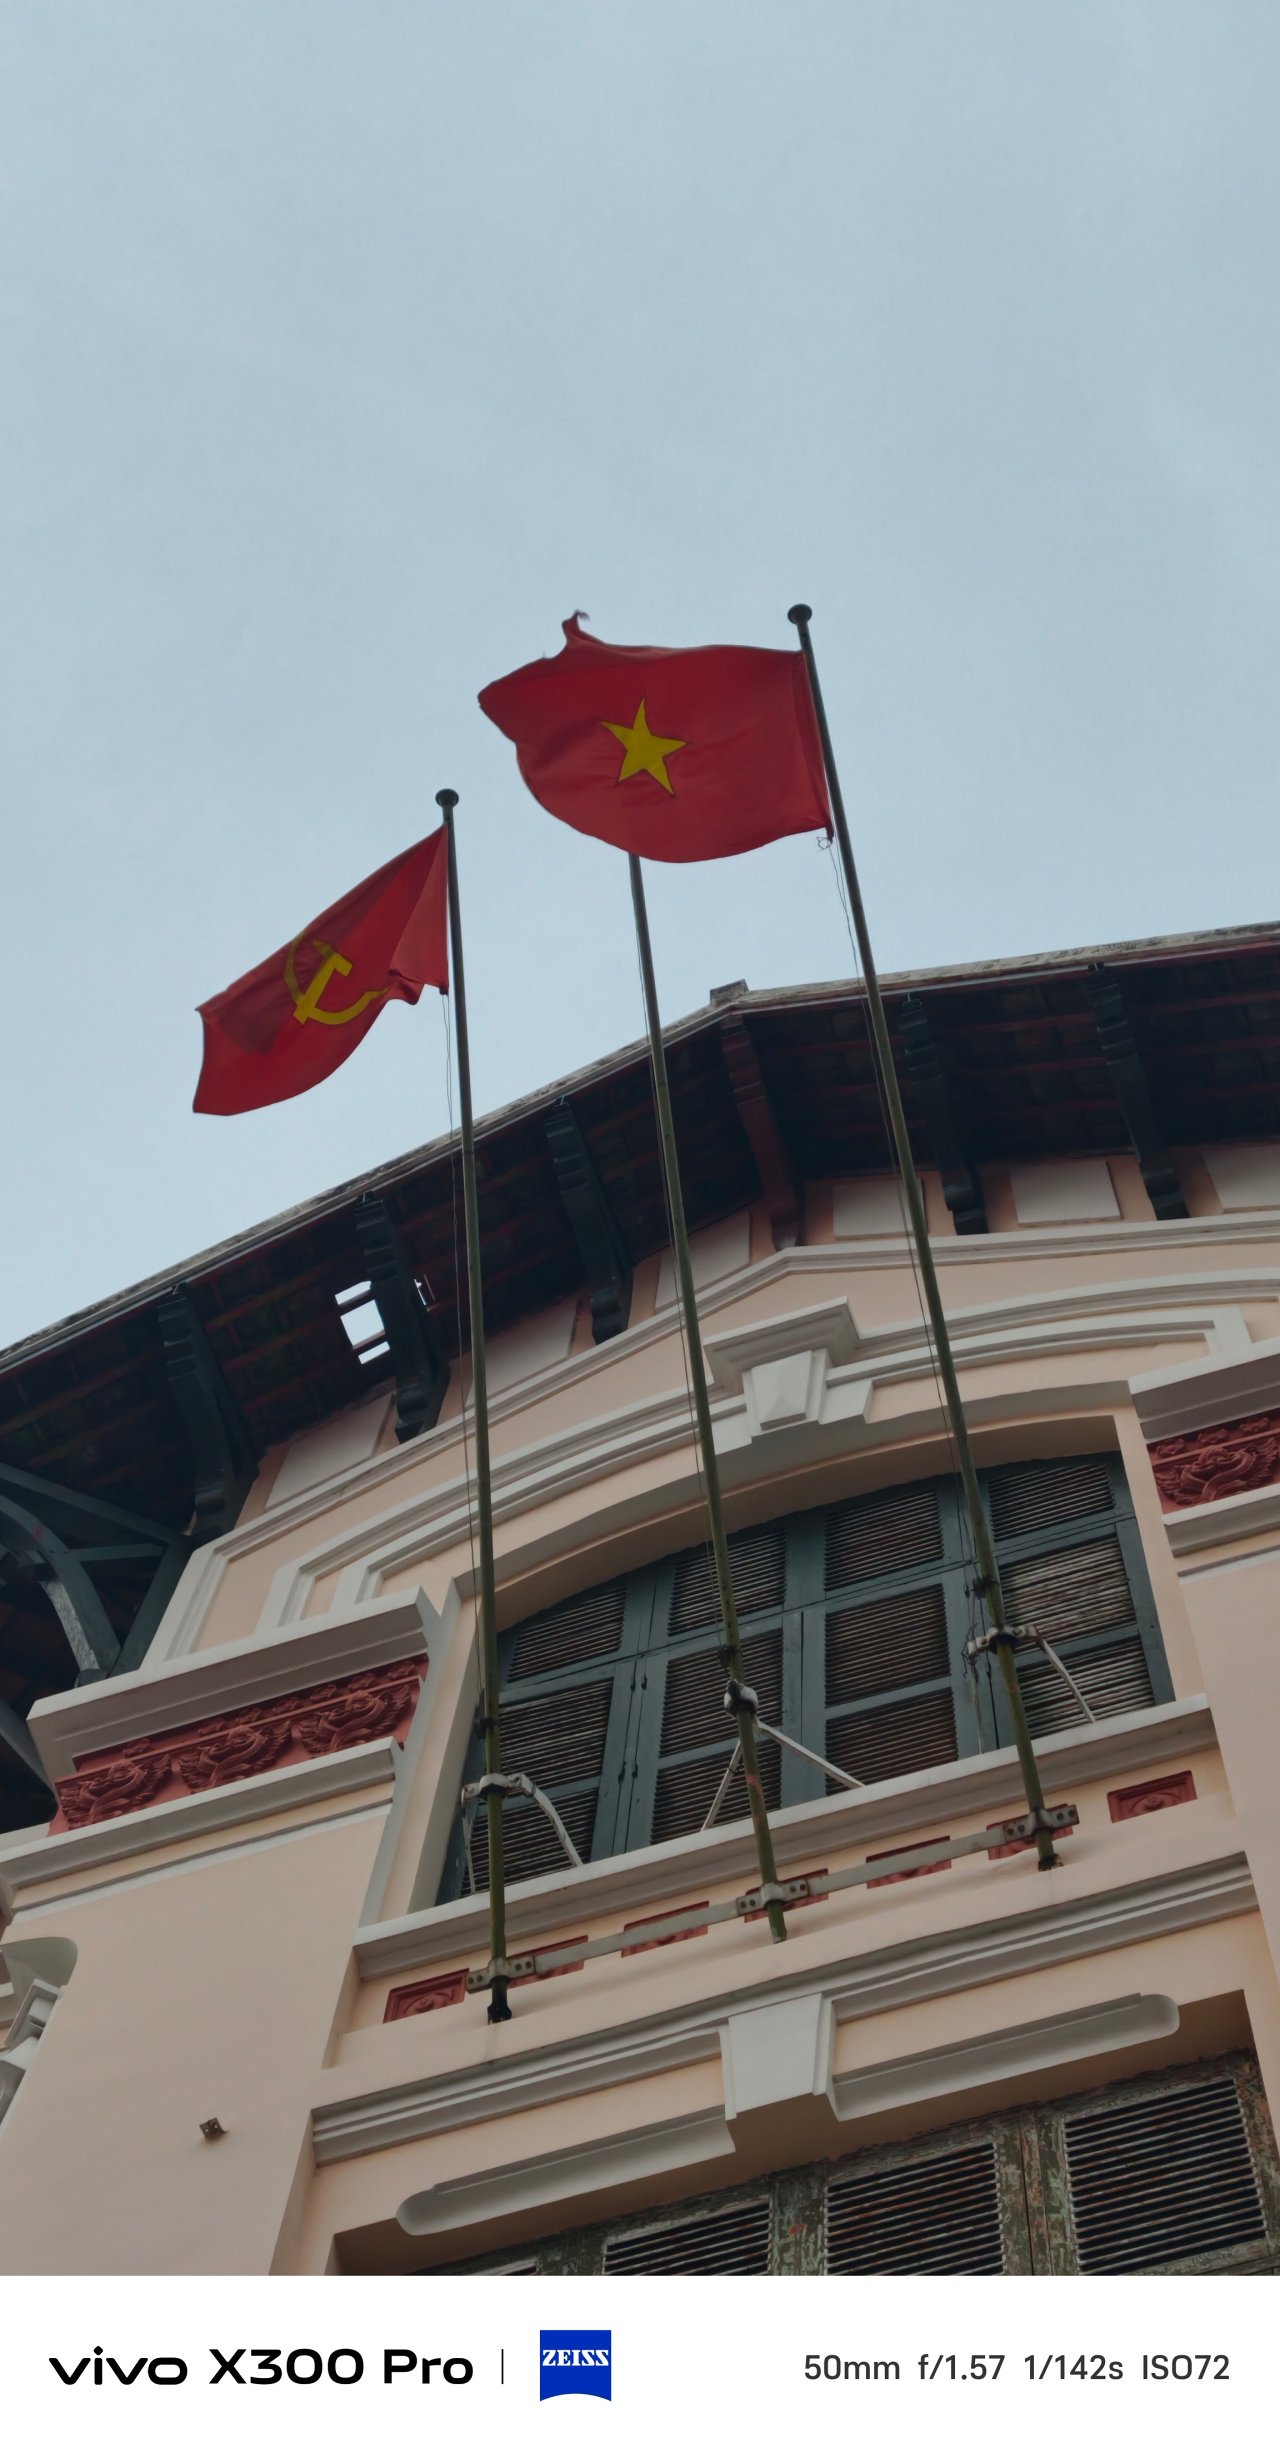
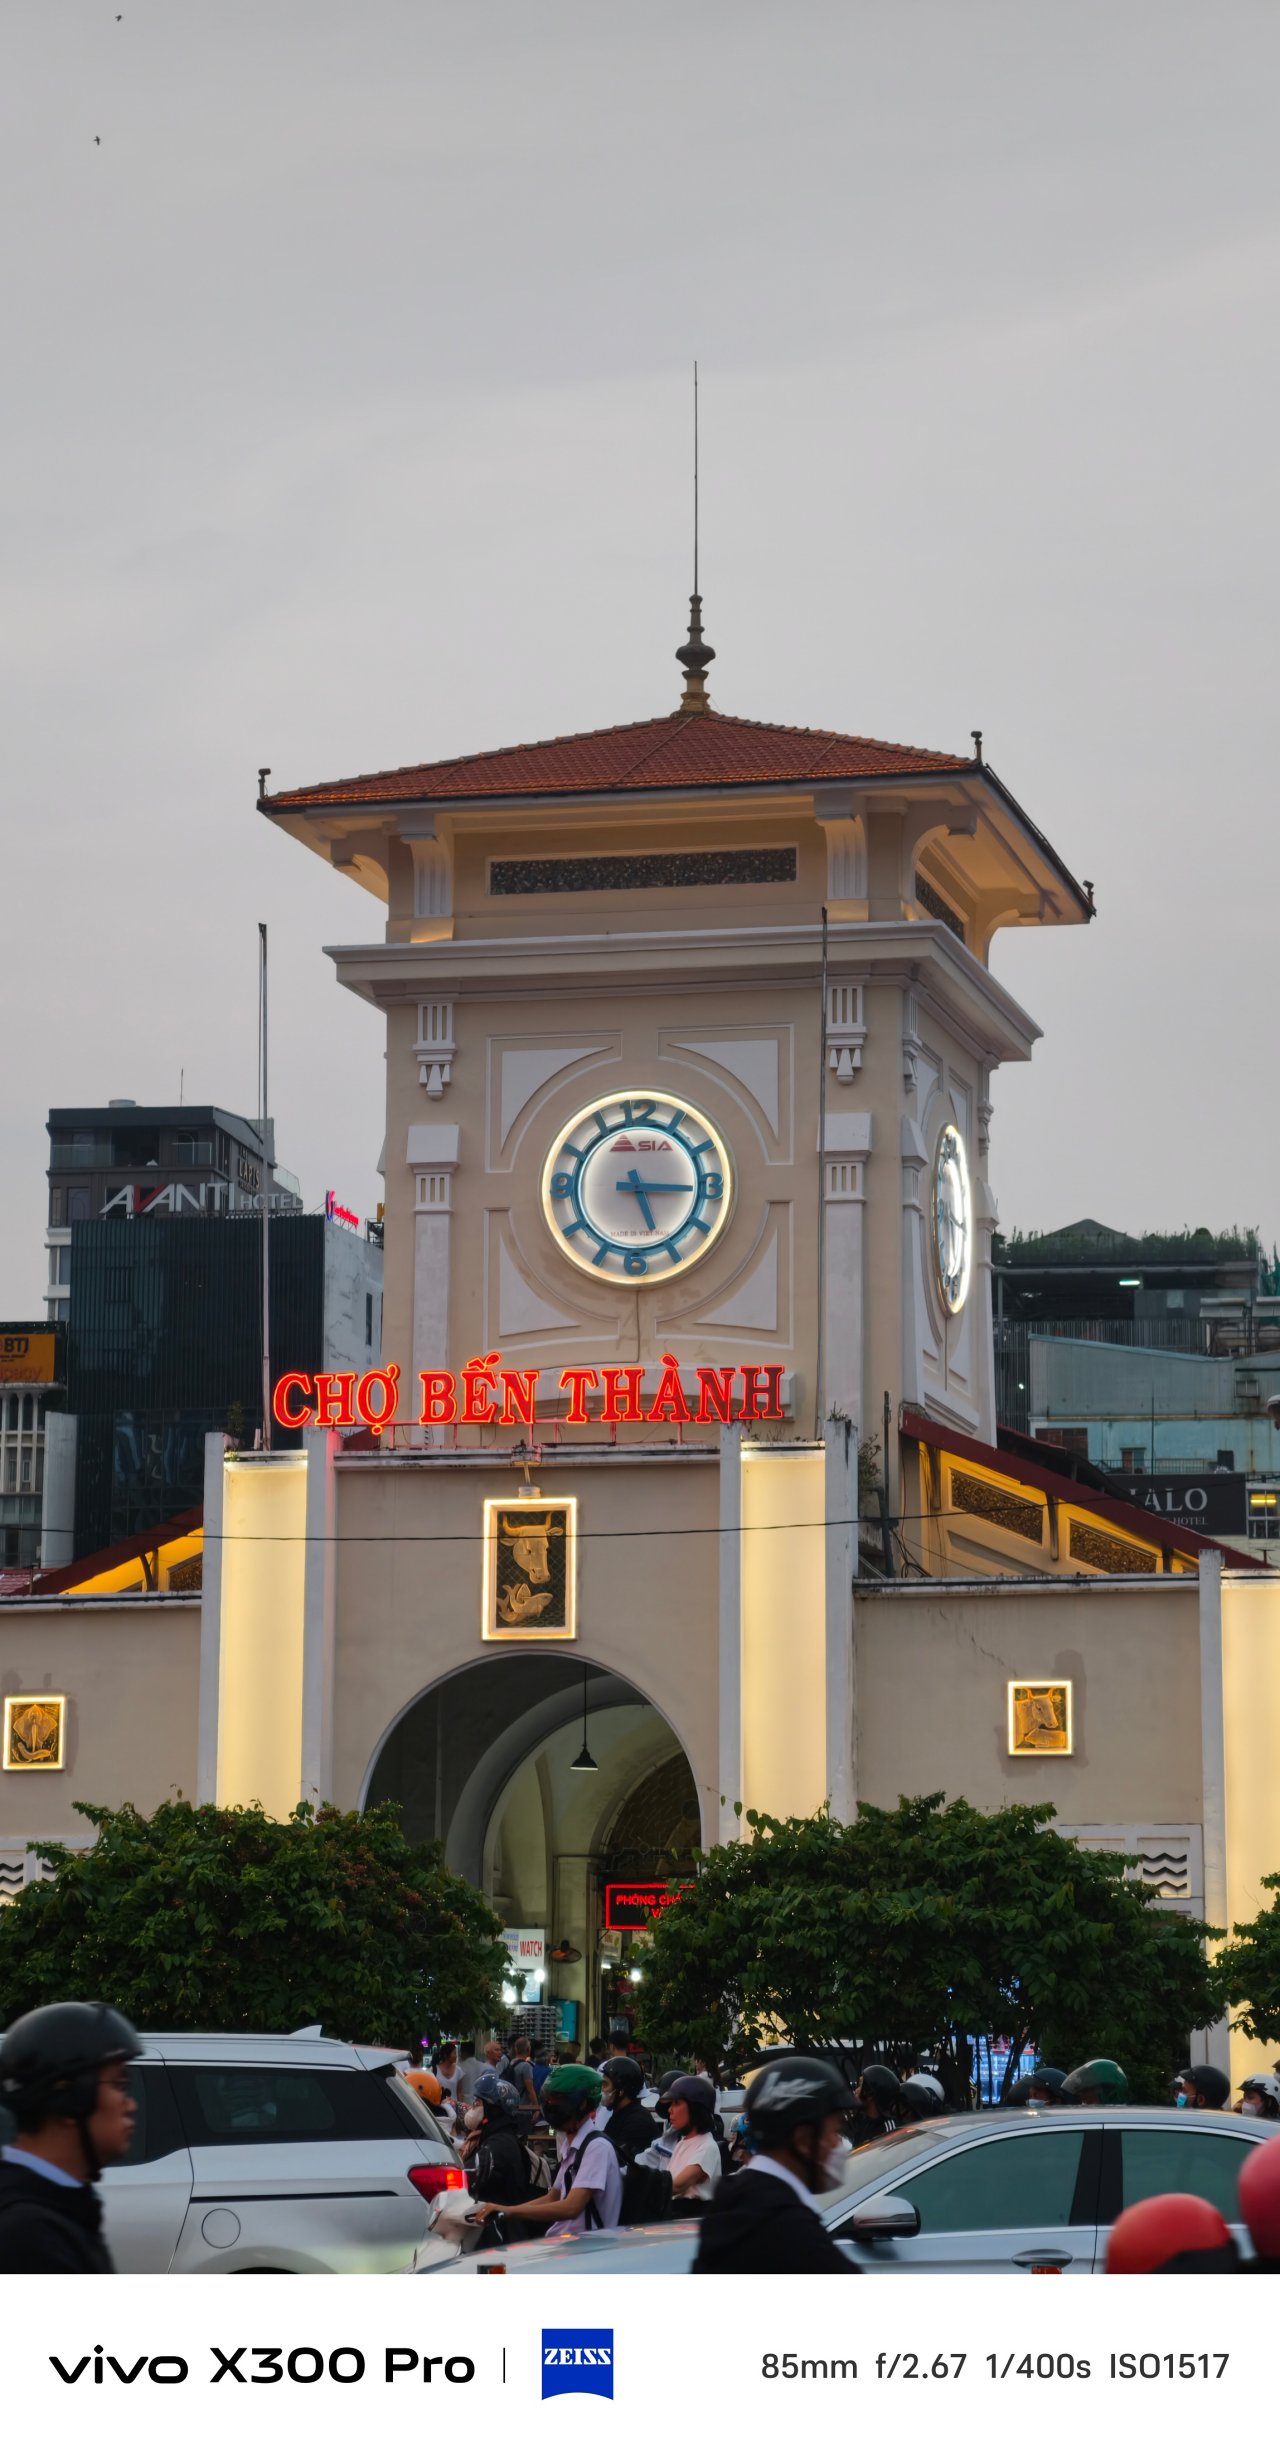
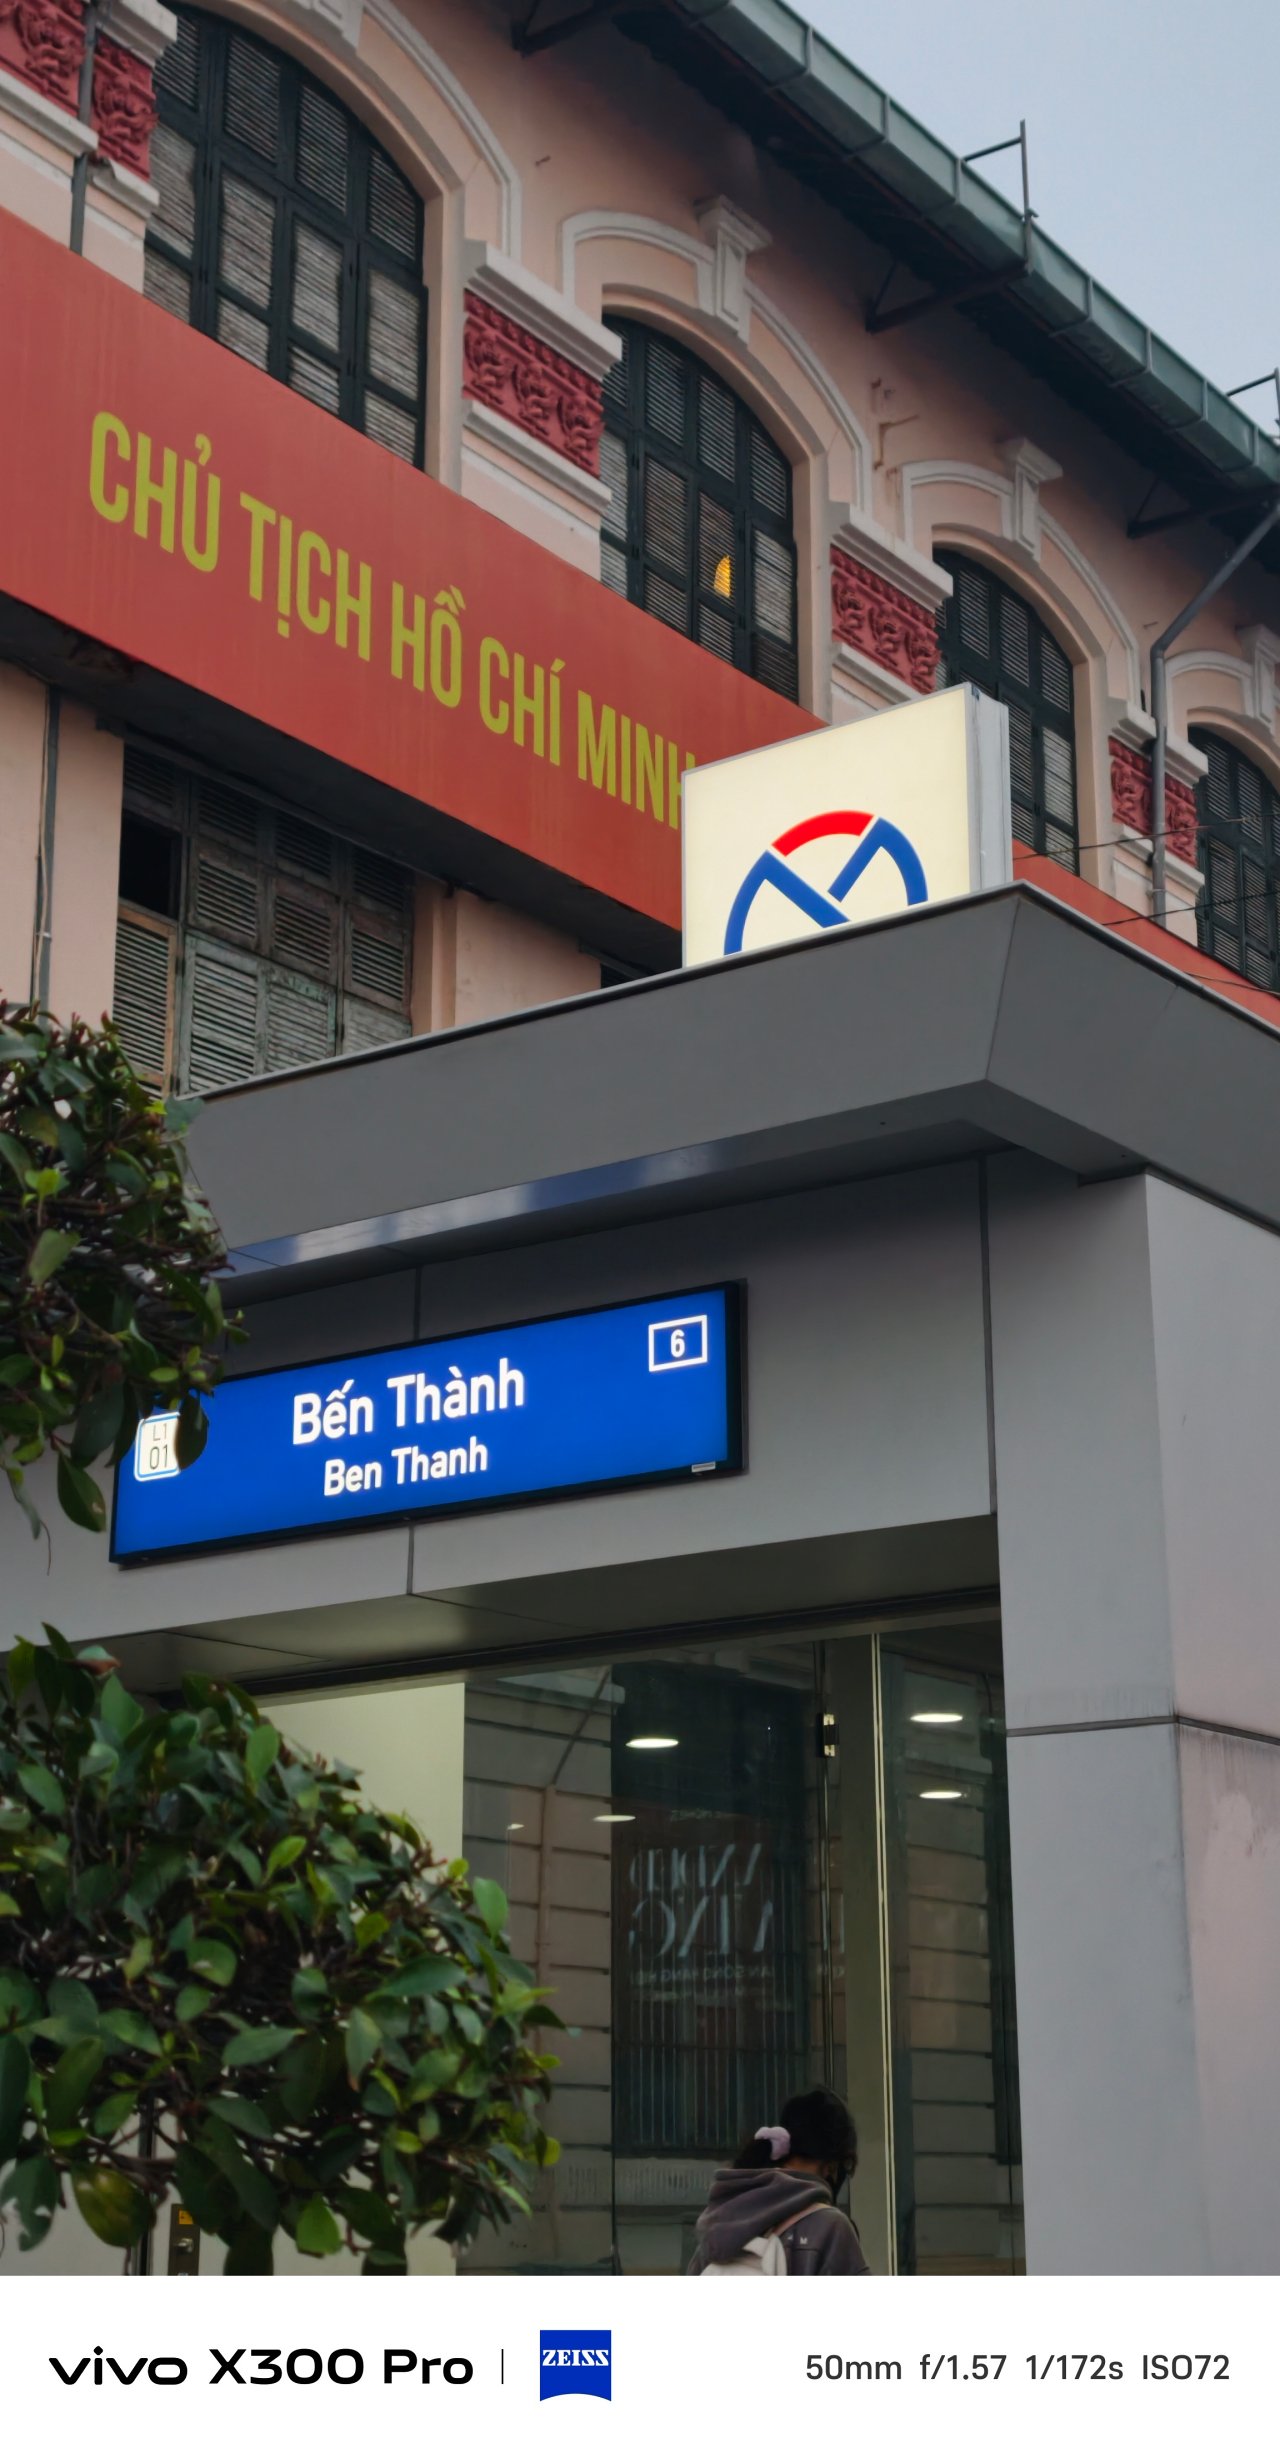
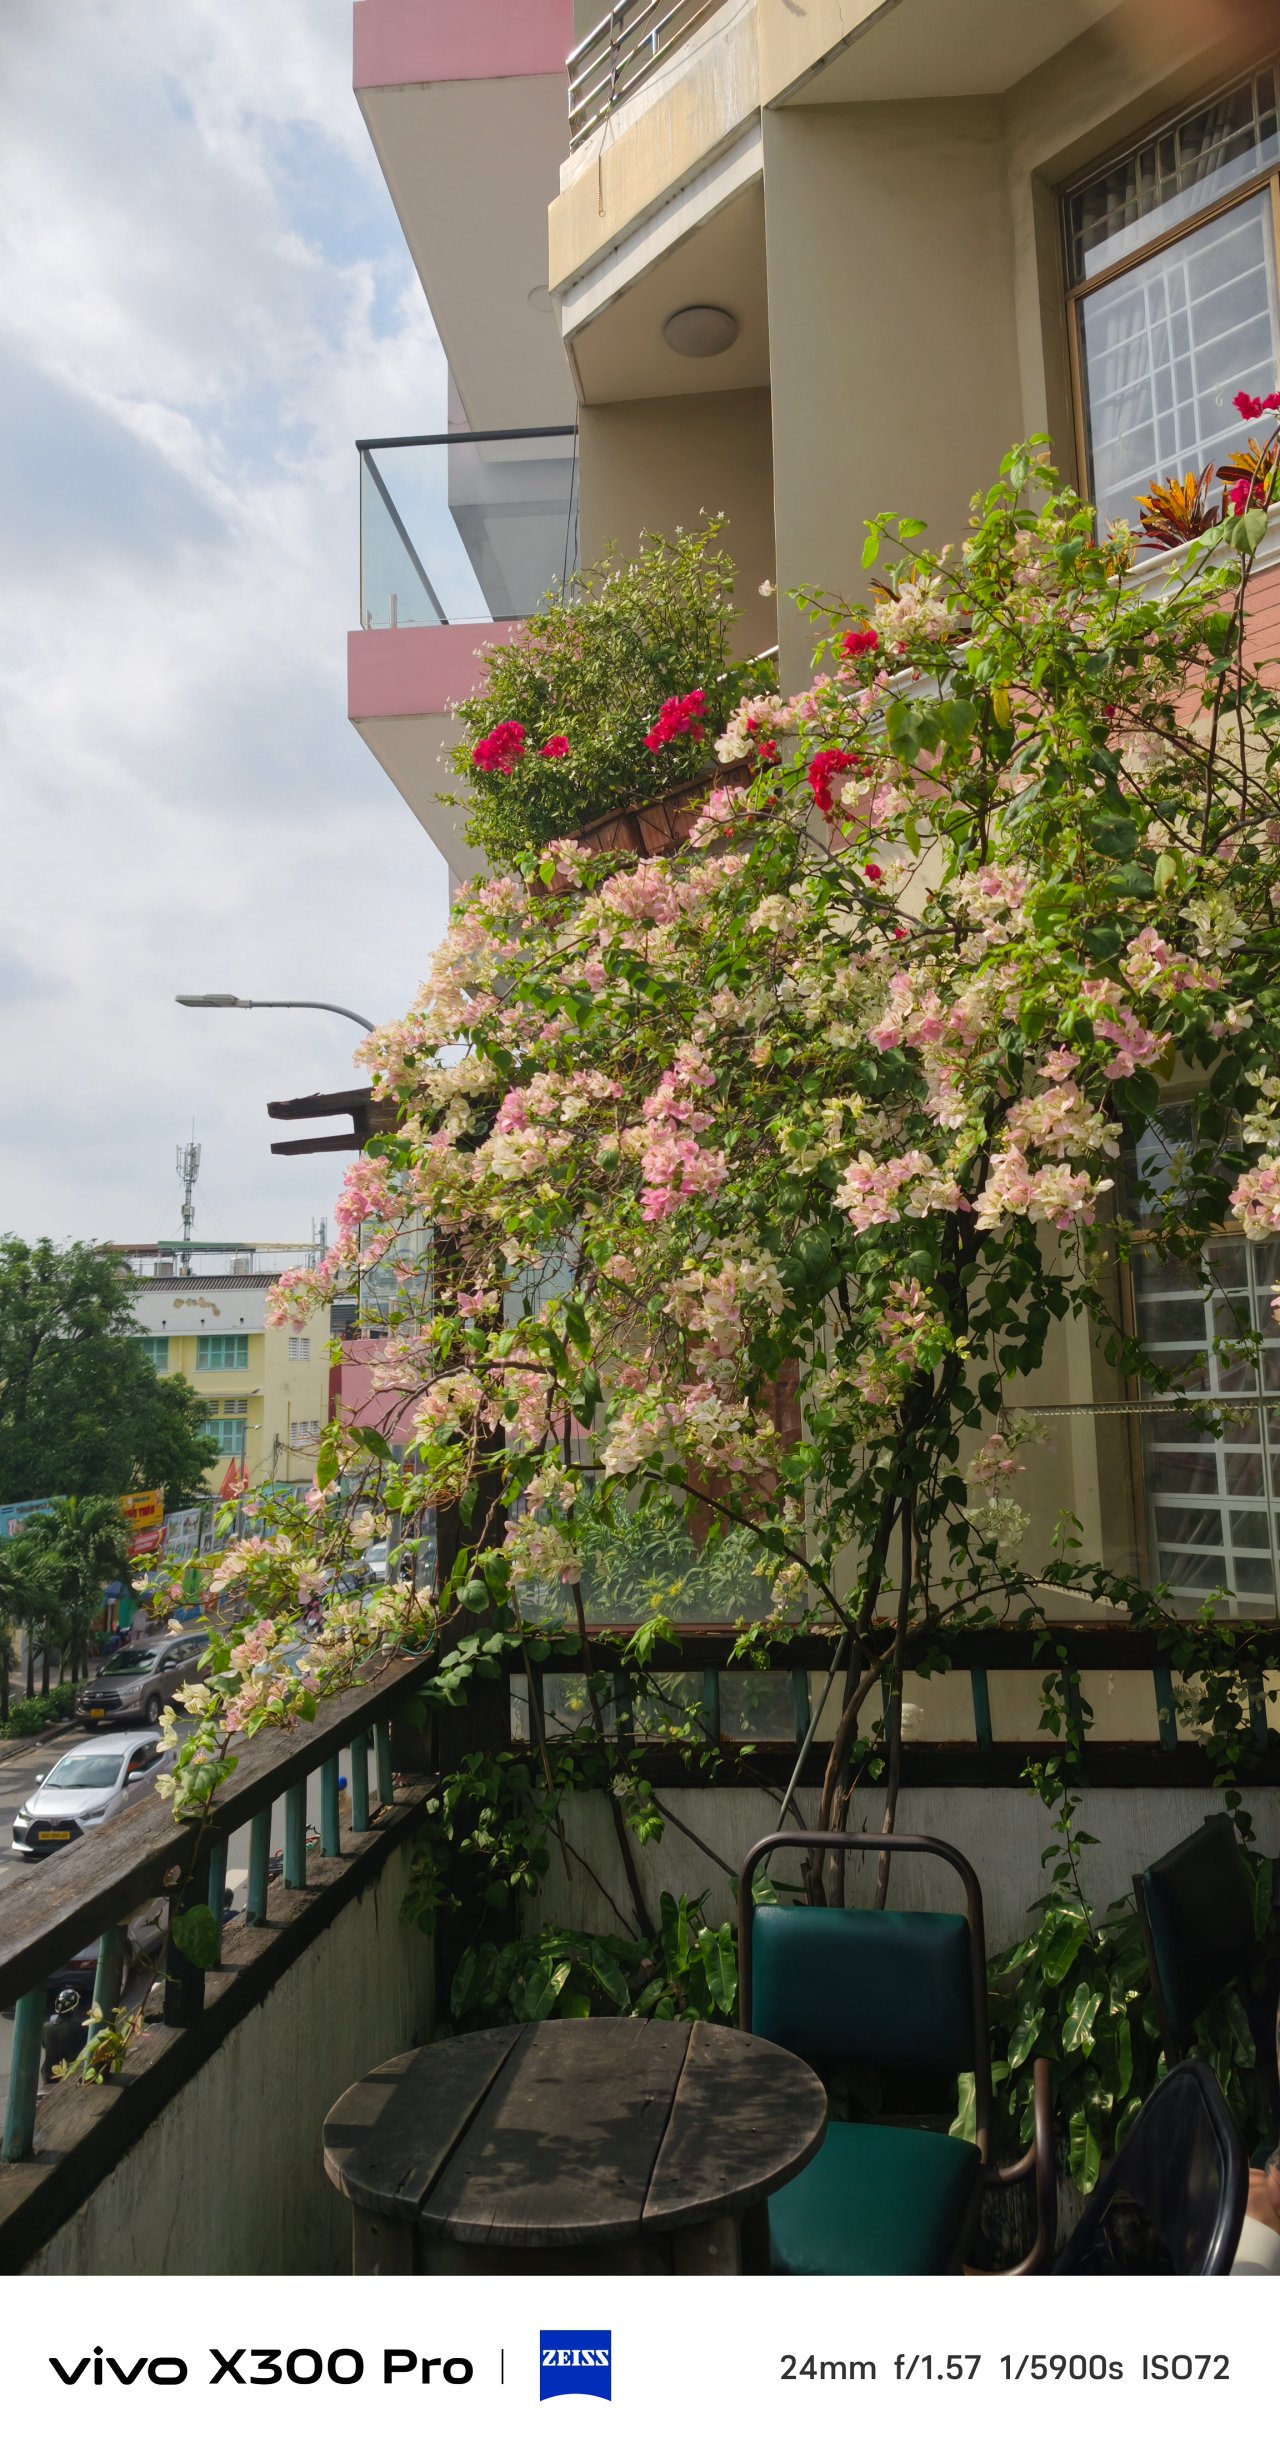
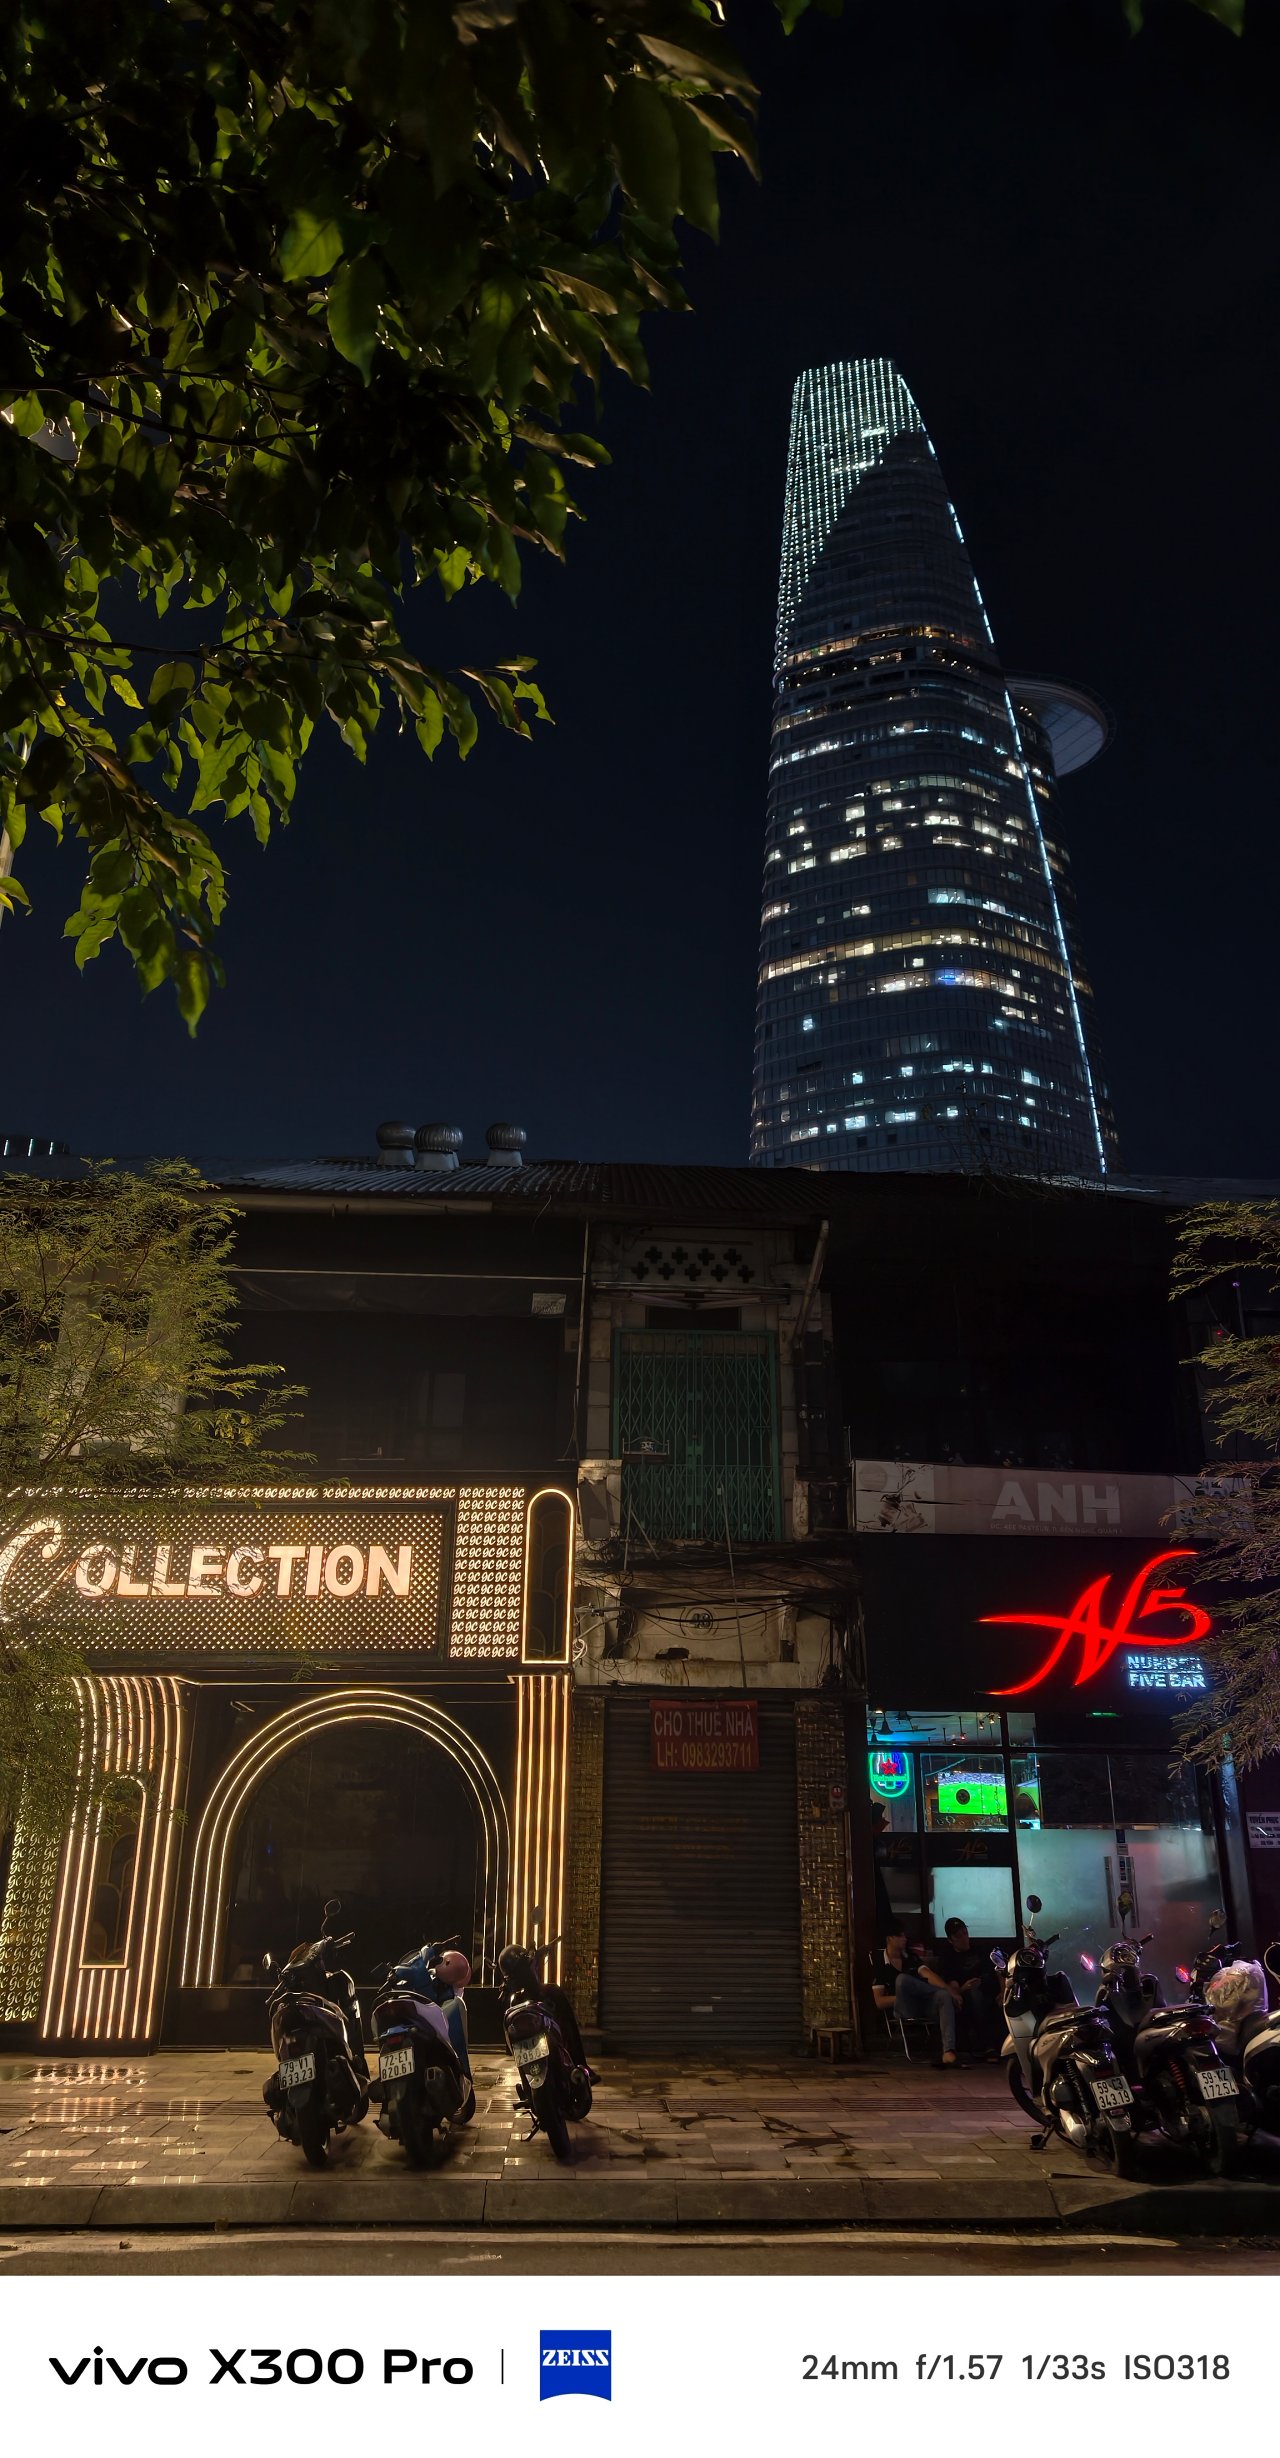
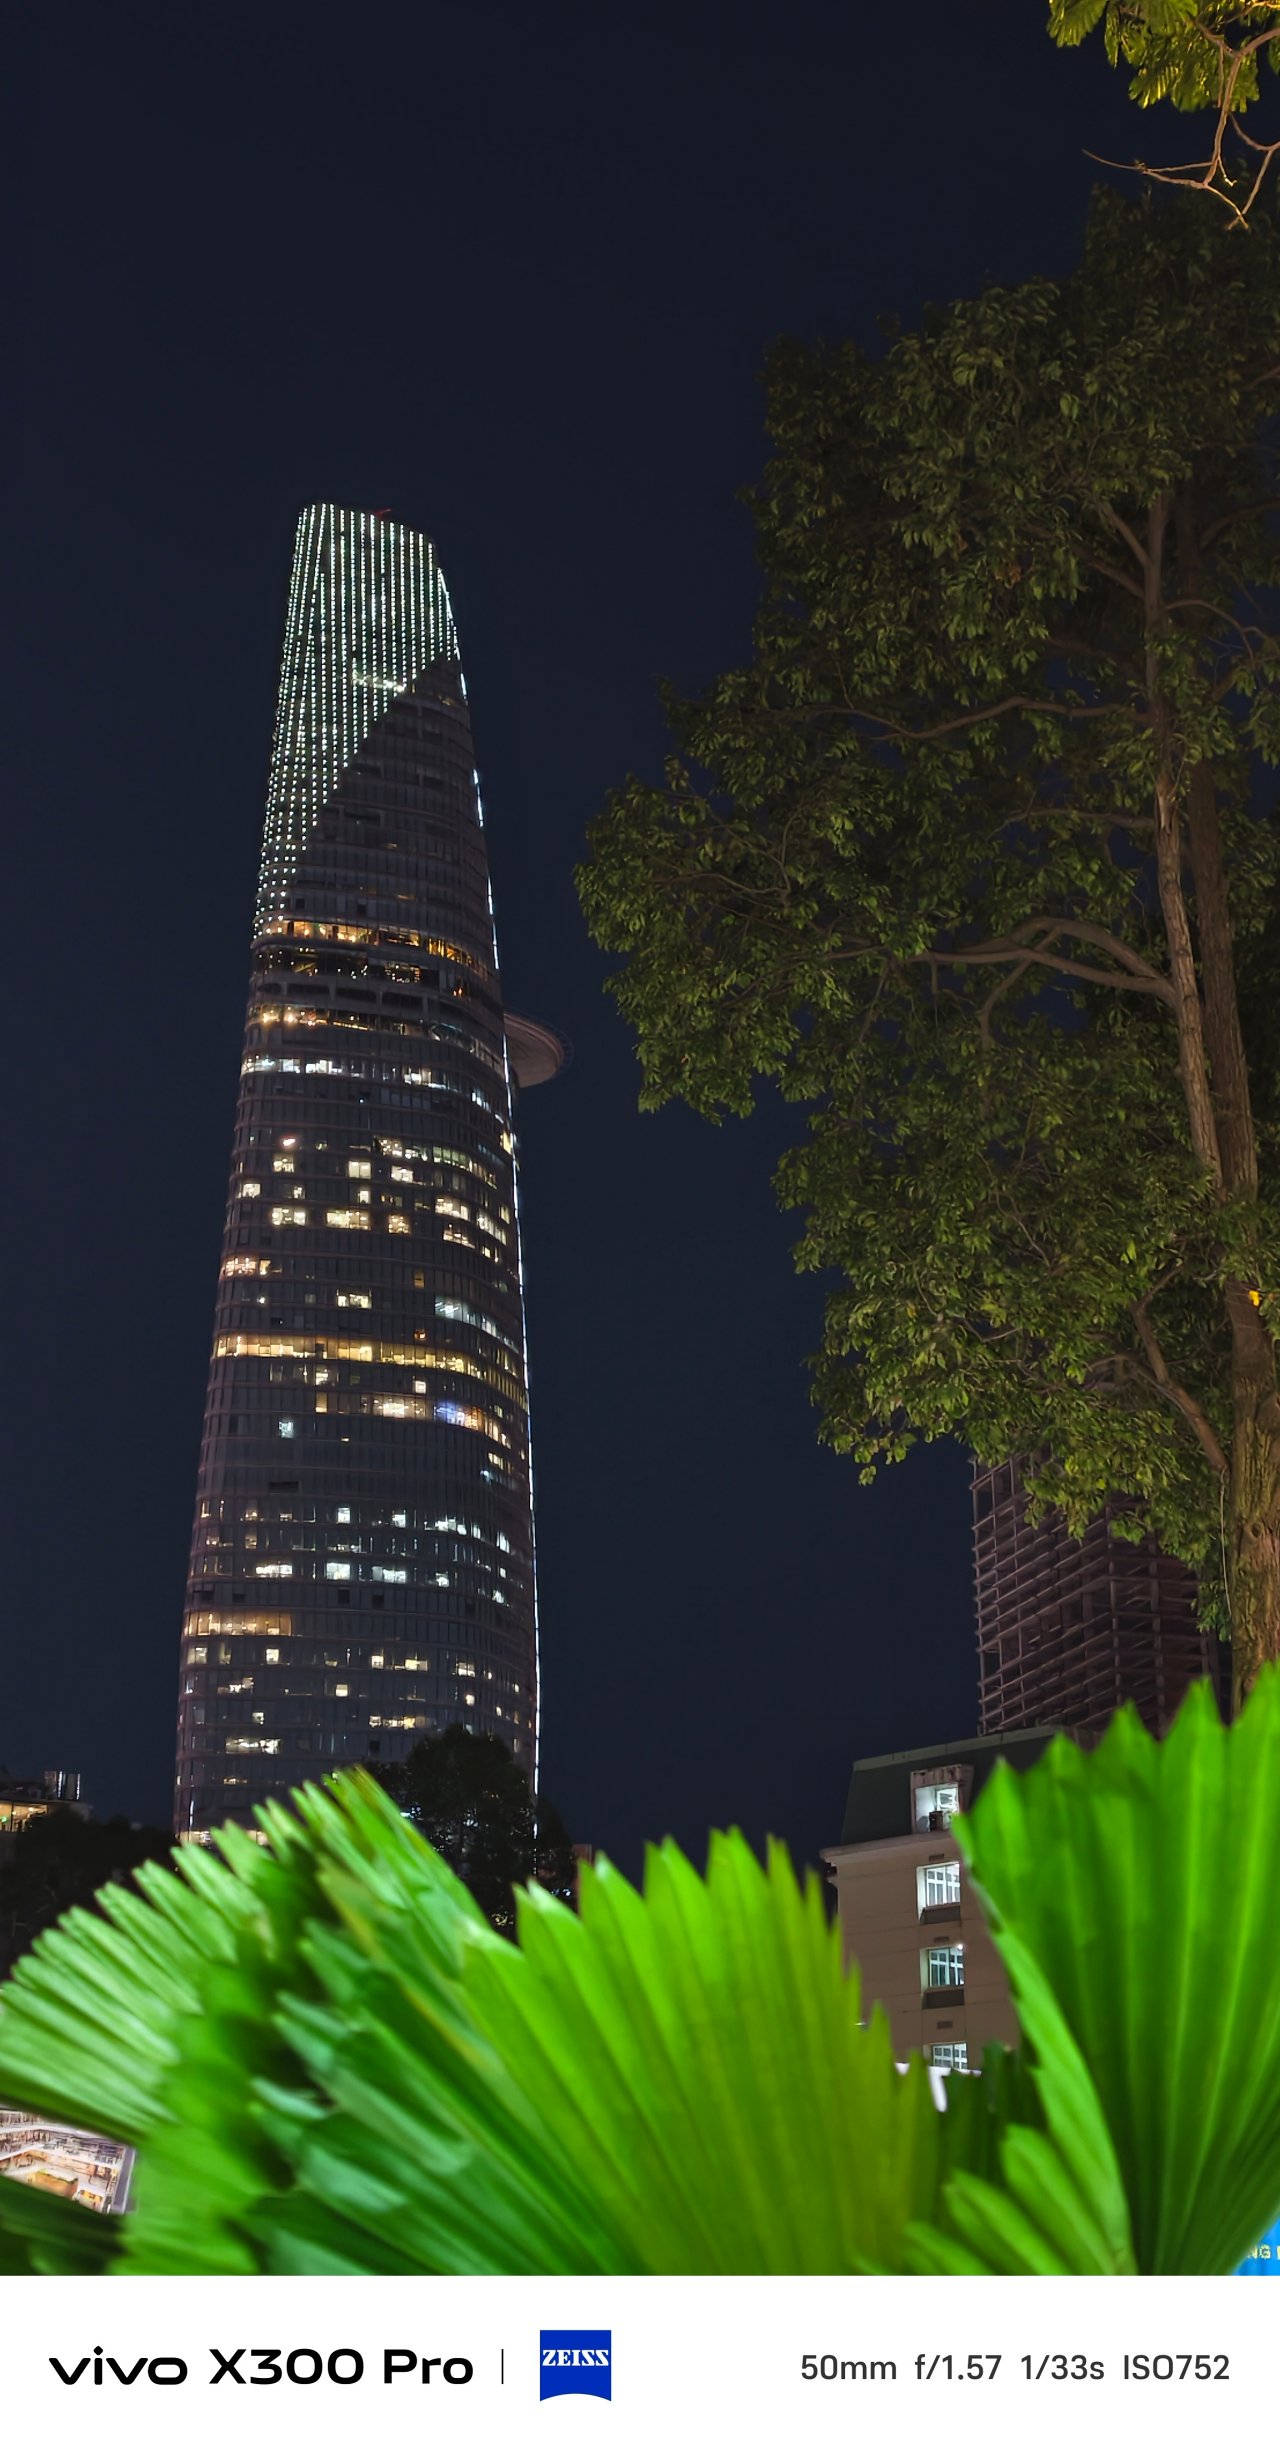
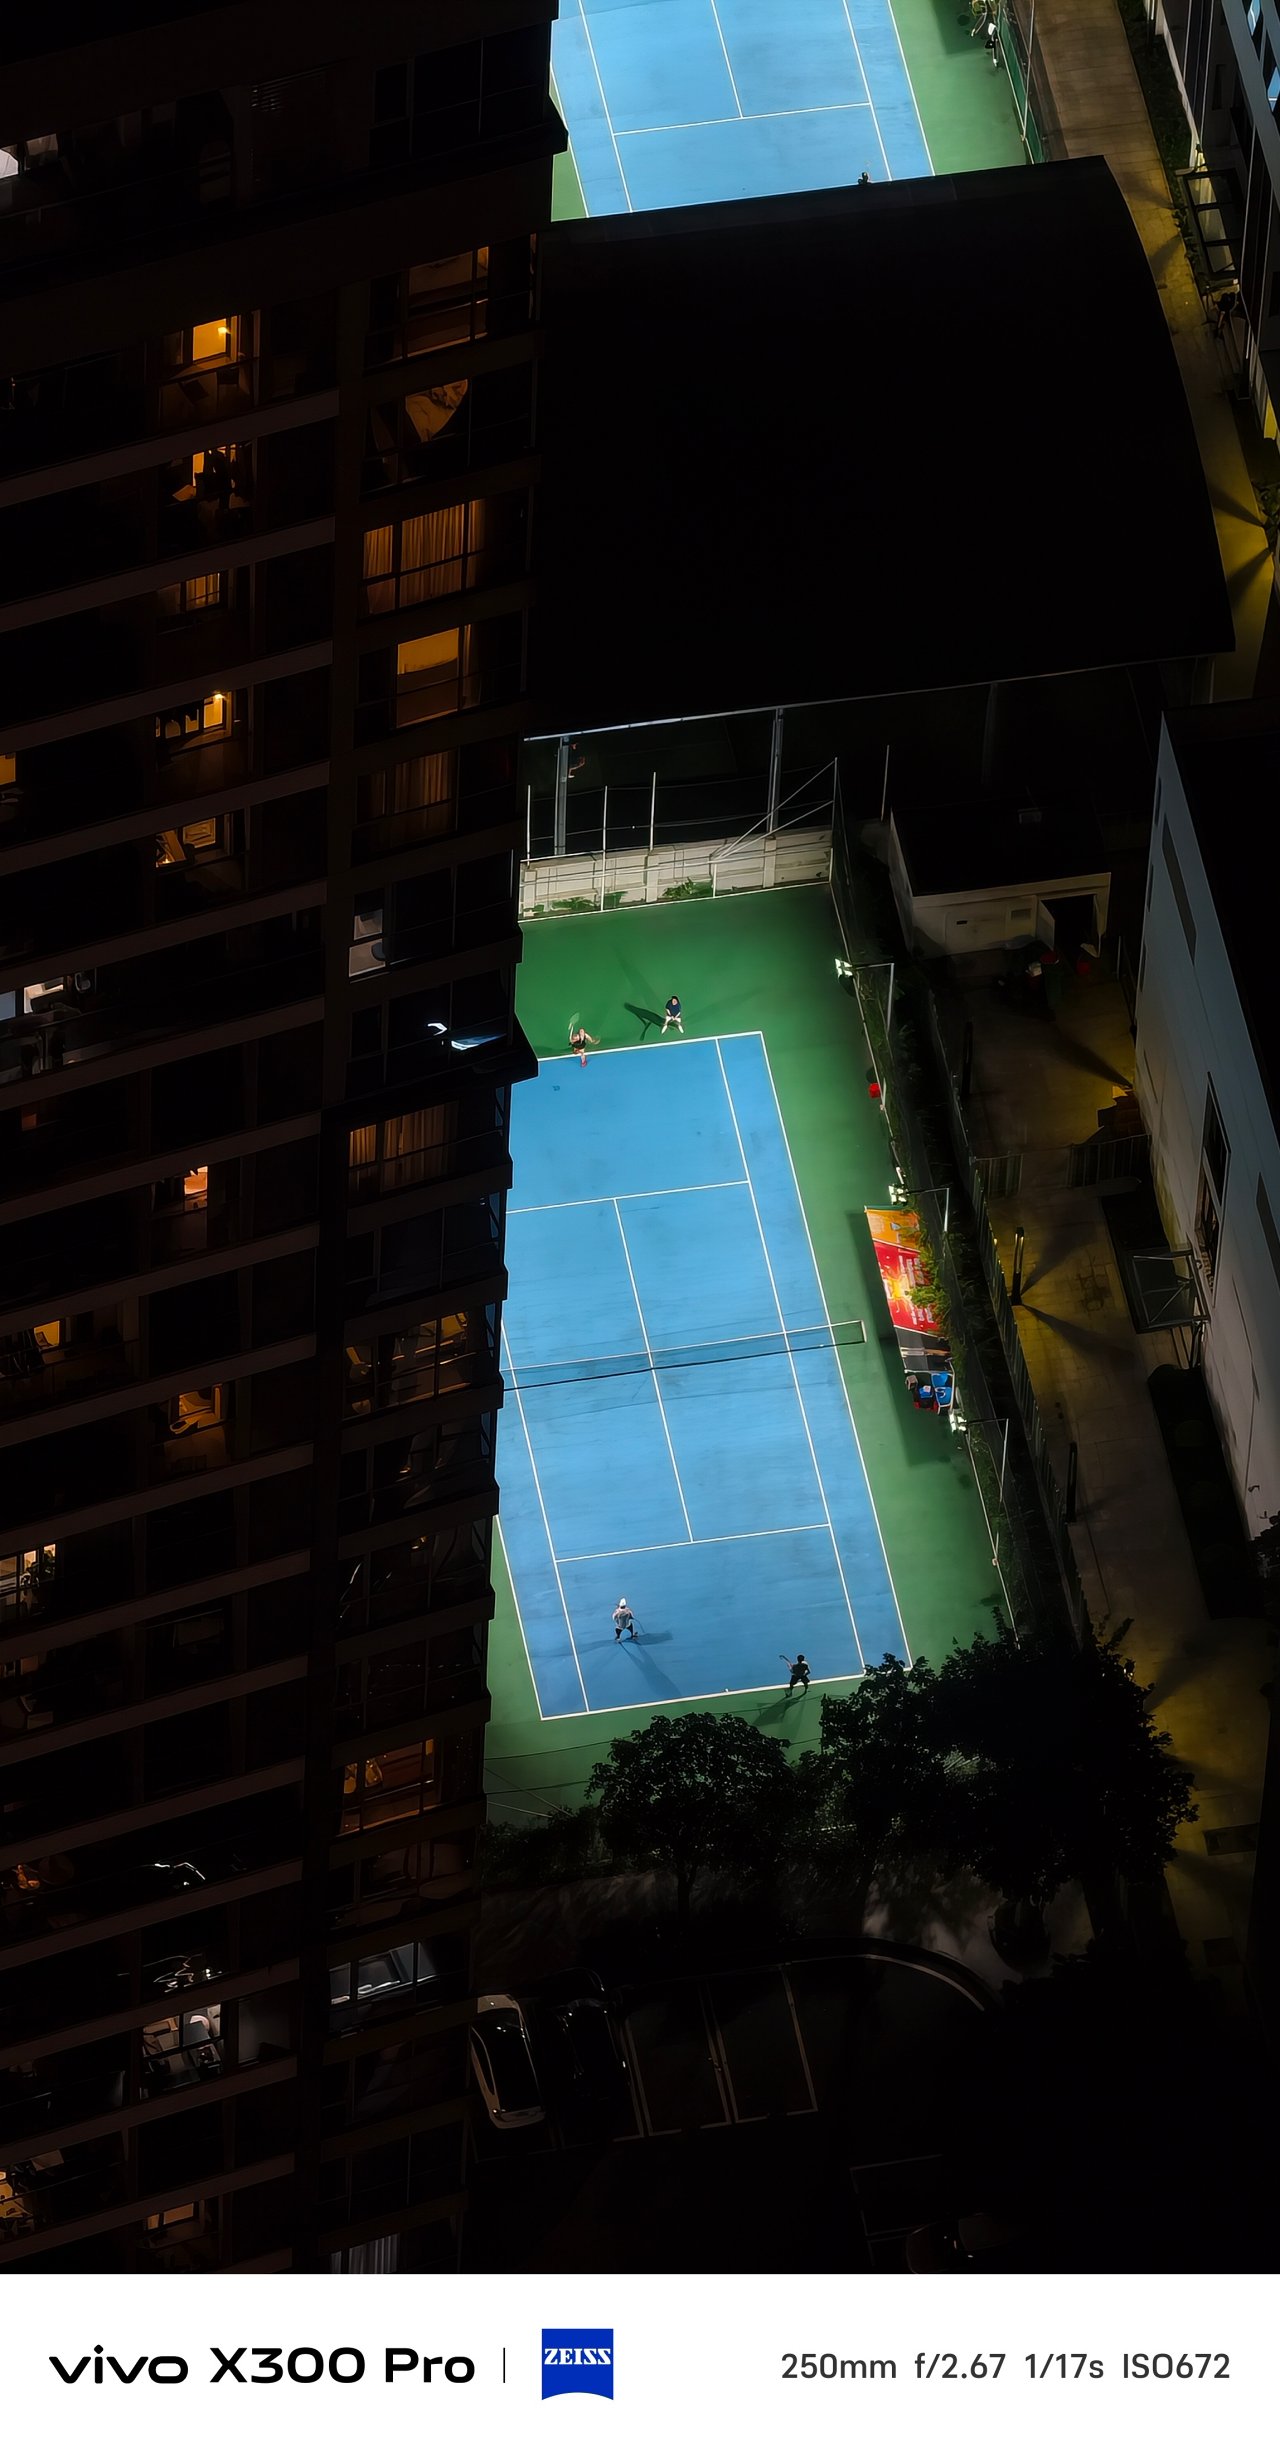
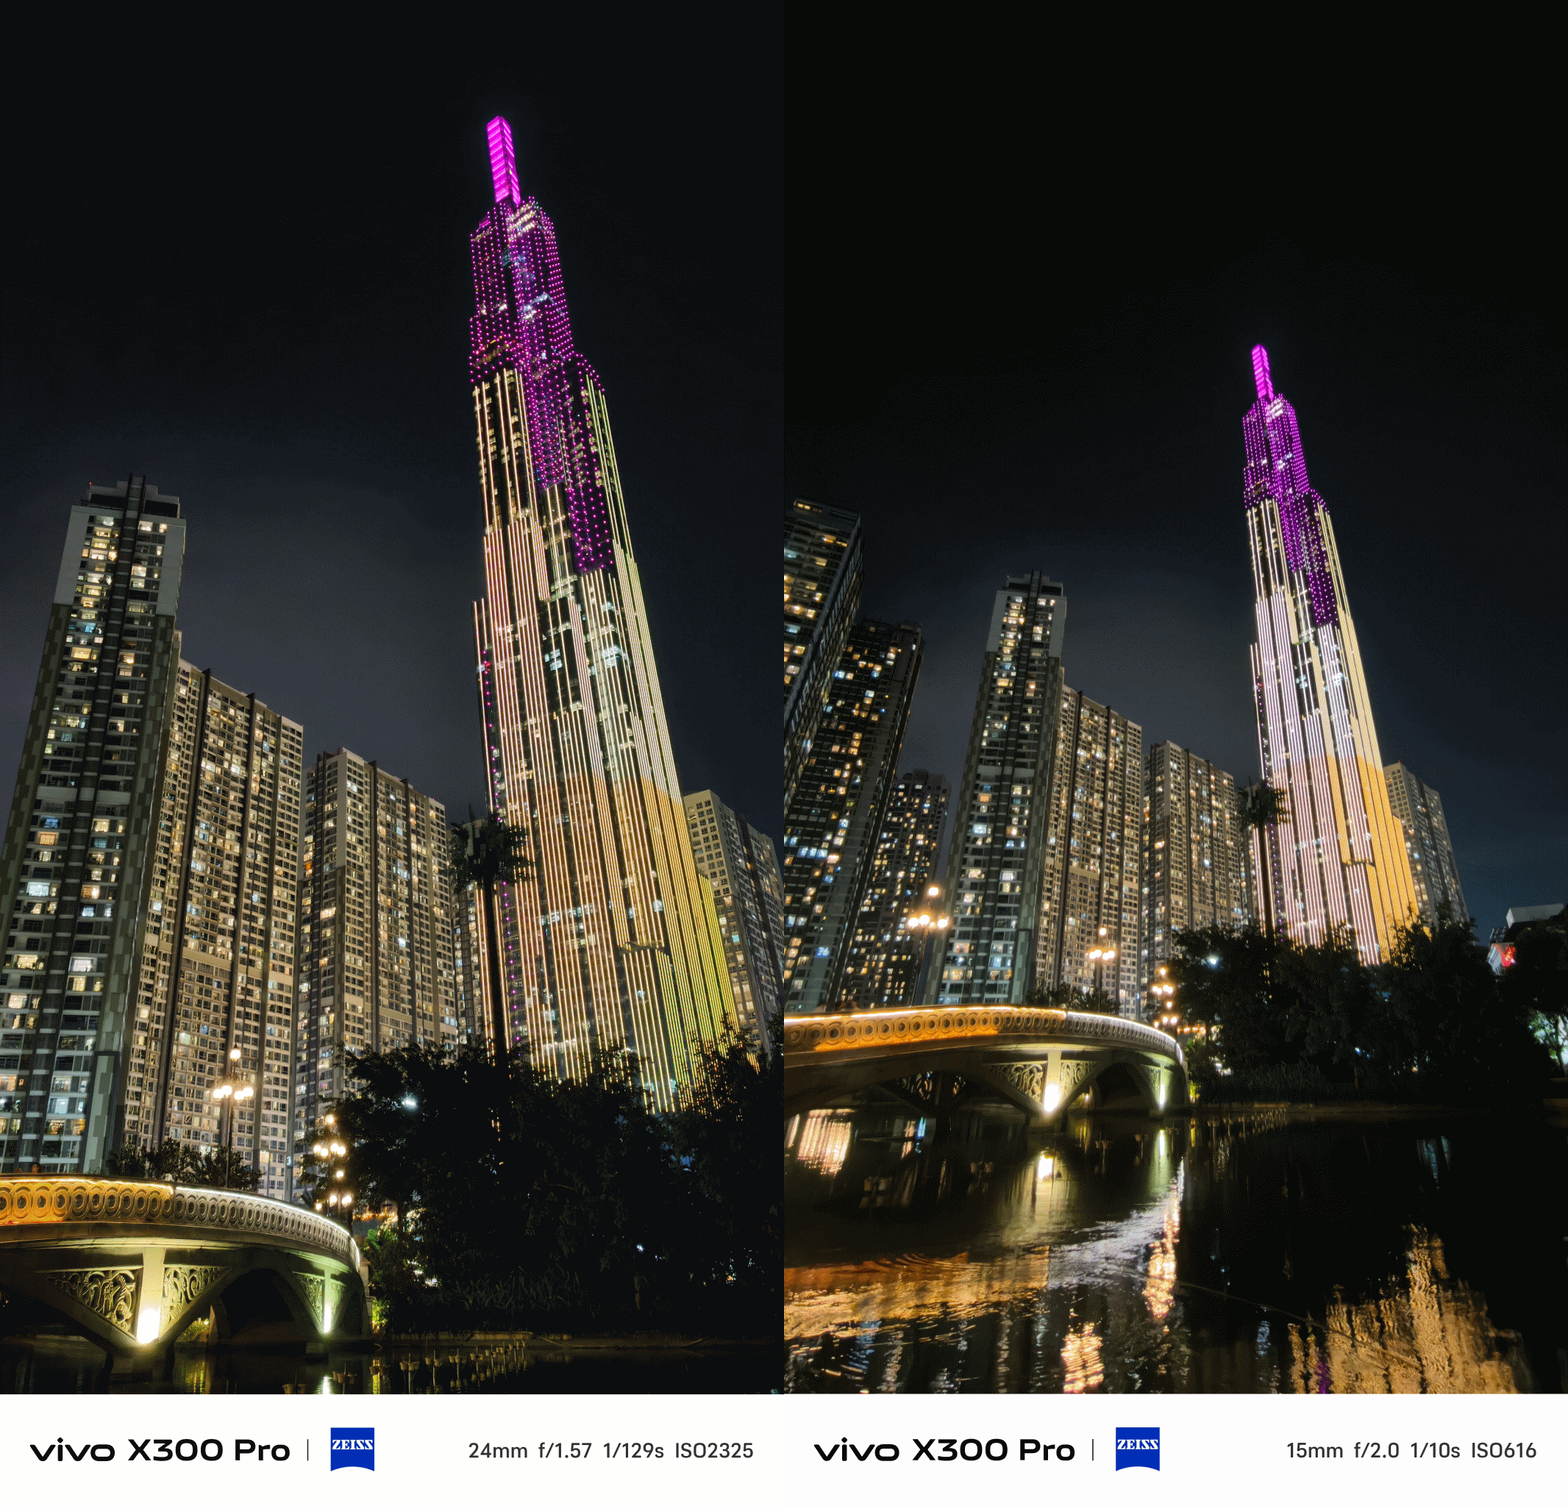
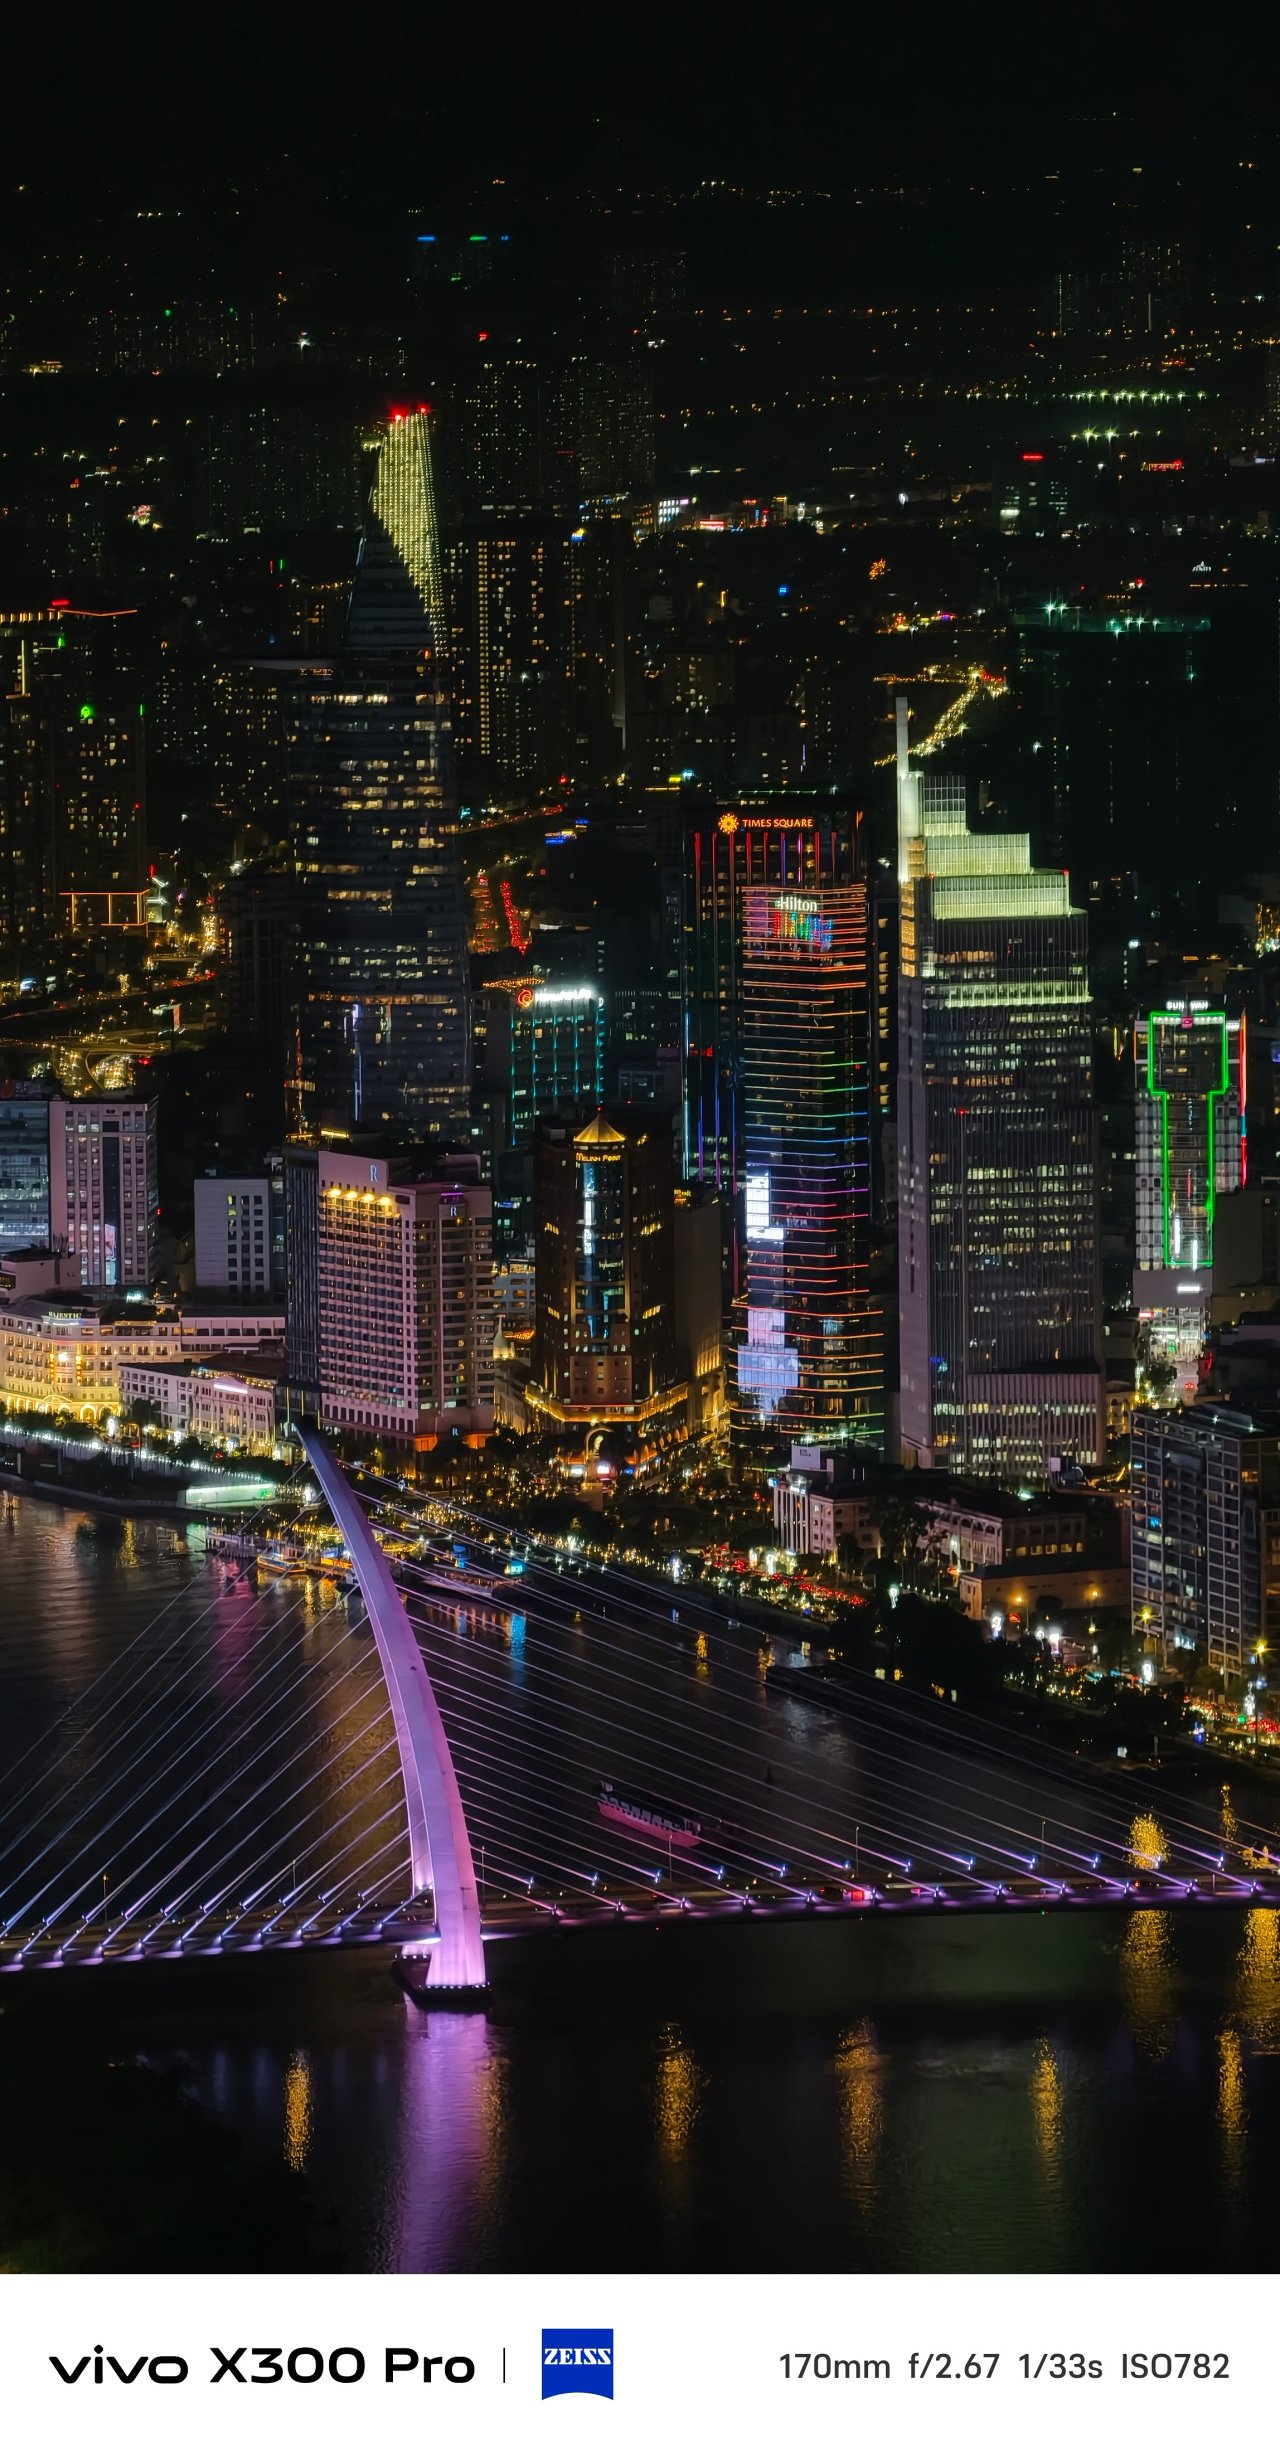
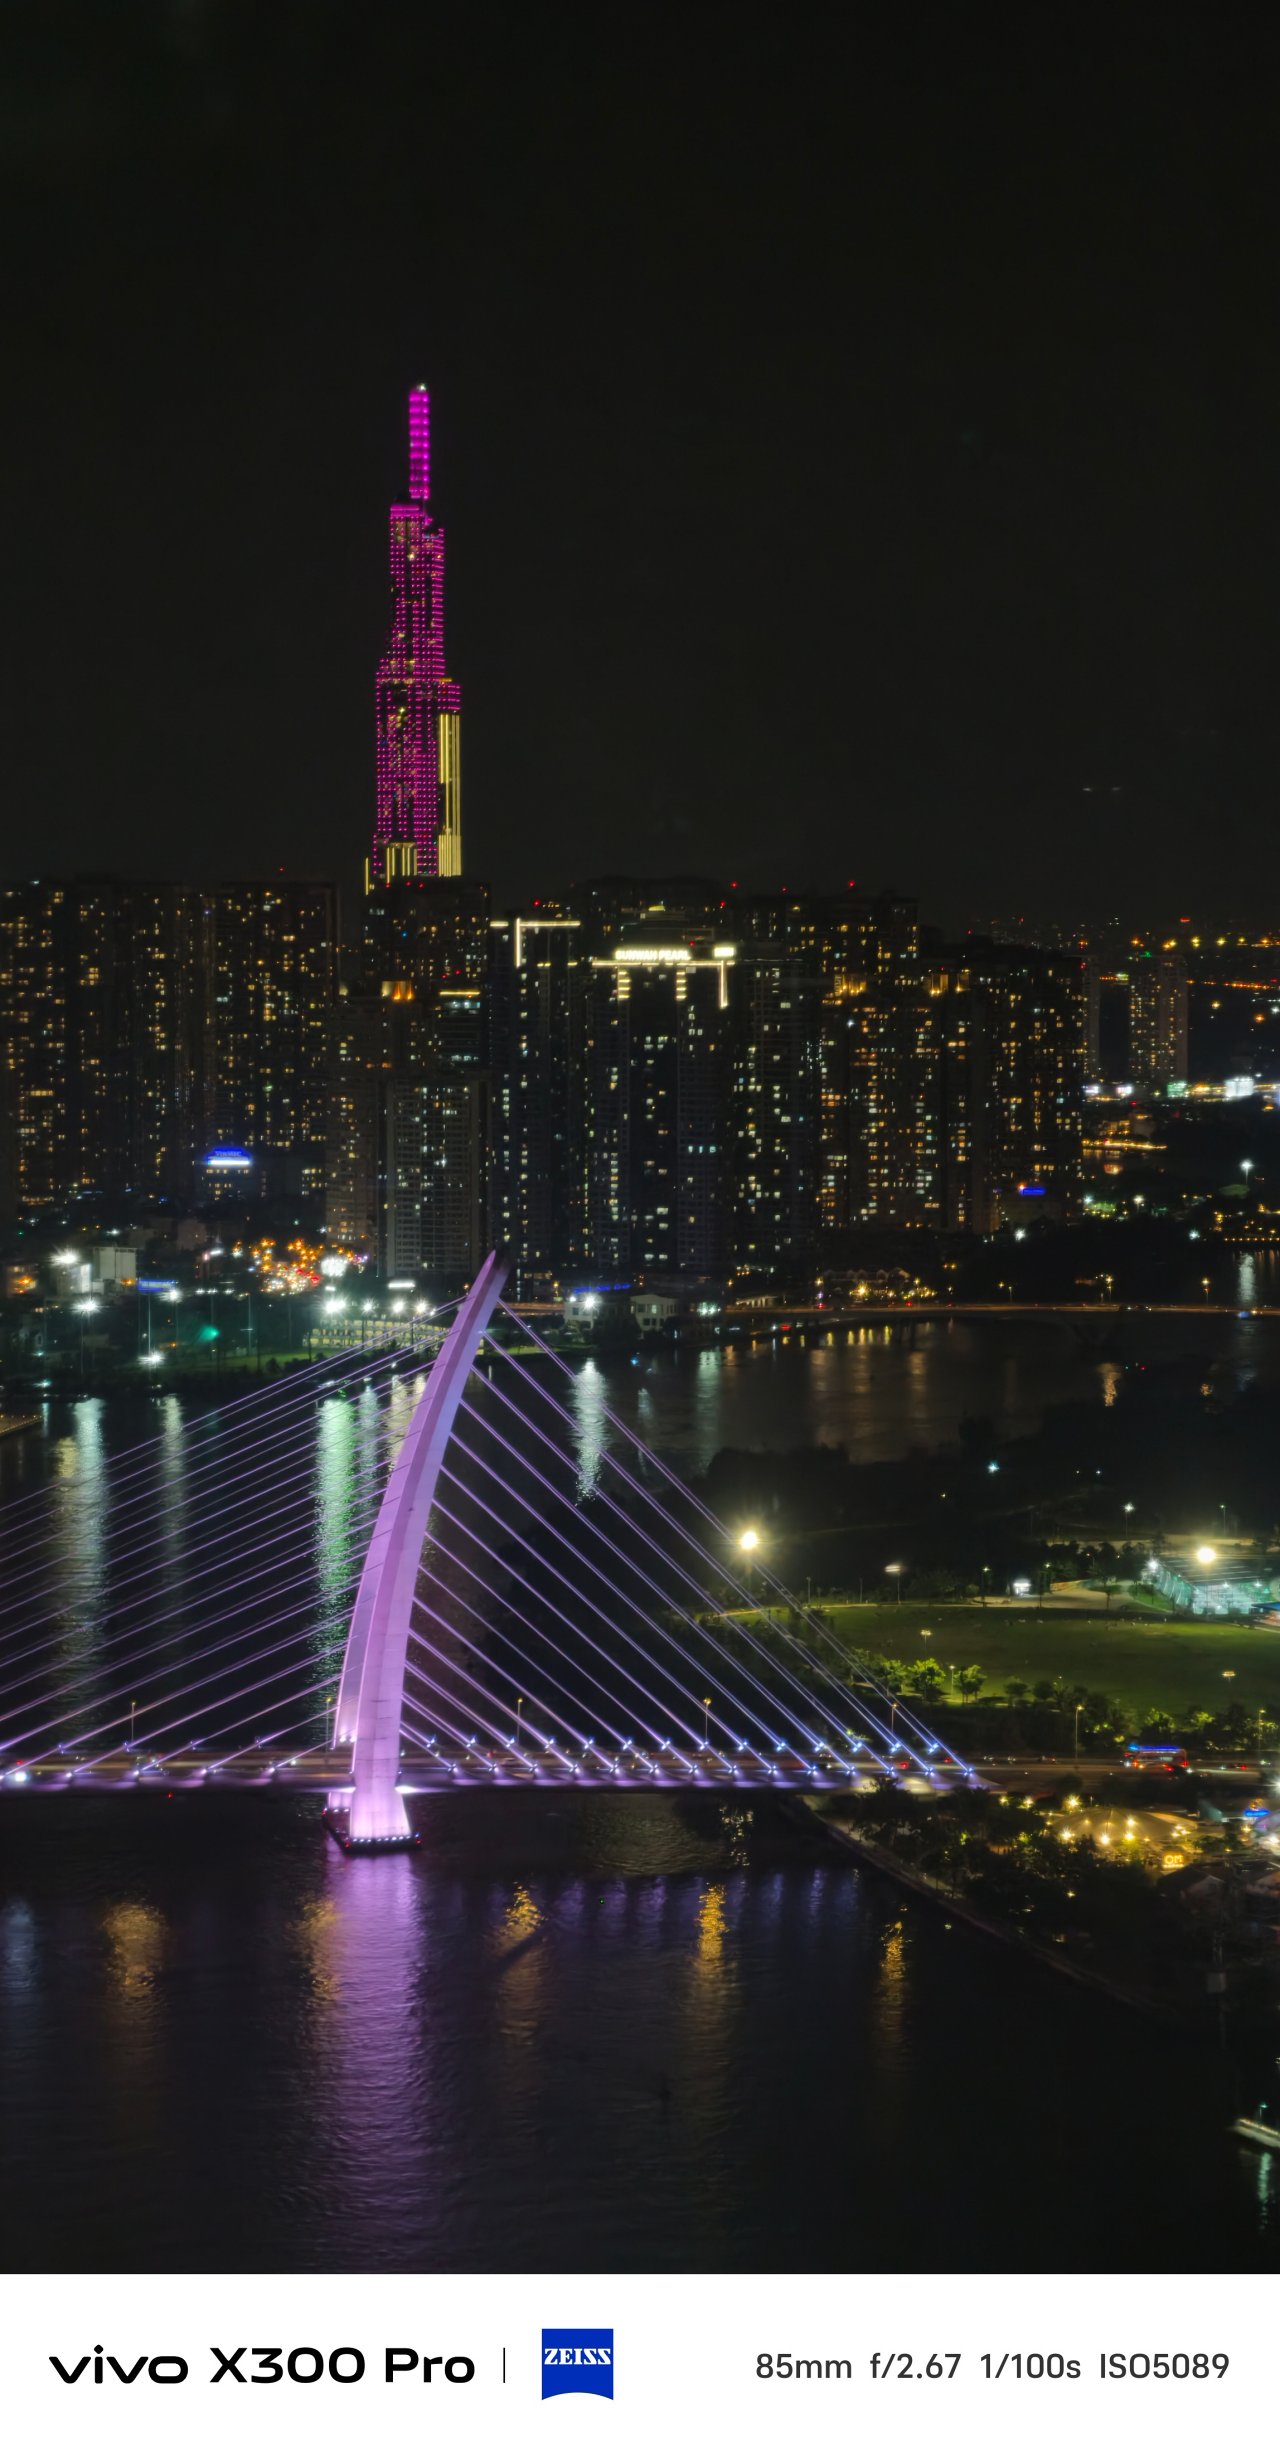

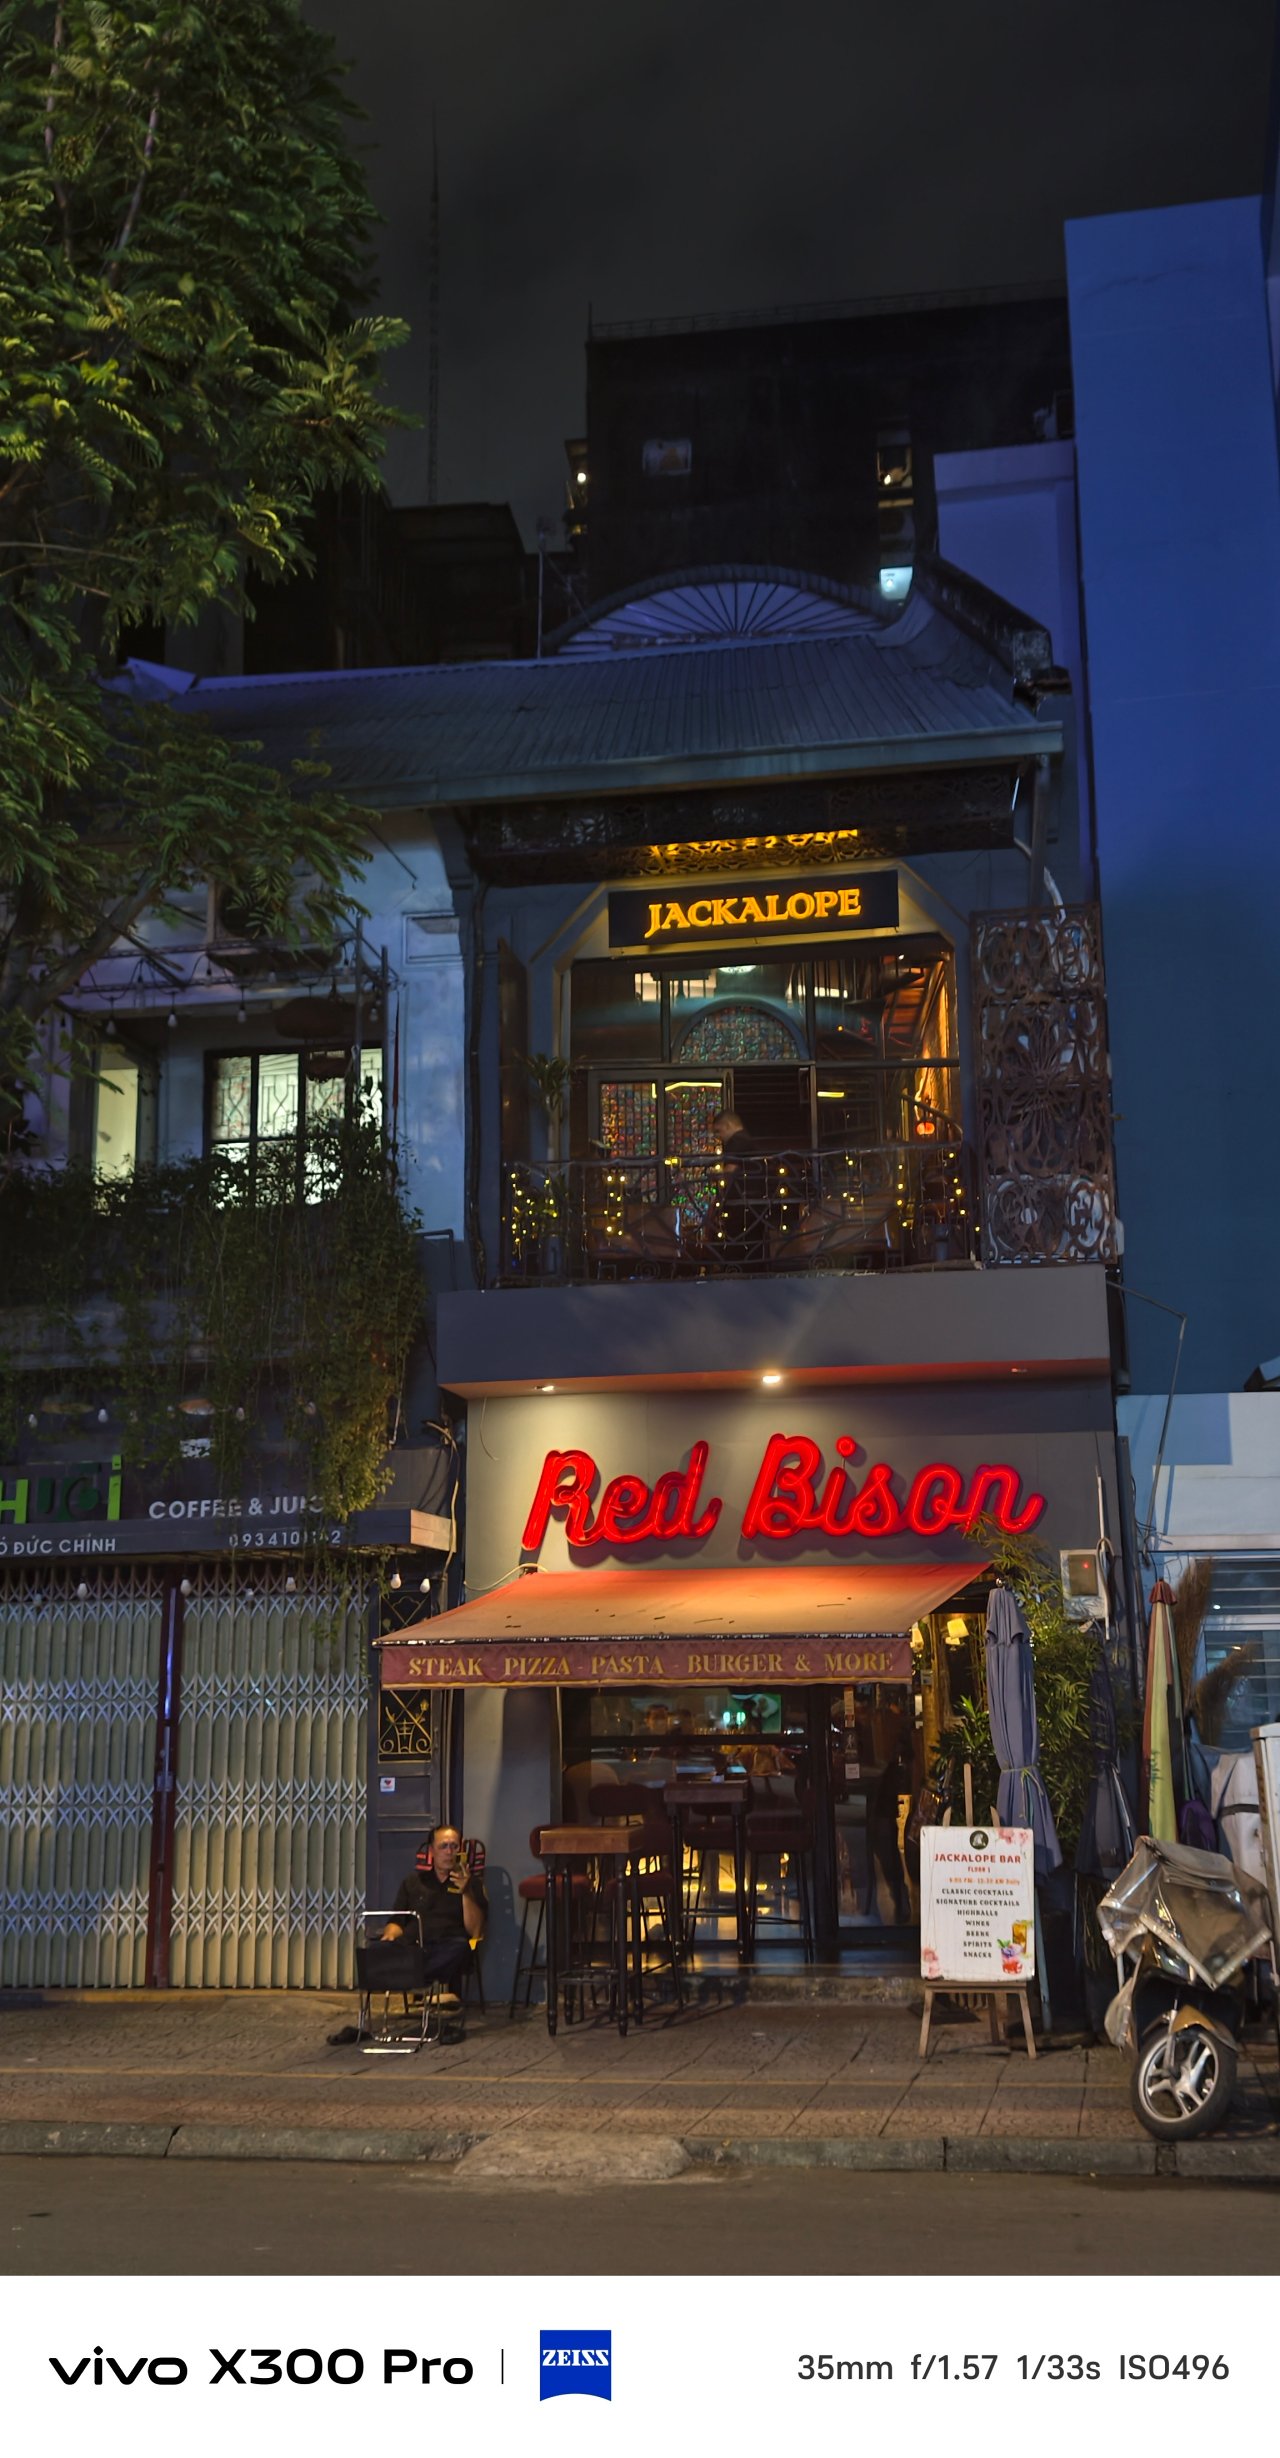

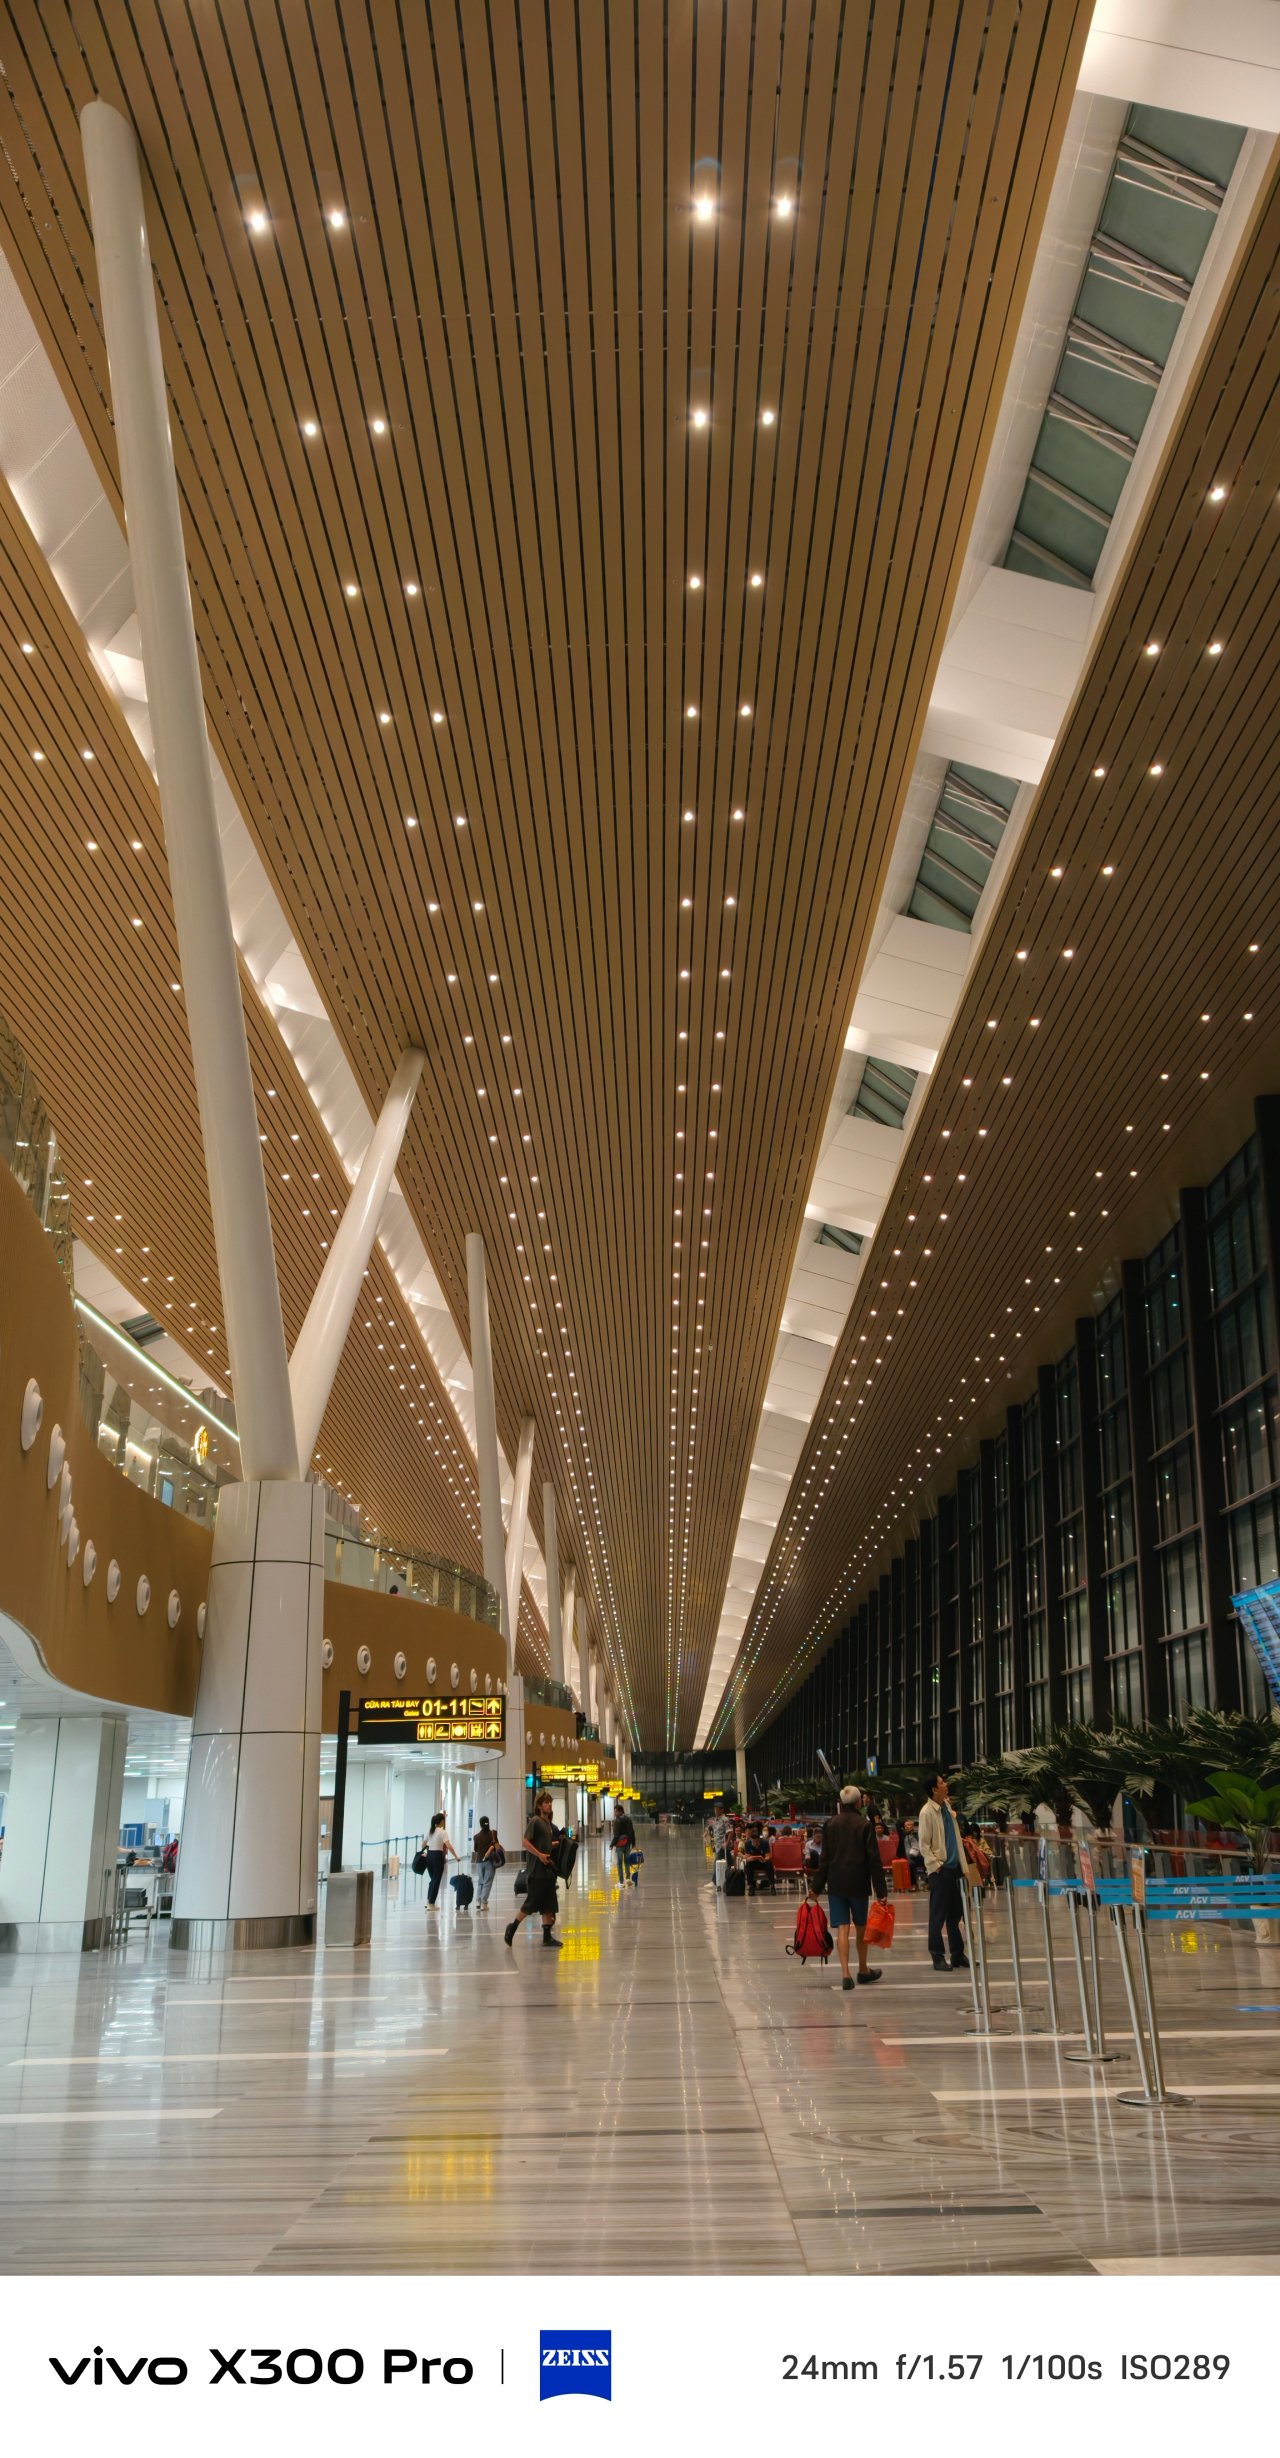
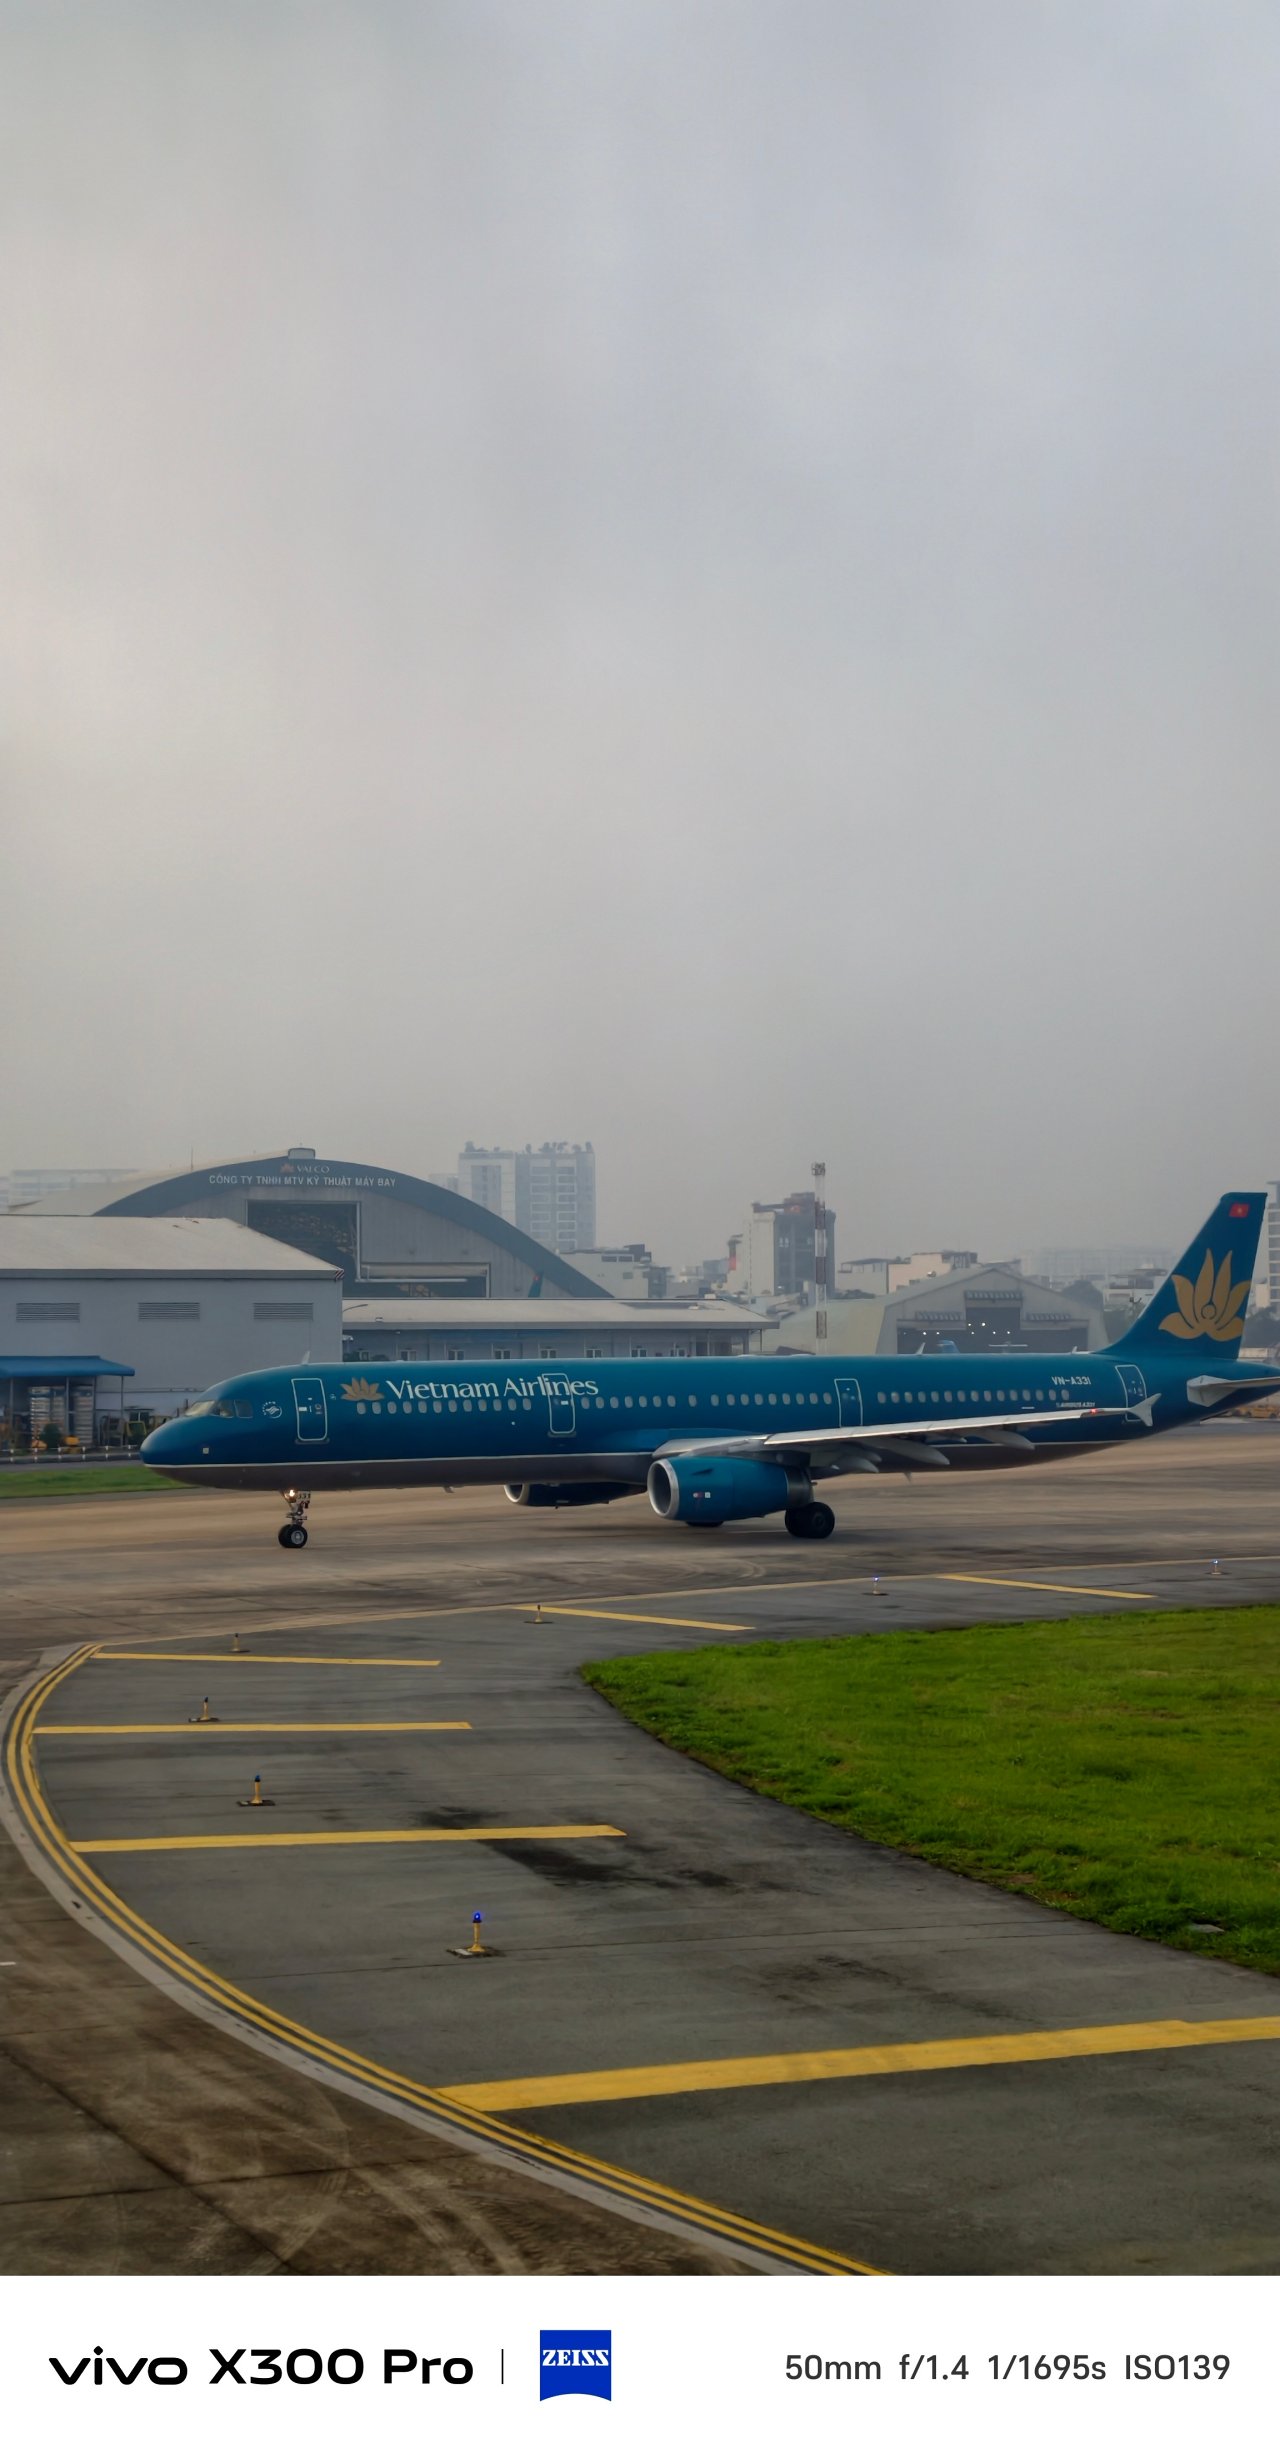
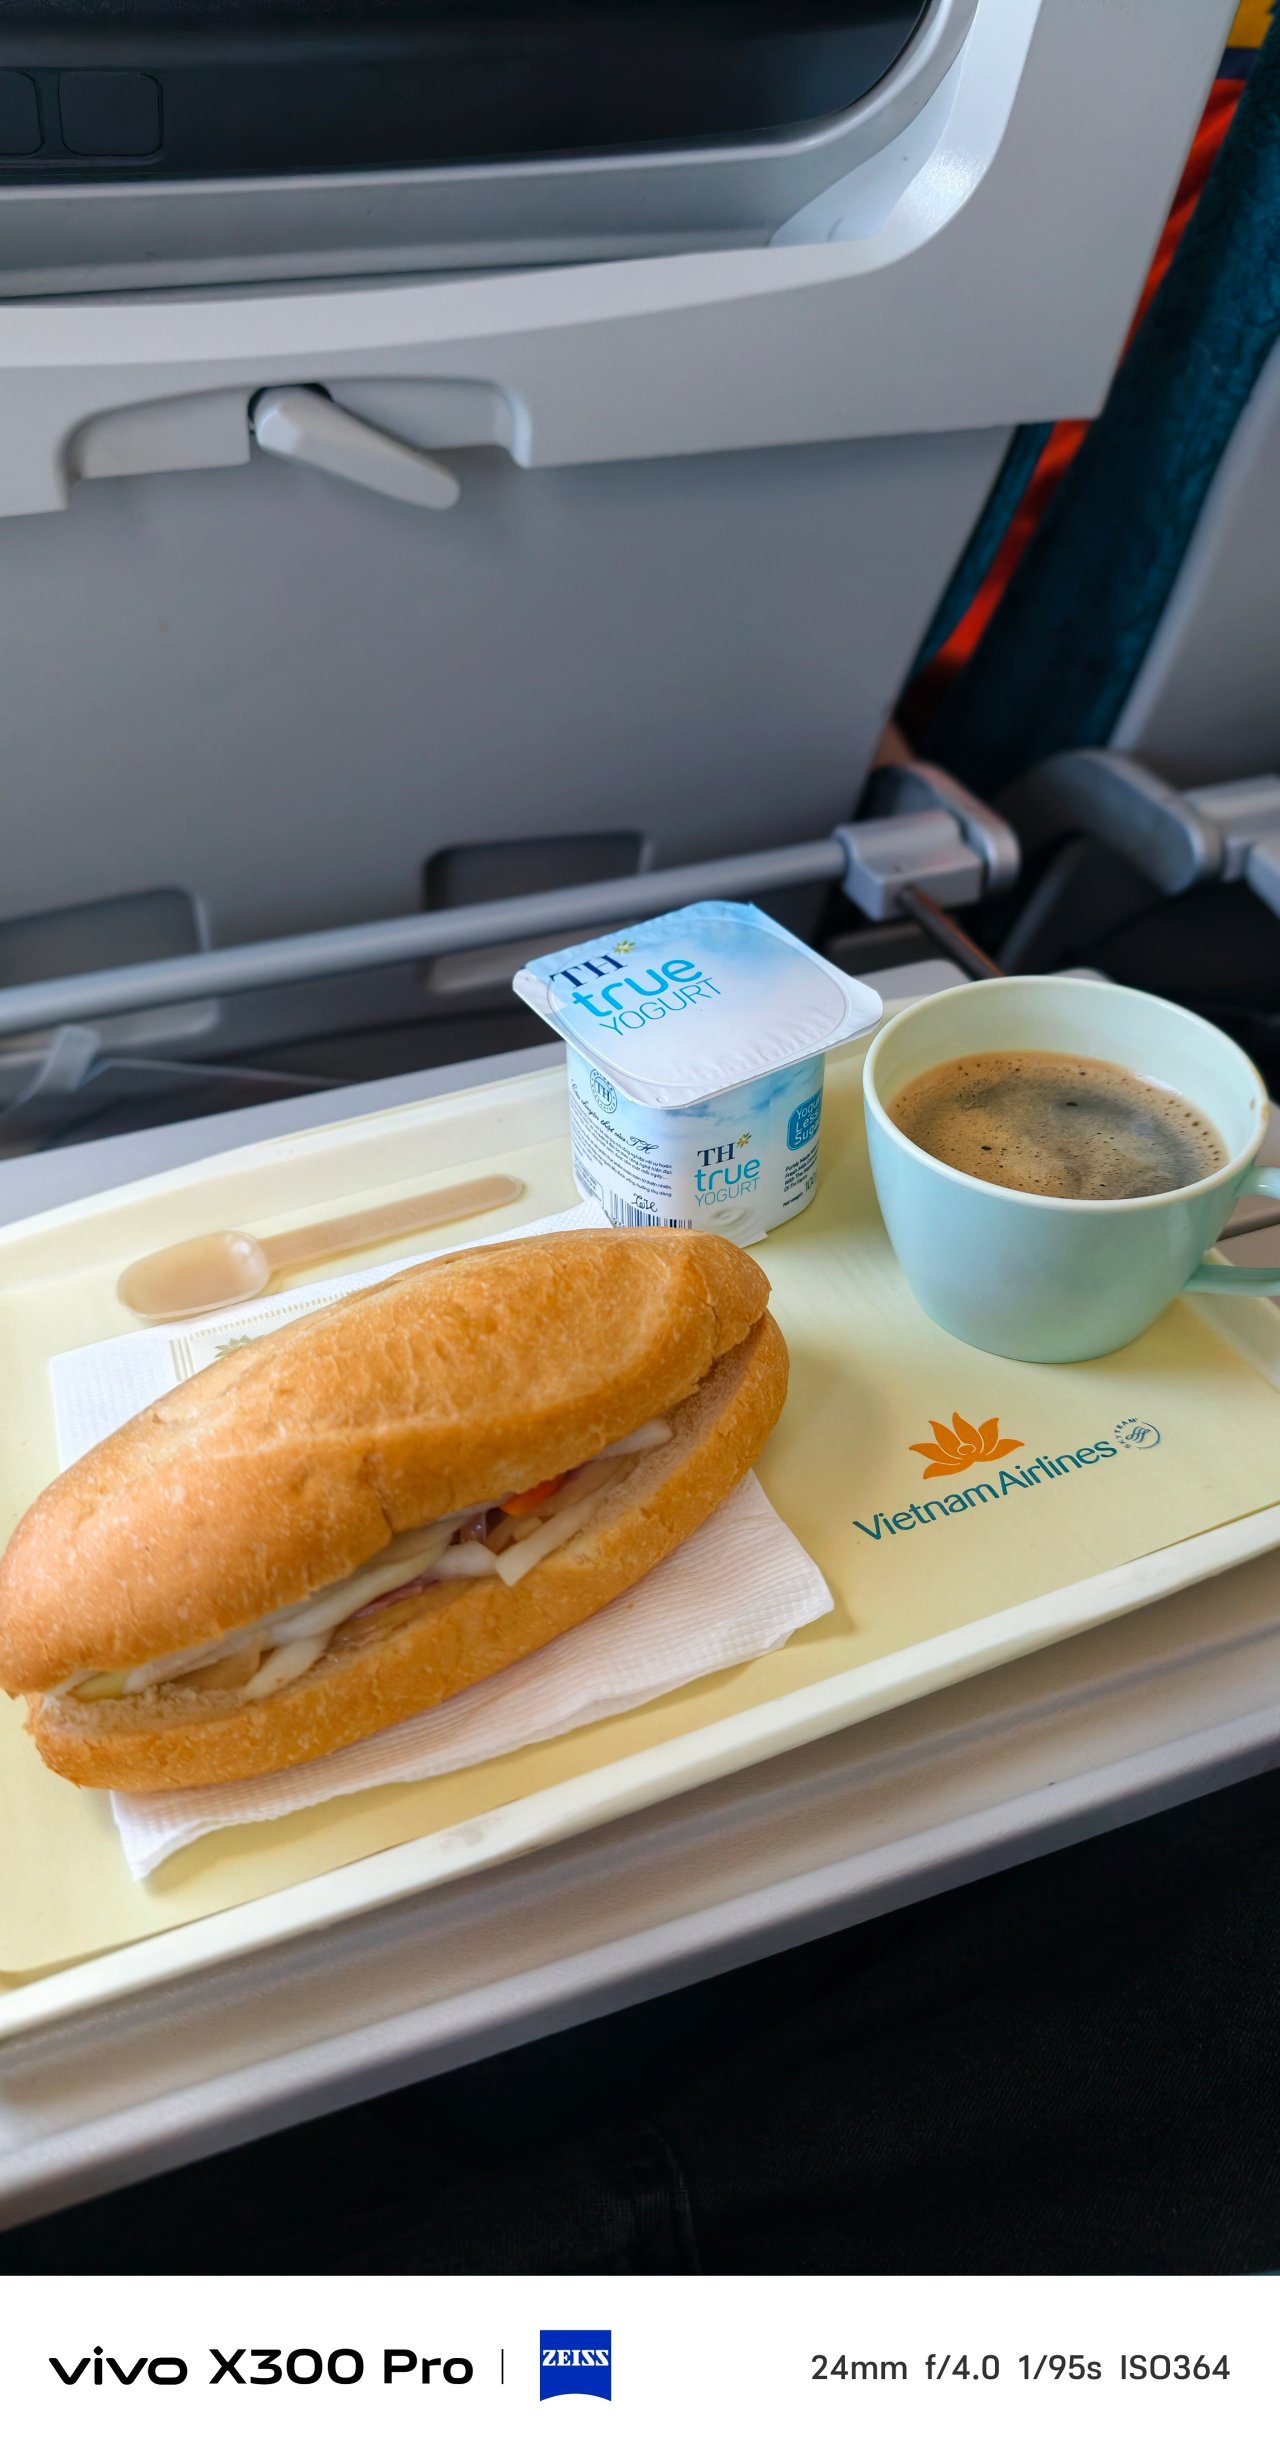
📍 Vietnam Airlines / VN206


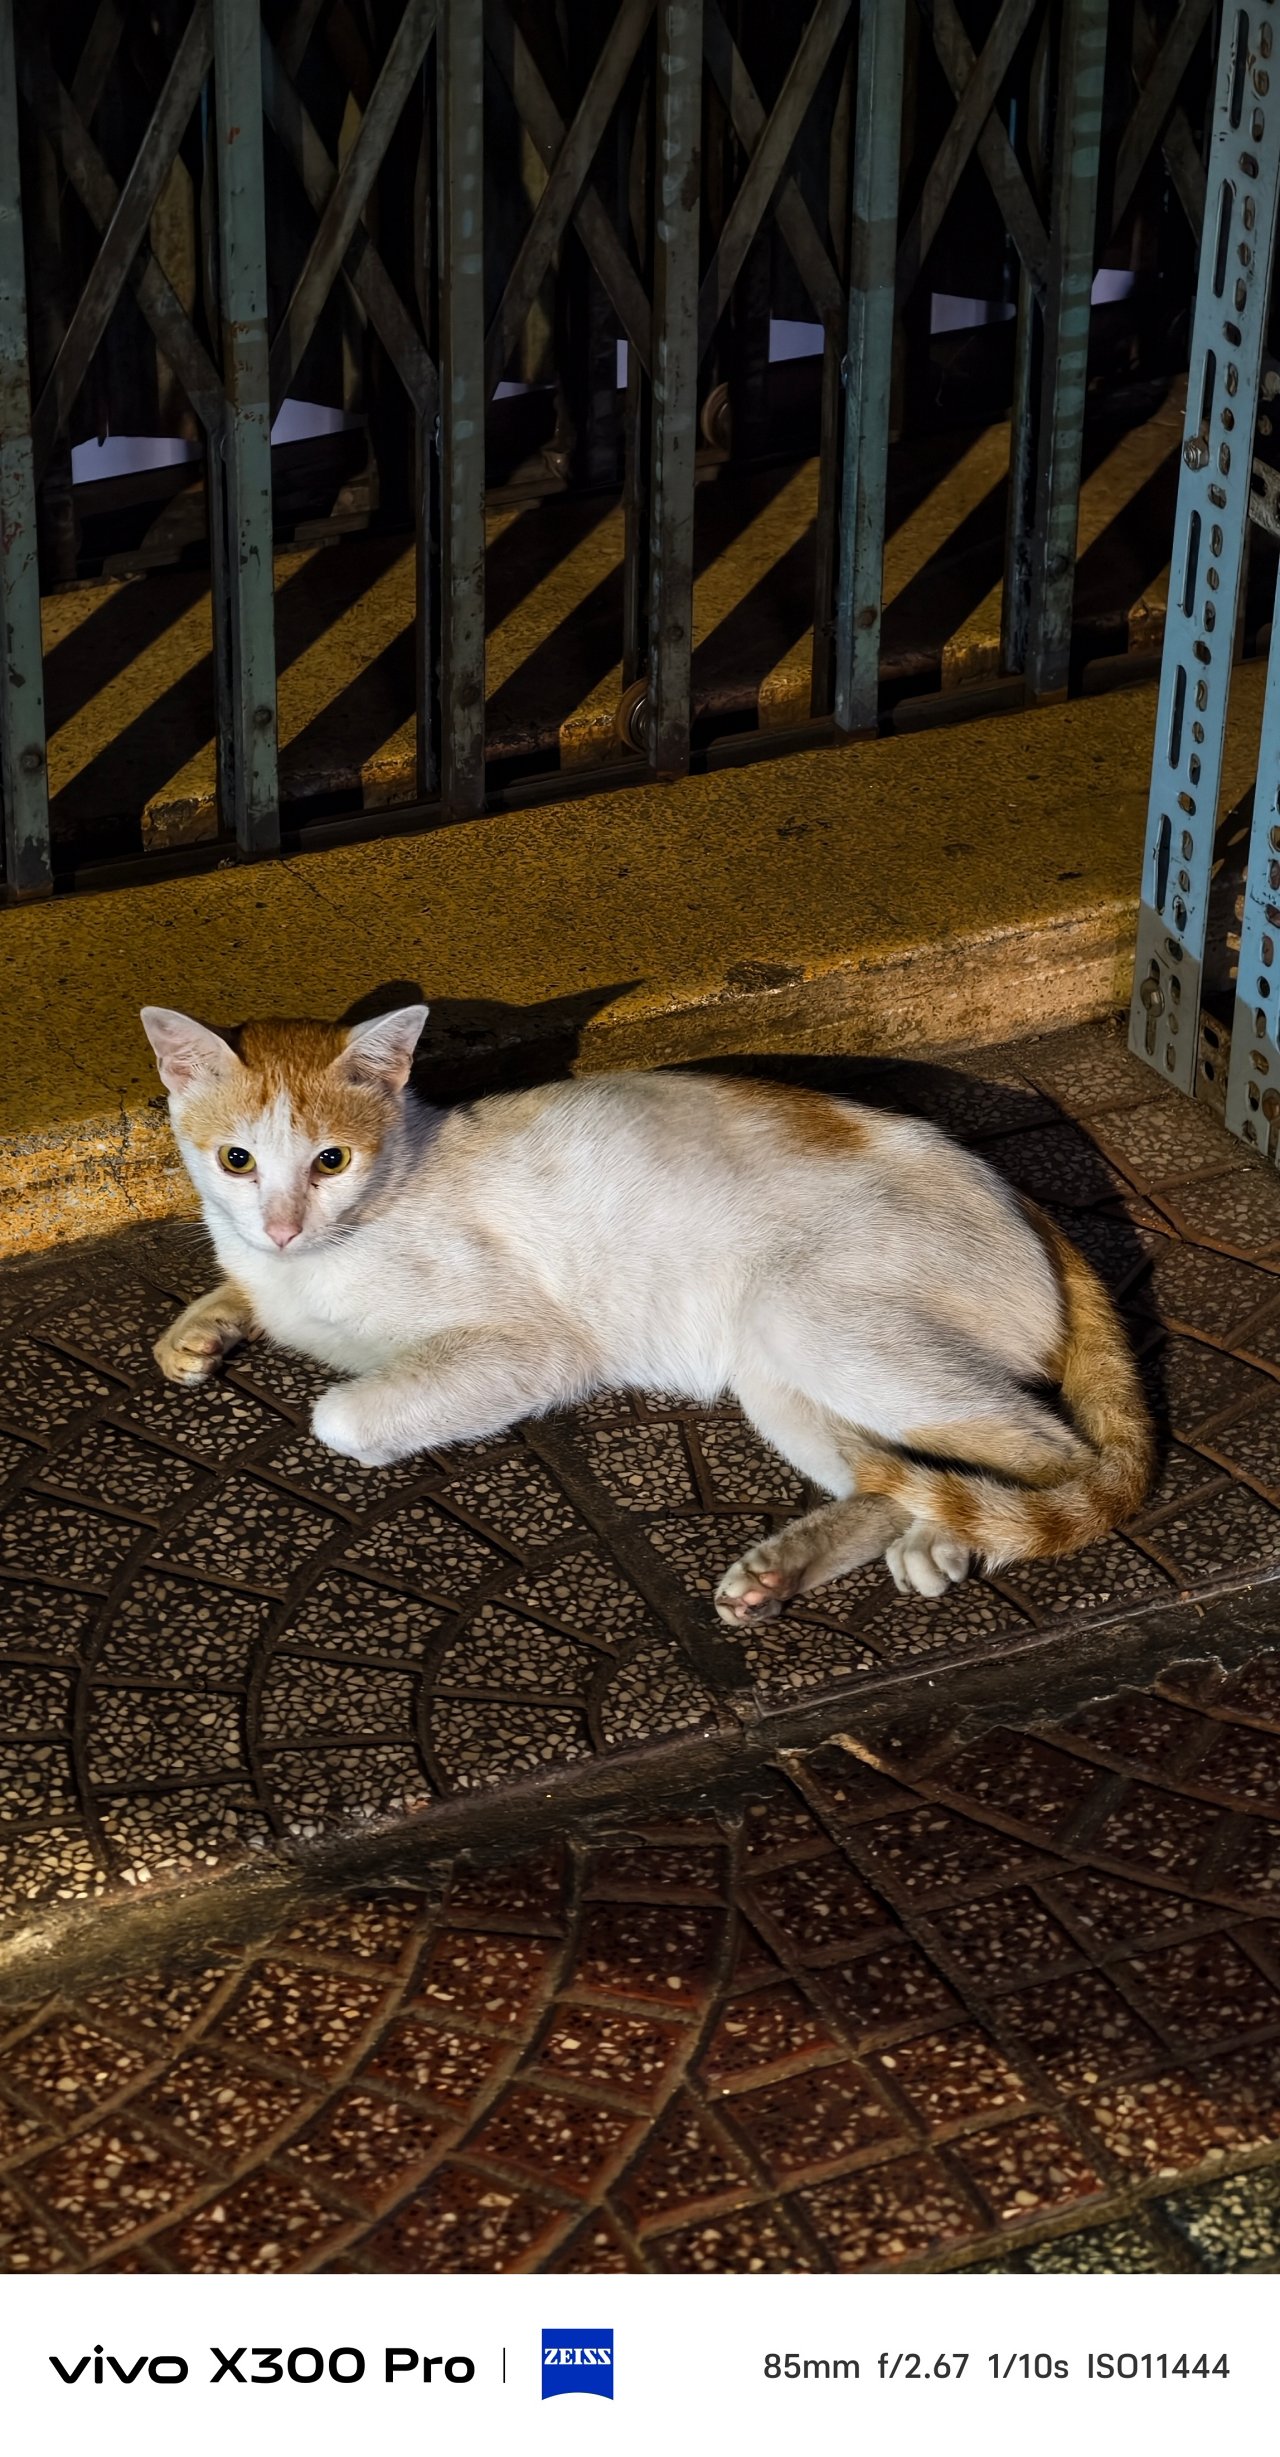
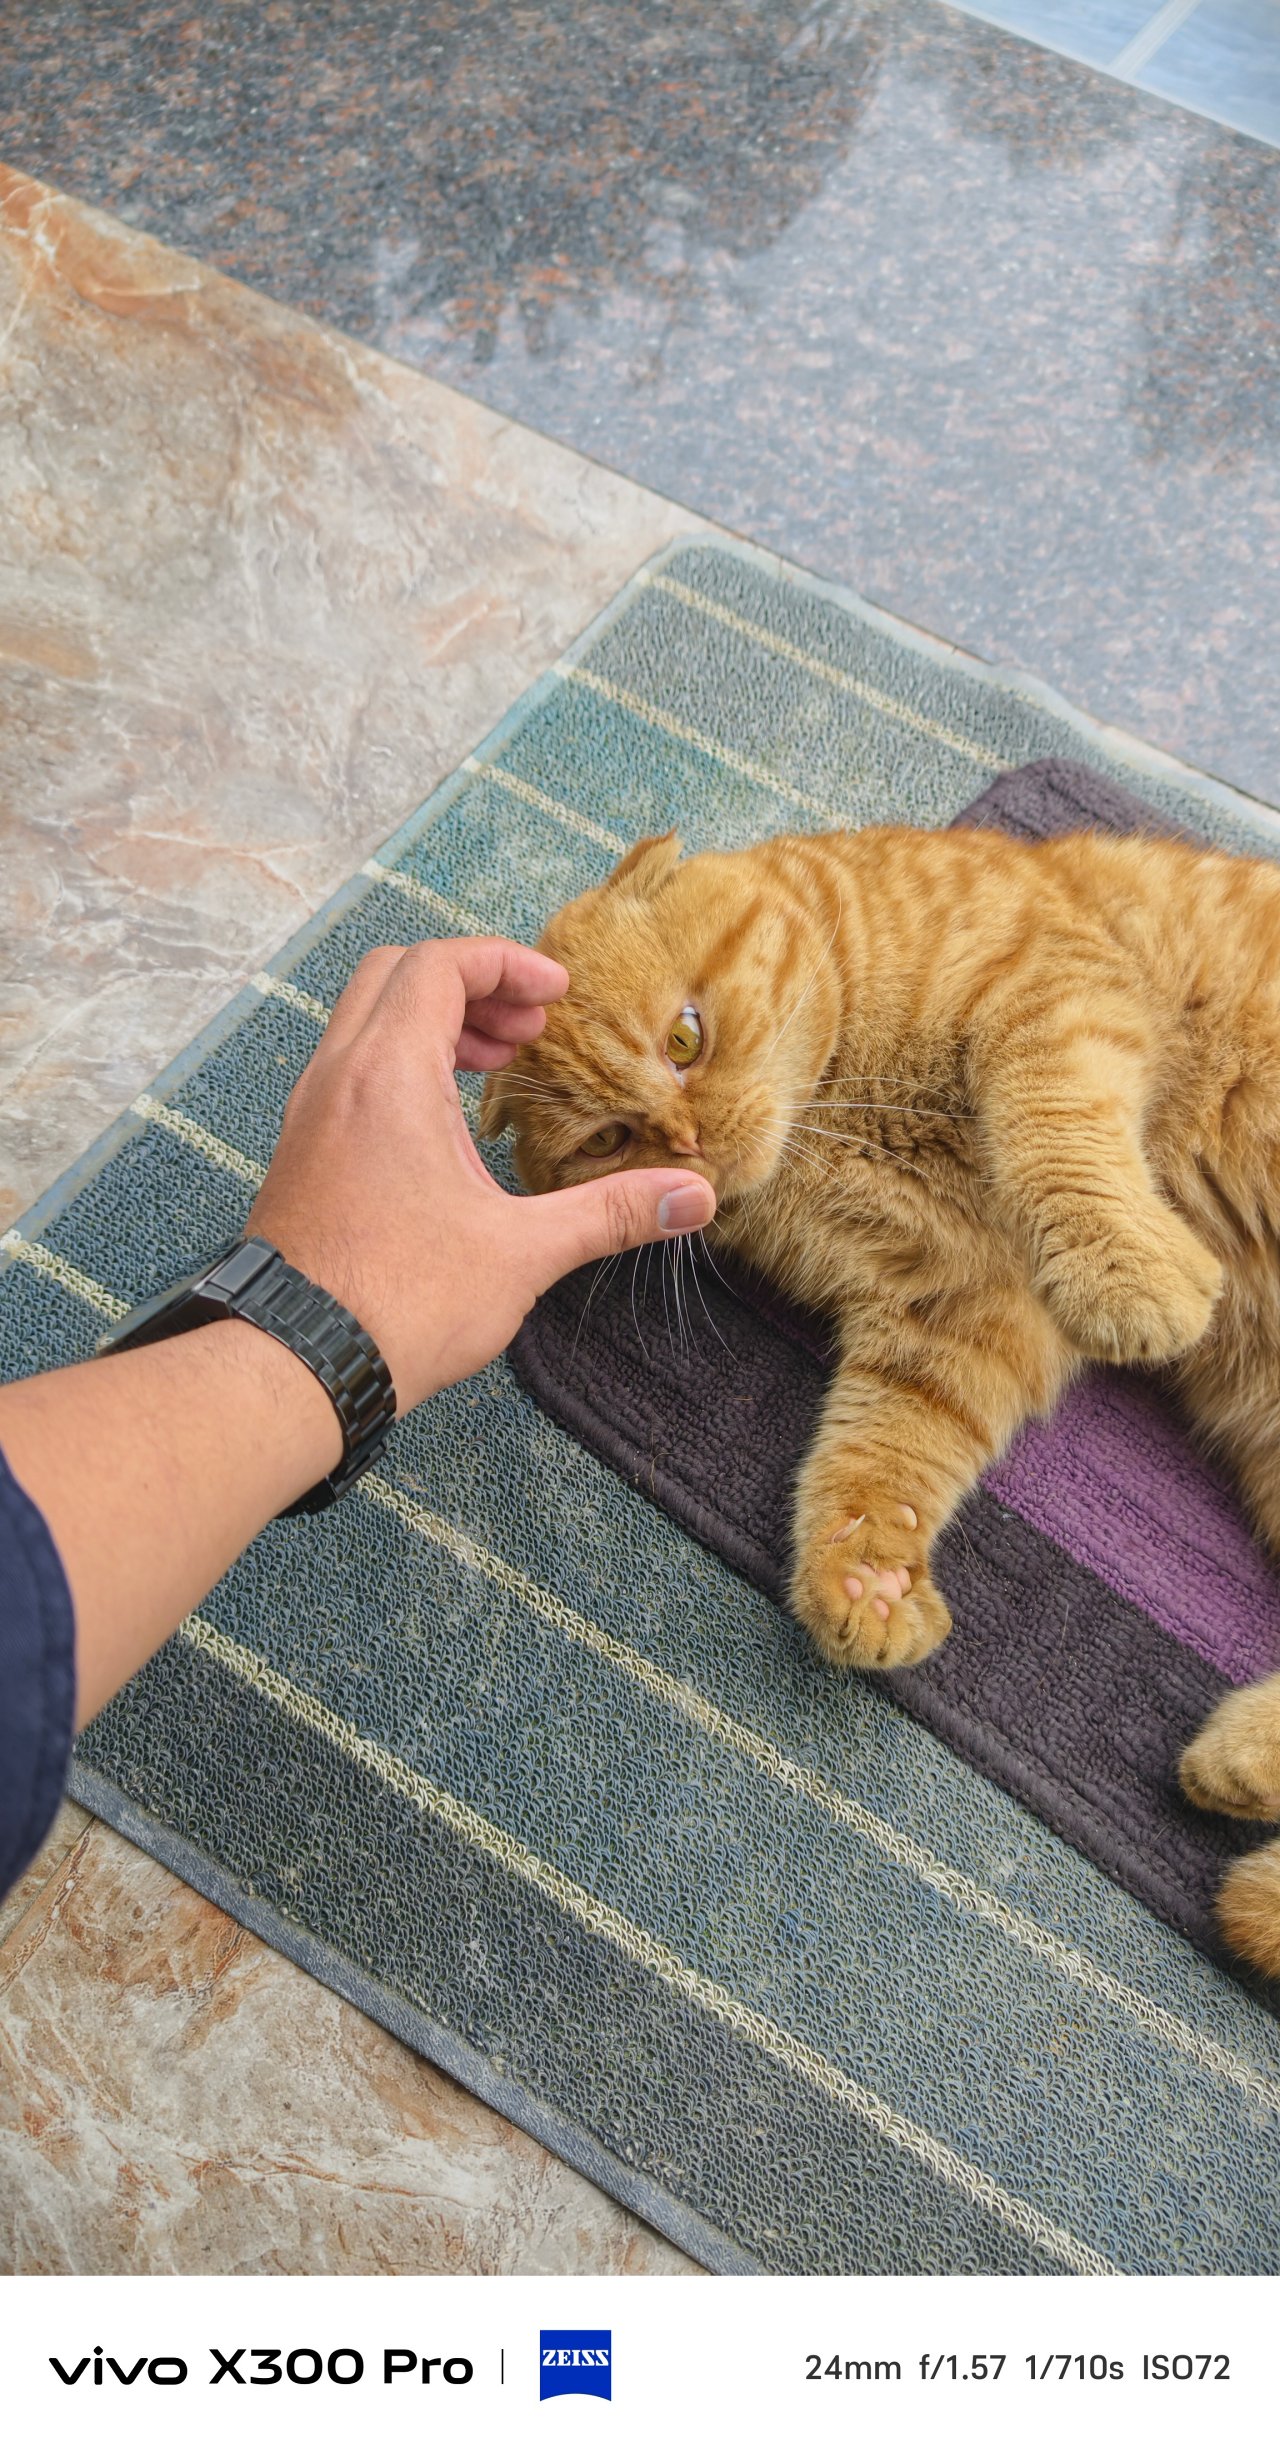
Furthermore, it gives that much-needed depth when taking pics of indoor and outdoor pets.
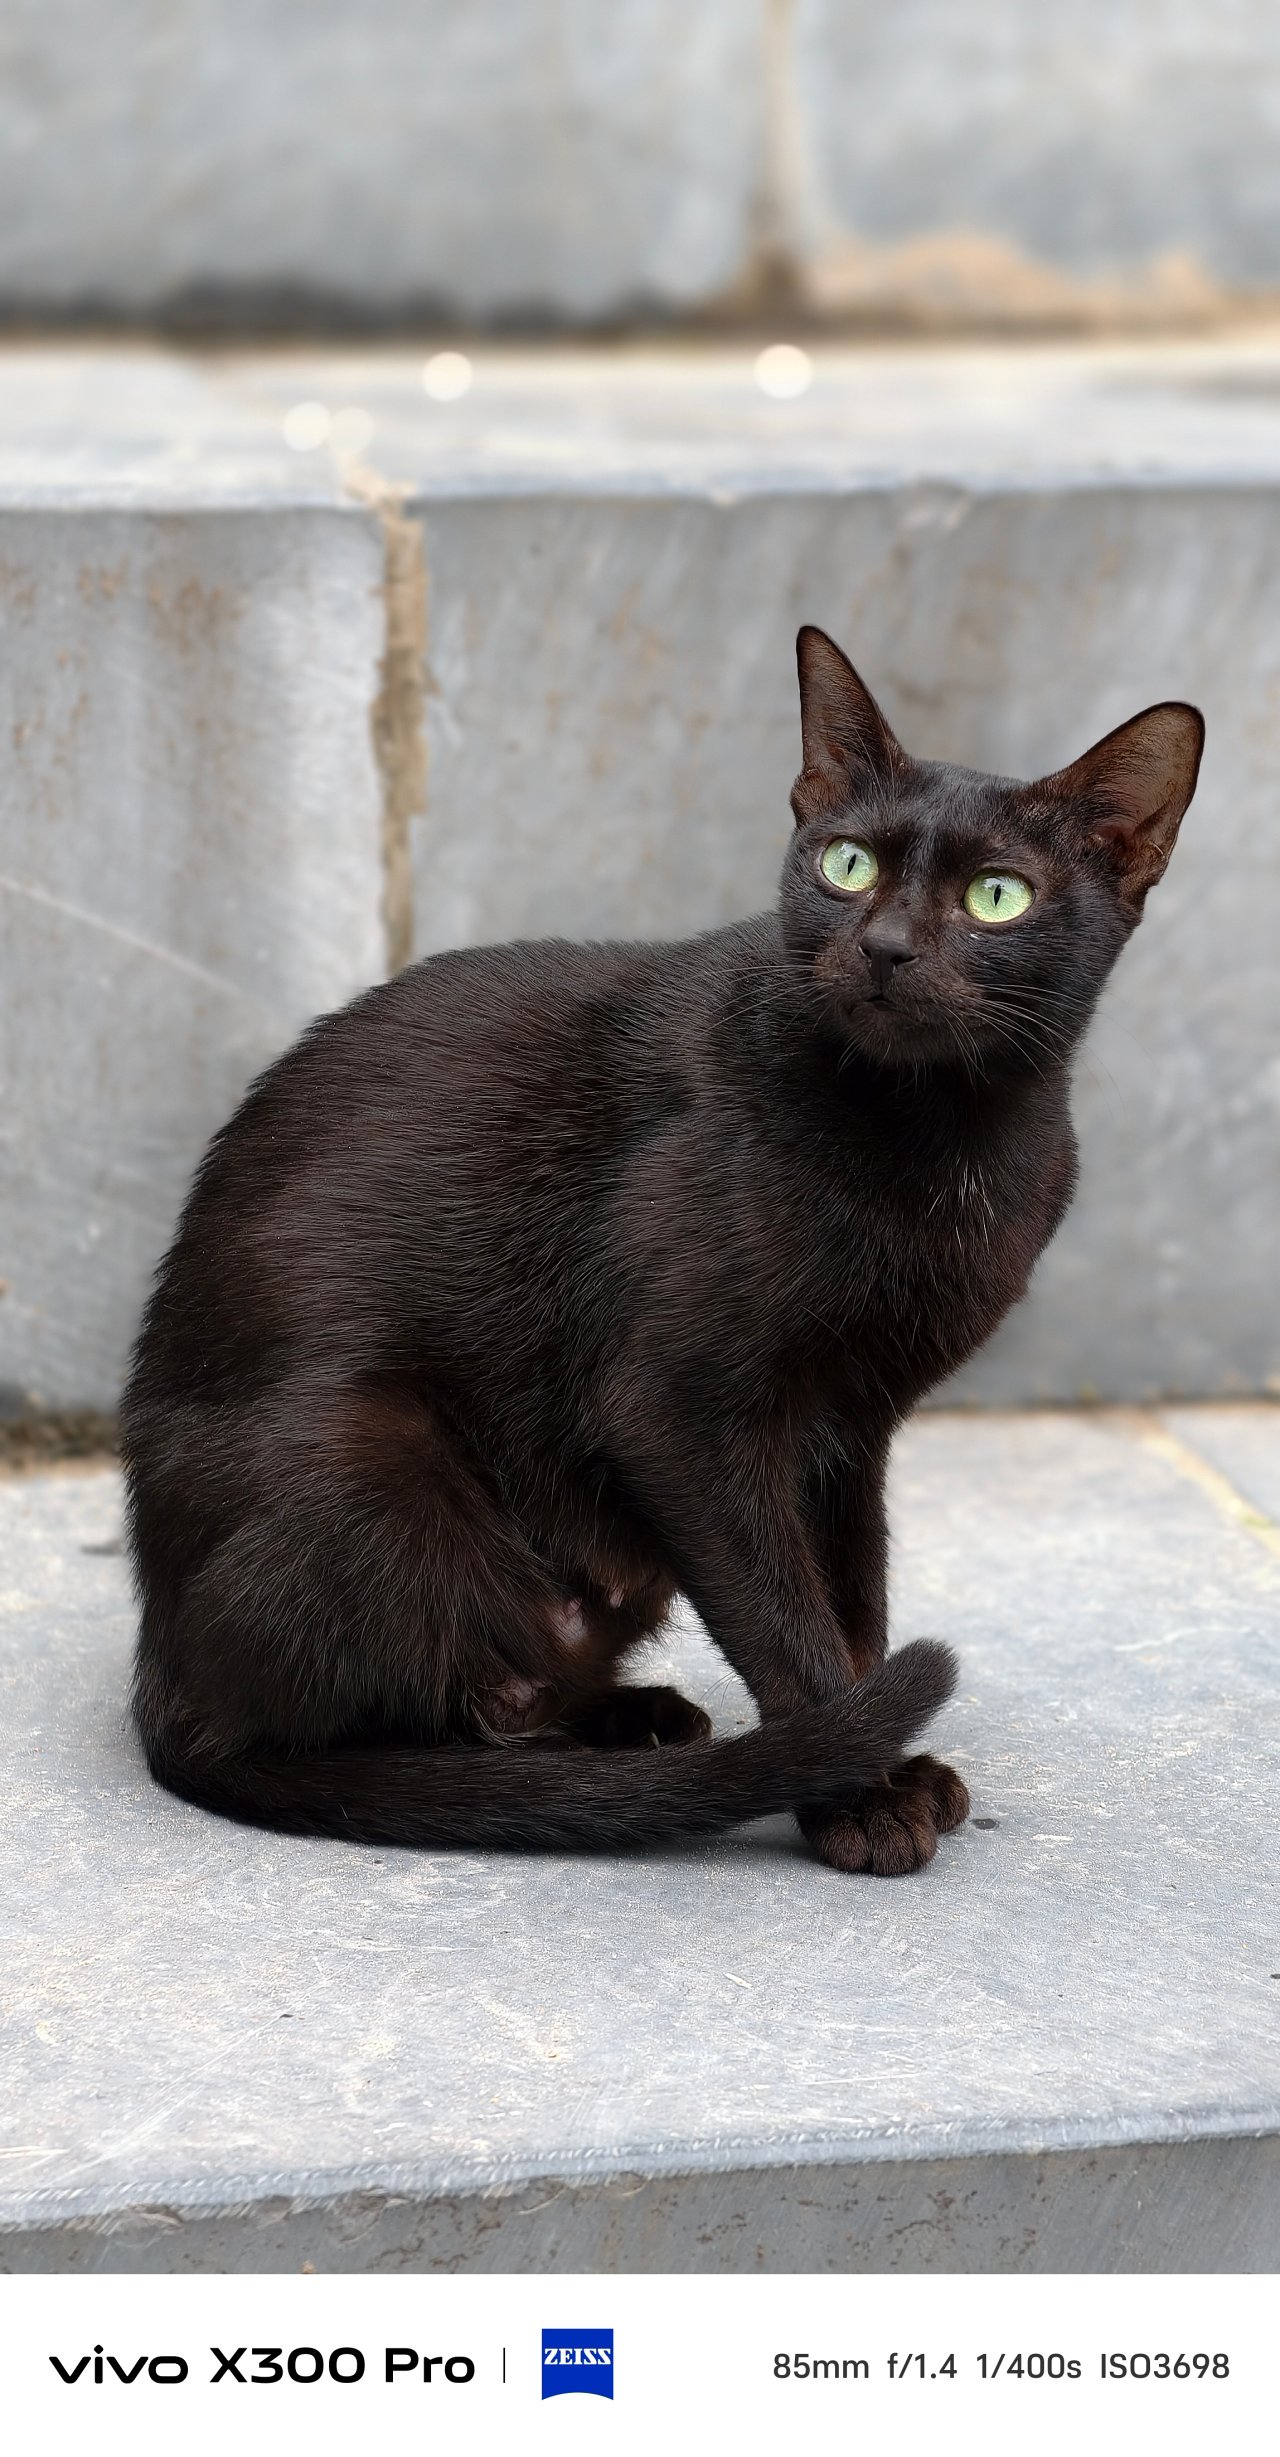
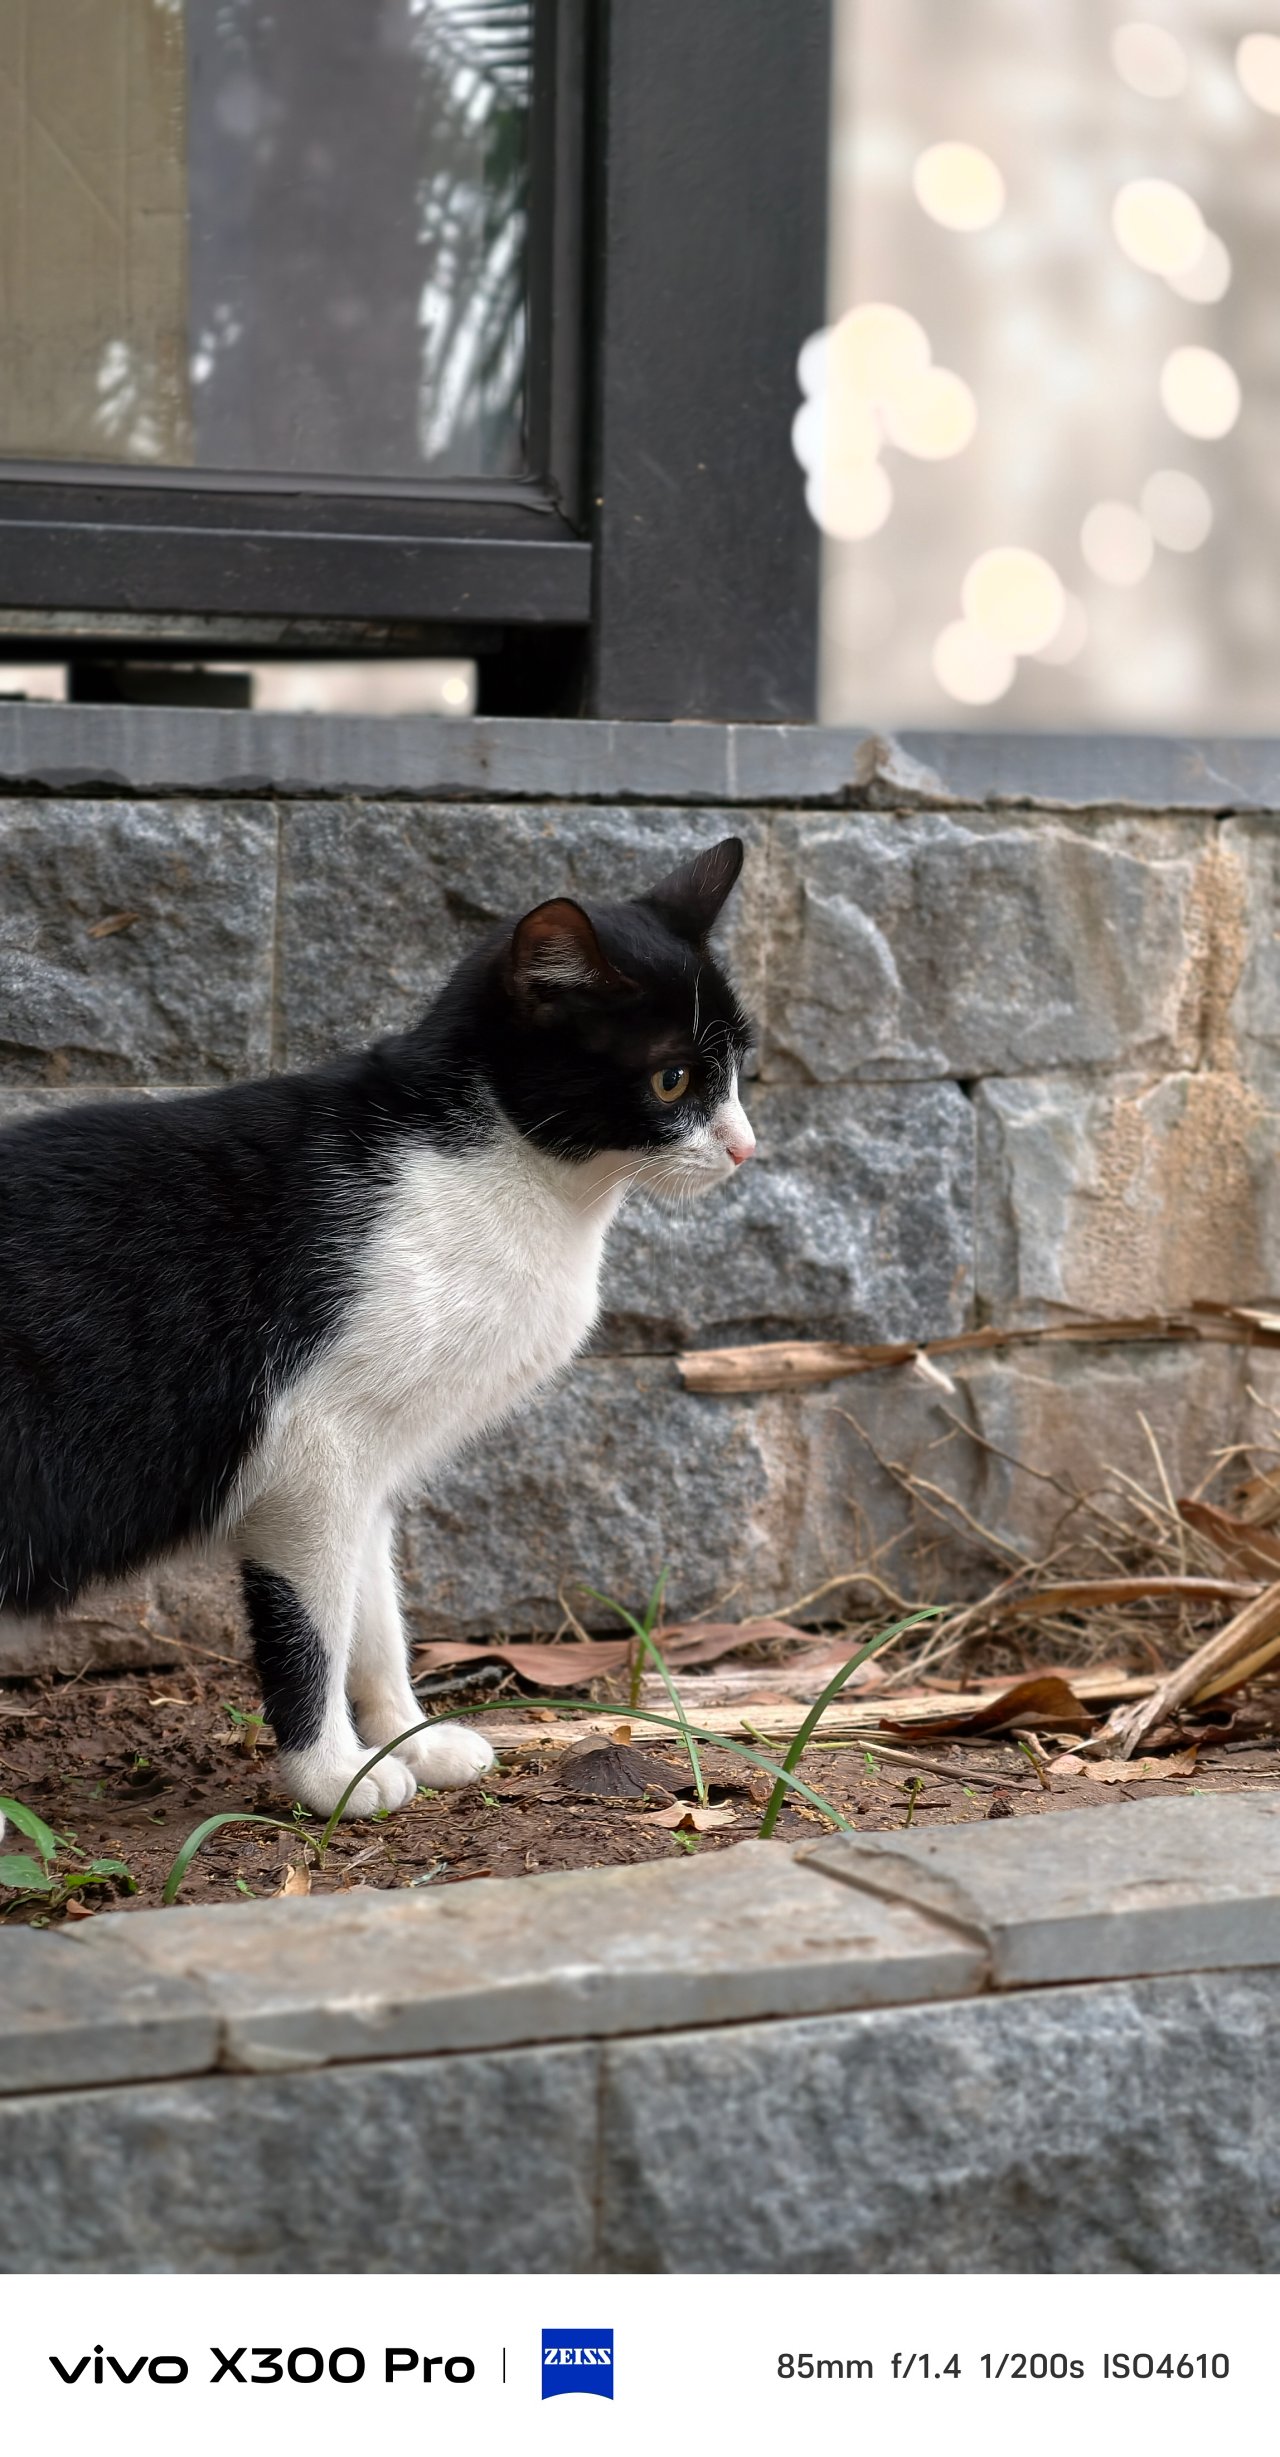
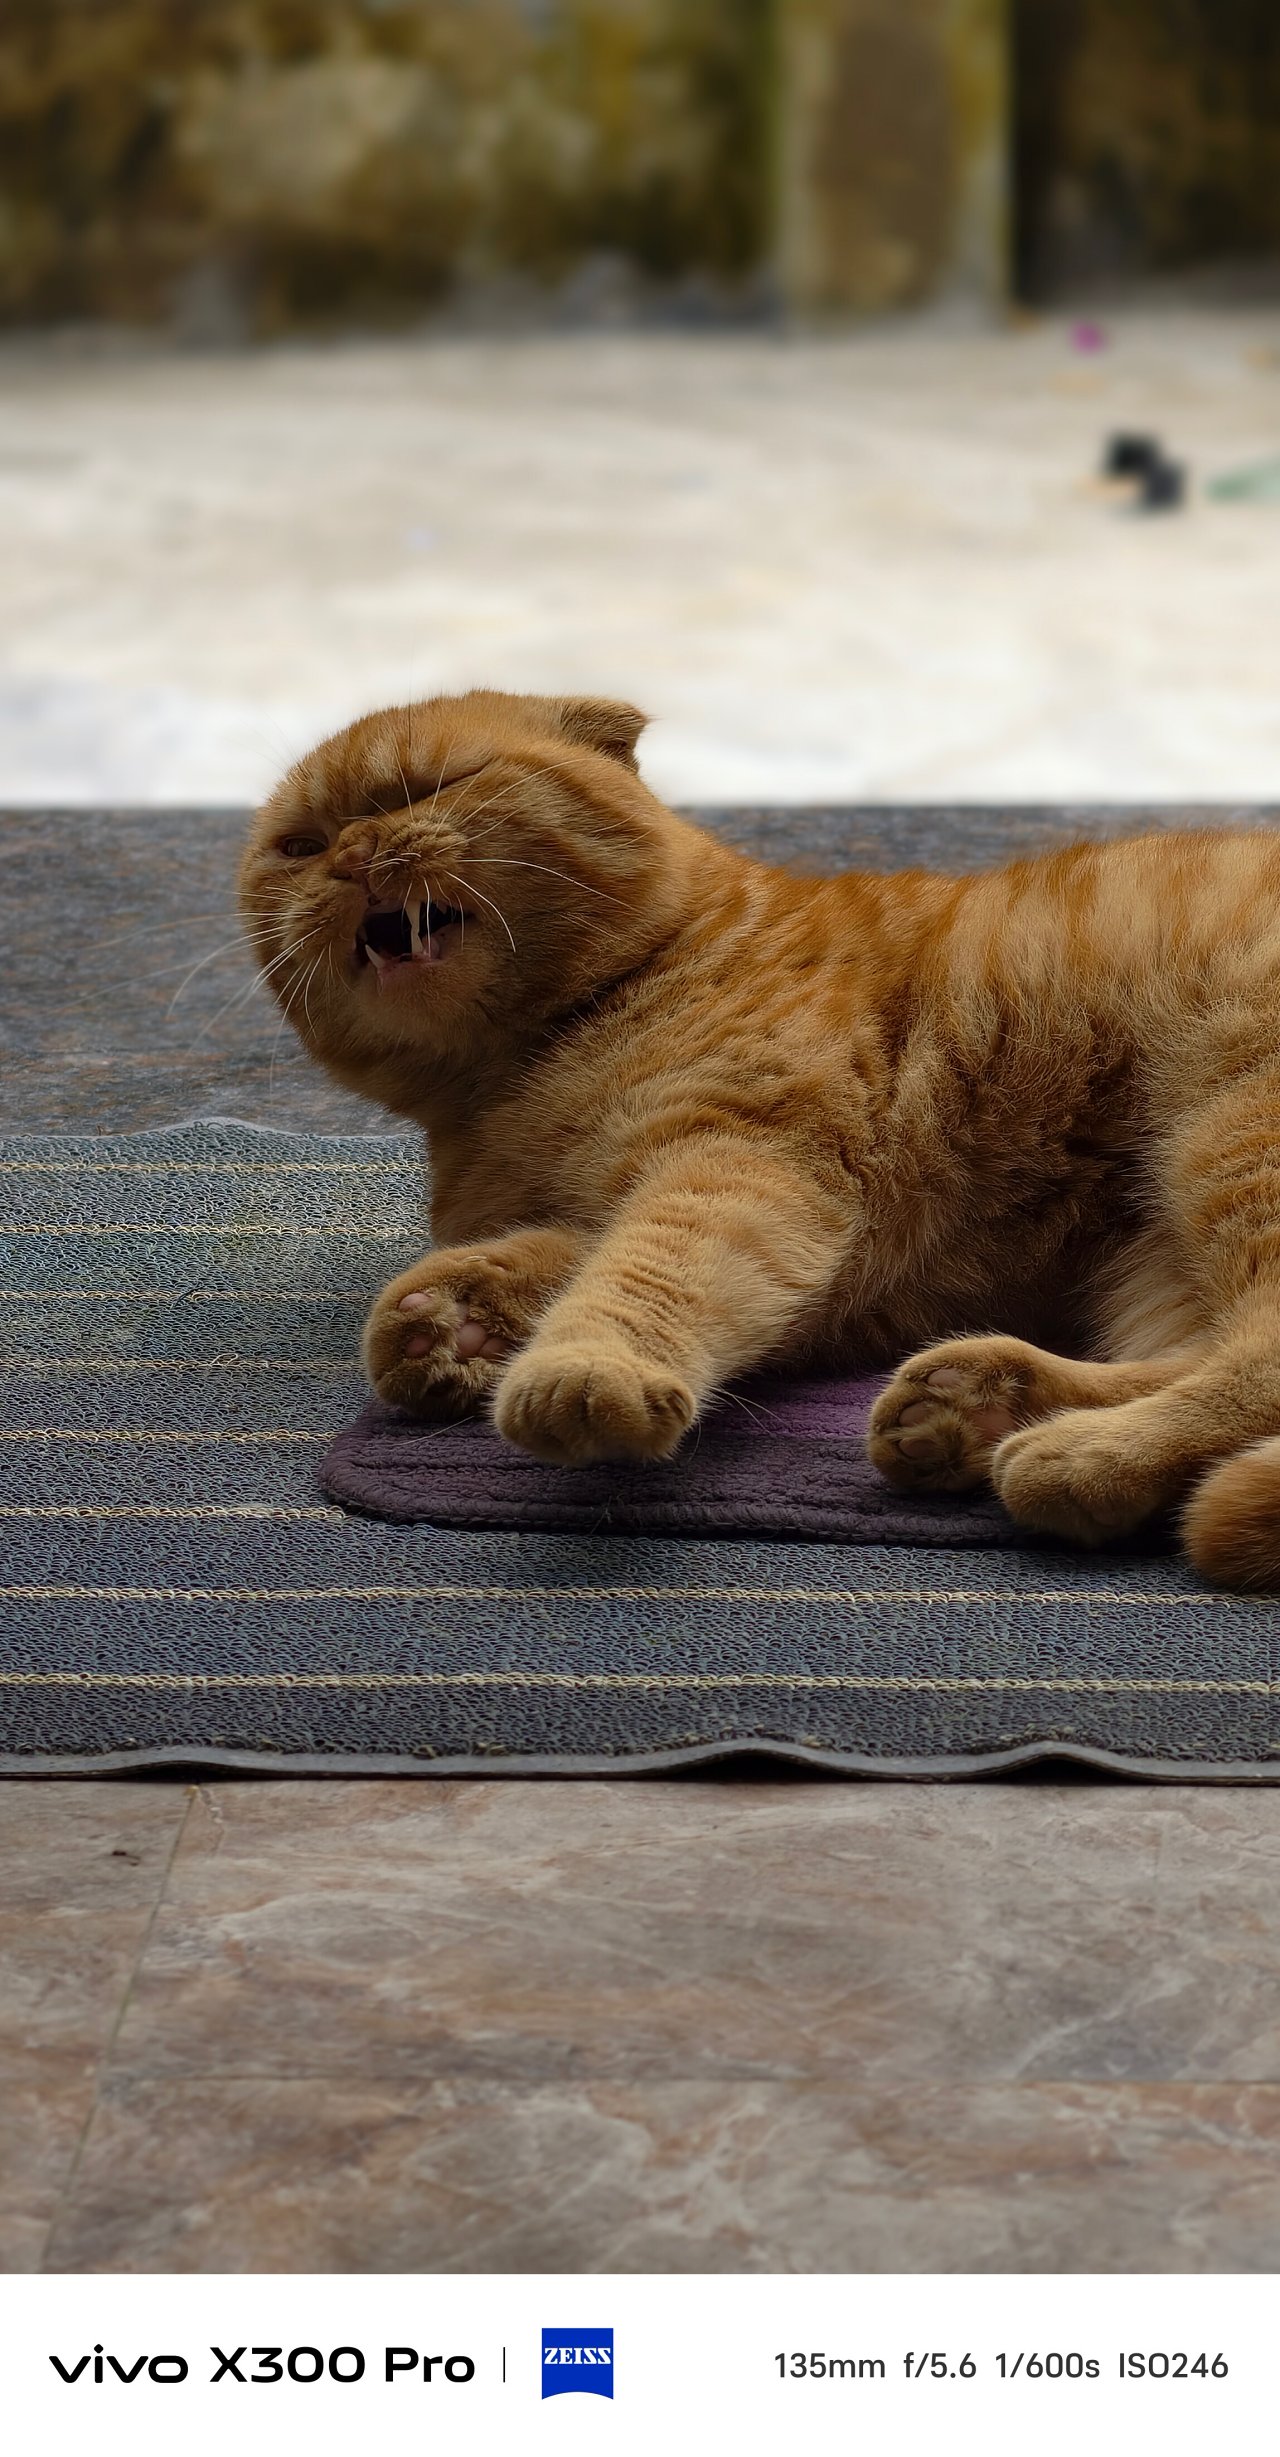
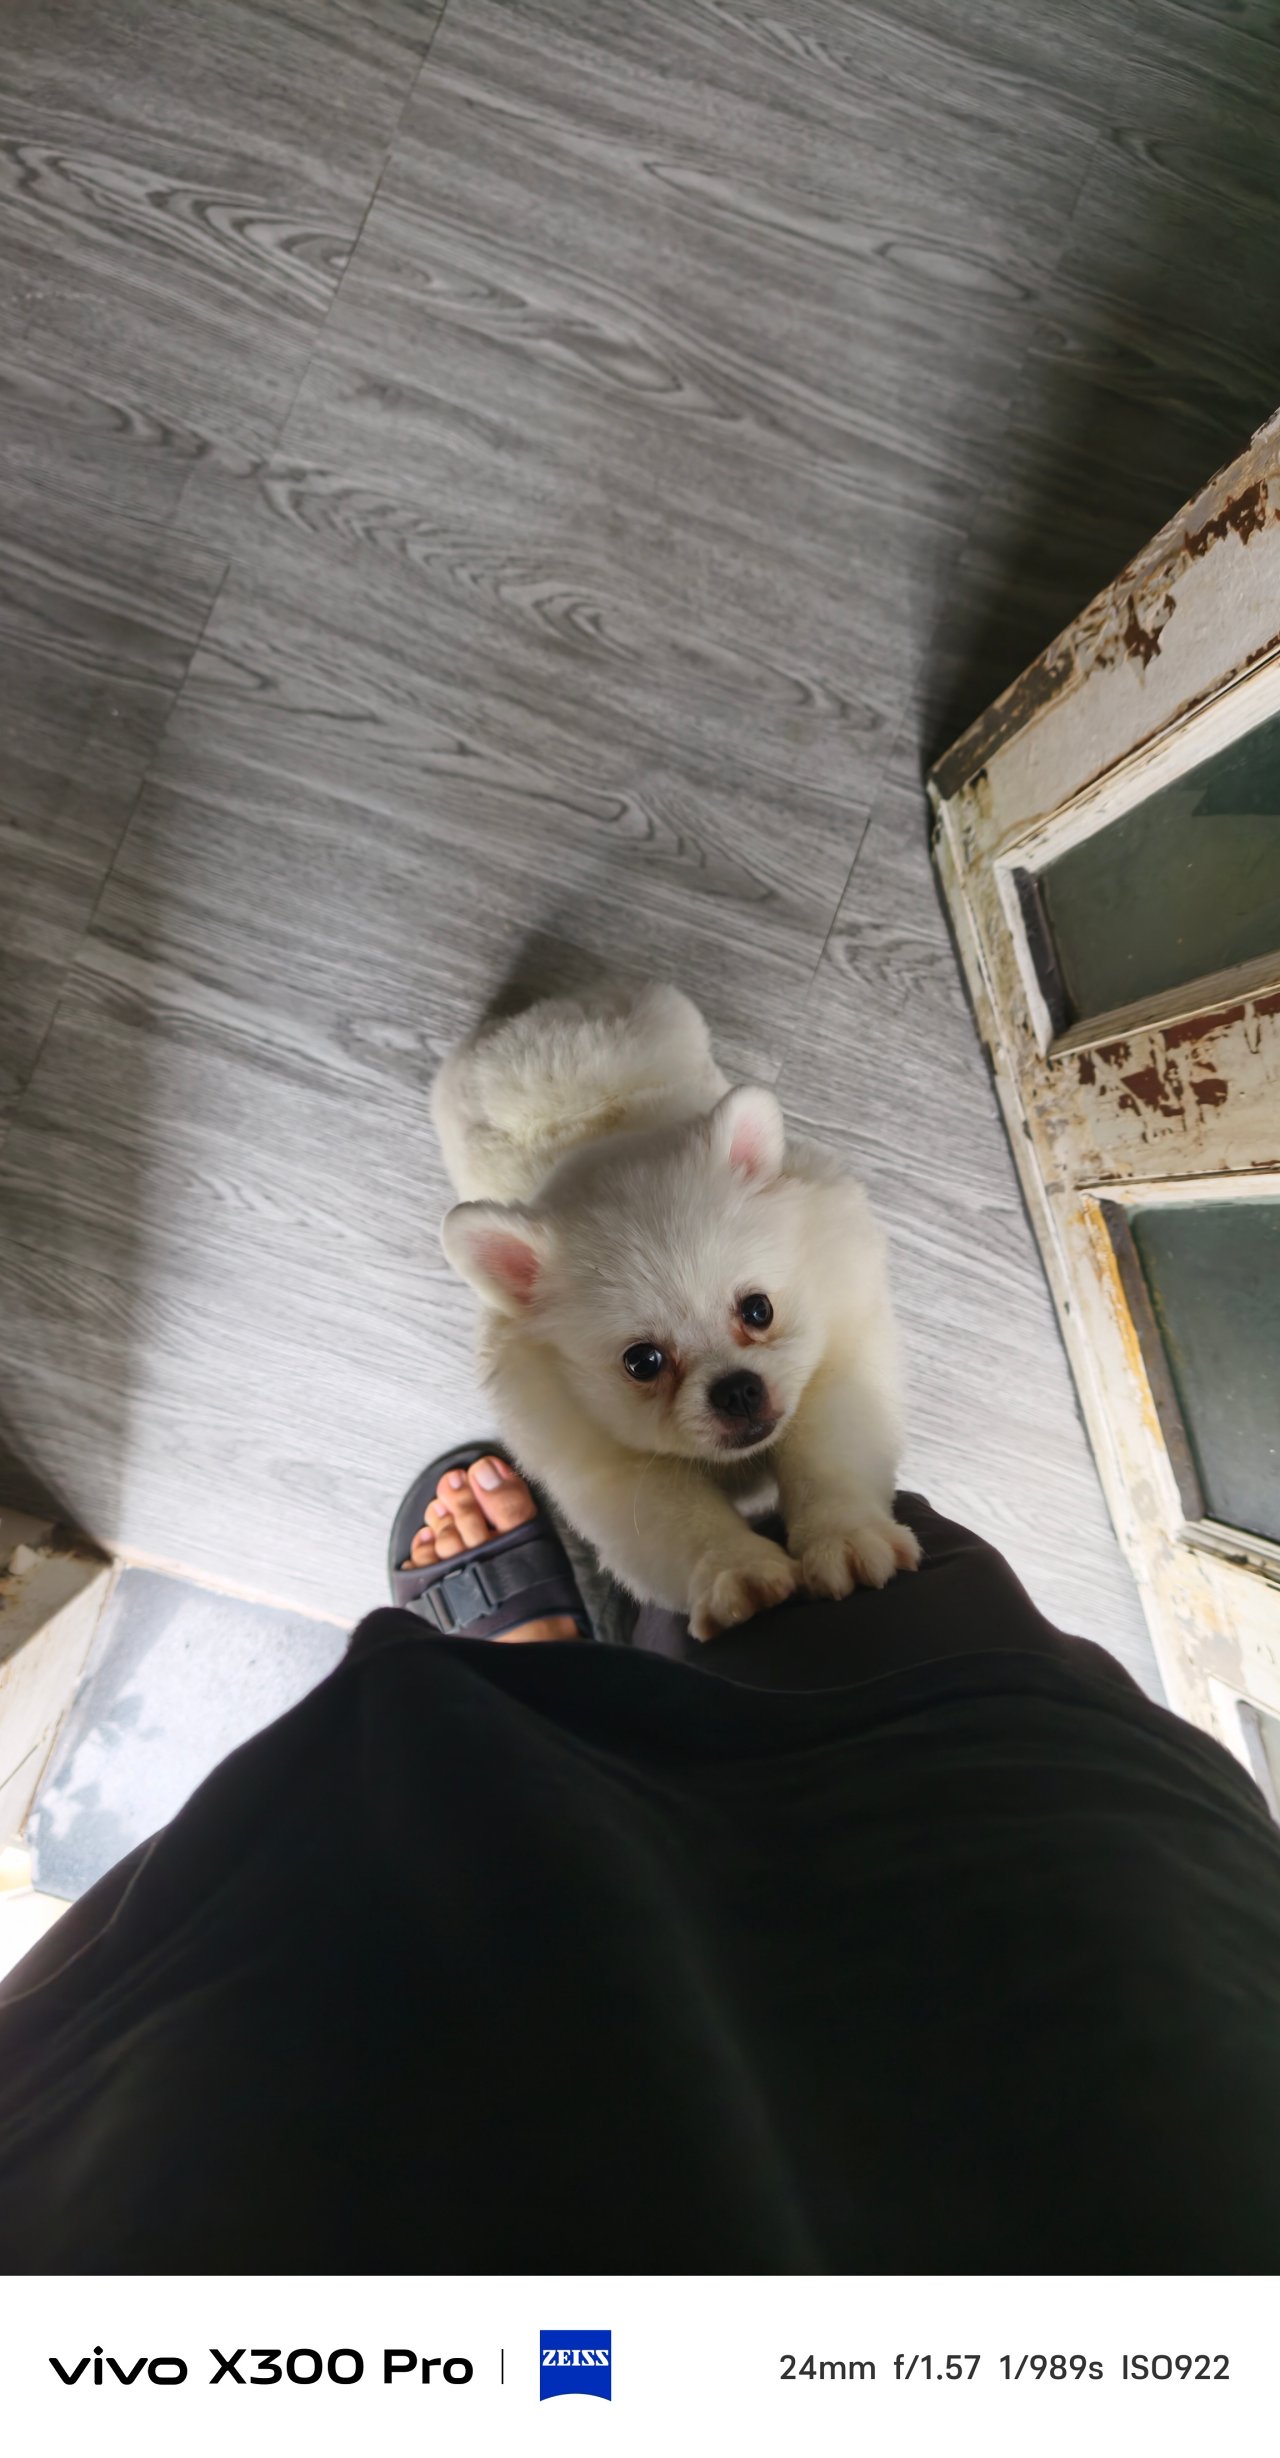
Switching to Portrait Mode, ZEISS Style Portrait remains with faster shooting times plus more precise subject to background segmentation.
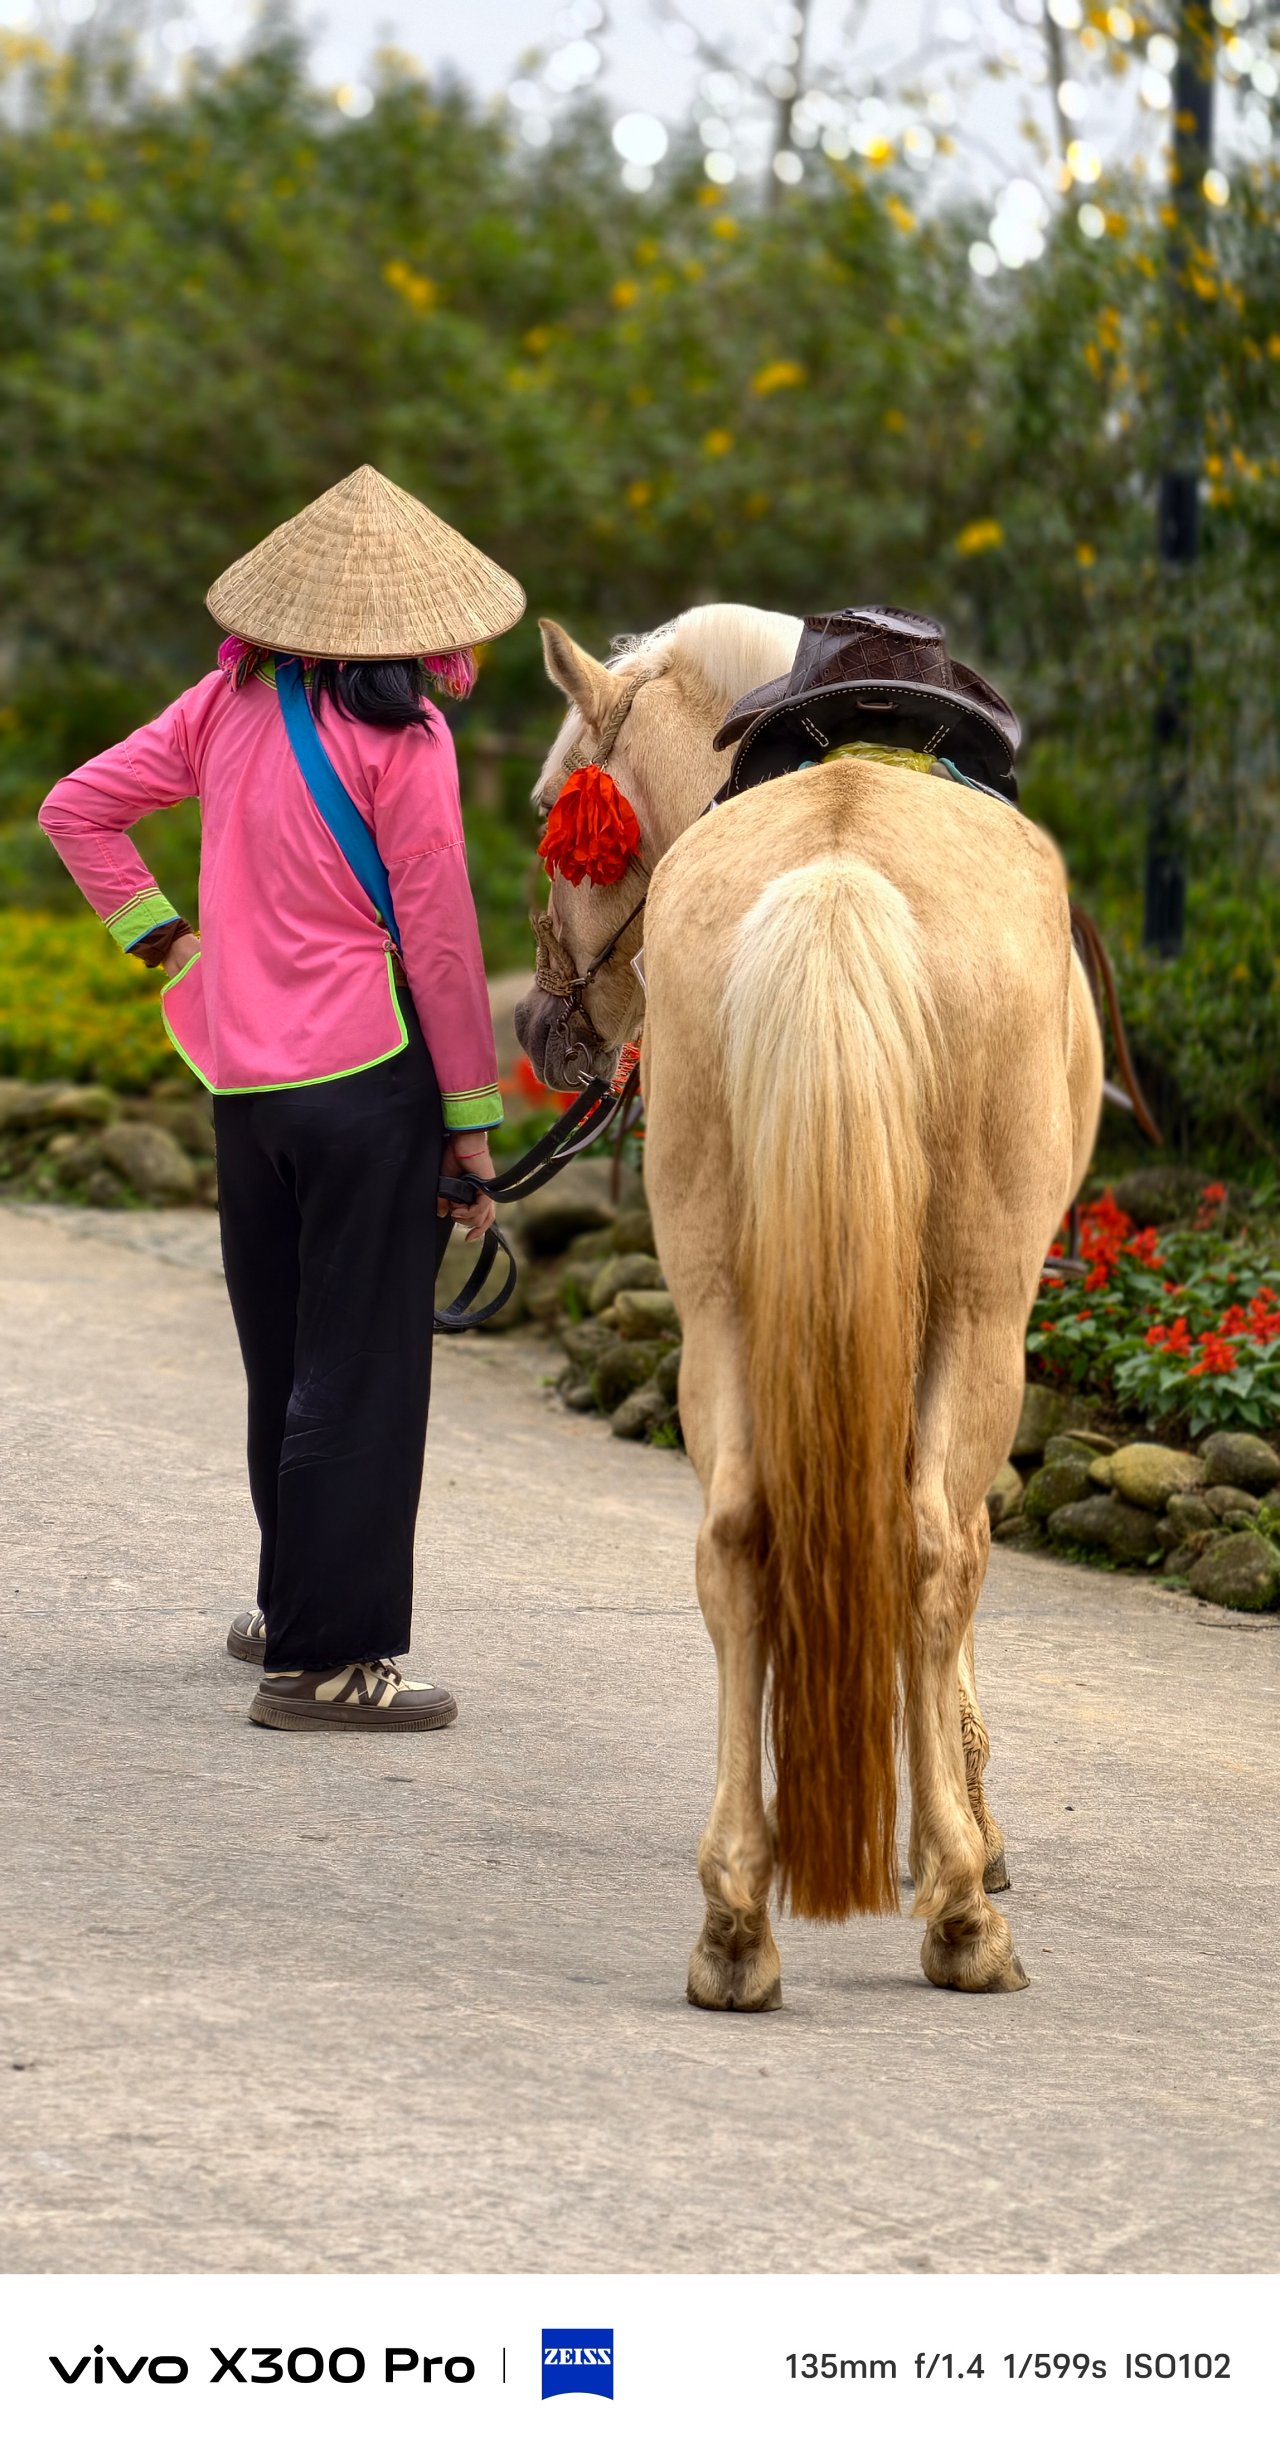

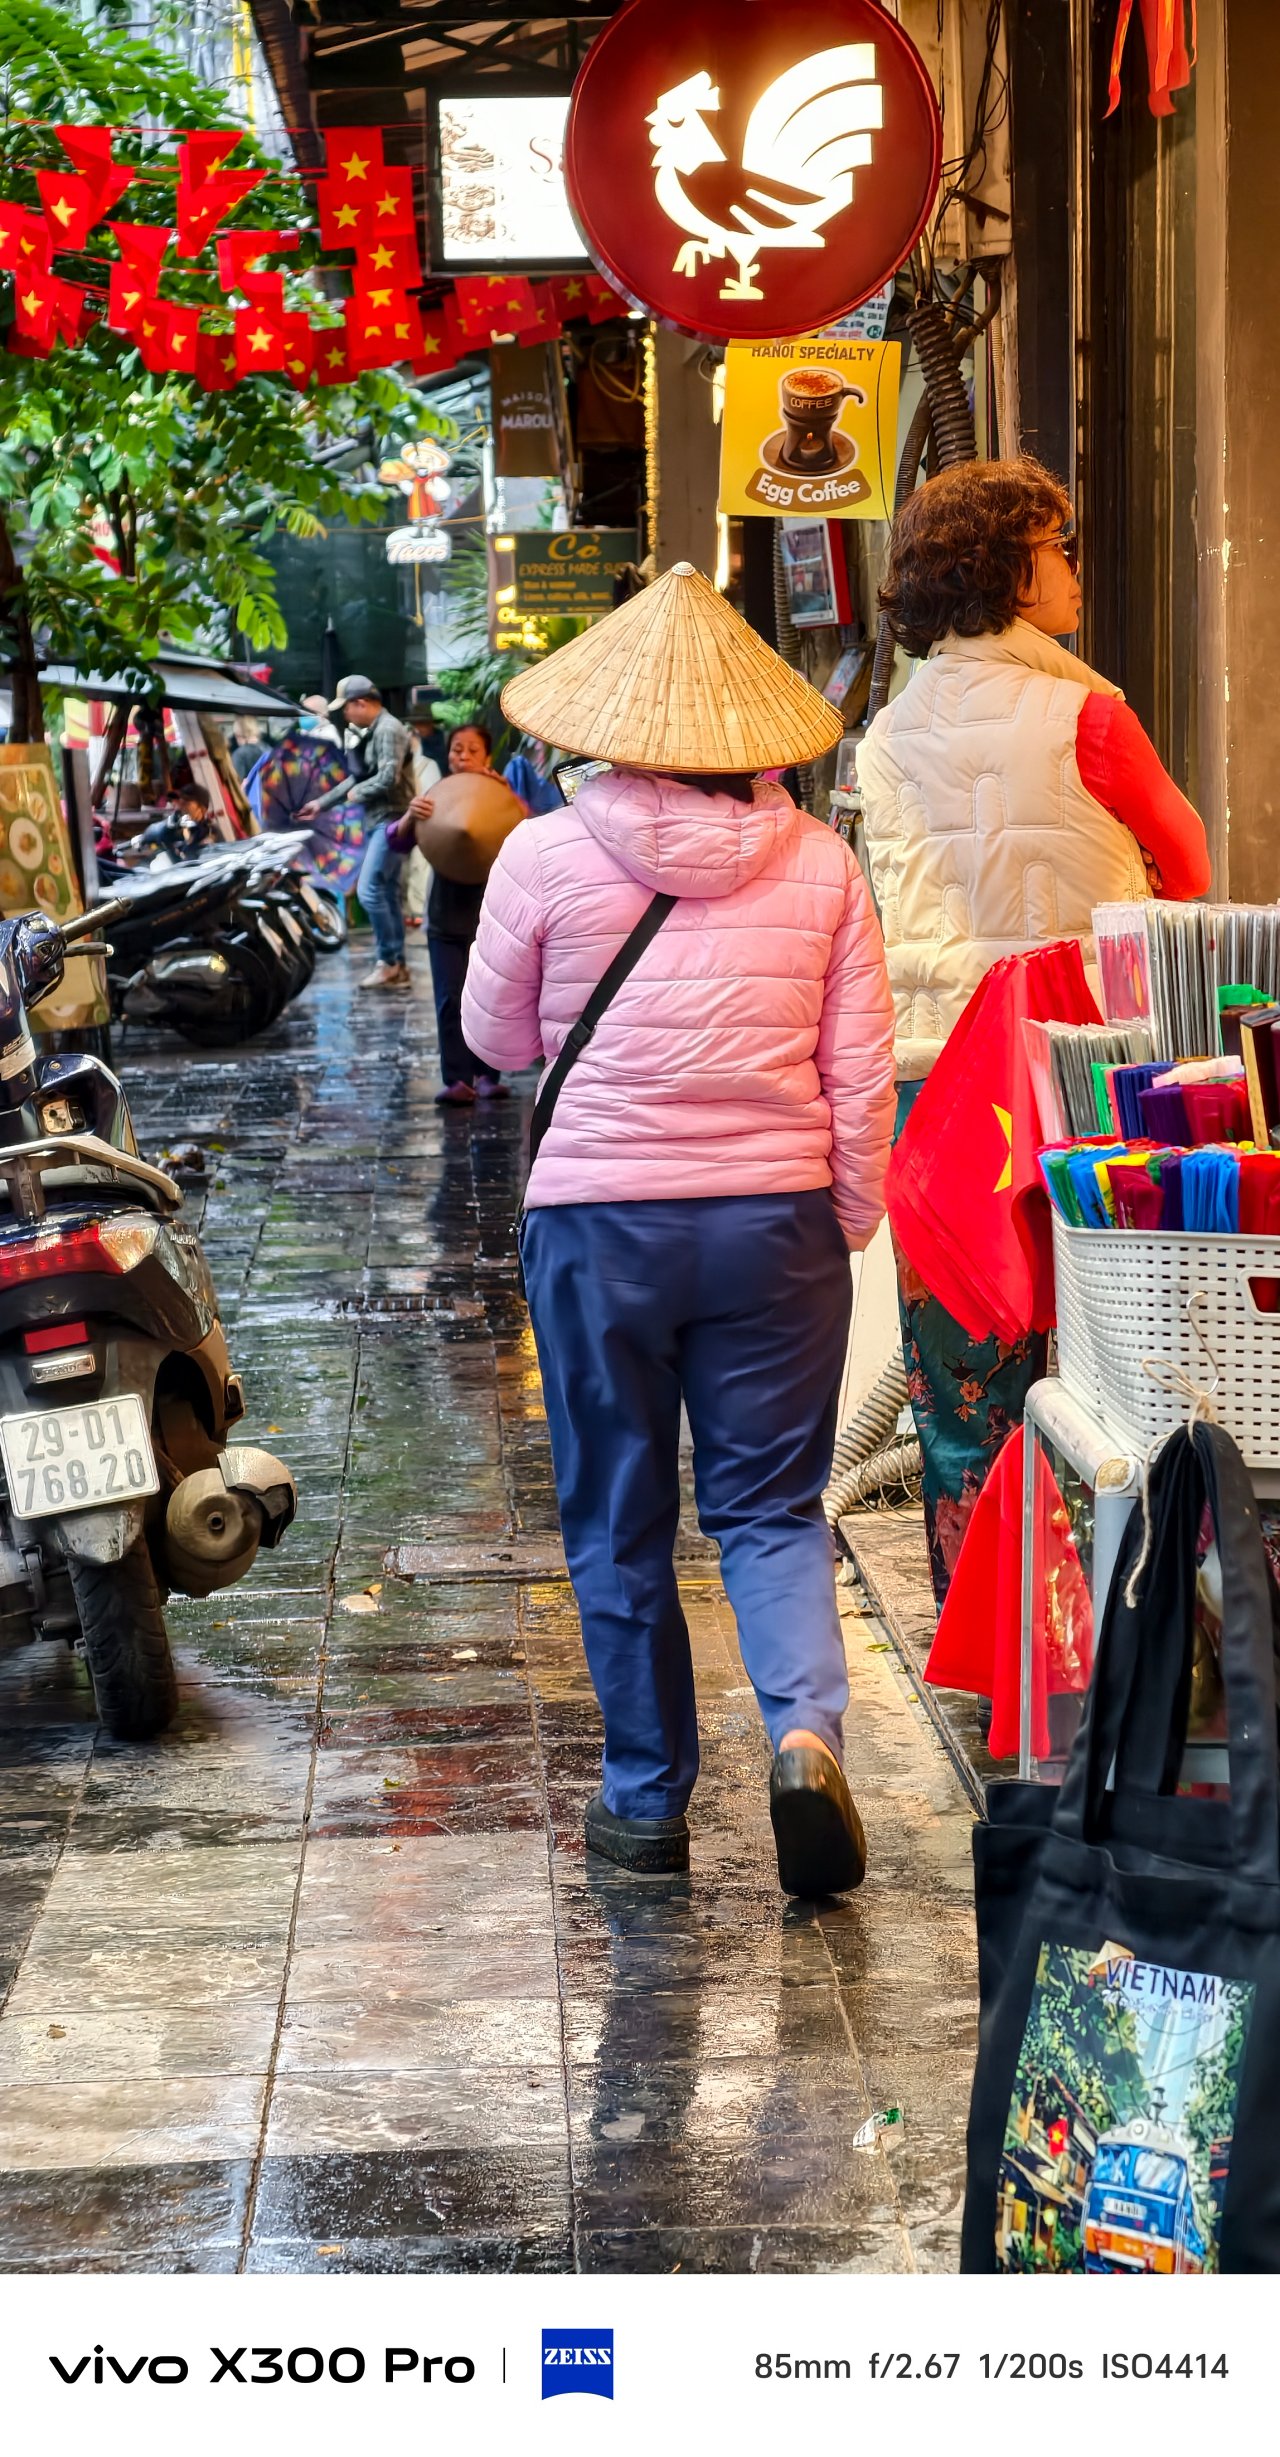
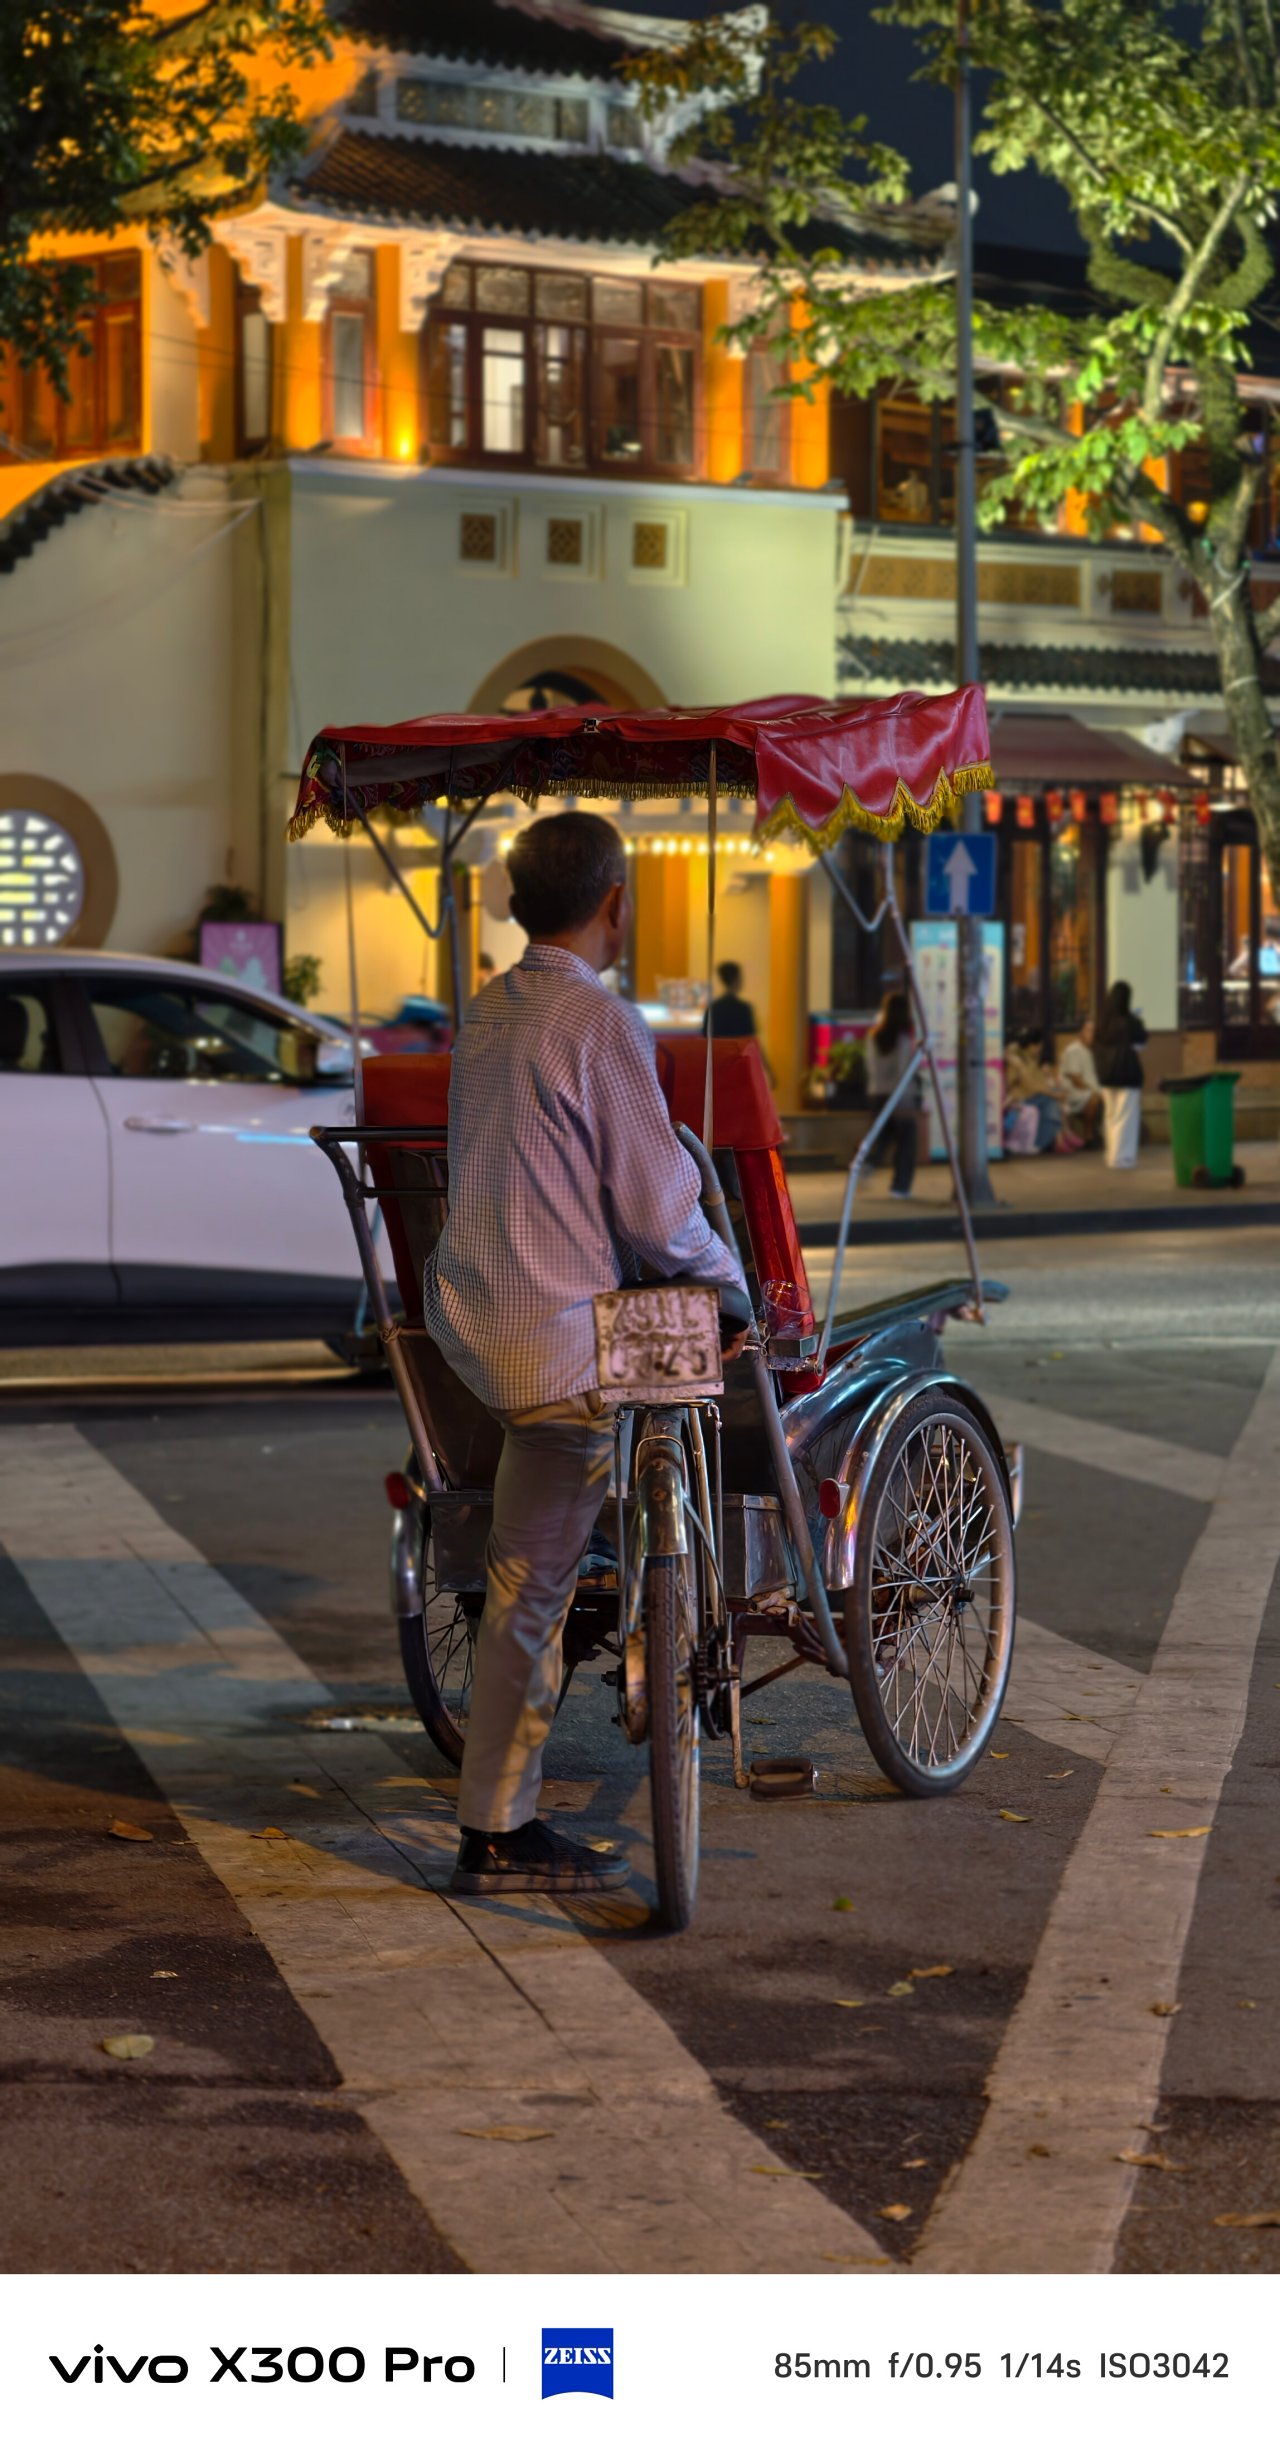
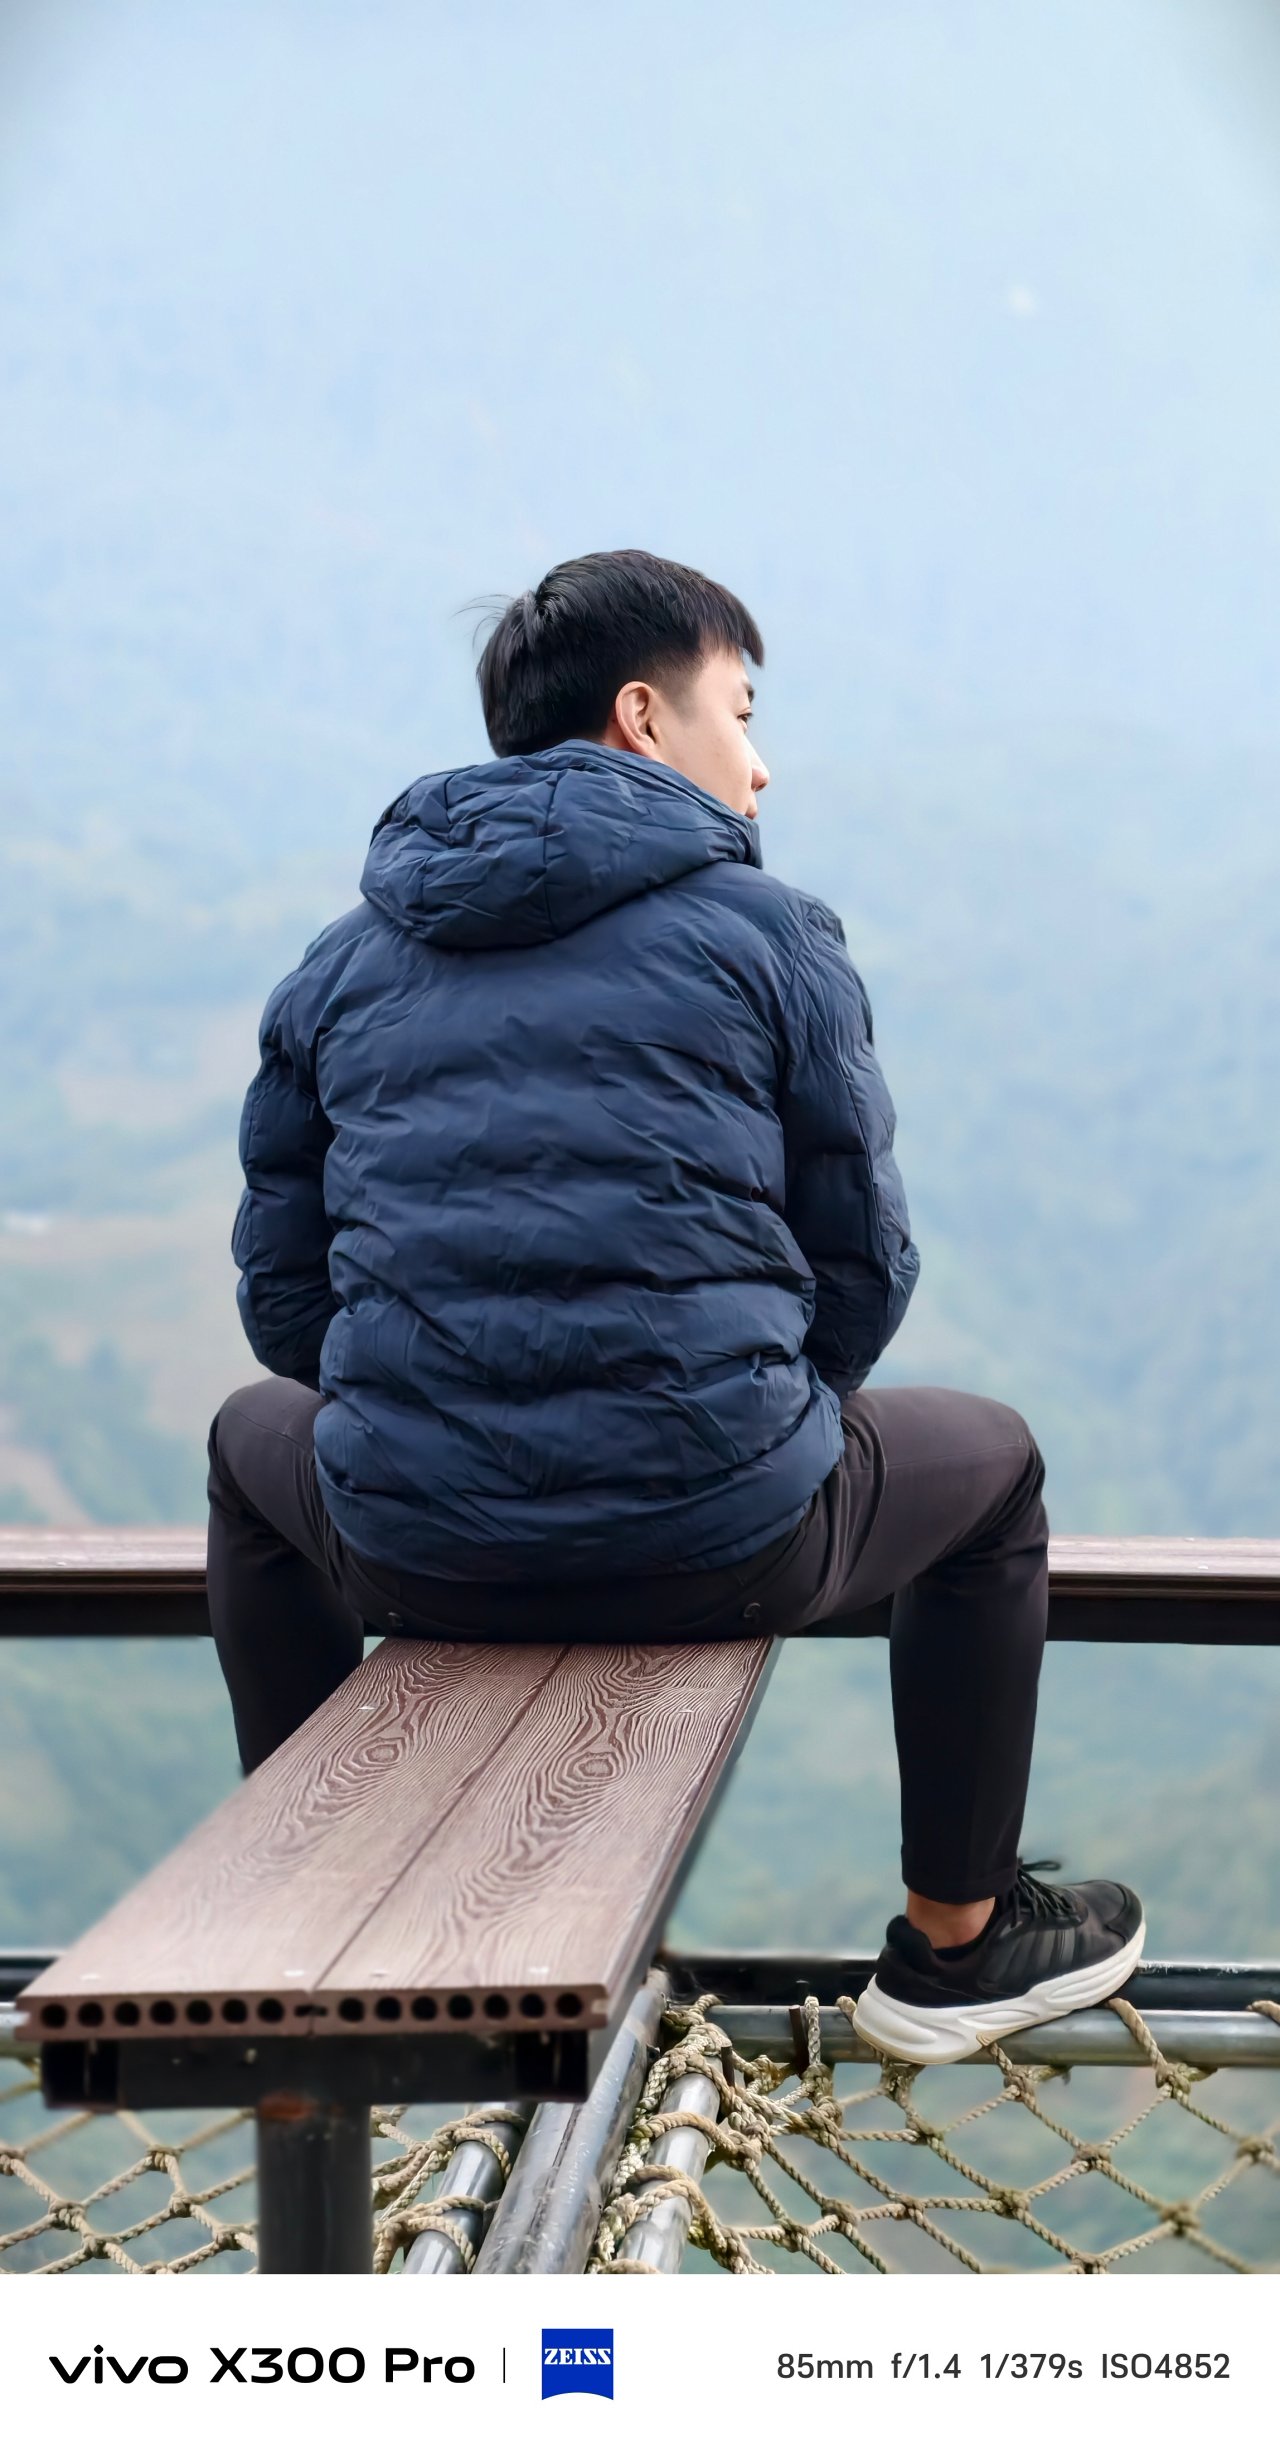
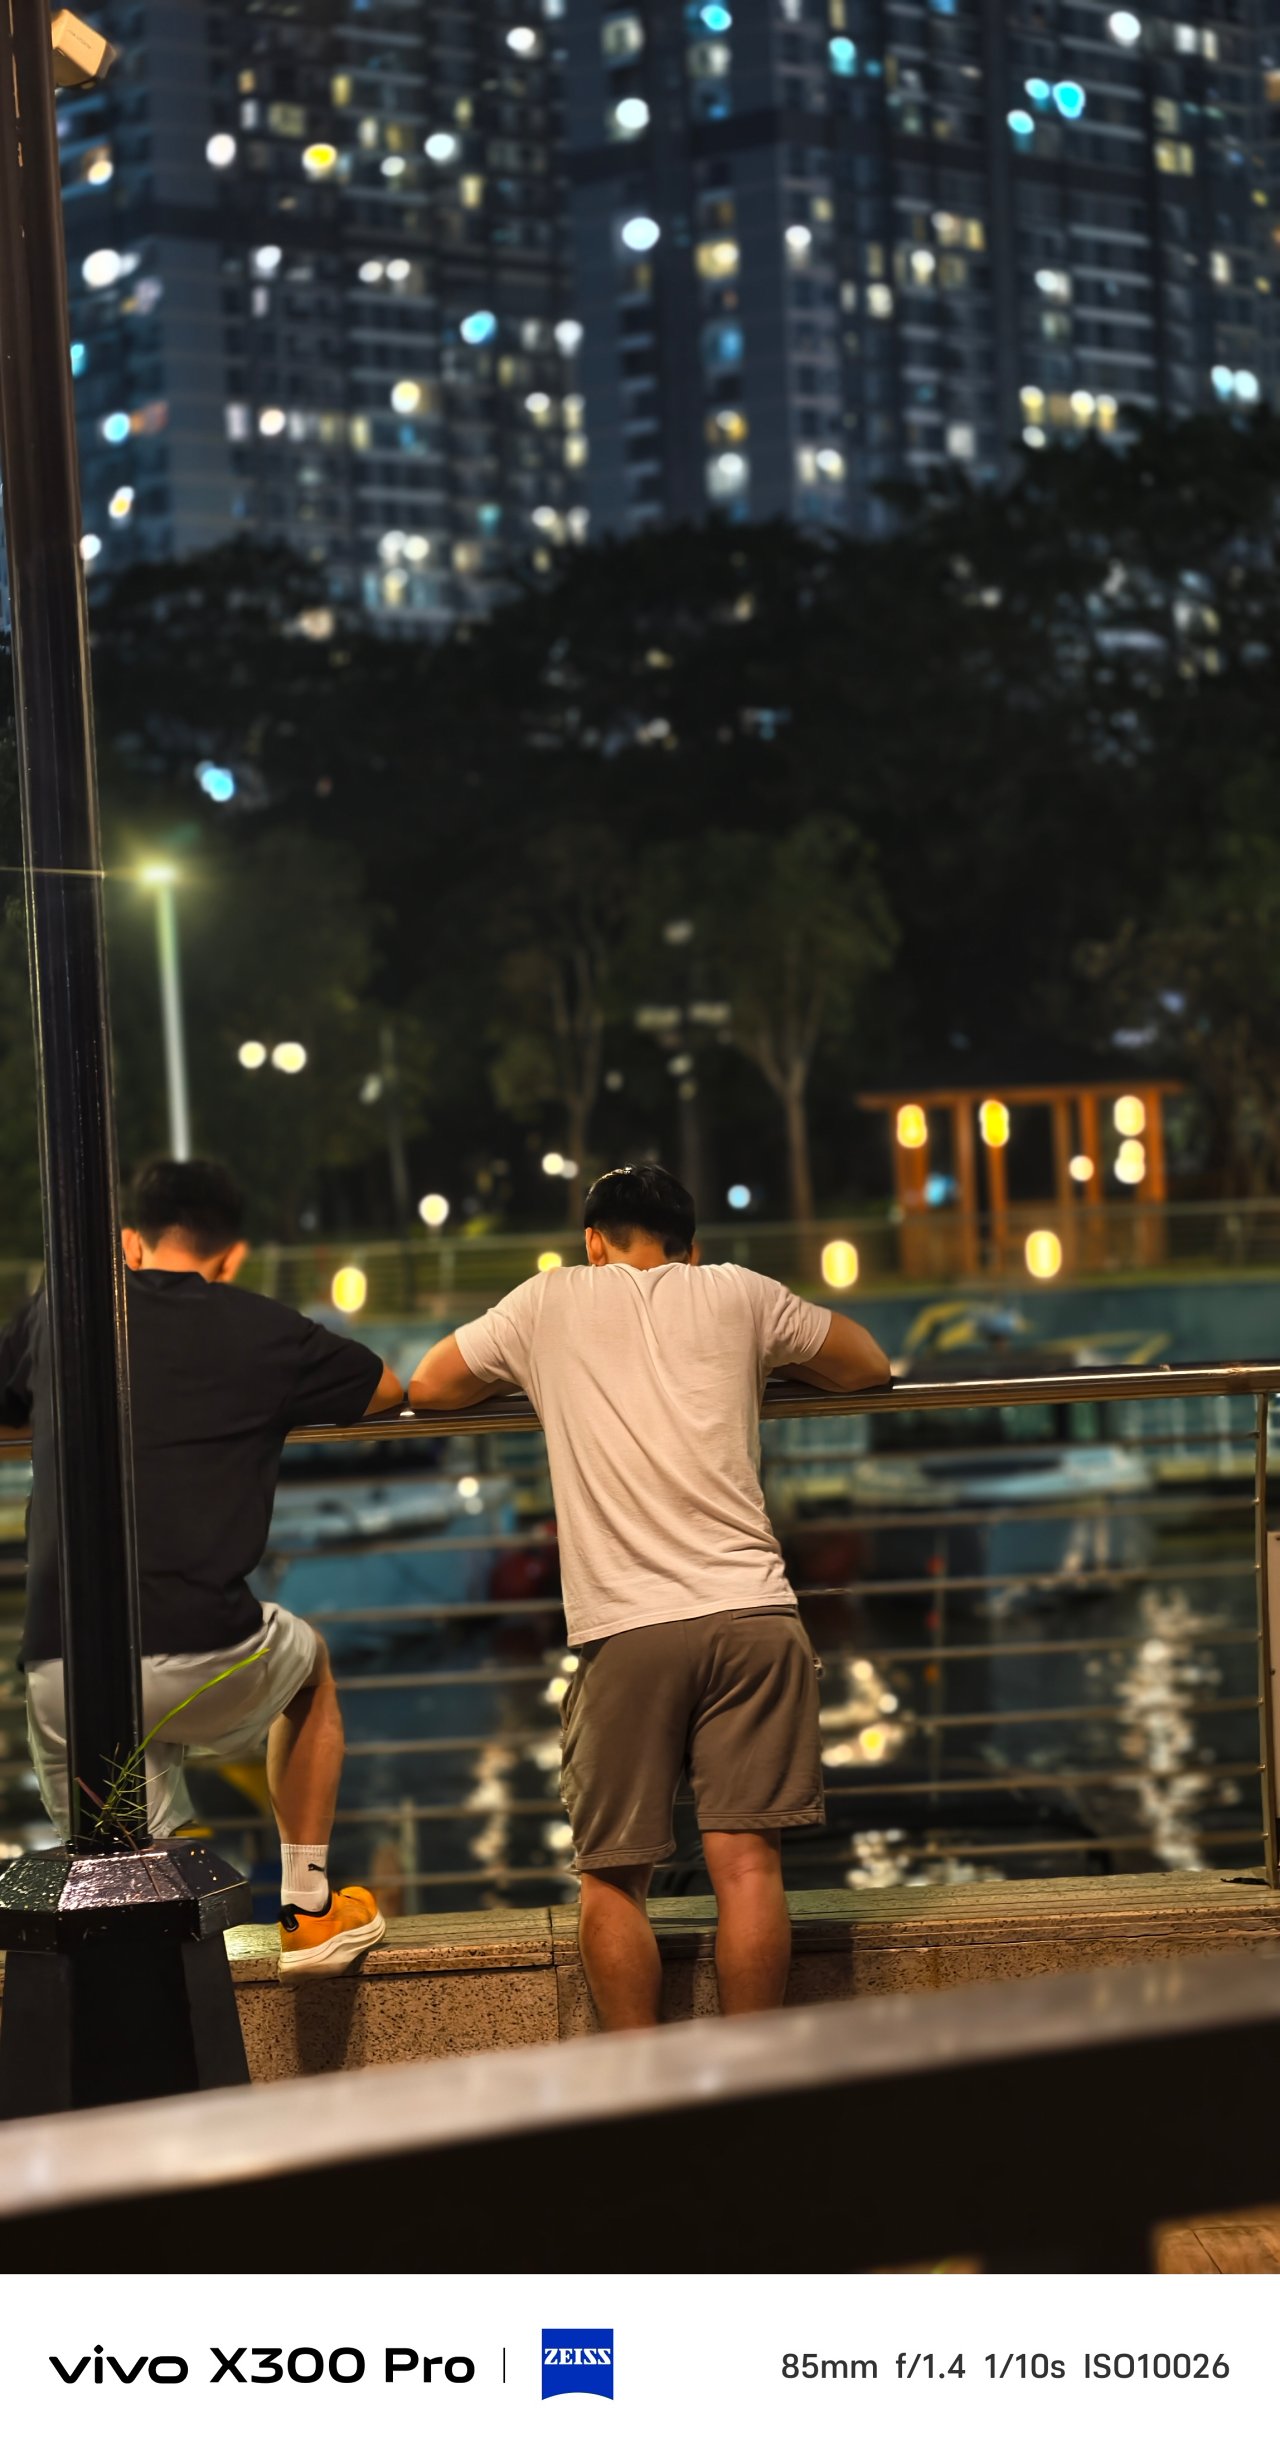
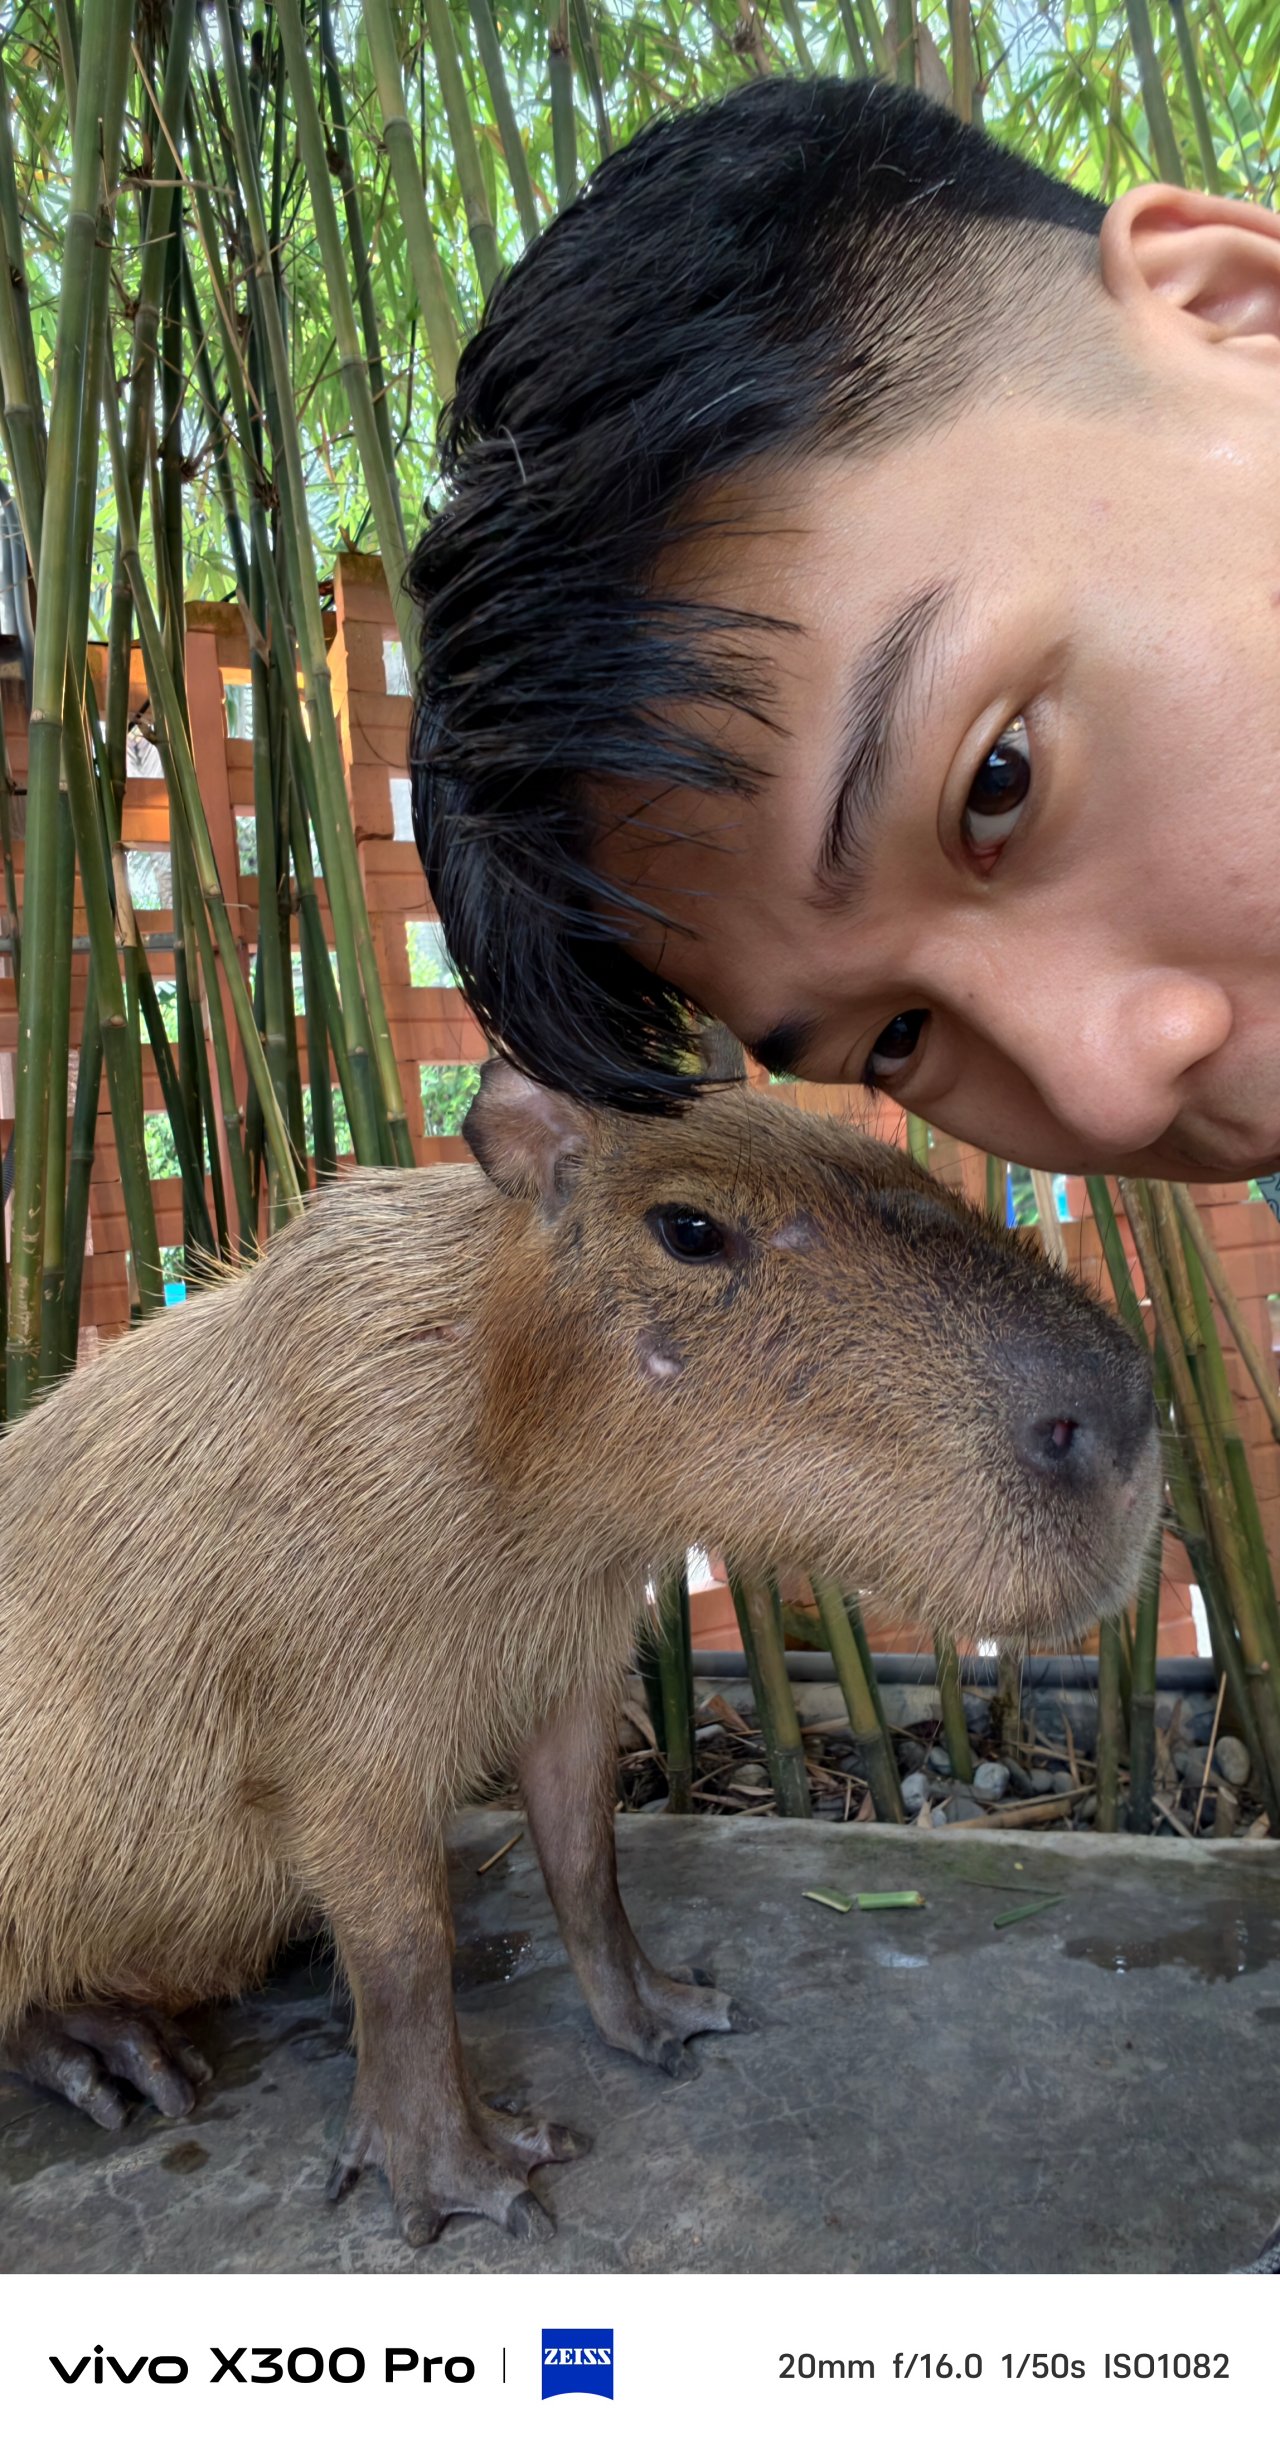
Mind you, it’s not limited to human subjects as I used it all throughout my time with these cute capys in Saigon.


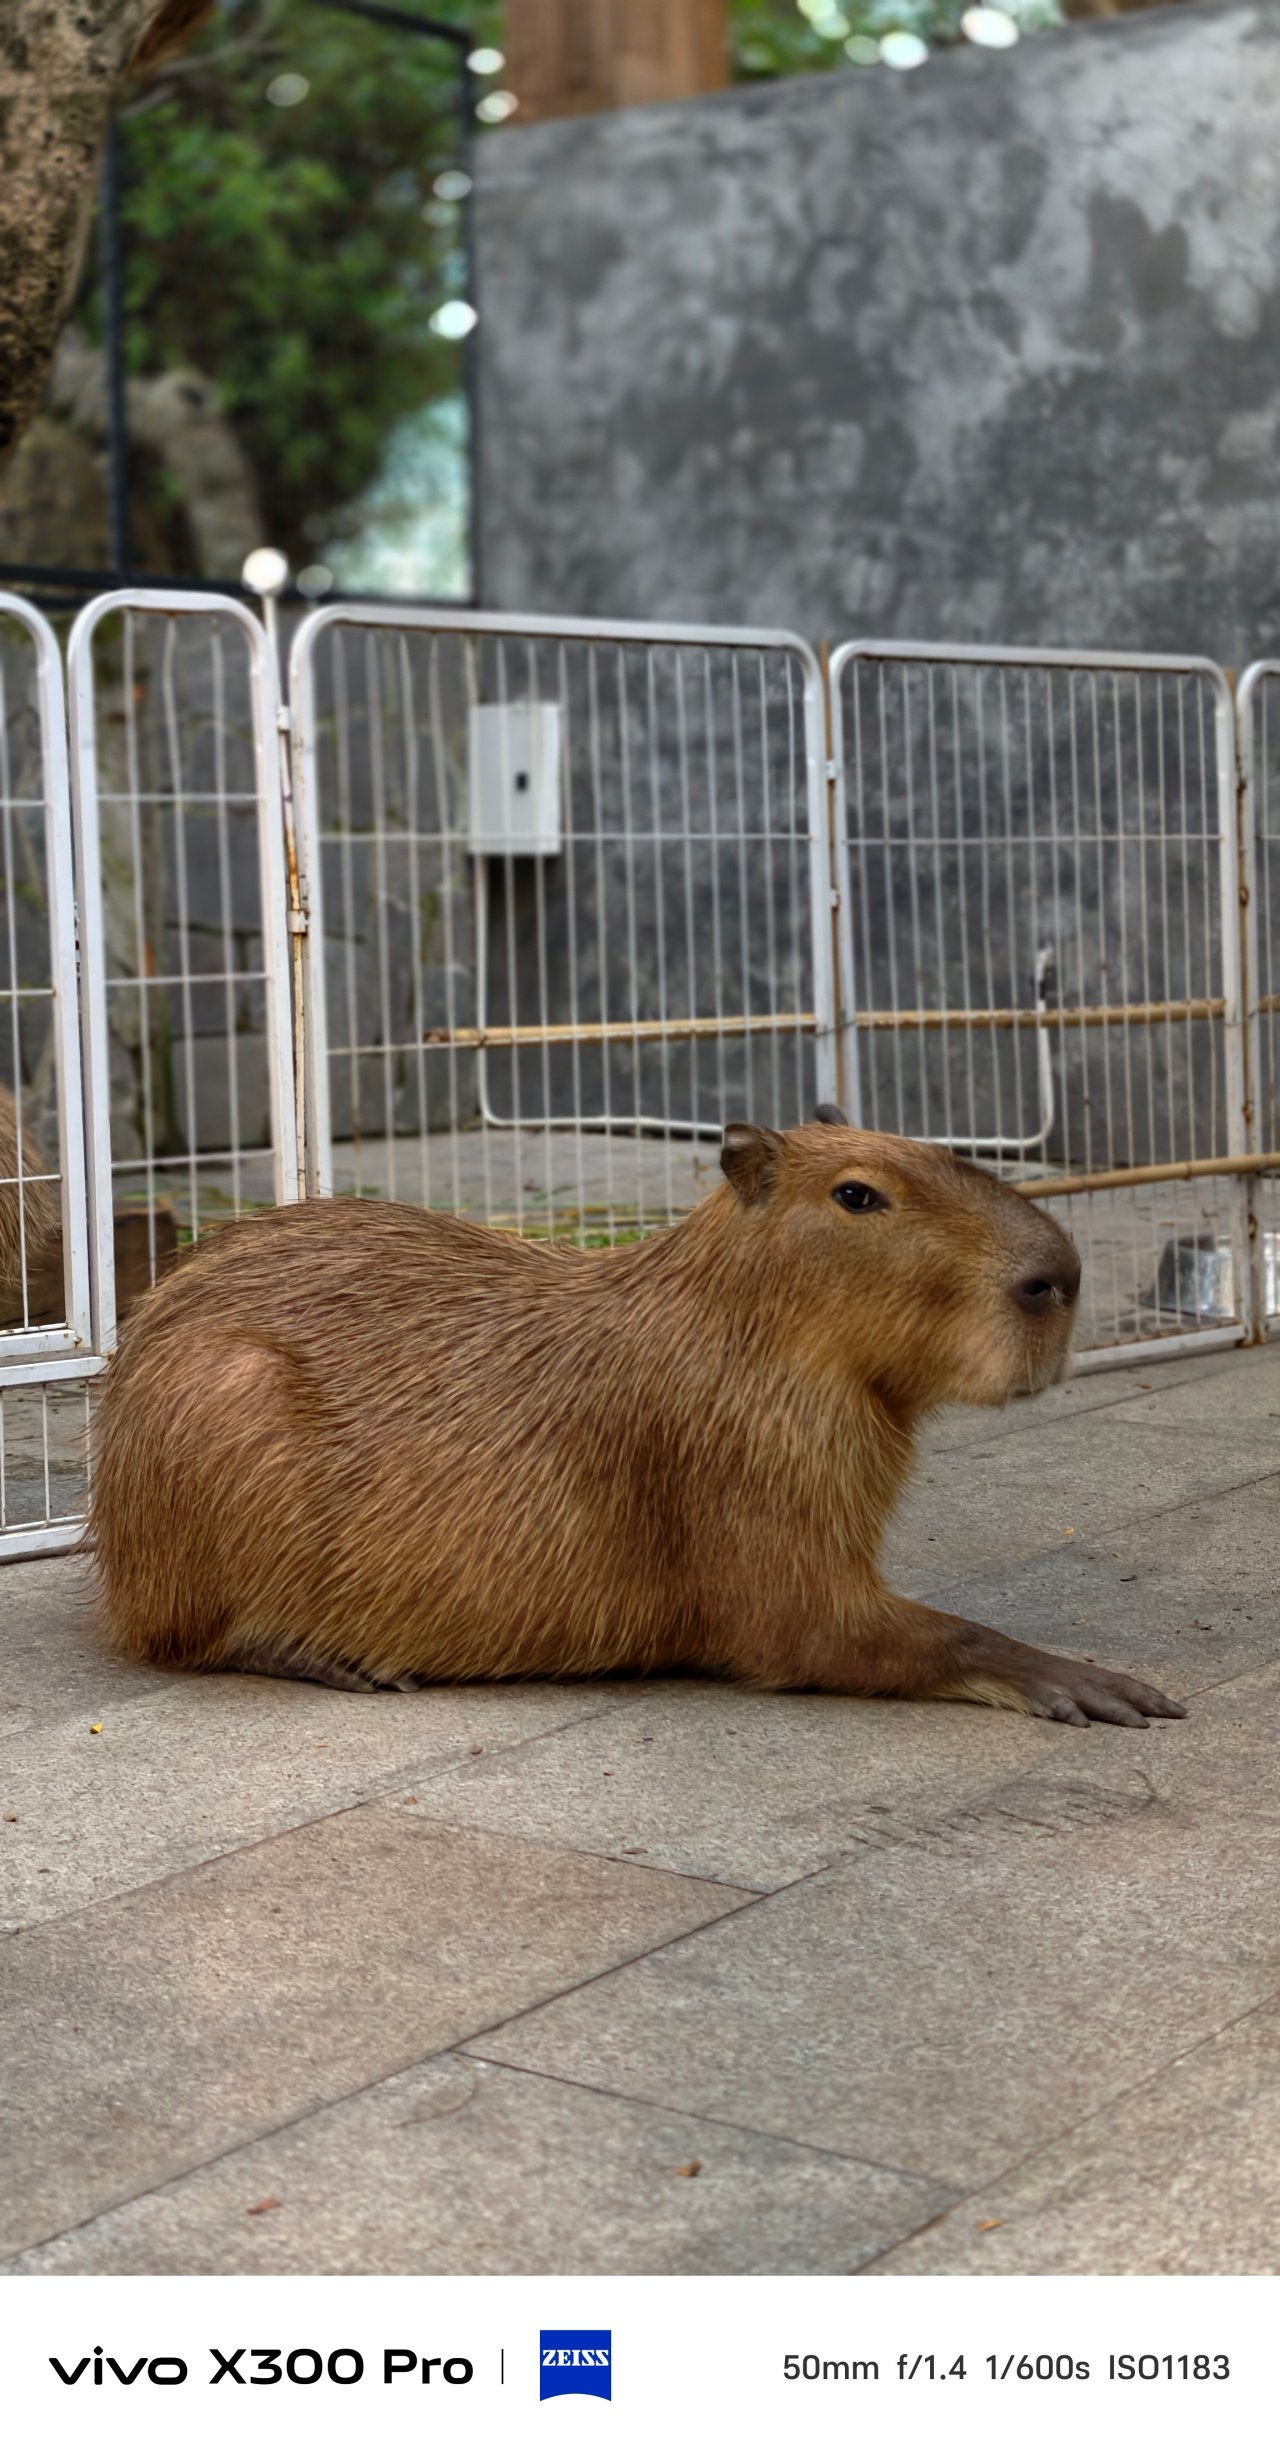


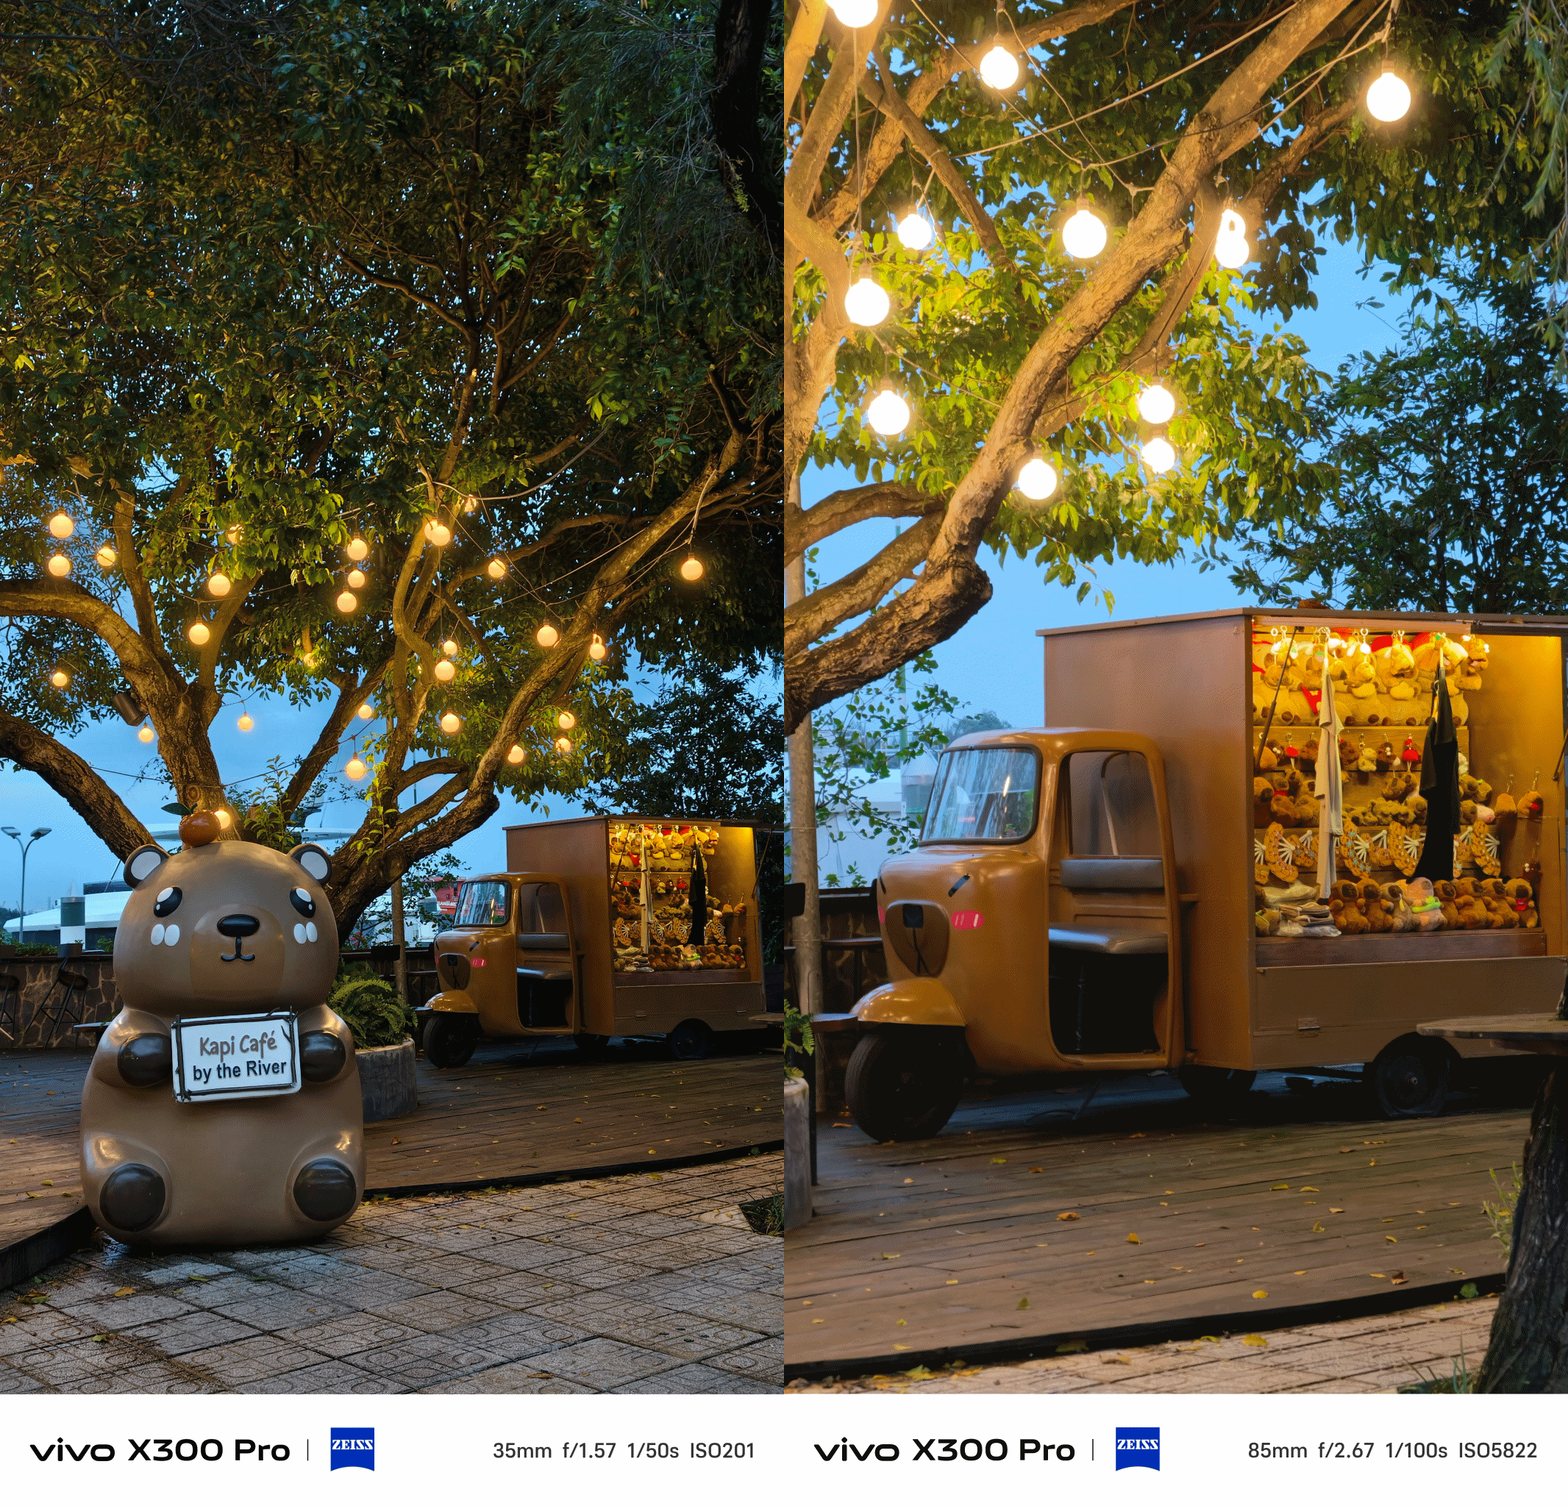

Speaking of, it’s worth mentioning that the user now has the ability to pick between vivo’s three color profiles when shooting in Portrait Mode. It’s something you cannot do in previous vivo phones. Not even vivo’s latest V60 midranger has this.
Also, the rear flash unit can now be toggled in this mode — just without that Aura Light madness. It makes more sense when taking night-time portraits with high facial illumination.
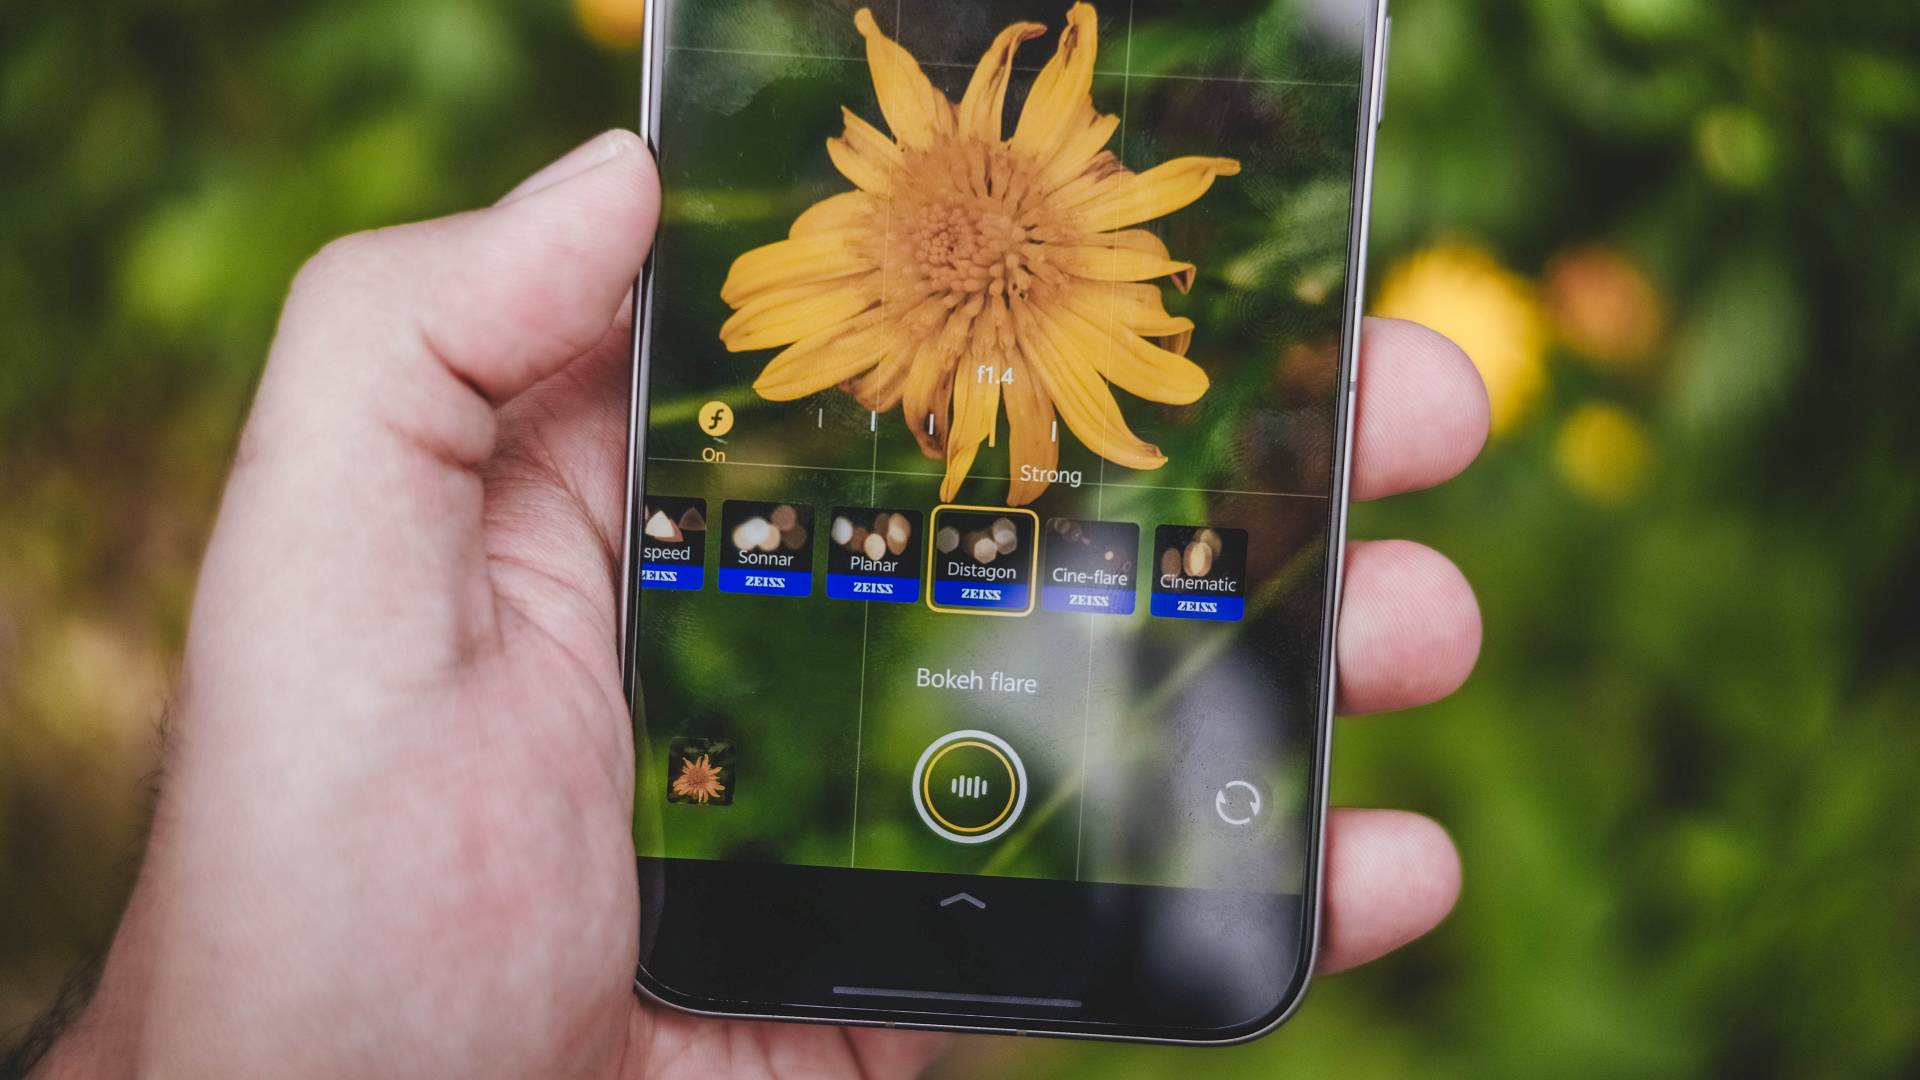
There’s also an additional ZEISS “Mirotar” lens. This only appears though when aiming to shoot tele-macro subjects as it’s not included in vivo’s default Portrait Mode lenses under ZEISS Style Portrait.
X-traordinary Camera X-tras
The vivo X300 Pro is very rich in camera feats. It doesn’t just end with the default Photo Mode.

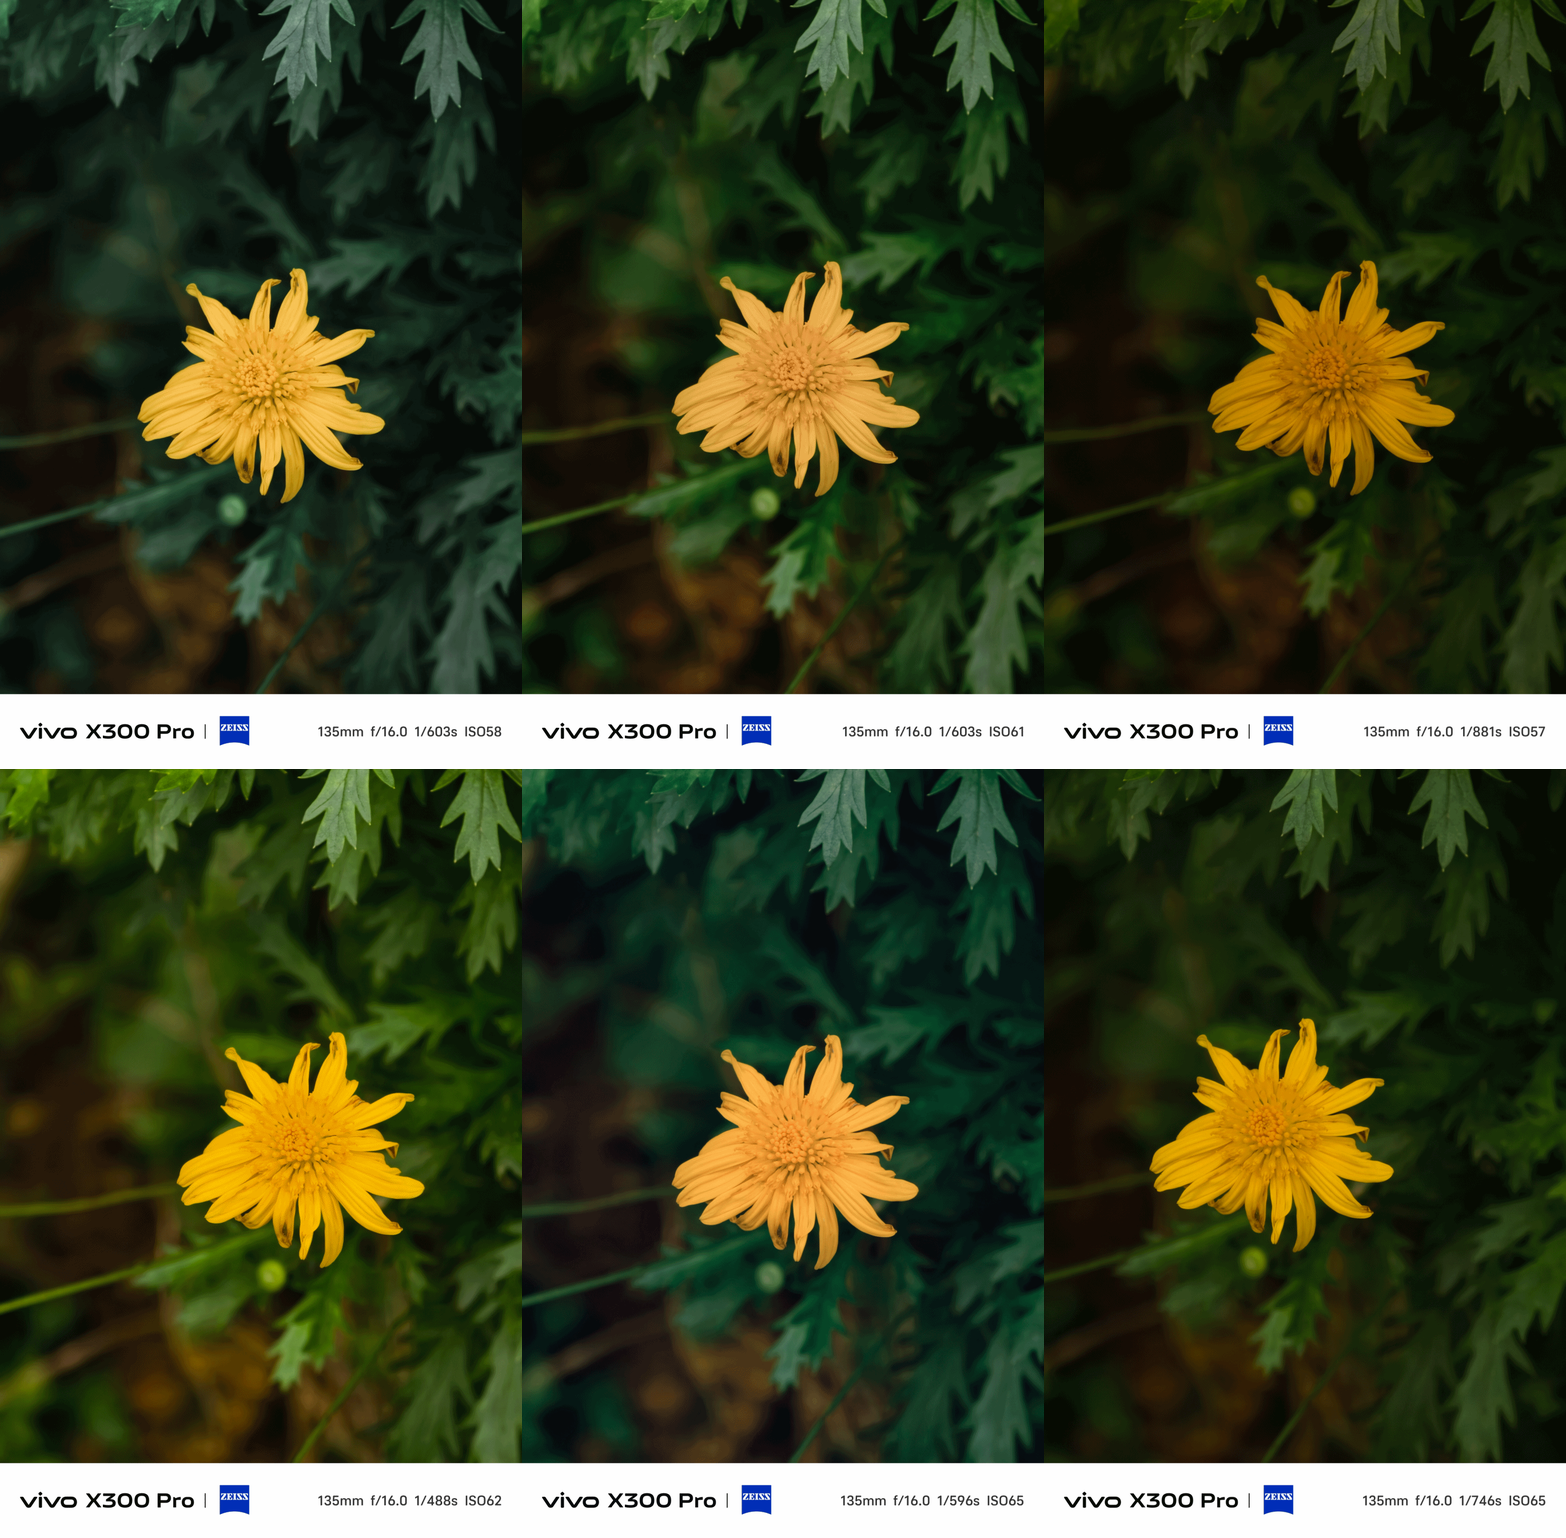
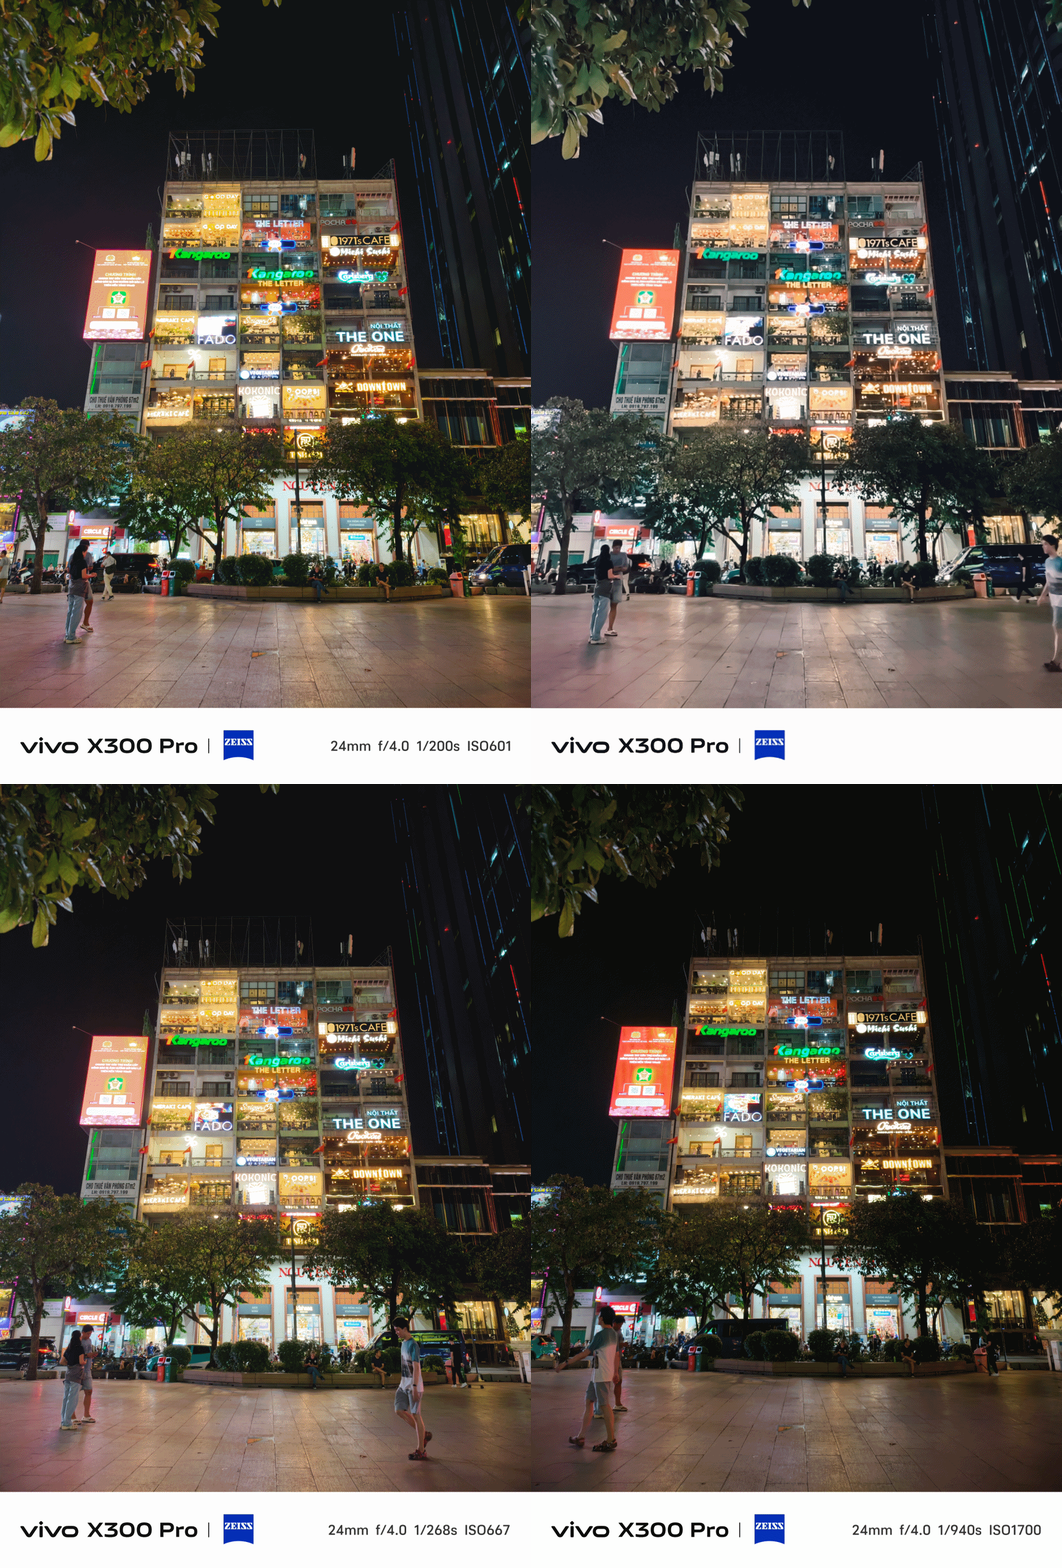
Humanistic Street Snap Camera Mode still remains — which isn’t very different from the X200 Pro. Thankfully, vivo added two more film presets: Positive Film and Clear Blue.
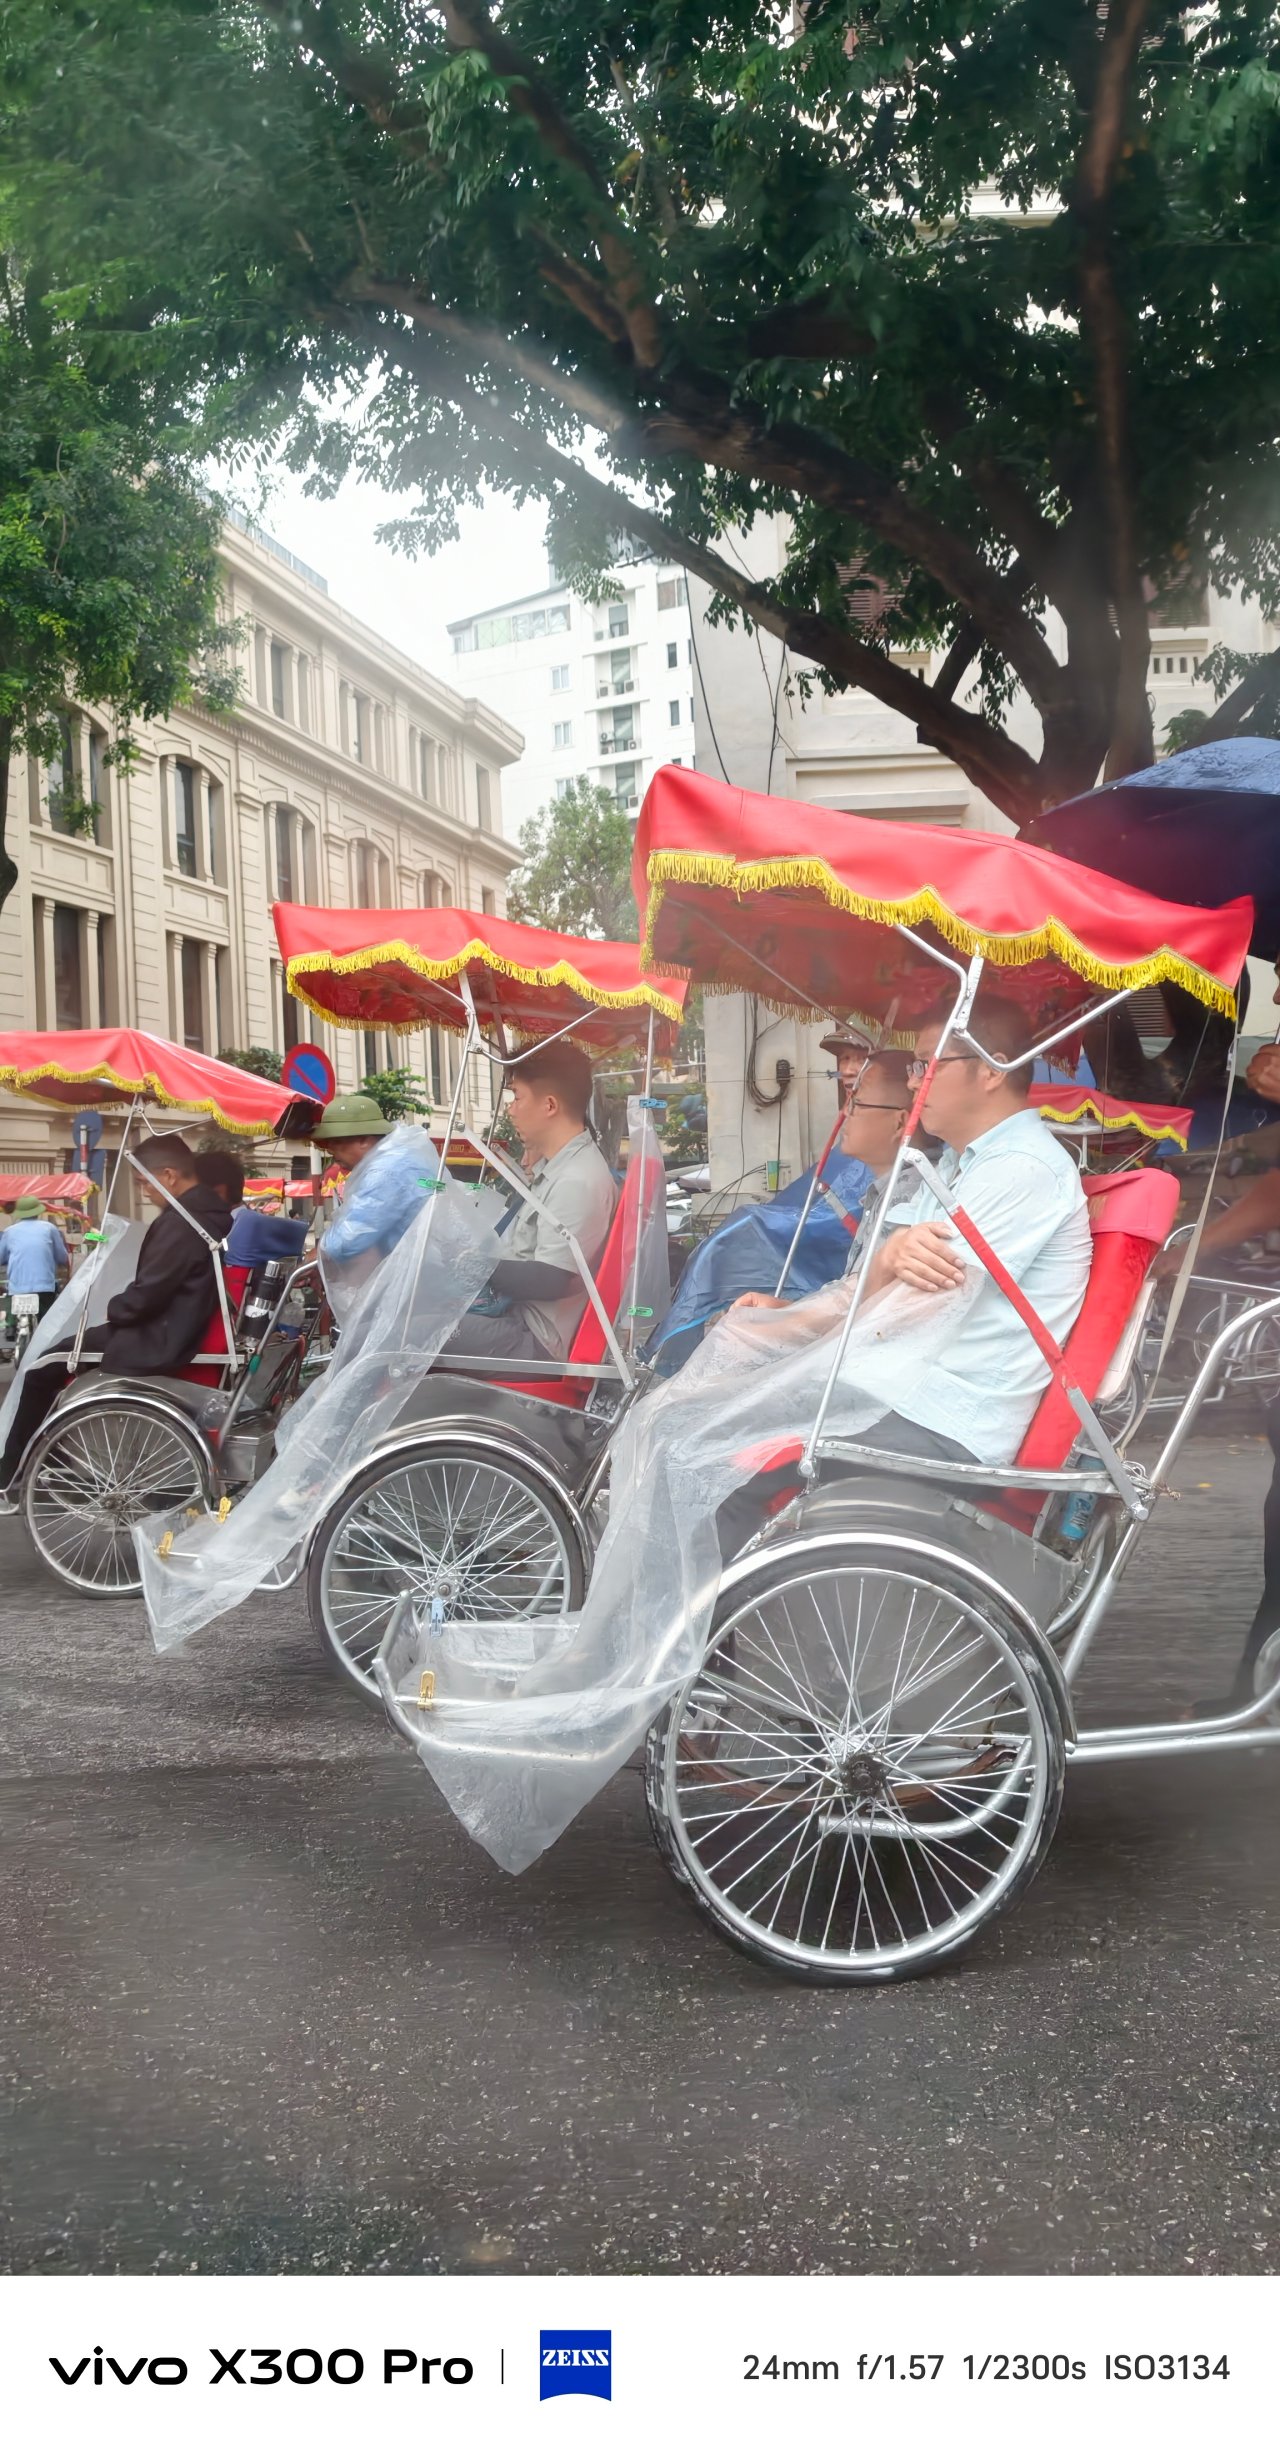
The X300 Pro already has a fast shutter speed in the default Photo Mode. But in times where you’re really on the move and you cannot stay still, Snapshot Mode is here to save the day.
With my commute in Vietnam heavily relying on riding motorbikes, this mode became my go-to for capturing fast-moving subjects.


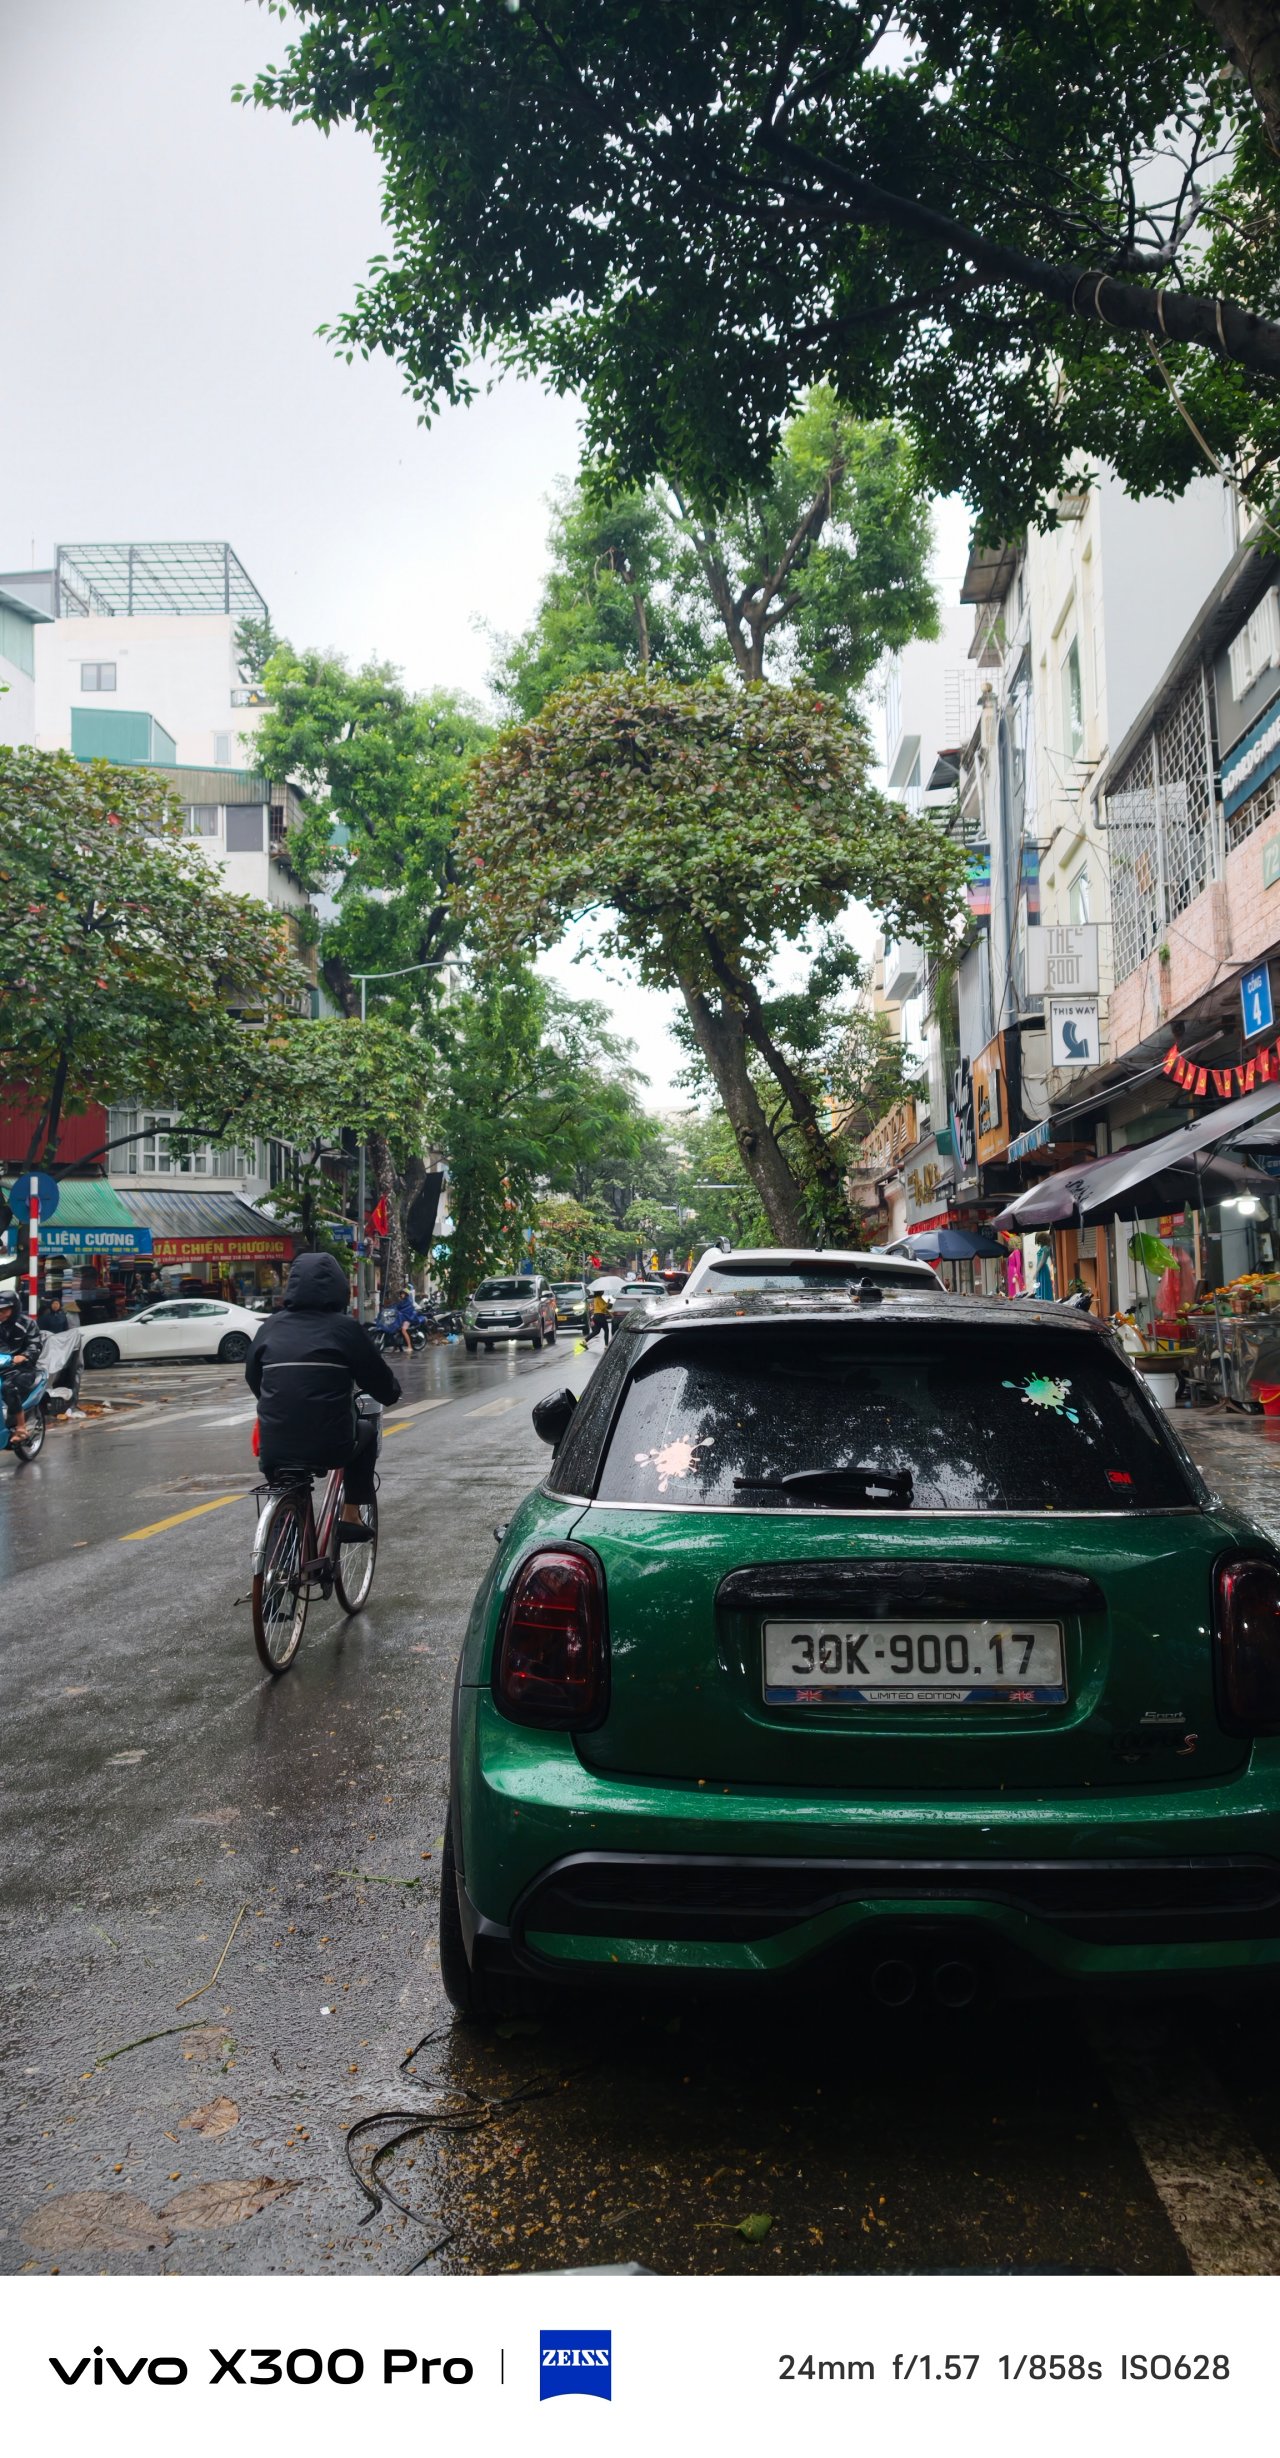
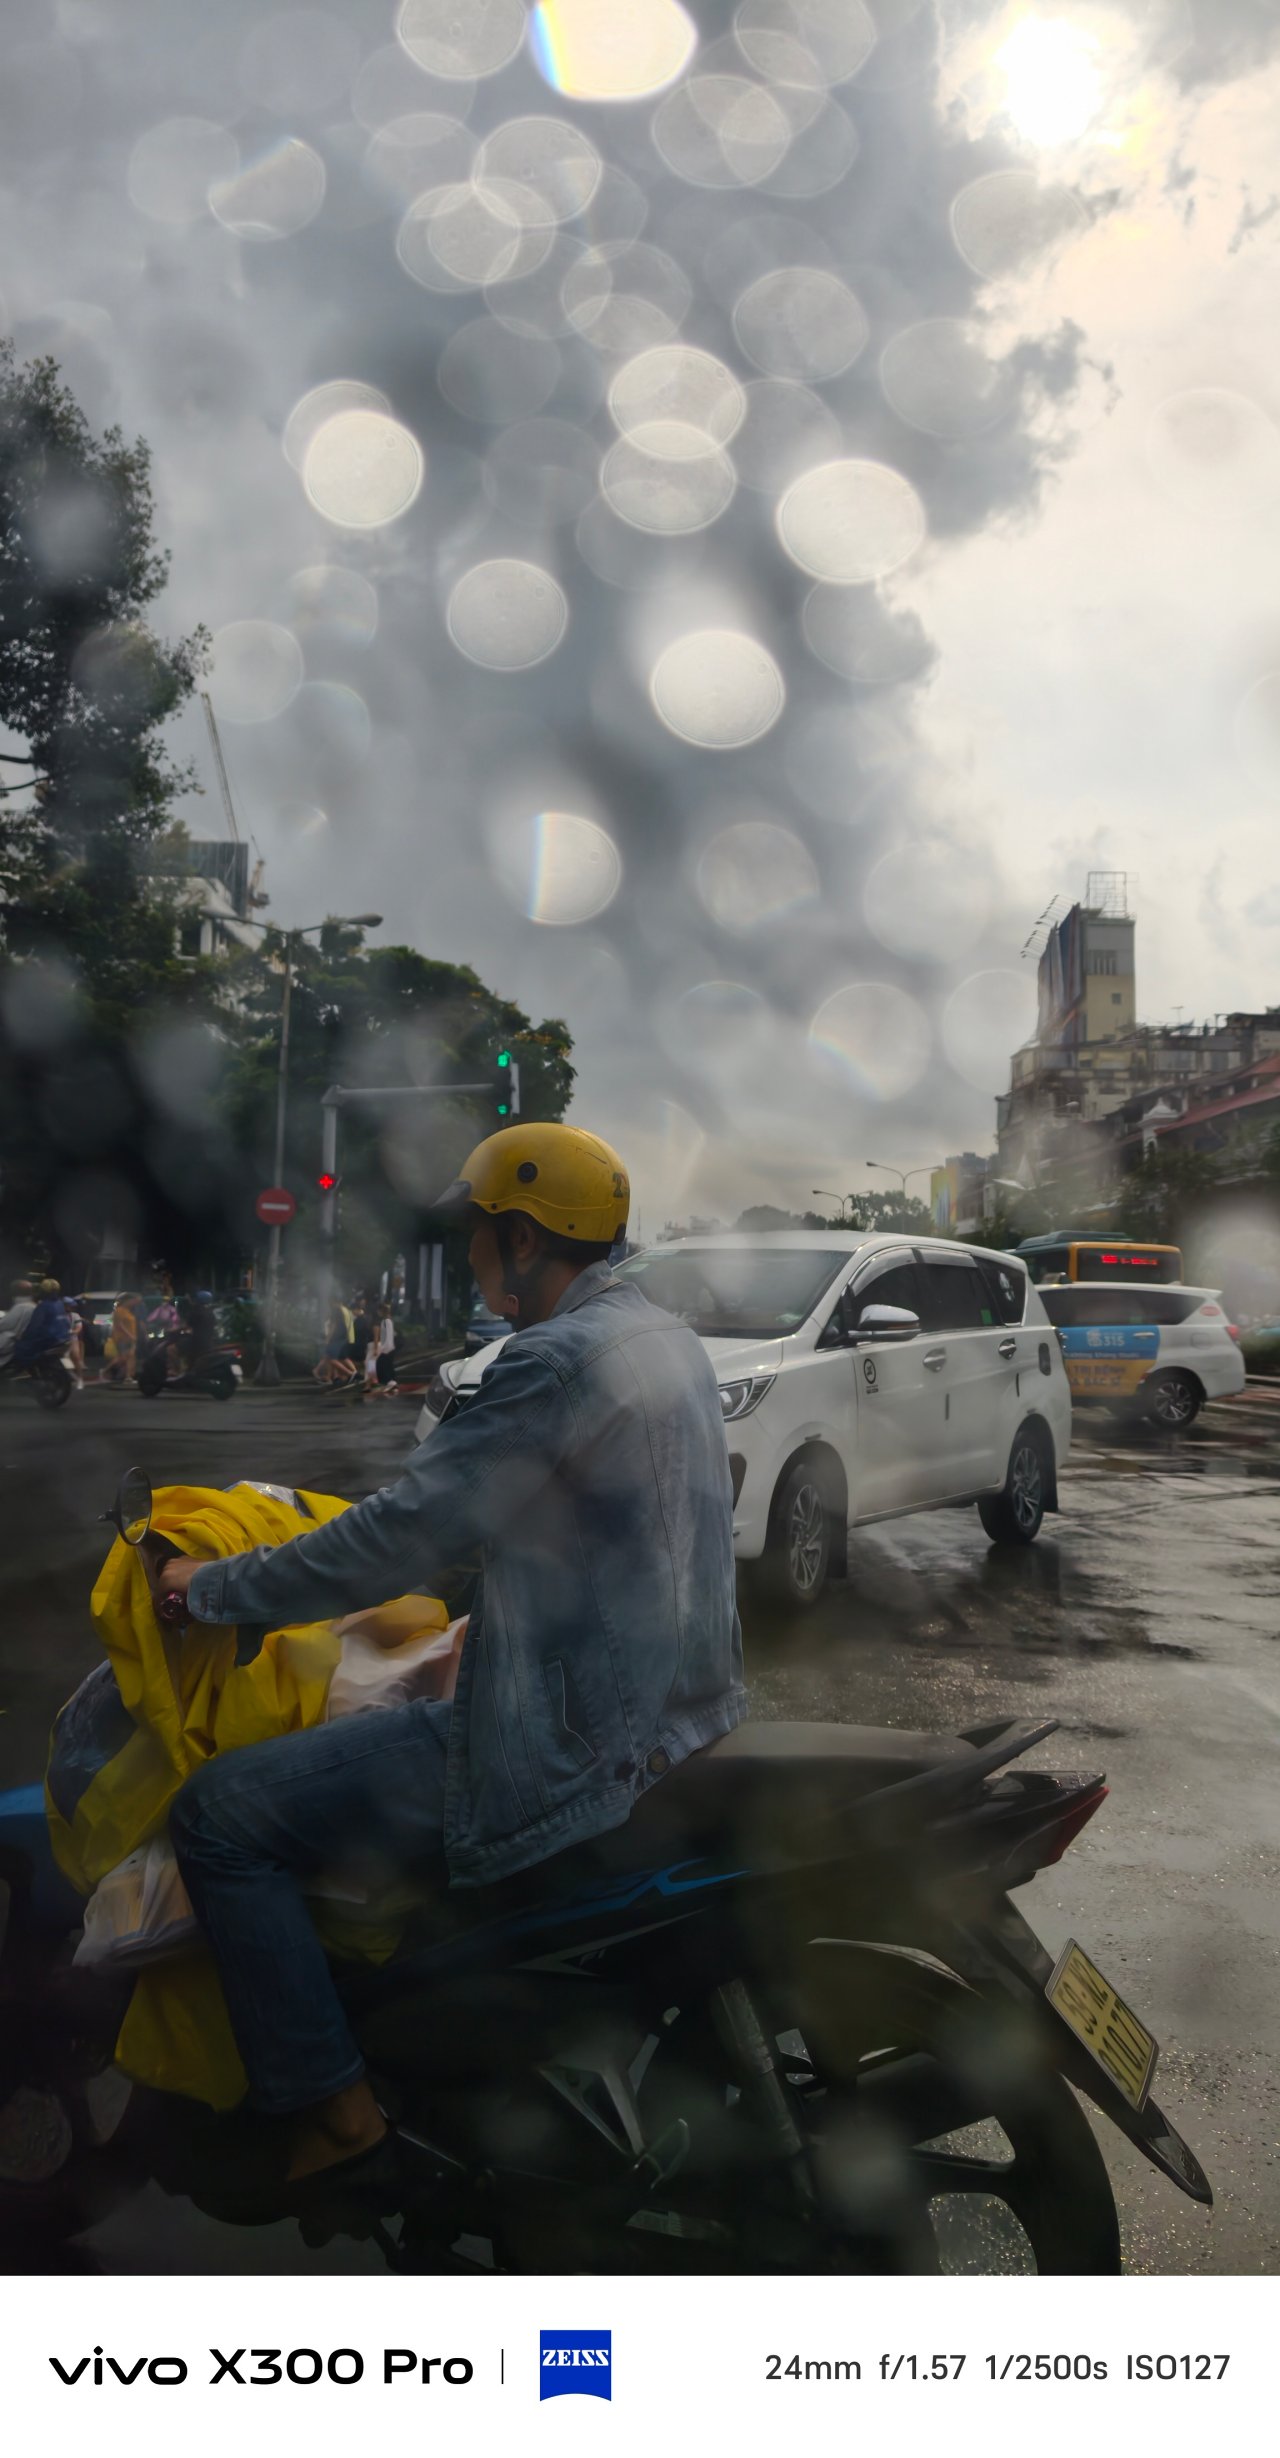


Trying to take very-detailed horizon shots? The 50MP and 200MP Hi-Res toggles exist. They were beneficial when I tried taking horizon shots of Hanoi, Saigon, and even SaPa.


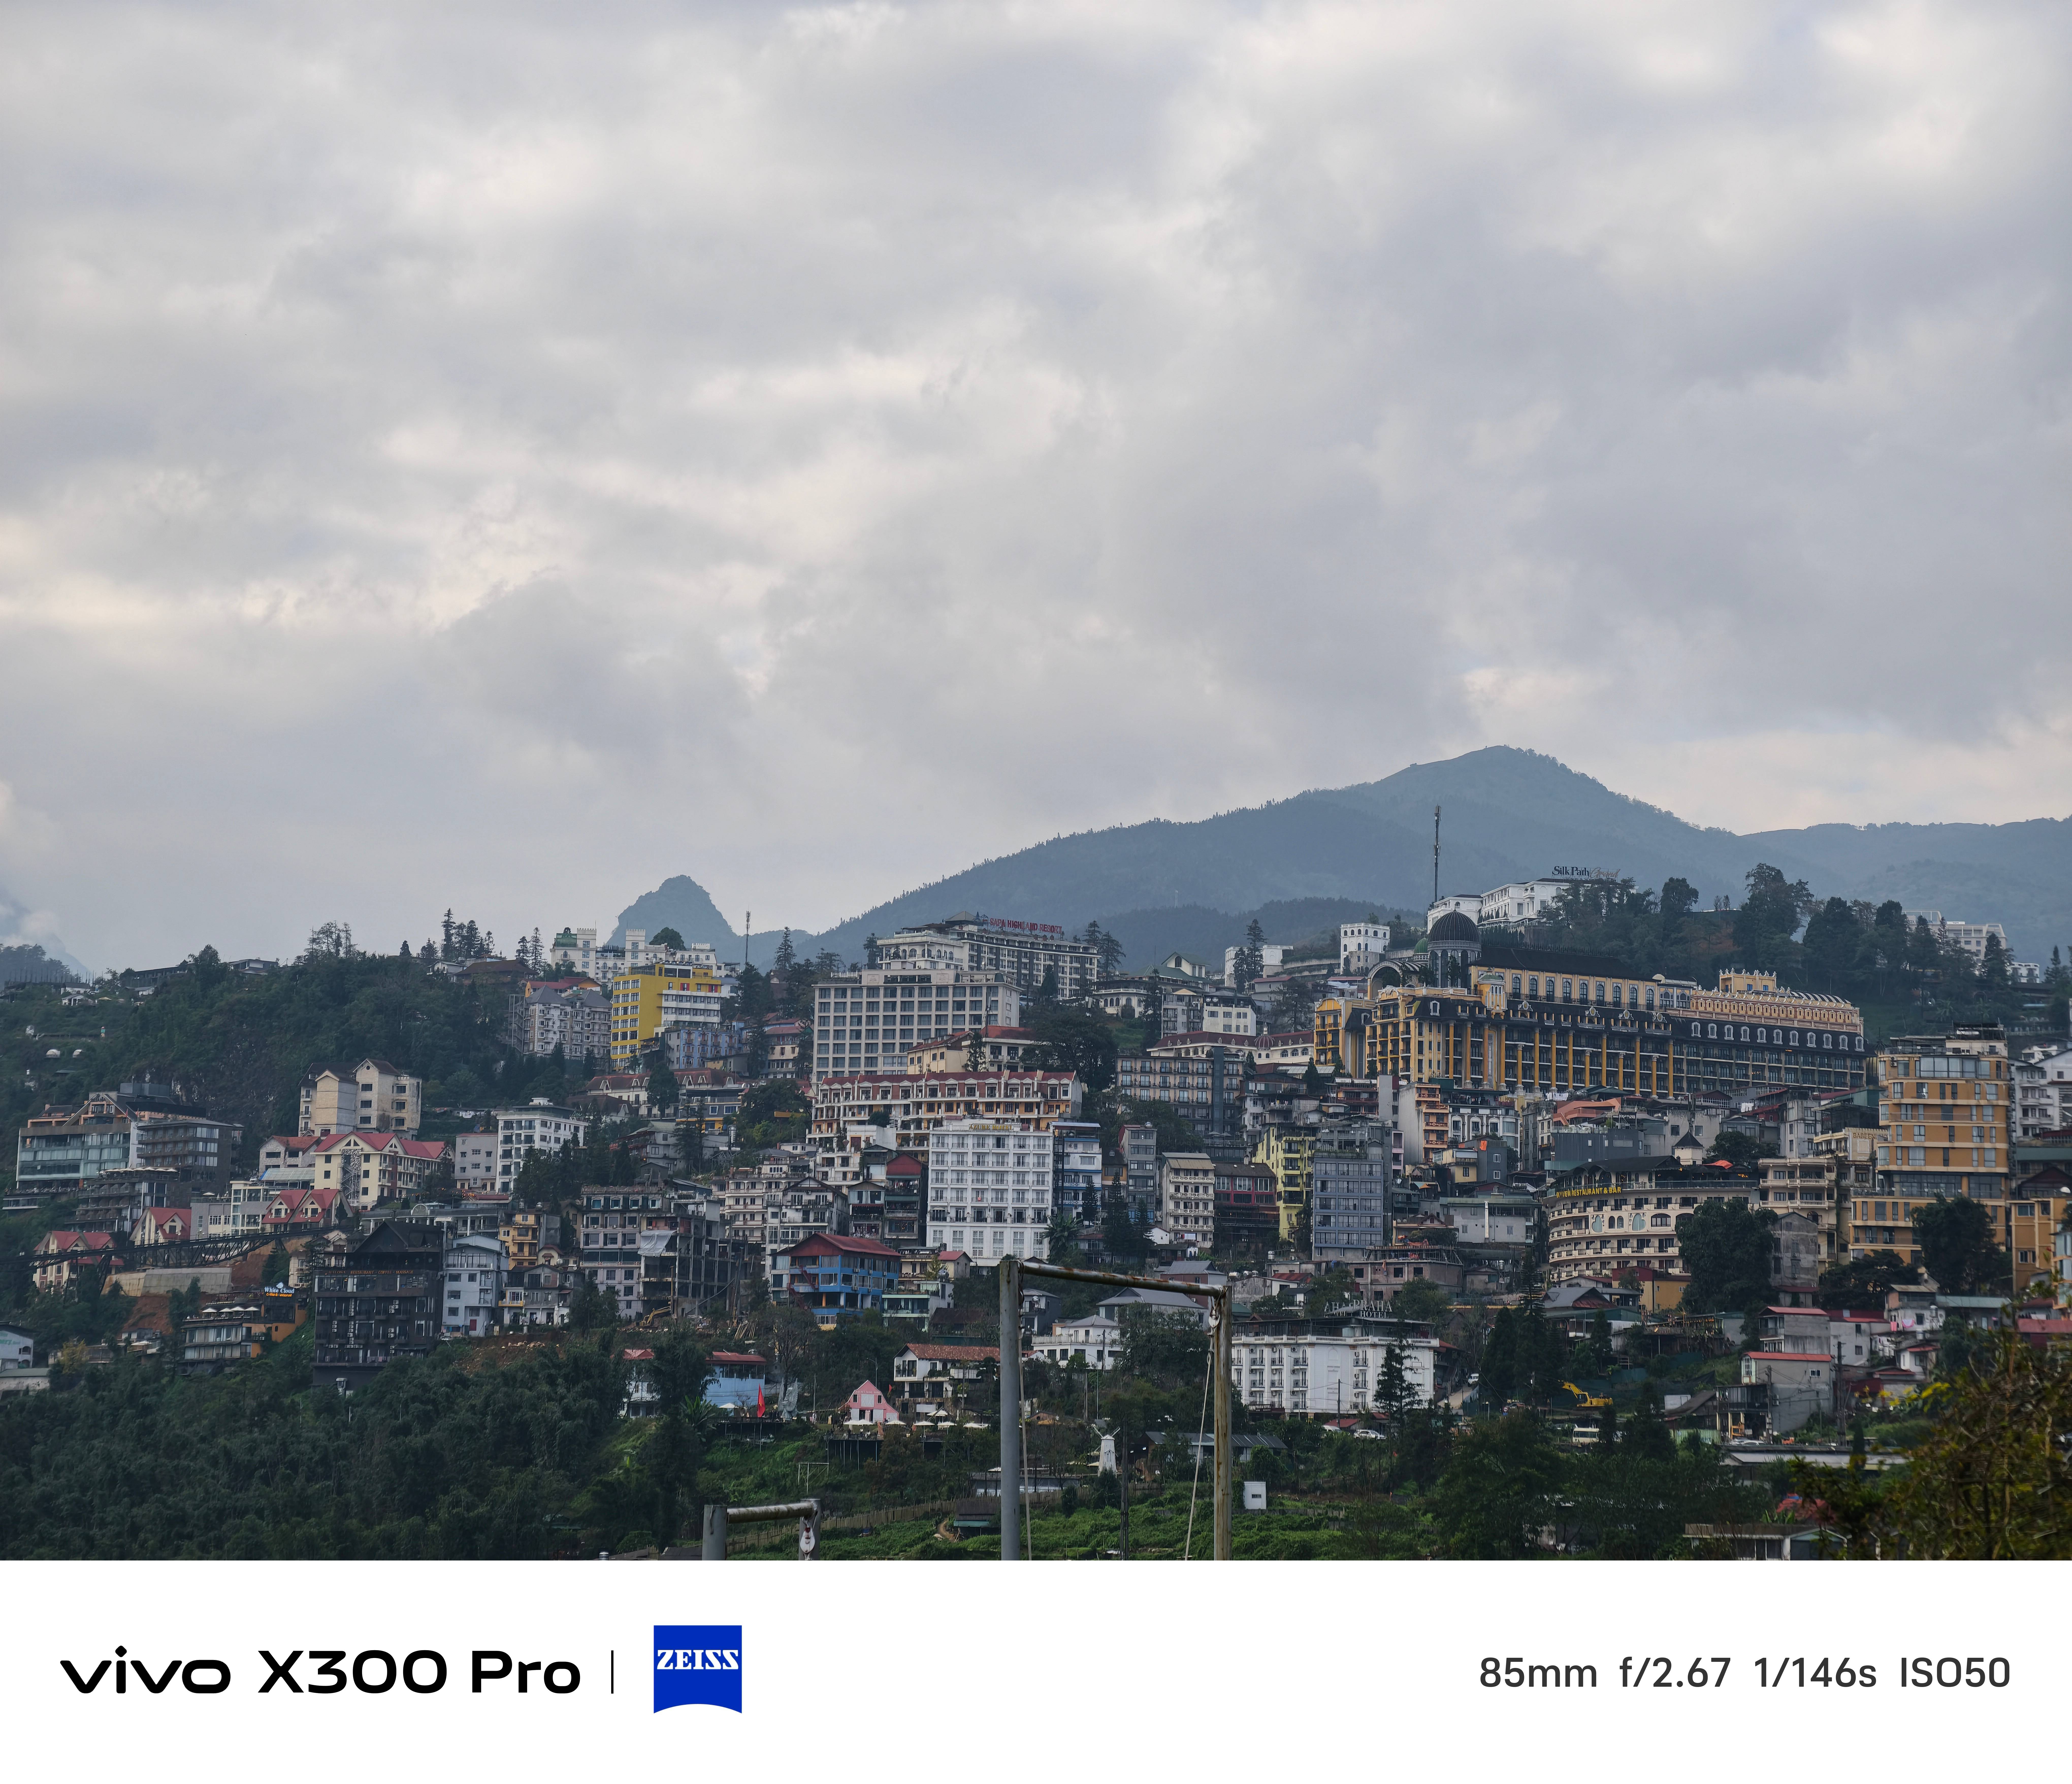

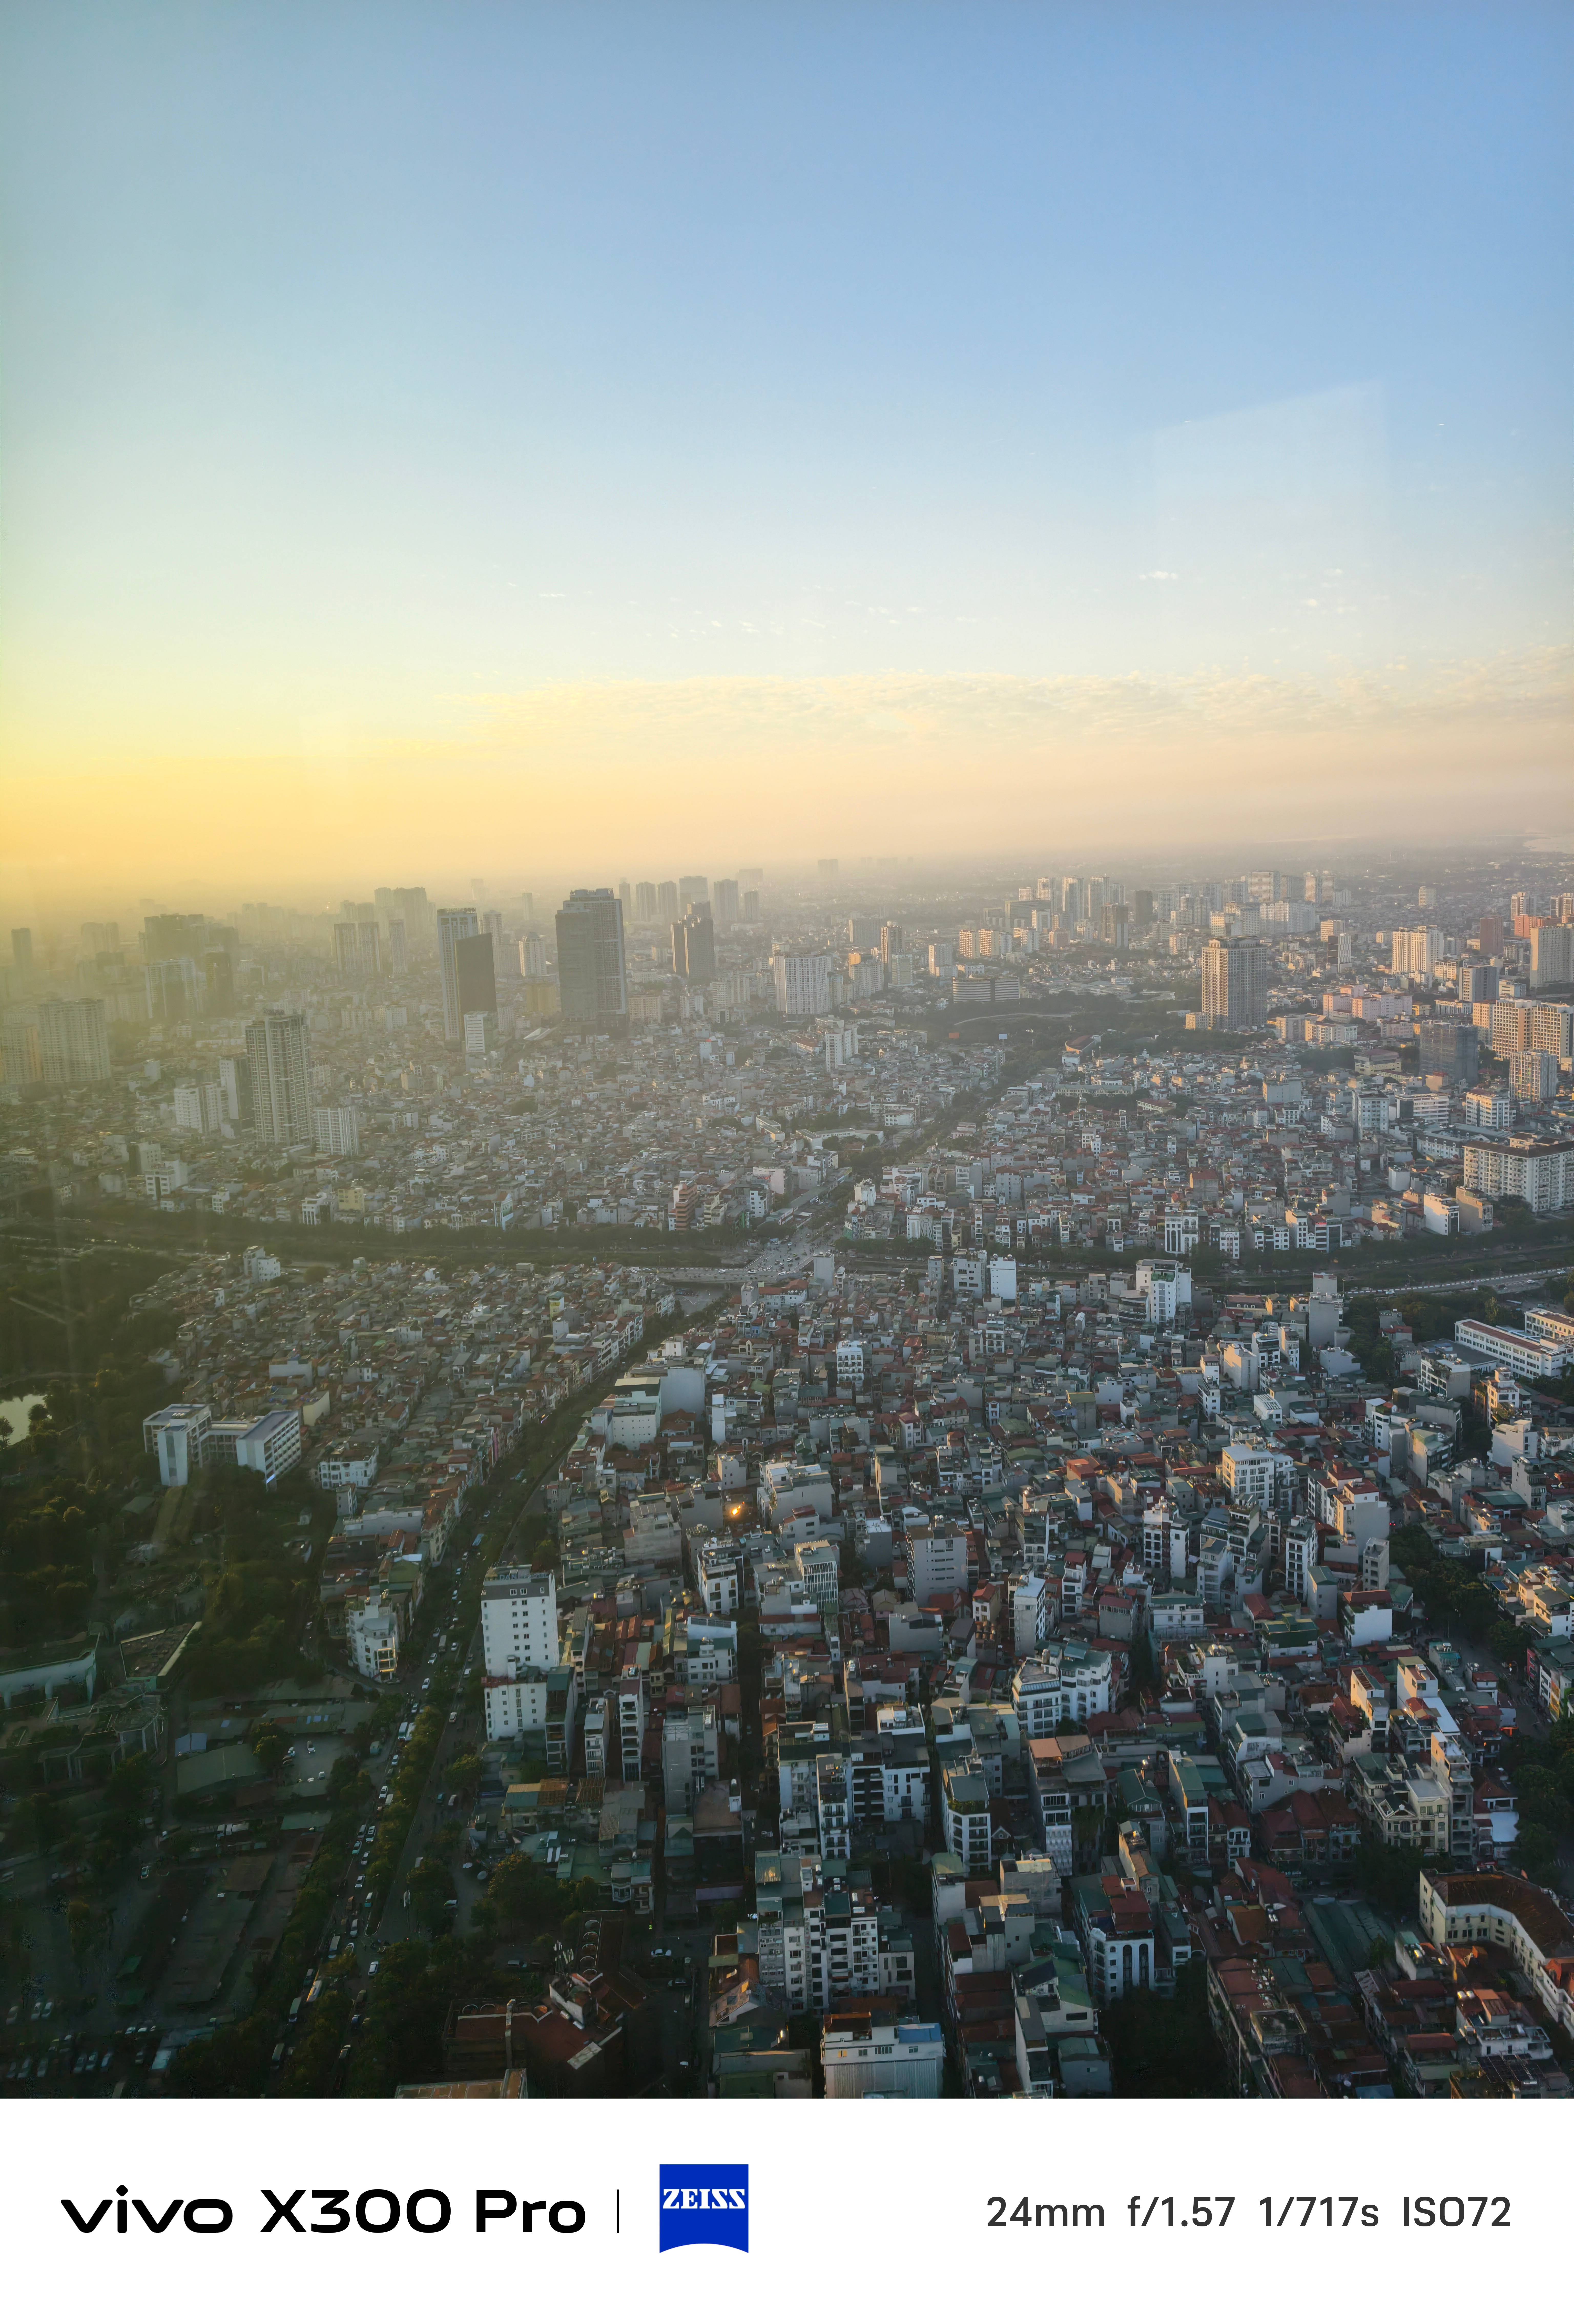
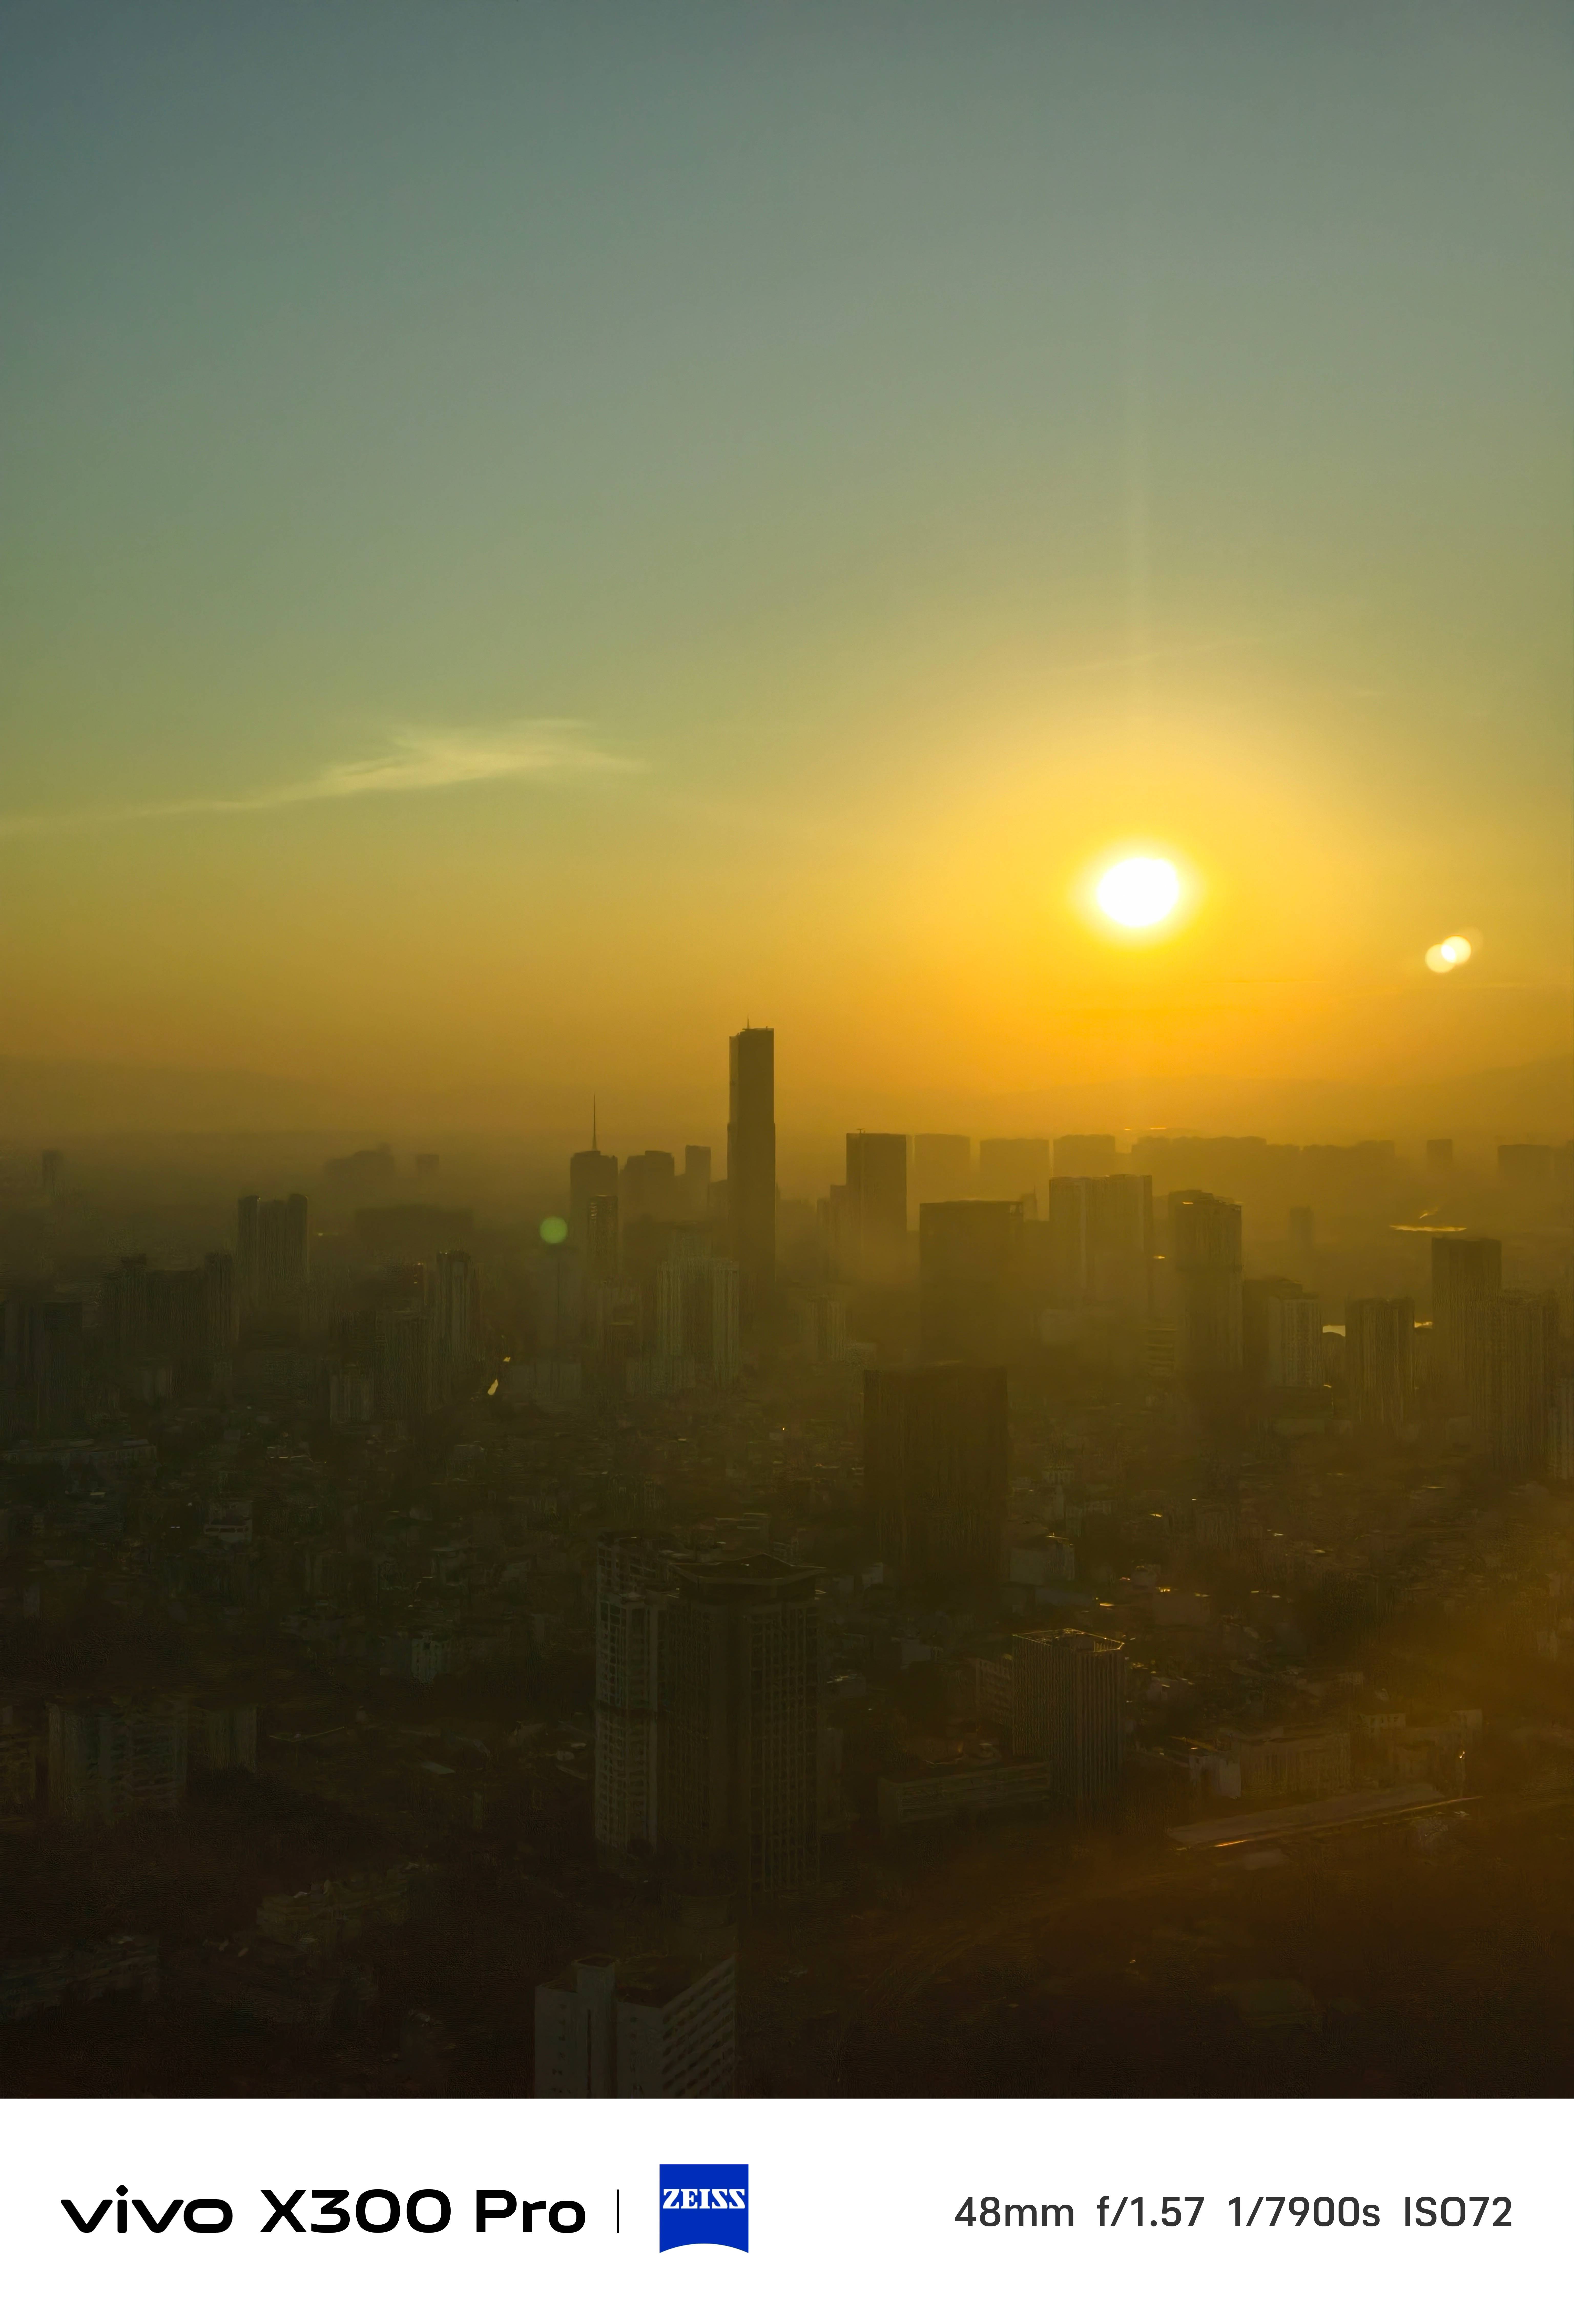
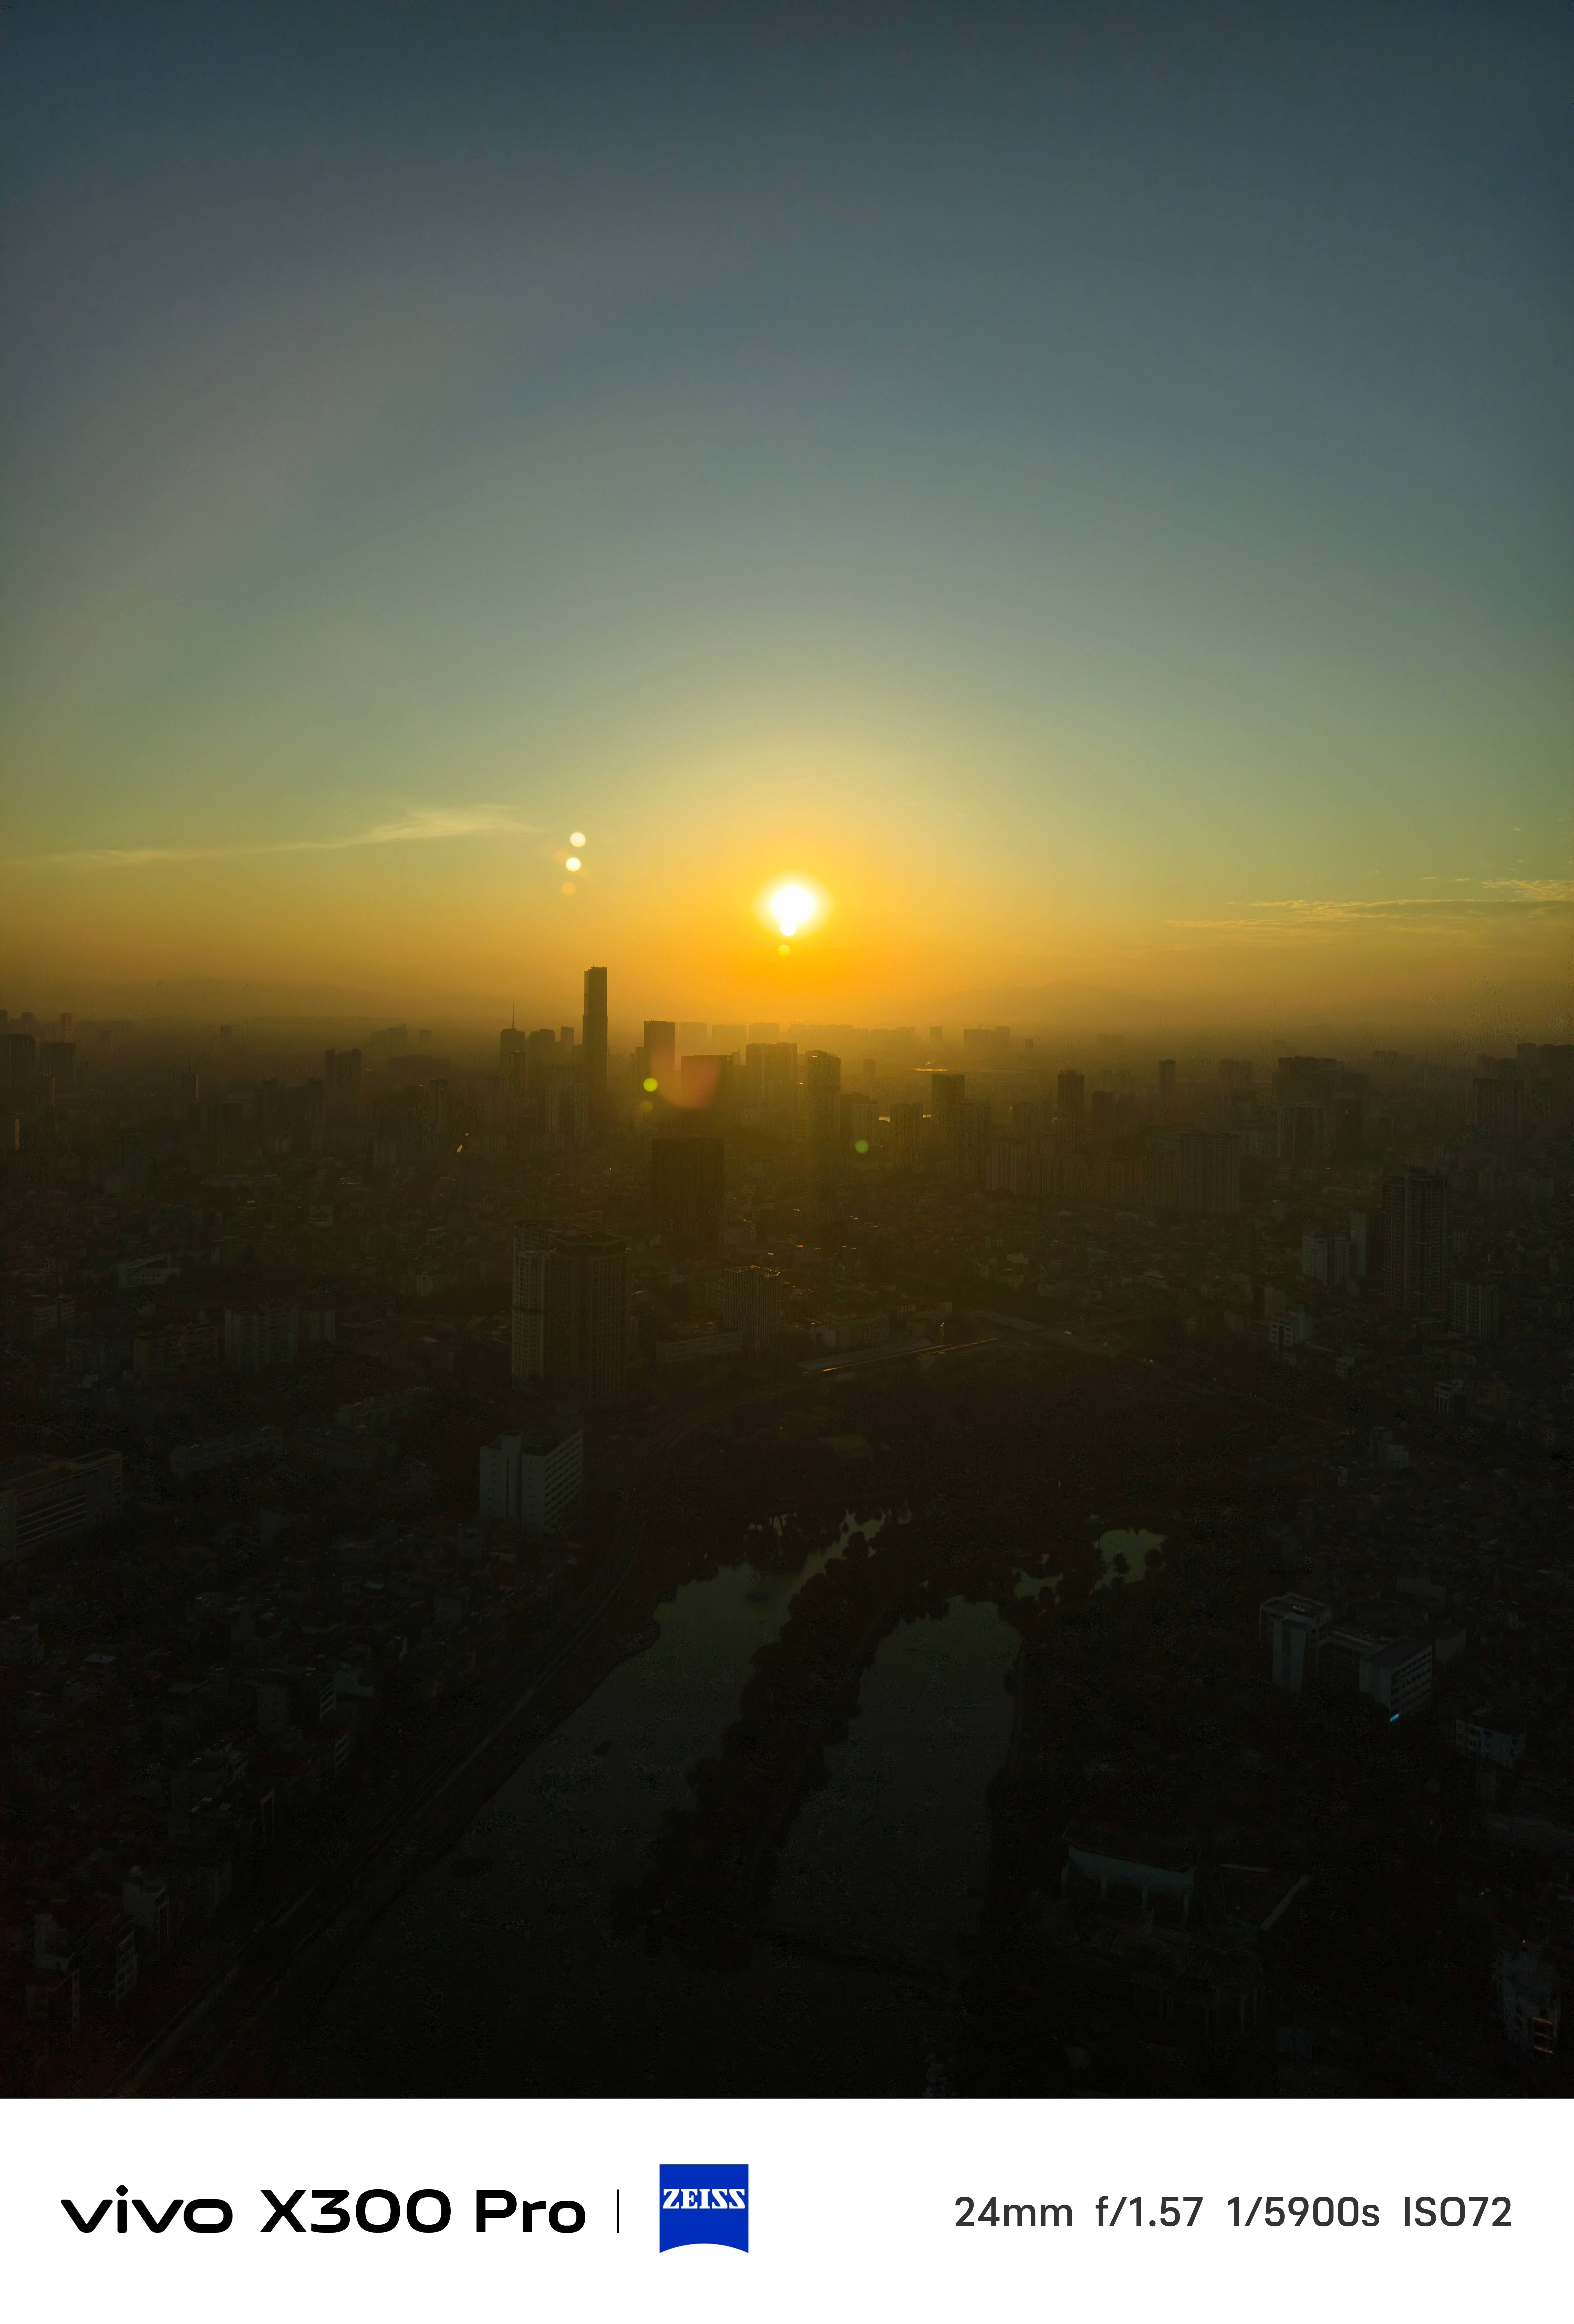
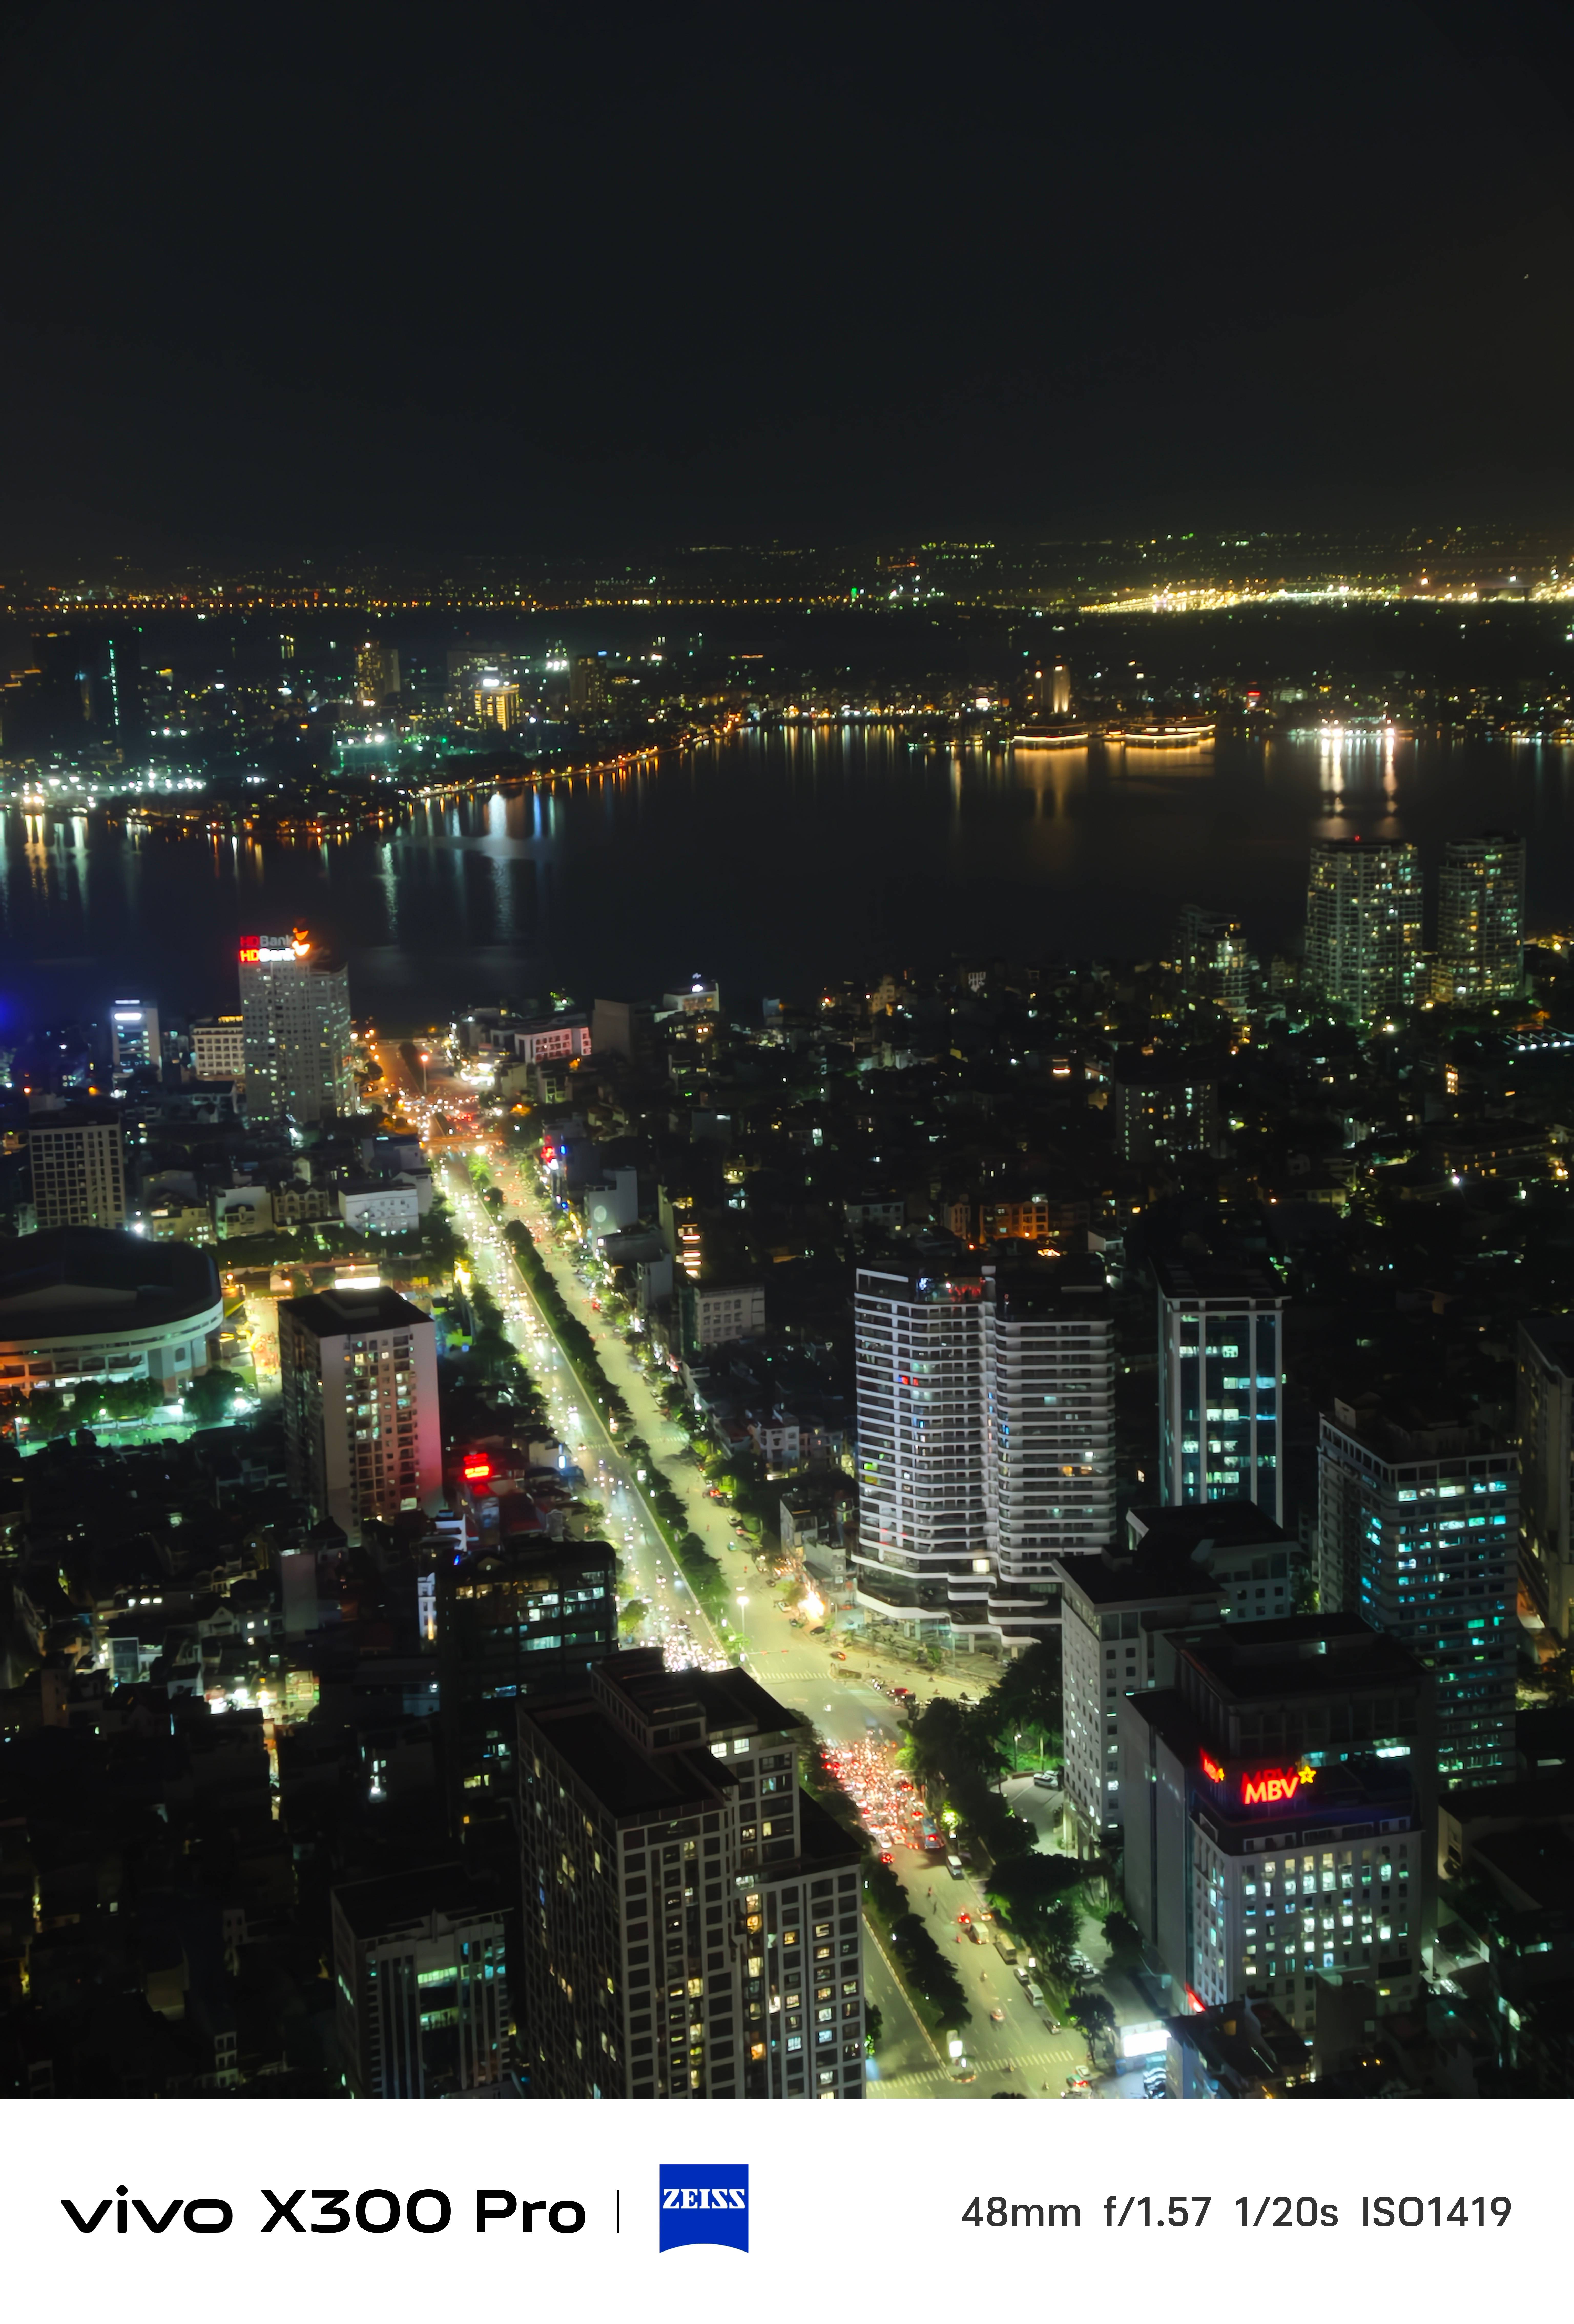
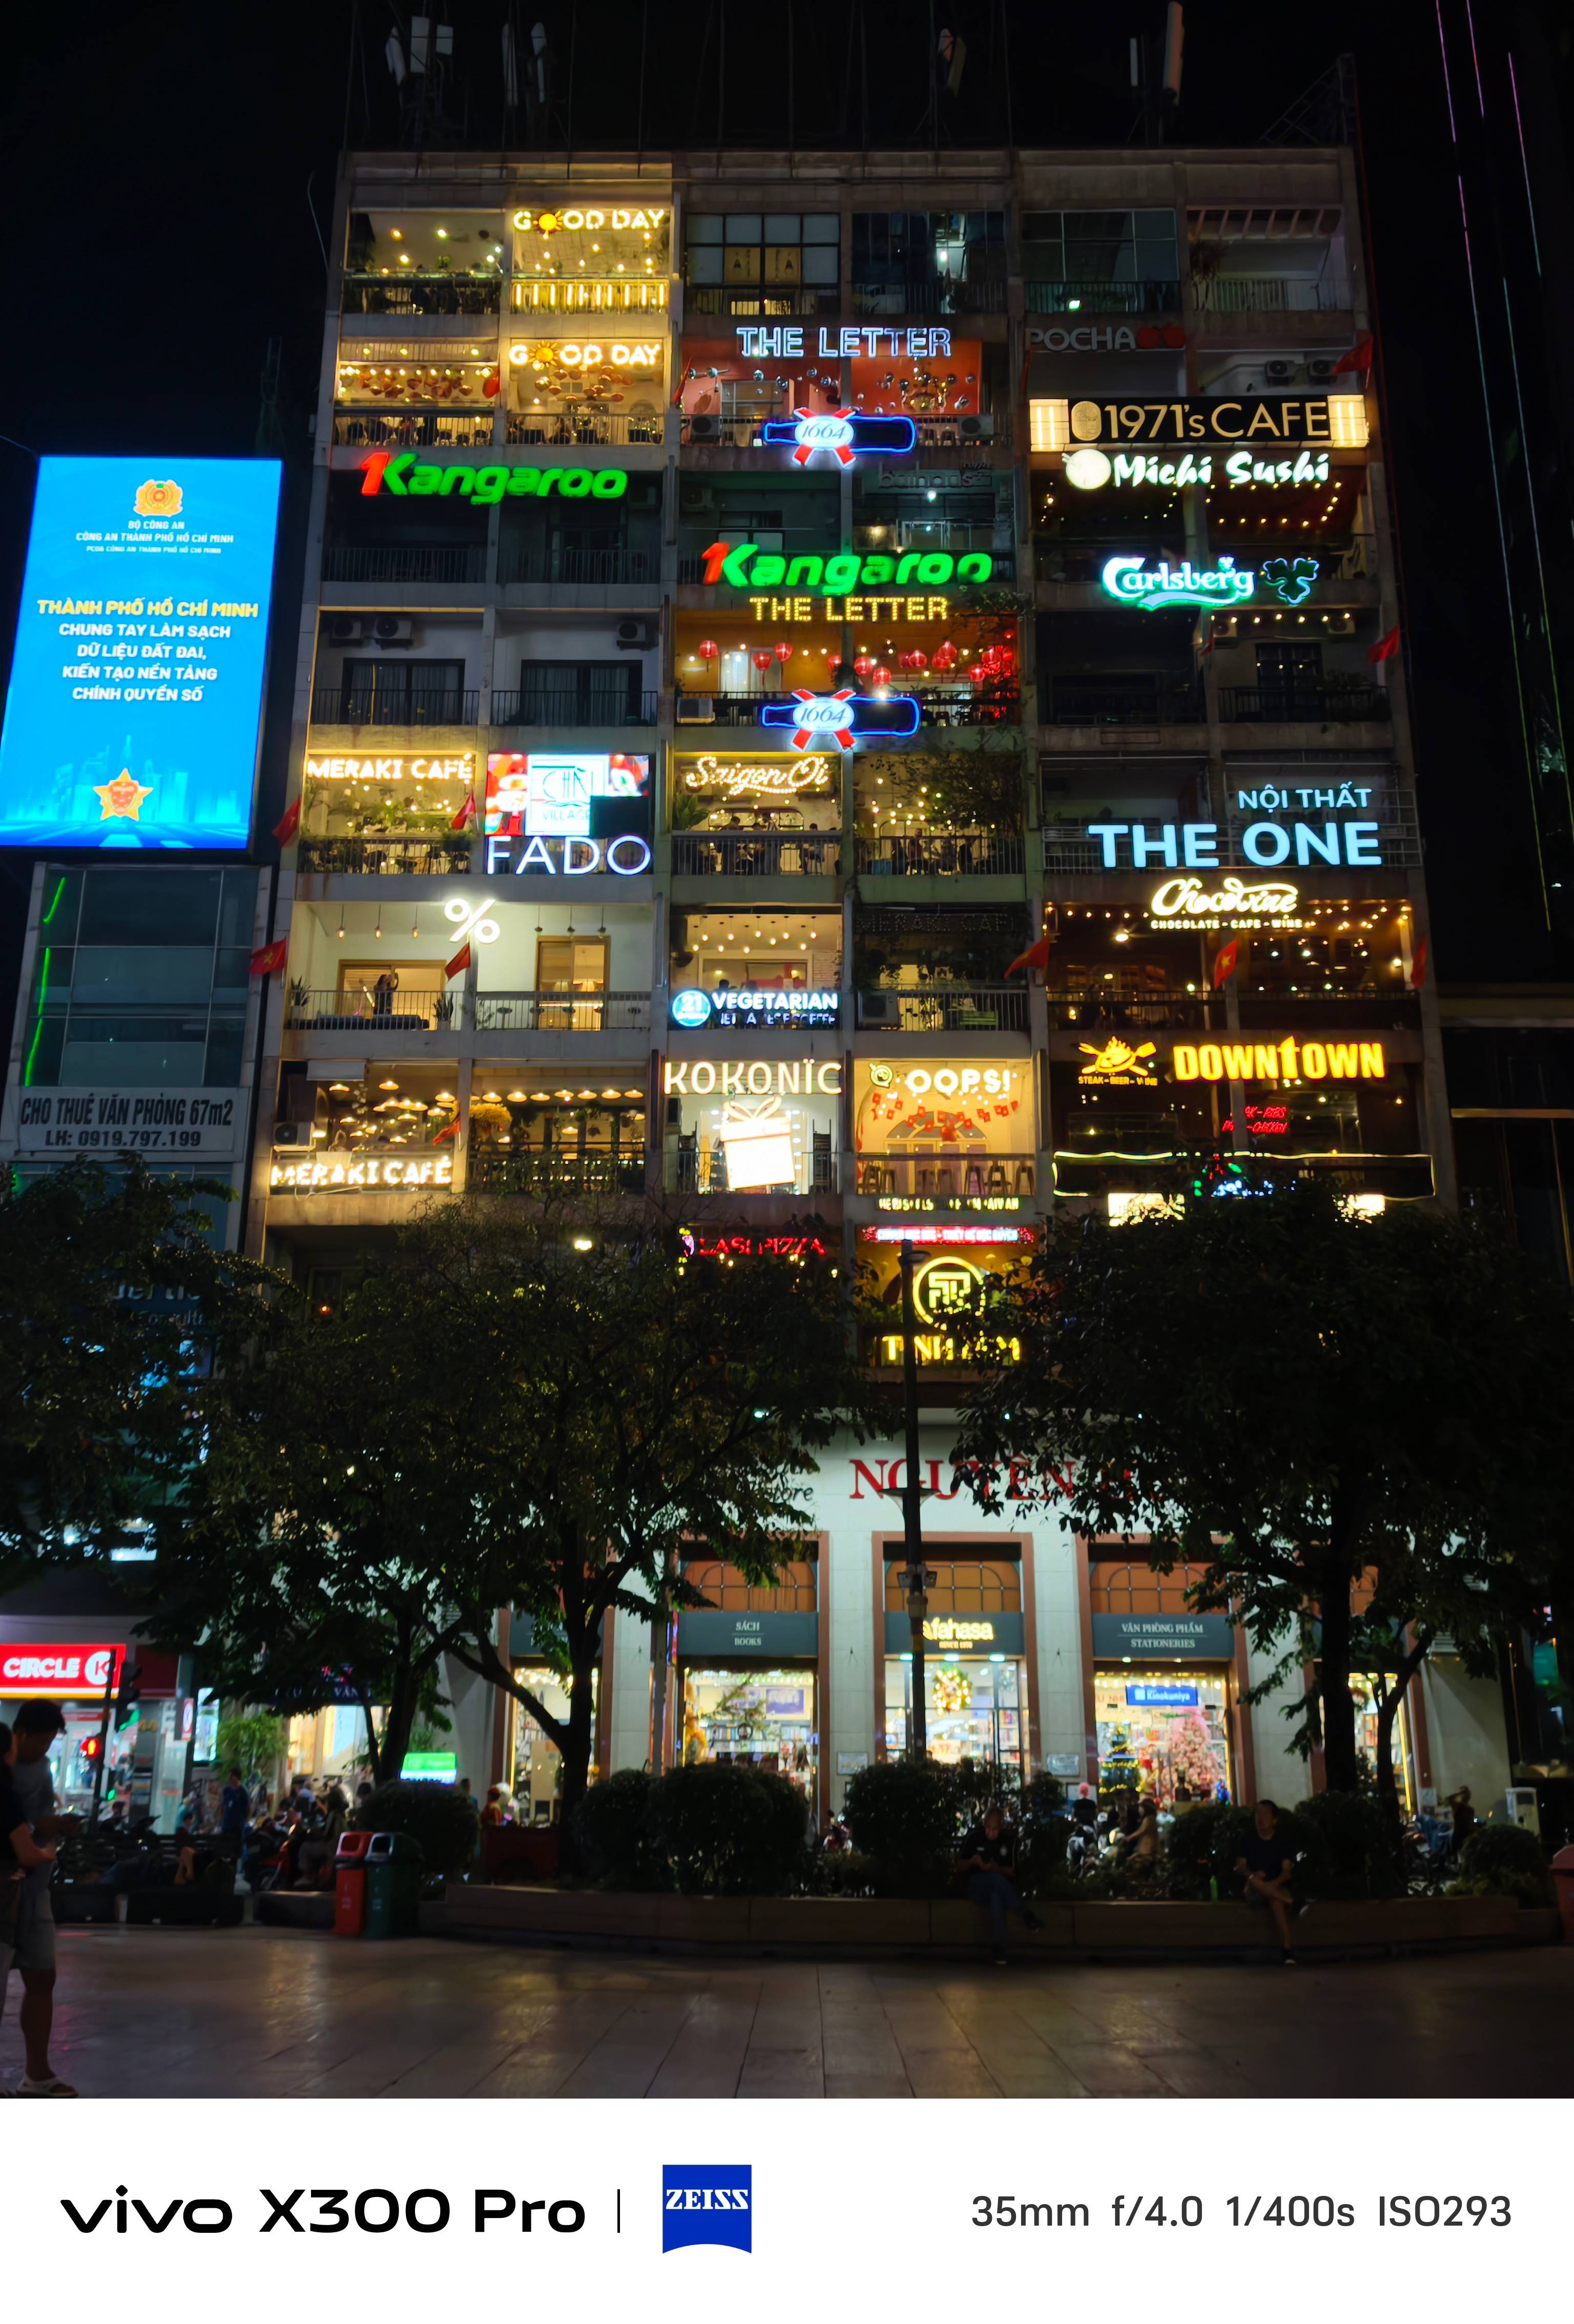
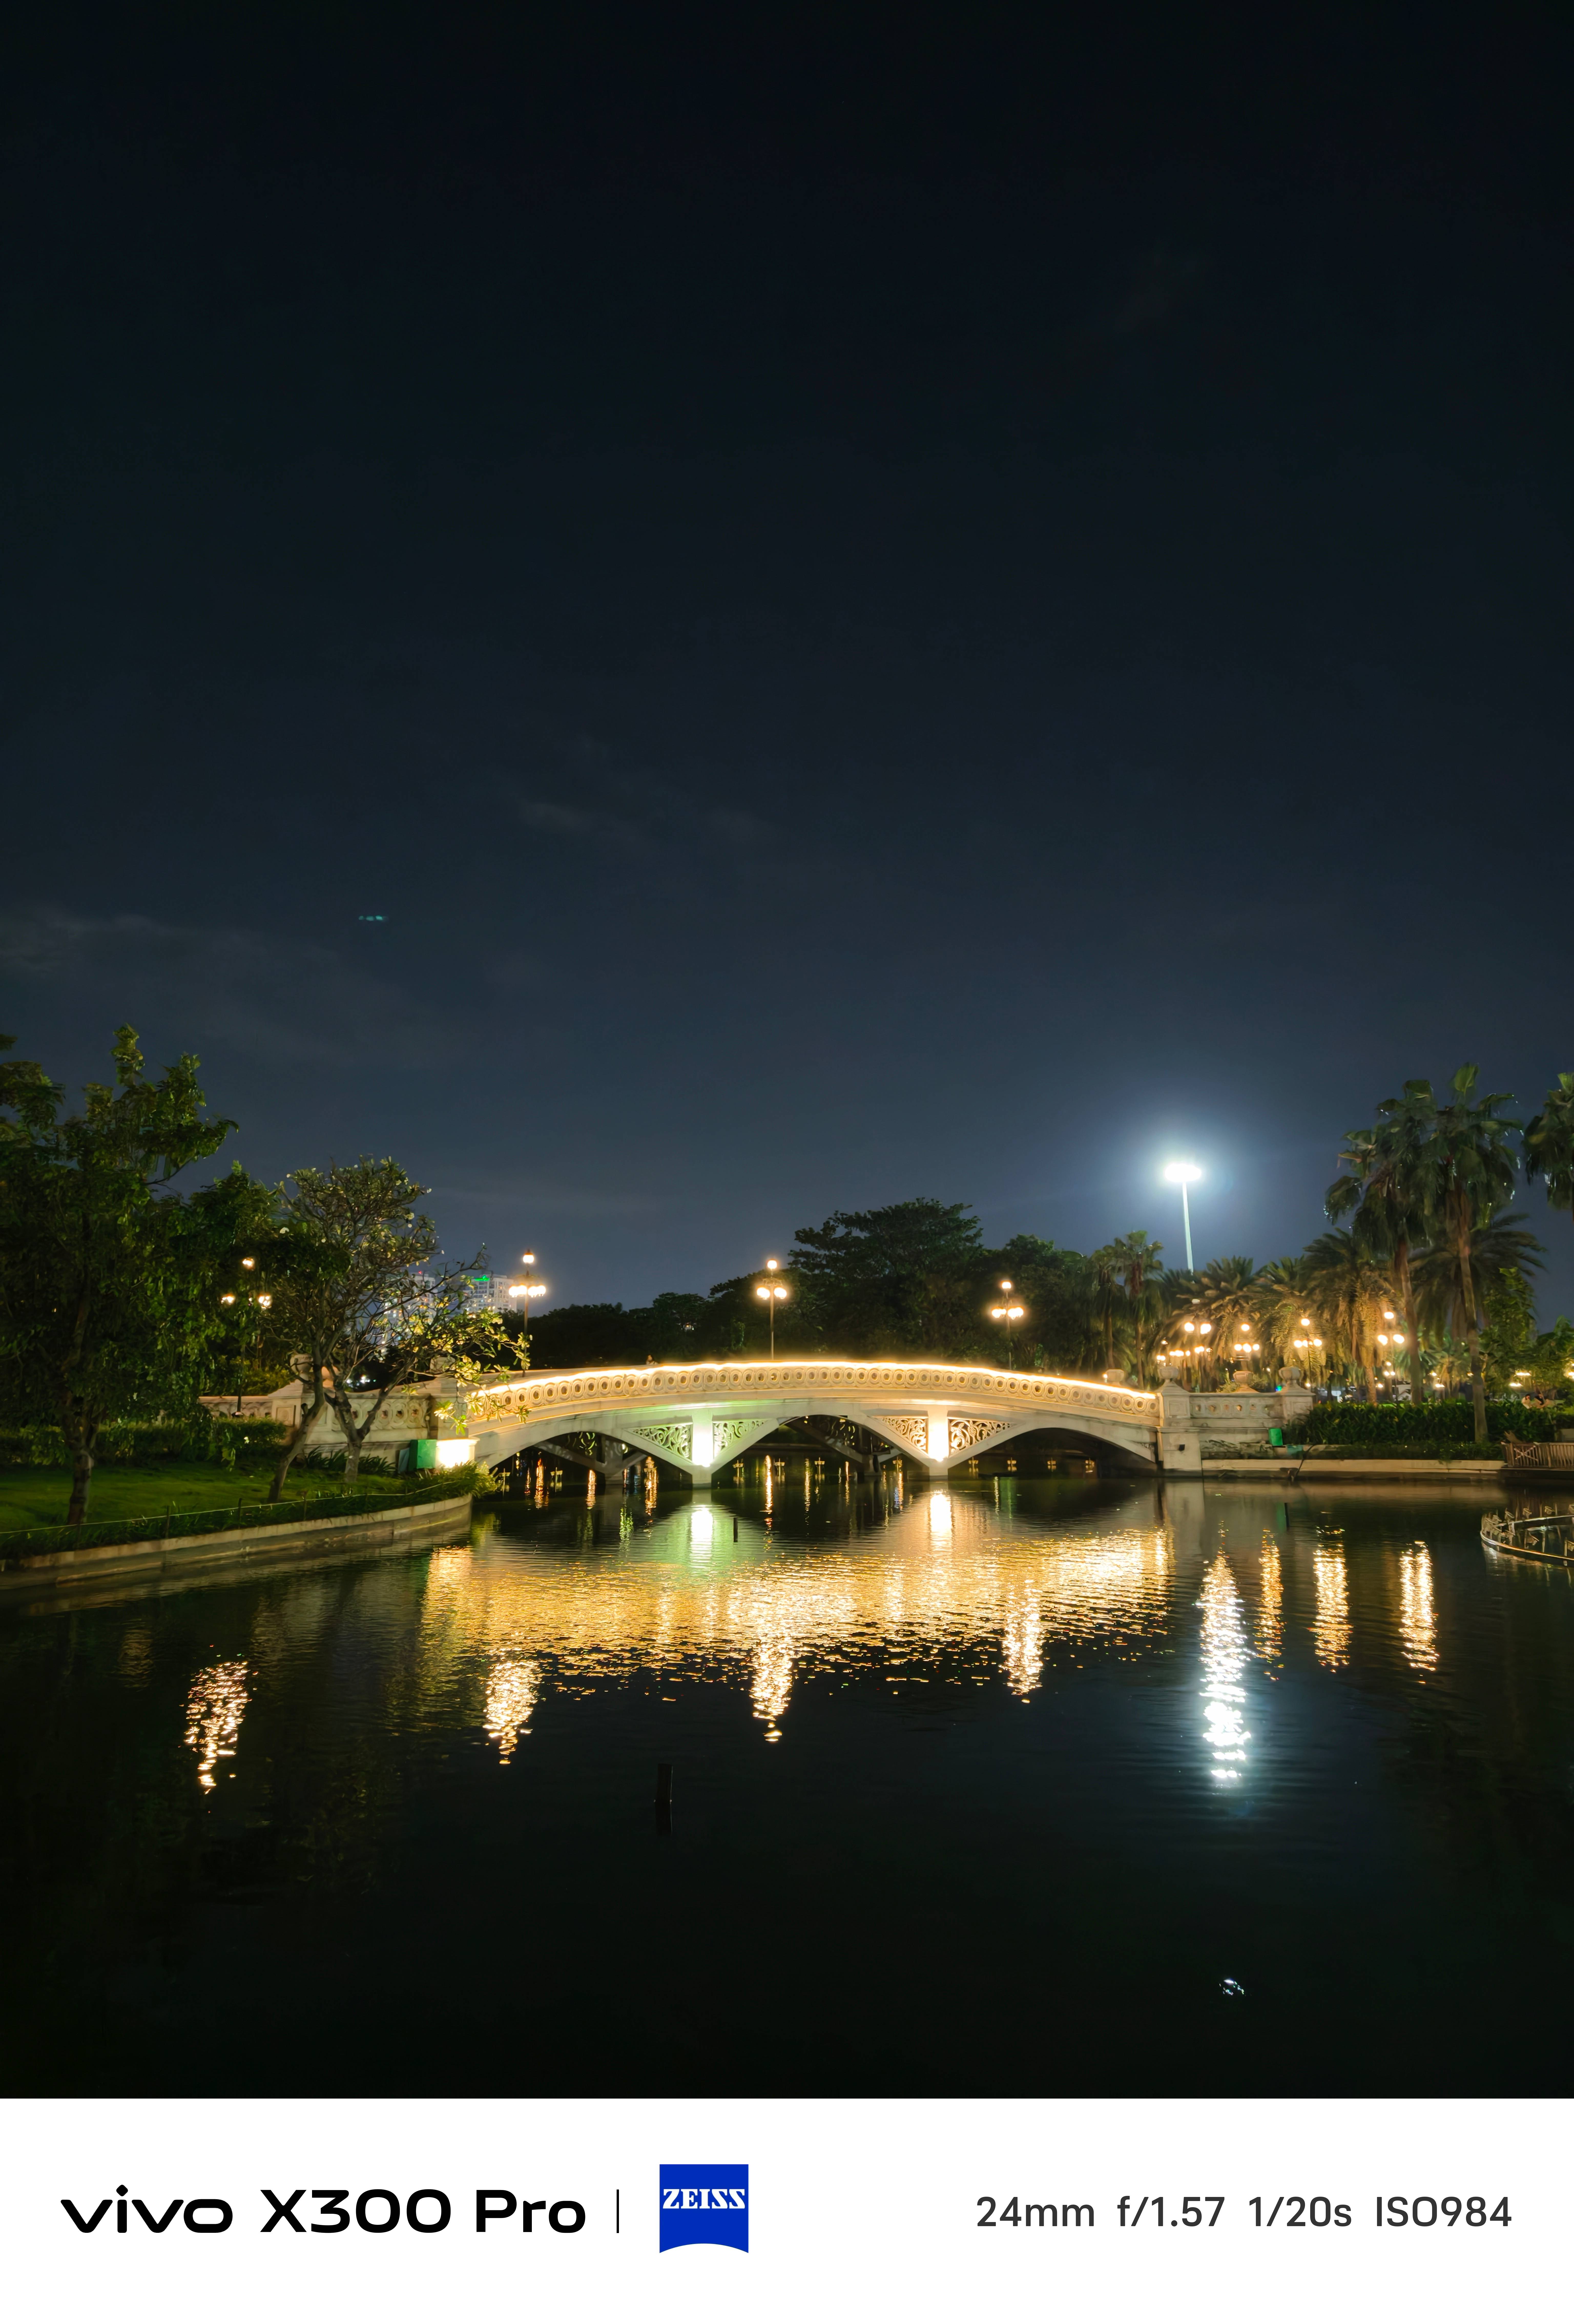
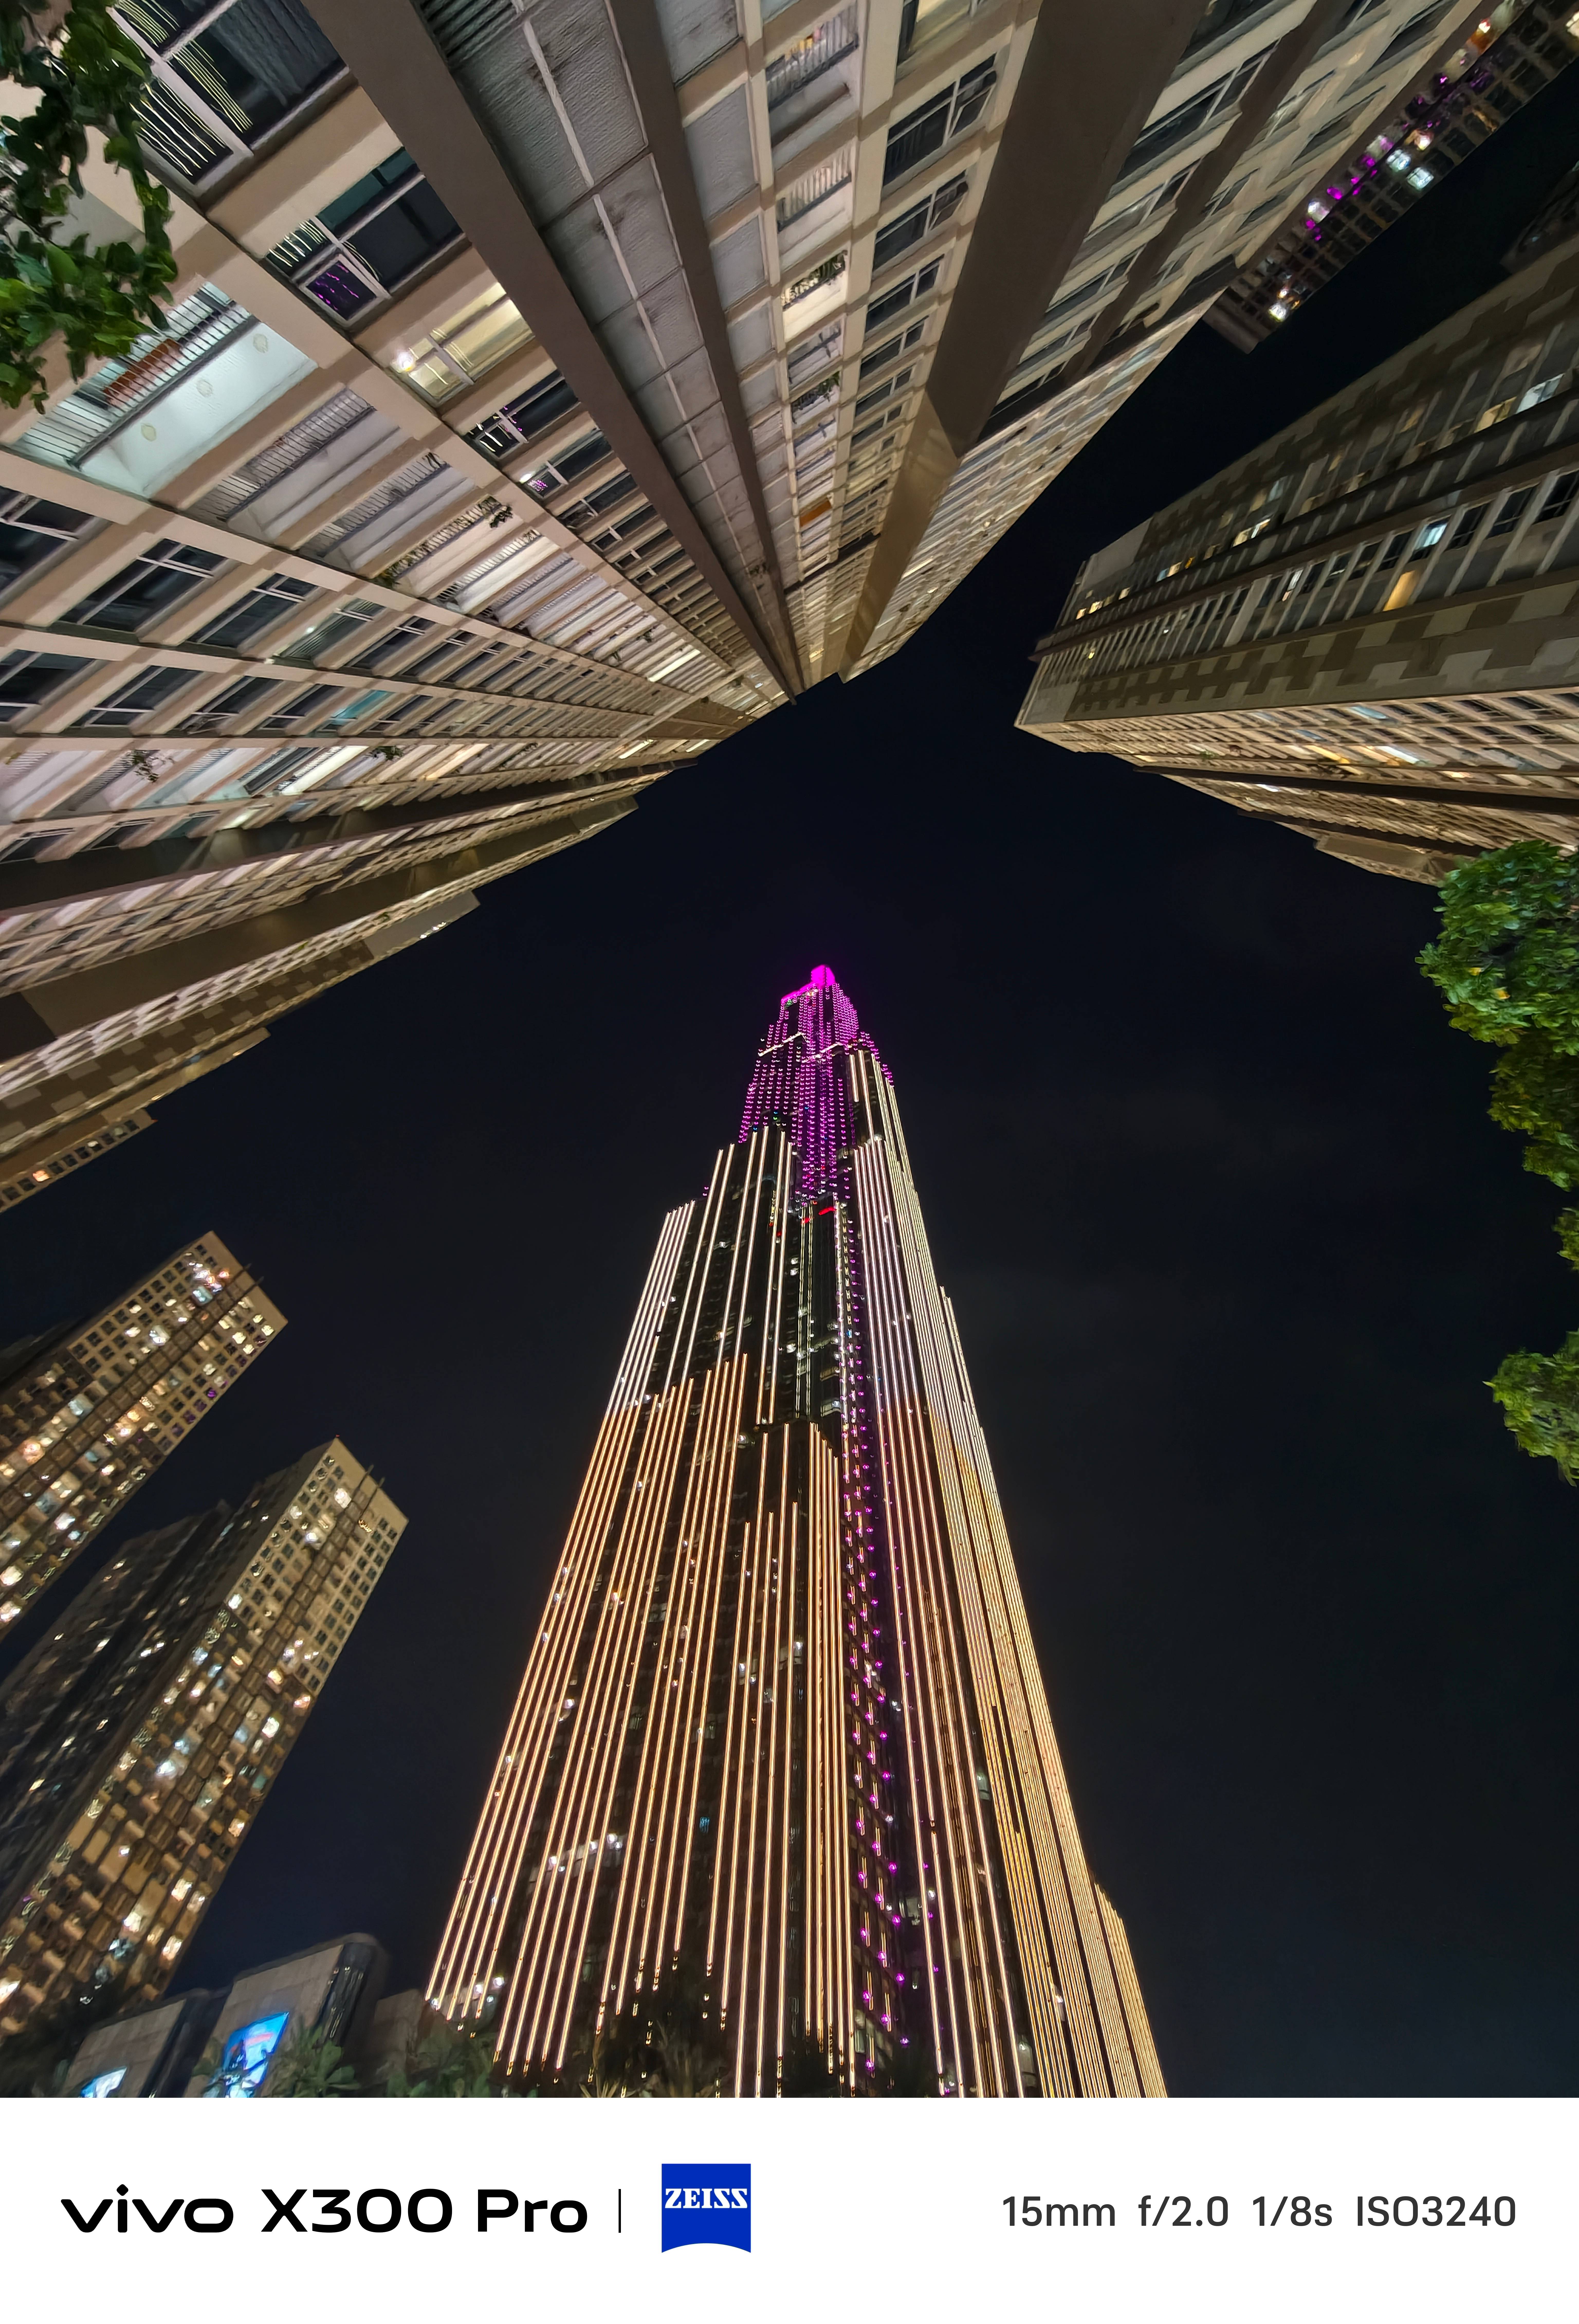
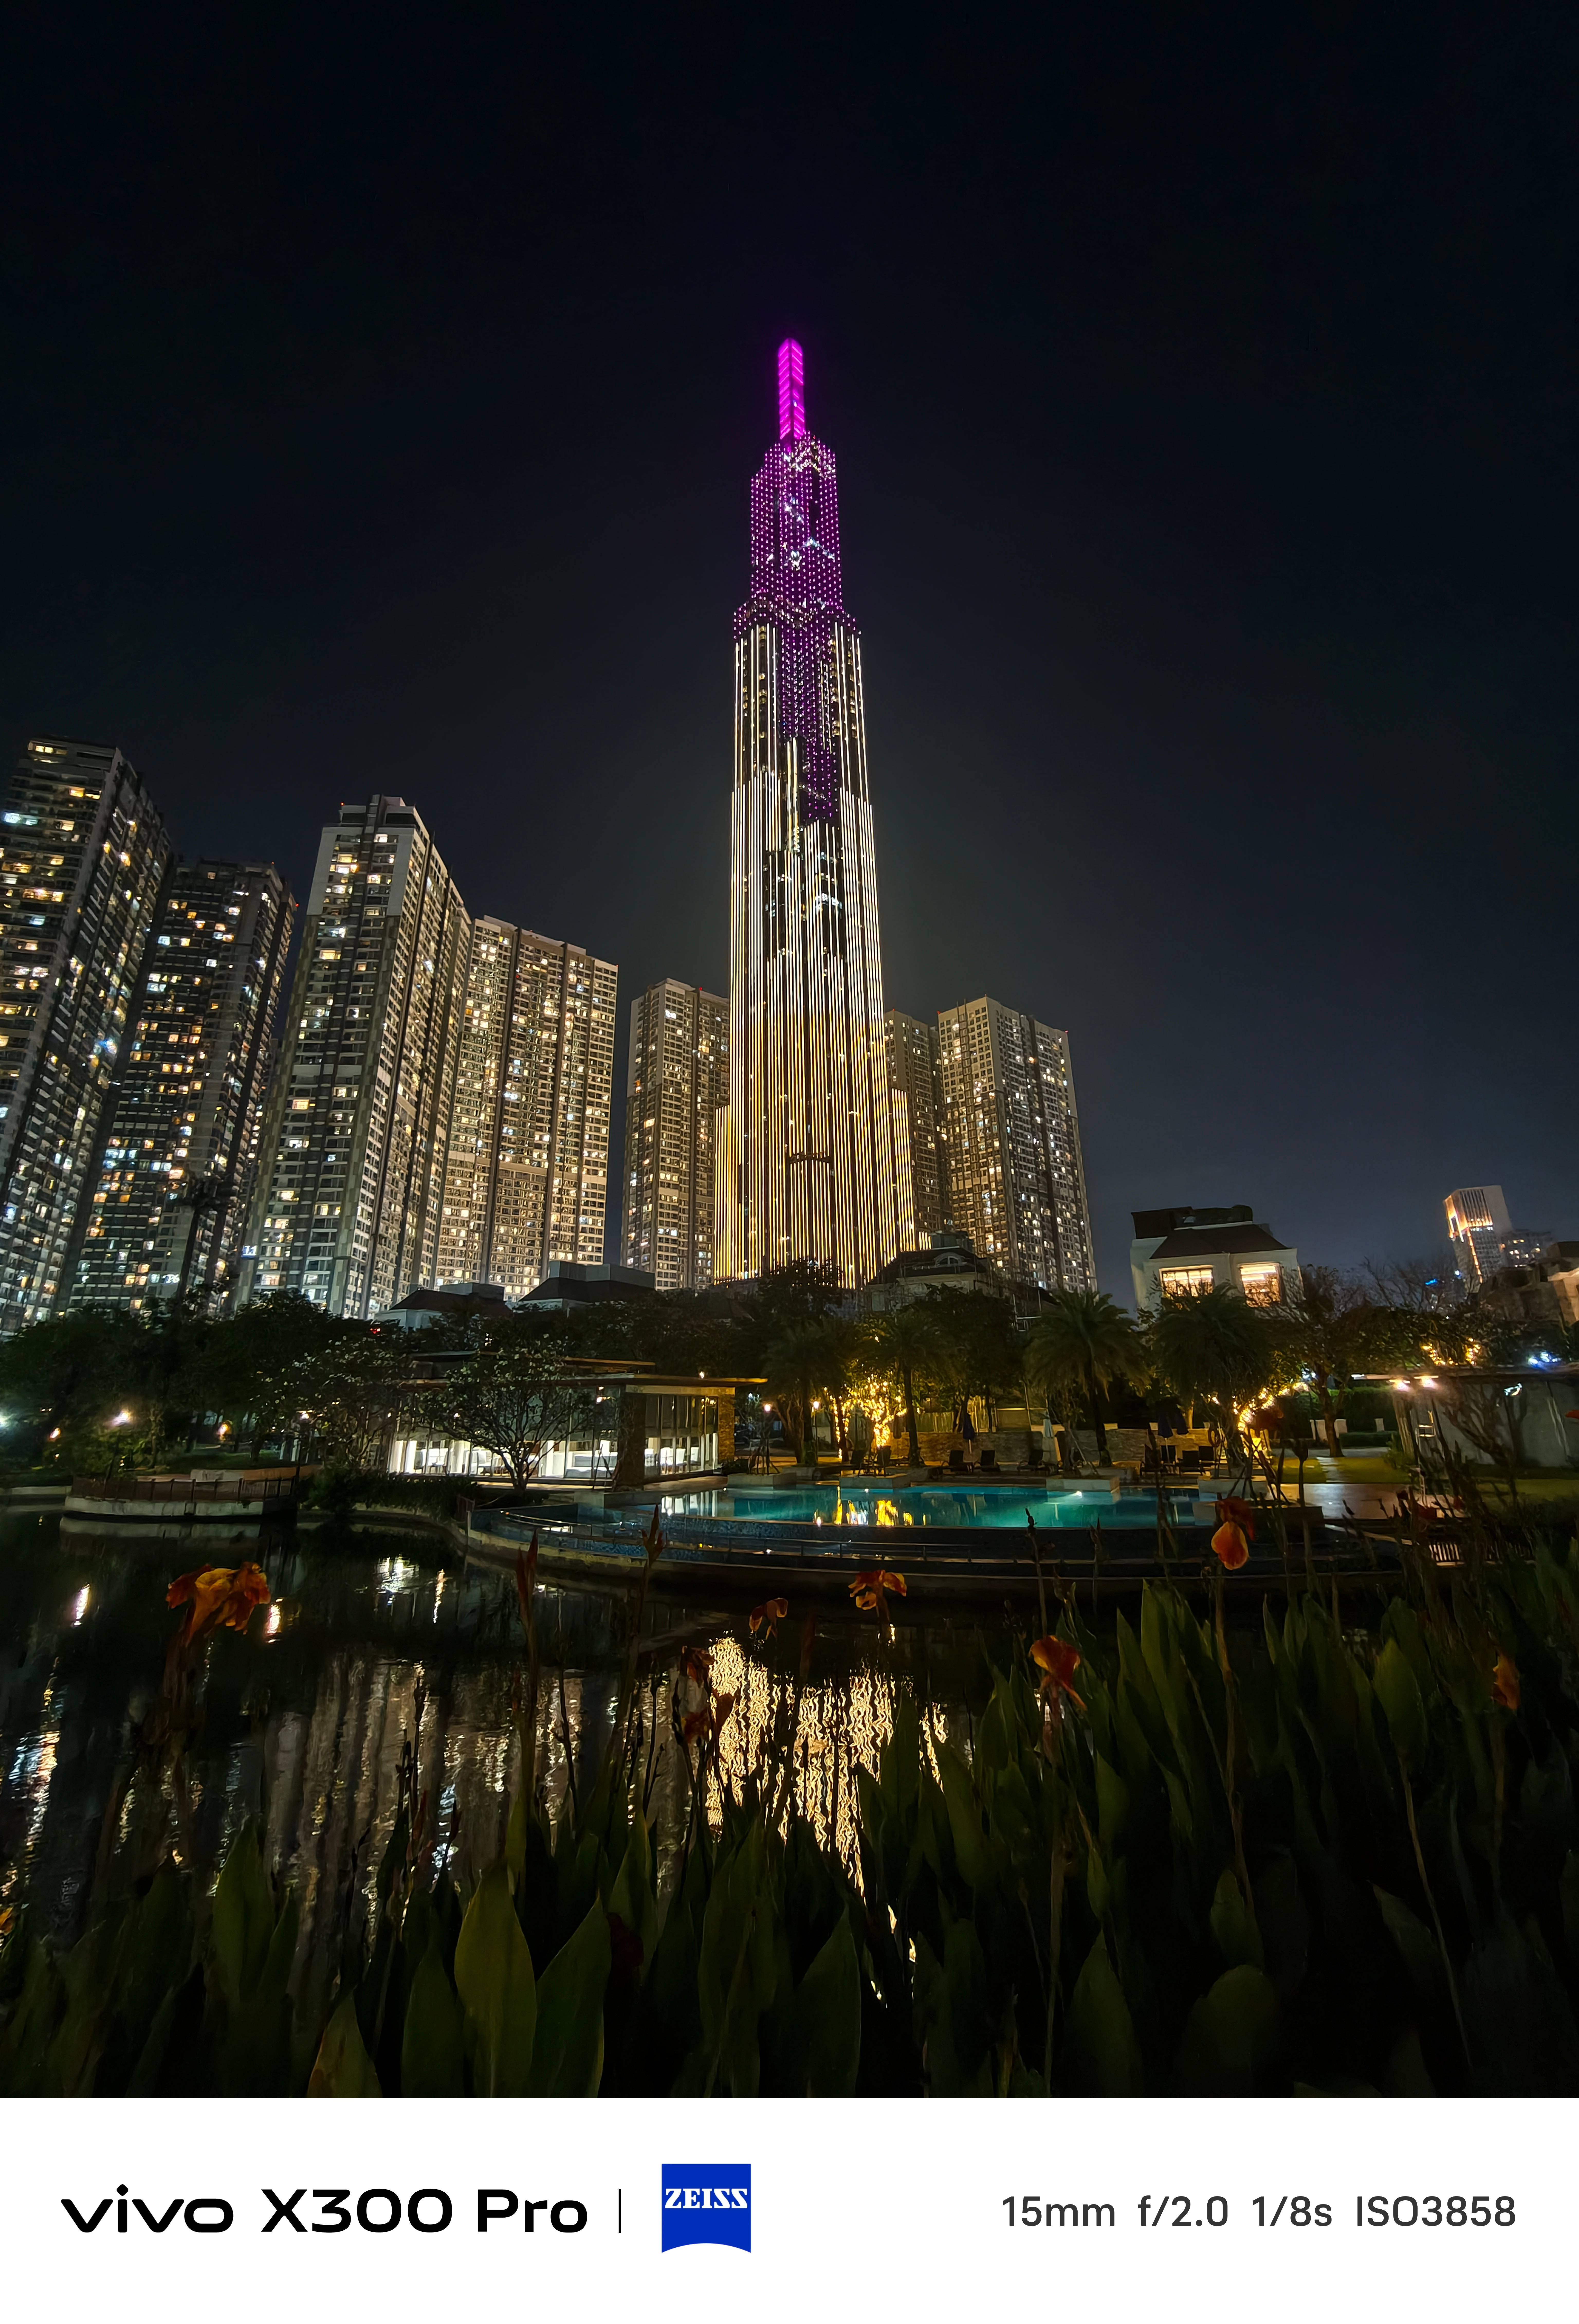
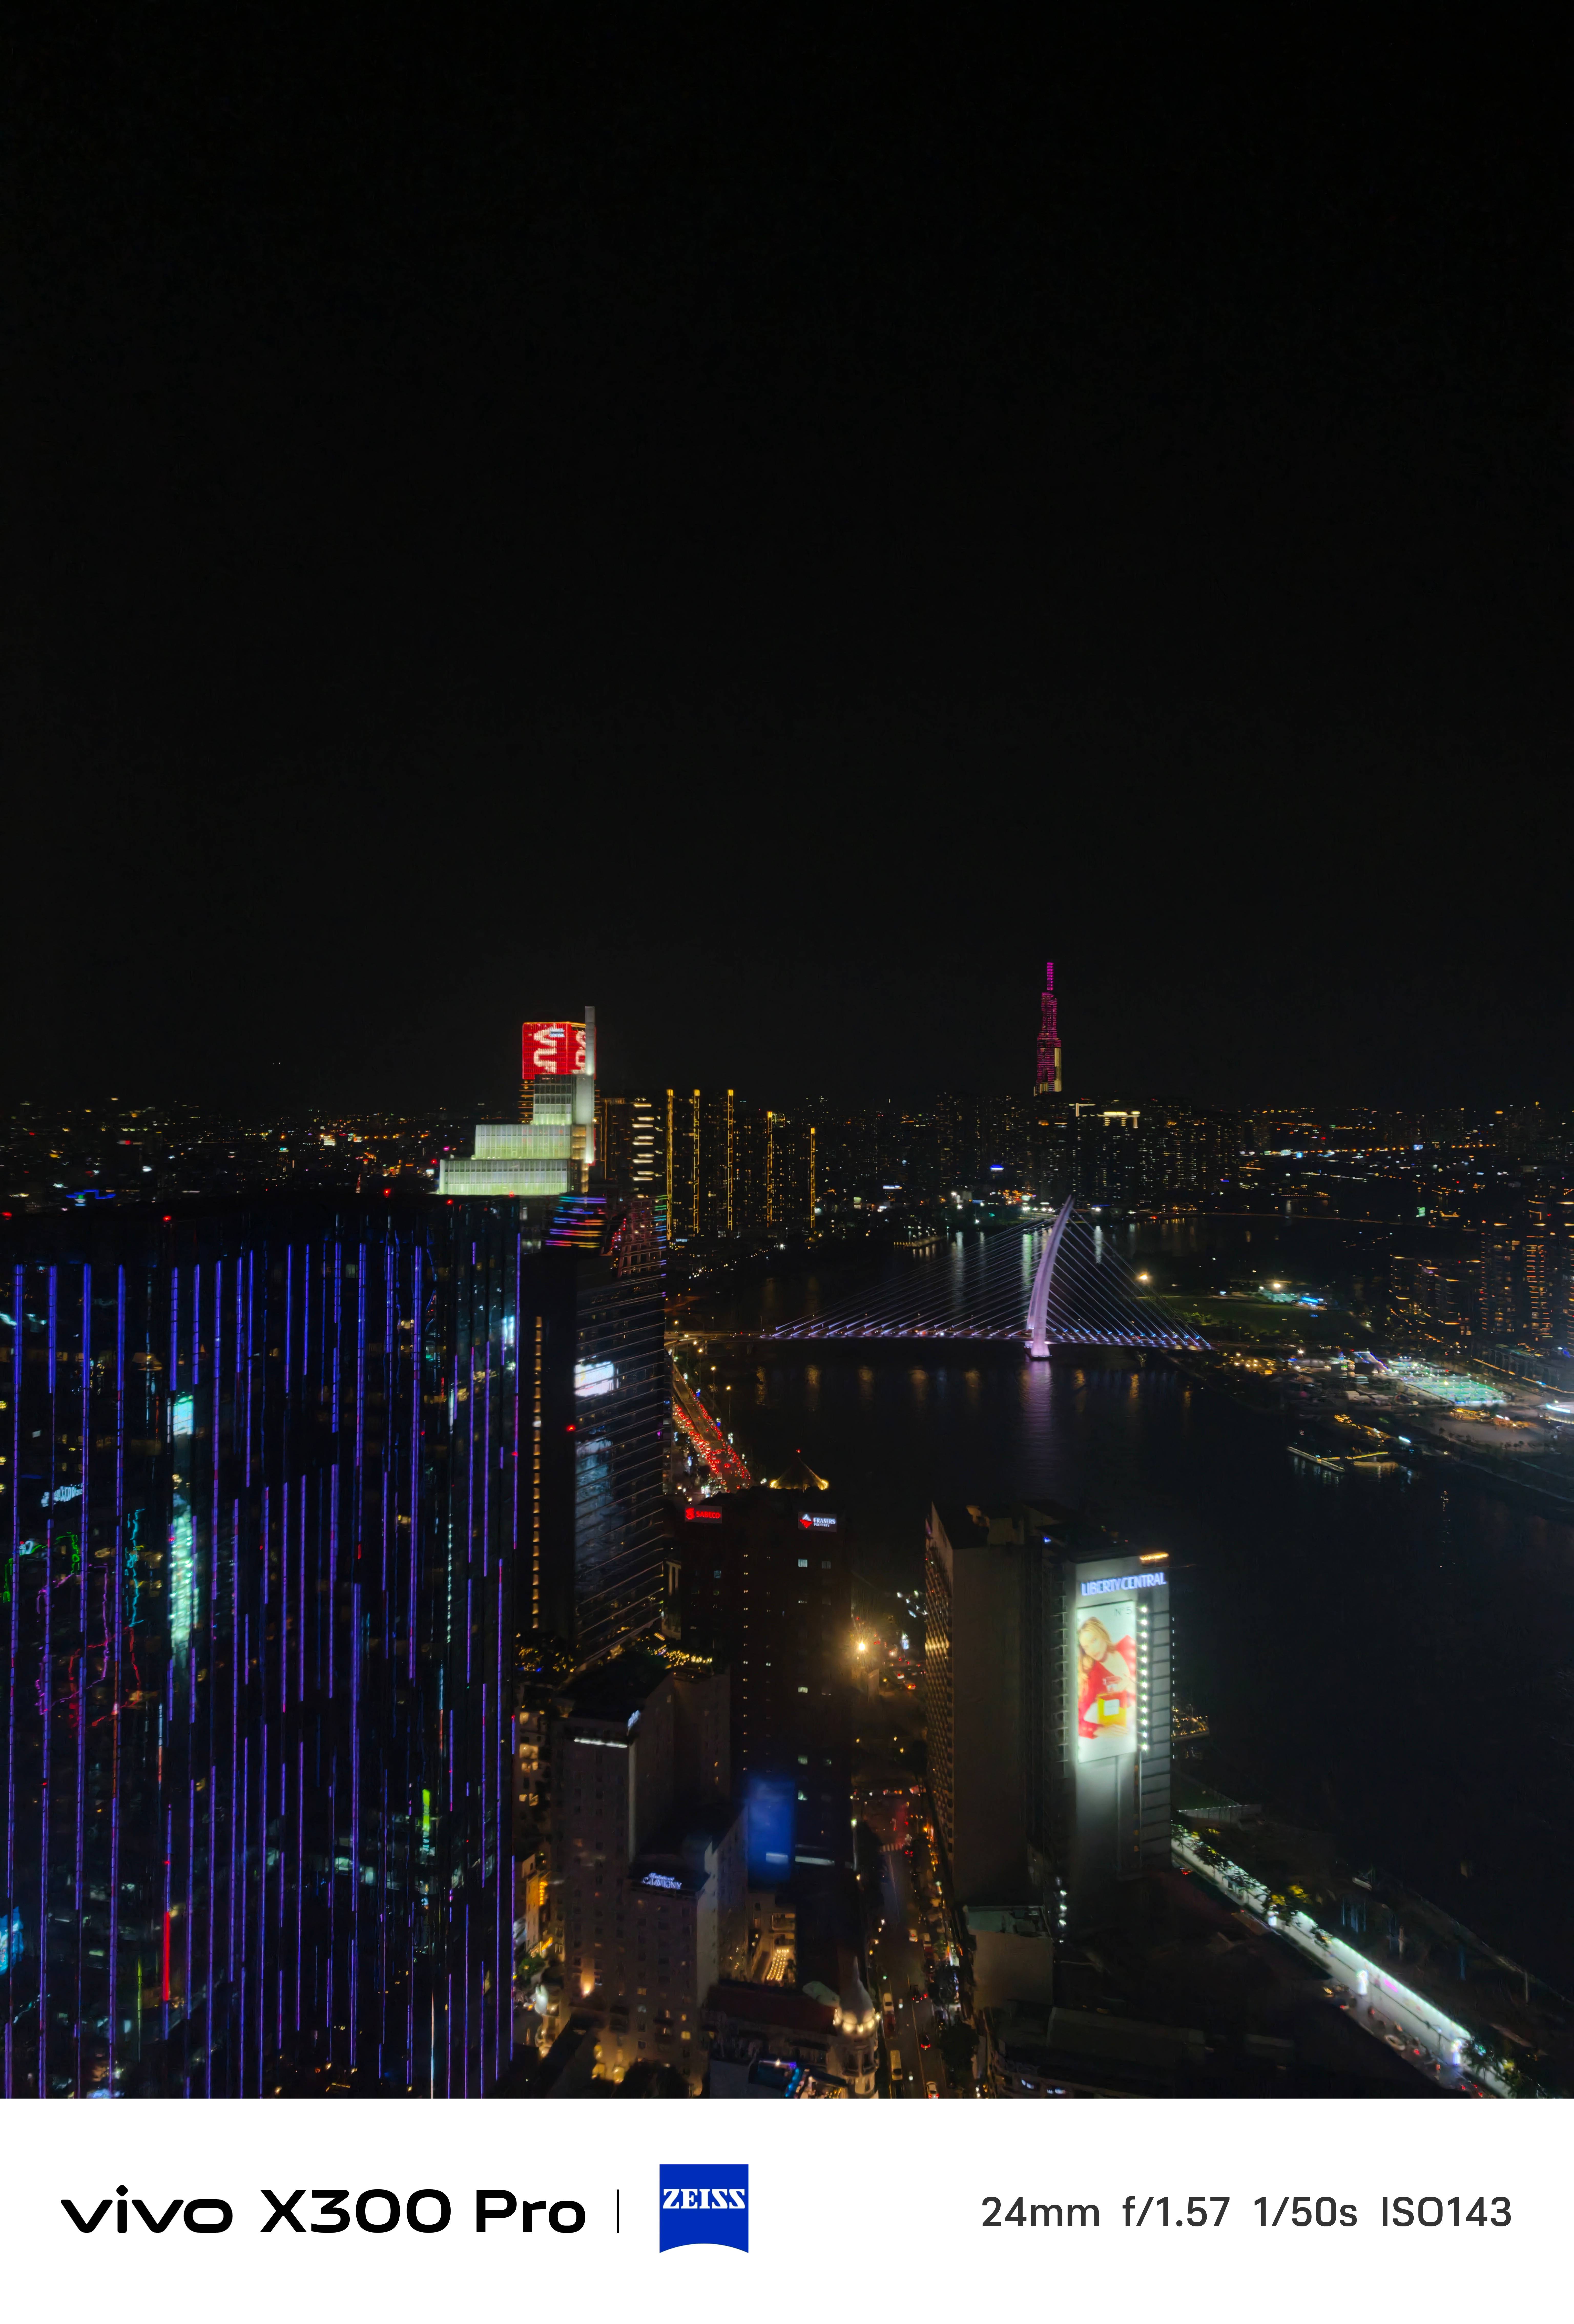
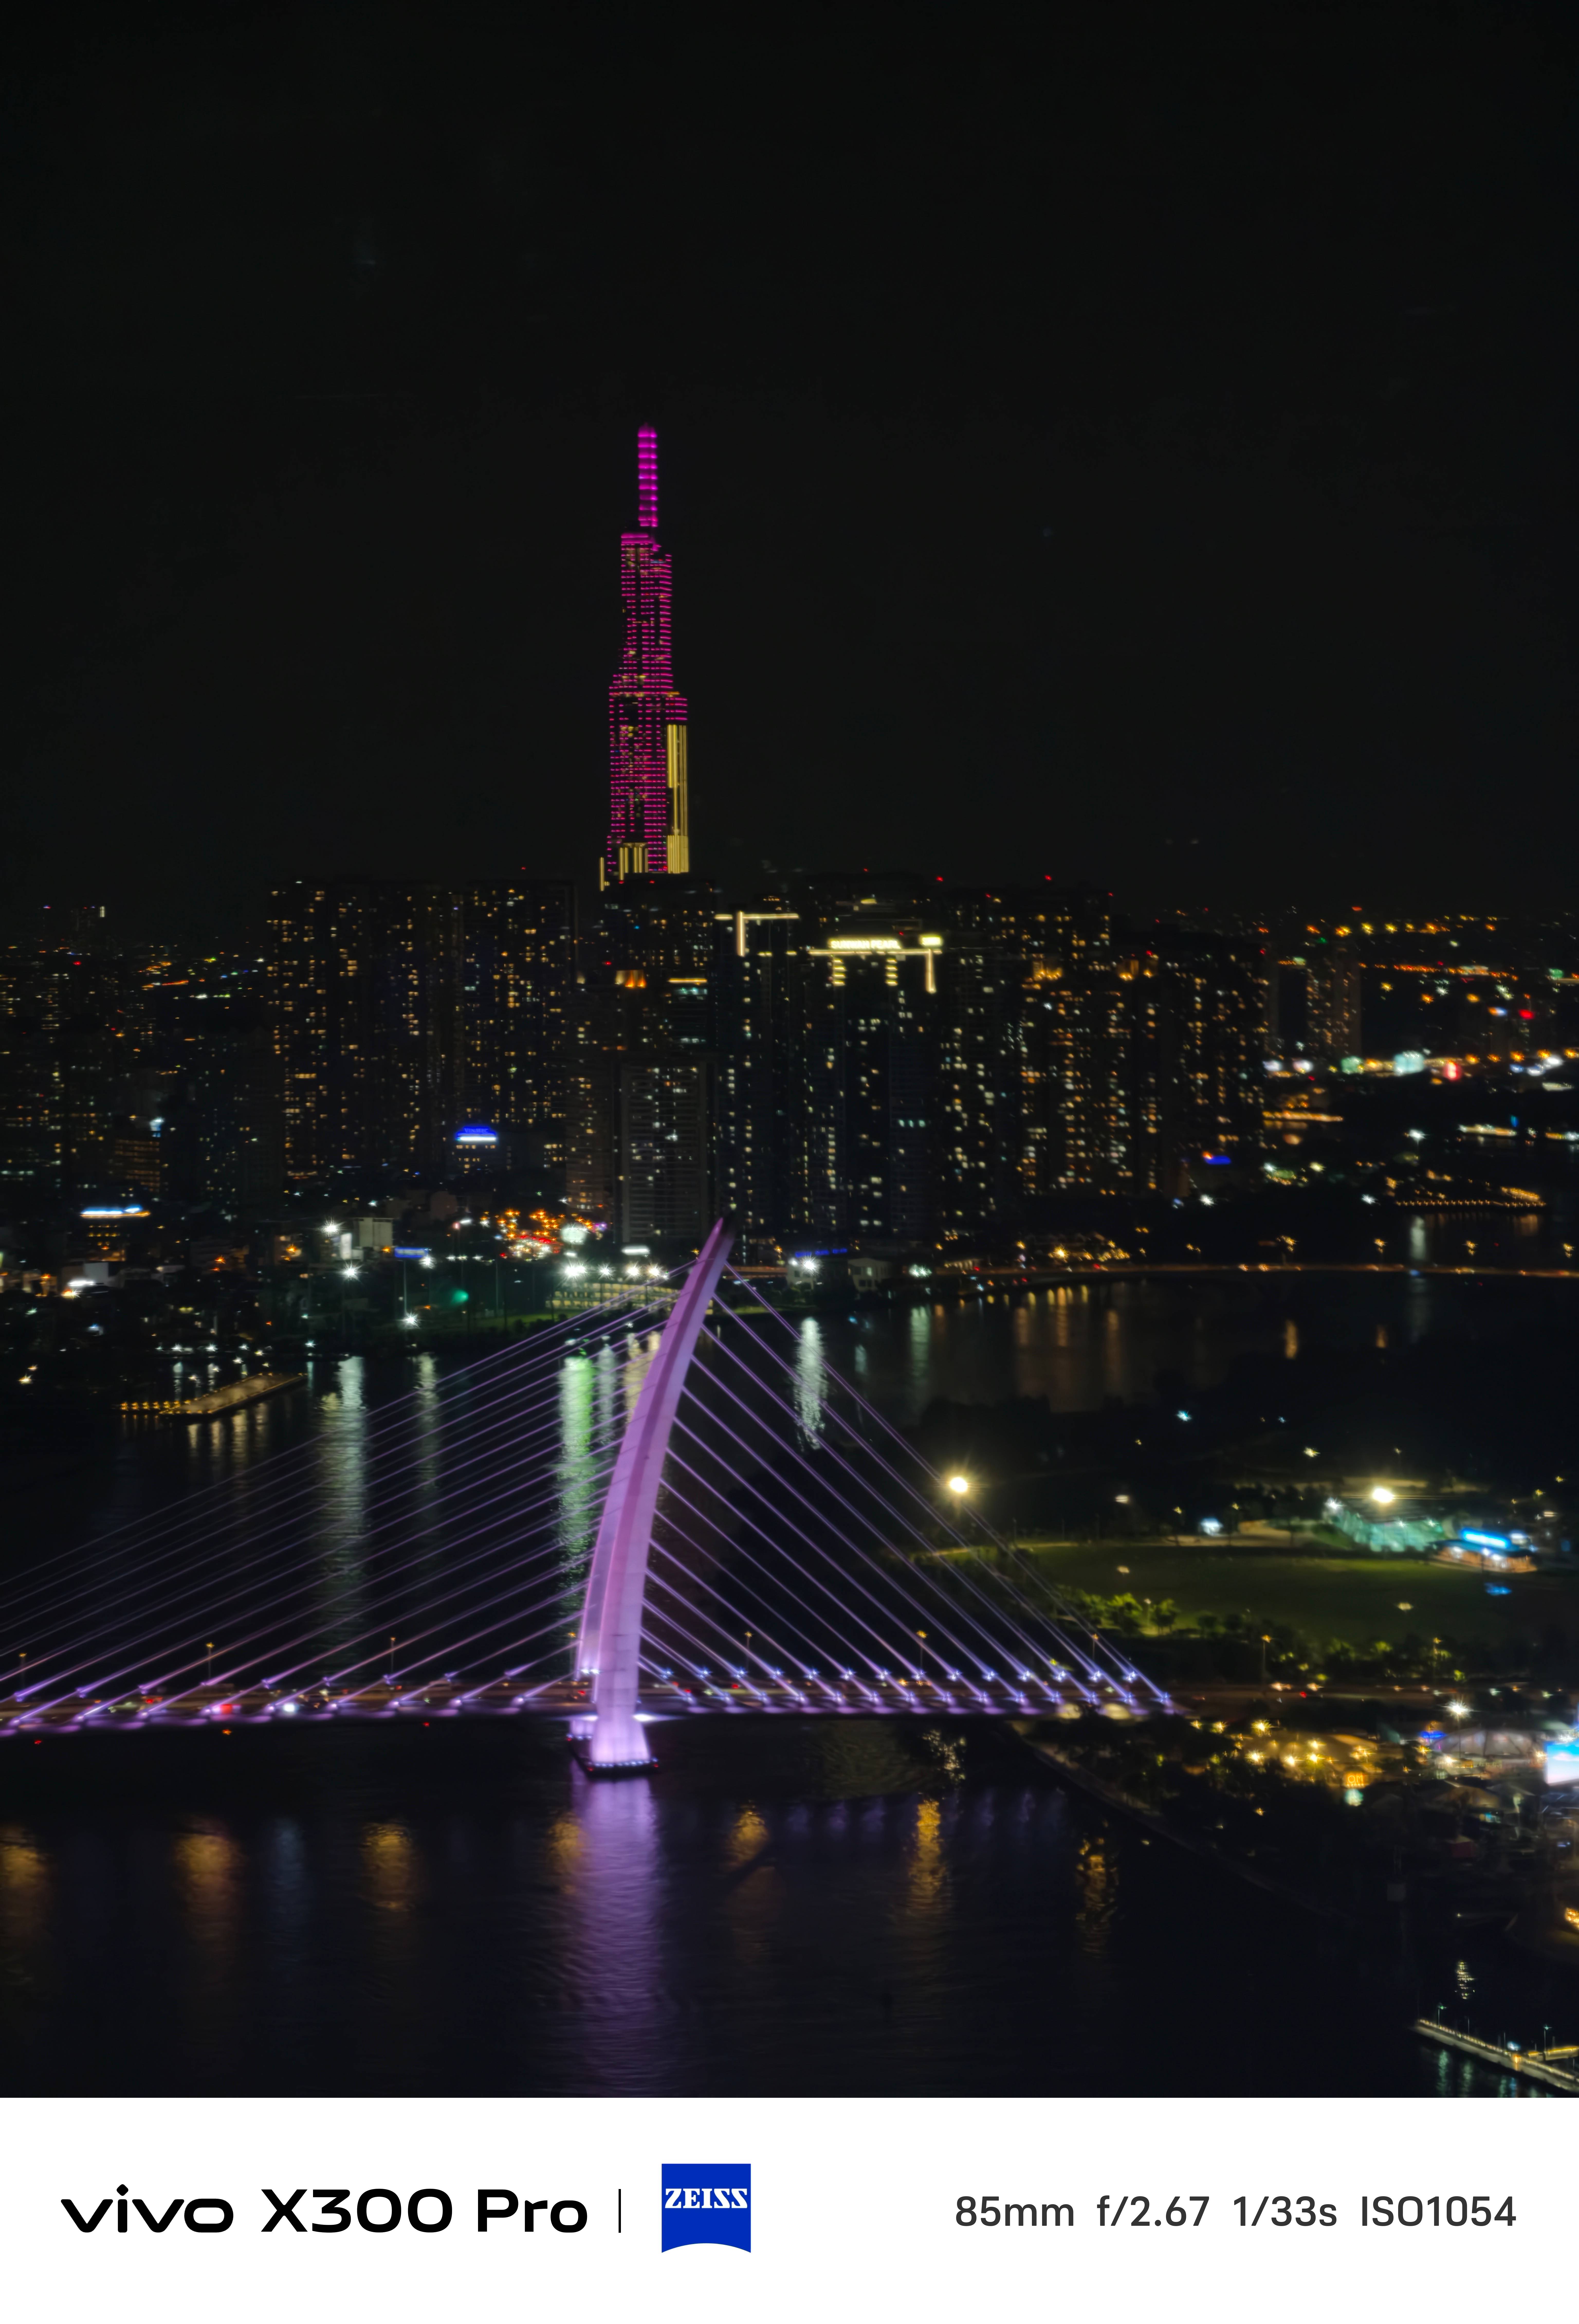
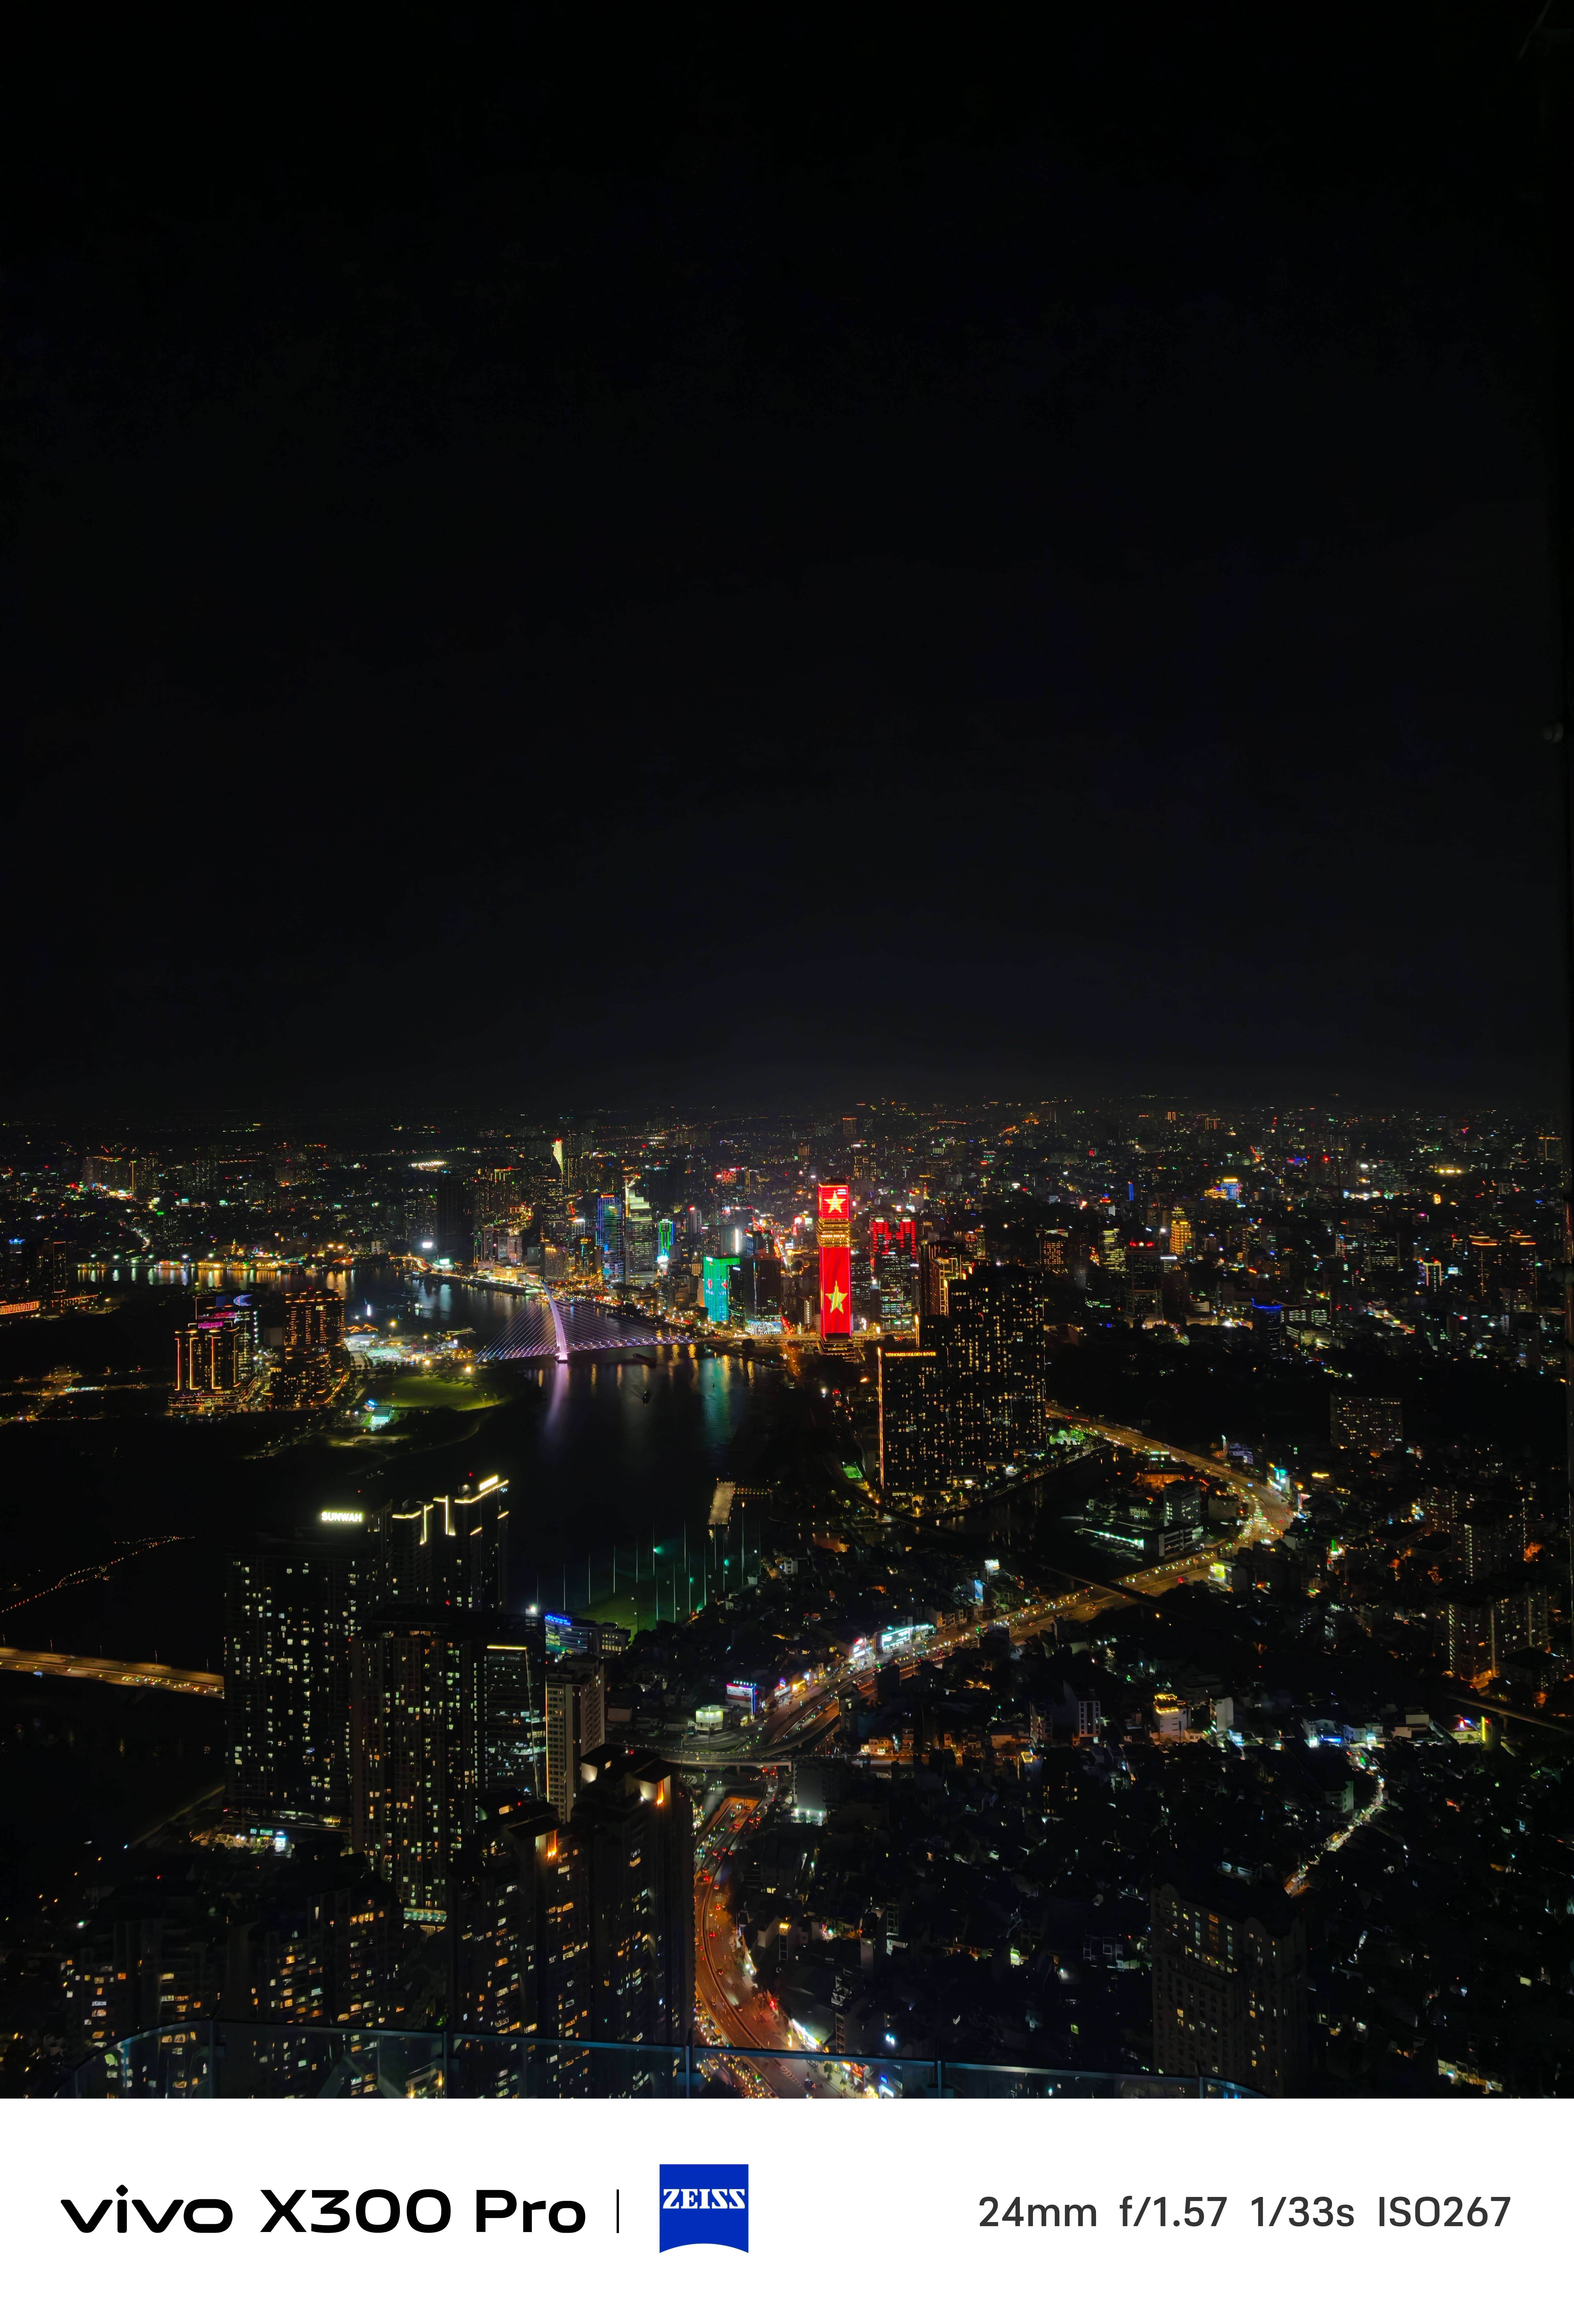
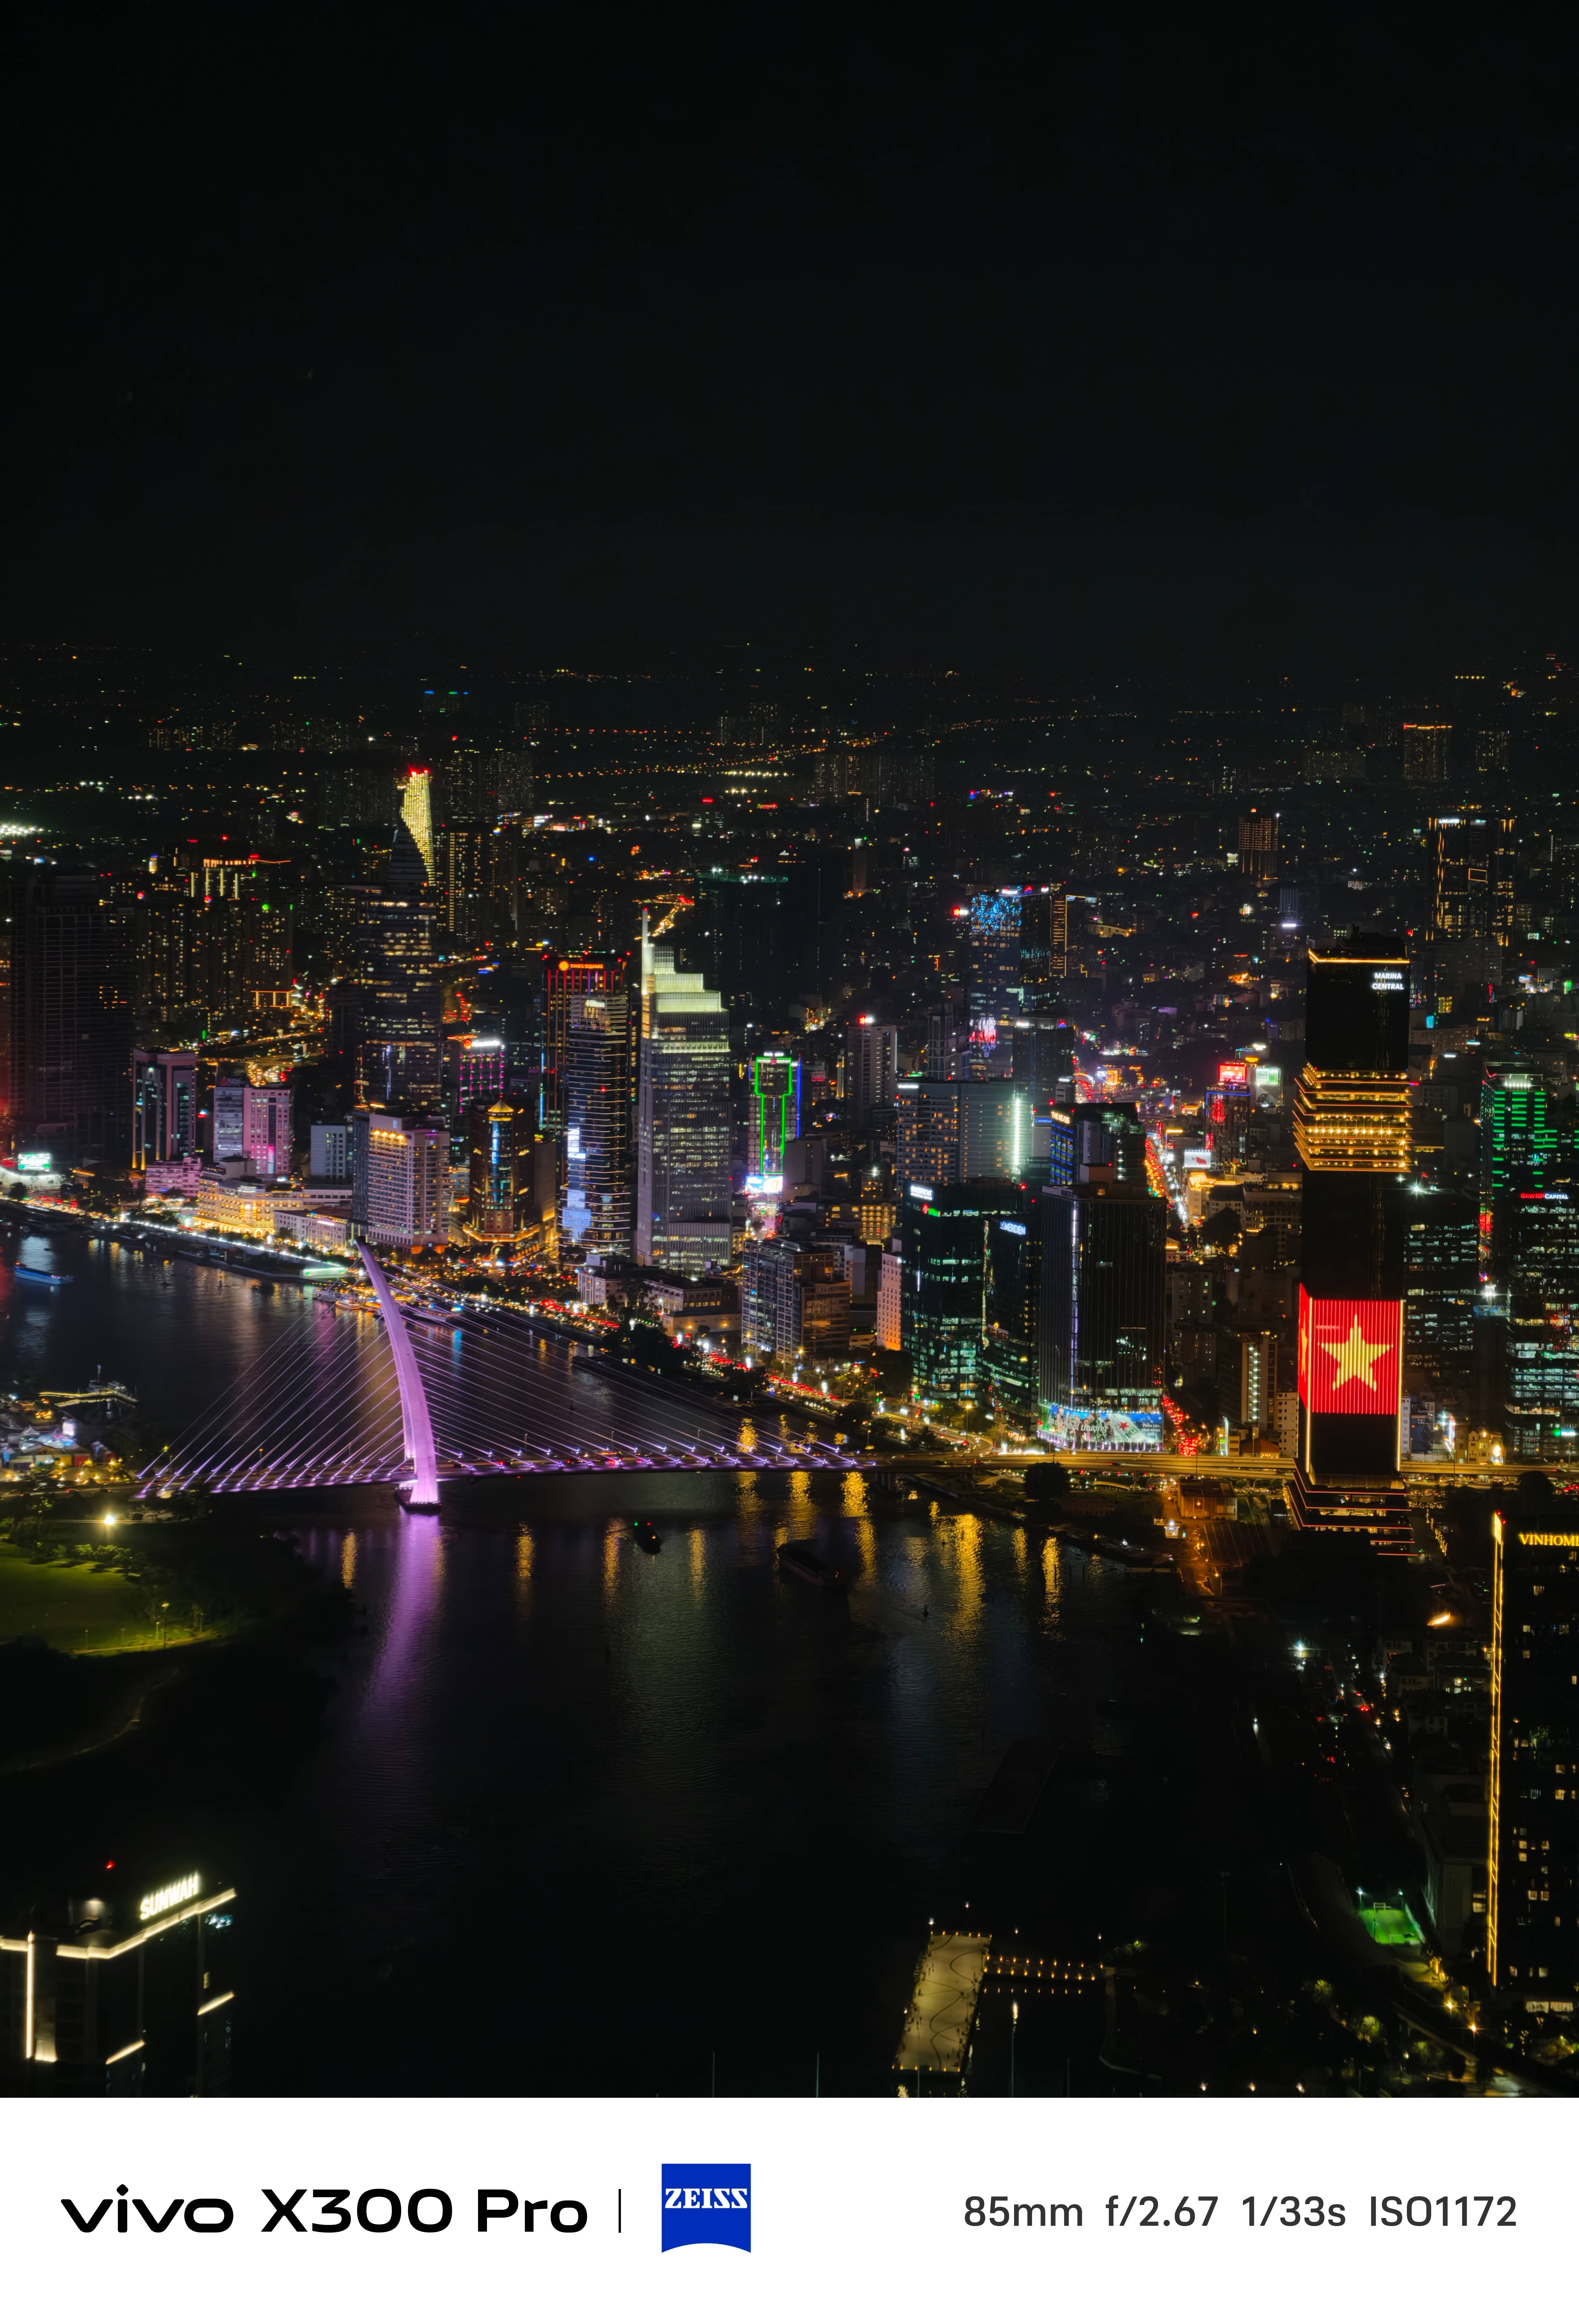
* For the sake of this write-up, I’ve retained the resolution but compressed the overall quality for faster loading times
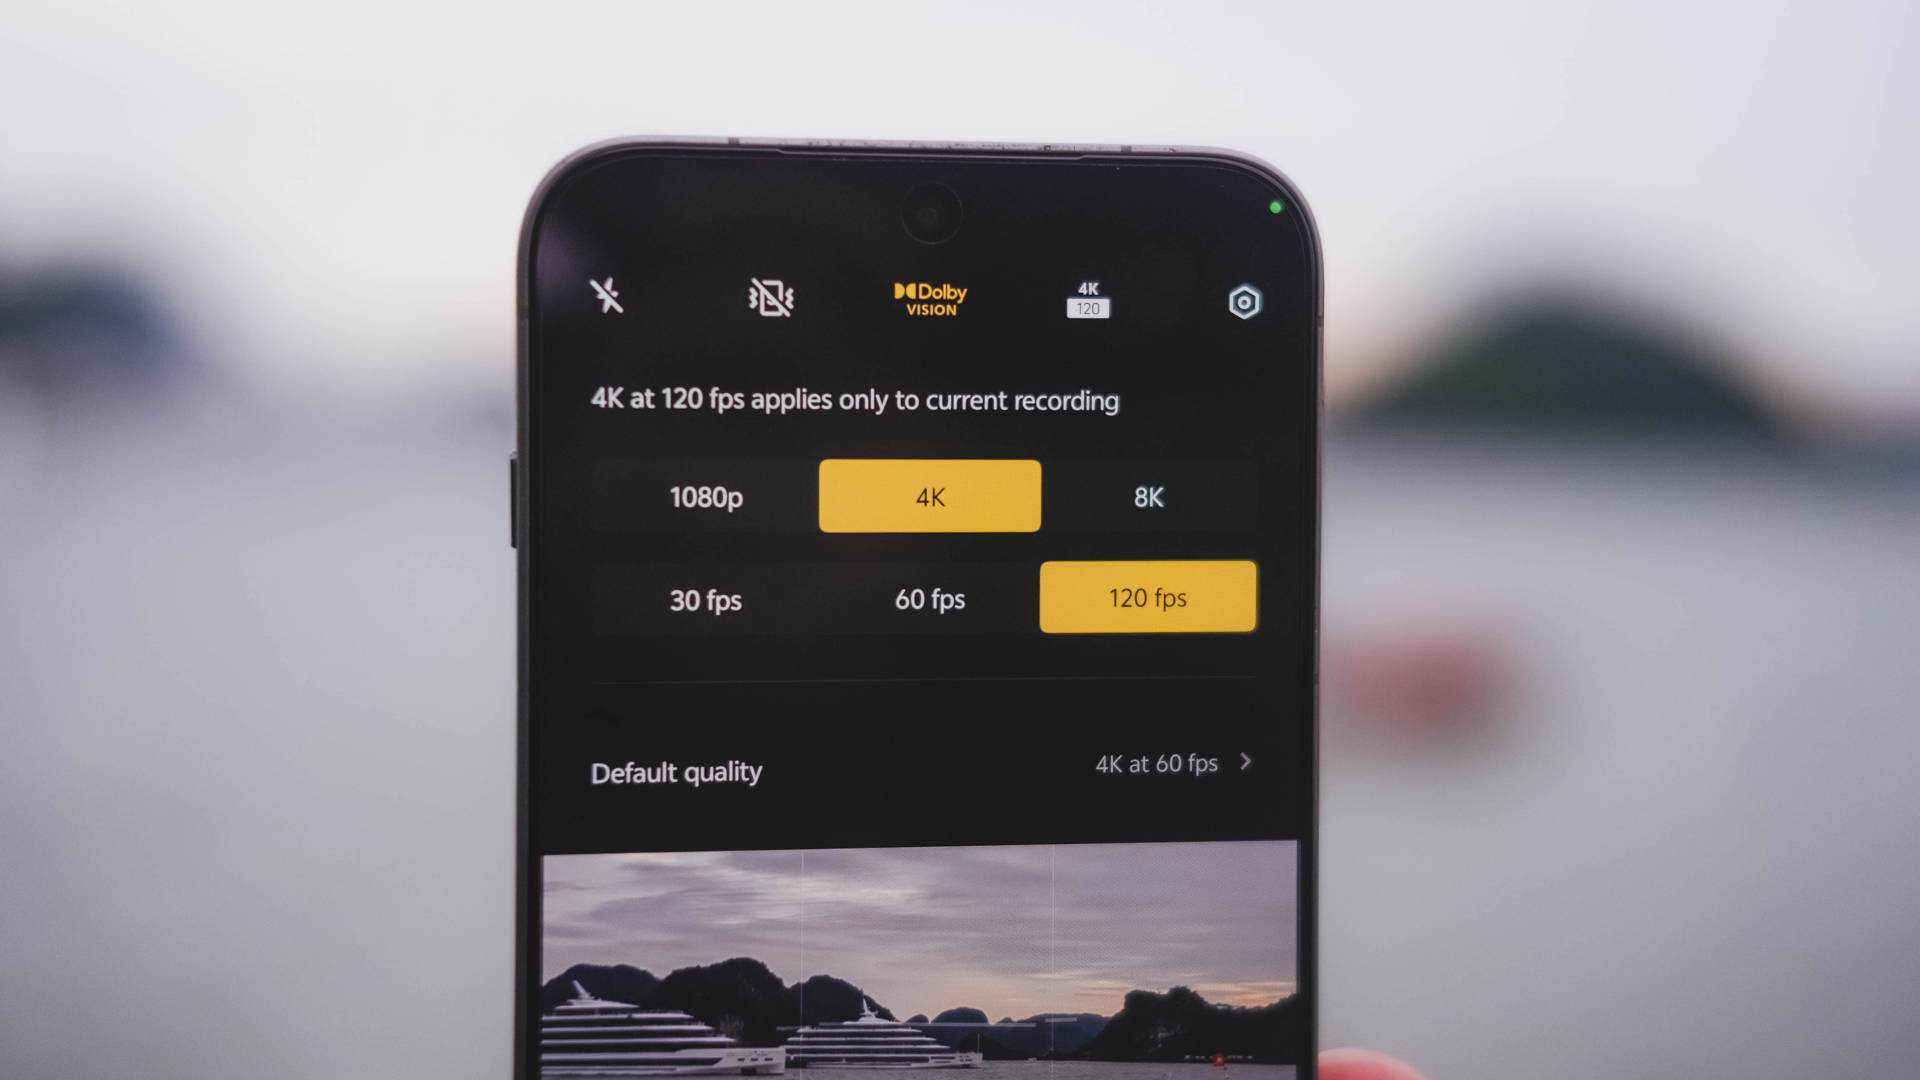
When it comes to video shooting, the vivo X300 Pro is undoubtedly dynamic. And it’s more than just that 10-bit Log feature.
The X200 Pro was only limited to 4K/60fps when shooting in Dolby Vision. Now, vivo’s X300 Pro steps it up a notch as it maxes out at 120fps — perfect for those slo-mo clips in crispier UHD quality.
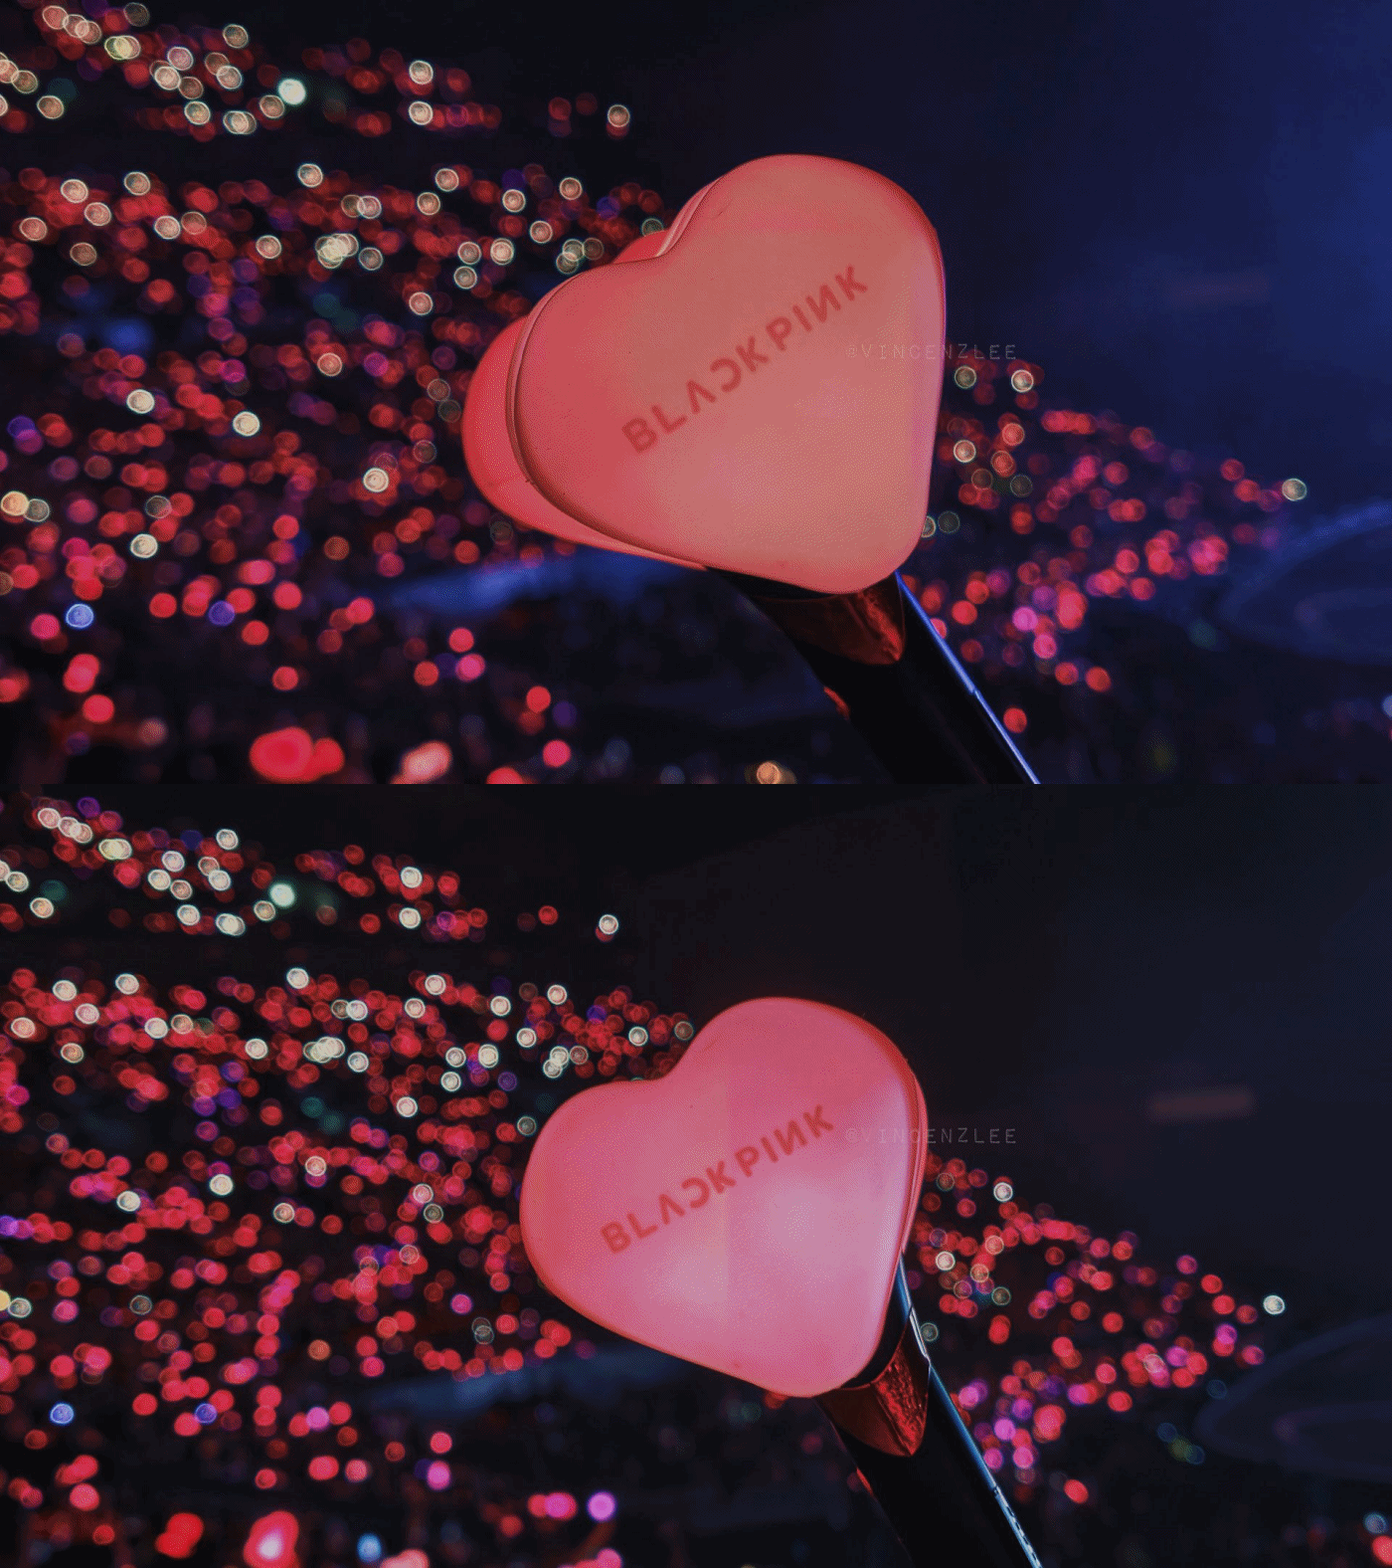
If you’re the concert-goer type of fan, the X300 Pro is more than capable enough to produce those social media-ready snaps.
Stage Mode got improved as well with additional support for 4K/60fps resolution — Dolby Vision toggle not forgotten.
The X200 Pro never had any configurable options and only had a limiting 1080p / Full HD option.
I’ve fully used this camera mode when I went to BLACKPINK’s DEADLINE Tour in Bulacan.
View this post on Instagram
The LBA (Lower Box A) Premium section I was seated isn’t the closest to the stage. Still, the X300 Pro had me capture shots and clips that still looked closer than what I’ve seen IRL.







Talk about concerts. It’s good to mention that both the base and Pro X300s have their dedicated Professional Imaging Grip Kit. This was something previously exclusive to the vivo X200 Ultra.
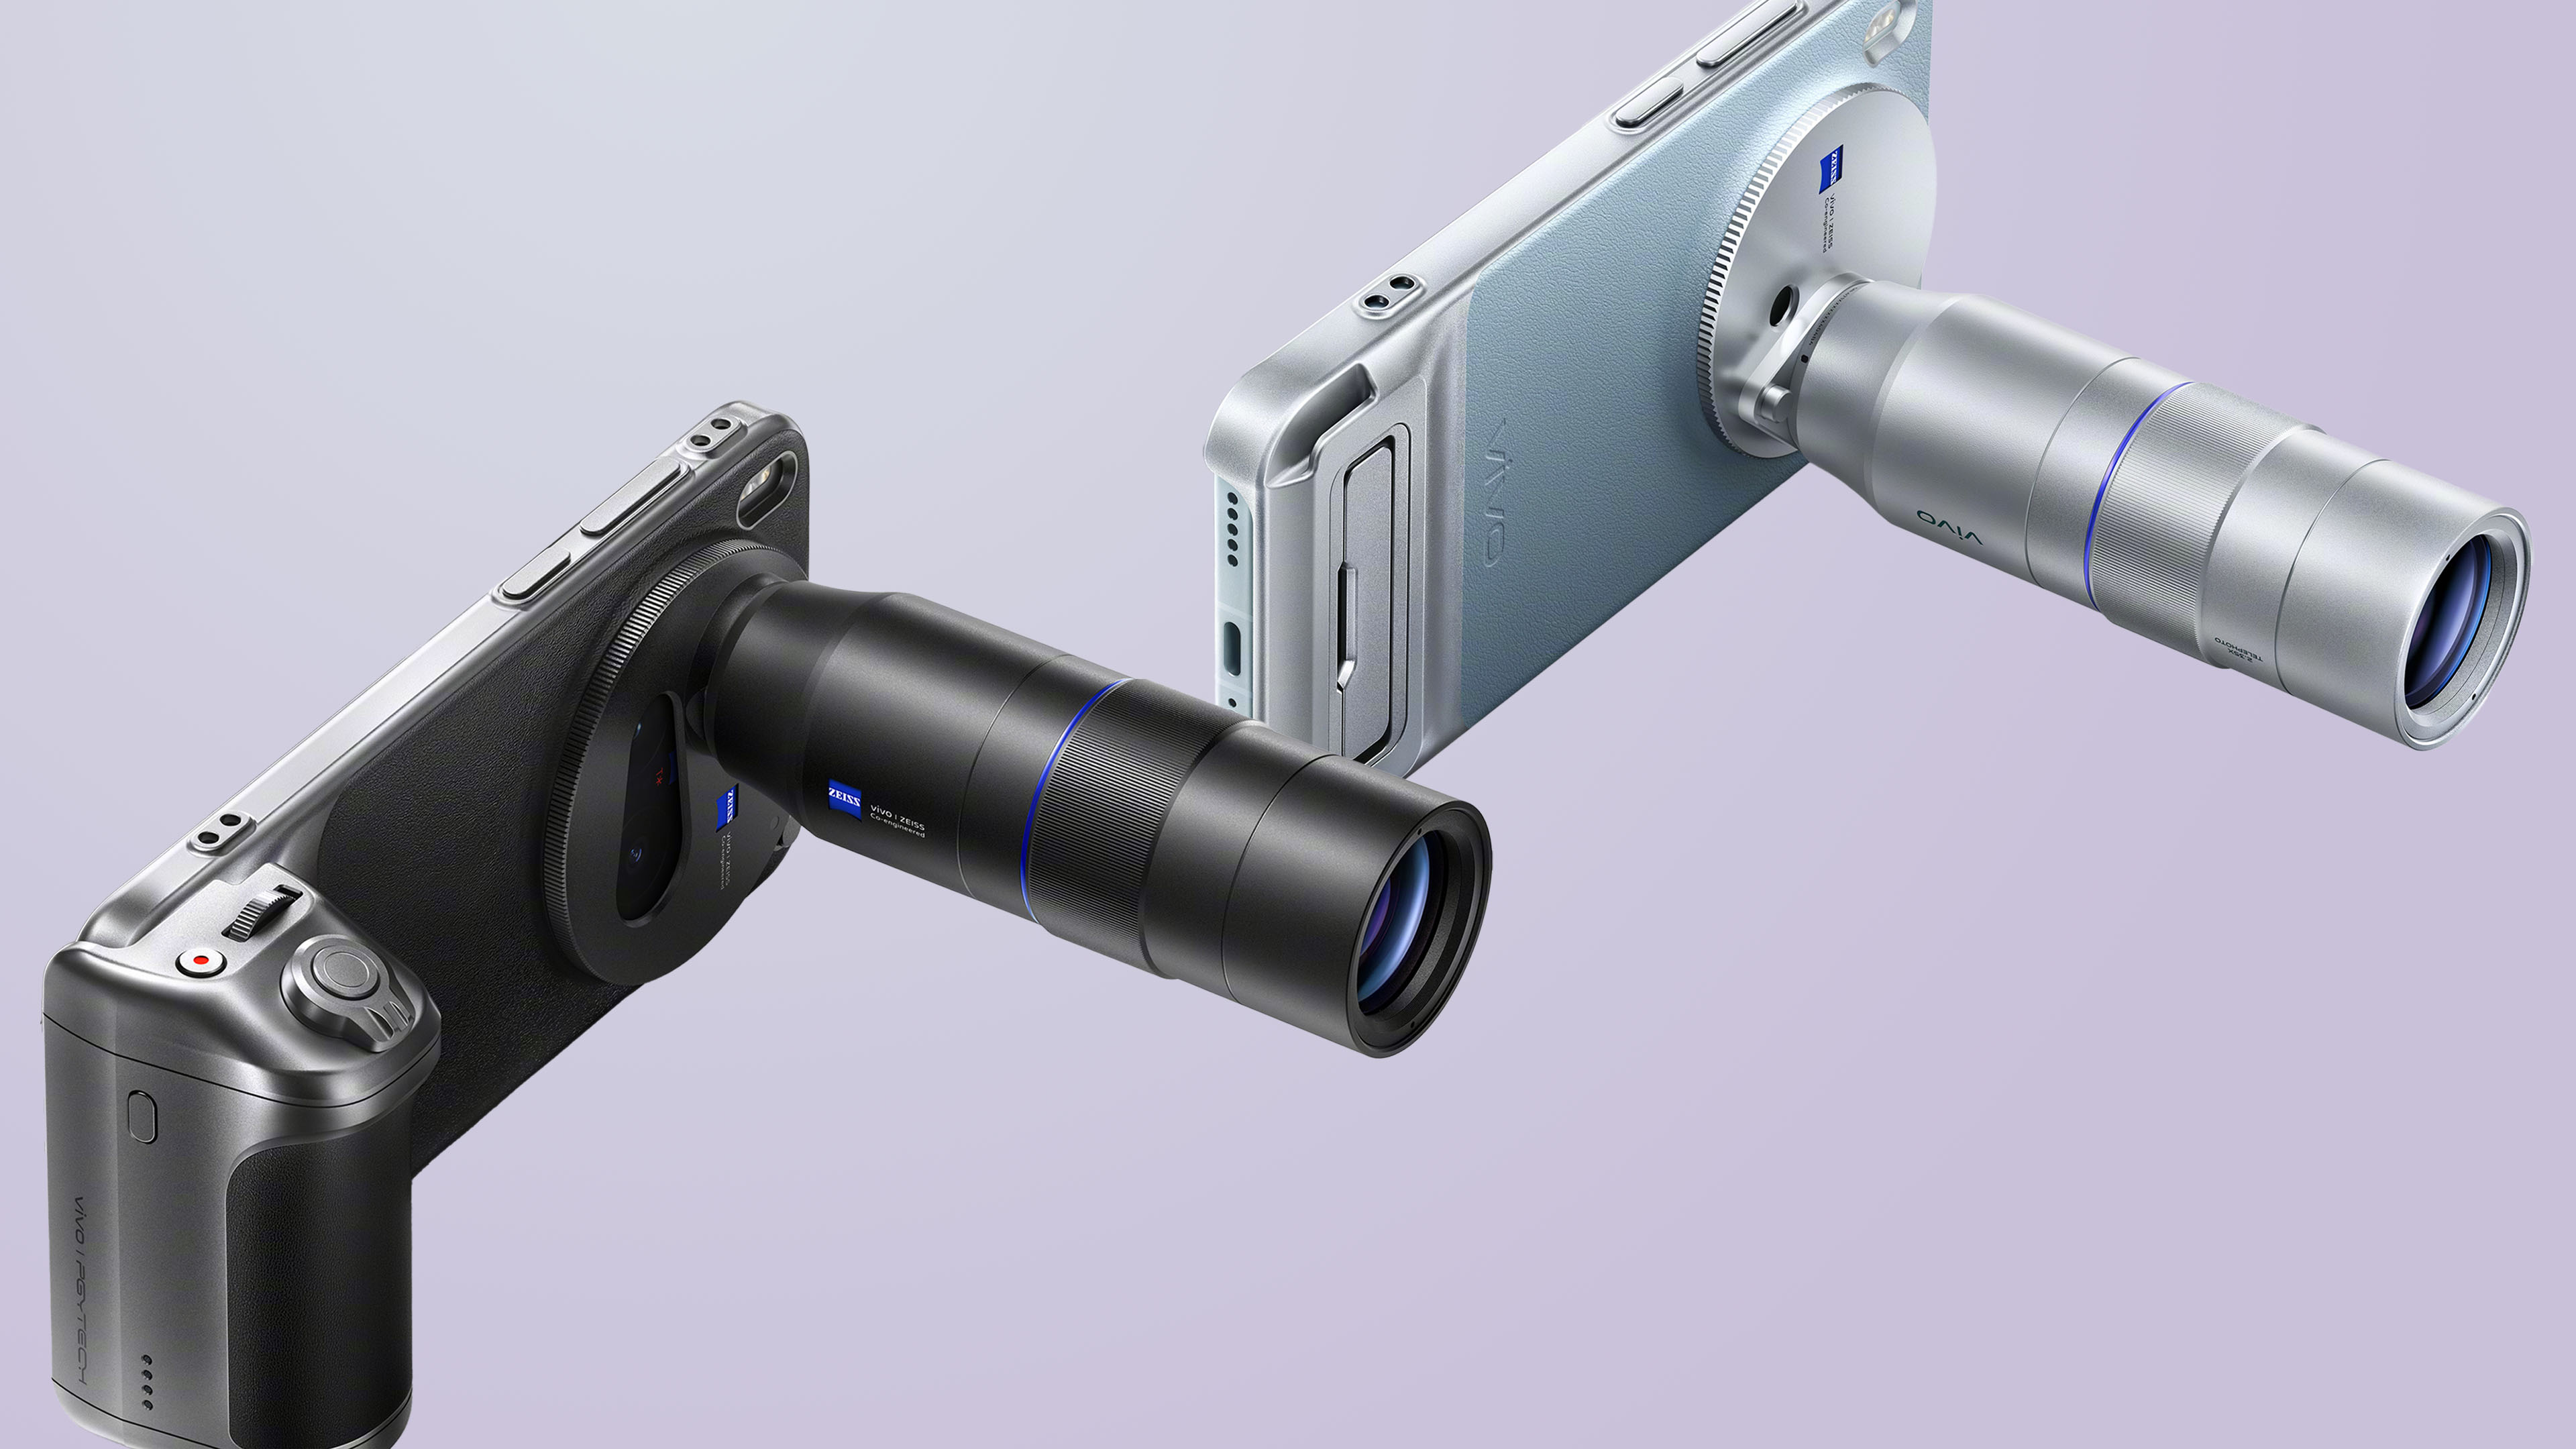
Graphics by Vincenz Lee | GadgetMatch
Sadly, despite anticipating for it, we were not given this special camera kit. I cannot vouch for something I haven’t tried at all.
The new Selfie X-pert?
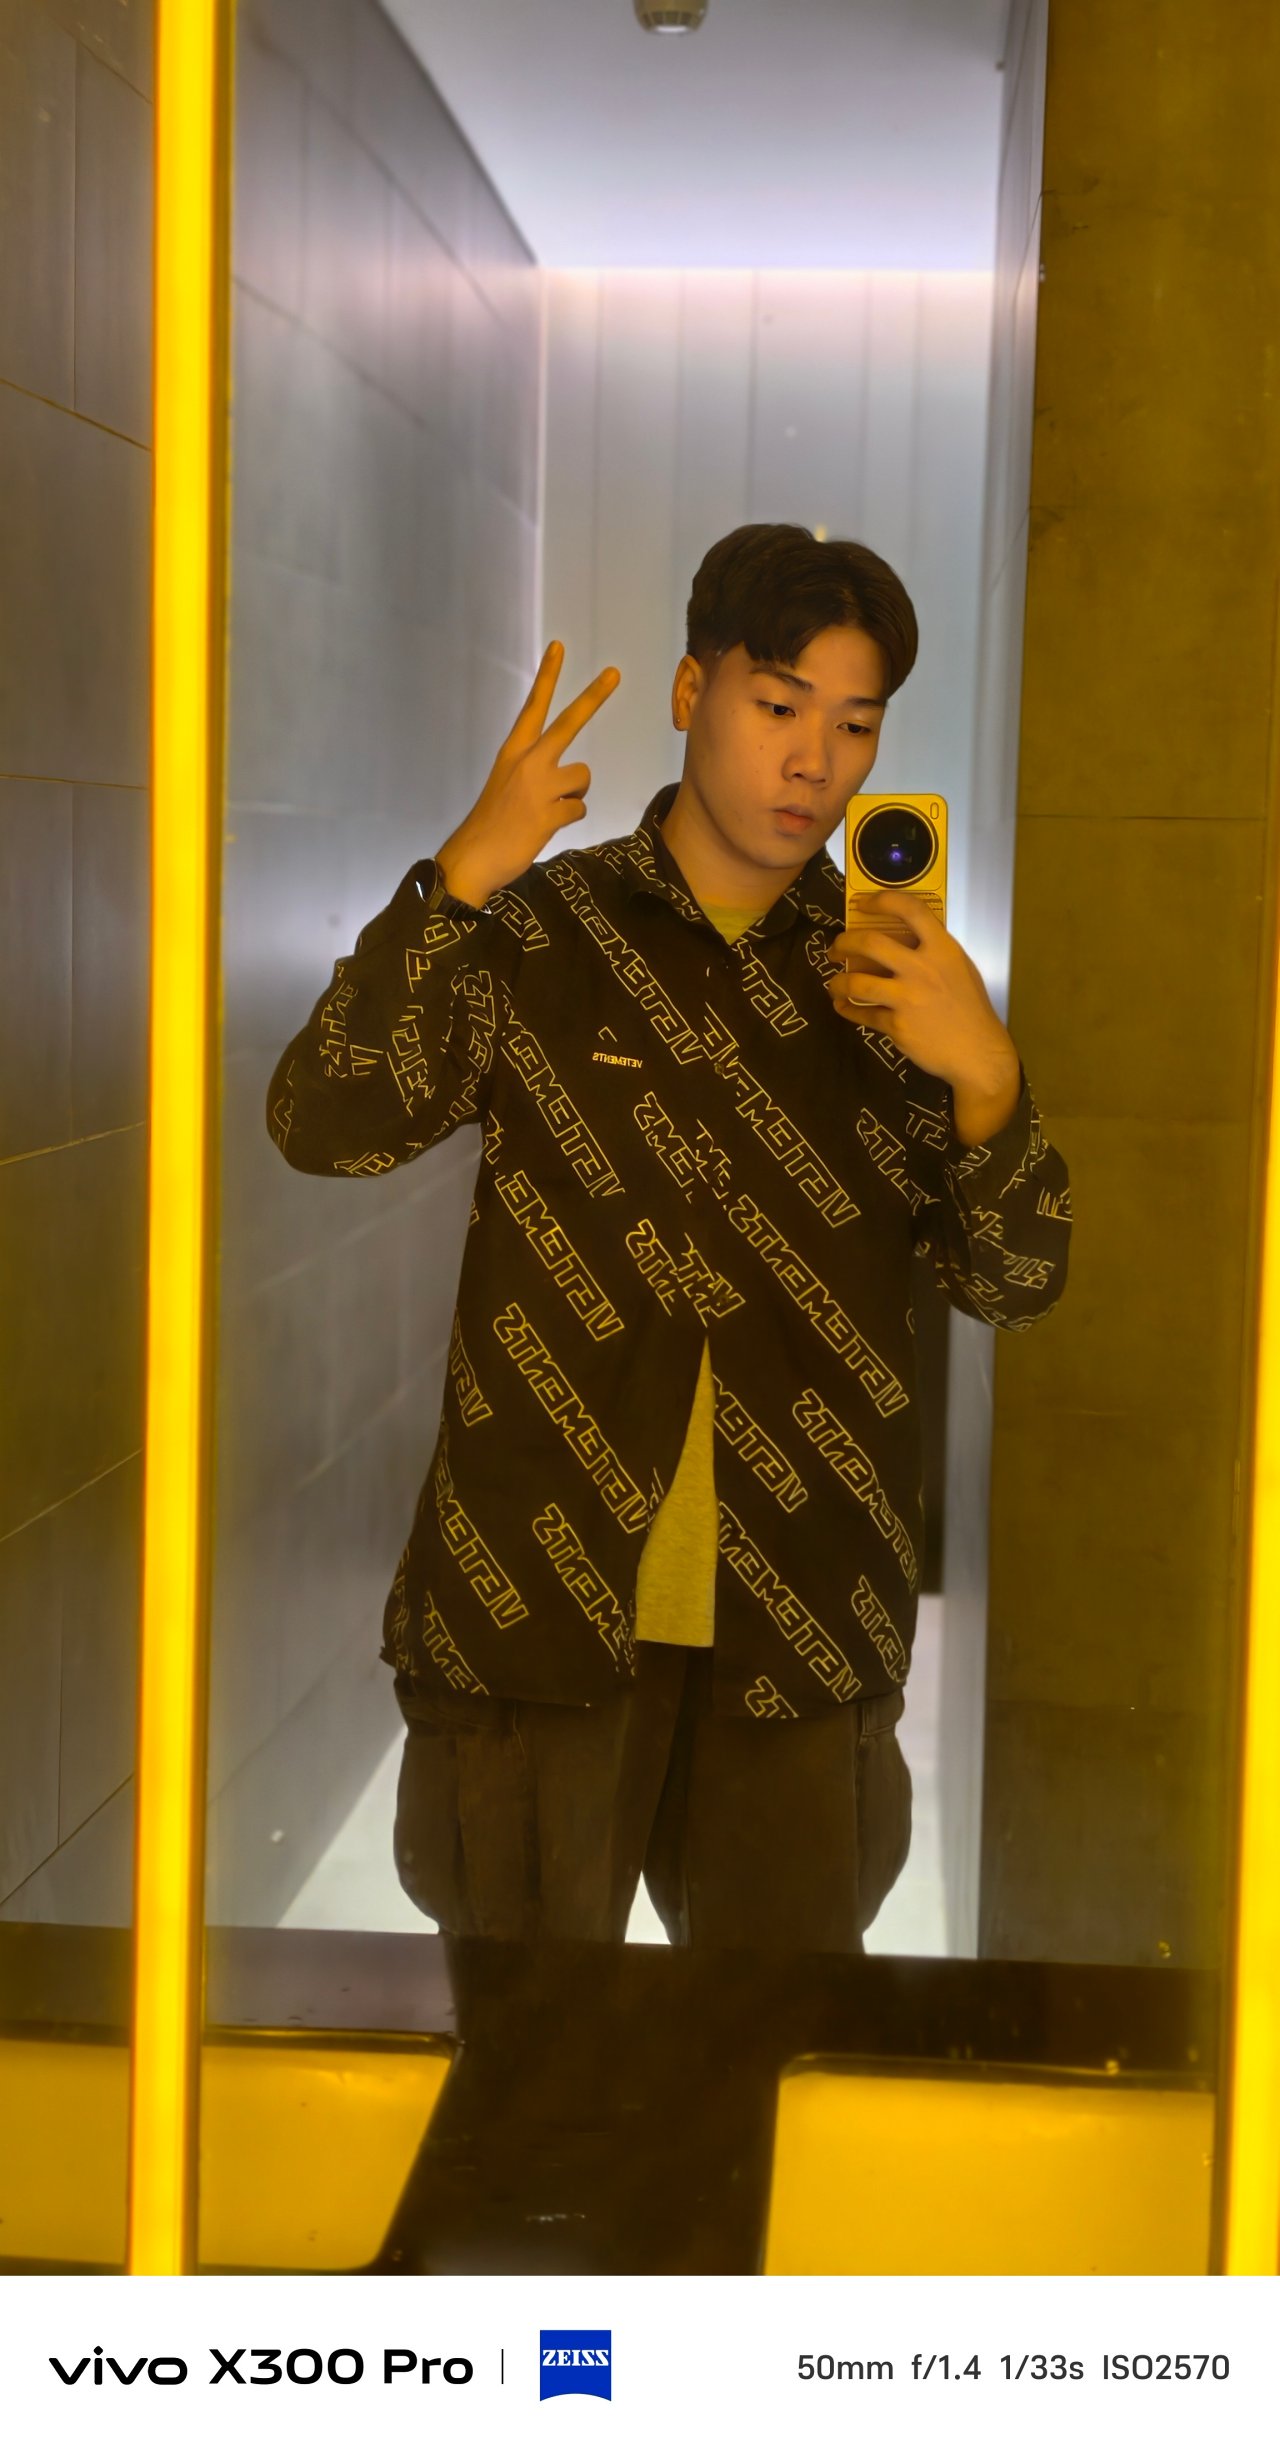
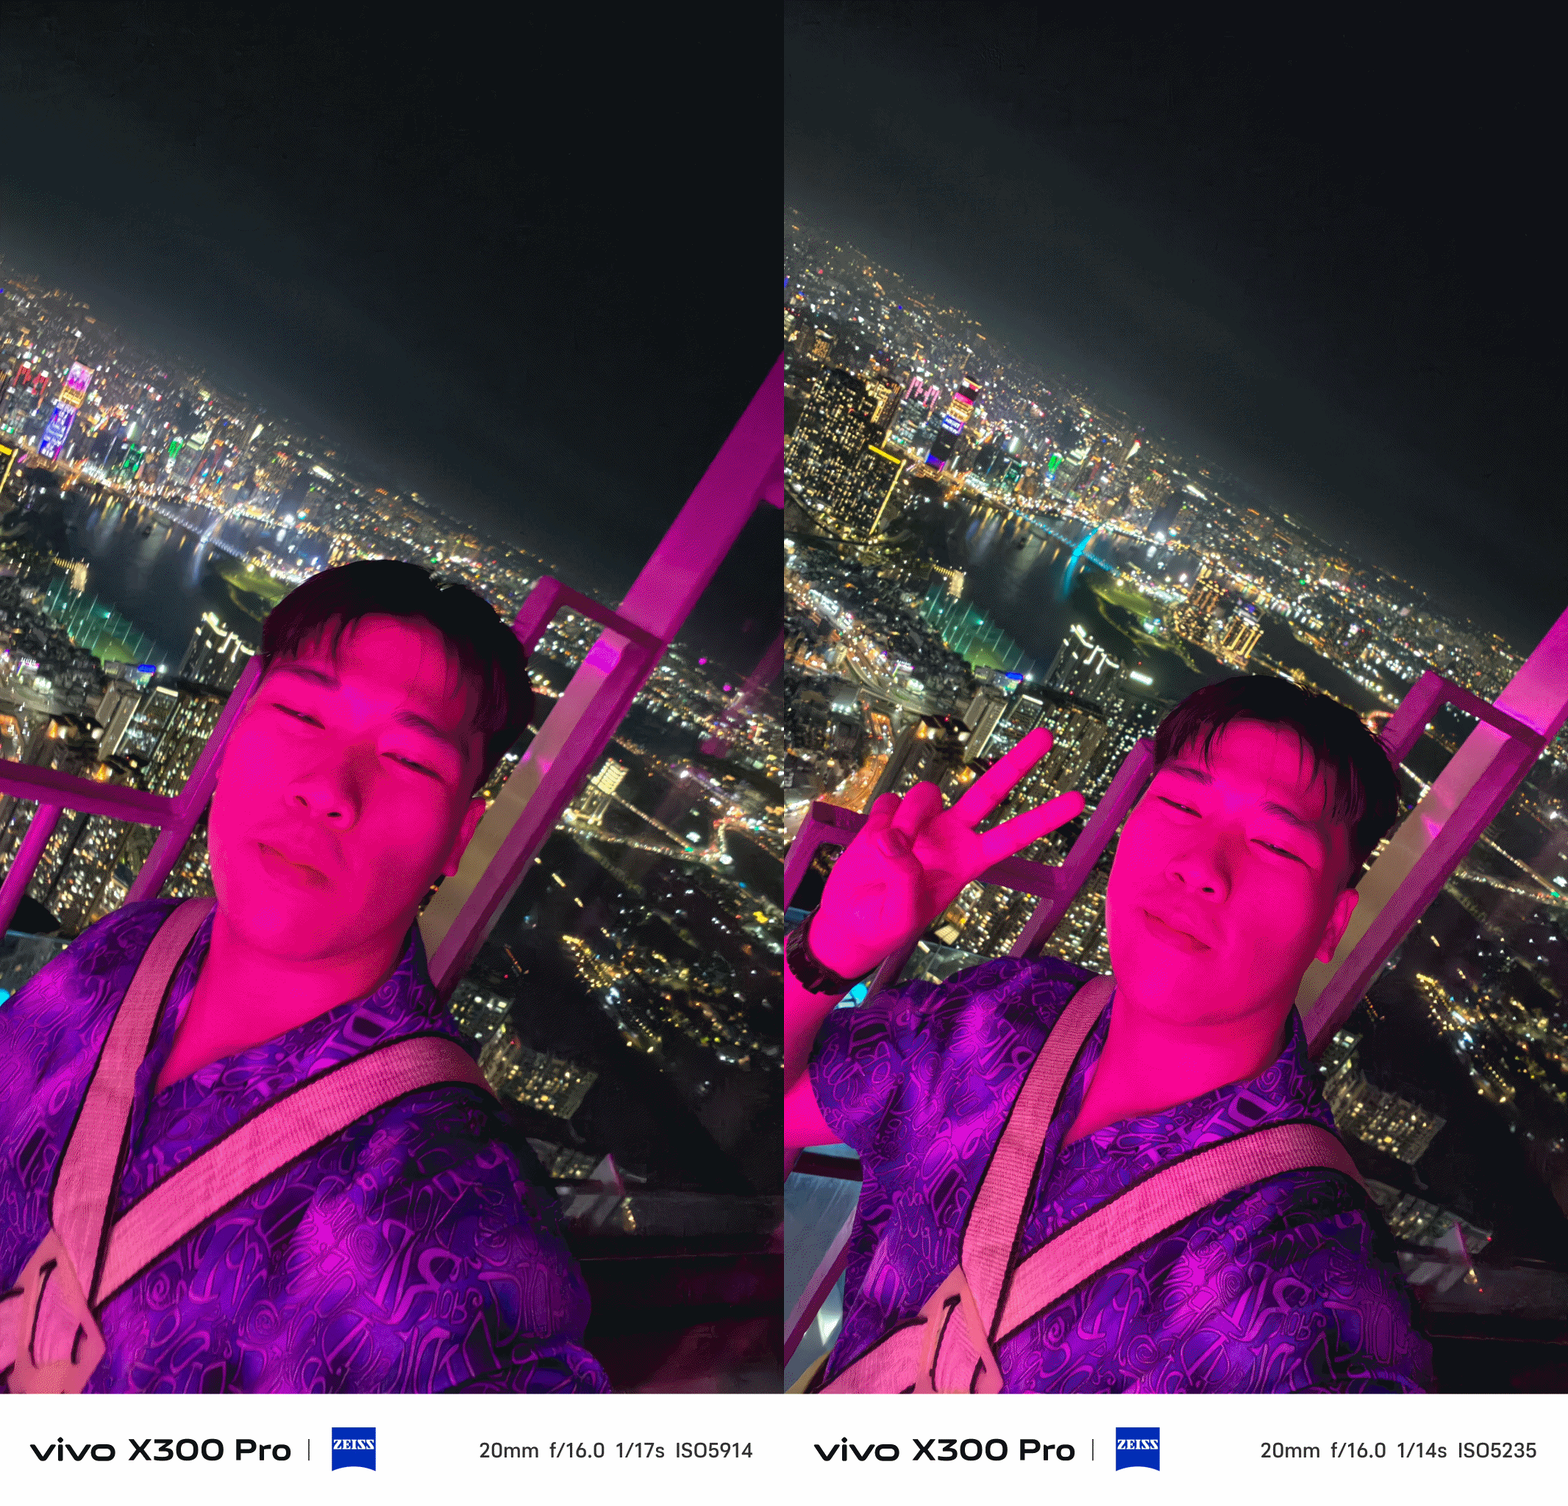
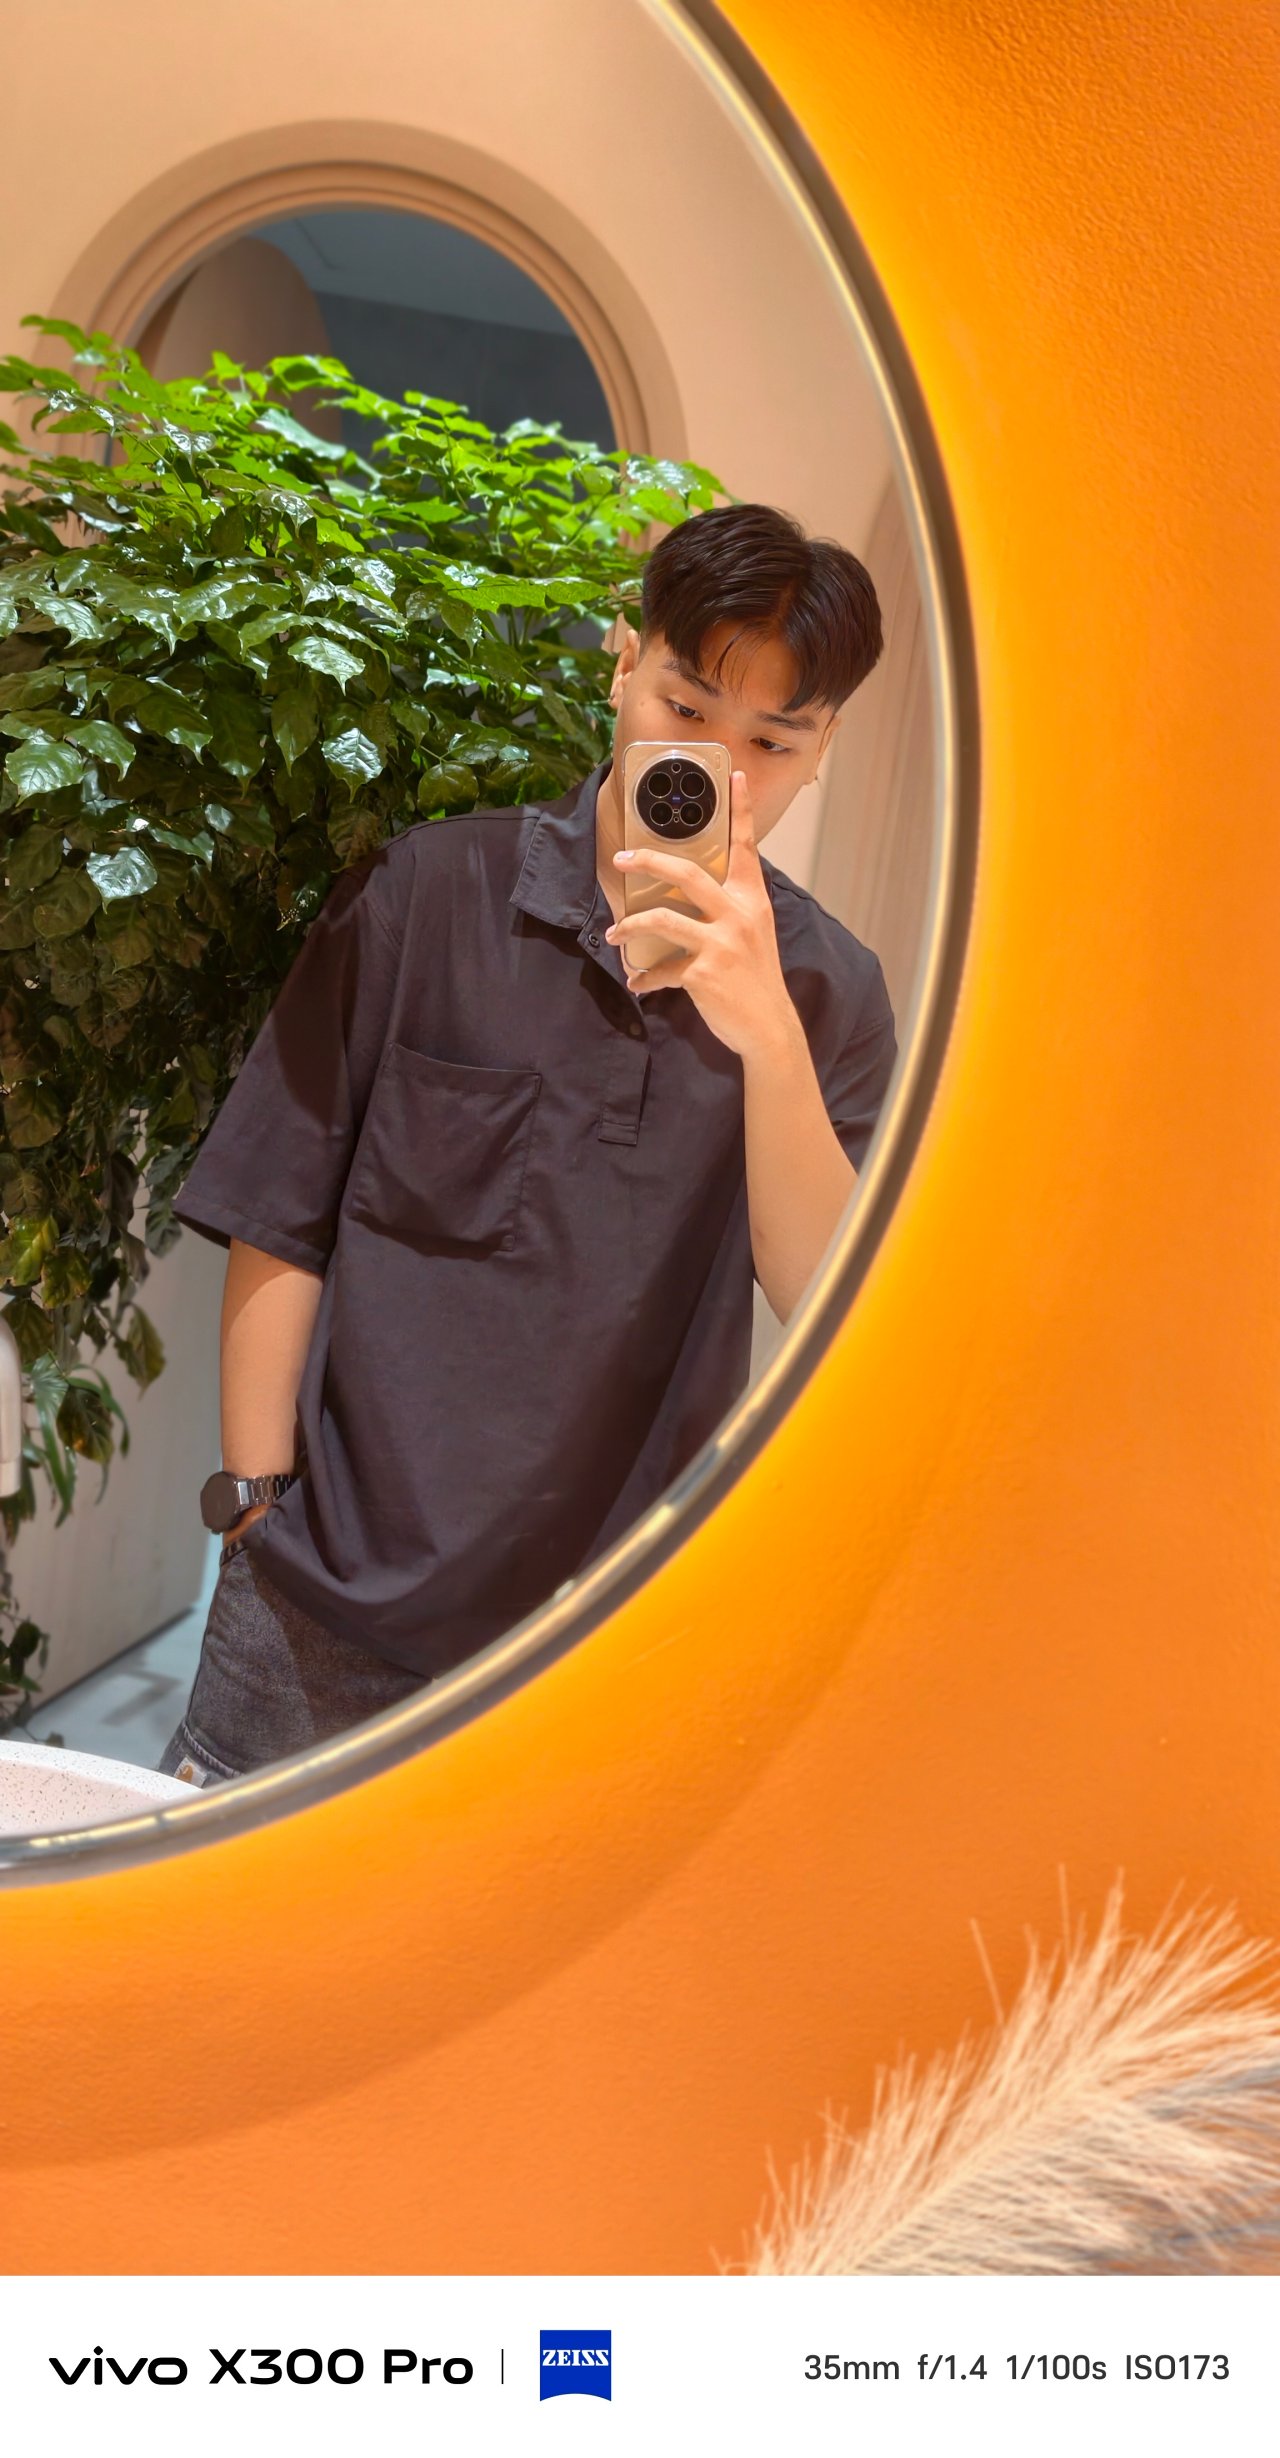
The vivo X300 Pro not only takes great-looking mirrorfies, the improved selfie shooter provides ample amount of light and detail that the X200 Pro simply lacked.

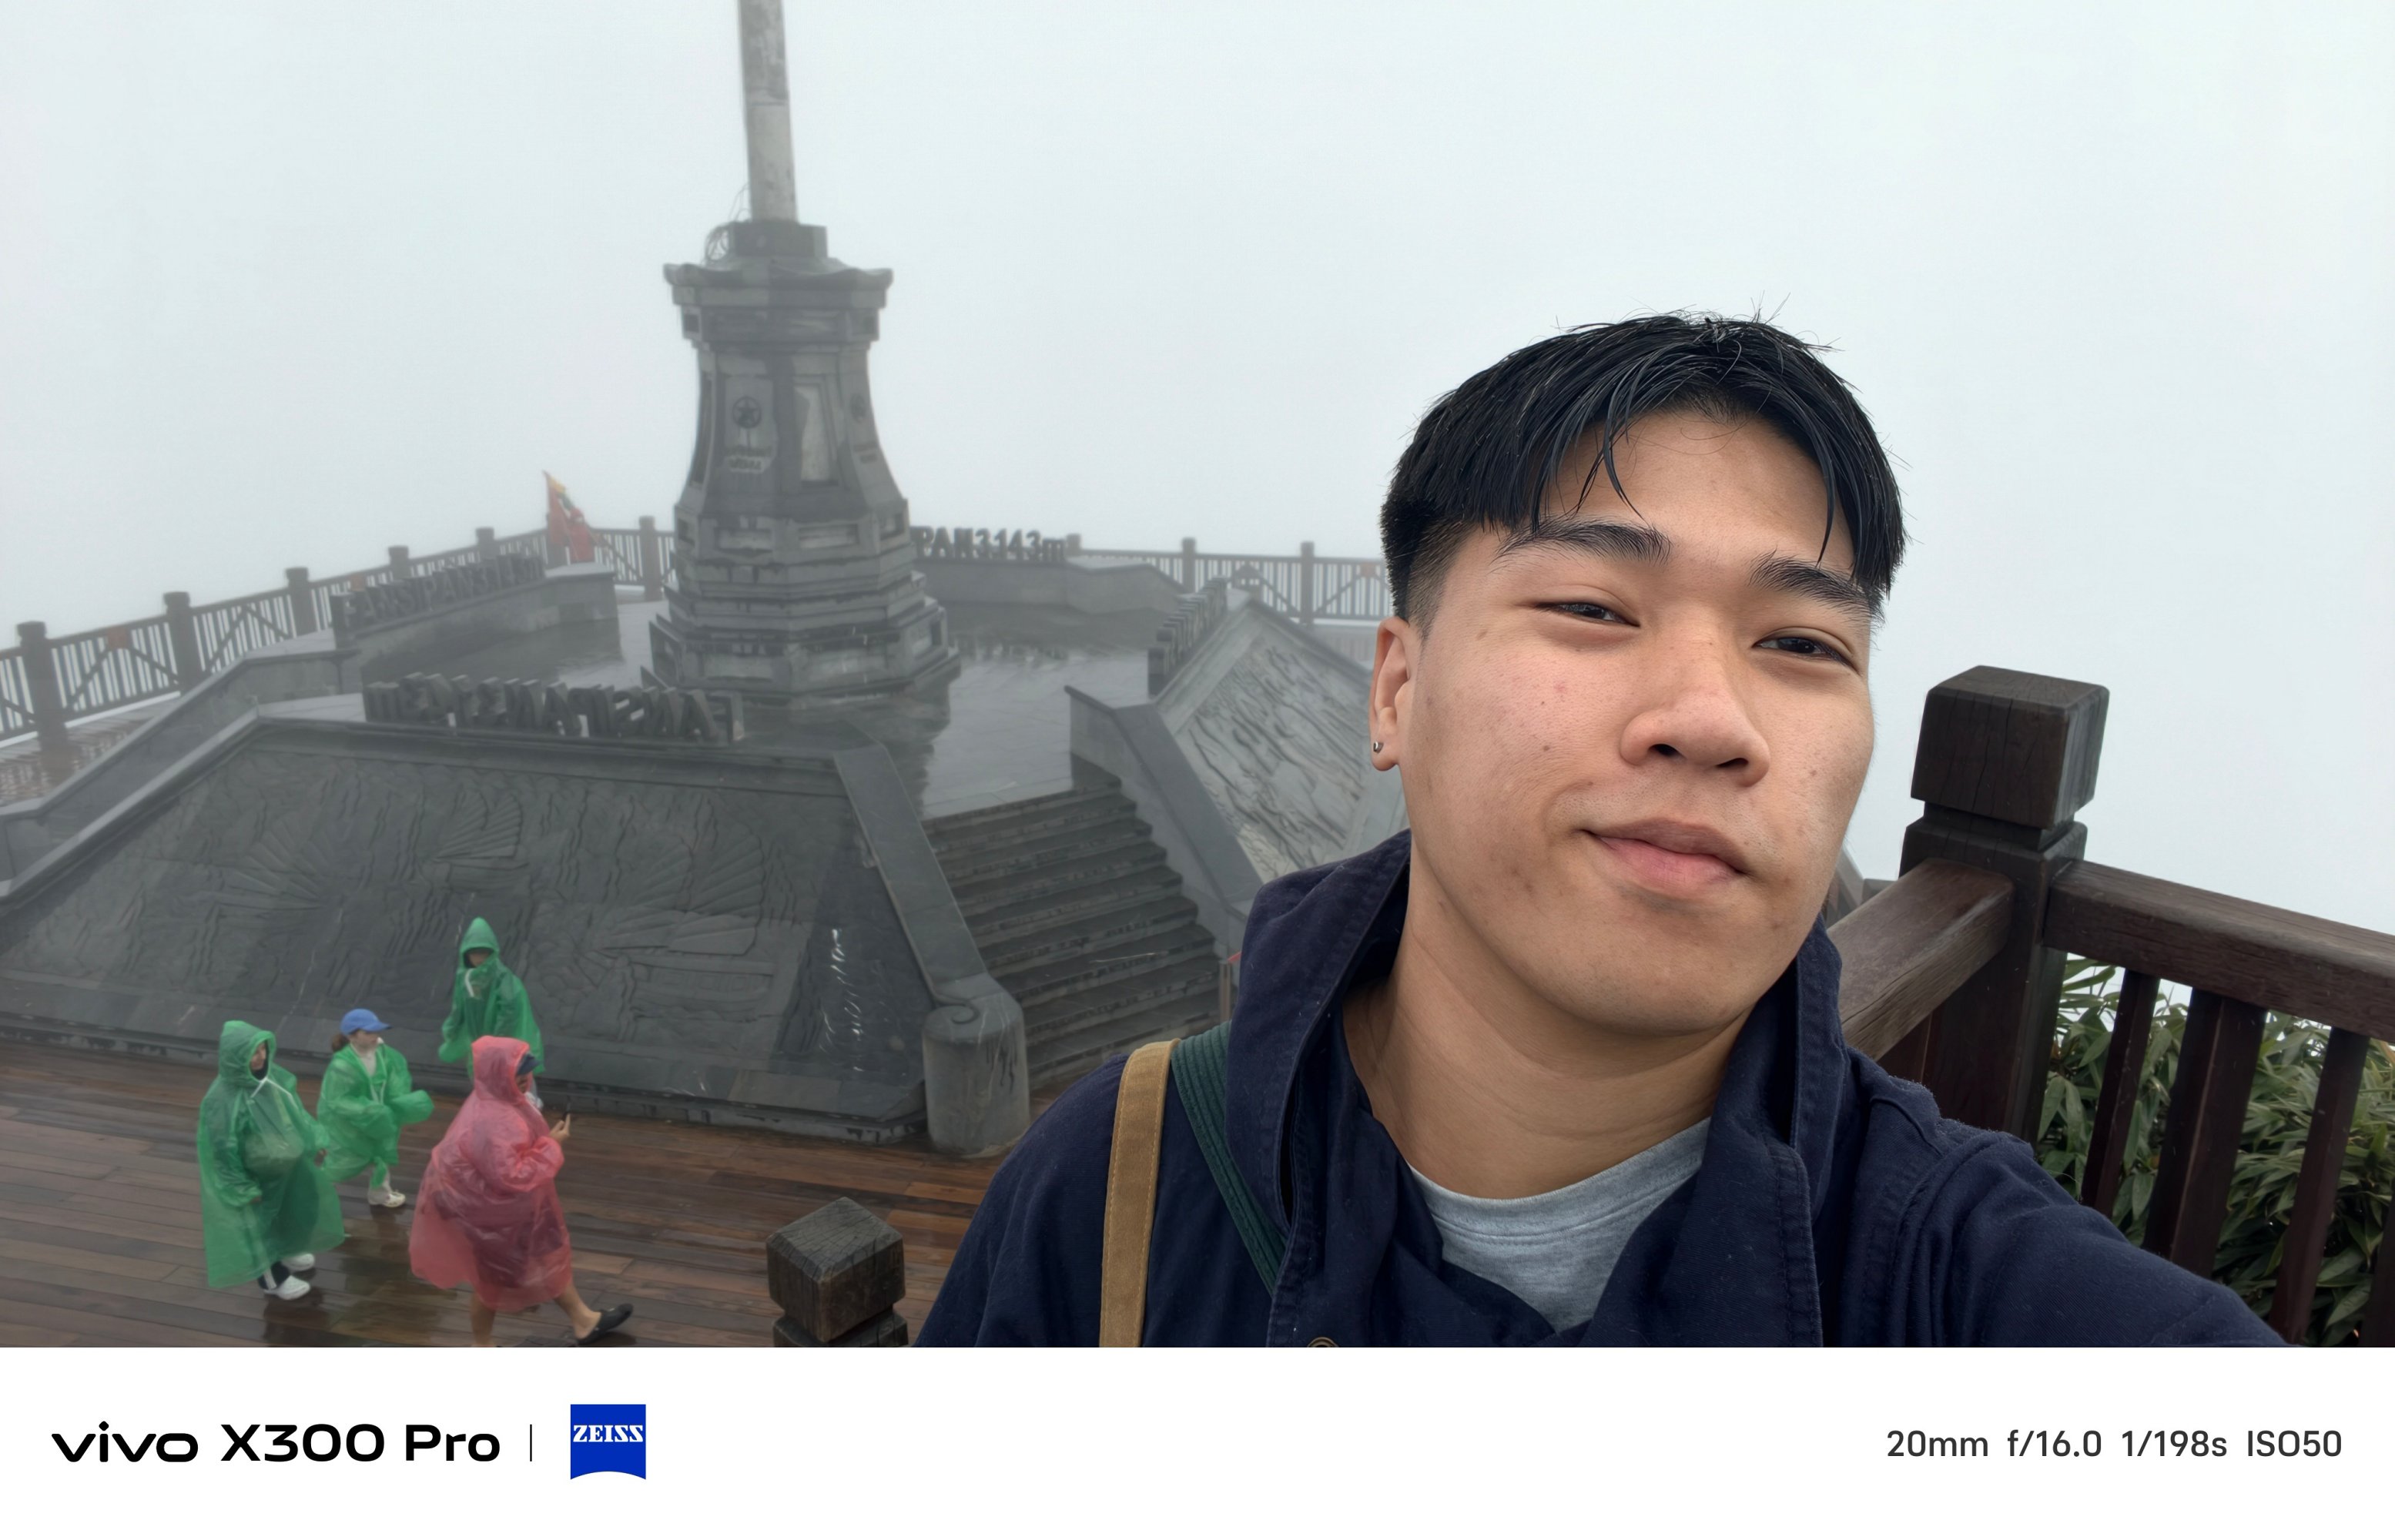

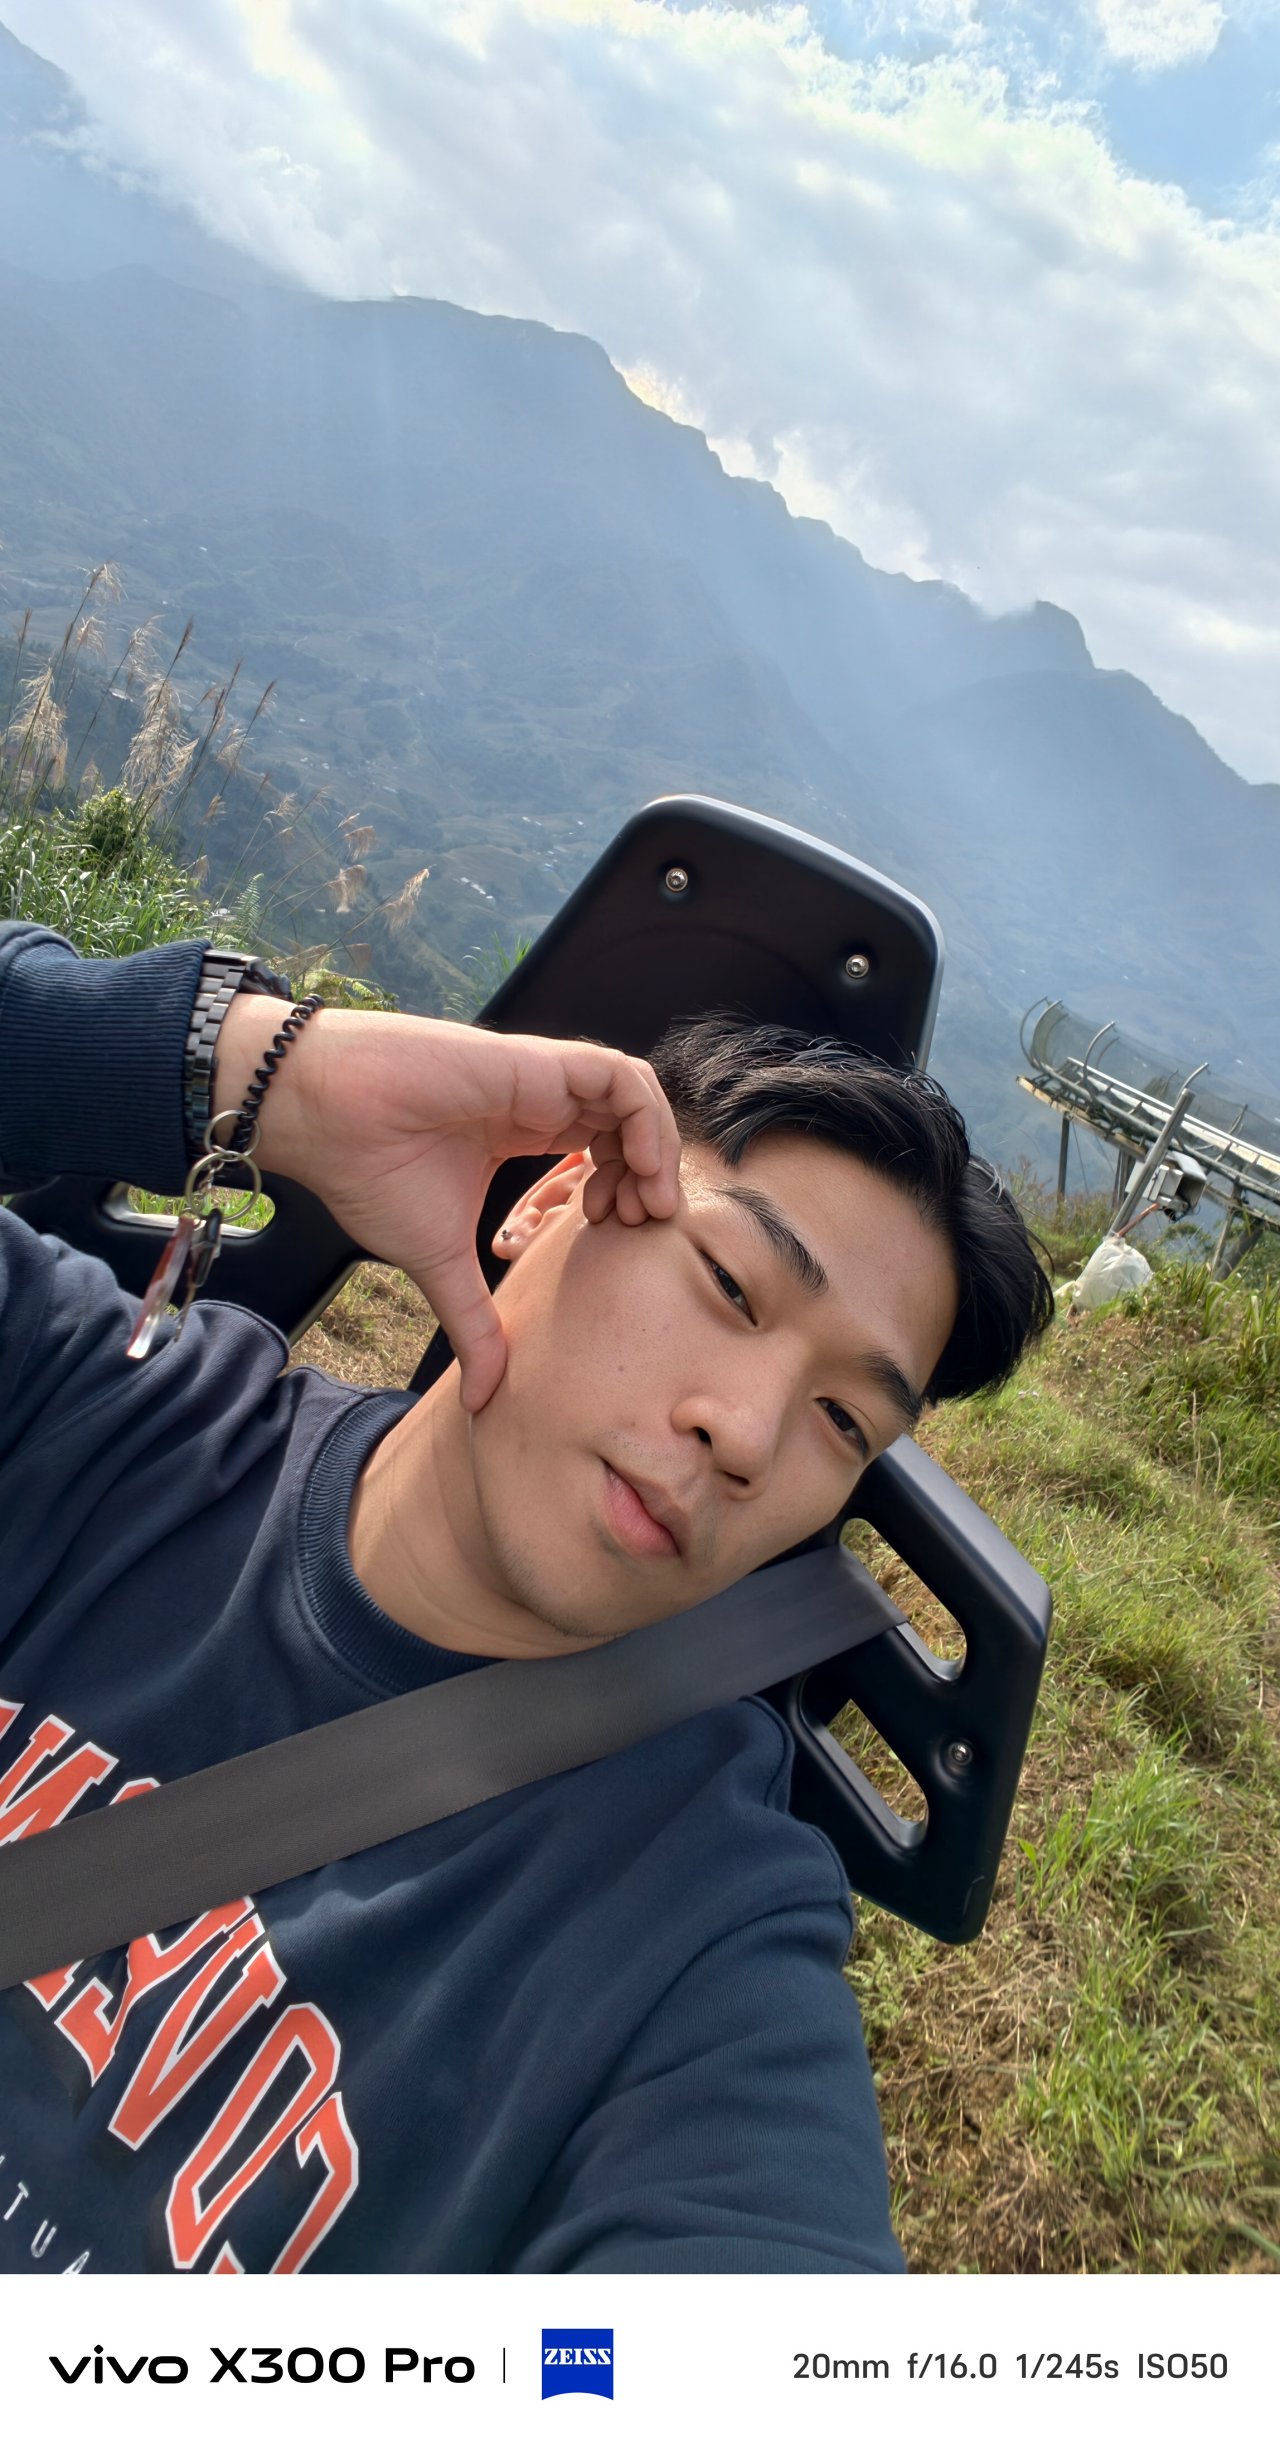


Not only that selfie camera boasts a megapixel count more than 1.5x than its predecessor, FoV and color reproduction also seem more natural and less whitewashed.
That’s something I have experienced using the X200 Pro — and more of a reason why I refused taking selfies with it.

Speaking of color, the aforementioned color profiles as well as the bundled ZEISS Style Portrait lens bokeh are also applicable when shooting with the front camera.
X-quisite Design
If it ain’t broke, there’s no point of fixing it. However, vivo still tried refining the X200 Pro’s successor even further.
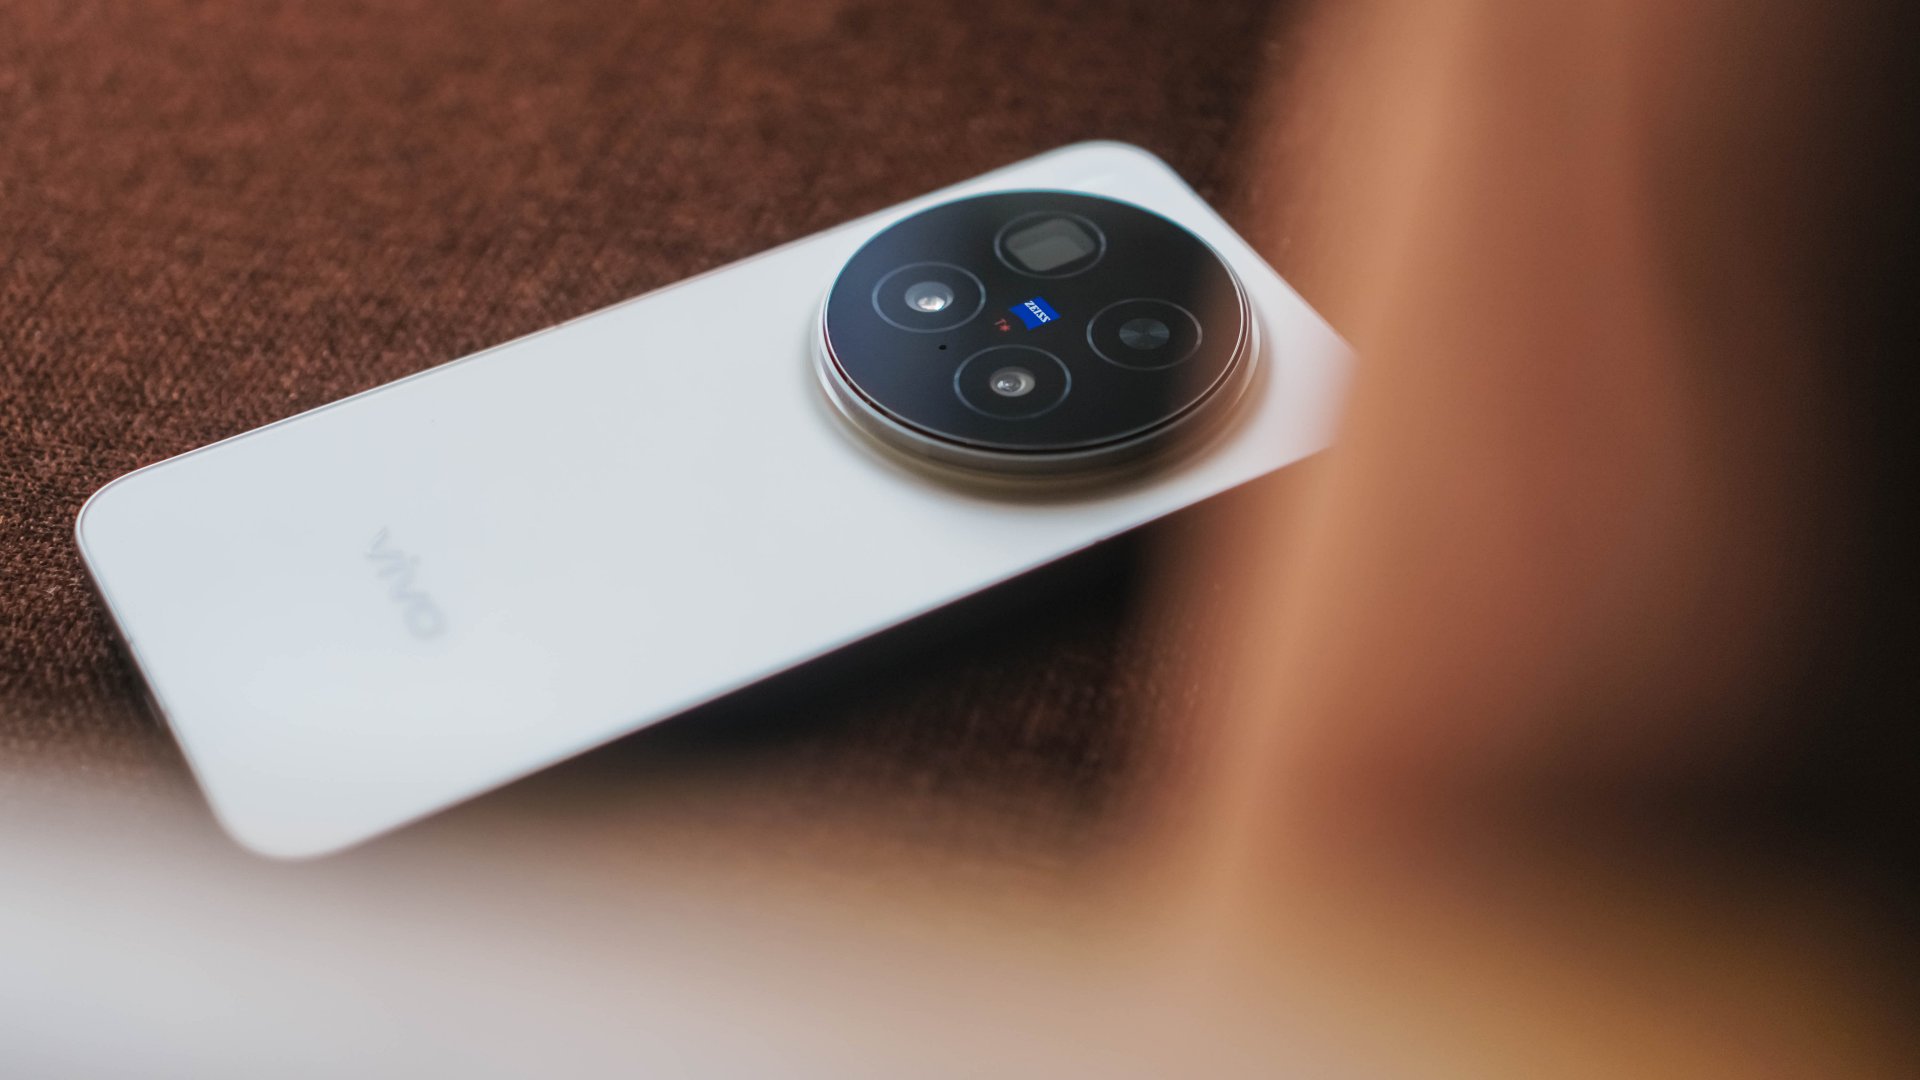
Gone are the slightly curved edges and the micro quad-curved display. This time, they have completely flattened everything out on the X300 Pro — camera bump, notwithstanding.
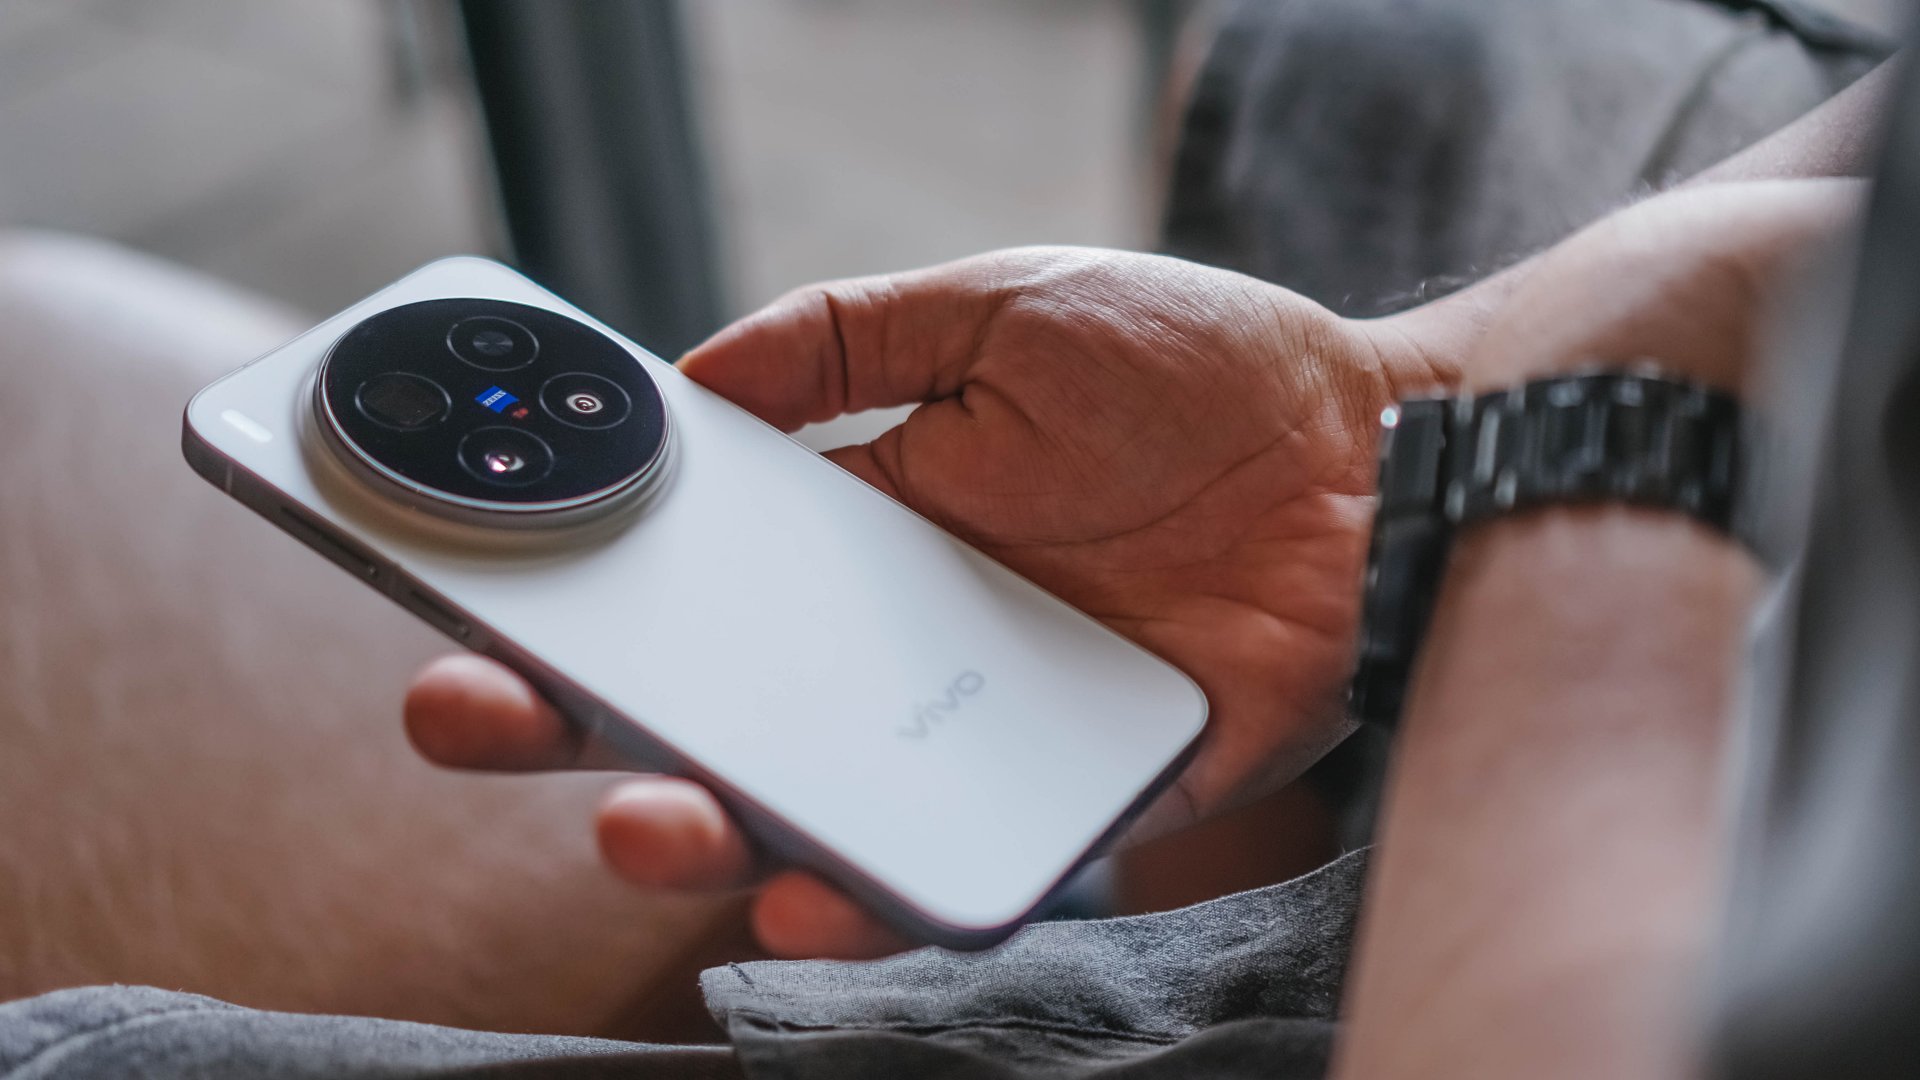
This form factor clearly reminds me of the base iPhones, premium midrange Androids, even the newest line of its sister brand, the OPPO Find X9 series.
In return, the X300 Pro is thinner at 7.99mm (versus 8.5mm of the X200 Pro). Though heft reduction isn’t significant as it weighs just 2 grams less (226 grams over 228 grams).

Comfort-wise, those flat edges felt sharp when held one-handedly. Although after several days of usage, I eventually got the hang of it.
I just miss the grippier hold of its predecessor. Also, the subtle curves I felt when swiping and navigating through the edges of its screen.

Good thing, the absence of a curved display means not having to buy any flimsy screen protectors that lack that curved edge coverage.
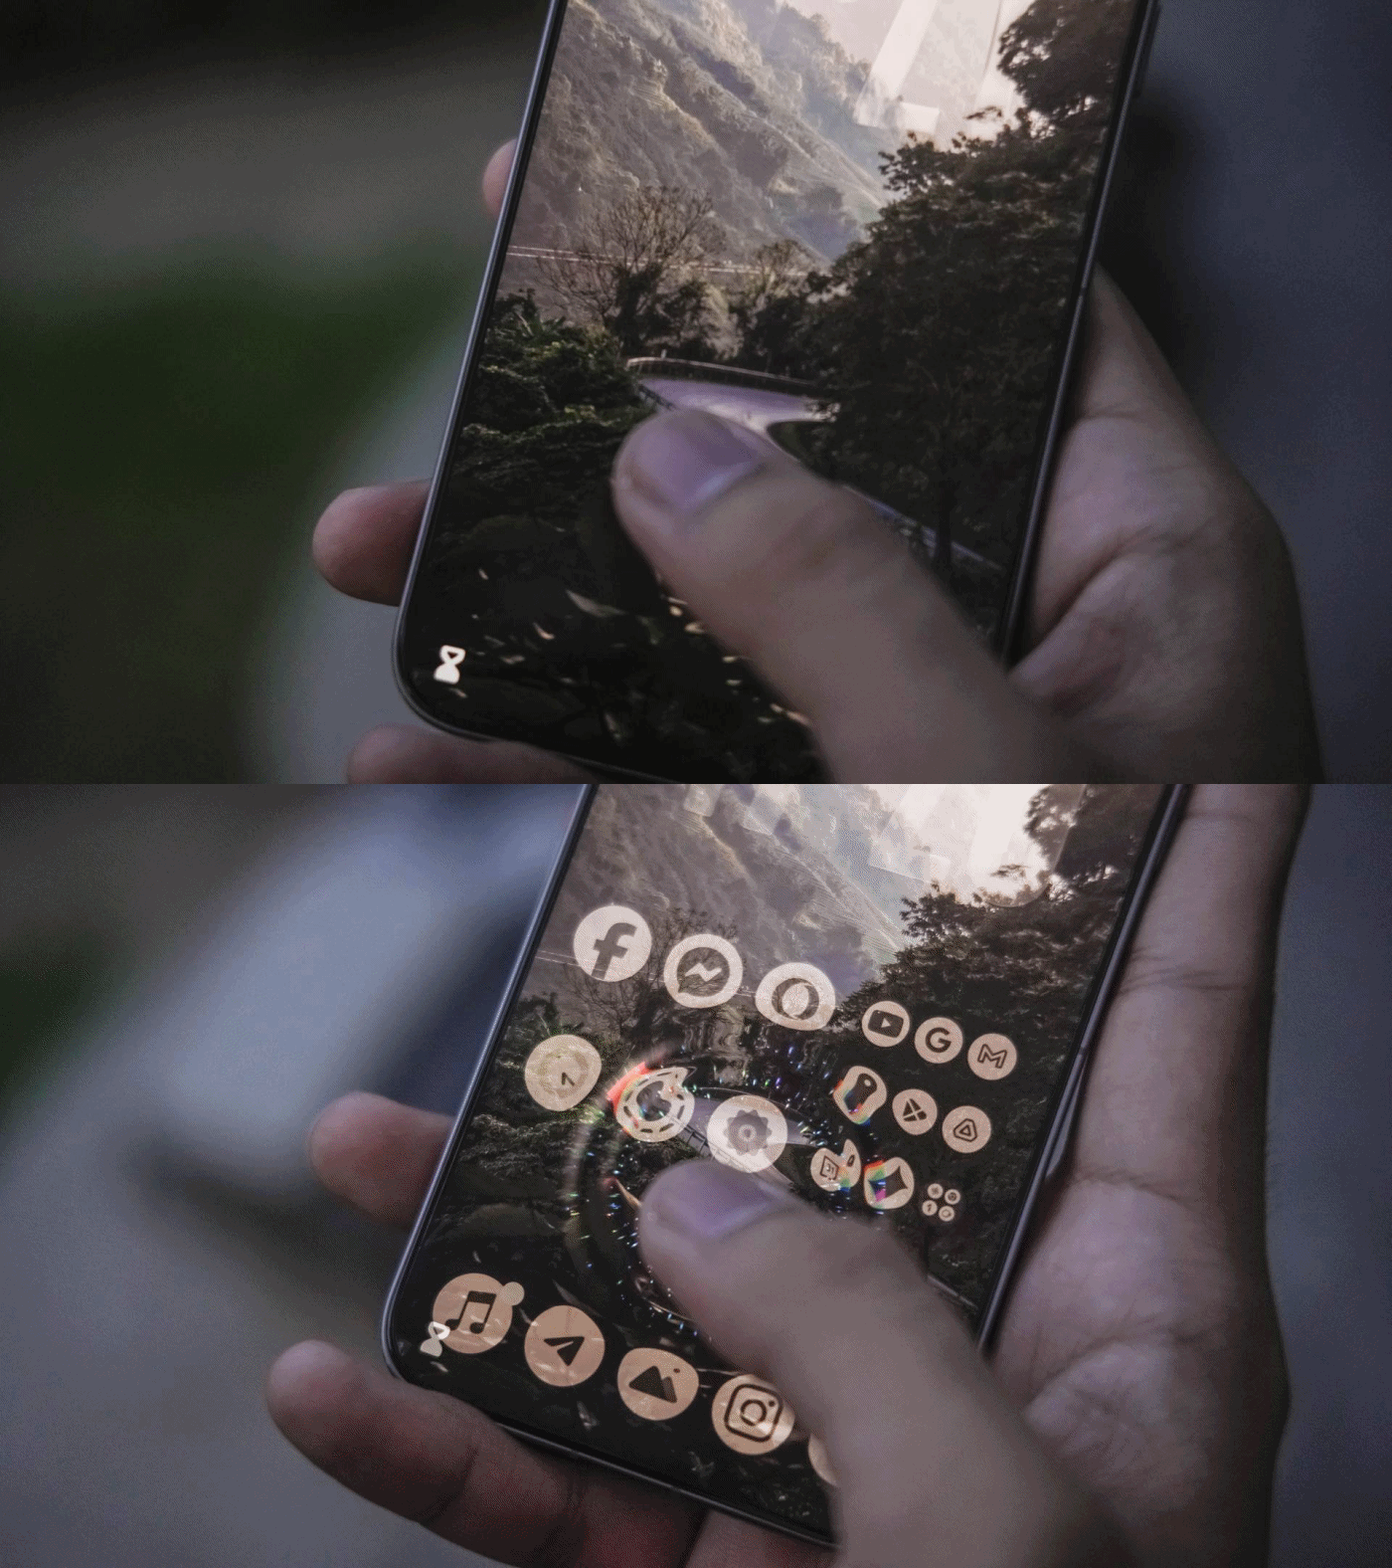
More so, “specialized” tempered glass that need UV glue (and light) in order for that undersonic fingerprint sensor to work properly.
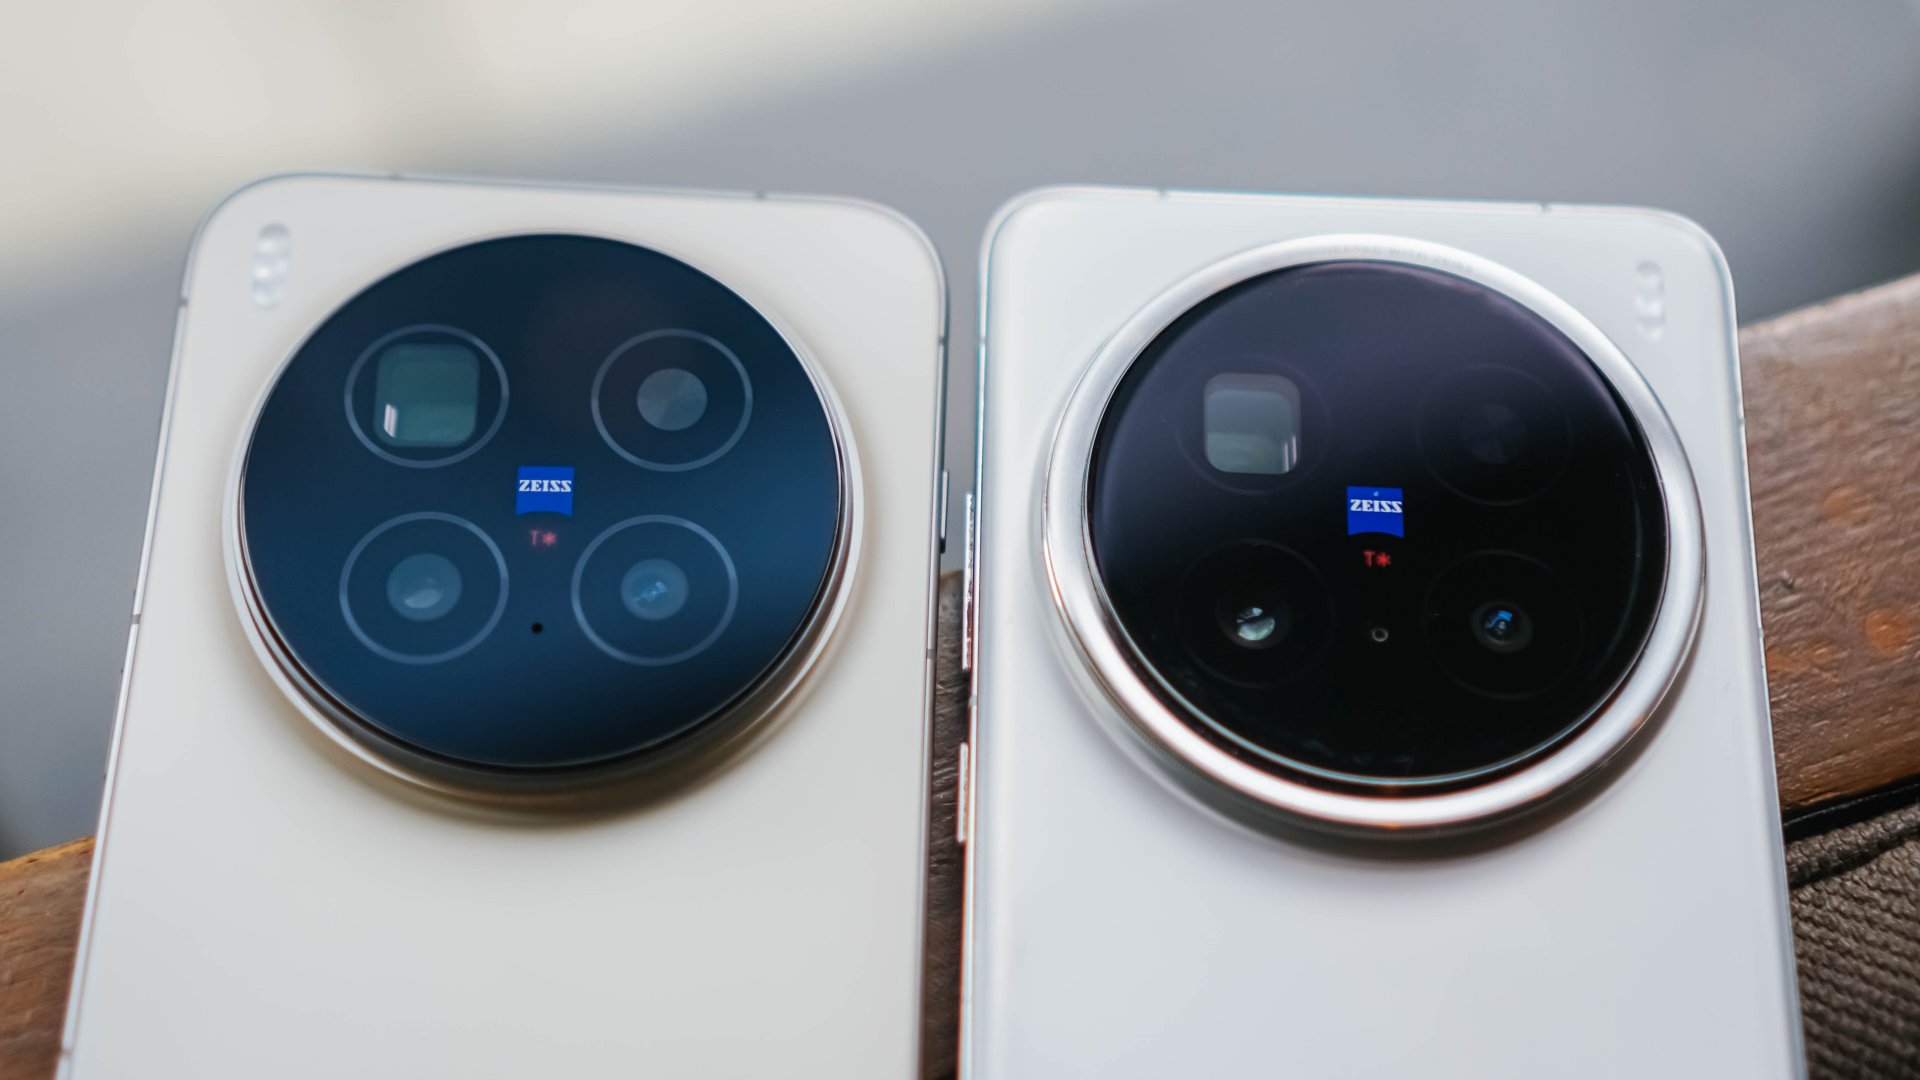
Personally, I love the new look of X300 Pro’s monstrous camera bump.
How they trimmed down the camera rim in favor of a larger flat surface looks more sleek. Also, the new striped texture of the bump closely resembles a camera lens grip.

Then again, the dust magnet issue I’ve experienced before is still present in this new X-teration.

Only time will tell though how durable it is. So far, I’ve only managed it to drop it twice on a hard floor. So far, no unwanted dents and scathes found.
Speaking of, the X300 Pro still features that dual IP68 + IP69 water and dust resistance rating — a staple of Android flagships moving forward.
X-cellent Powerhouse
While the display curves are gone, vivo’s already superior display tech stays. It has an unchanged 6.78-inch LTPO AMOLED panel. I just assume the bigger screen size is reserved for the Ultra variant.
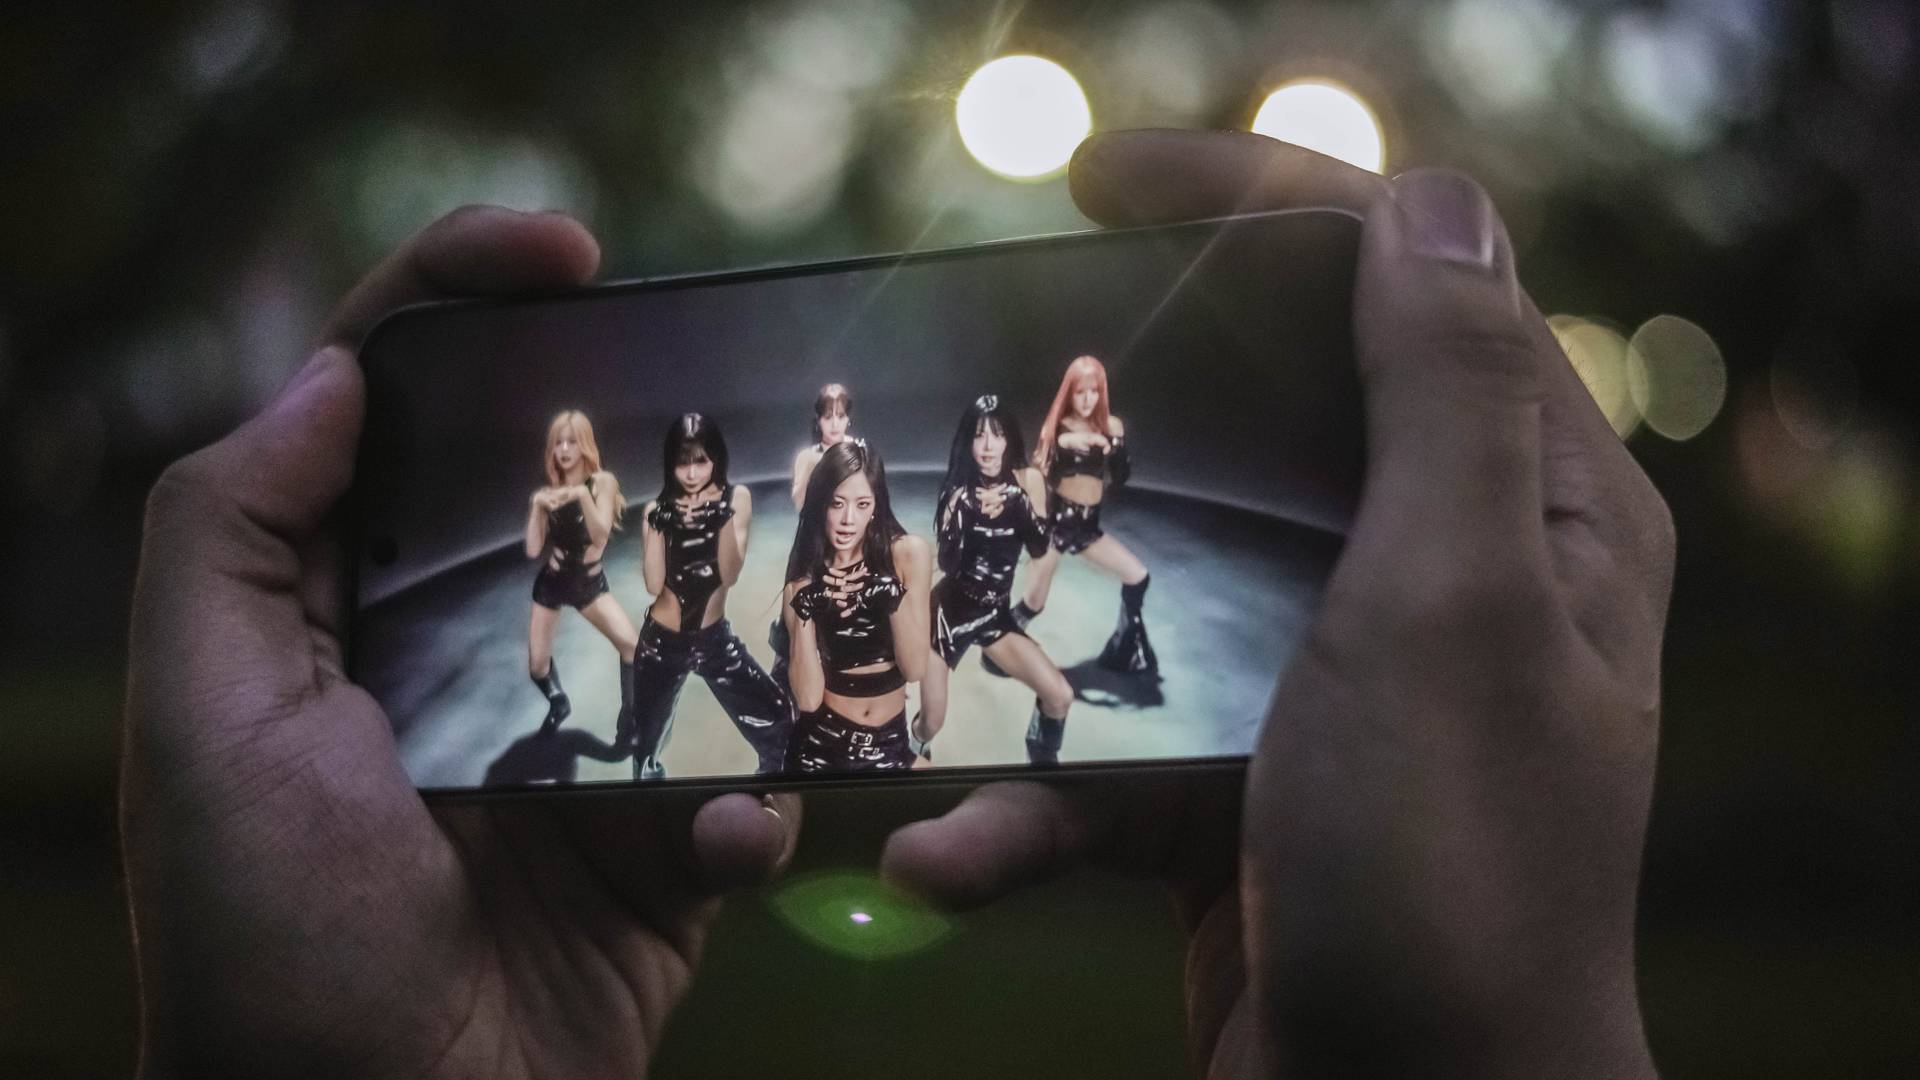
Display accuracy and calibration, as well as support for HDR content, are top-notch as one would expect. Whether the visuals are vibrant, bright, or just dark, the X300 Pro doesn’t go overboard and accurately shows the most natural output possible.
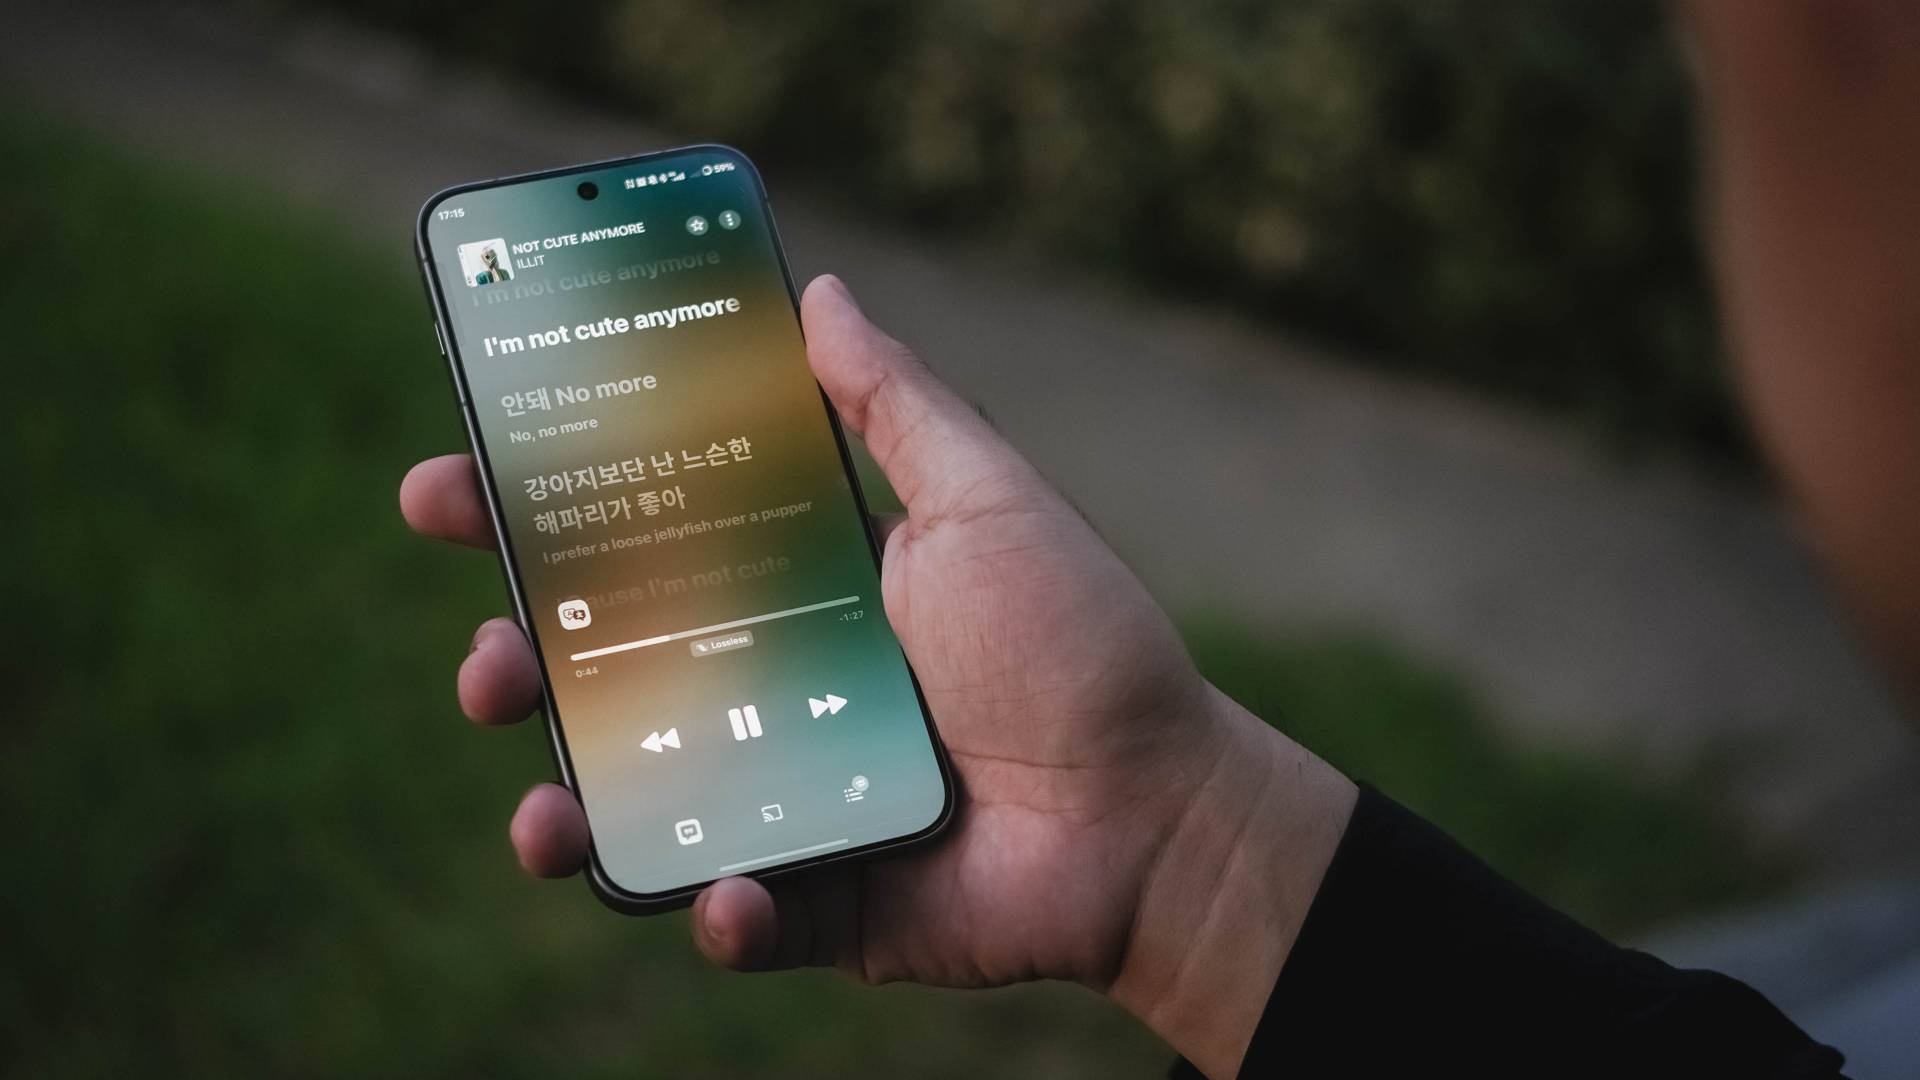
For that ultimate audiovisual pleasure, its stereo speakers are loud and full with that powerful bass to rock your banging solo concert sessions.
Found beneath this superior slab is none other than MediaTek’s latest and greatest Dimensity 9500 SoC based on a 3nm process.

The last iteration was already great to begin with. Let alone, this all-new Dimensity chip headlined by the X300 series.
Day-to-day tasks are buttery smooth with no room for lag. Switching (and even split-screen multitasking) through multiple apps is a breeze.

Playing games wasn’t an exception to the experience.
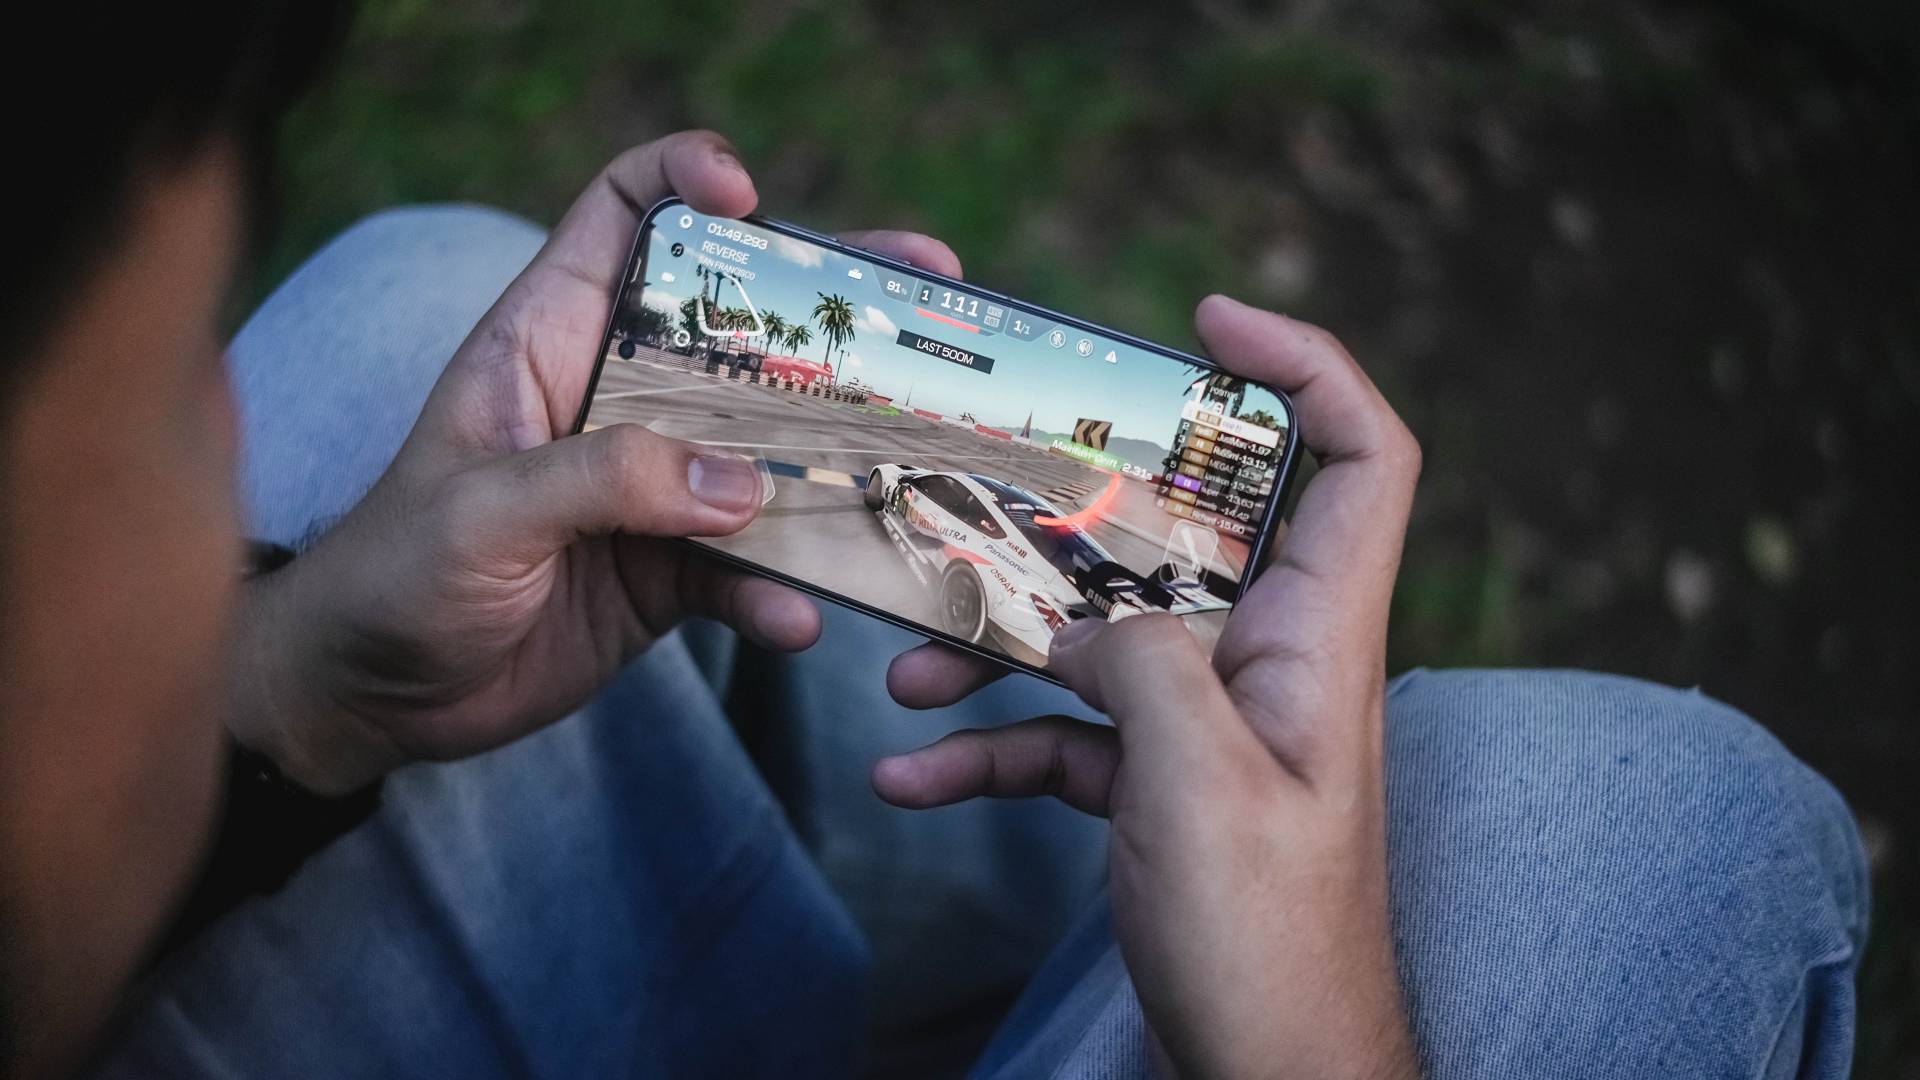
For instance, my all-time fave racing game, Racing Master, was able to run for two hours without throttling. That’s considering I set it in the most extreme graphics setting possible.

HoYoverse’s Zenless Zone Zero is able to run as well. But, due to the heavier nature of the game, except some overheating in the long run.
X-citing new OS
If you’ve read my X200 Pro review, I’ve boldly stated how Funtouch OS isn’t “fun” at all.
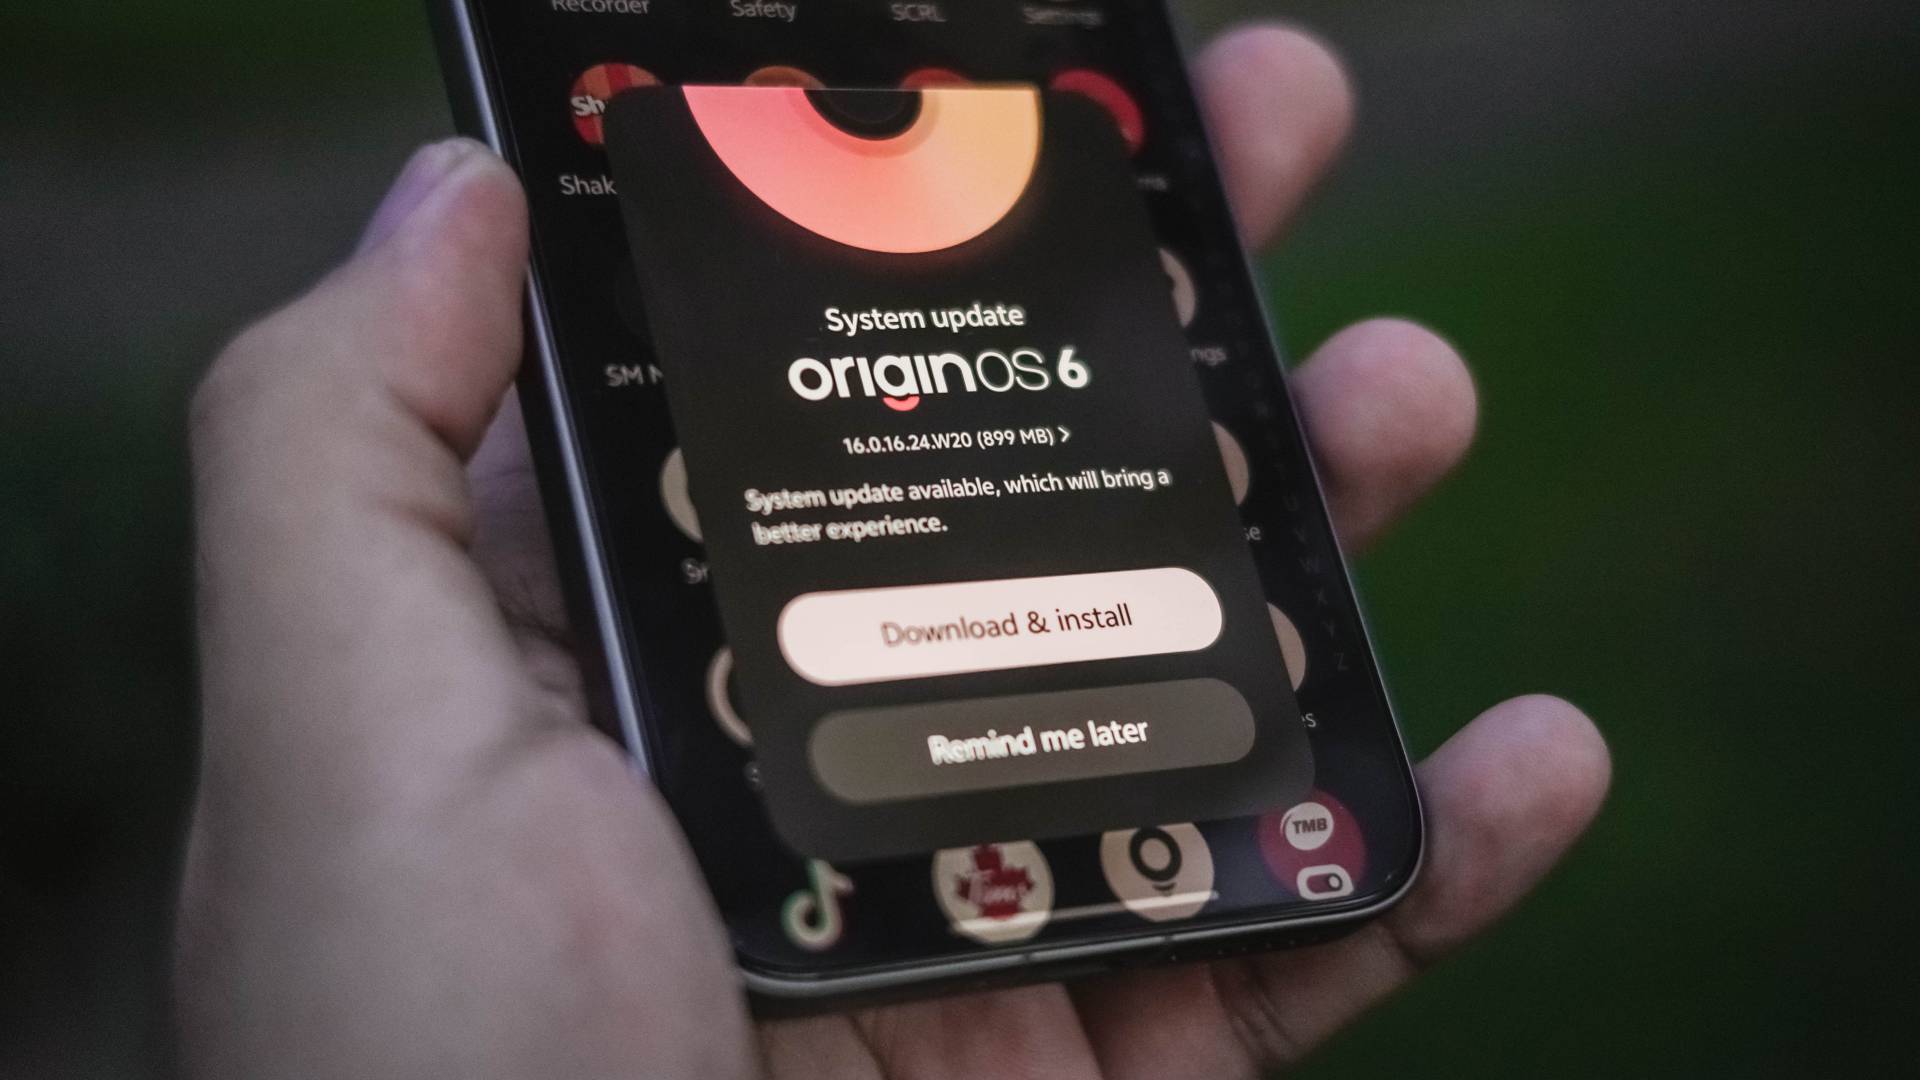
After several years of forcing to bear with that aging Android skin, vivo has finally decided to bring the latest flavor of OriginOS to global units.
Funtouch OS 15 was already fast as it is. OriginOS 6 made that even snappier with added fluidity.
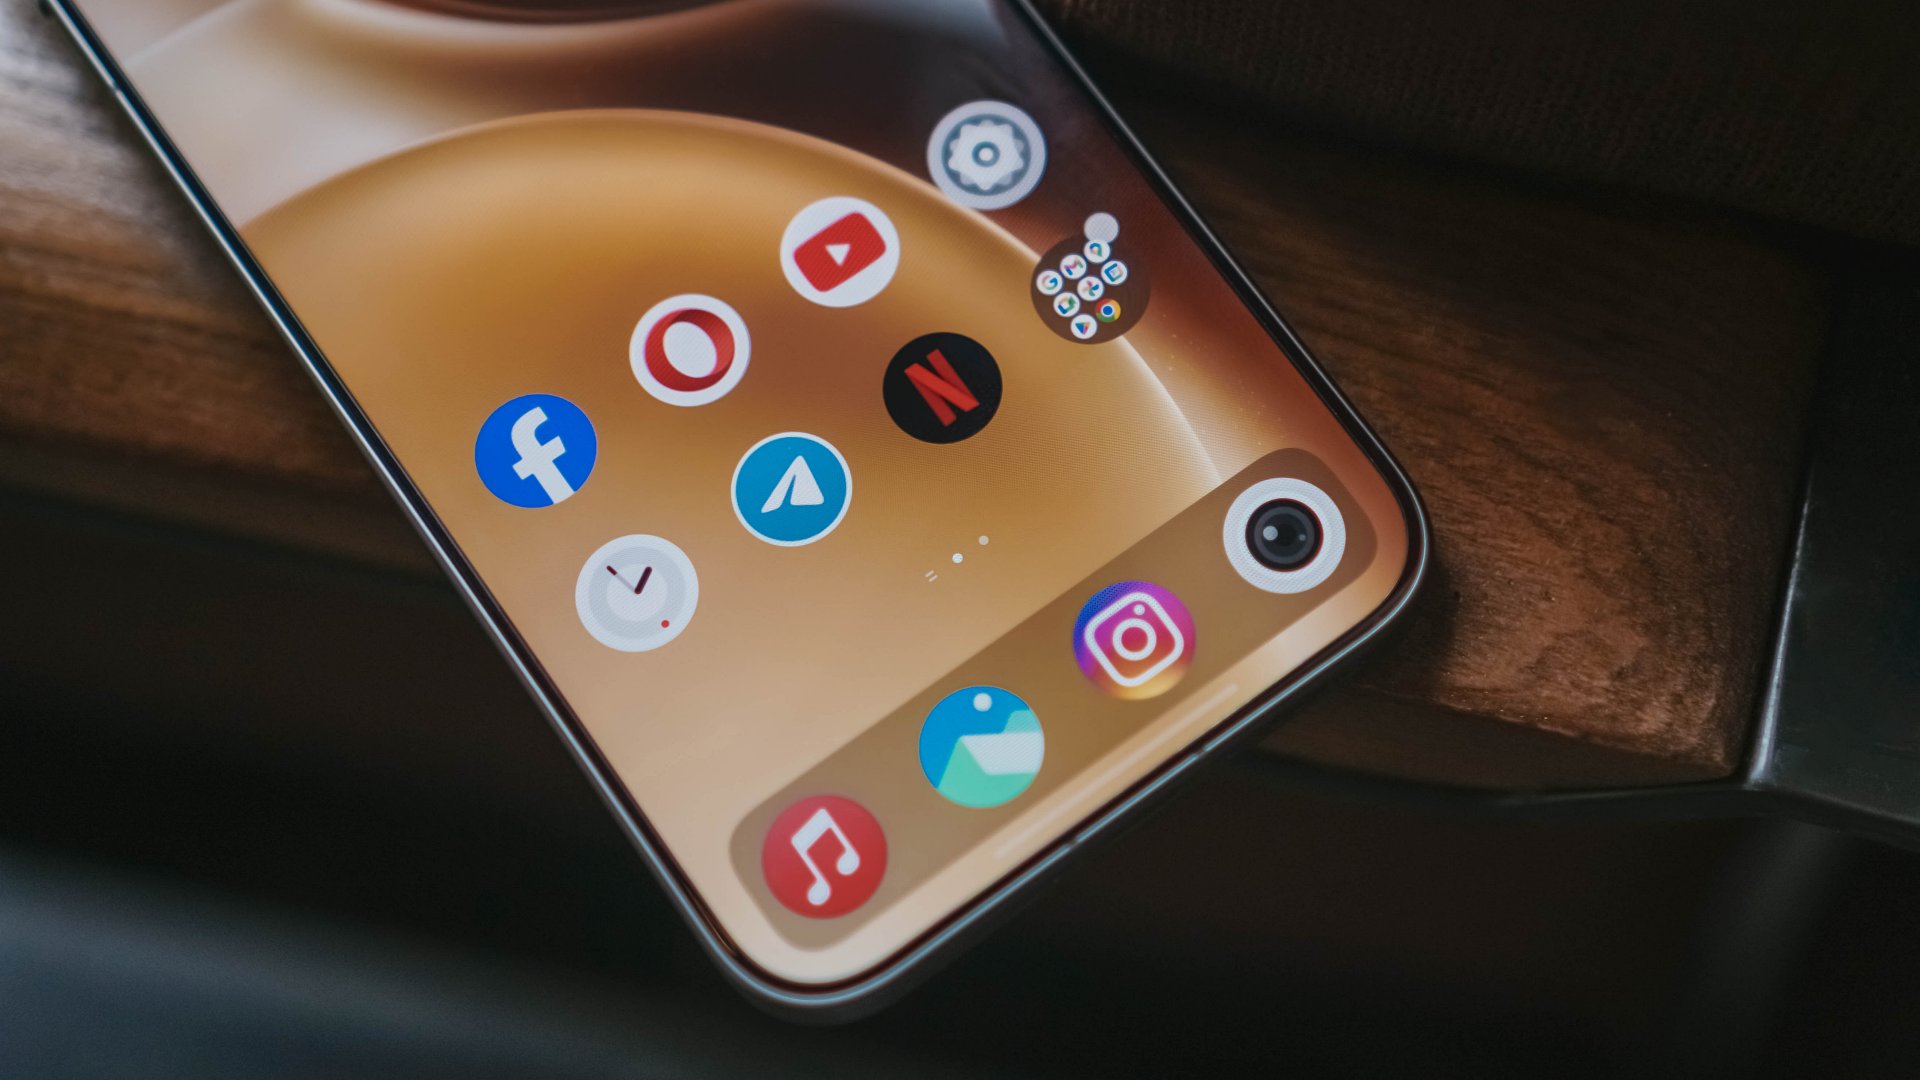

The AI Tools are still there. From transcribing, call assist, all the way to gallery’s AI Erase, reflection removal, even AI UHD upscaling, they’re all there.
For me though, the best changes can be seen in its overhauled UI.

Heck, vivo even brought iPhone-like features — just with better customizations.
From the more customizable lock screen, resizable folder sizes, to the (finally) separate Notifications and Control Center.
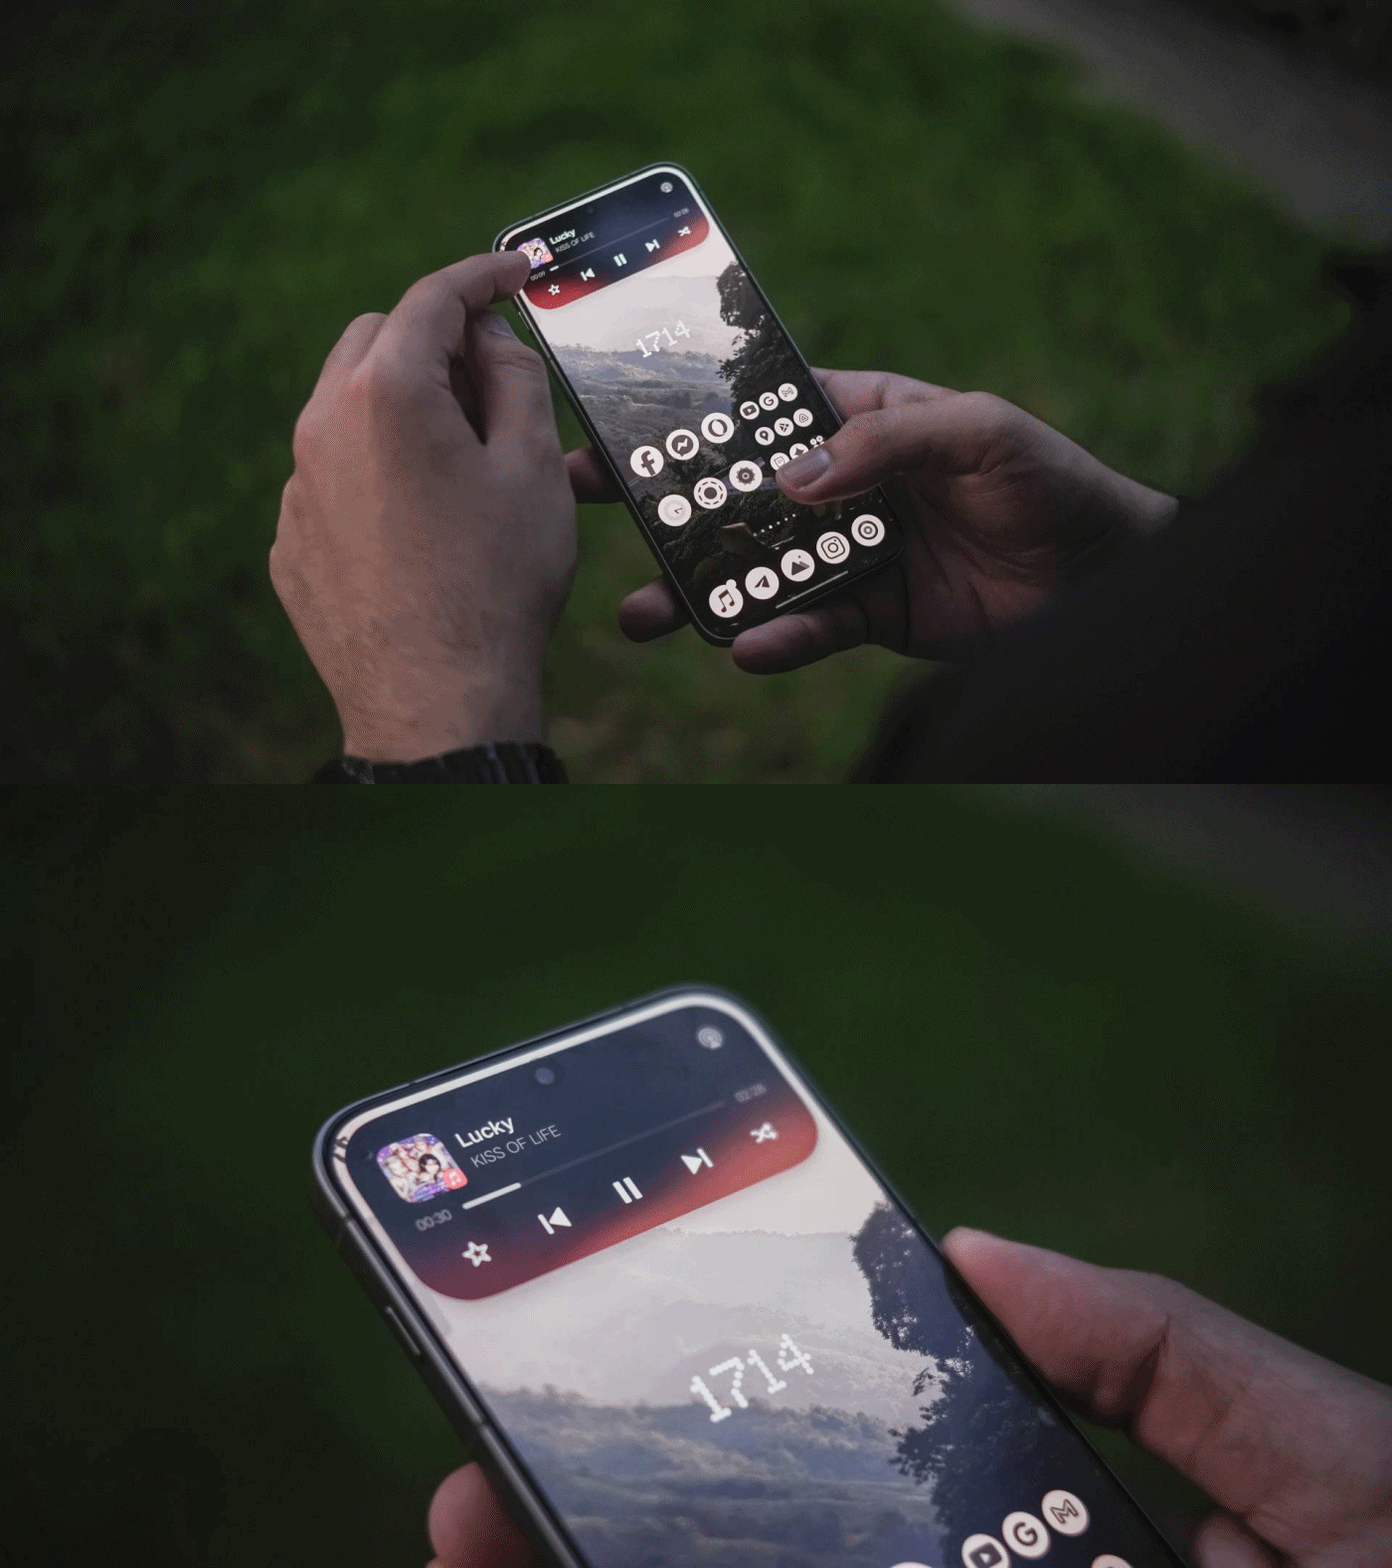
For one, there’s the Origin Island that acts like Apple’s Dynamic Island. But, dragging texts, photos, or even files to the island itself gives you a range of apps for it to be shared.
The other one is the additional button on the X300 Pro’s left side. Unlike iOS’s limiting Action Button assignments, it’s more customizable here.

On my end, I’ve set the double-tap to quickly launch the camera in Snapshot mode for fast-firing shootouts. Holding the button fires up the flashlight behind. Unfortunately though, single-tapping the button doesn’t do anything.
Overall, OriginOS 6 seems and feels like a proper and polished experience.
X-panded Horizons
Another feature where I felt that I needed to have in global vivo phones is none other than the Office Kit.
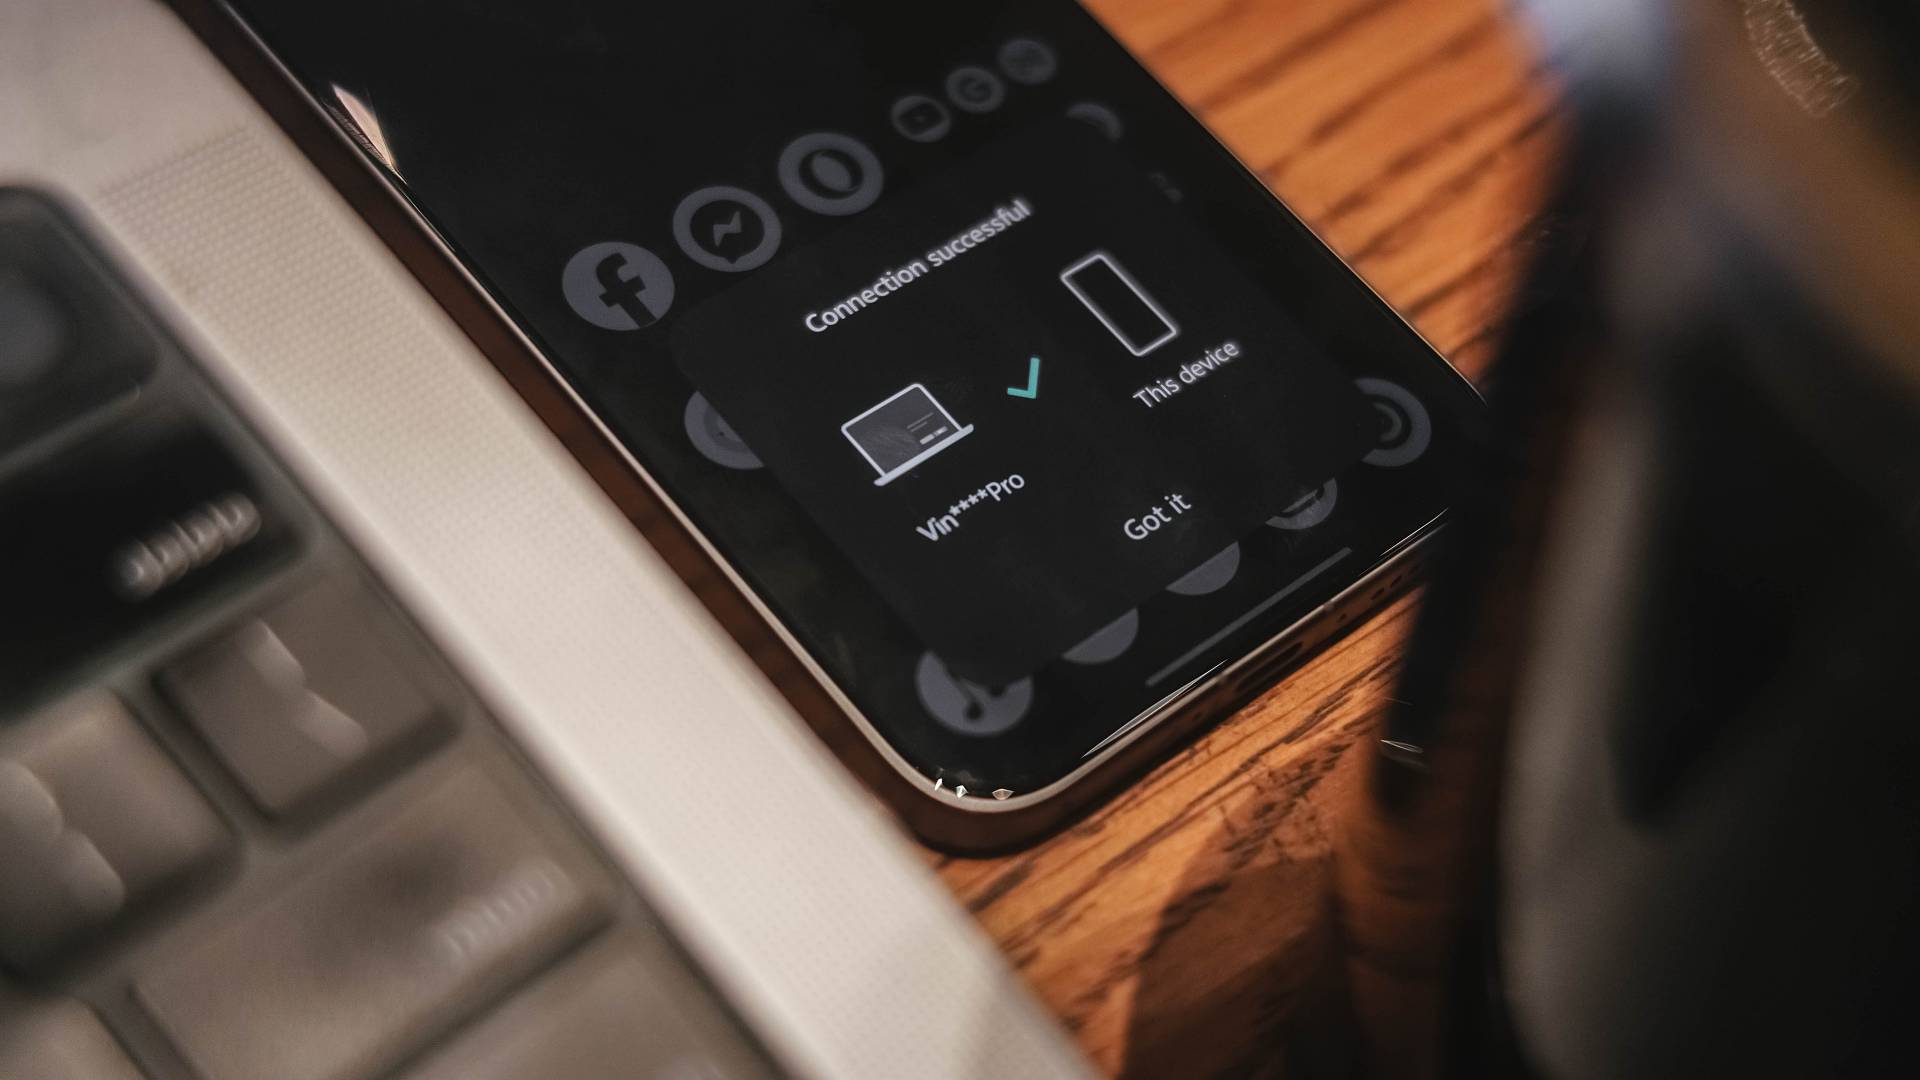
As a long-time MacBook Pro user ever since my university days back in 2016, this feature is a gift from the gods.
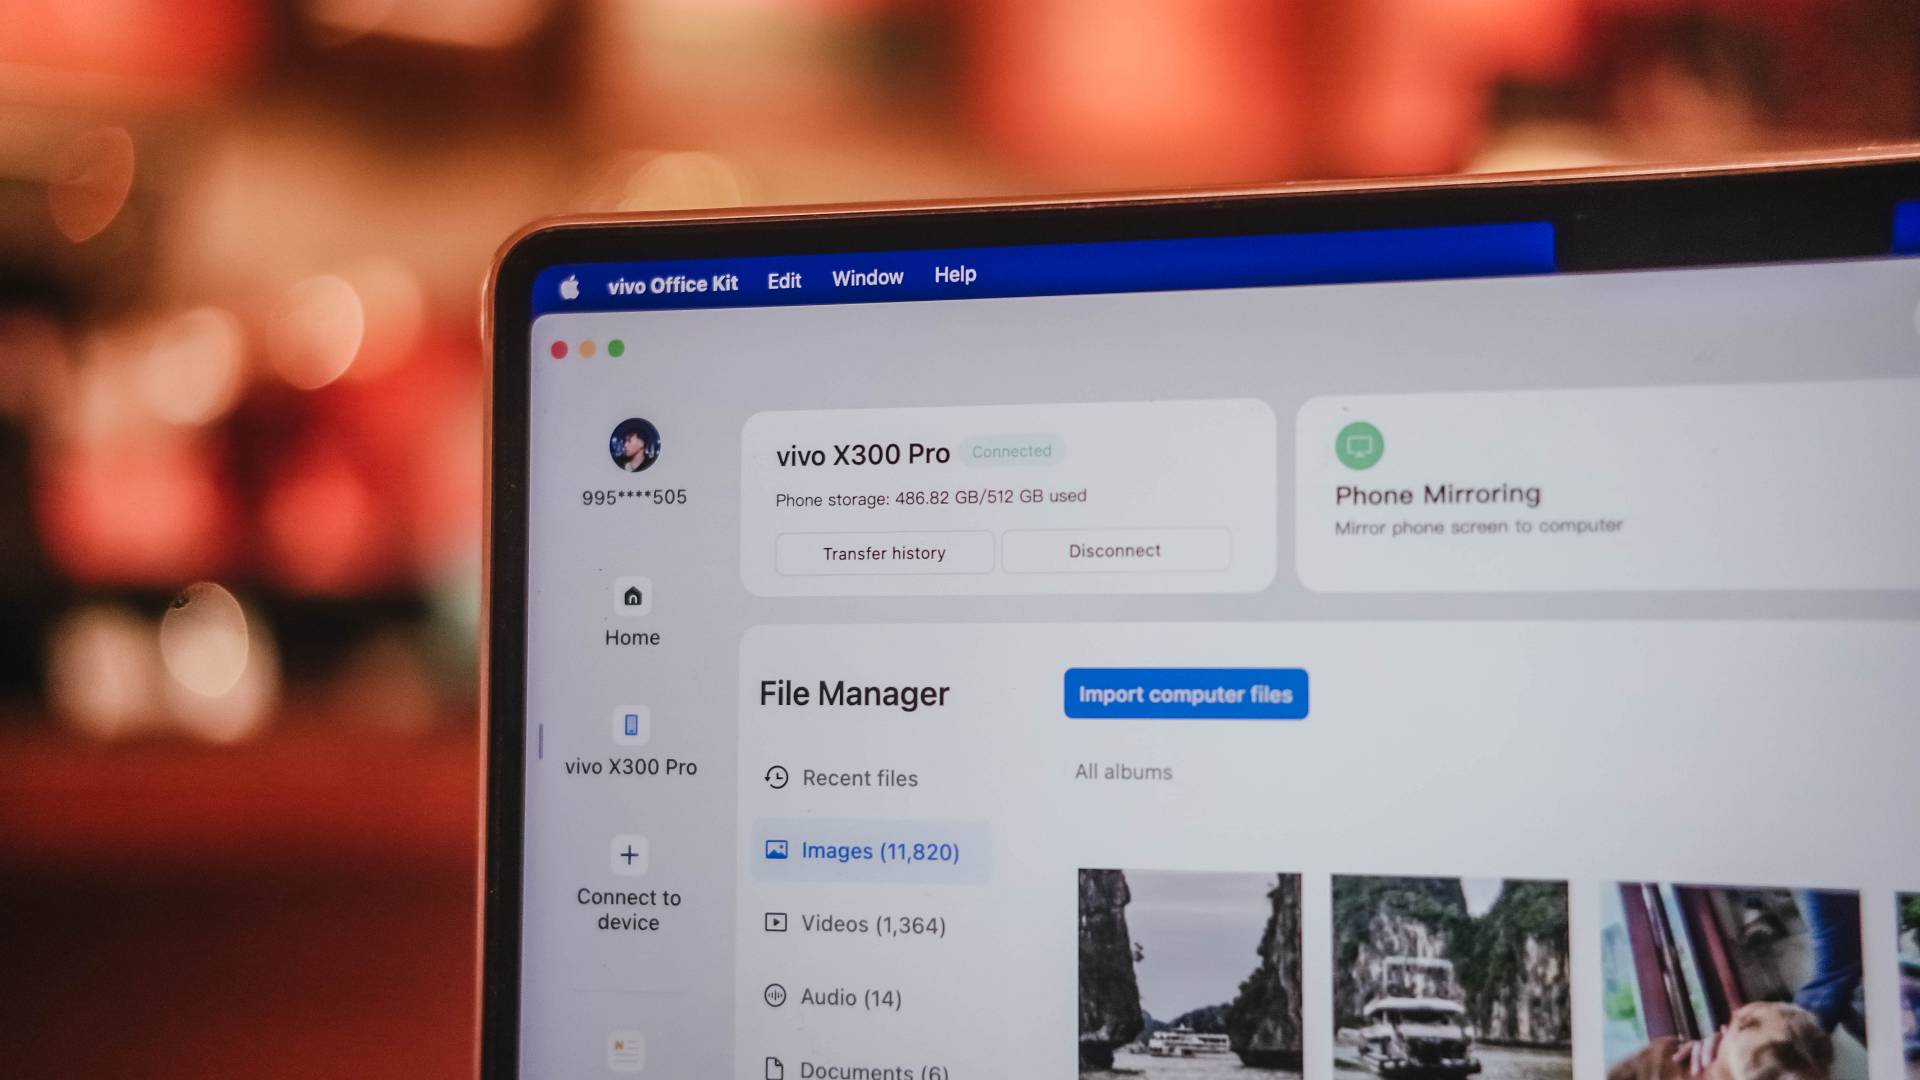
Not only I can wirelessly transfer photos and videos, I can also receive notifications and even access Notes stored in my X300 Pro. Even when you take a freshly-captured photo, it will simply prompt you so you can easily share it.
Although you can remotely control your MacBook through the screen of the X300 Pro, that screen size simply won’t make the cut. This feature works best with a foldable or a tablet.
But hey, it’s still useful if you’re out and about and your higher-ups needed that document stored on your MacBook.

Given that nothing beats the cross-platform compatibility between iOS and macOS, it’s still a huge leap forward to be able to connect the vivo X300 Pro to an Apple device.
Lastly, OriginOS also has a new Private Space feature. It serves as a separate space from your main screen with apps and accounts that are totally unrelated to the one you’re mainly using.

This enables users to keep confidential files and information from prying eyes. I just hope users will use this feature into good use 👀.
More than enough — not when you X-haust it
On paper, the battery of the vivo X300 Pro gets a battery boost from 6000mAh to 6500mAh.
While it doesn’t beat the hell out of the 7500mAh capacity of the Xiaomi 17 Pro Max, an increase is still an increase.
Using it moderately or ever so lightly, the vivo X300 Pro can last a full day (or even two) with staggering hours of standby time and plenty left in the tank.
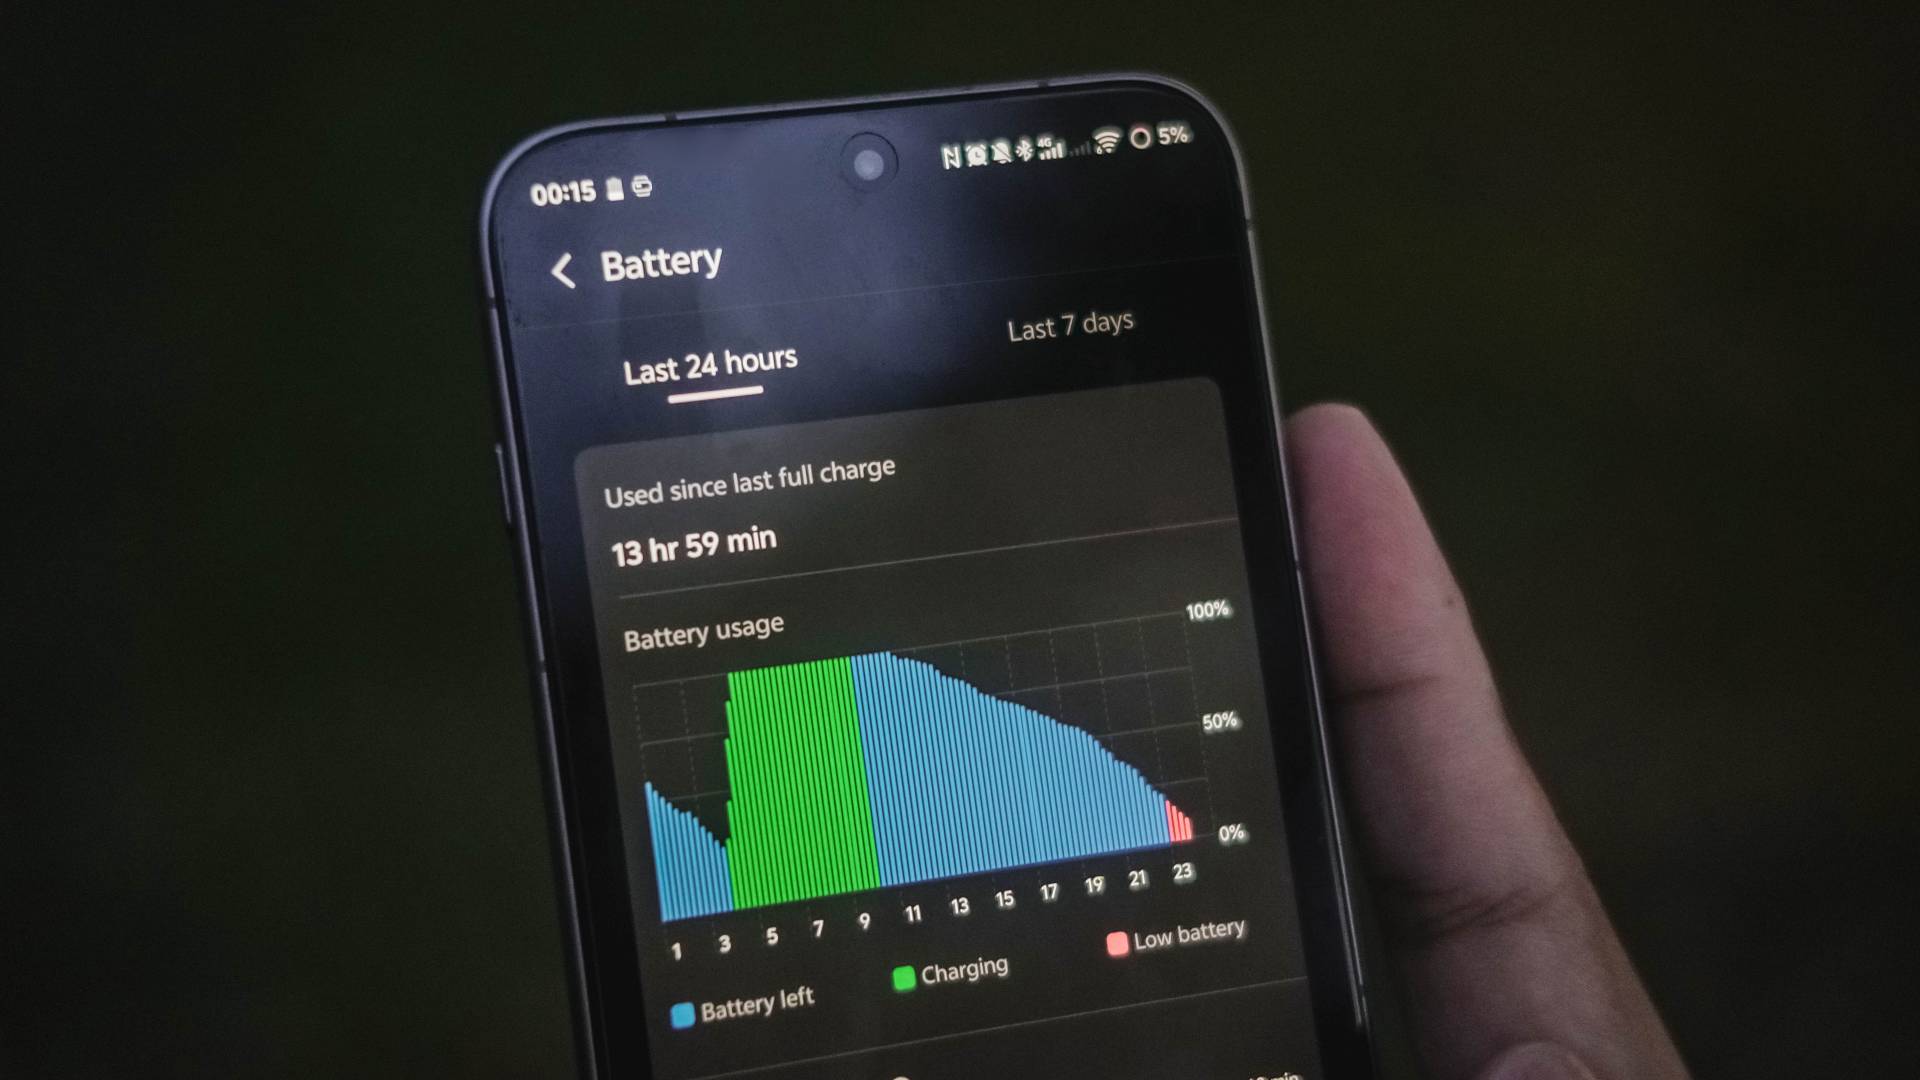
Admittedly, I’ve used the cameras more than I expected during my two-week Vietnam getaway.
From shooting plethora of photos and barrage of vertical clips for Instagram Stories and possible use for Reels, the X300 Pro hogs that battery juice a lot.
I’ve even experienced some overheating in the long run. But, not to the point where the camera will shut off, as I was able to still shoot and record without ever halting.

That said, 90W FlashCharge is here to save the day. This time though, vivo has added a “FlashCharge High Speed” mode when using its bundled charger.
| FlashCharge High Speed | FlashCharge Regular | |
| START TIME (From 0%) | 12:14PM | 1:59PM |
| 3 minutes | 3% | 1% |
| 5 minutes | 6% | 3% |
| 10 minutes | 15% | 10% |
| 15 minutes | 23% | 18% |
| 20 minutes | 29% | 24% |
| 30 minutes | 50% | 38% |
| 40 minutes | 66% | 51% |
| 45 minutes | 75% | 57% |
| 50 minutes | 82% | 63% |
| 1 hour | 96% | 71% |
| 1 hour 10 minutes | – | 85% |
| 1 hour 15 minutes | – | 99% |
| END TIME | 1:17PM 1 hour 3 minutes |
3:15PM 1 hour 16 minutes |
Using non-vivo chargers and cables that are USB-C PD and/or PPS compliant will still top-up the phone fast — just with regular FlashCharge speeds.
While I haven’t tested wireless charging (which is my least favorite mode of charging), it’s worthy to point out that it was improved to 40W (from the conventional 30W).
Although the vivo X300 Pro has faster speeds than Qi2 or Qi2.2, it still doesn’t implement built-in magnets like the HMD Skyline or Pixel 10 series with Pixelsnap.
Don’t get me wrong. Support for magnetic wireless charging plus MagSafe accessories will still be possible. Only if you buy third-party cases with magnets on it.
Is the vivo X300 Pro your GadgetMatch?
It seems like 2025 has already reached the pinnacle of smartphones: superior camera system, gargantuan battery capacities with long-lasting endurance, faster than ever performance, displays and speakers that truly satisfy one’s audiovisual cravings.

The vivo X300 Pro is a great embodiment of that. Not only you get the best in class cameras, the smartphone itself is just a refined version of a smartphone that was already superior to begin with.
And if you’d ask me, the asking price of EUR 1099 / MYR 4699 / PhP 77,999 is more than justified — unlike how some brands aggressively slap overpriced tags on their barely flagship offerings 🙄
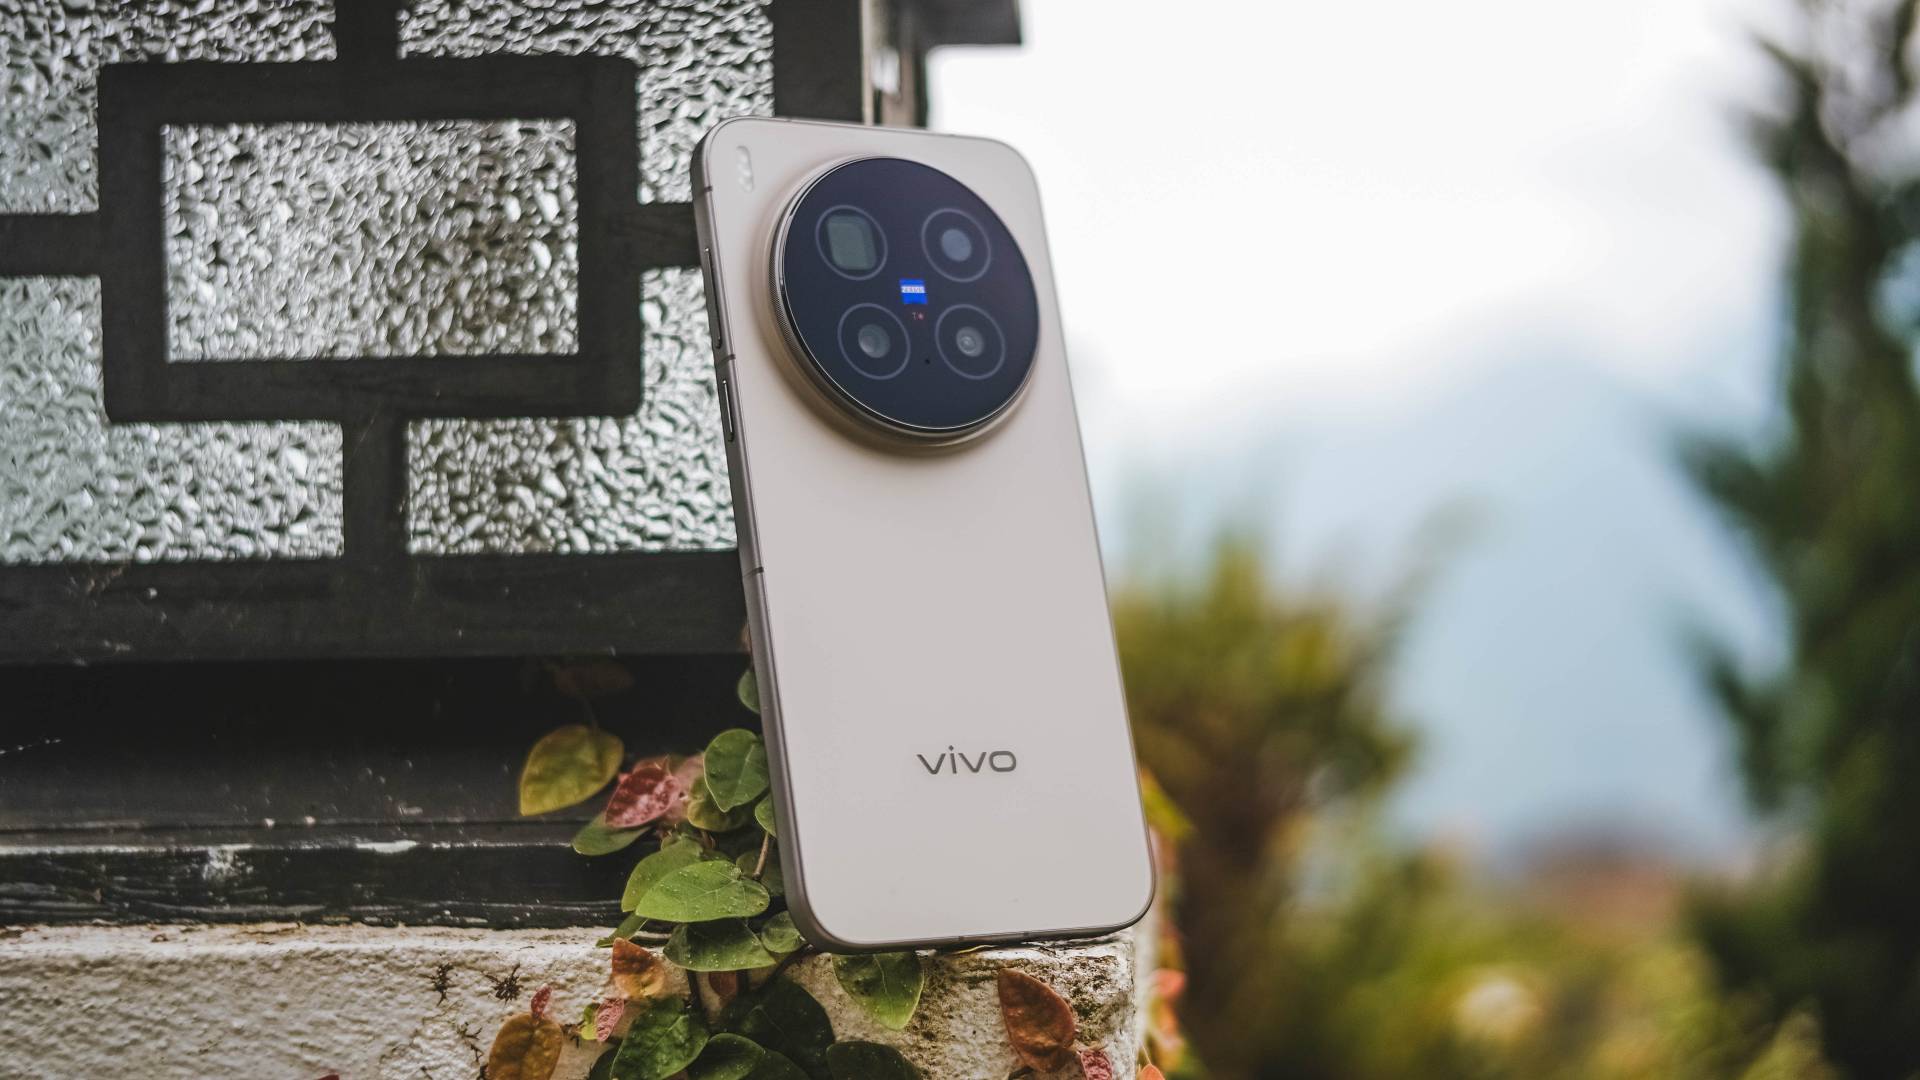
I just hope they consider bringing in a larger 1TB configuration (or maybe even 2TB) in the next lineup — especially for storage-hungry multimedia creatives like me who’s expected to shoot a lot of stills and clips in the foreseeable future.
All sentiments aside and without an ounce of doubt, the vivo X300 Pro is both a Swipe Right and a Super Swipe.
And, just like its older sibling, it also rightfully deserves the GadgetMatch Seal of Approval.



Gaming
HP OMEN Max 16 review: Gamer-maxxing in deep black
Peripherals deemed necessary to max this out

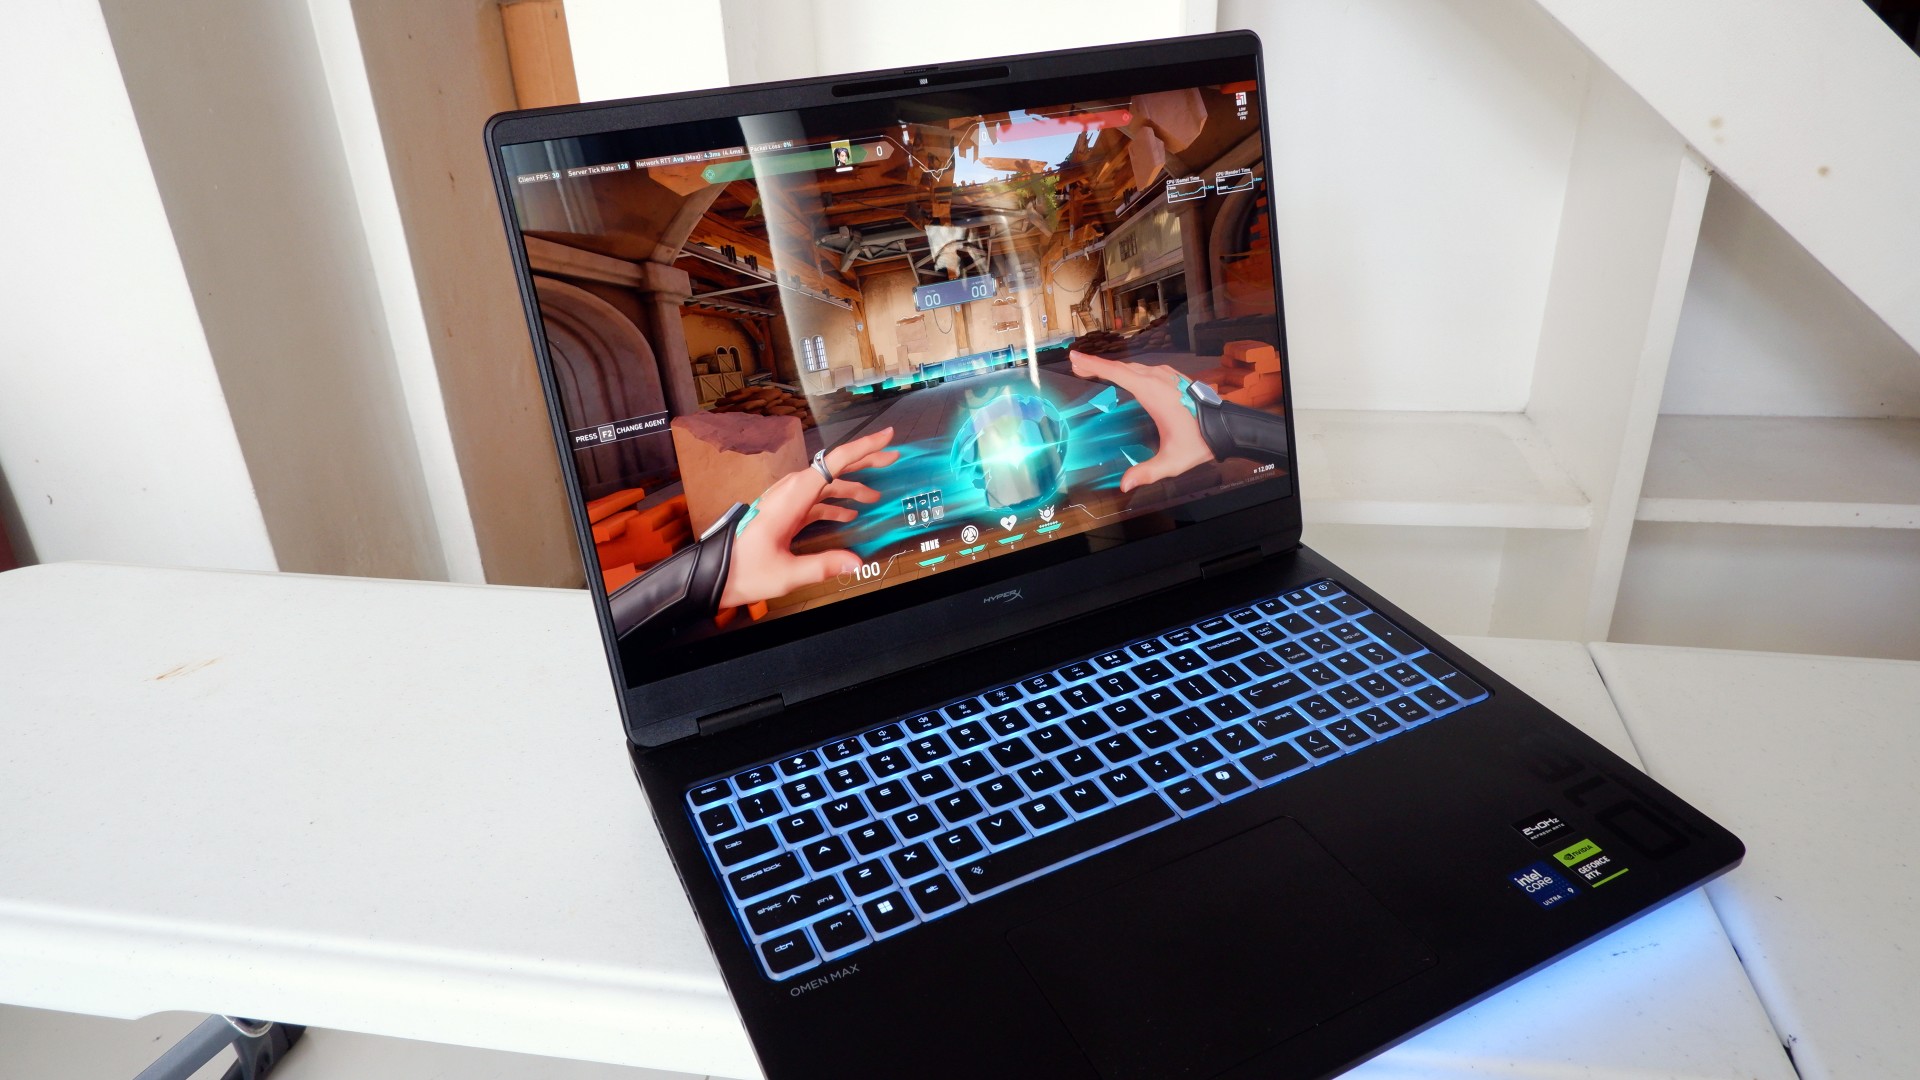
It’s not every day that you come across a machine that looks good and plays even better. Oftentimes, subtle aesthetics take a back seat to sheer performance and power. Whenever a gaming machine looks sleeker, it seems to lack the power to push it forward. Simply put, you can’t have the best of both worlds these days.
But what if you could have it all? Not just money, fame, and other fortunes, but also a machine with everything you’re looking for! Gone are the days of wanting only power to keep you playing all day or wanting to look good while playing. On paper, this is what the HP OMEN Max 16 promises: the best of both worlds.
Unboxing a beast inside
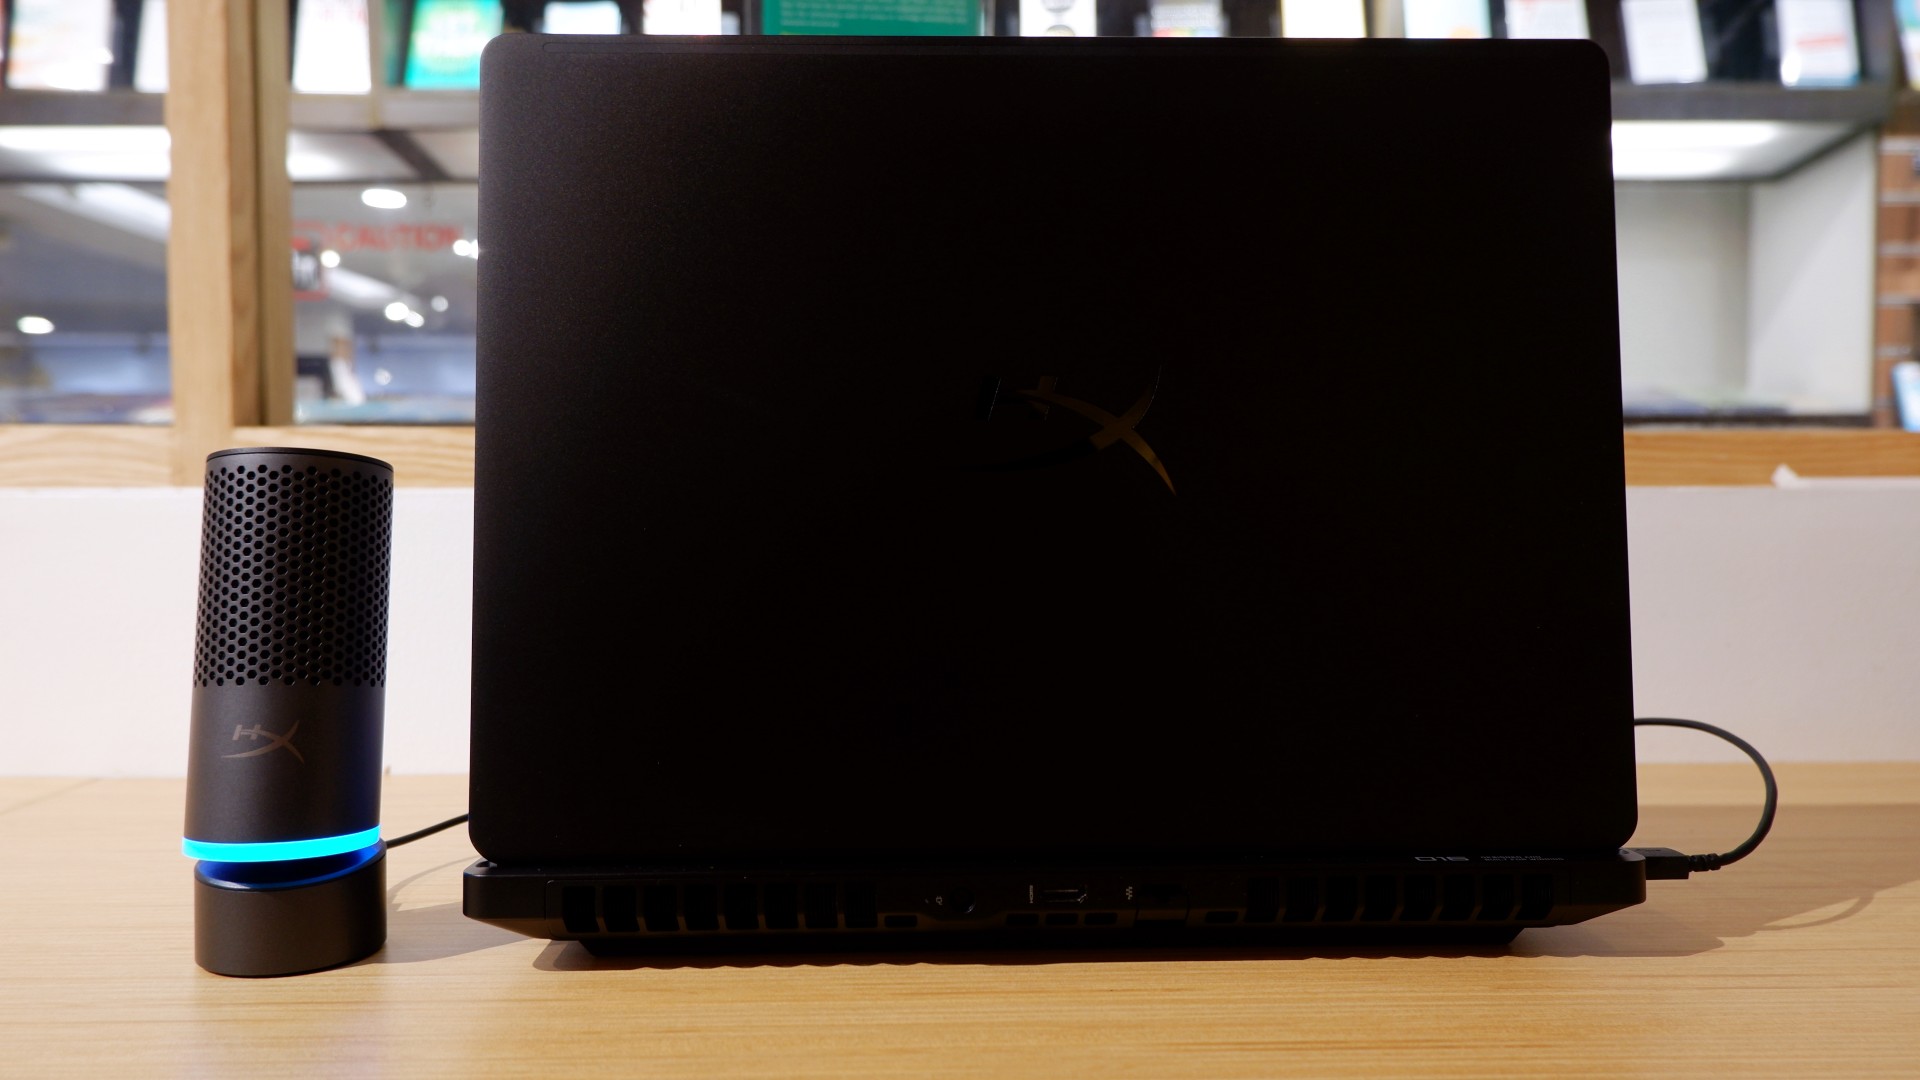
When you first take it out of the box, the HP OMEN Max 16 looks unassuming in its overall design. It’s bulky yet sleek in its Shadow Black colorway, with nothing too fancy or flashy while powered down. From the outside, the machine screams premium, even though its dark color can attract more visible dirt than lighter finishes.

Opening it up reveals a 16-inch OLED display with a peak refresh rate of 240Hz, seamlessly connected to a base with a full-sized keyboard and a large trackpad. The bright, seemingly anti-glare display makes colors pop when watching or editing videos on the go.

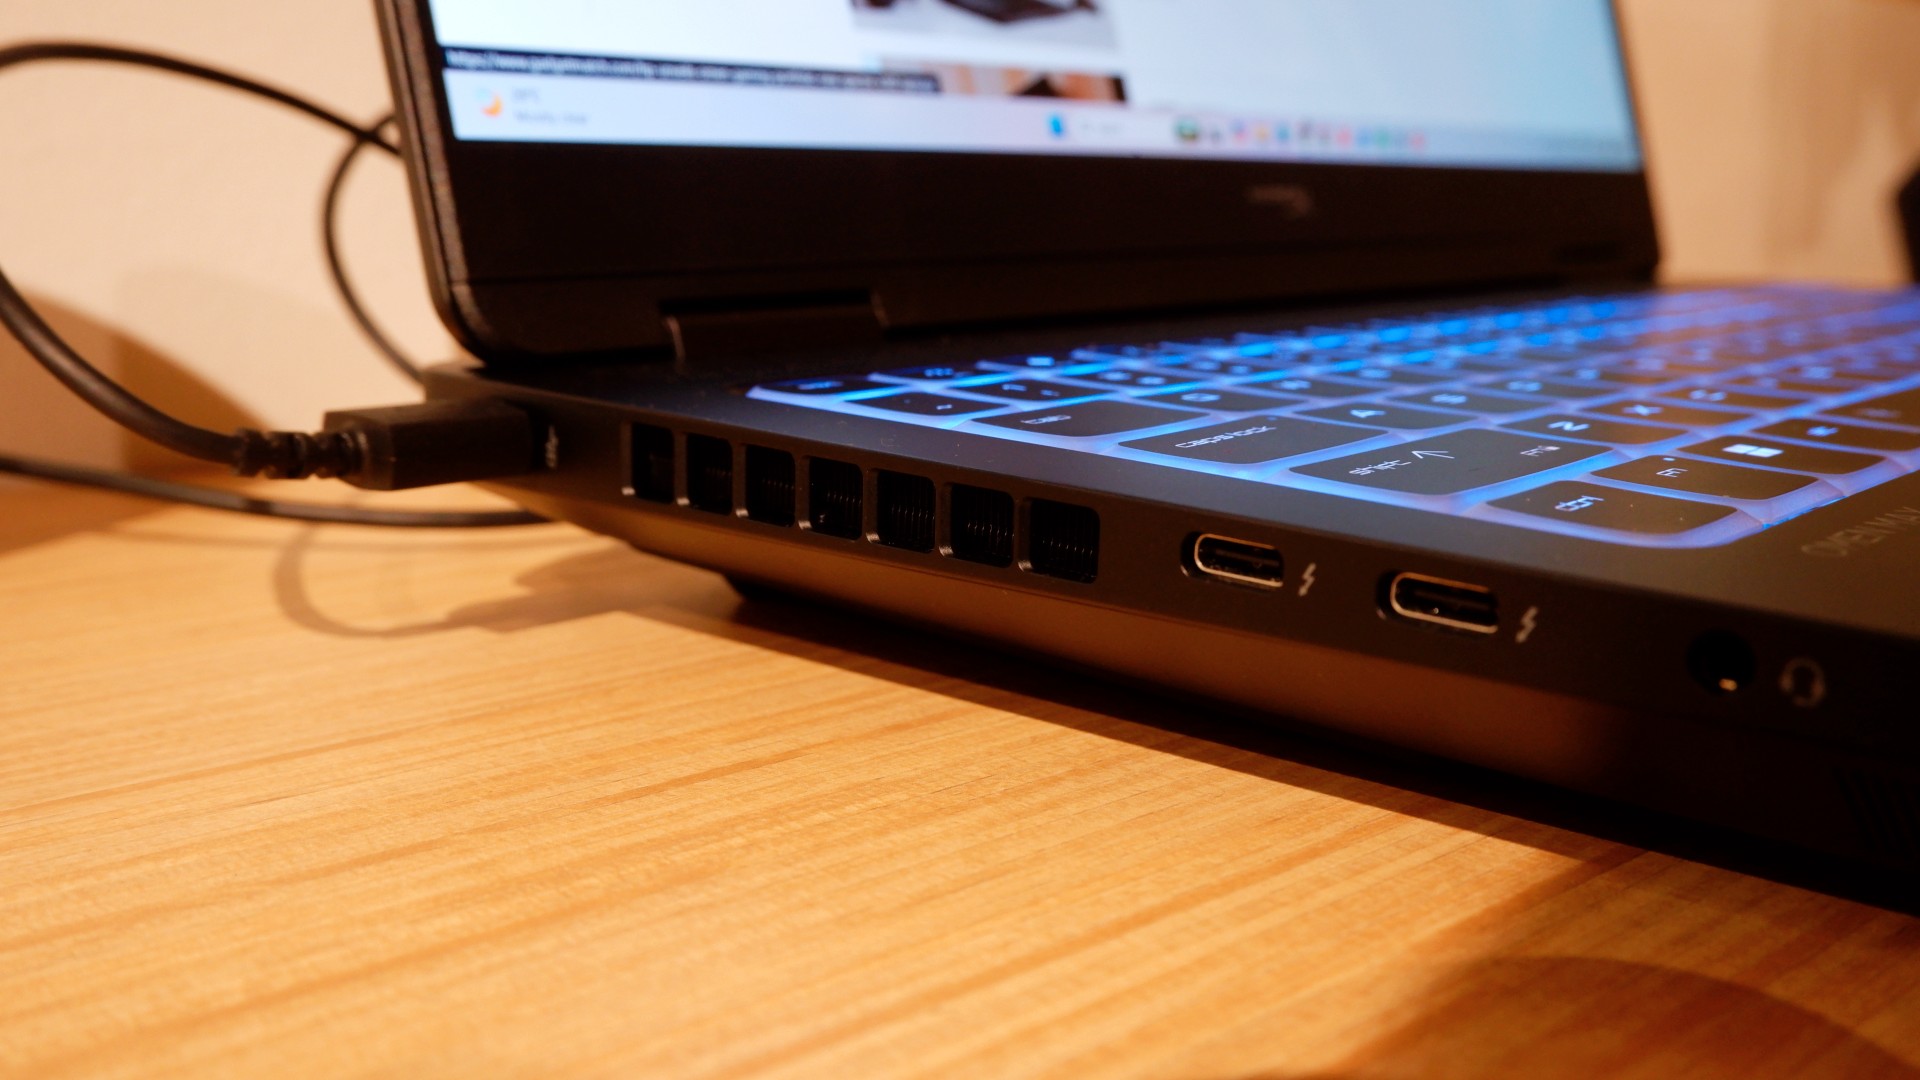
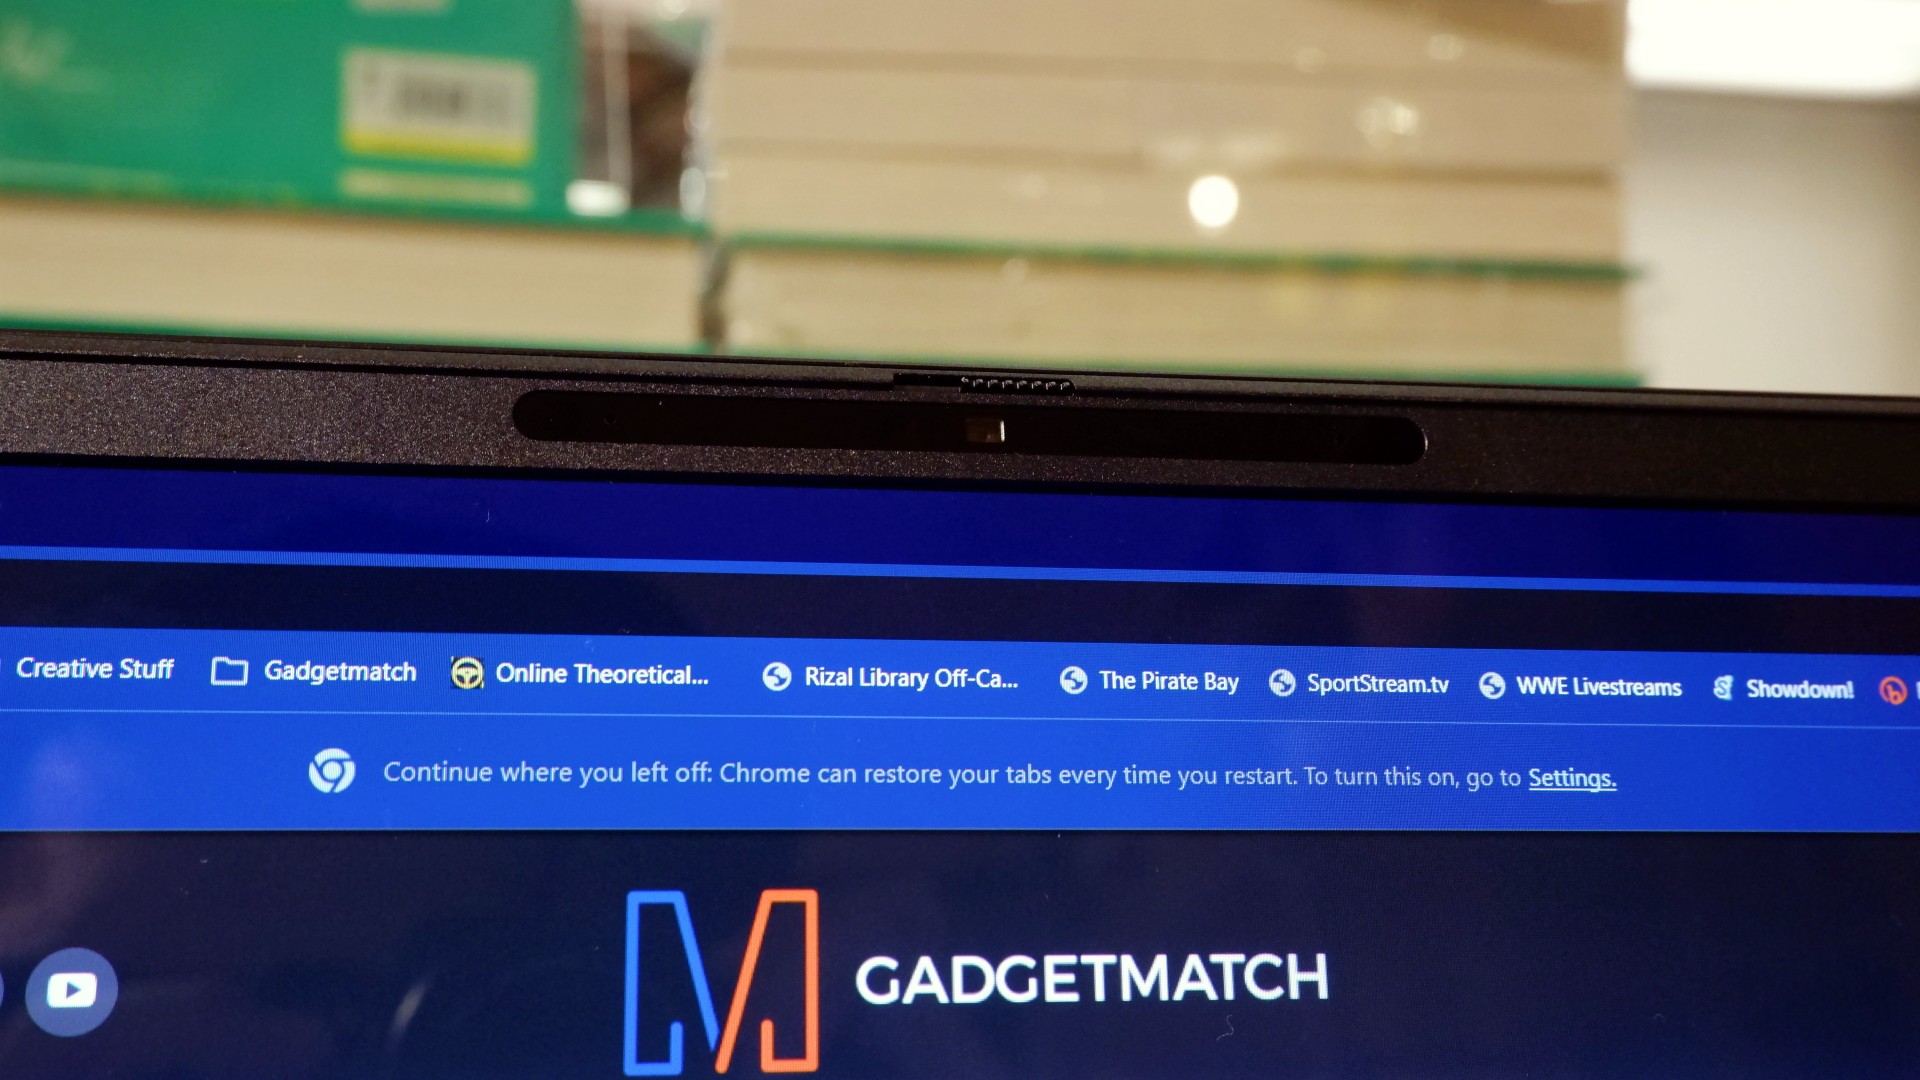
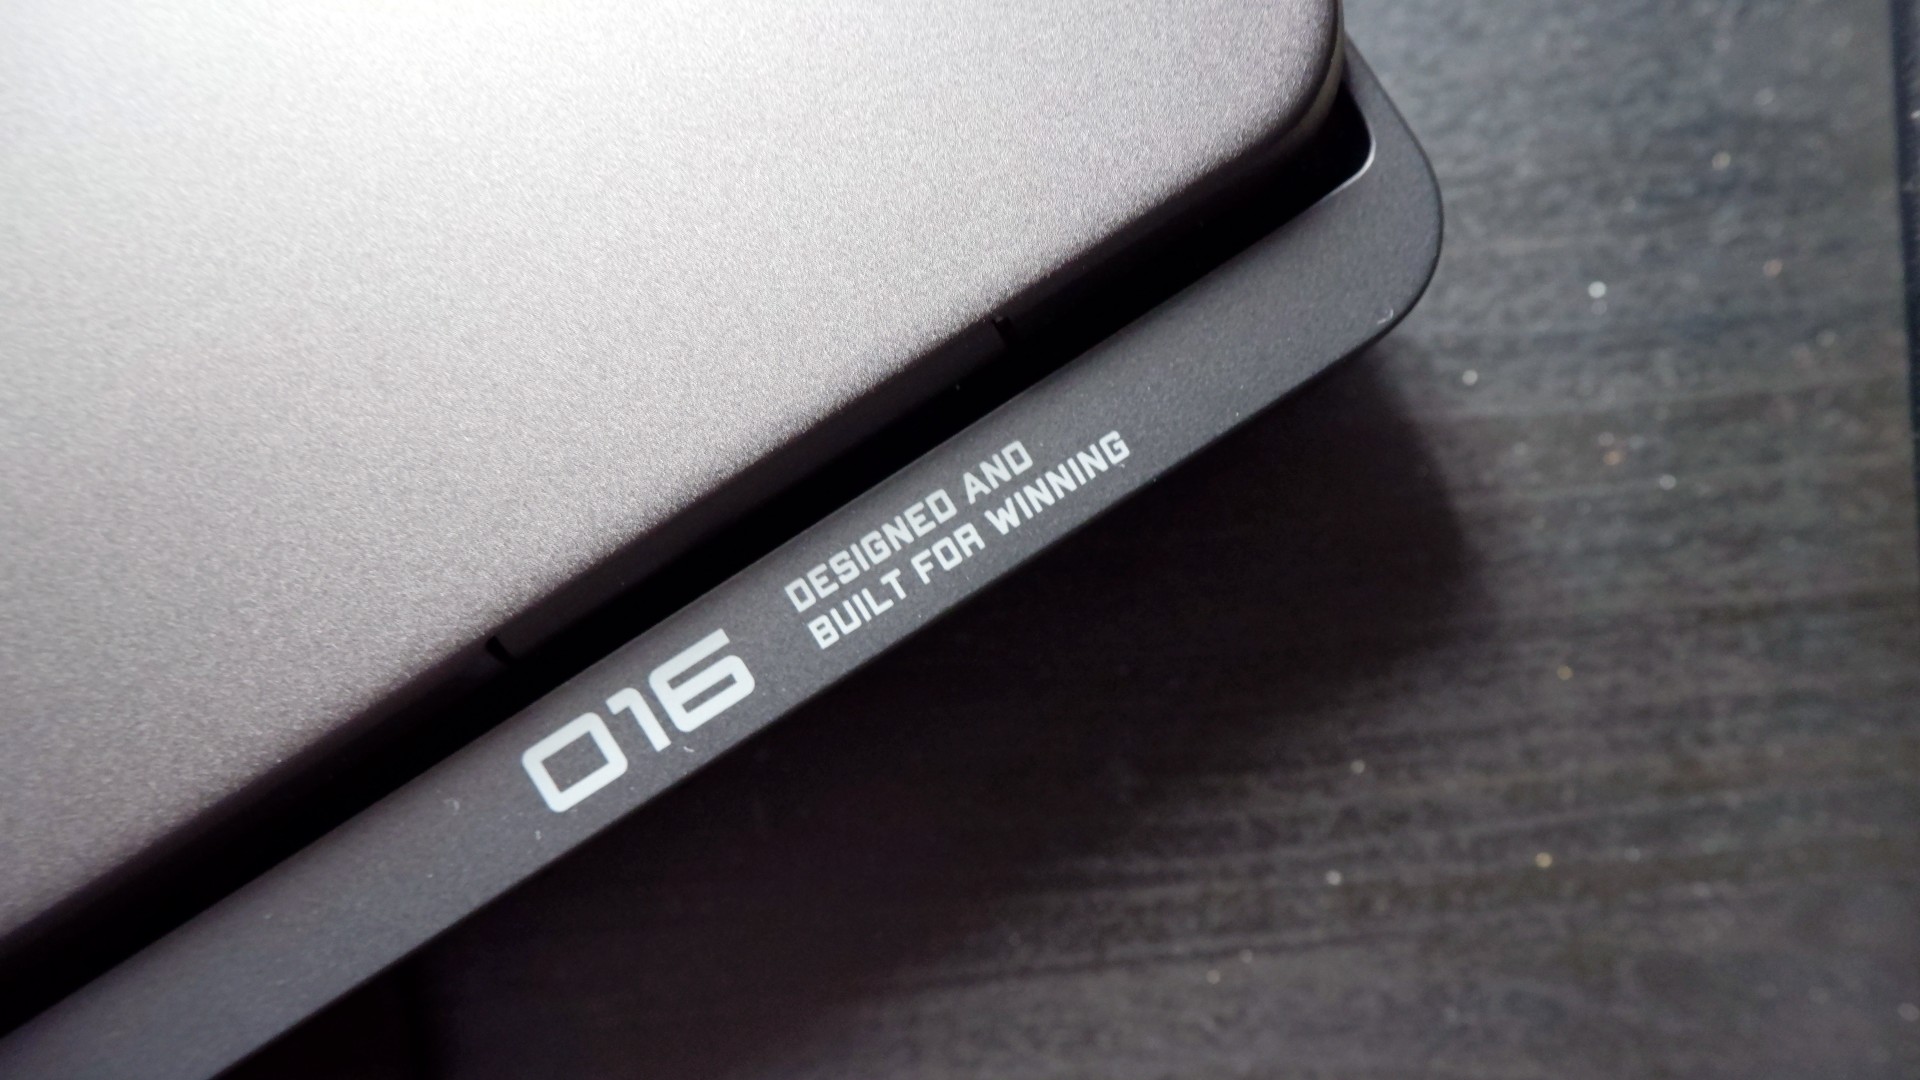
Furthermore, HP places the ports in convenient spots along the rear and sides of the laptop. This makes it incredibly easy to set up and manage external peripherals while providing more room for ventilation under heavy loads.
Of course, the device’s biggest features lie in the hardware powering it from within. An Intel Core Ultra 9 processor, 32GB of RAM, and an NVIDIA RTX 5090 Laptop GPU should give you an idea of how well this machine can perform. It’s also a great combination for demanding productivity tasks and creative work!
Power that AI can only hope to replicate
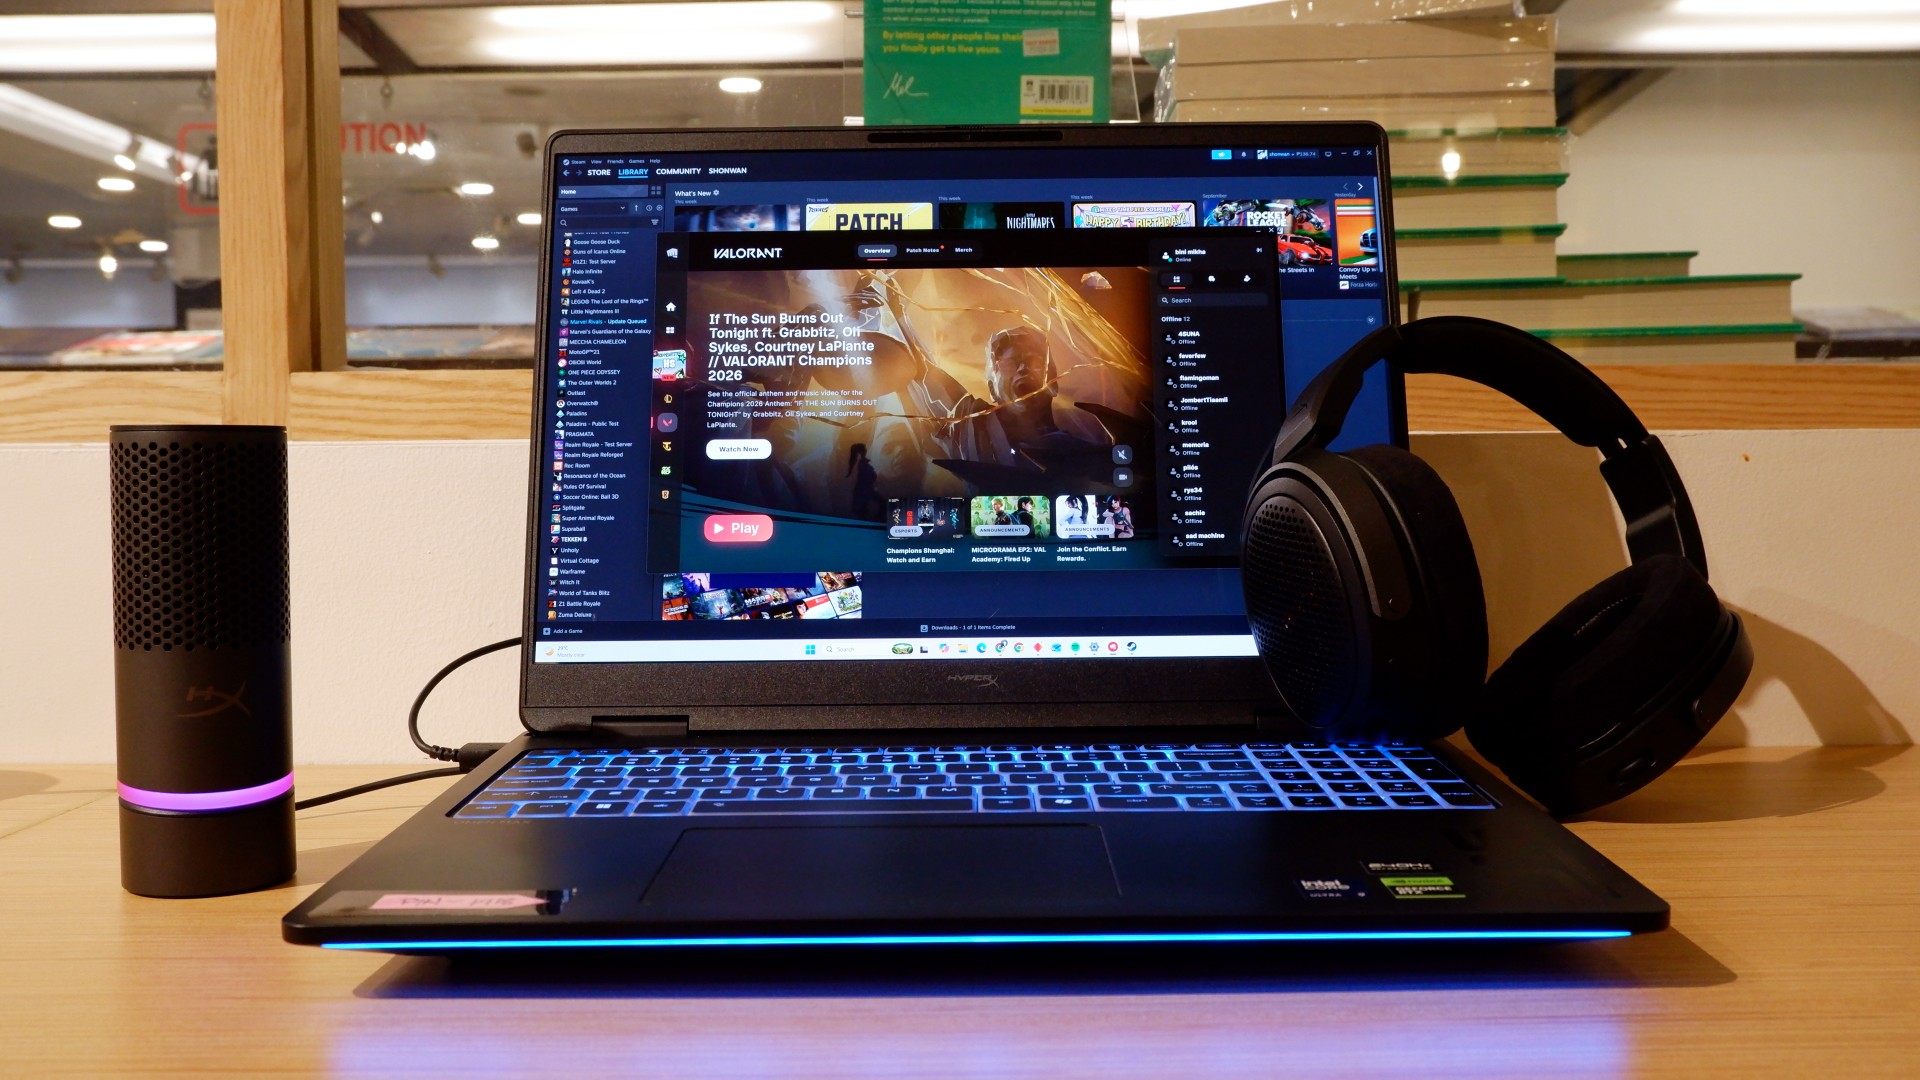
The HP OMEN Max 16 lived up to many of our expectations in terms of performance. From startup to shutdown, it delivered on what its hardware promised. You can watch videos for longer, edit photos and videos to your heart’s content, and enjoy casual gaming without slowing down. Furthermore, the wide display gives you plenty of space to accommodate all these activities.

When you step up to more competitive gaming, the machine doesn’t miss a beat. Most titles deliver high frame rates regardless of the quality or performance settings you choose. With more advanced visual settings enabled, the RTX 5090 does a fantastic job of keeping supported games within a solid 40–50 FPS range. Pair it with a high-refresh-rate OLED display, and you get crisp details and faster input response to help you get ahead in ranked games all day long.
If there’s one thing to complain about, it’s the extra optimization required through the OMEN Gaming Hub. Features such as network prioritization, automatic power-mode switching, and system optimization are useful, but you’ll need to spend time configuring them during initial setup. The laptop also comes with OMEN AI, which promises to maximize FPS with a single click. However, it was only okay at best.
Runs longer, cools off smoother
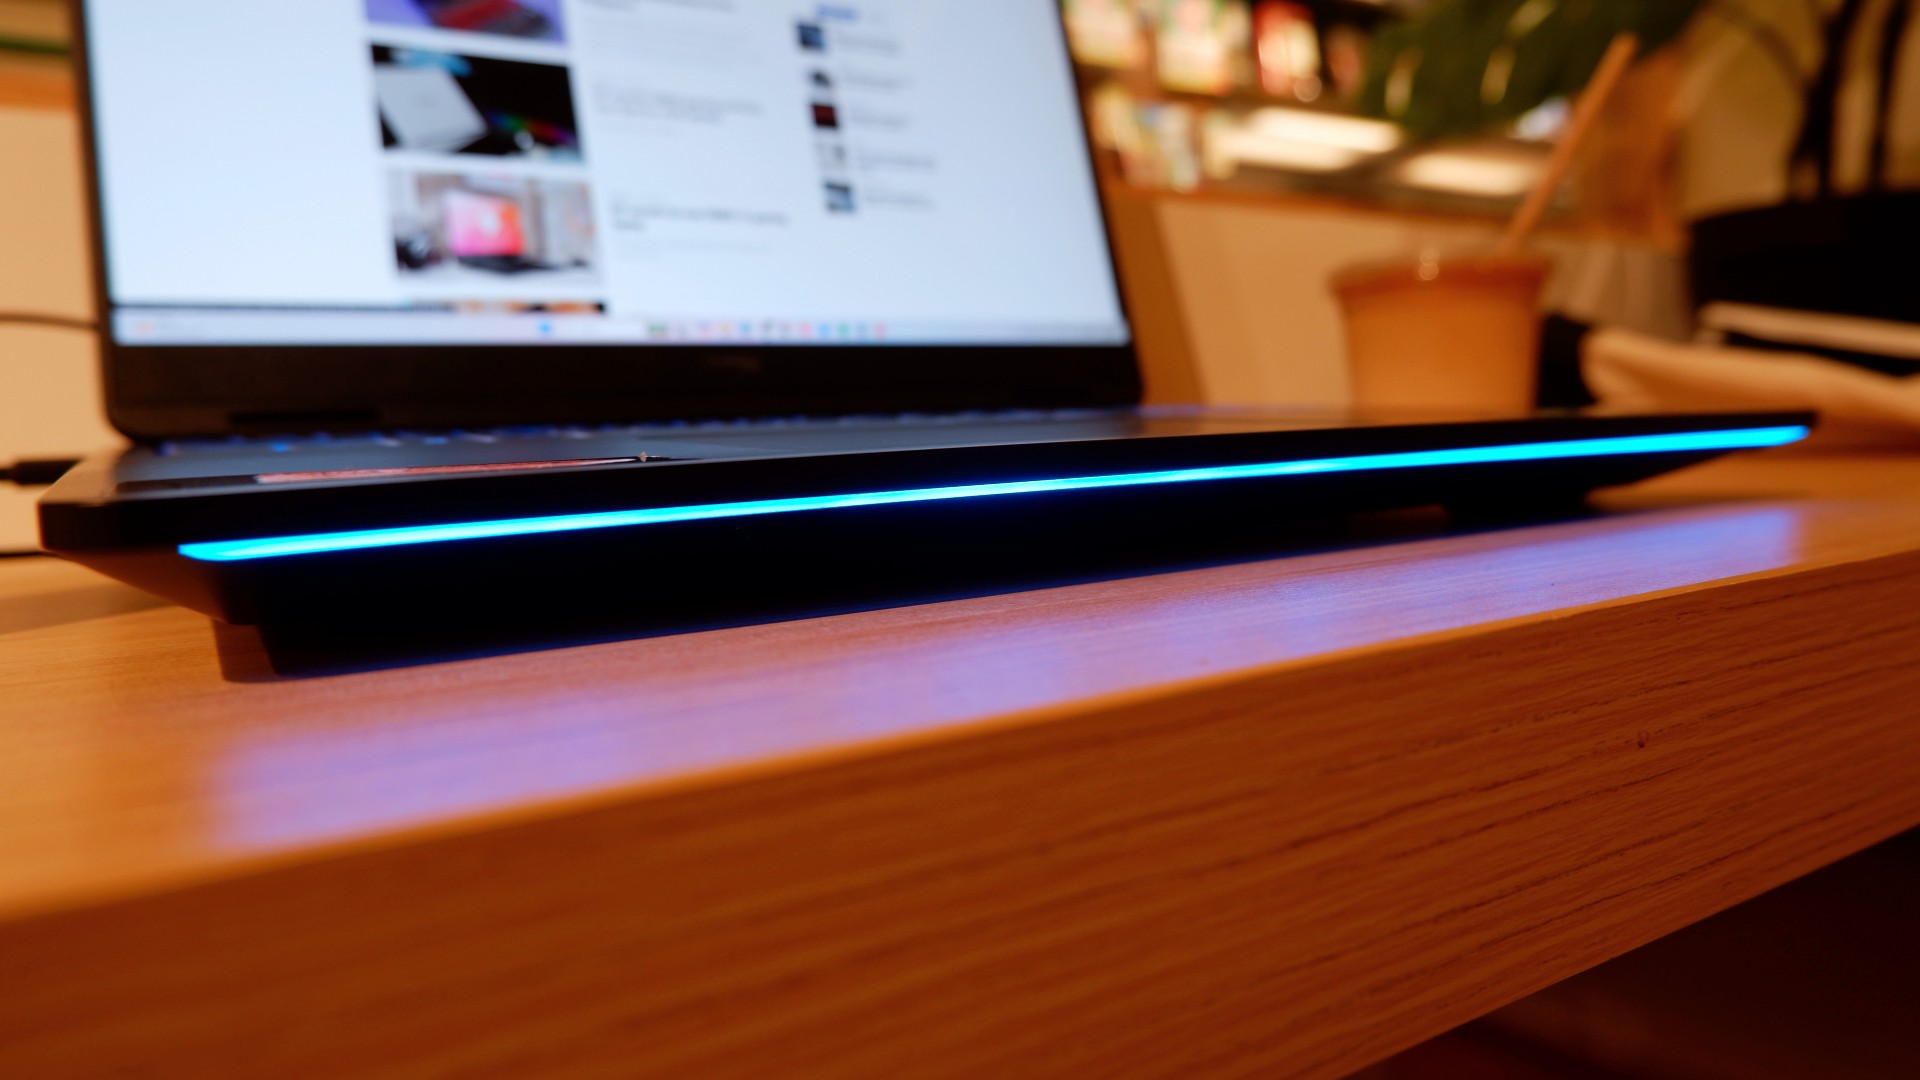
Surely, a gaming laptop this bulky and powerful can’t last that long on battery, right? Well, the HP OMEN Max 16 averages around three hours of battery life during intensive gaming, which gives you a decent amount of playing time. For general use, battery life extends to around five and a half hours with Balanced power settings. It holds up reasonably well if you forget to bring your charger.
When you do have the massive 330W charger with you, charging doesn’t take too long either. During our tests, a full charge took two hours, with charging progressing slightly faster when we left the laptop idle. Charging the battery to 50% took around 20 minutes, giving you enough juice to squeeze in another game!
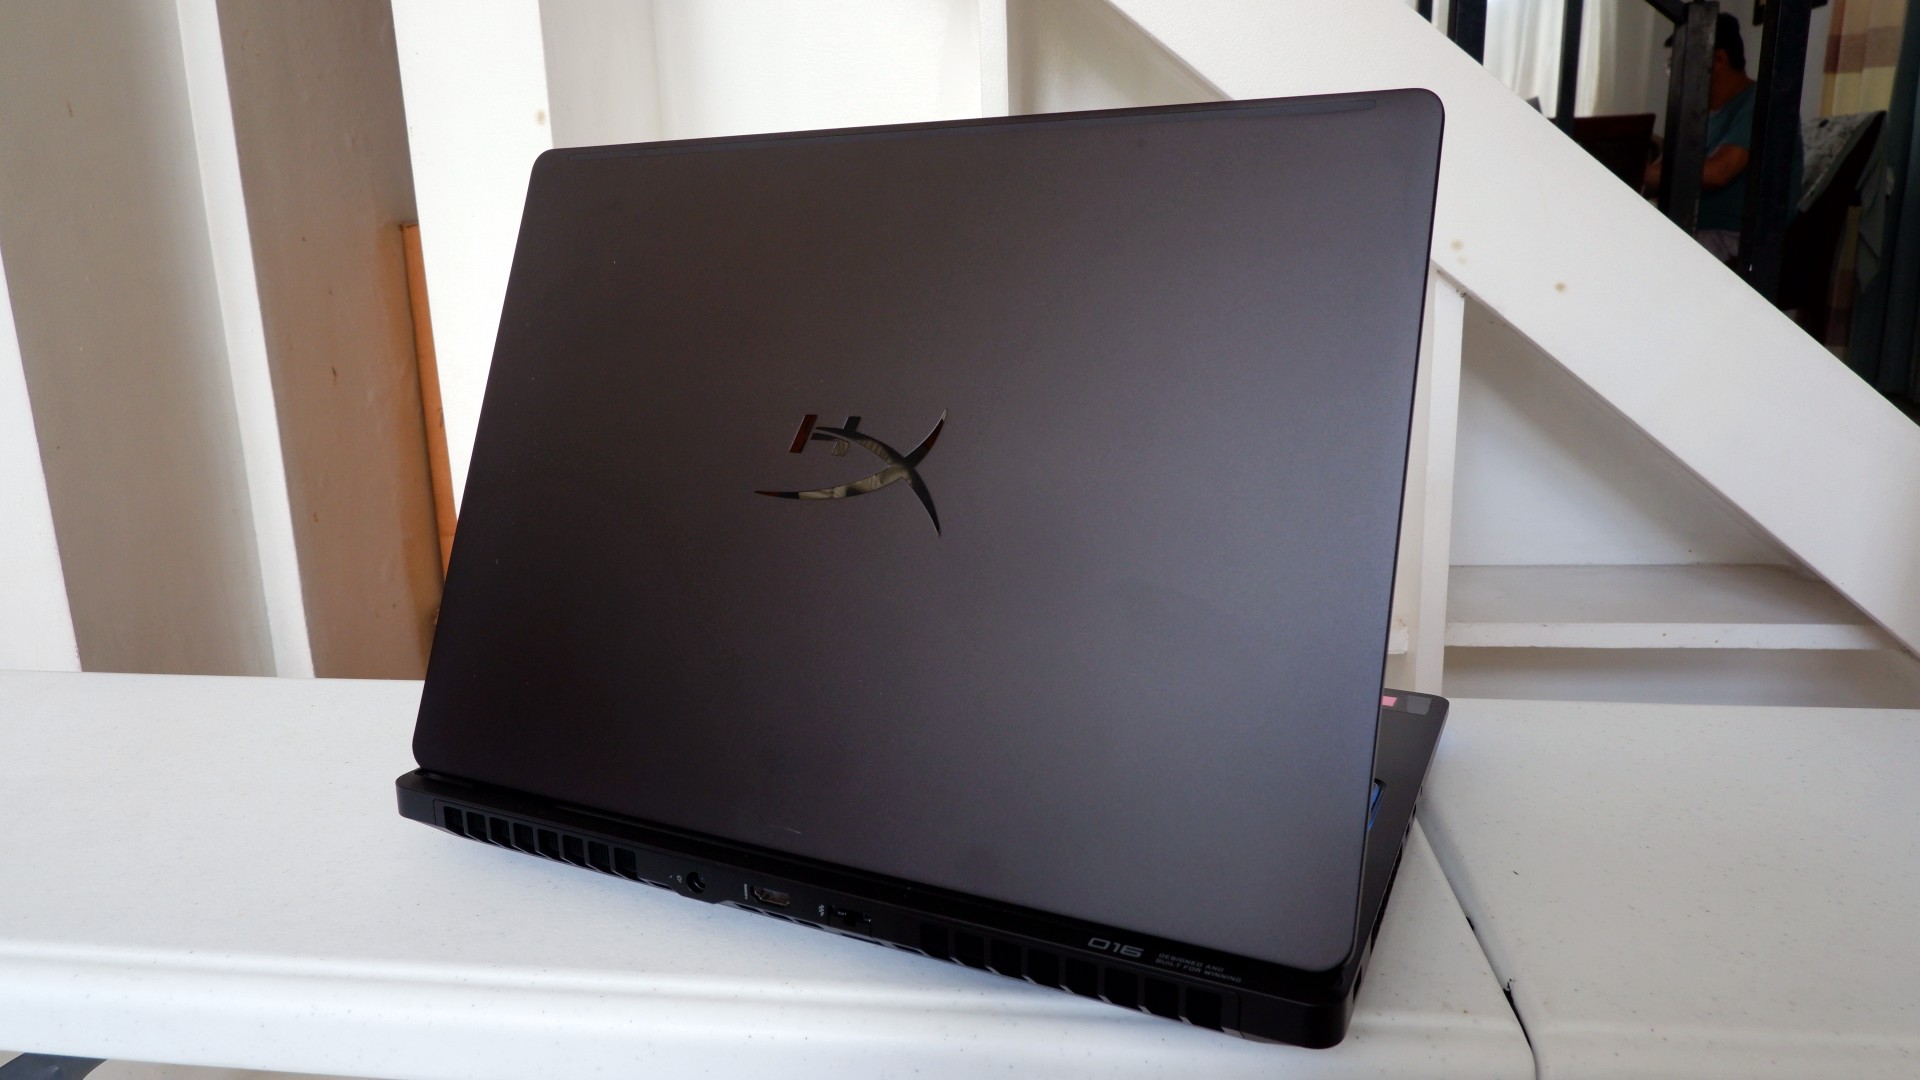
Another factor in prolonged use is how the device expels hot air through its sides and rear. We touched on this earlier, but it bears repeating: the laptop provides plenty of ventilation through its vapor chamber and multiple external vents. Instead of directing heat toward the keyboard, it pushes hot air through the vents, where it can hit your hands or peripherals. At least the keyboard stays cooler, right?
Is this your GadgetMatch?
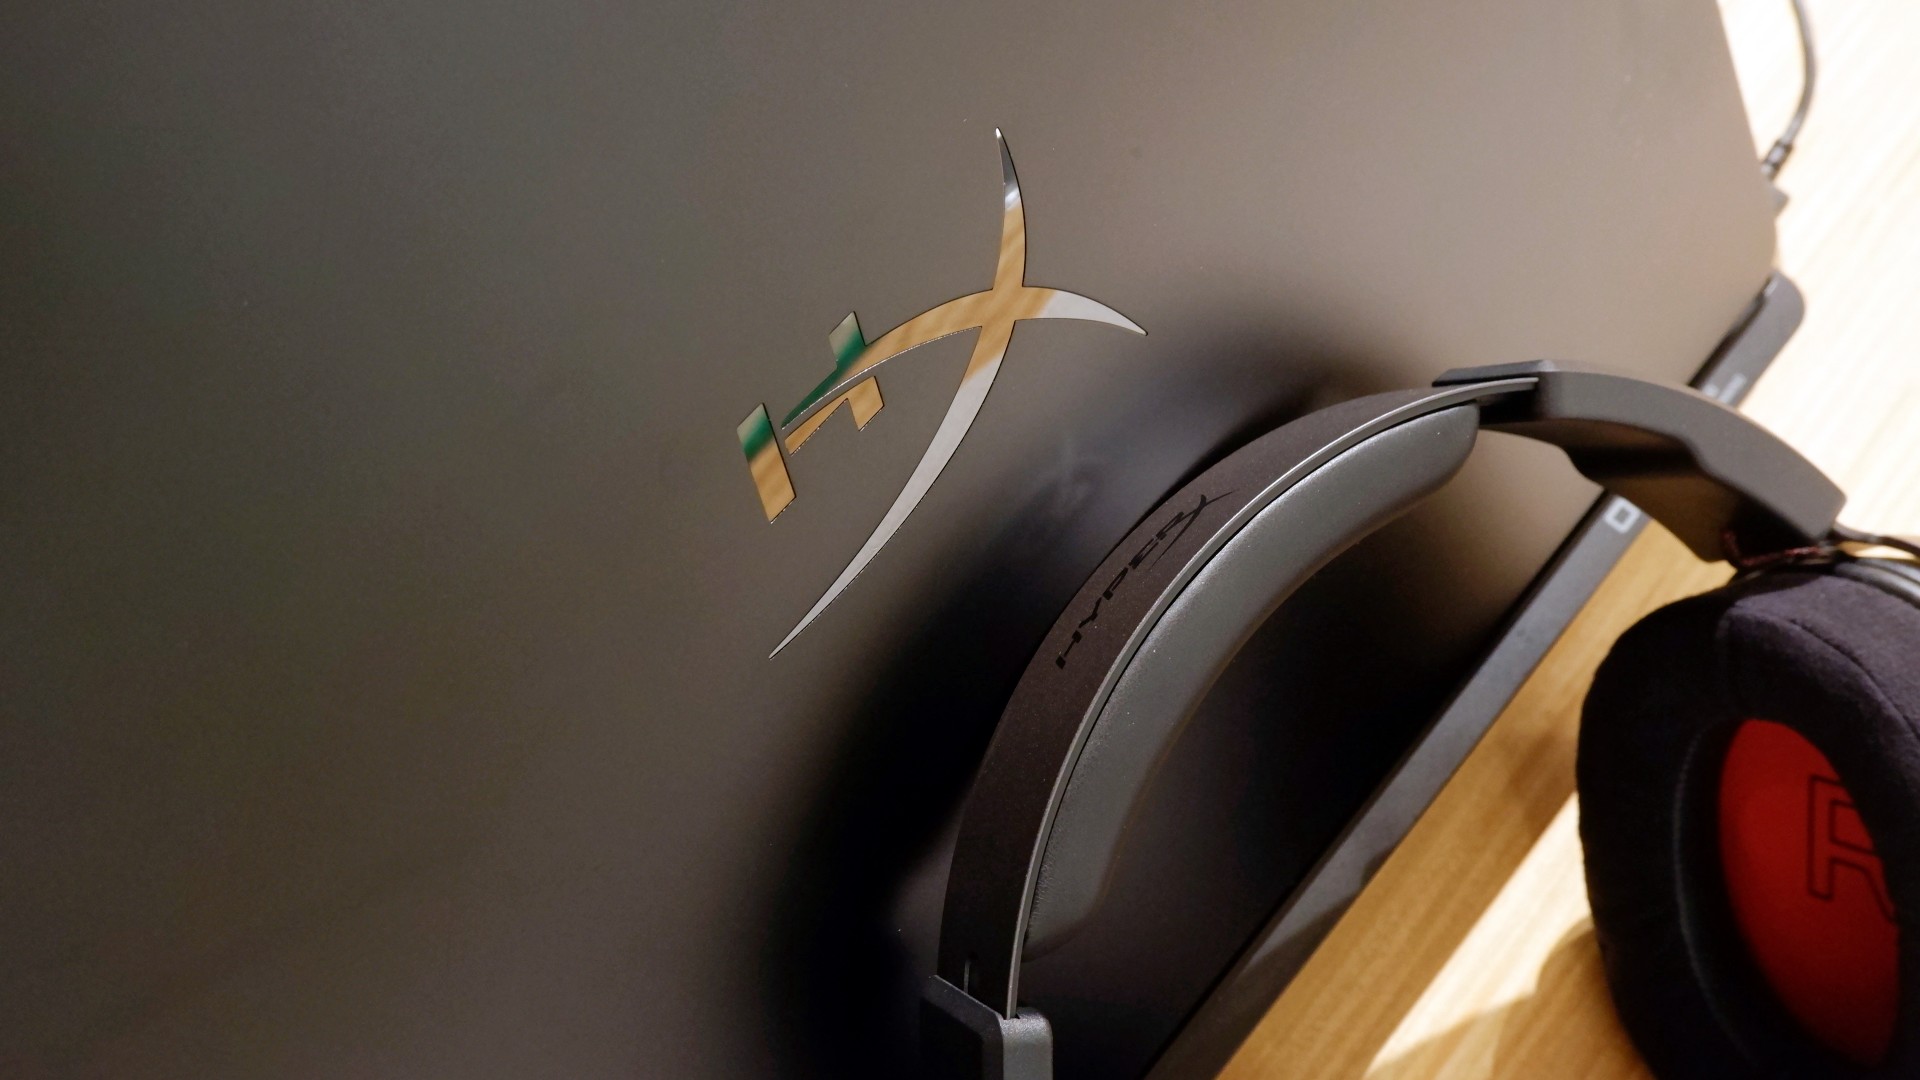
At PHP 229,990, the HP OMEN Max 16 is a sleek-looking machine with incredible power under the hood. Despite its initial bulk, it delivers impressive performance for both casual and competitive gamers. Inside and out, it packs plenty of hardware and features to let you tailor the experience to your needs.
If you’re looking for a gaming laptop with decent battery life, this is a solid choice, but don’t expect it to last half a day. Of course, you wouldn’t use this machine entirely on its own, even if the unboxing experience might suggest otherwise.
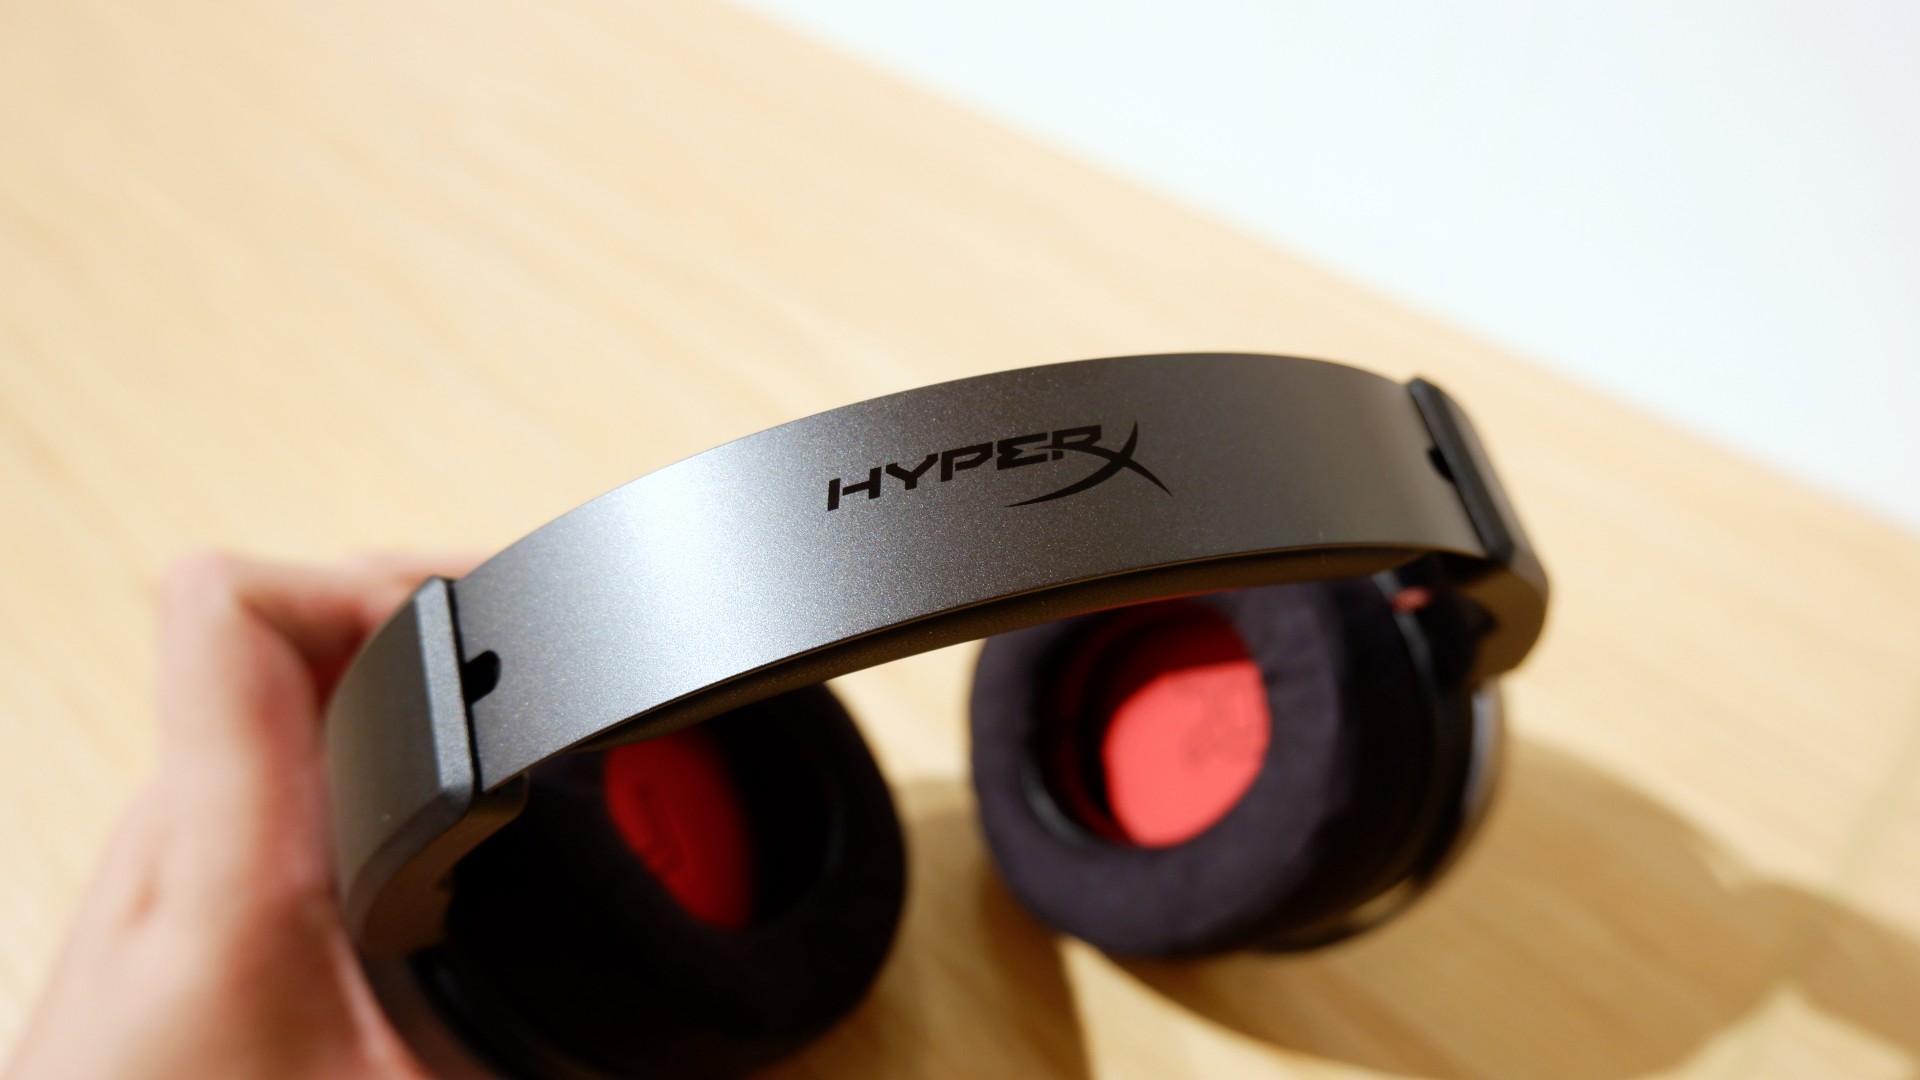
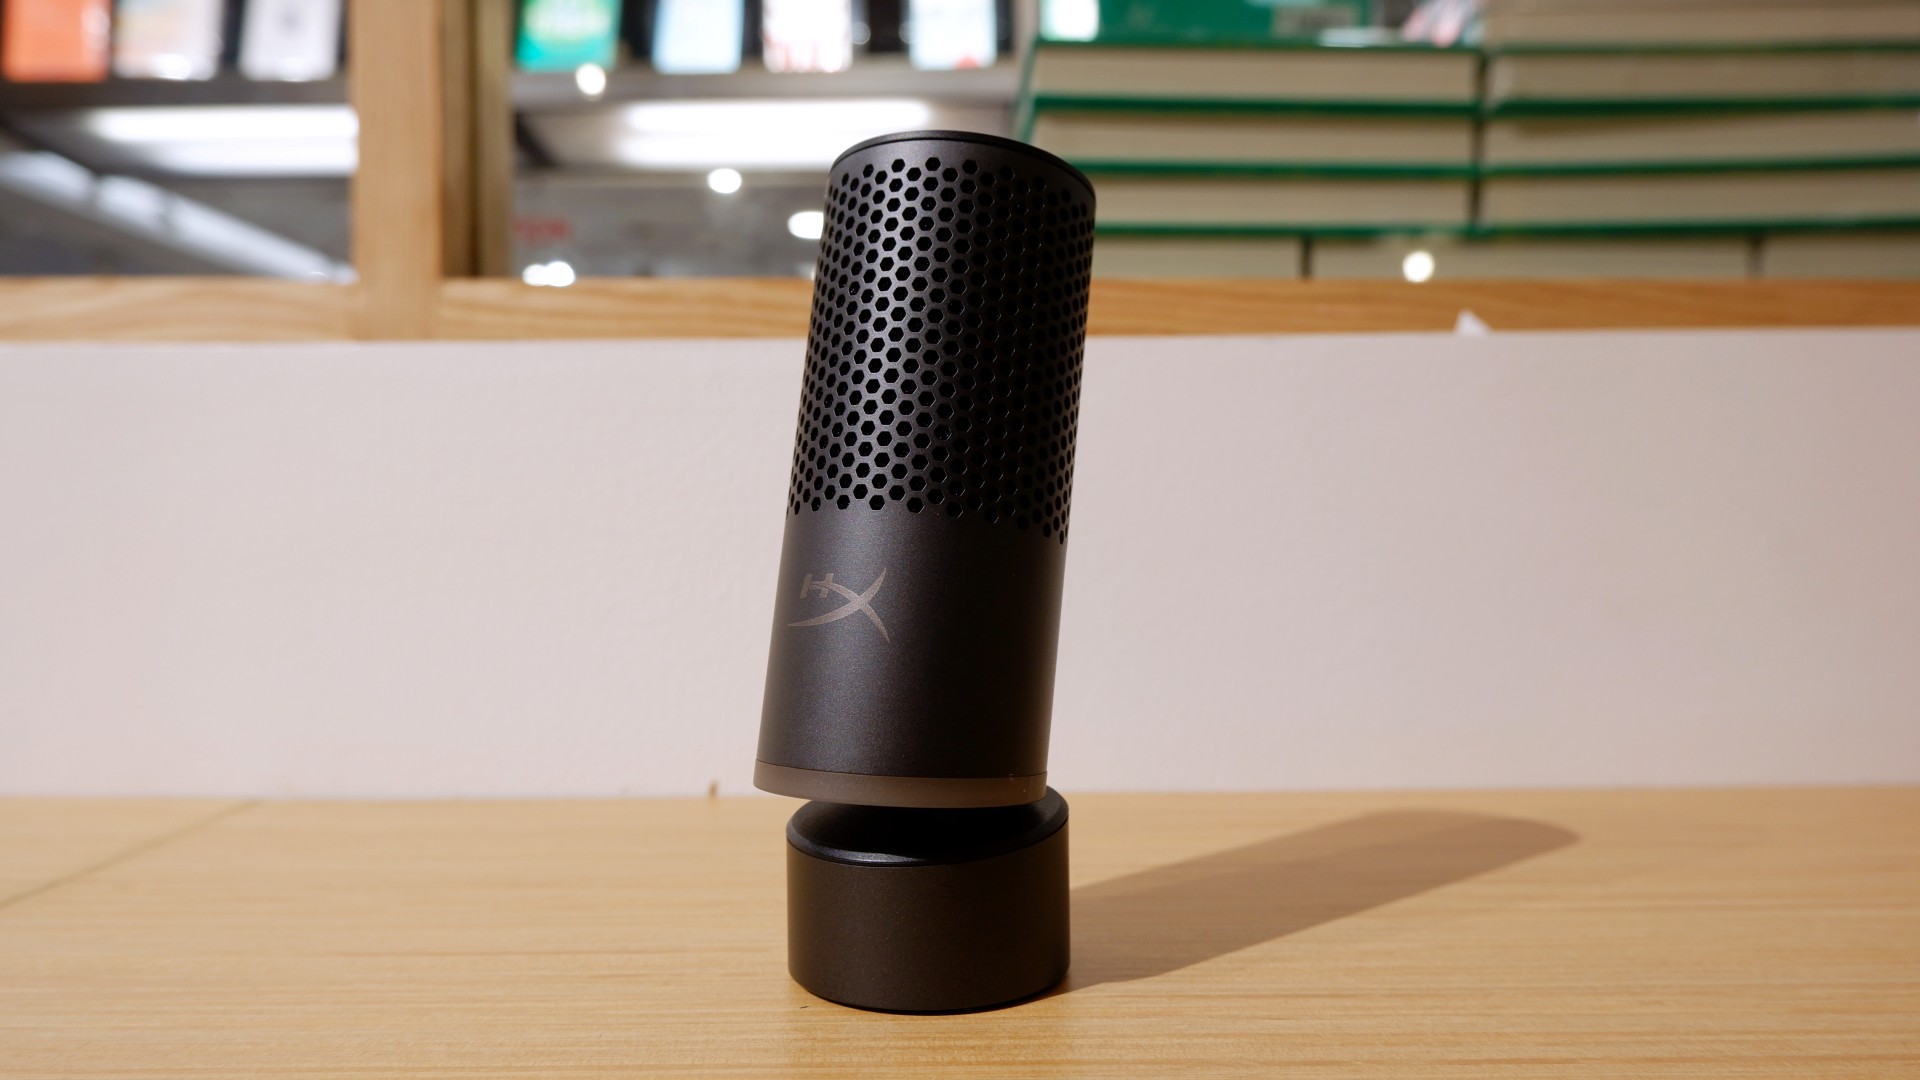

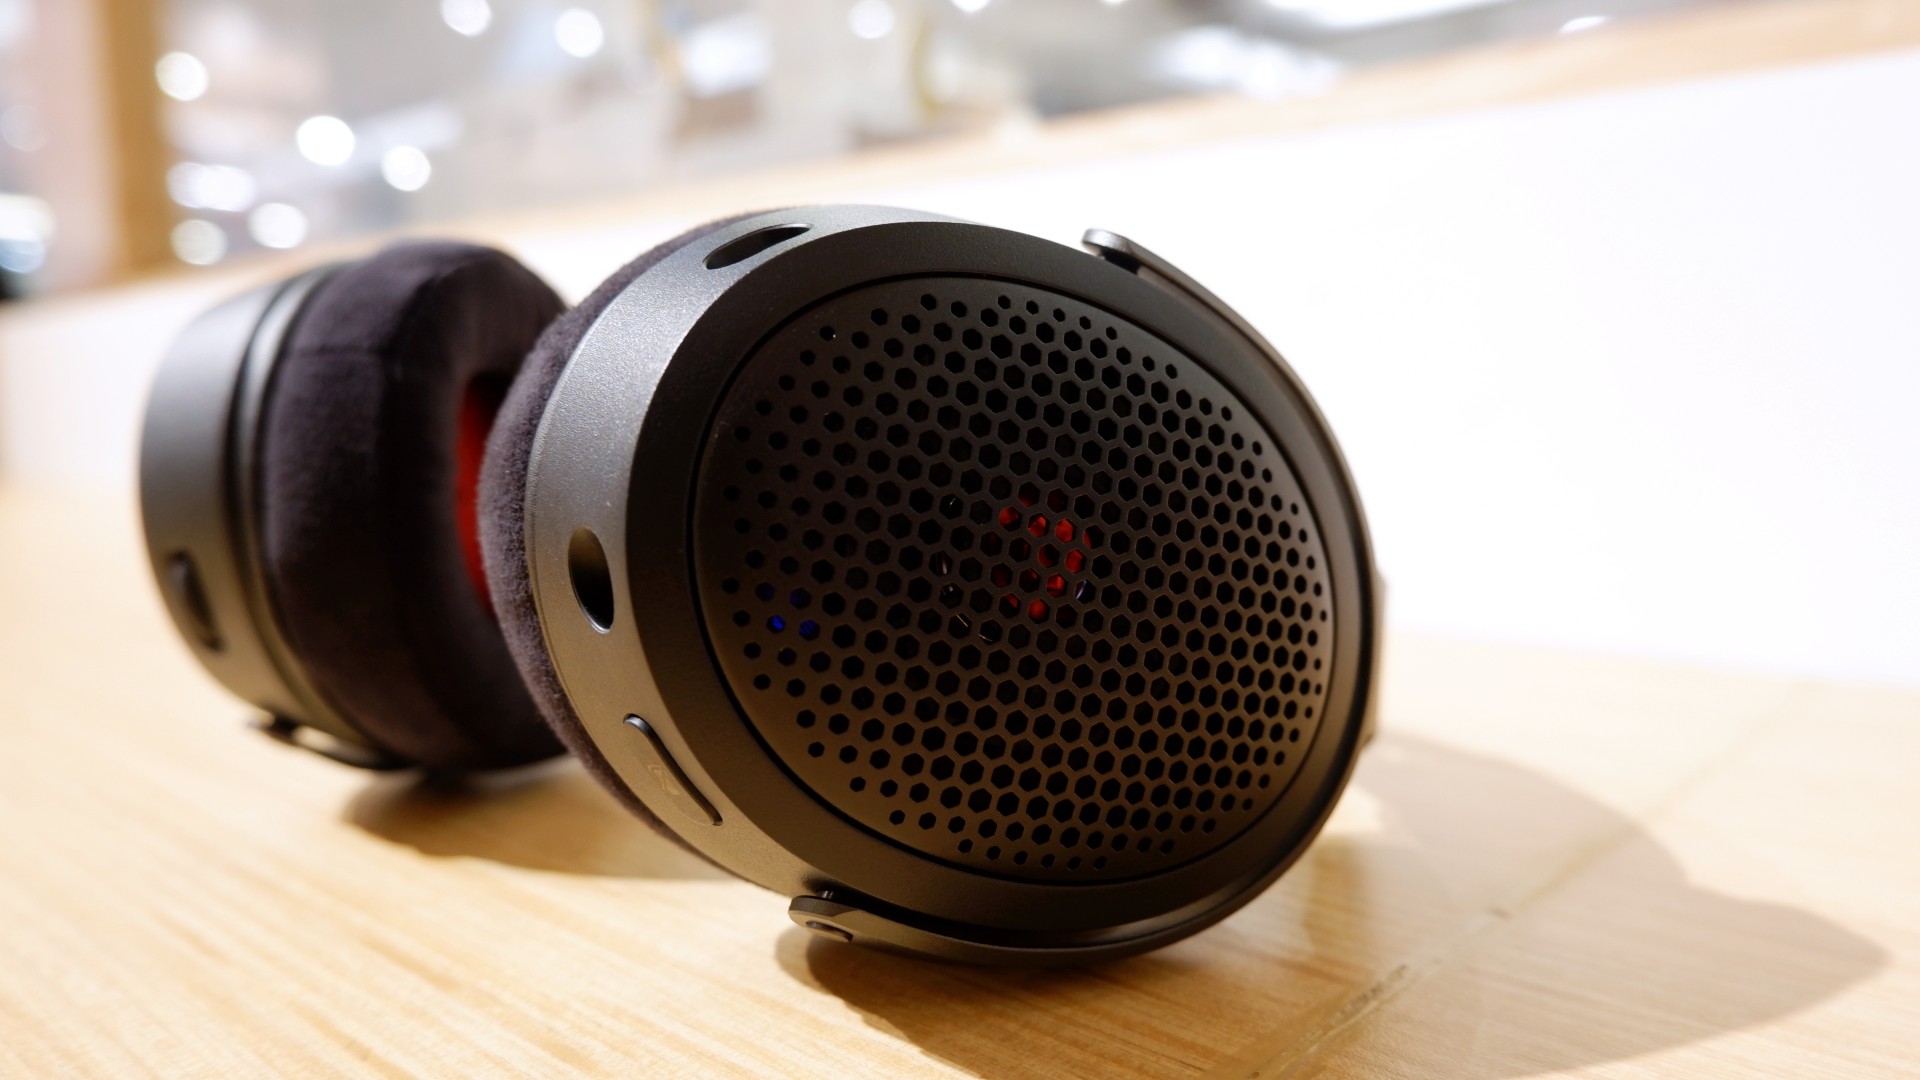
Peripherals such as the HyperX Cloud Alpha Air and Solocast 2 Pro can further enhance the experience.
Overall, this is a Swipe Right for its features, performance, and premium design. However, if you don’t have an infinite money glitch to buy it right now, you’re better off saving up for this beast of a machine!

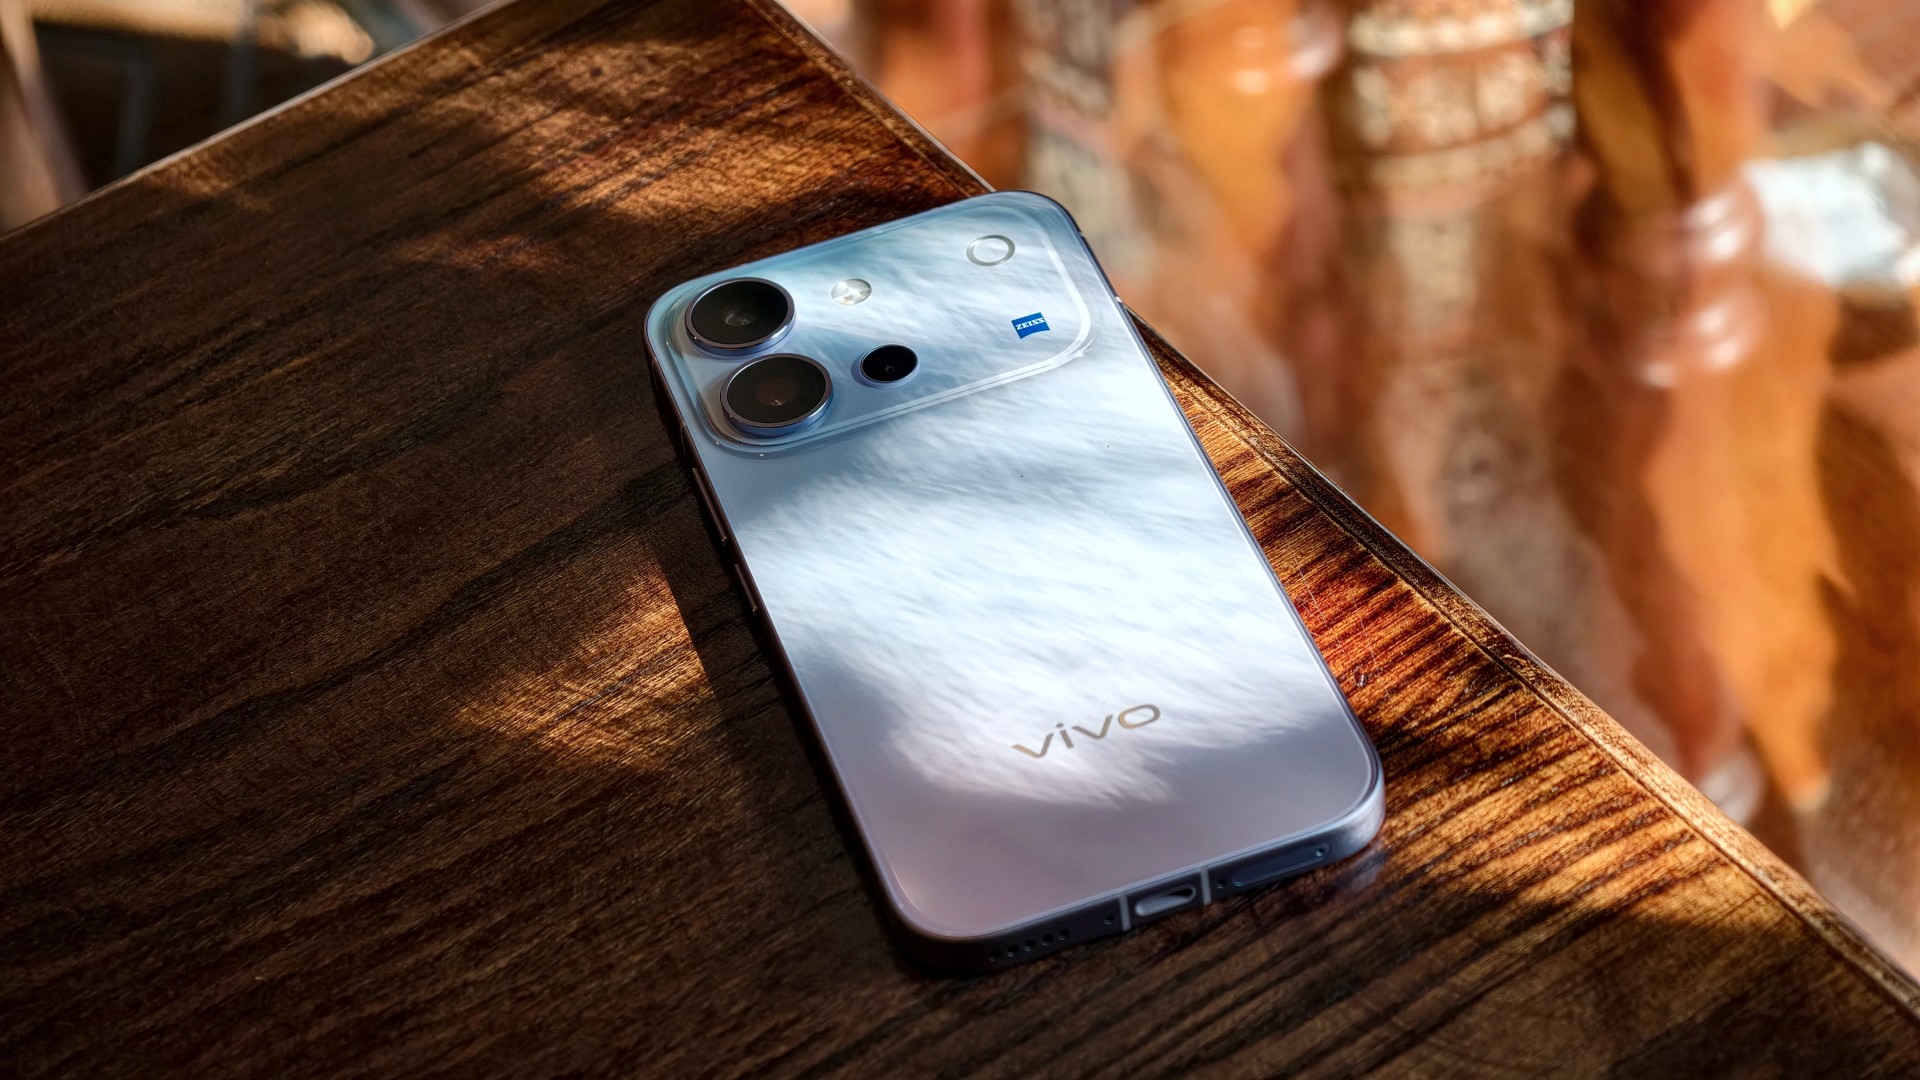
The vivo V80 is a capable midrange smartphone with a versatile camera system, excellent battery life, and a display that works well even in bright daylight. However, some camera quirks and its asking price give you a few things to think about.
vivo V80 specifications
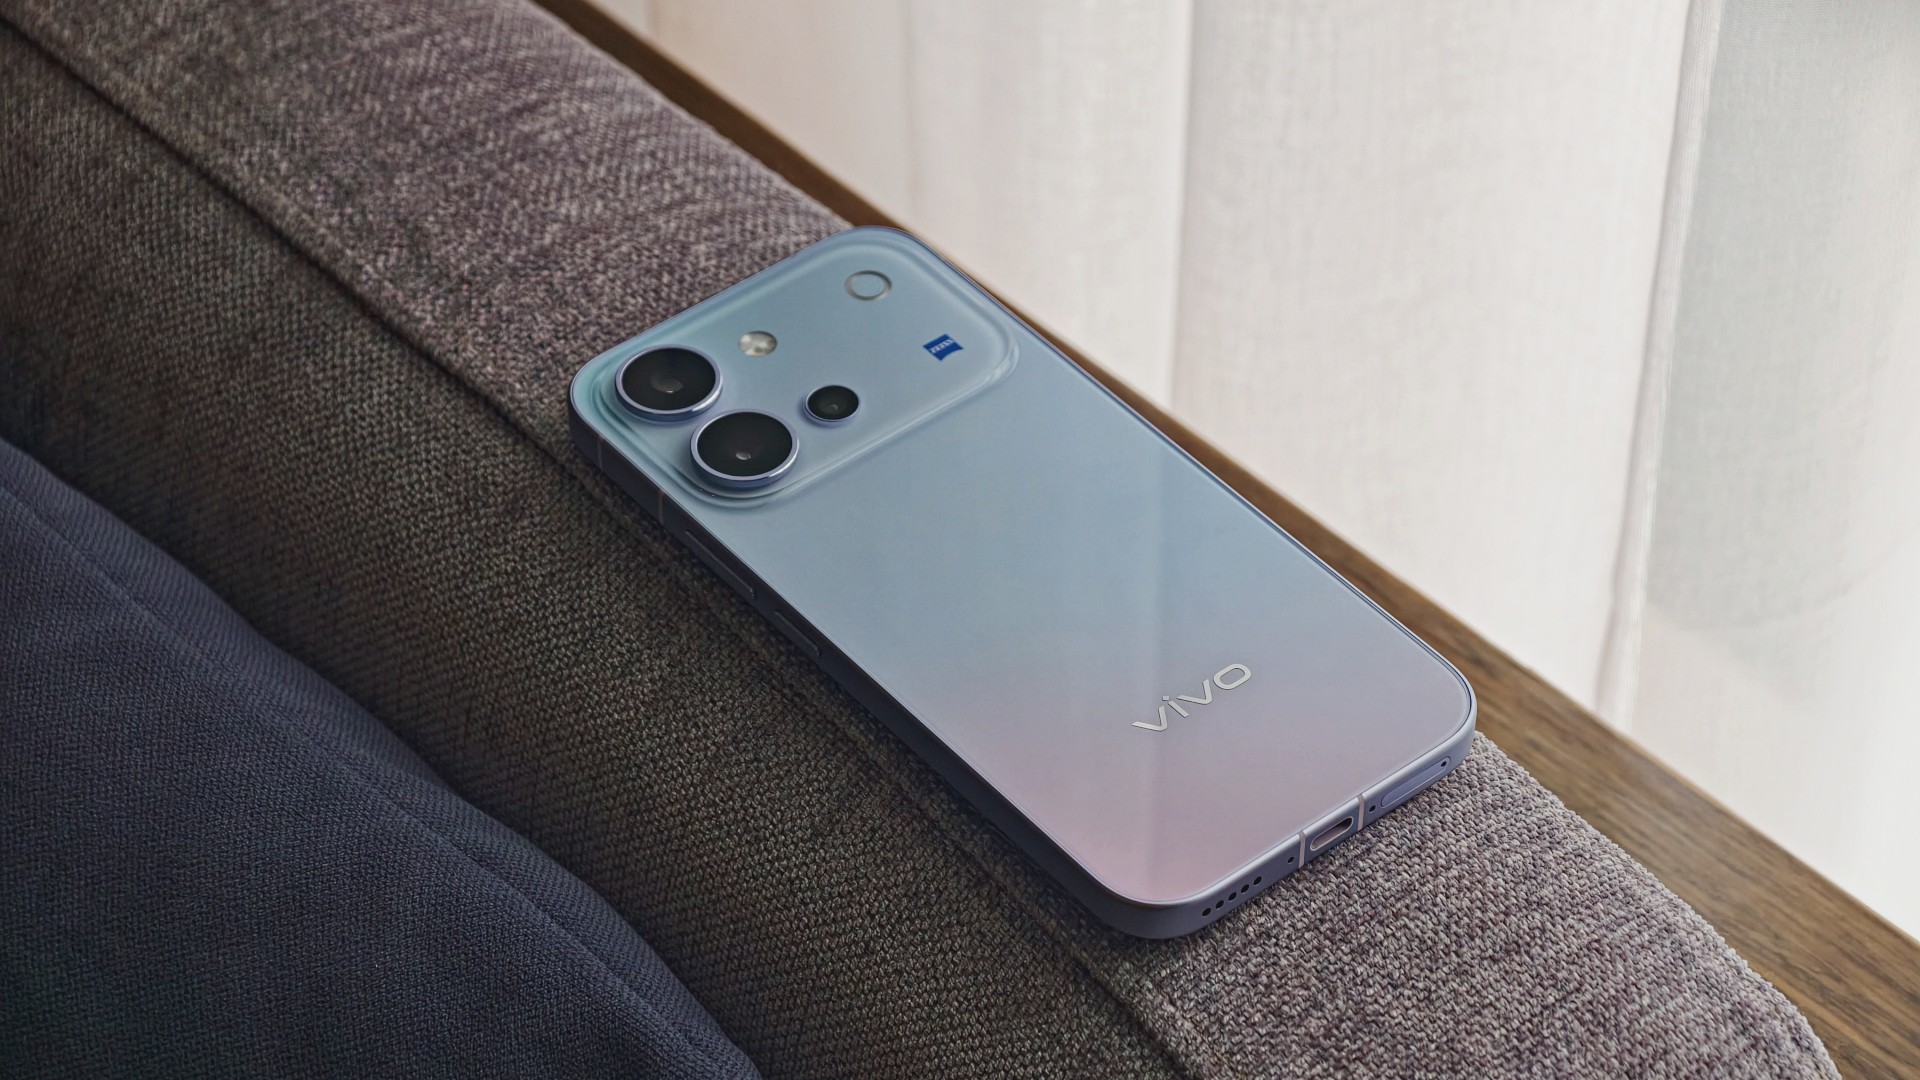
| Component | Specifications |
|---|---|
| Display | 6.59-inch AMOLED, 1.5K (2750 × 1260), up to 144Hz, 5,000-nit local peak brightness |
| Processor | Qualcomm Snapdragon 7 Gen 4, 4nm |
| RAM / storage | 8GB RAM; 128GB, 256GB, or 512GB storage options vary by market |
| Rear main camera | 50MP Sony LYTIA 700V, OIS, f/1.88 |
| Telephoto camera | 50MP Sony IMX882, OIS, 3× optical zoom, up to 10× digital zoom |
| Ultra-wide camera | 8MP, 115° field of view |
| Front camera | 50MP autofocus, f/2.0, 92° field of view |
| Video | Front and rear cameras support 4K at 60fps |
| Battery | 7,200mAh typical capacity; 90W FlashCharge |
| Charging | Advertised 50% charge in 30 minutes; Multi-Scenario Bypass Charging |
| Operating system | OriginOS 7, based on Android 17 |
| Durability | IP68 and IP69 water and dust resistance |
| Build | Cold-carved glass back, aerospace-grade metal frame |
| Dimensions / weight | 157.52 × 74.33 × 7.69mm; 203g |
| Security updates | Six years of annual security updates, according to the launch materials |
A pretty face, but nothing fancy
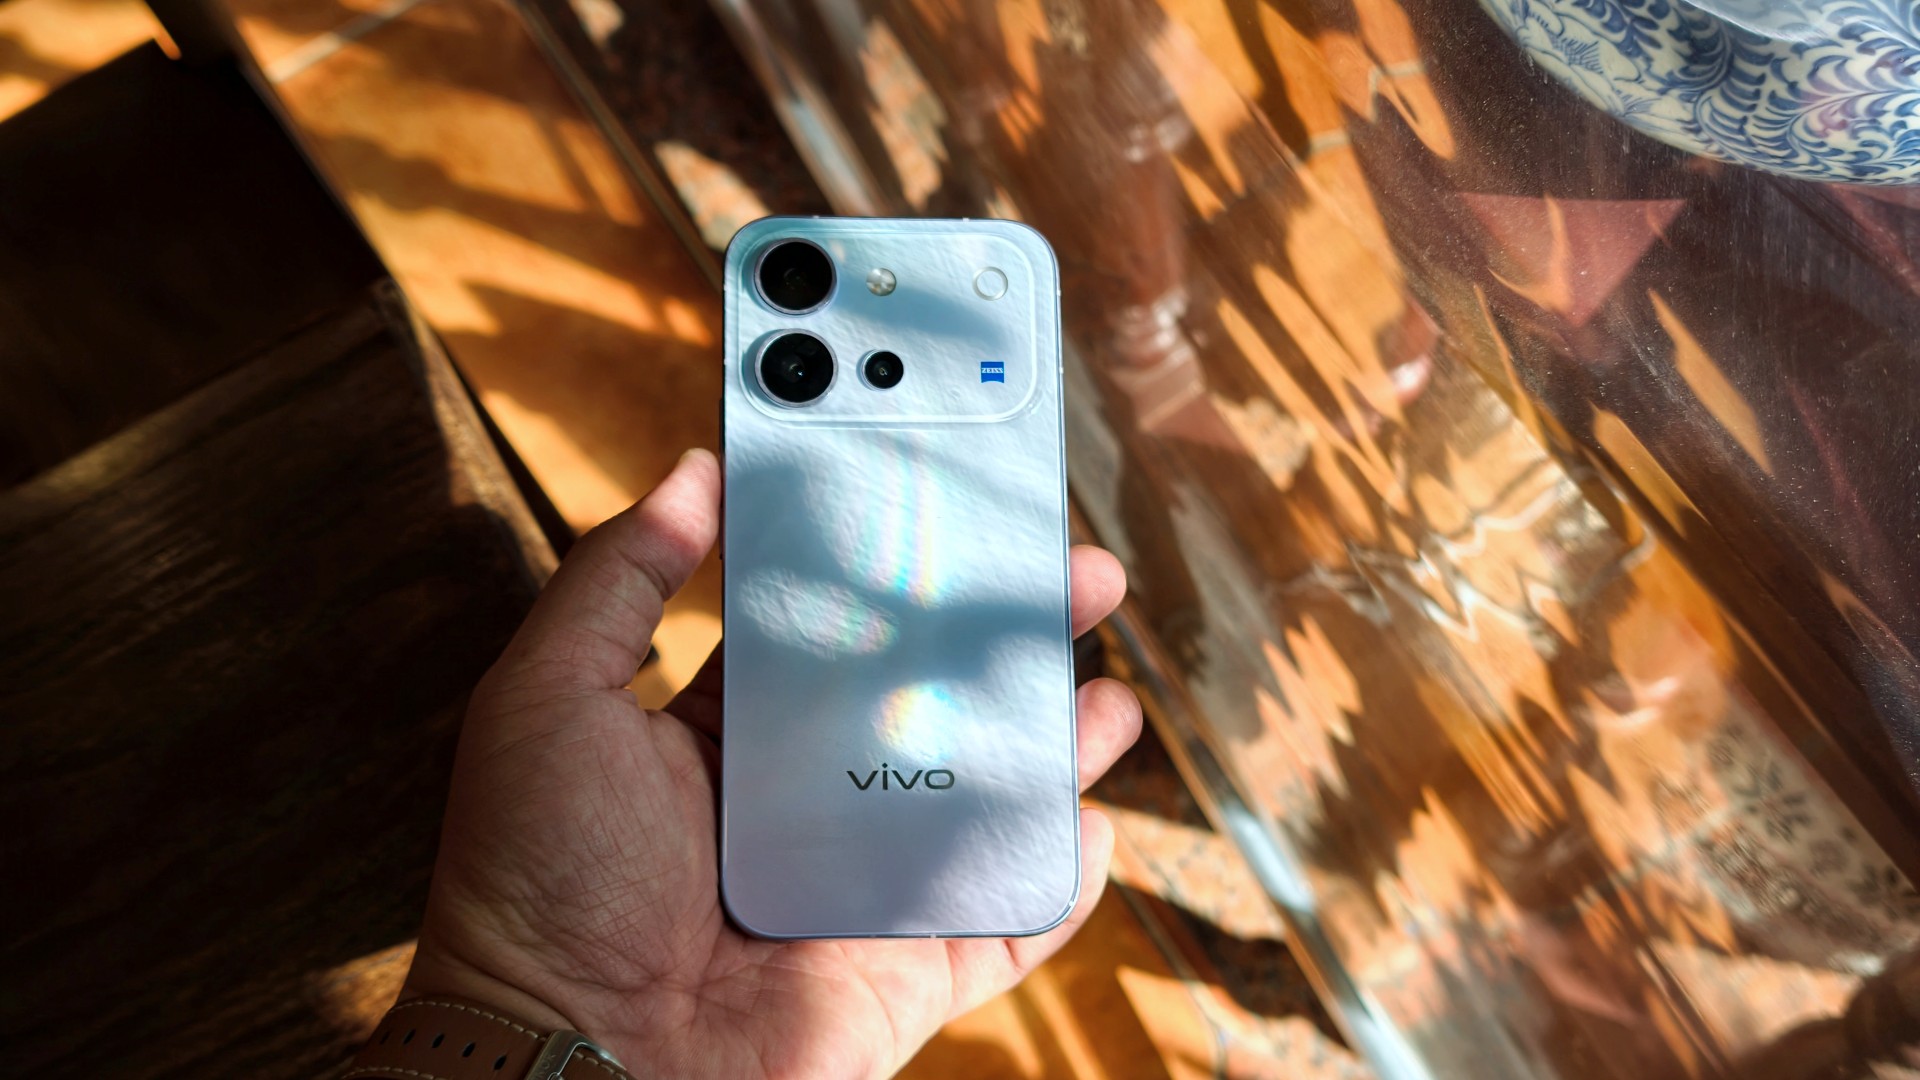
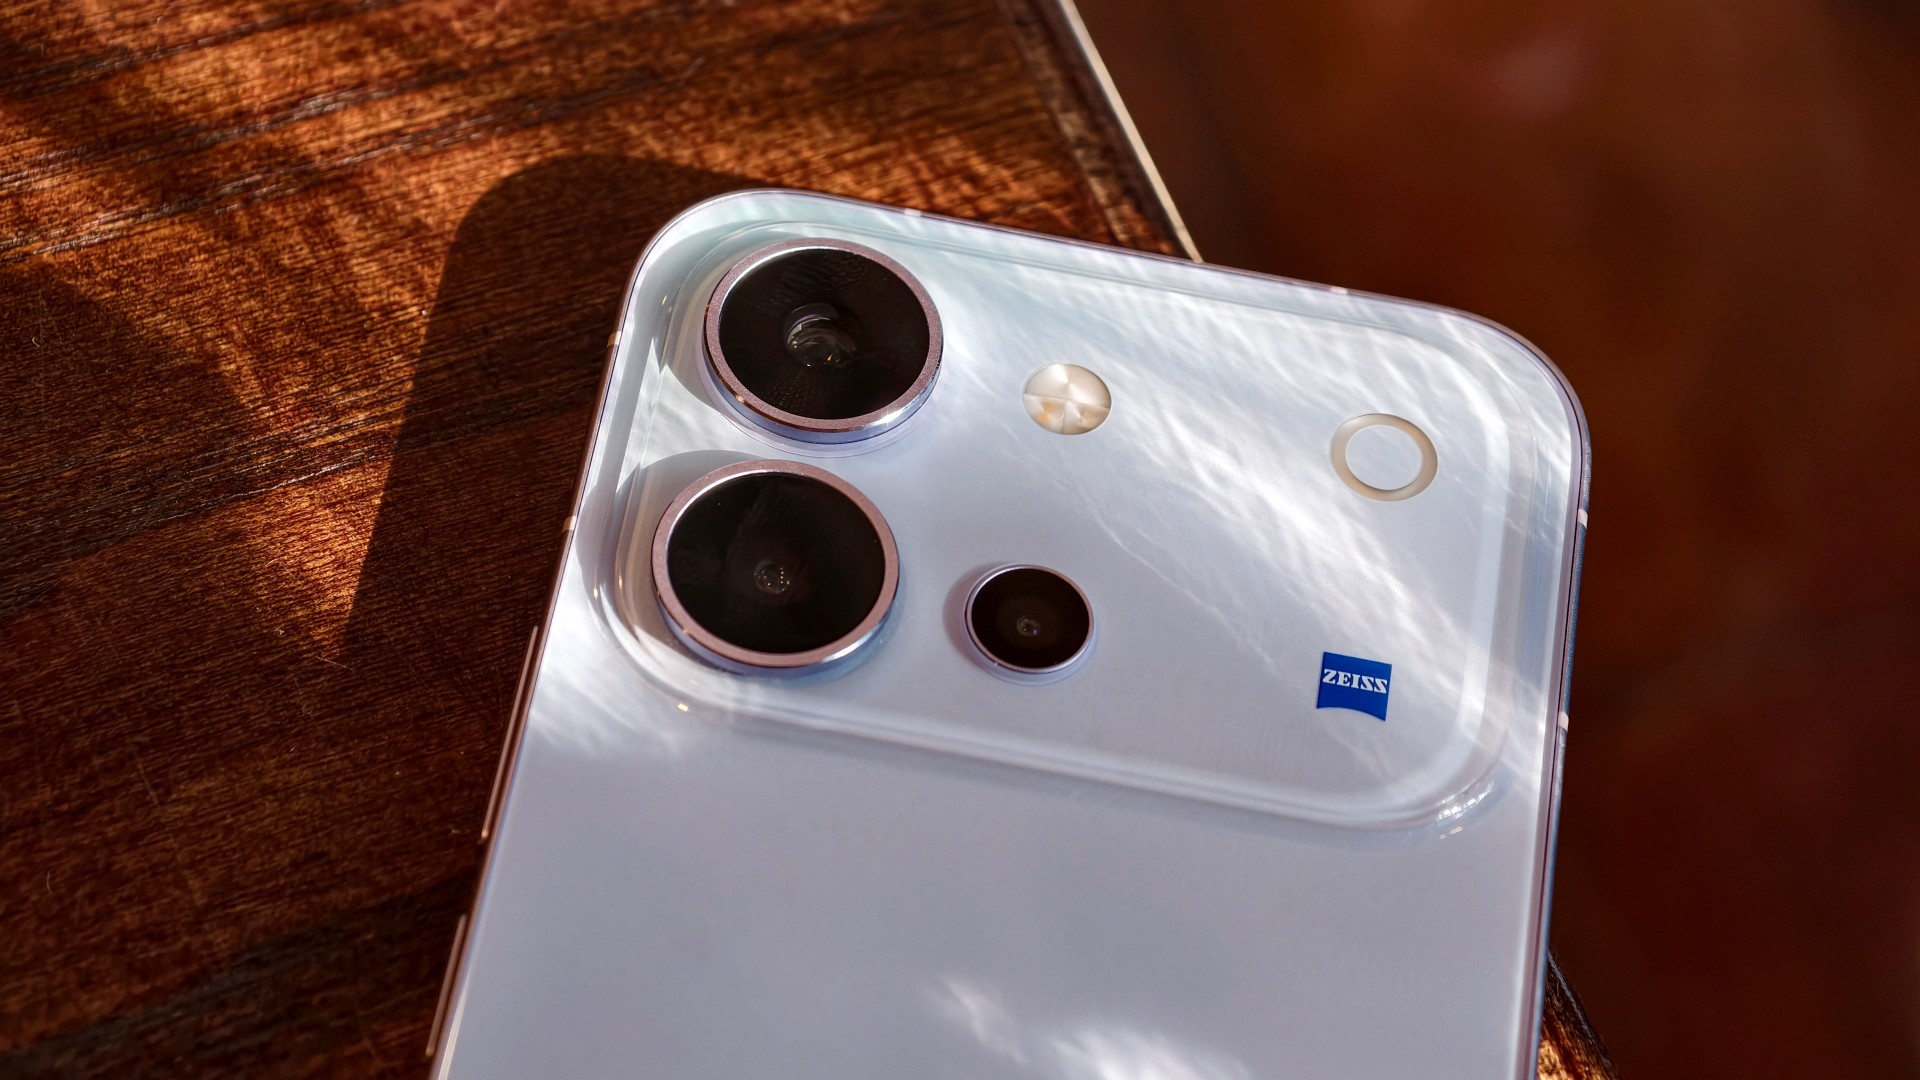
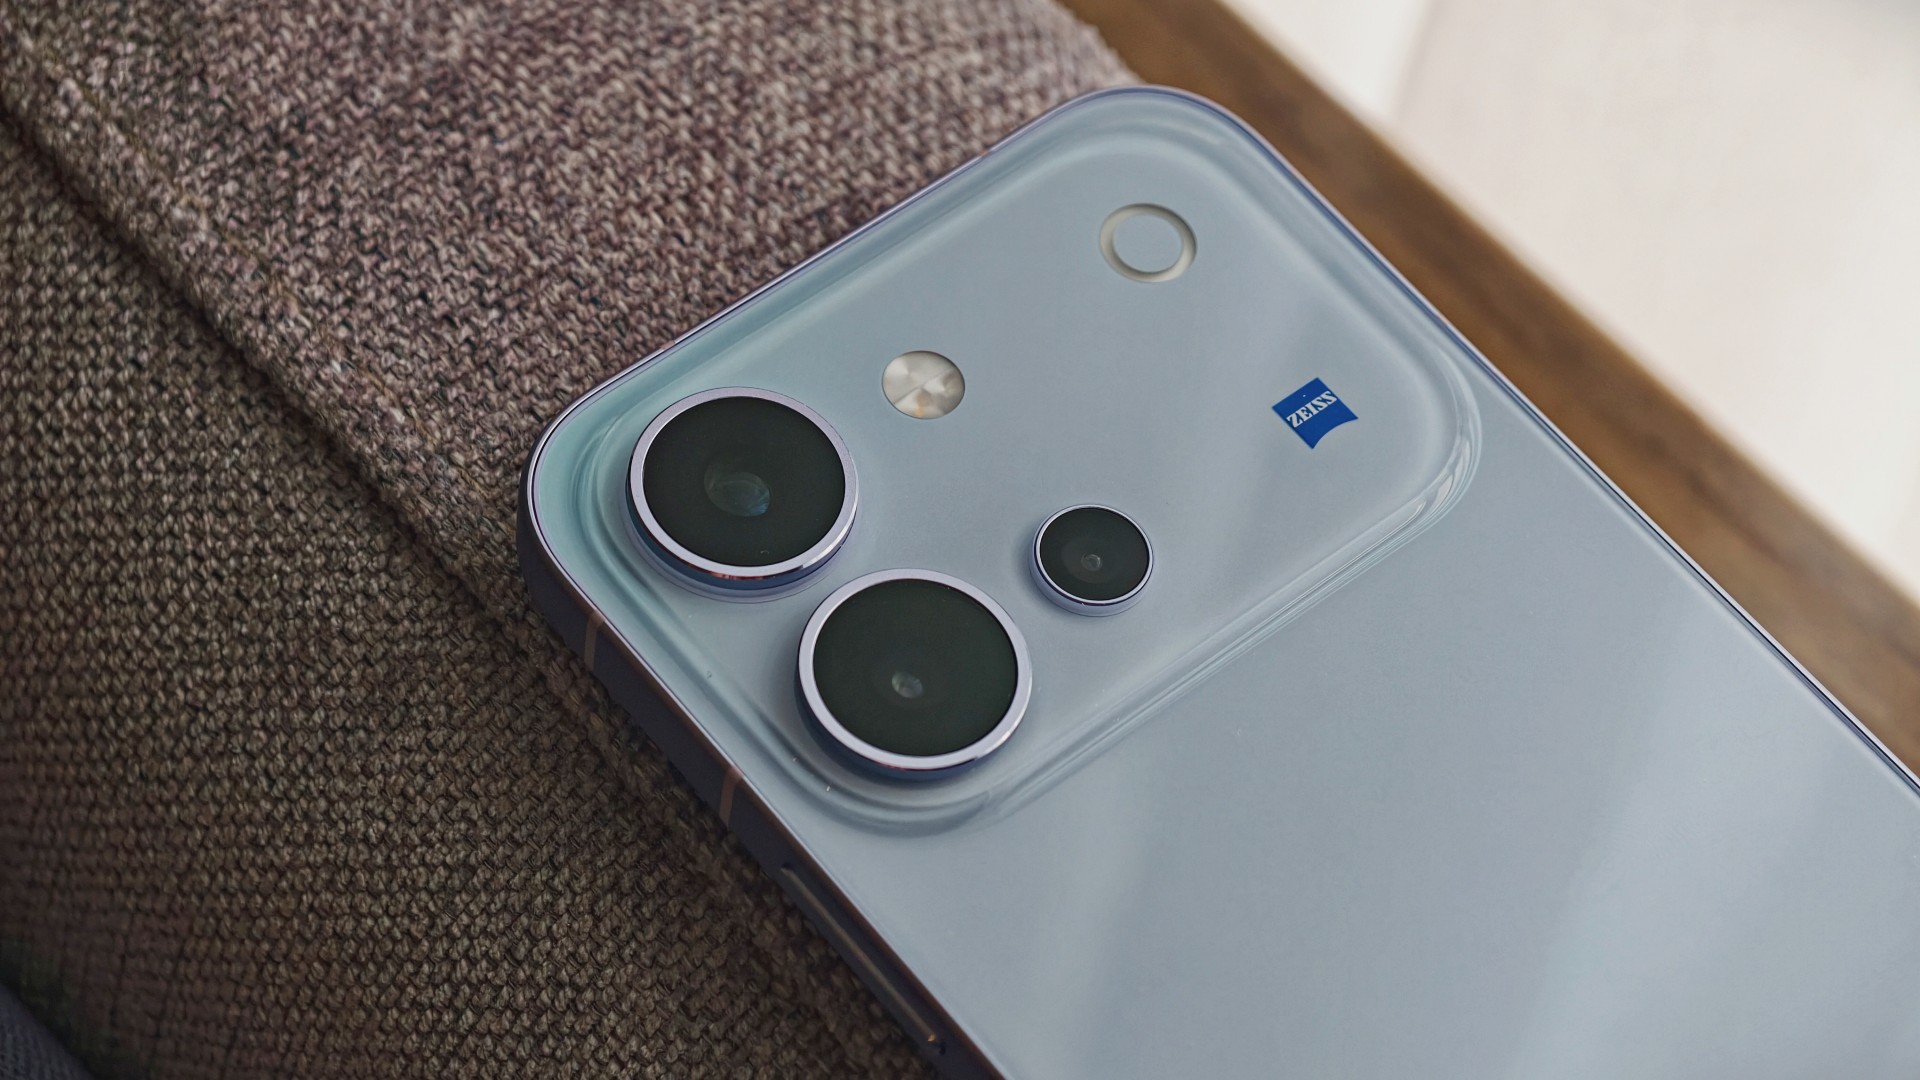
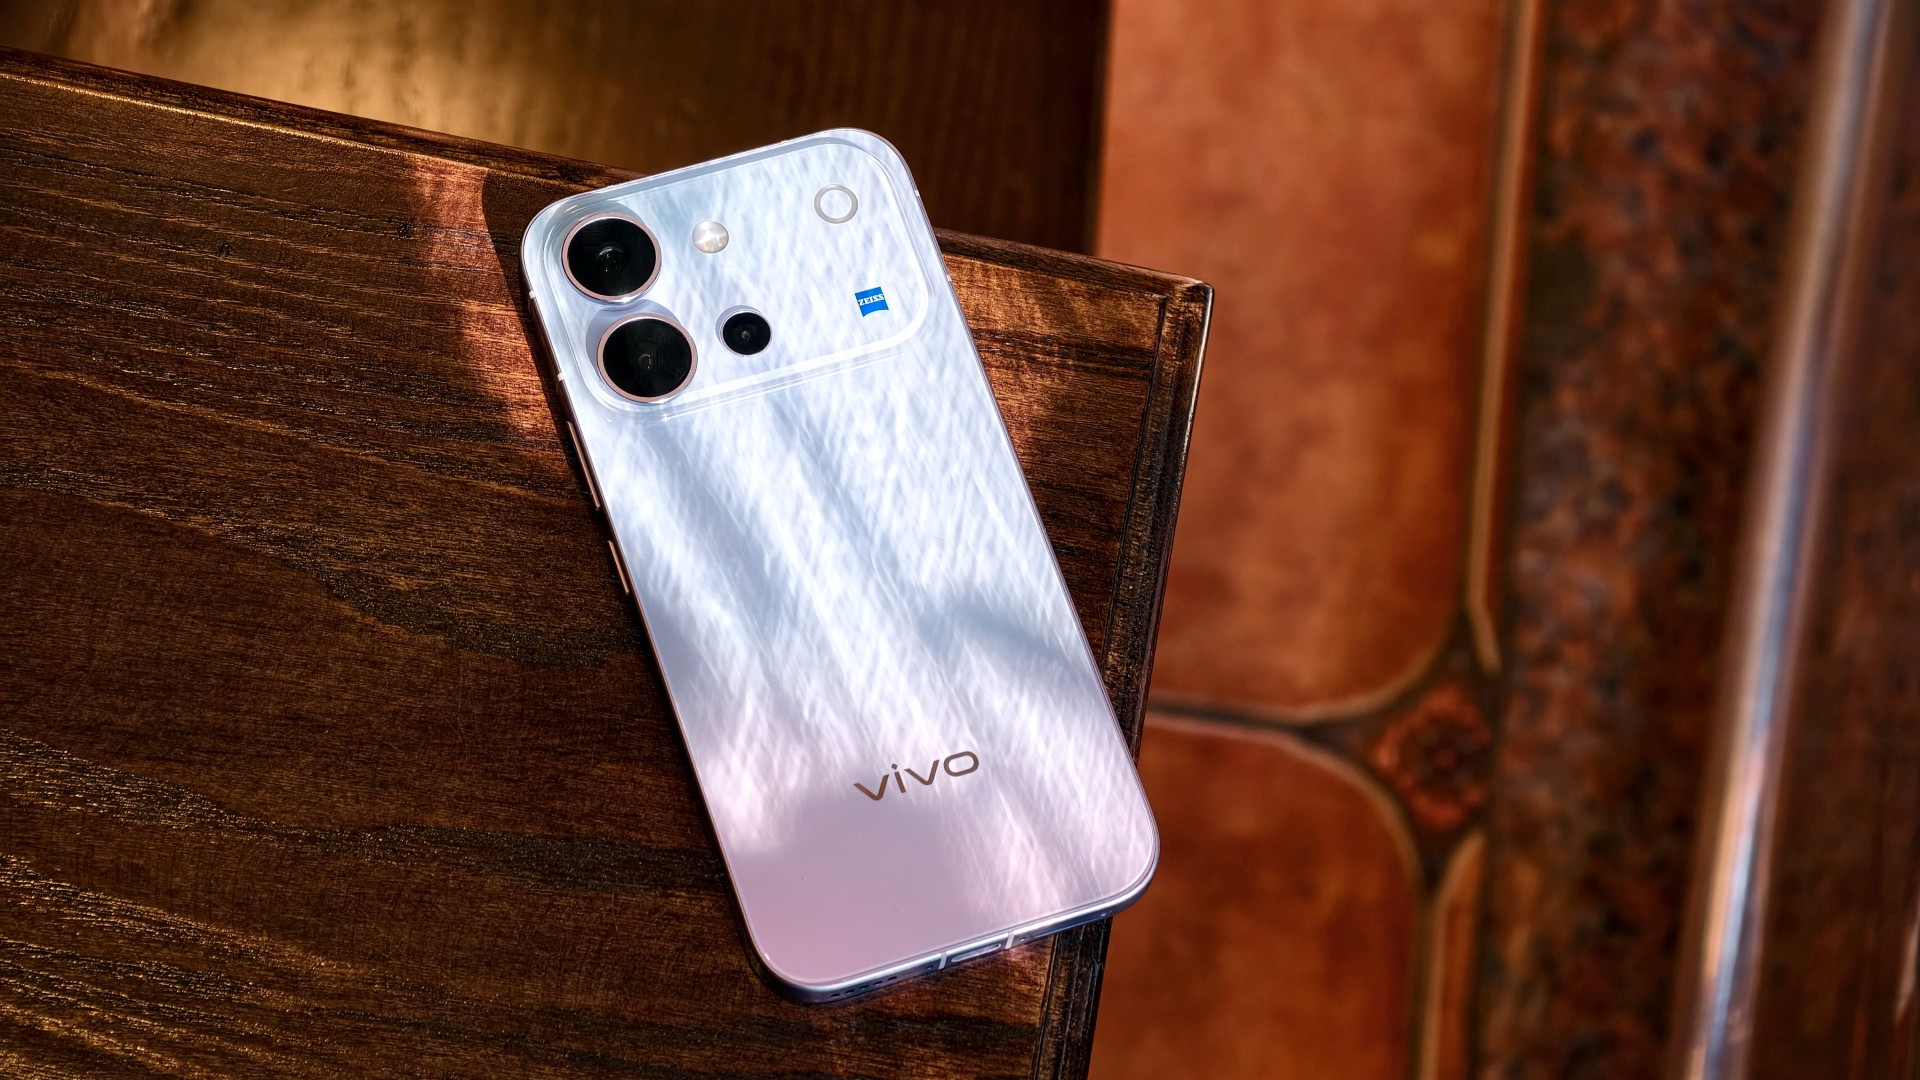
The vivo V80’s design goes from “wow” when you first unbox it to subtly eye-catching the more you use it.
I used the phone primarily with a case, although I didn’t feel like I needed one. Overall, it has a plastic-like feel. Nothing I would call premium, but it doesn’t feel cheap either. It’s par for the course for a base-model midranger.
It’s light and easy to hold. I’d say it feels like your prototypical base-model midranger, just with a poppy back design.
A travel buddy with a few quirks
I took plenty of photos during my trip to Hanoi, Vietnam.
It’s worth noting that the phone received around three updates during my testing. Some of these included camera improvements. If there’s some unevenness in my experience and the resulting photos, I would attribute it to this.



Overall, though, the vivo V80 is a serviceable travel companion. I took plenty of food photos, and this is one of the few phones where I genuinely preferred Food Mode over the regular camera settings.


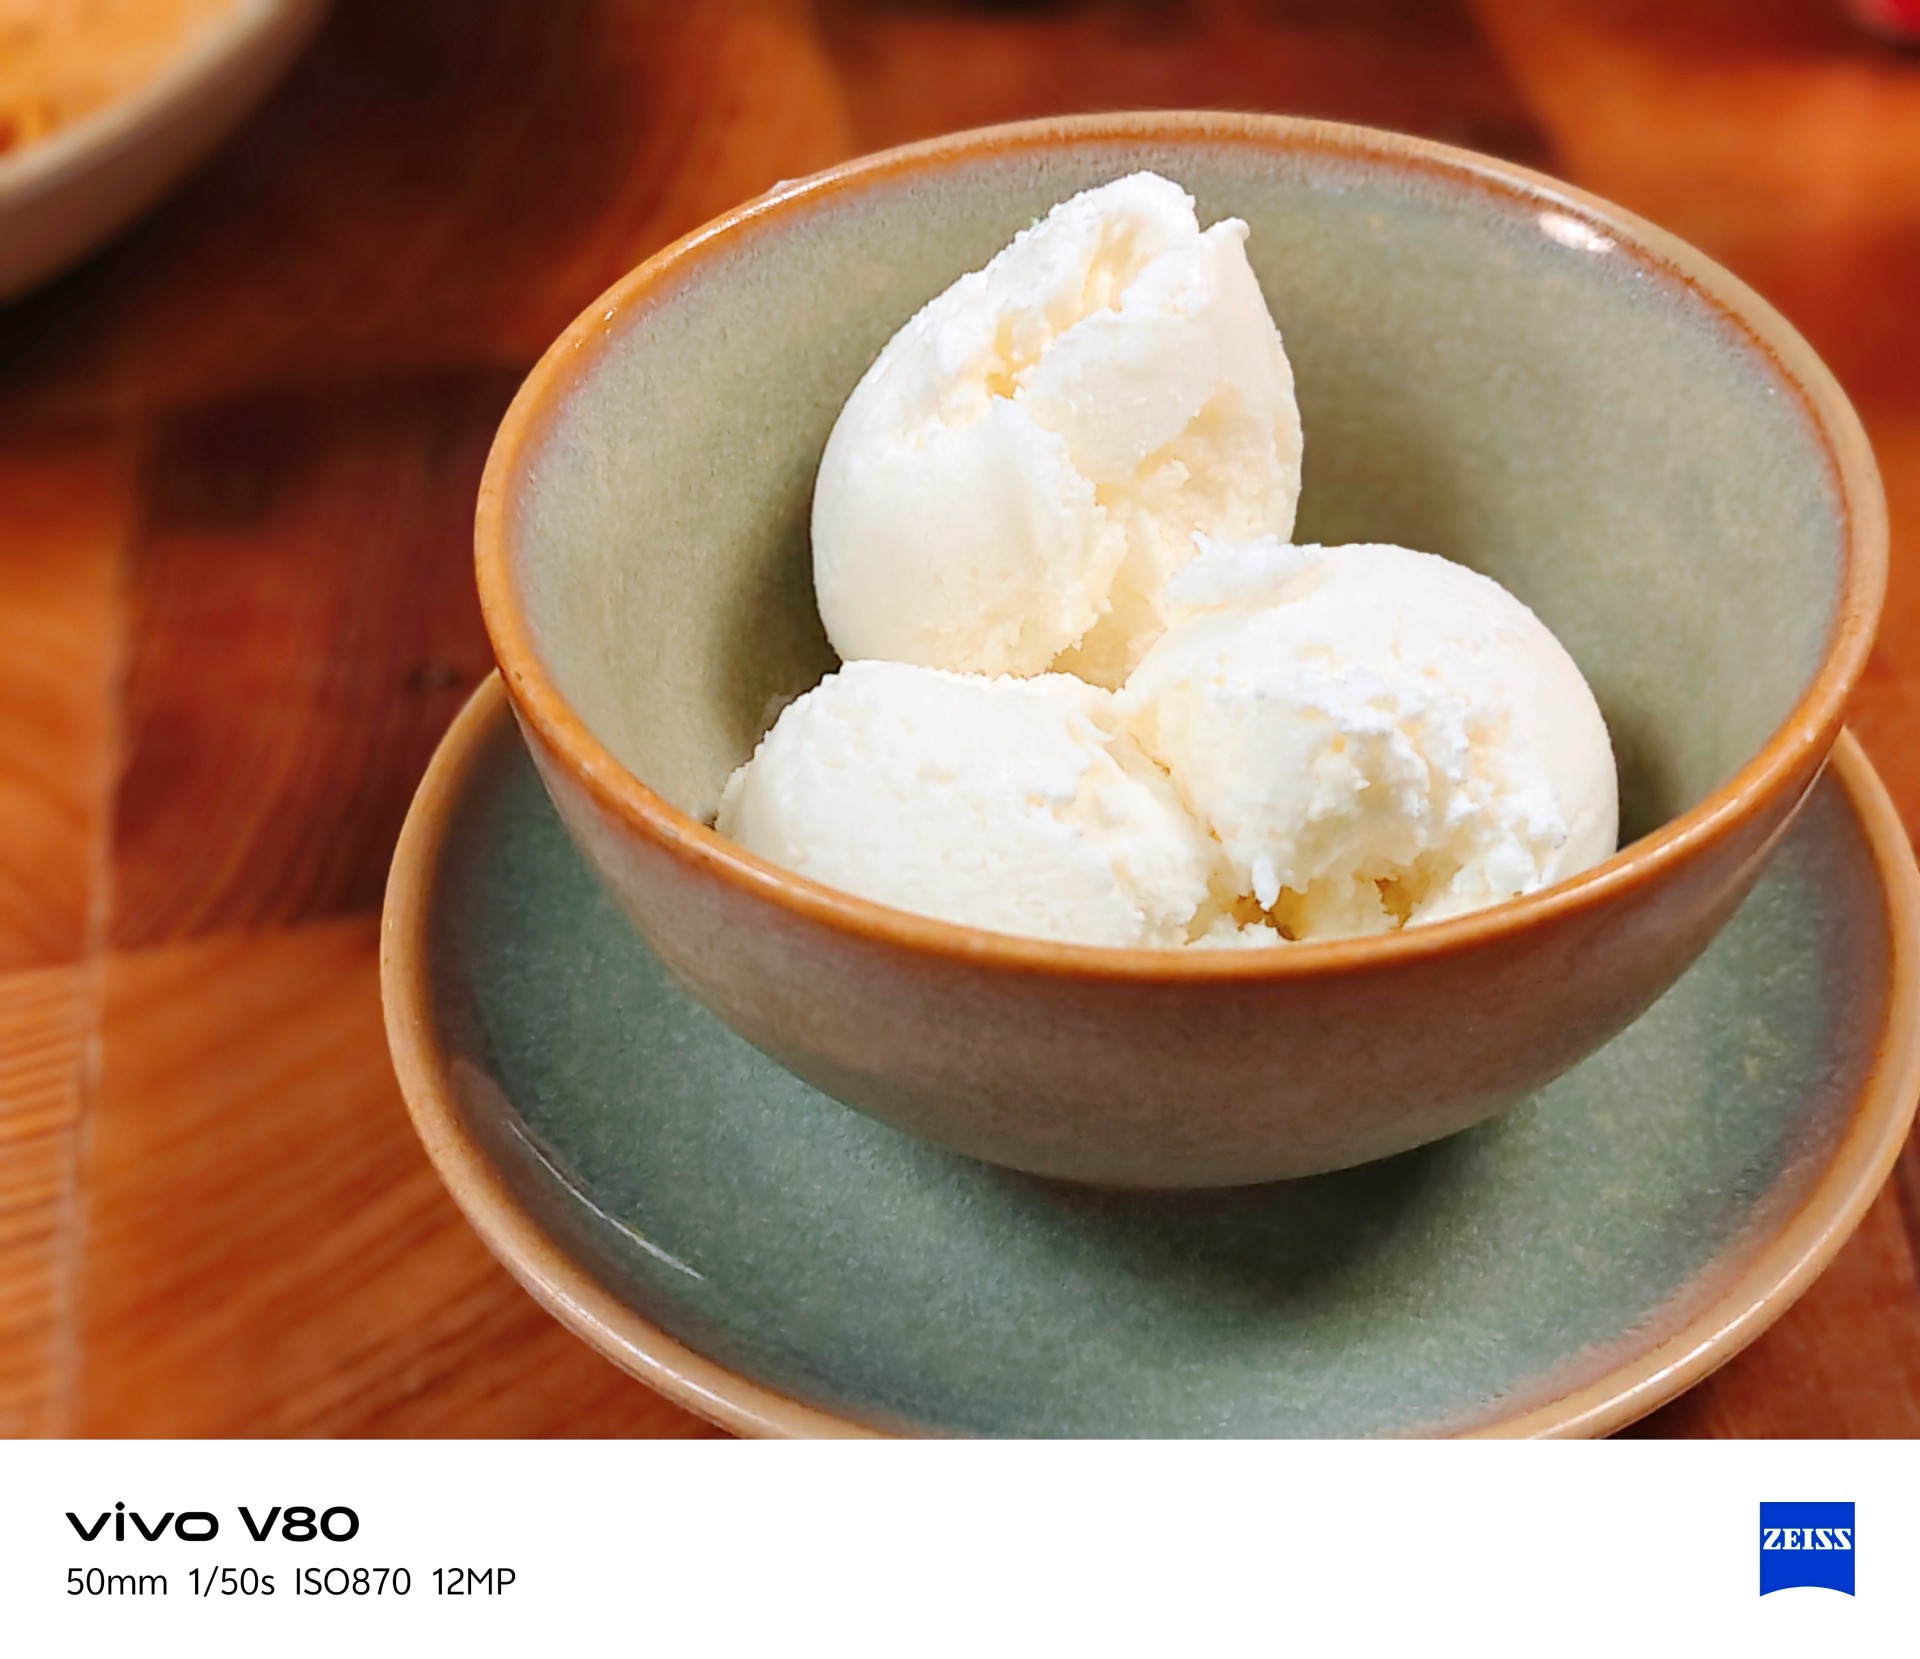
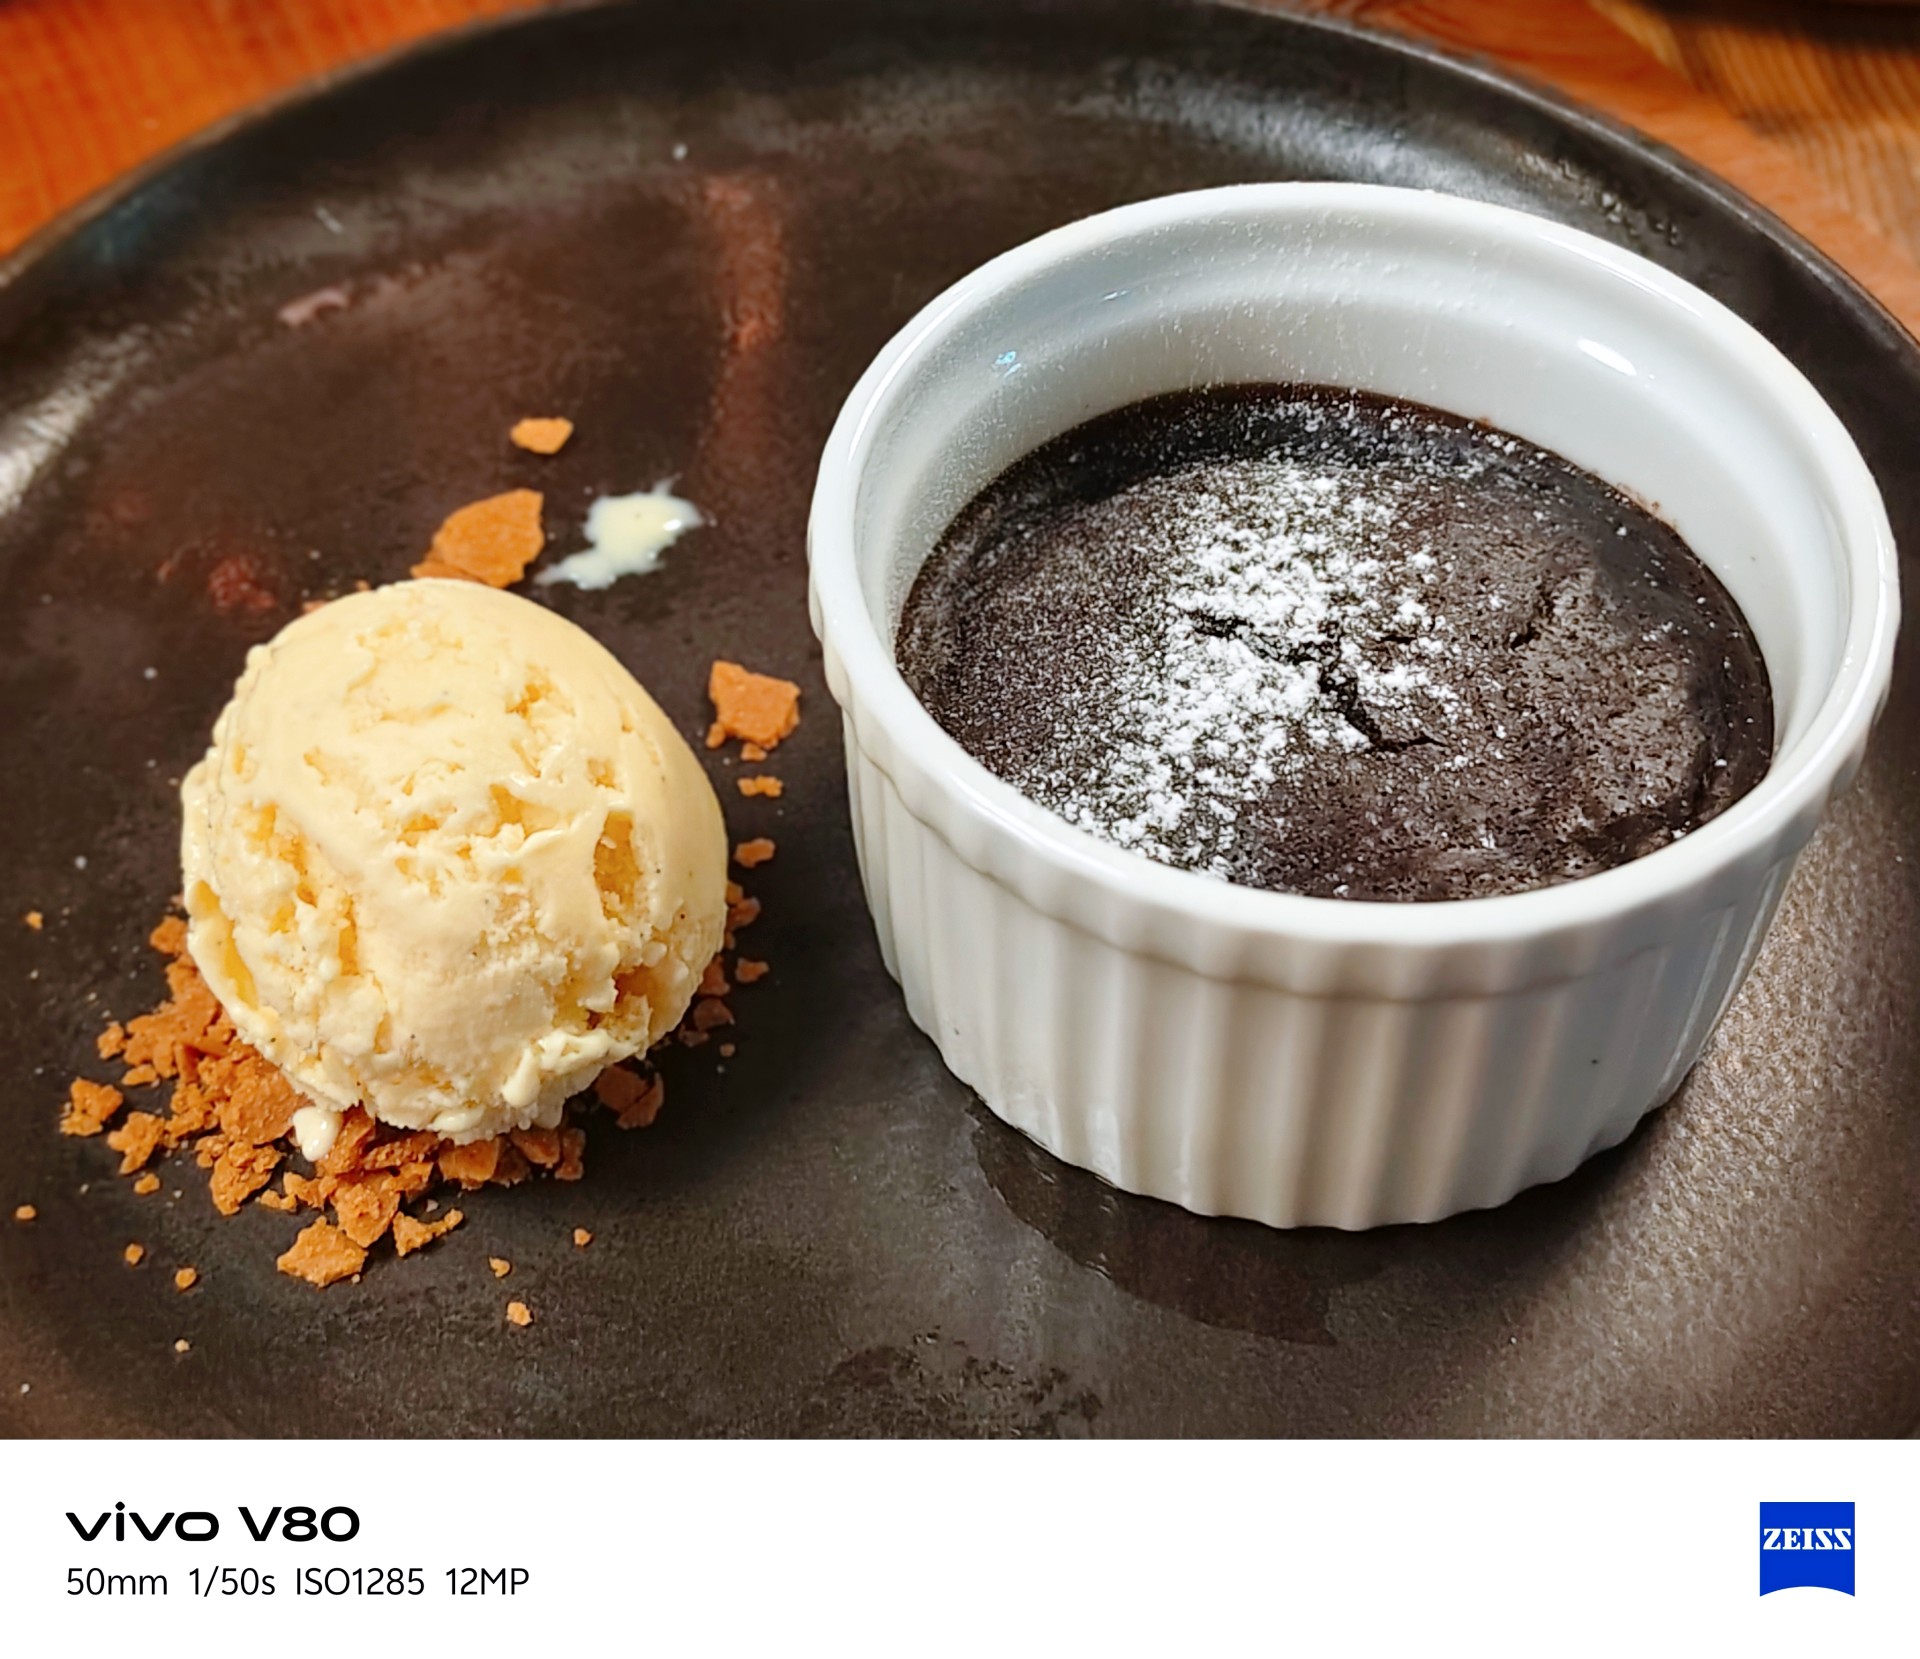
It made the many satisfying Vietnamese dishes I had during this trip look even more appetizing.






The camera can be quite hit or miss in certain lighting conditions. One thing I noticed is that it tends to brighten scenes more than I would like. My advice is to adjust exposure compensation between -1 and -3 when the situation calls for it. This can help keep scenes from looking too bright, but you don’t need to change the setting for every shot.
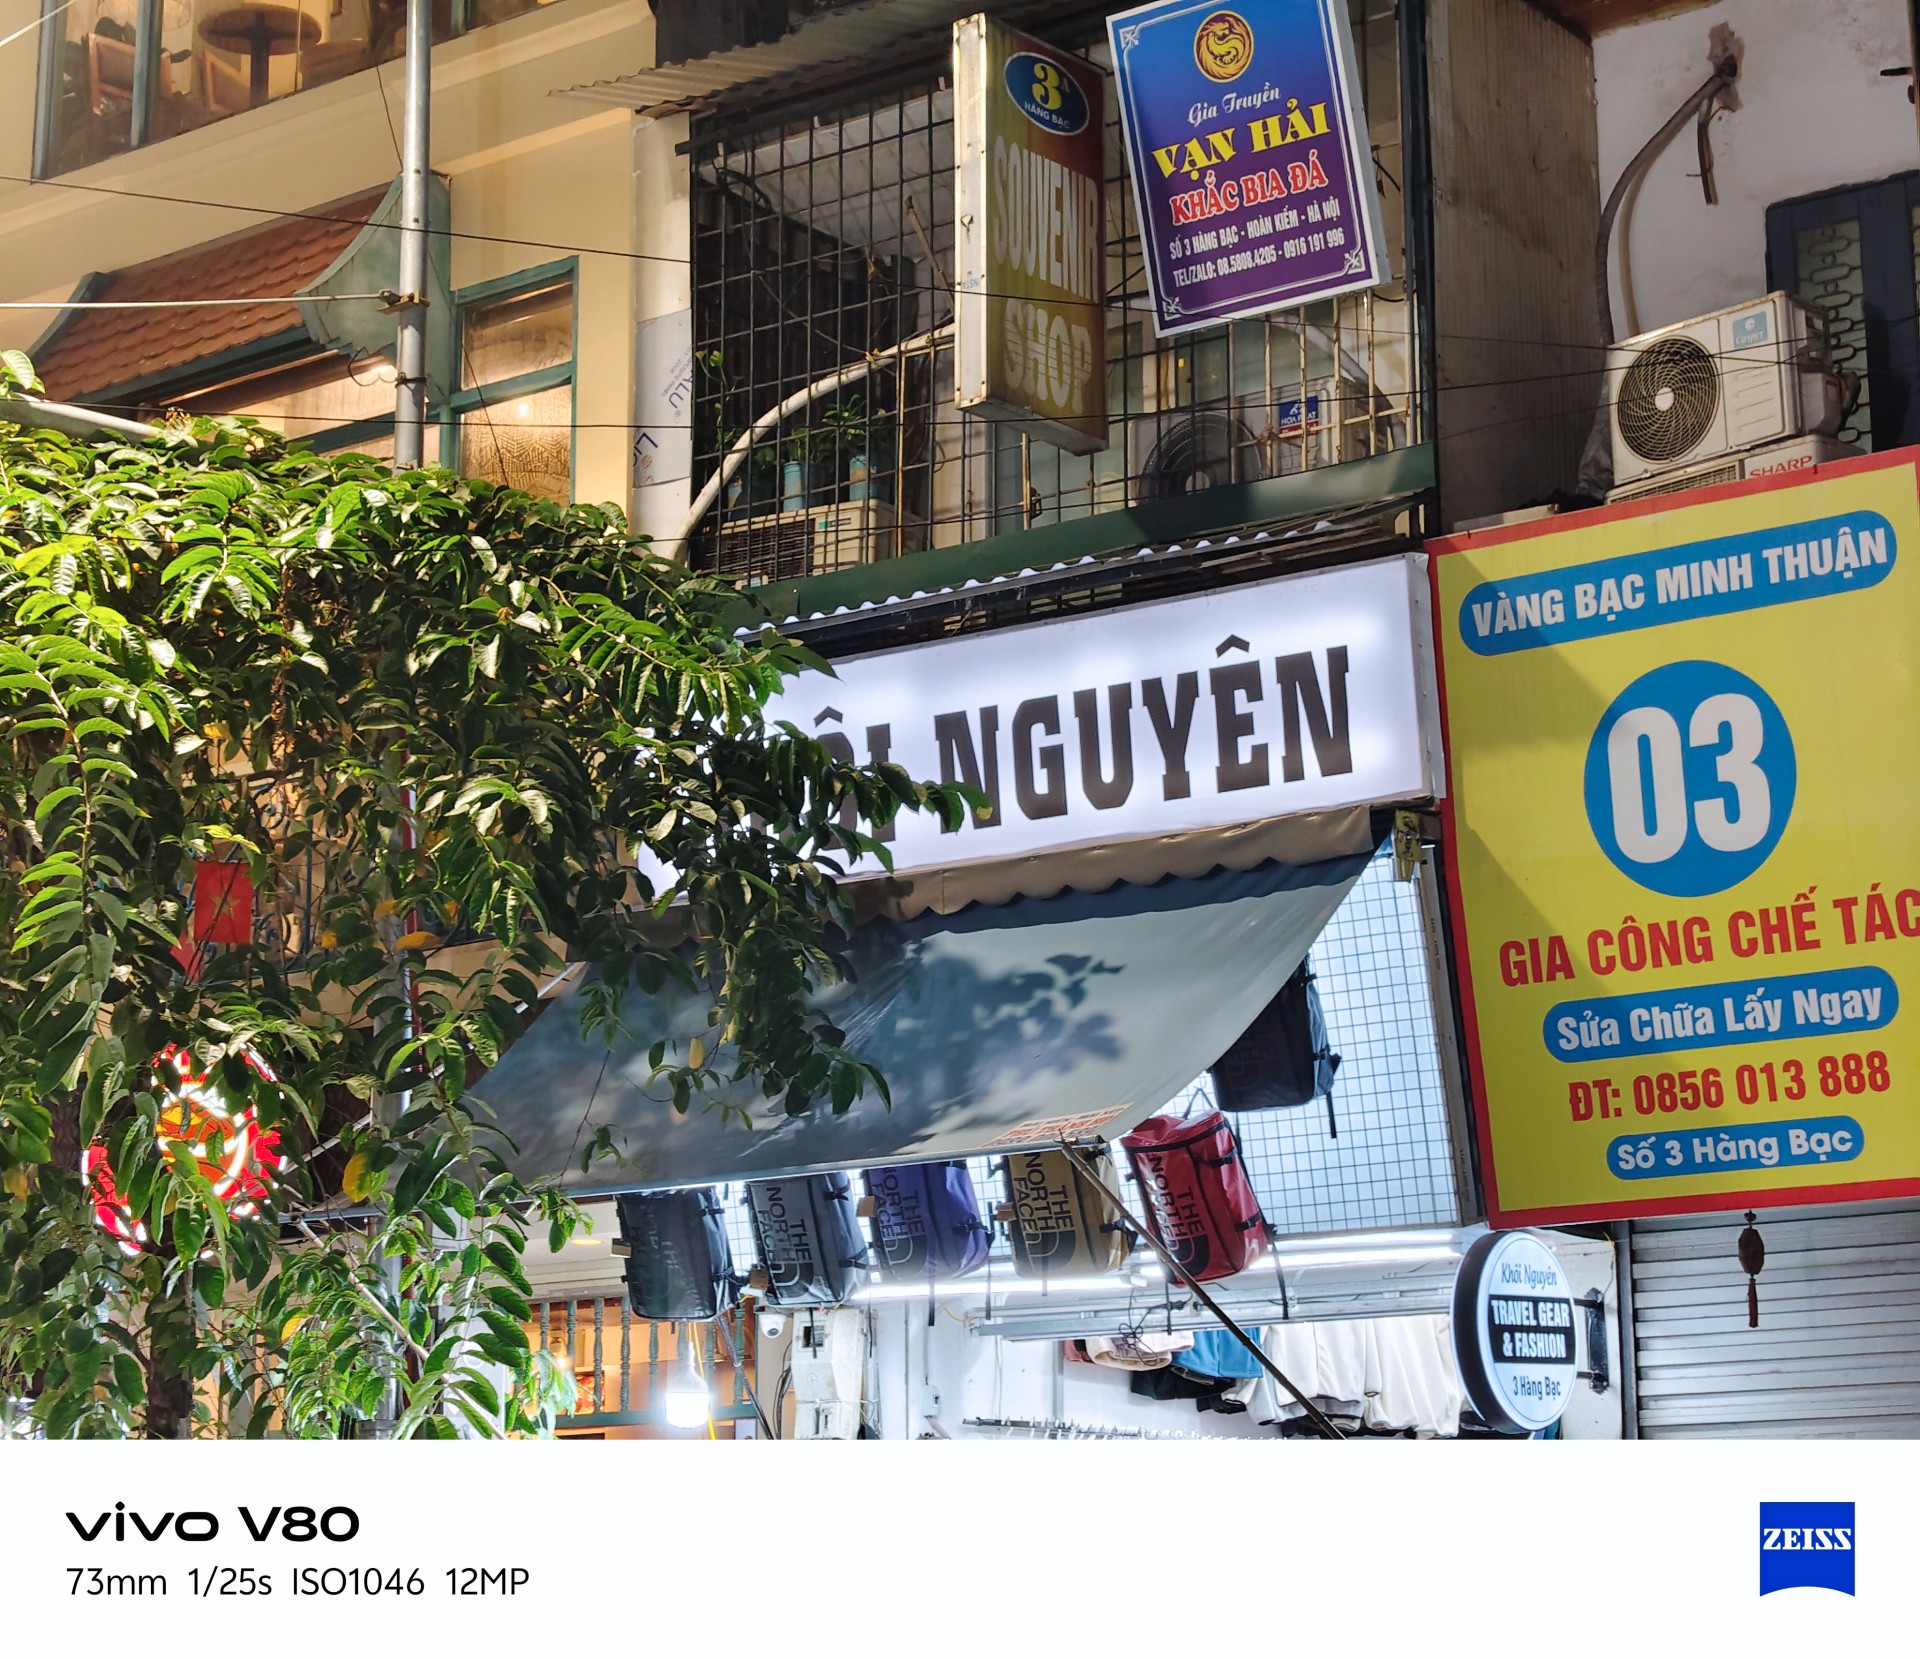


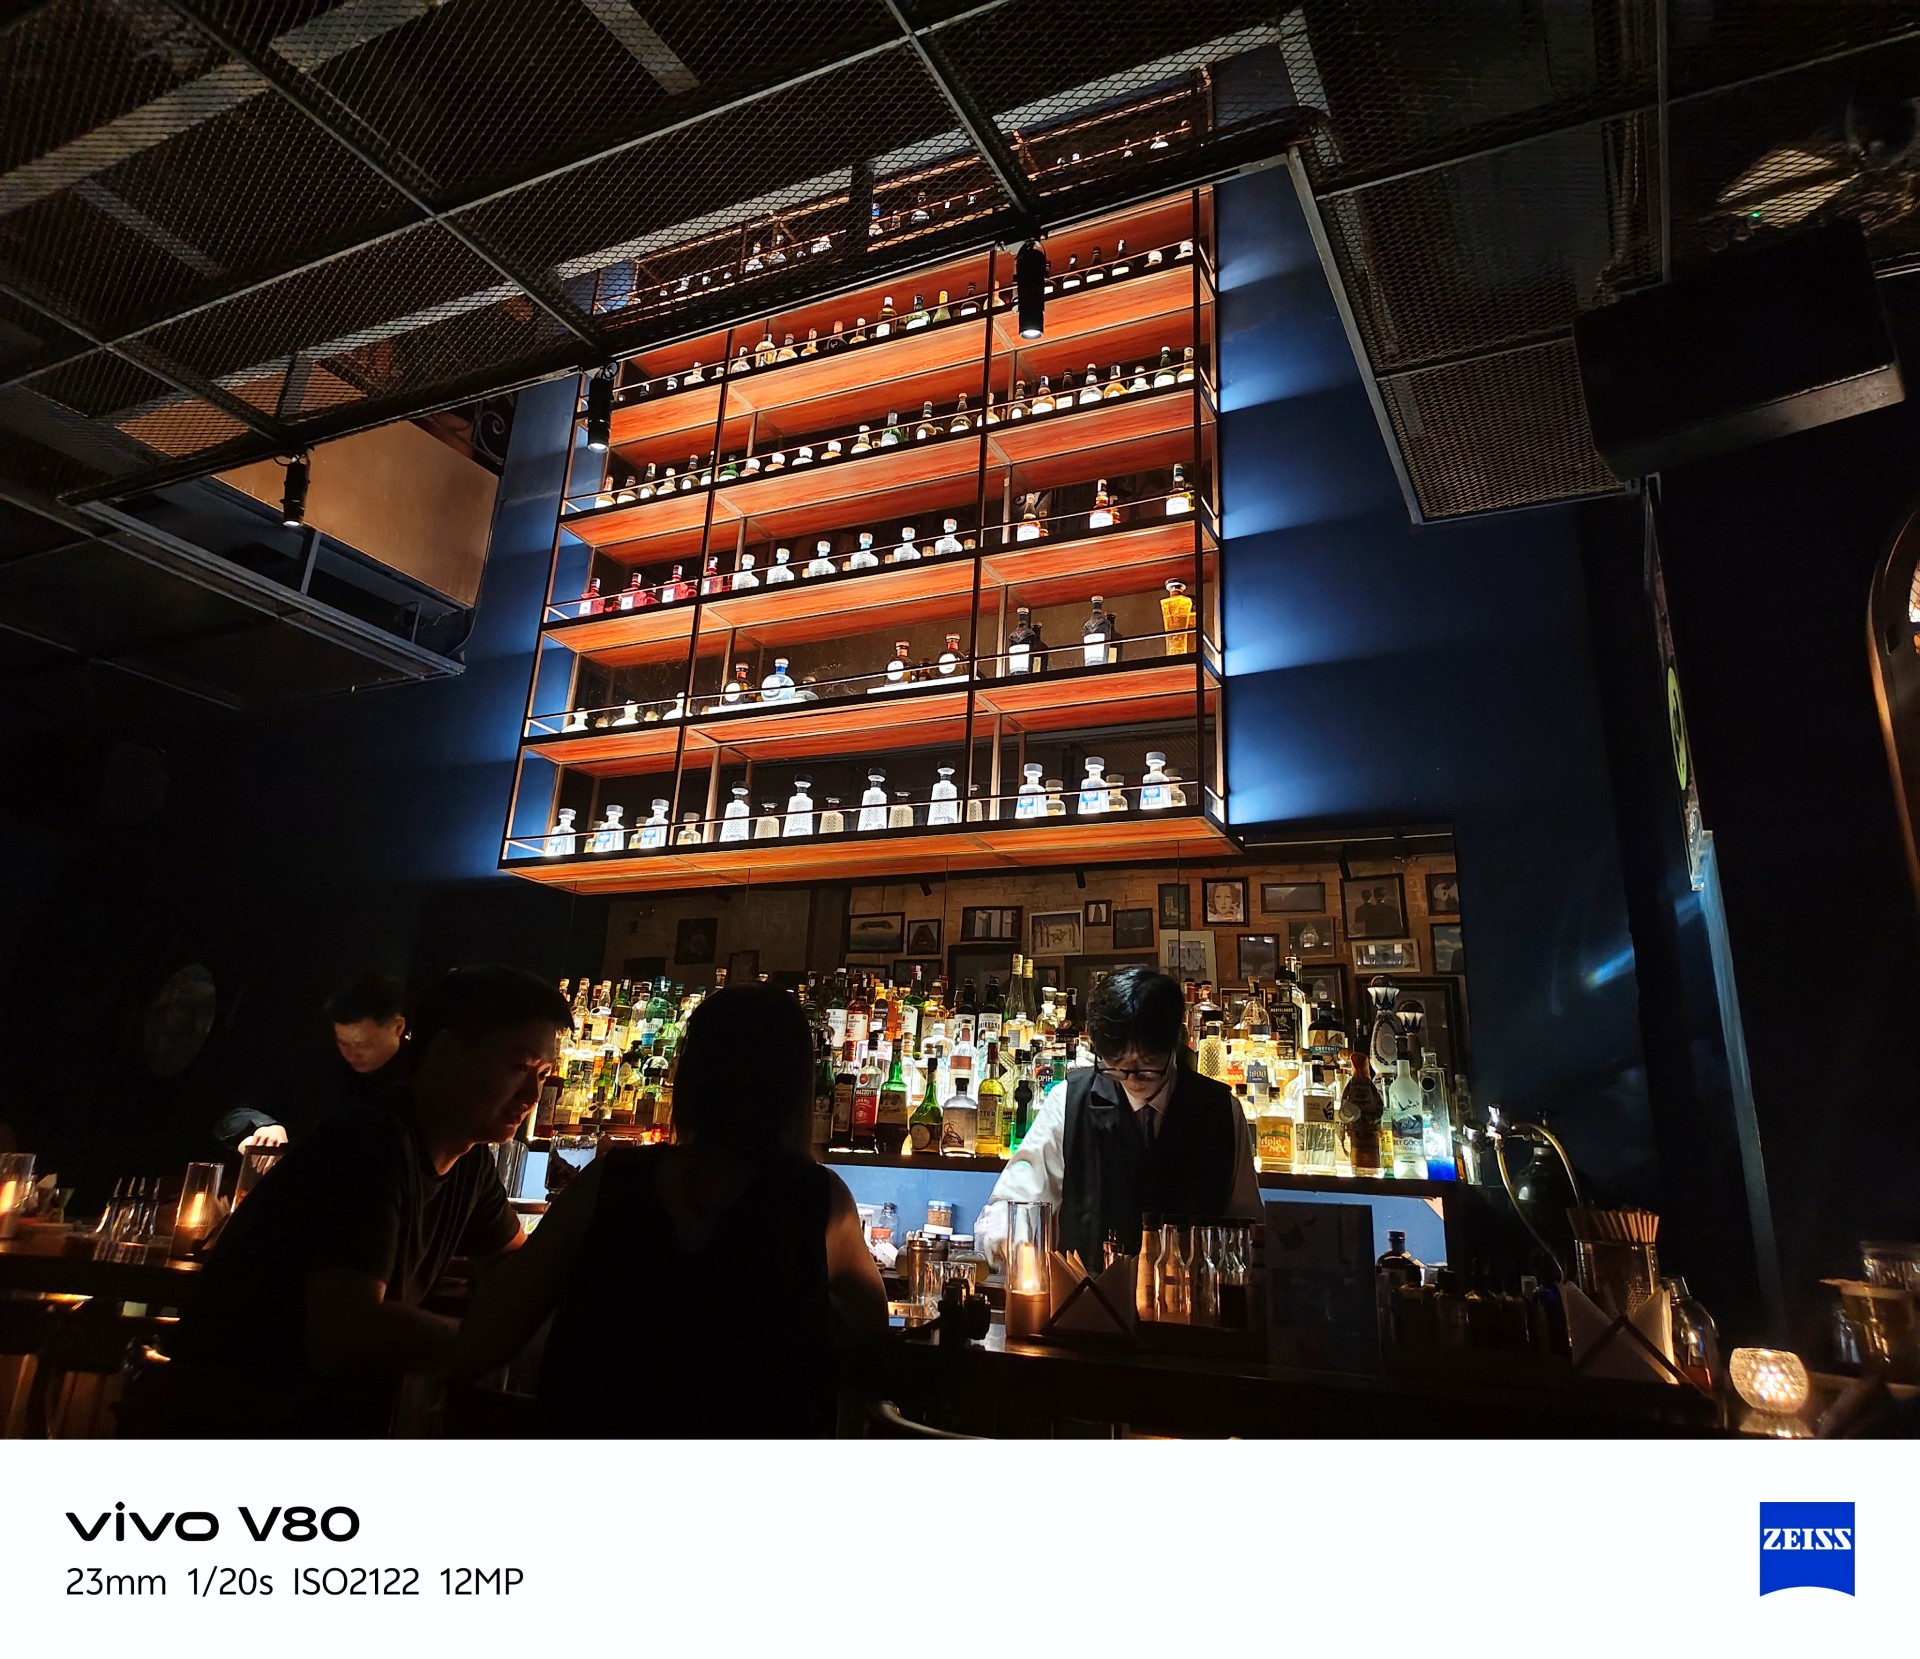
Beyond exposure issues, I also noticed considerable lag when opening the camera after the phone had been idle. There’s a noticeable wait before the camera app becomes usable.
This could mean missing the moment, which is crucial when taking photos. The solution is to stay ready, although a software patch to address this wouldn’t hurt.
Despite those two issues, I enjoyed taking photos with the vivo V80. More samples below.
Quaint little cafe
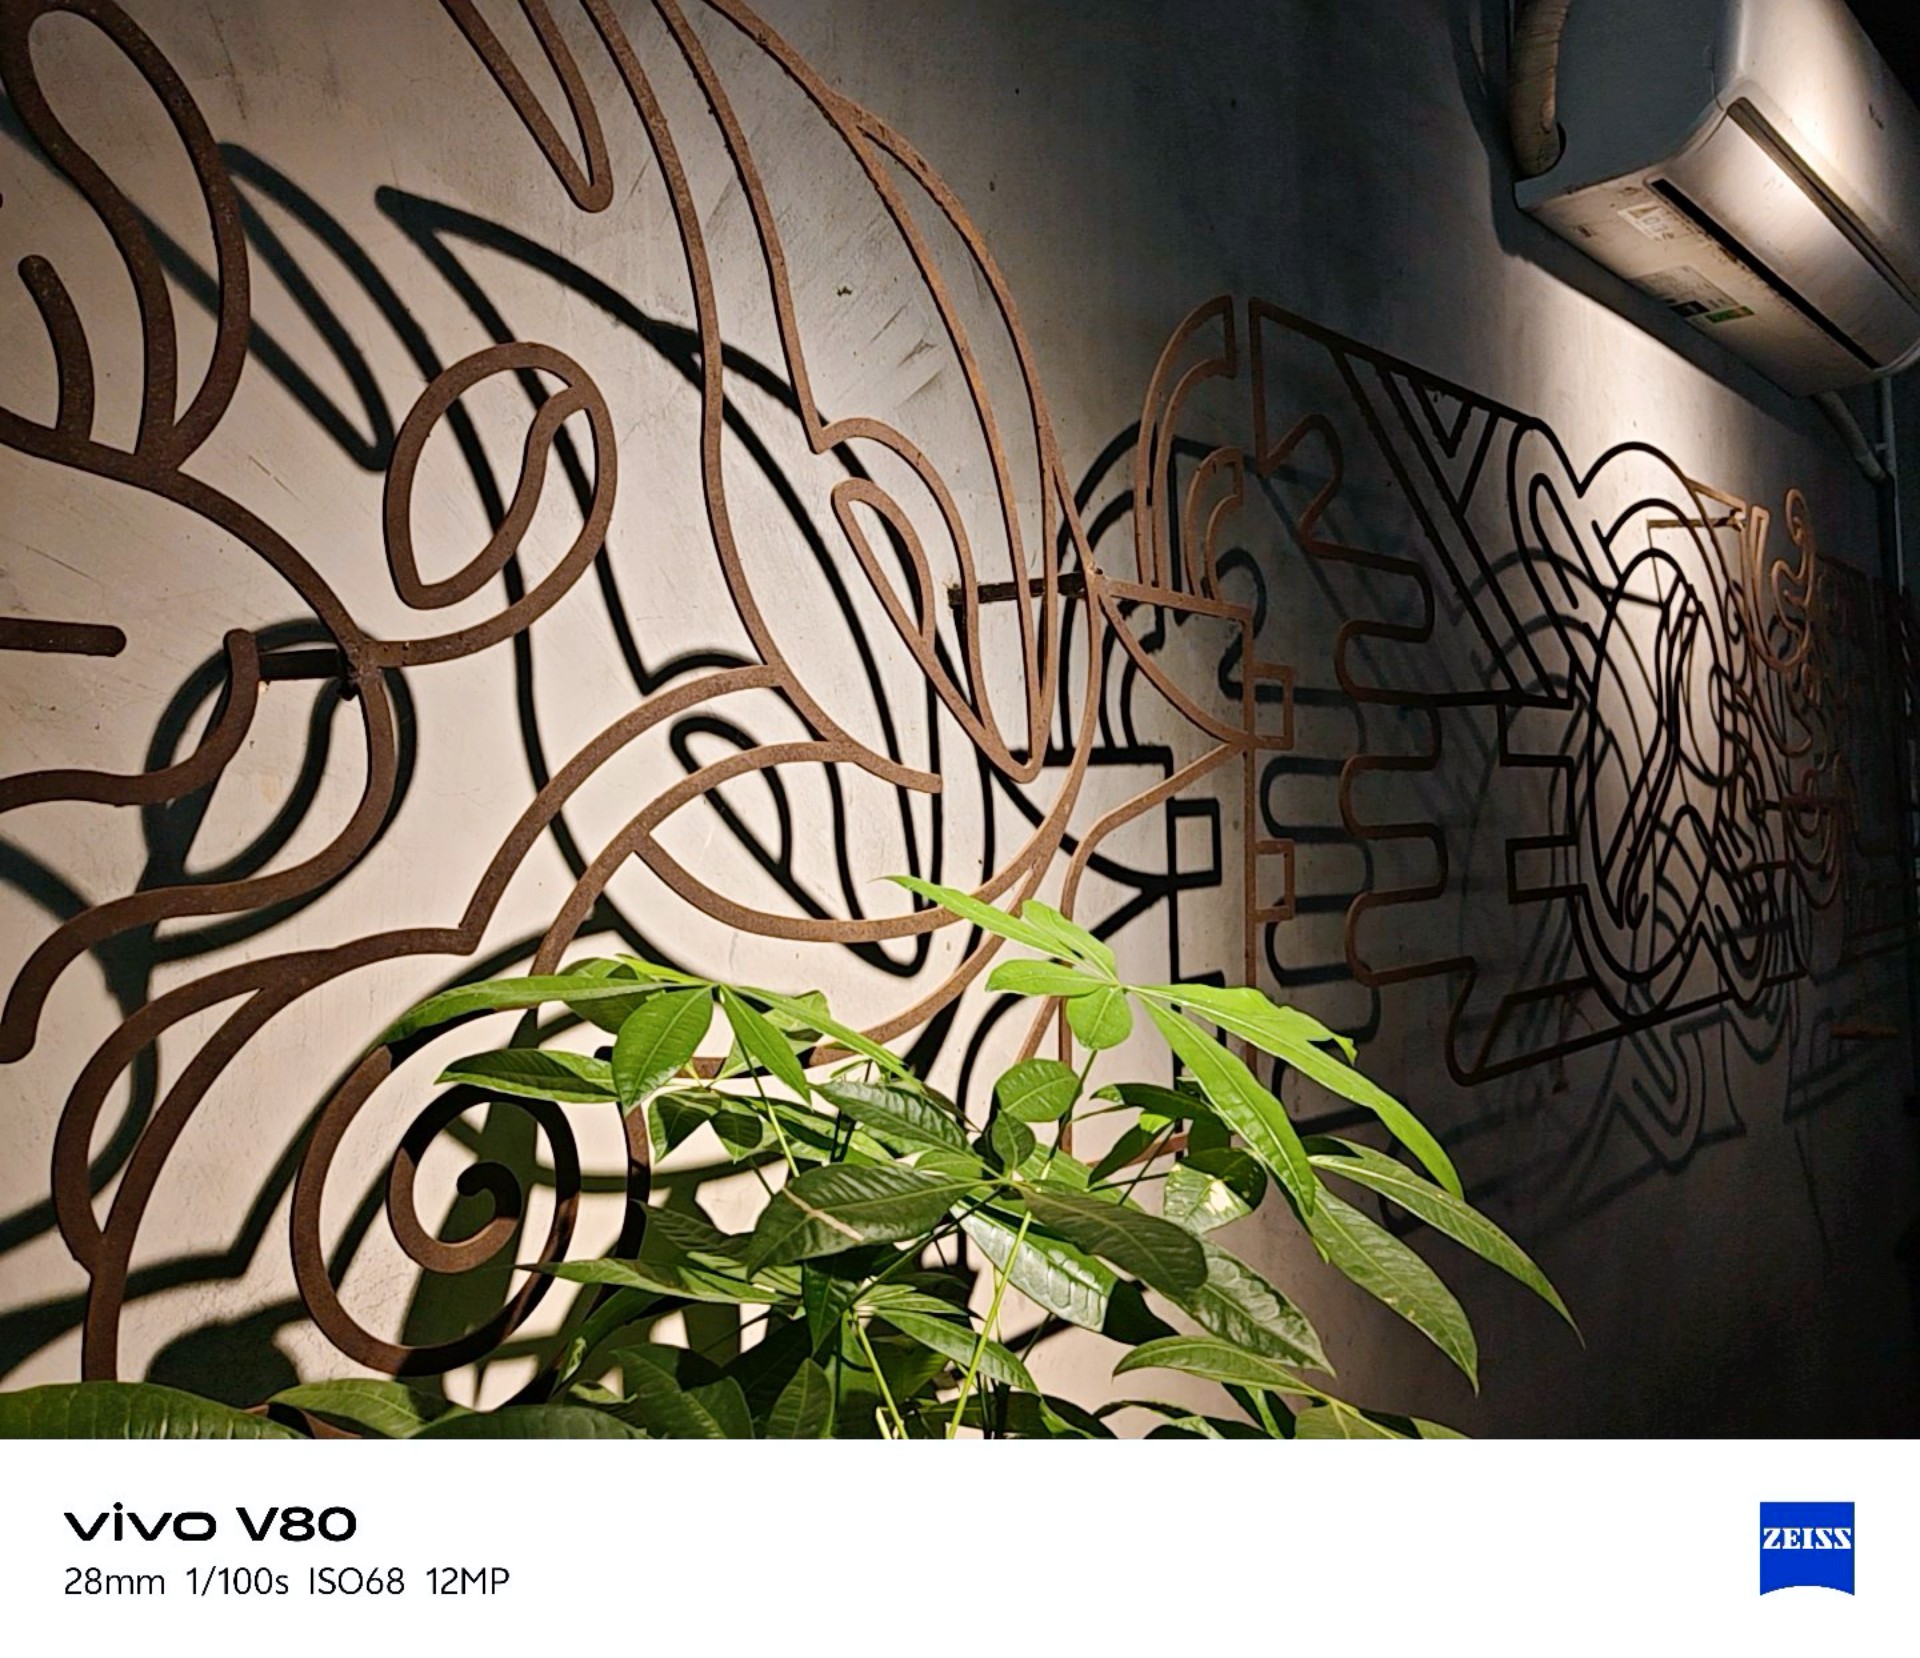




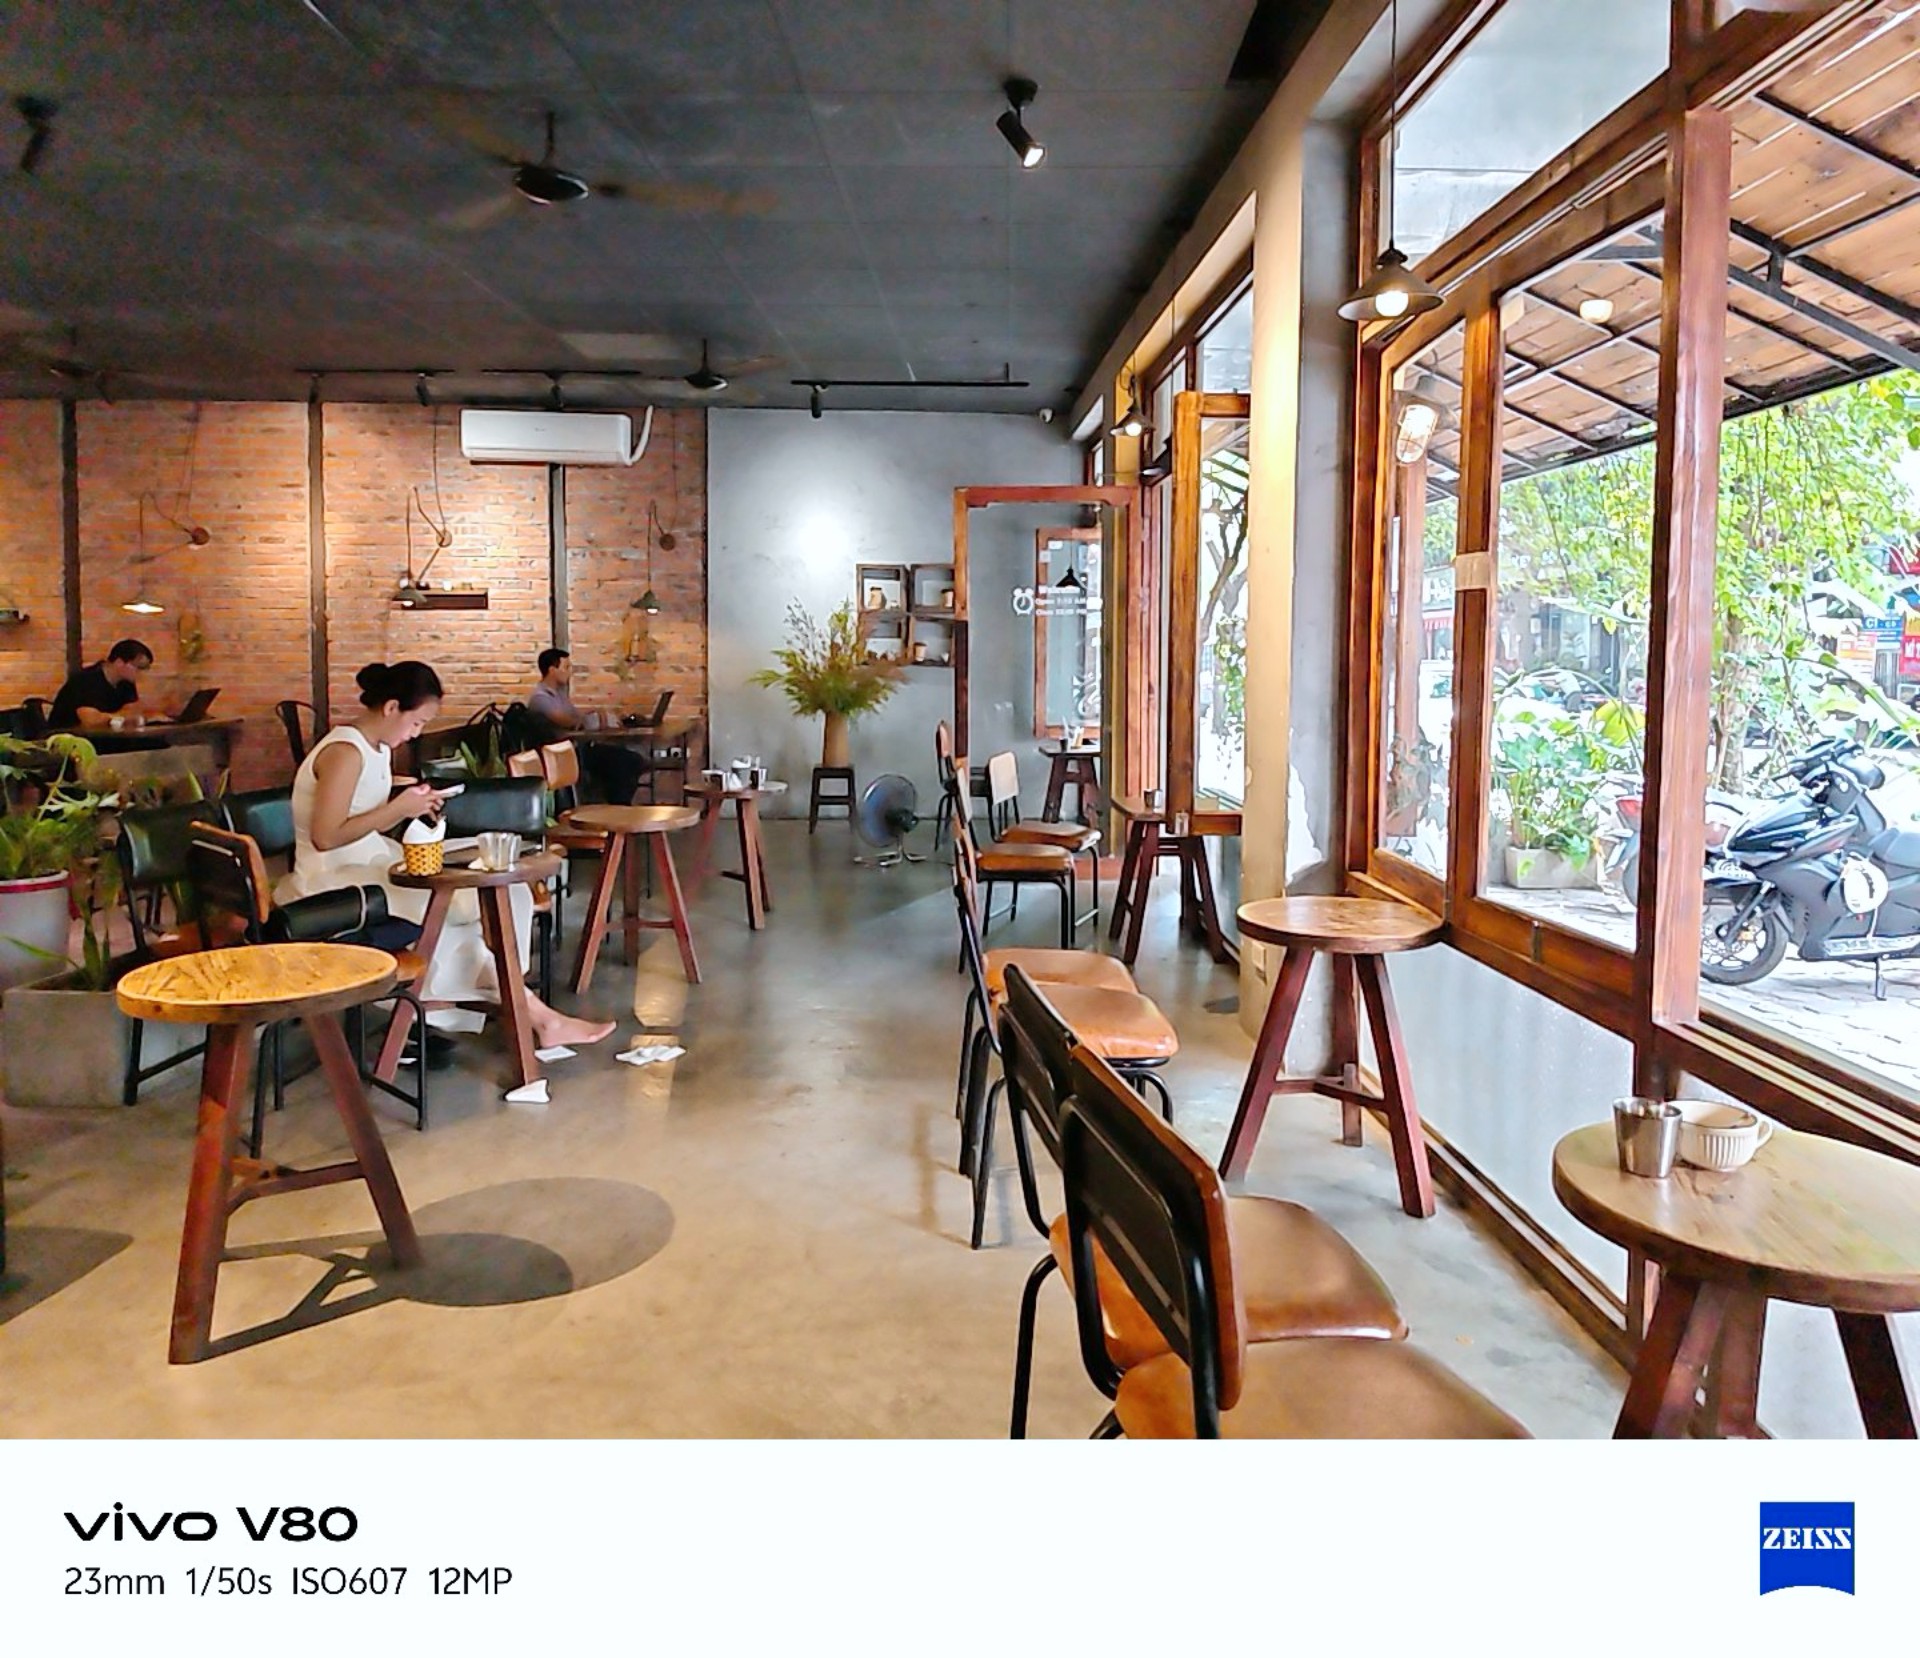
vivo Textured
I realized I was shooting mostly in Vivid mode so I tried textured for a while. Here are the results.
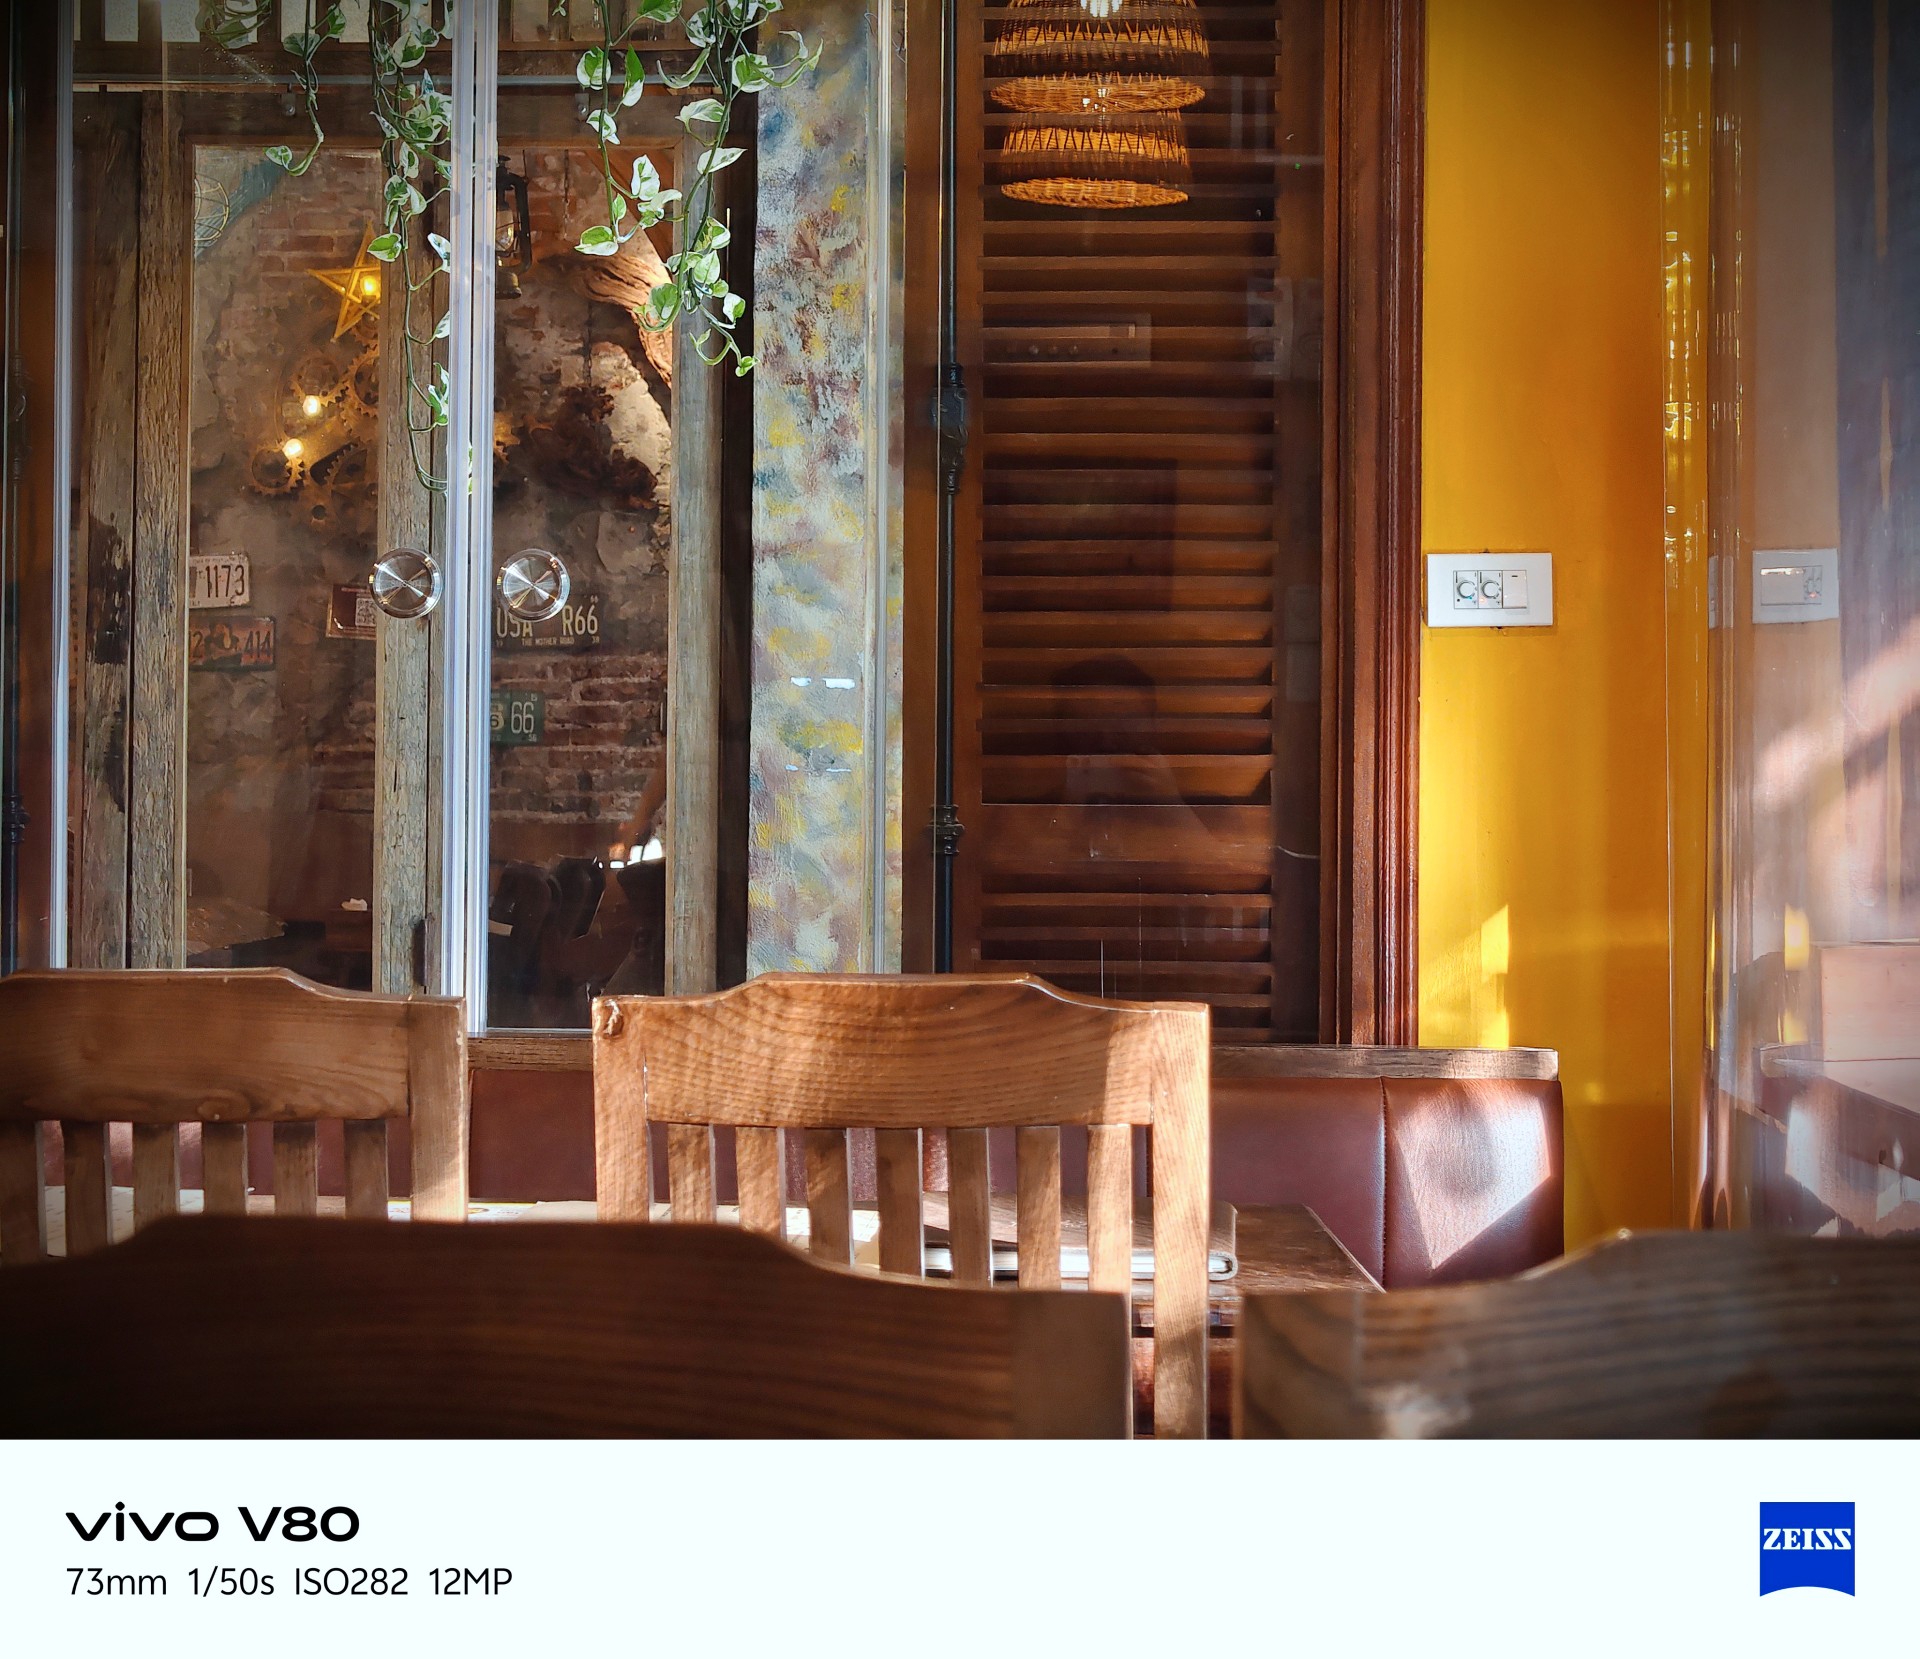
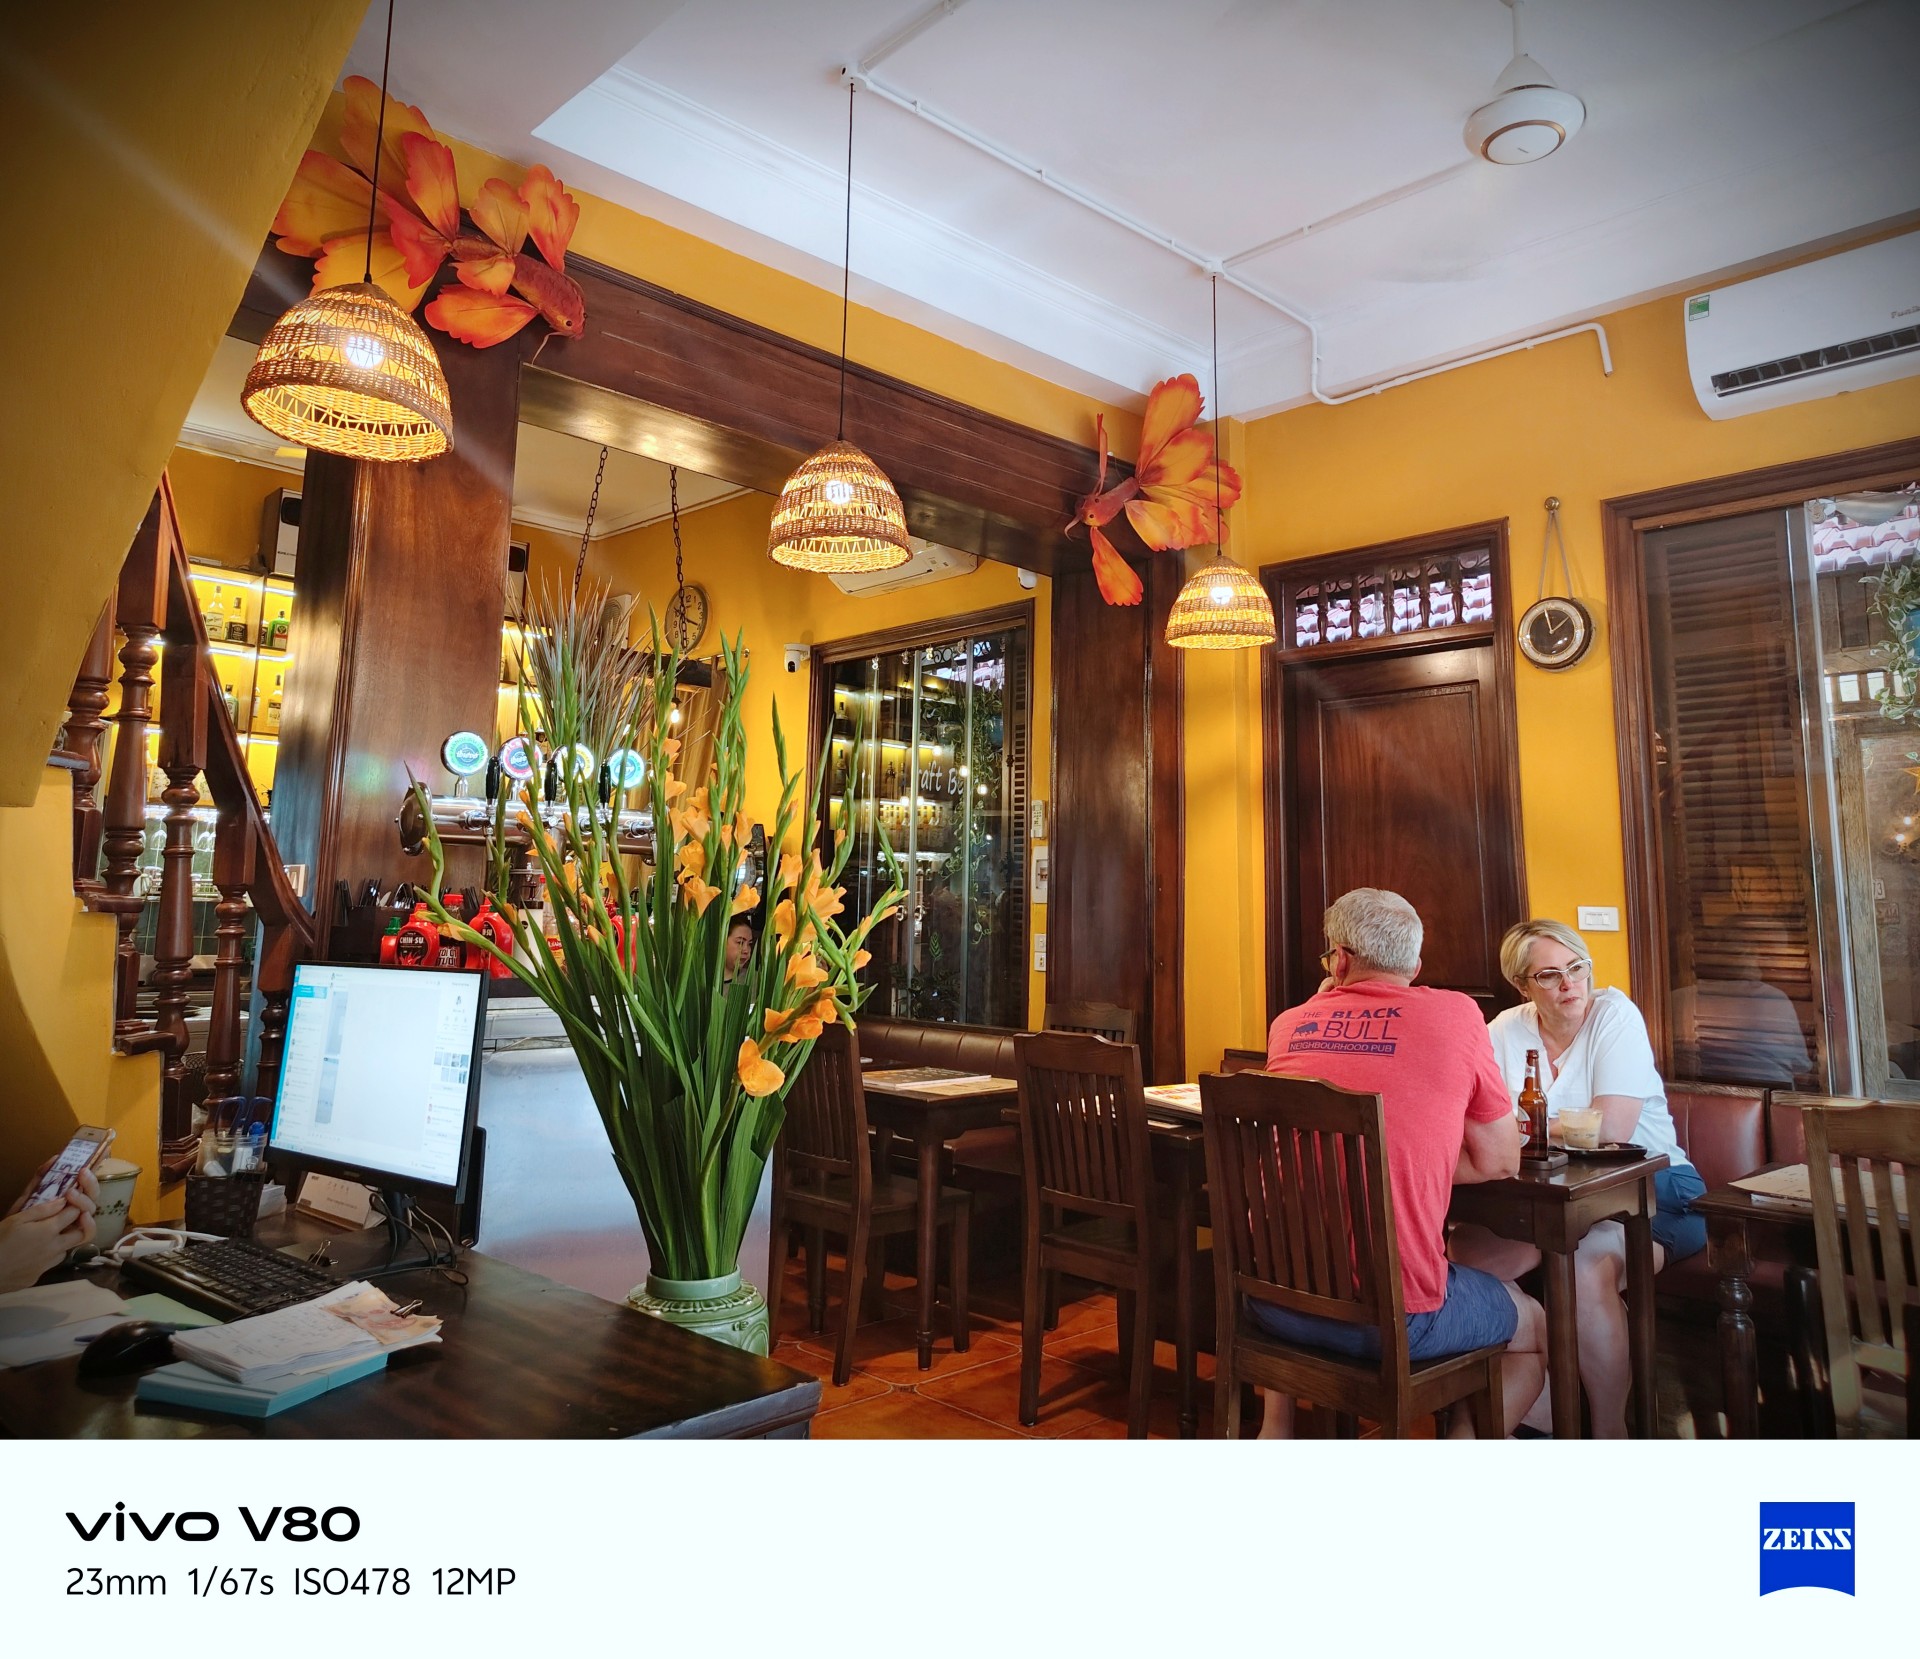






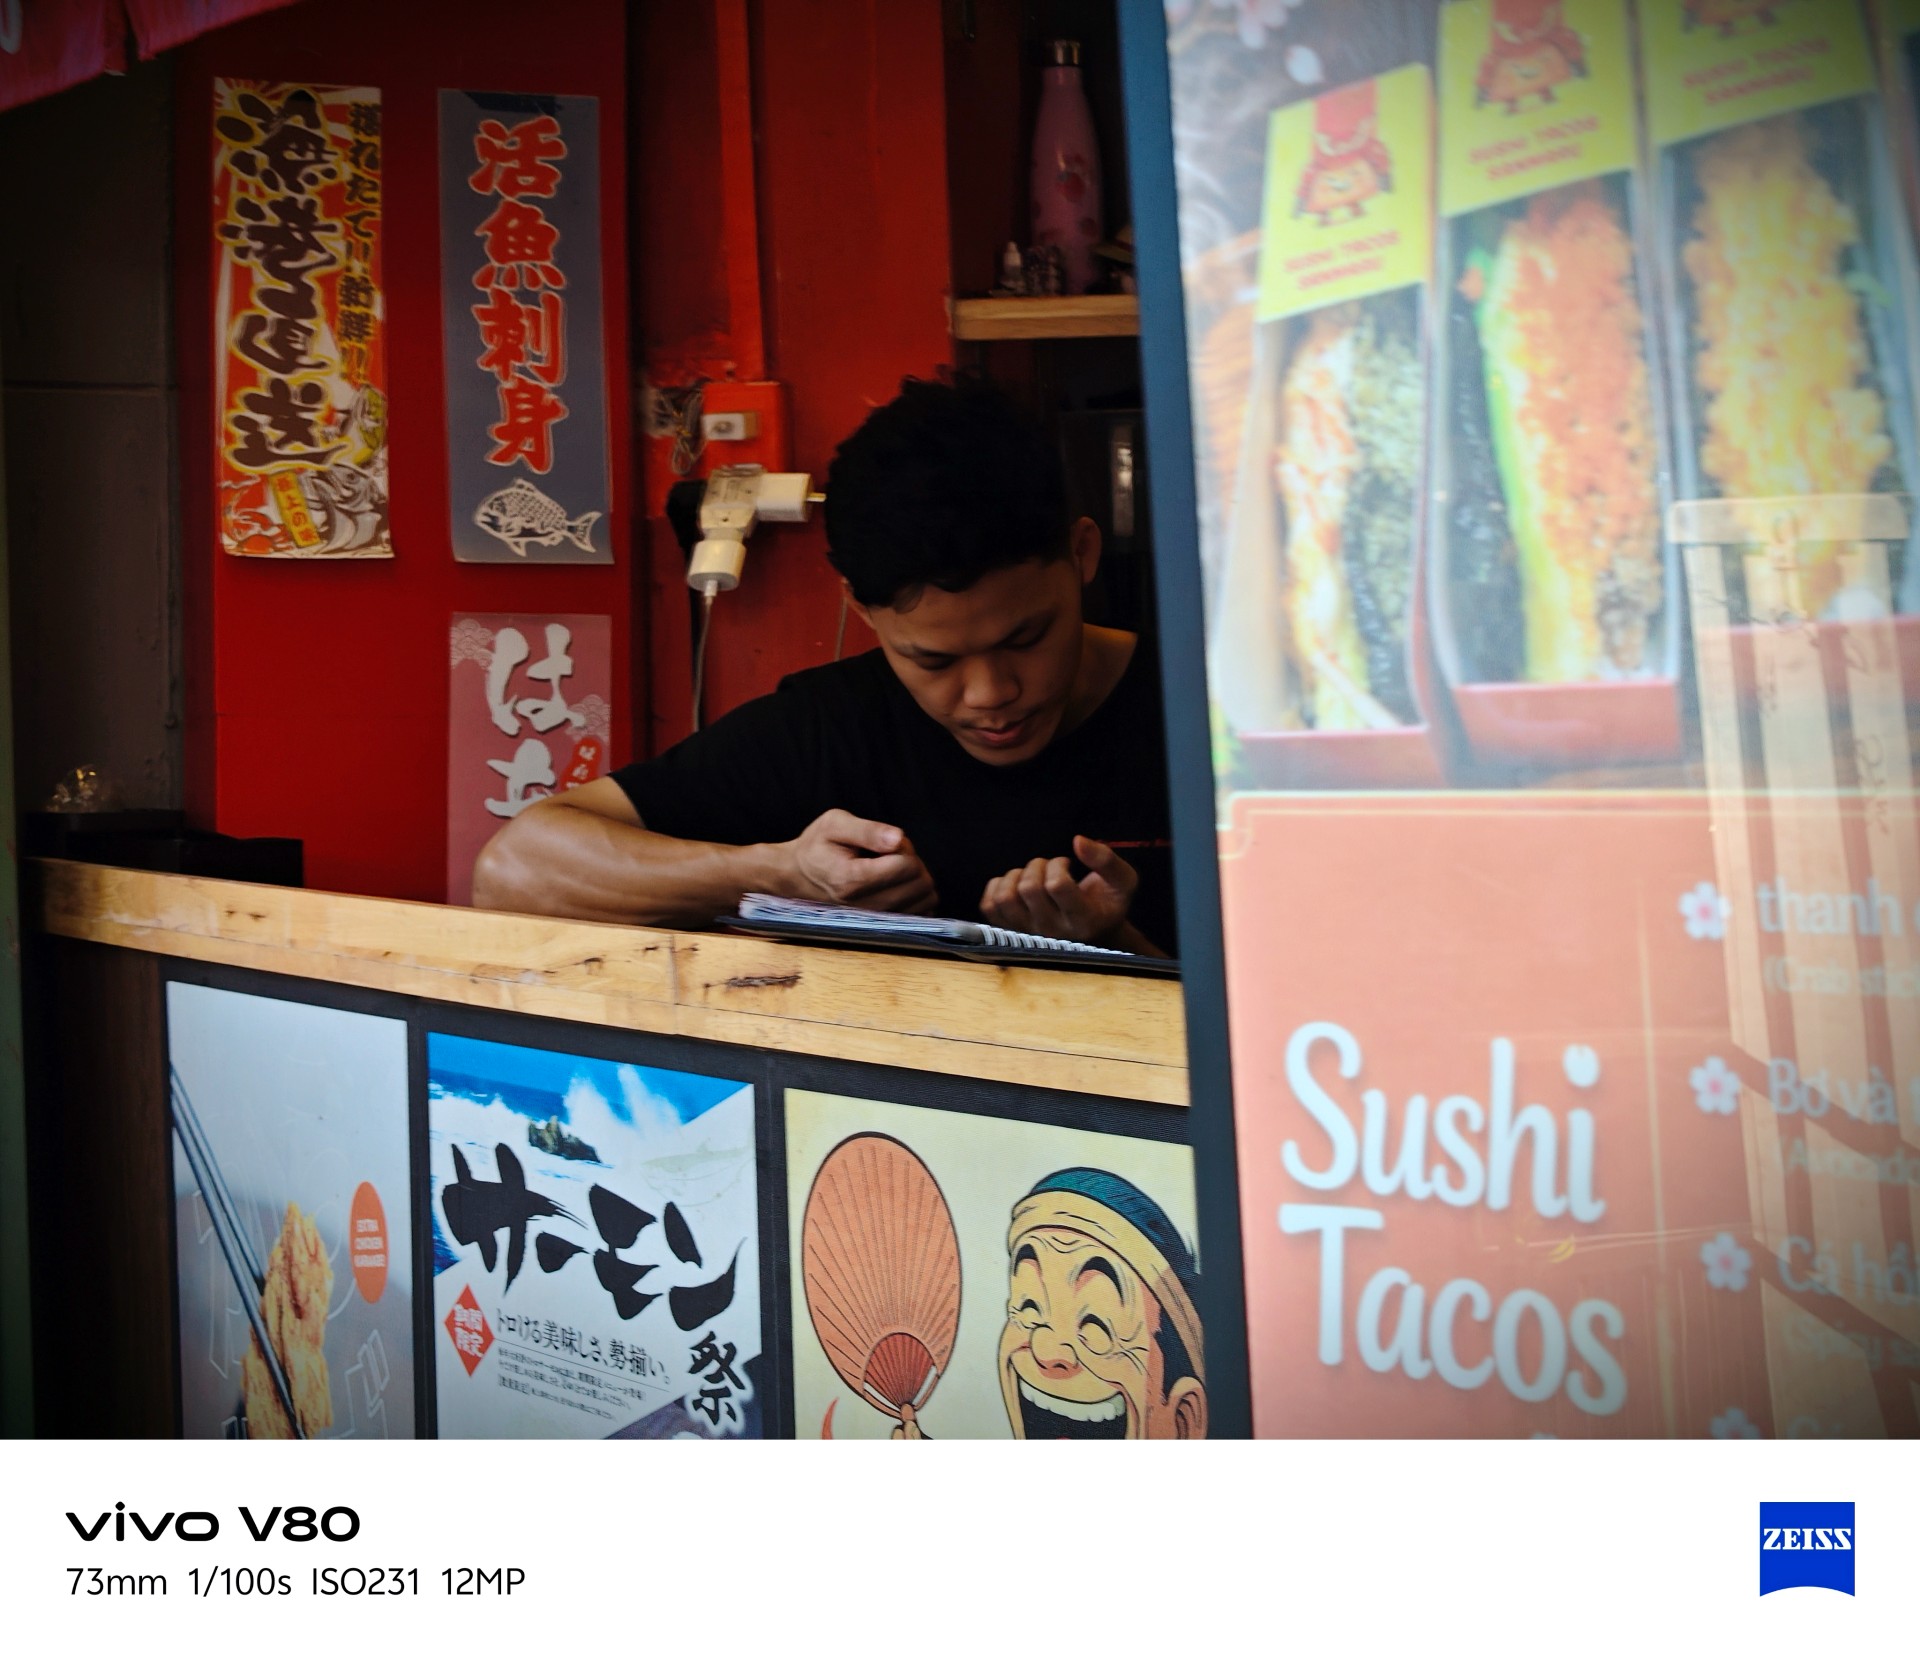
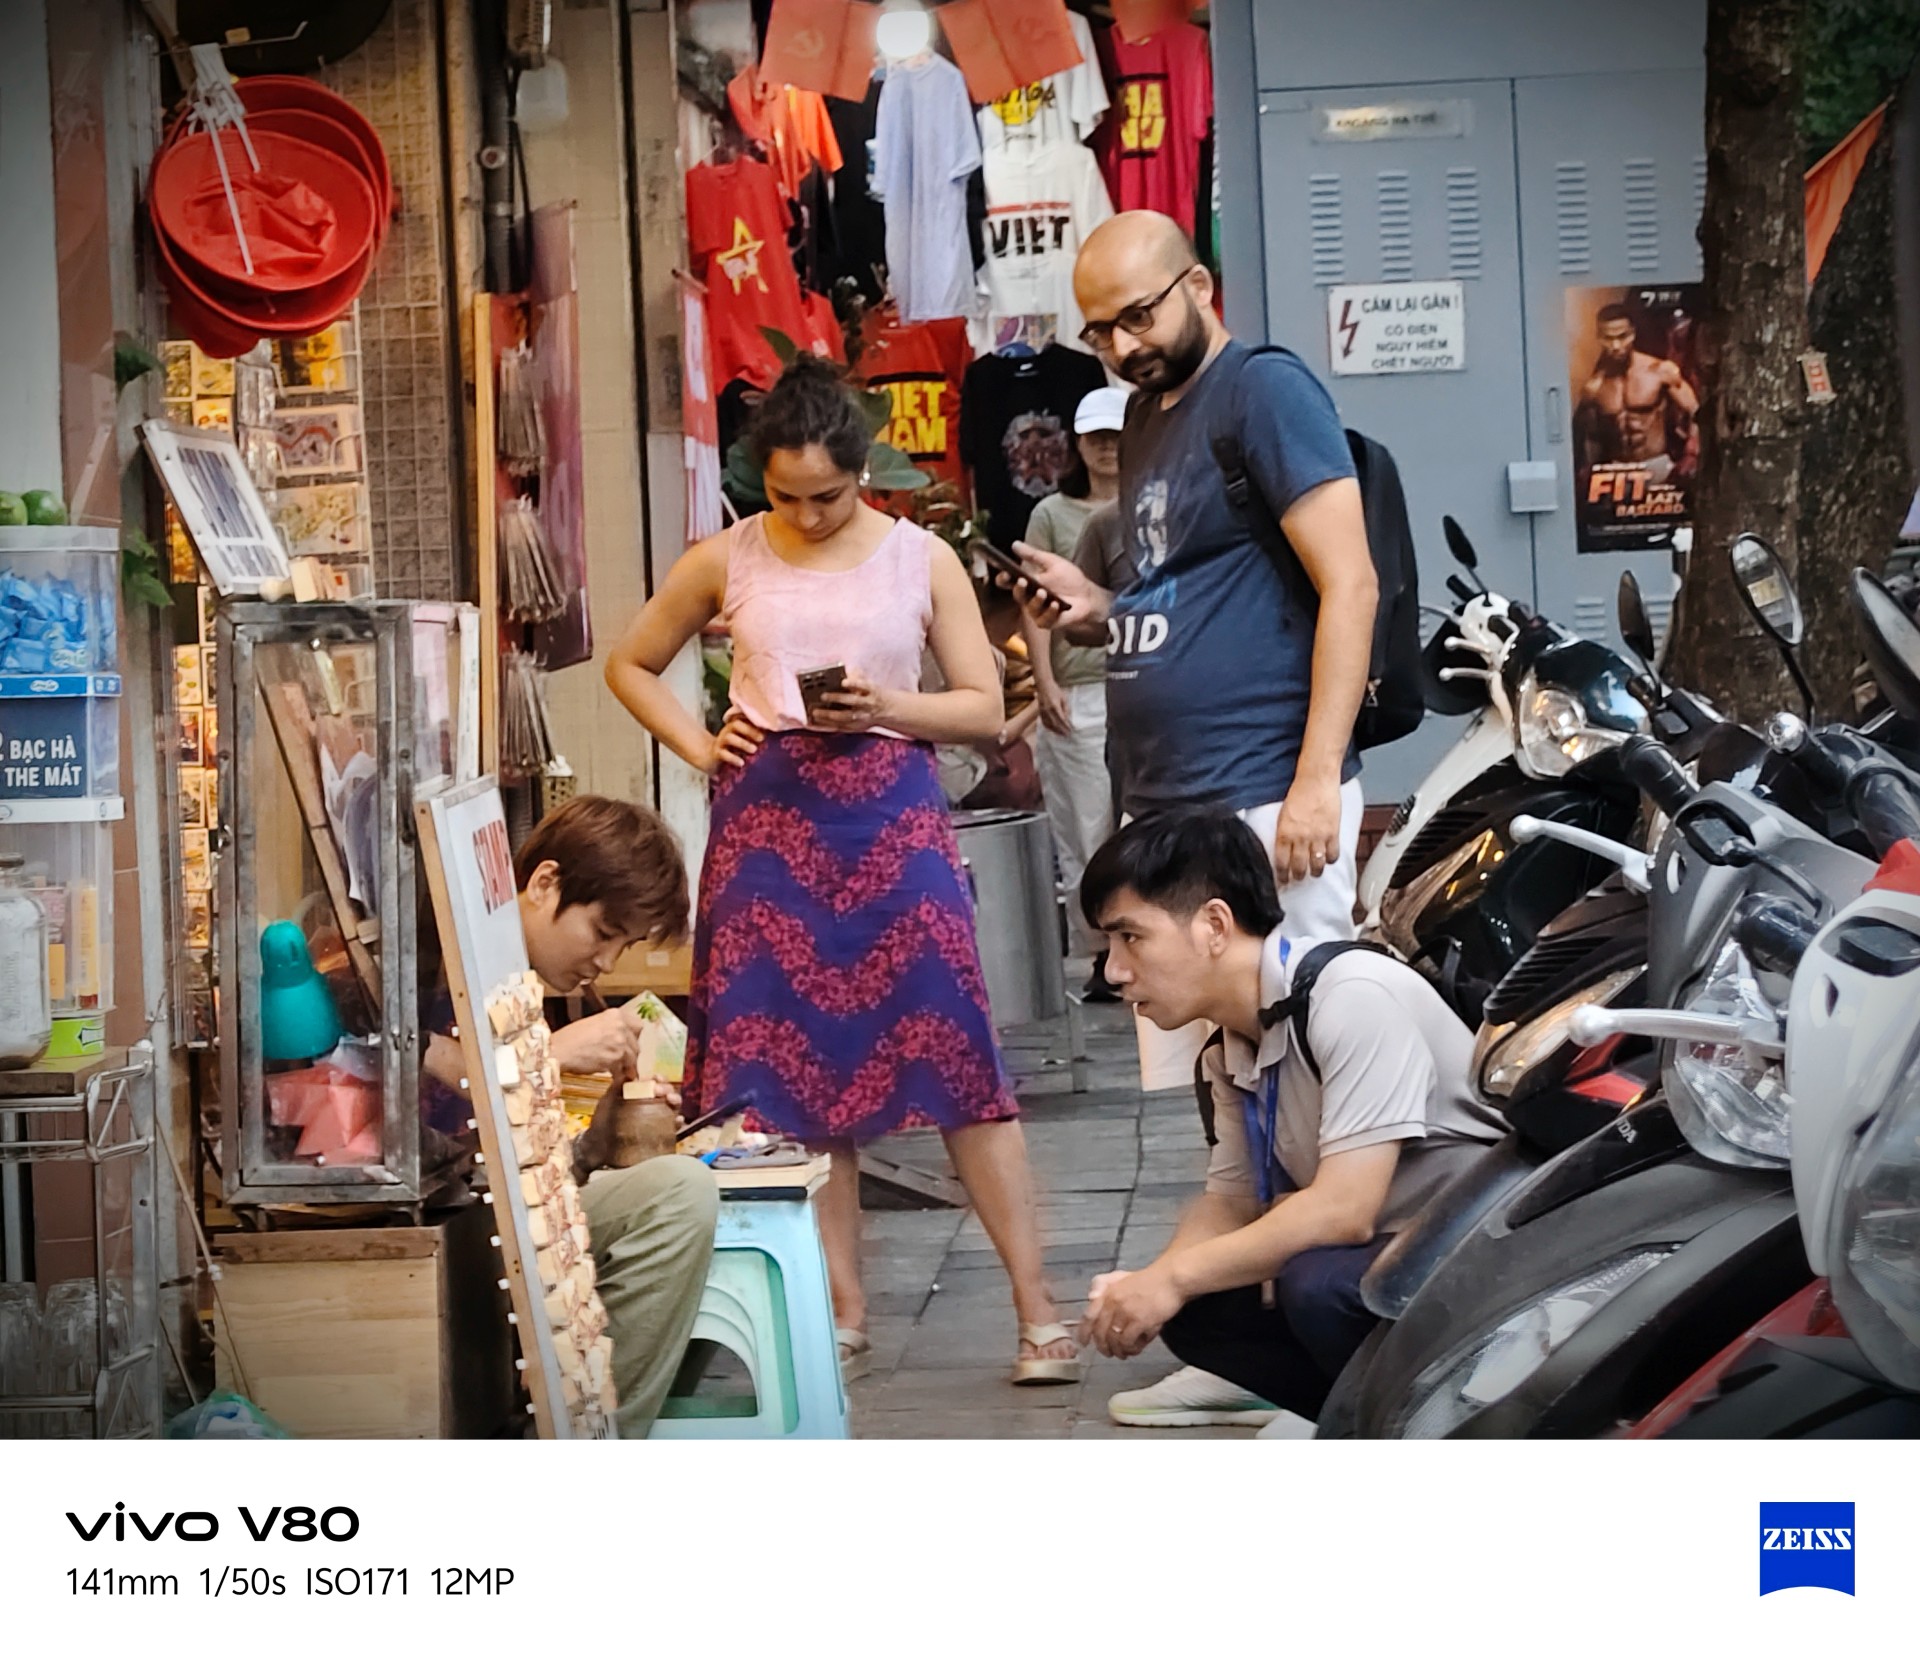


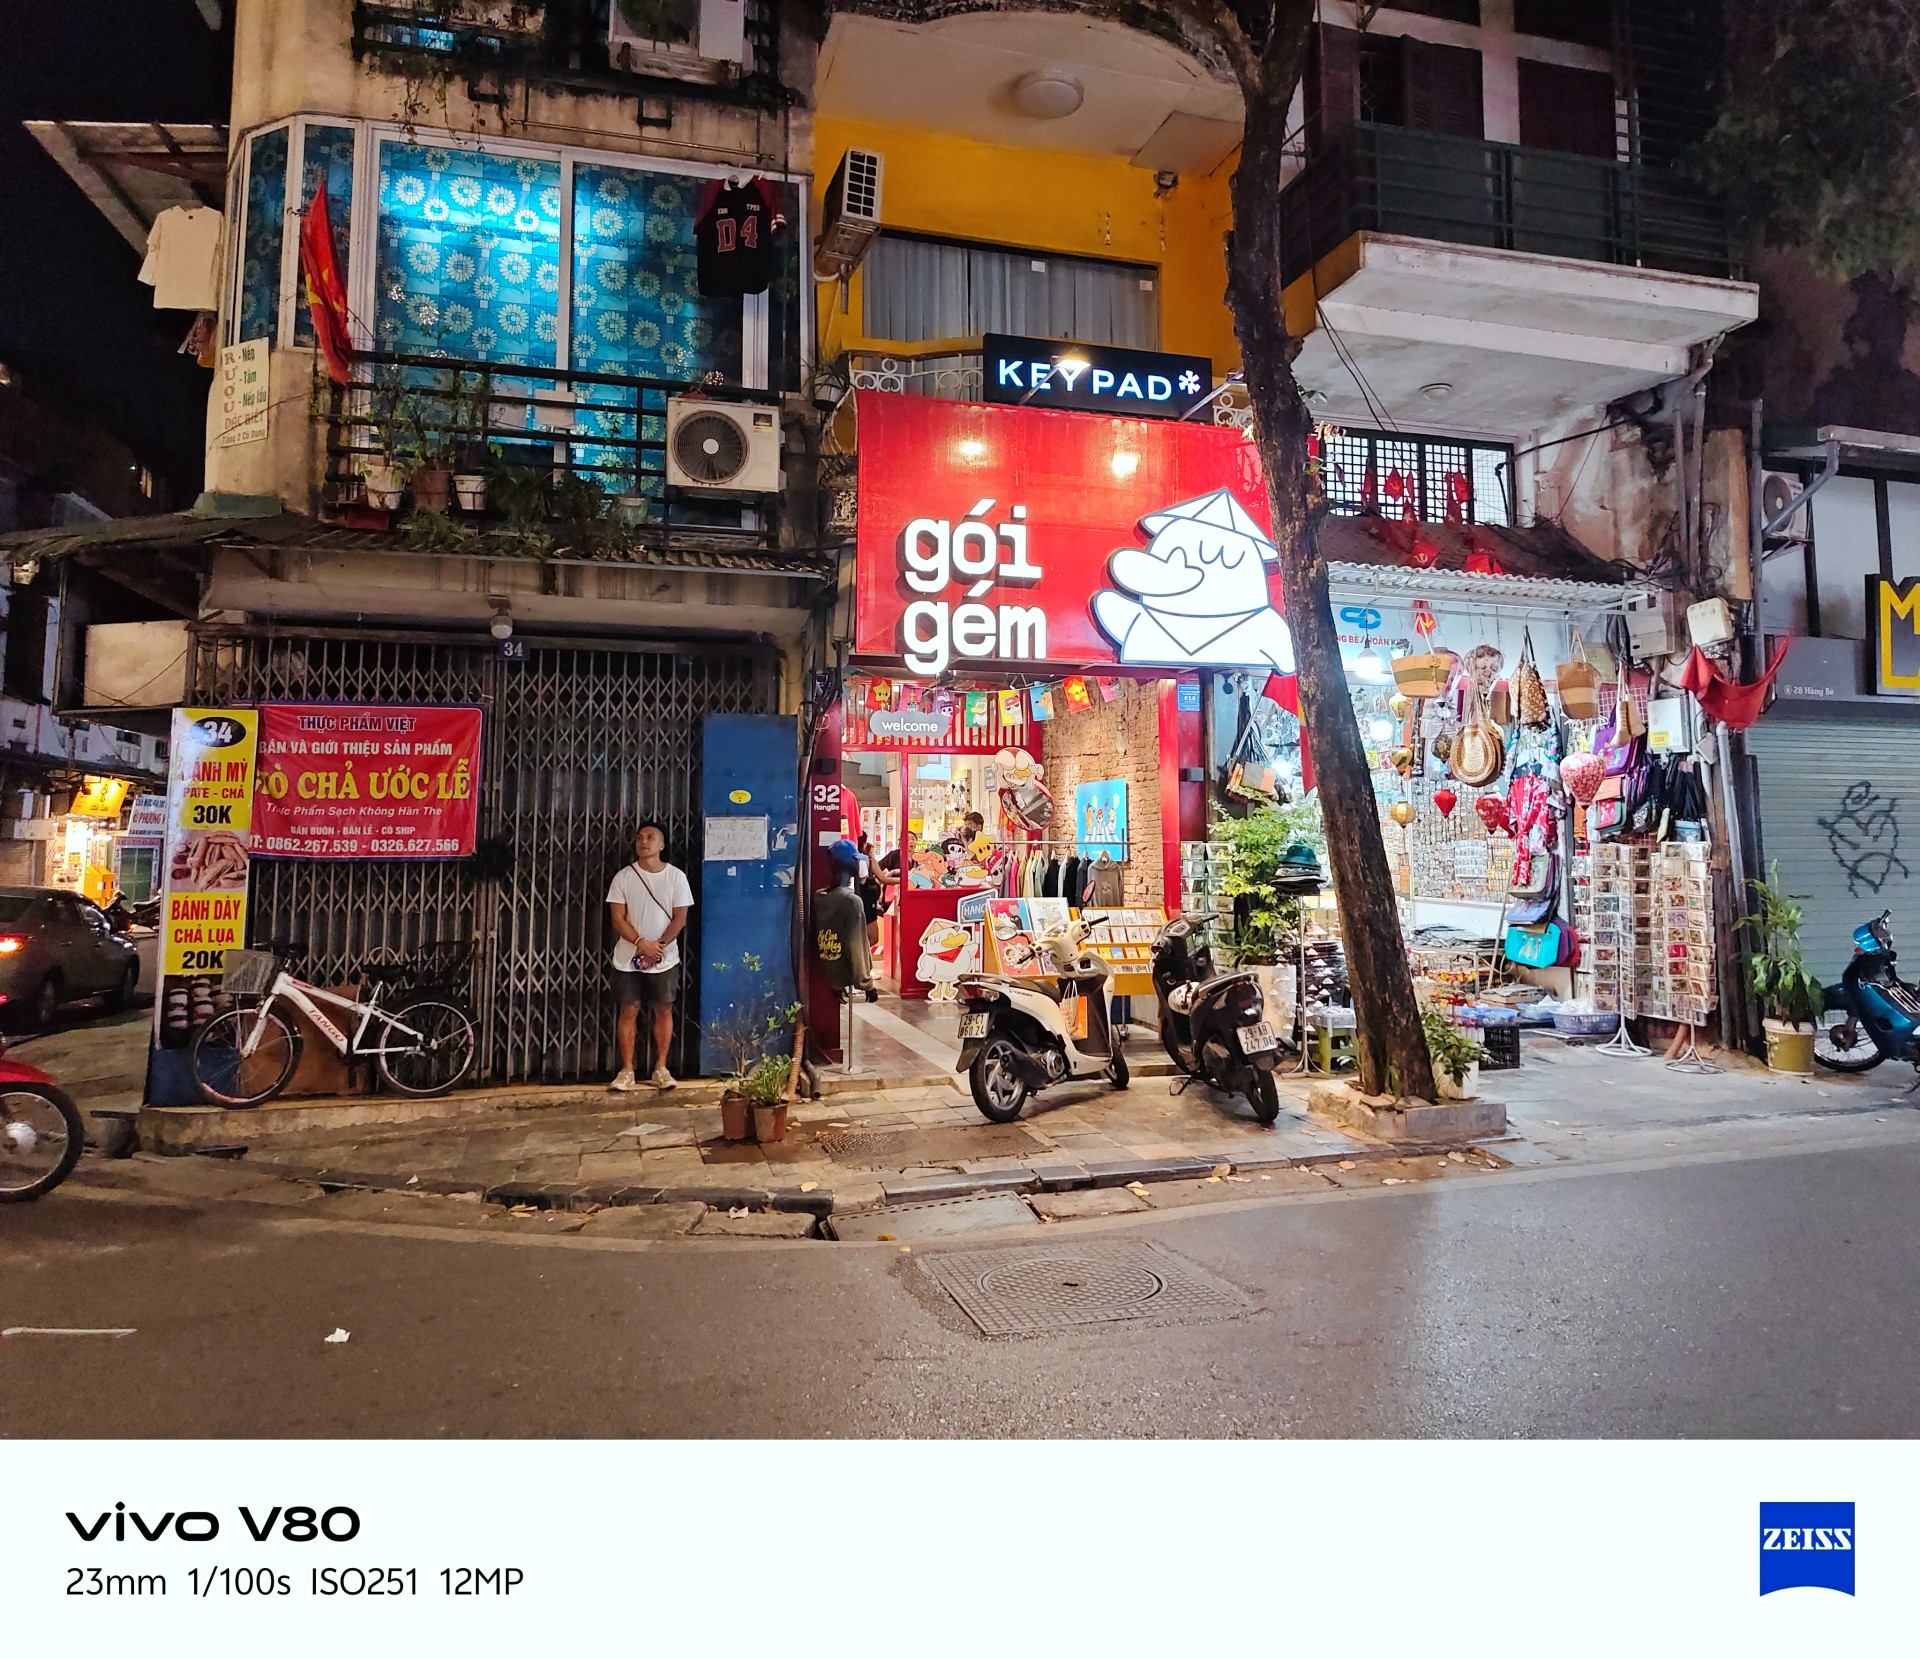
Best souvenir shop: Goi Gem


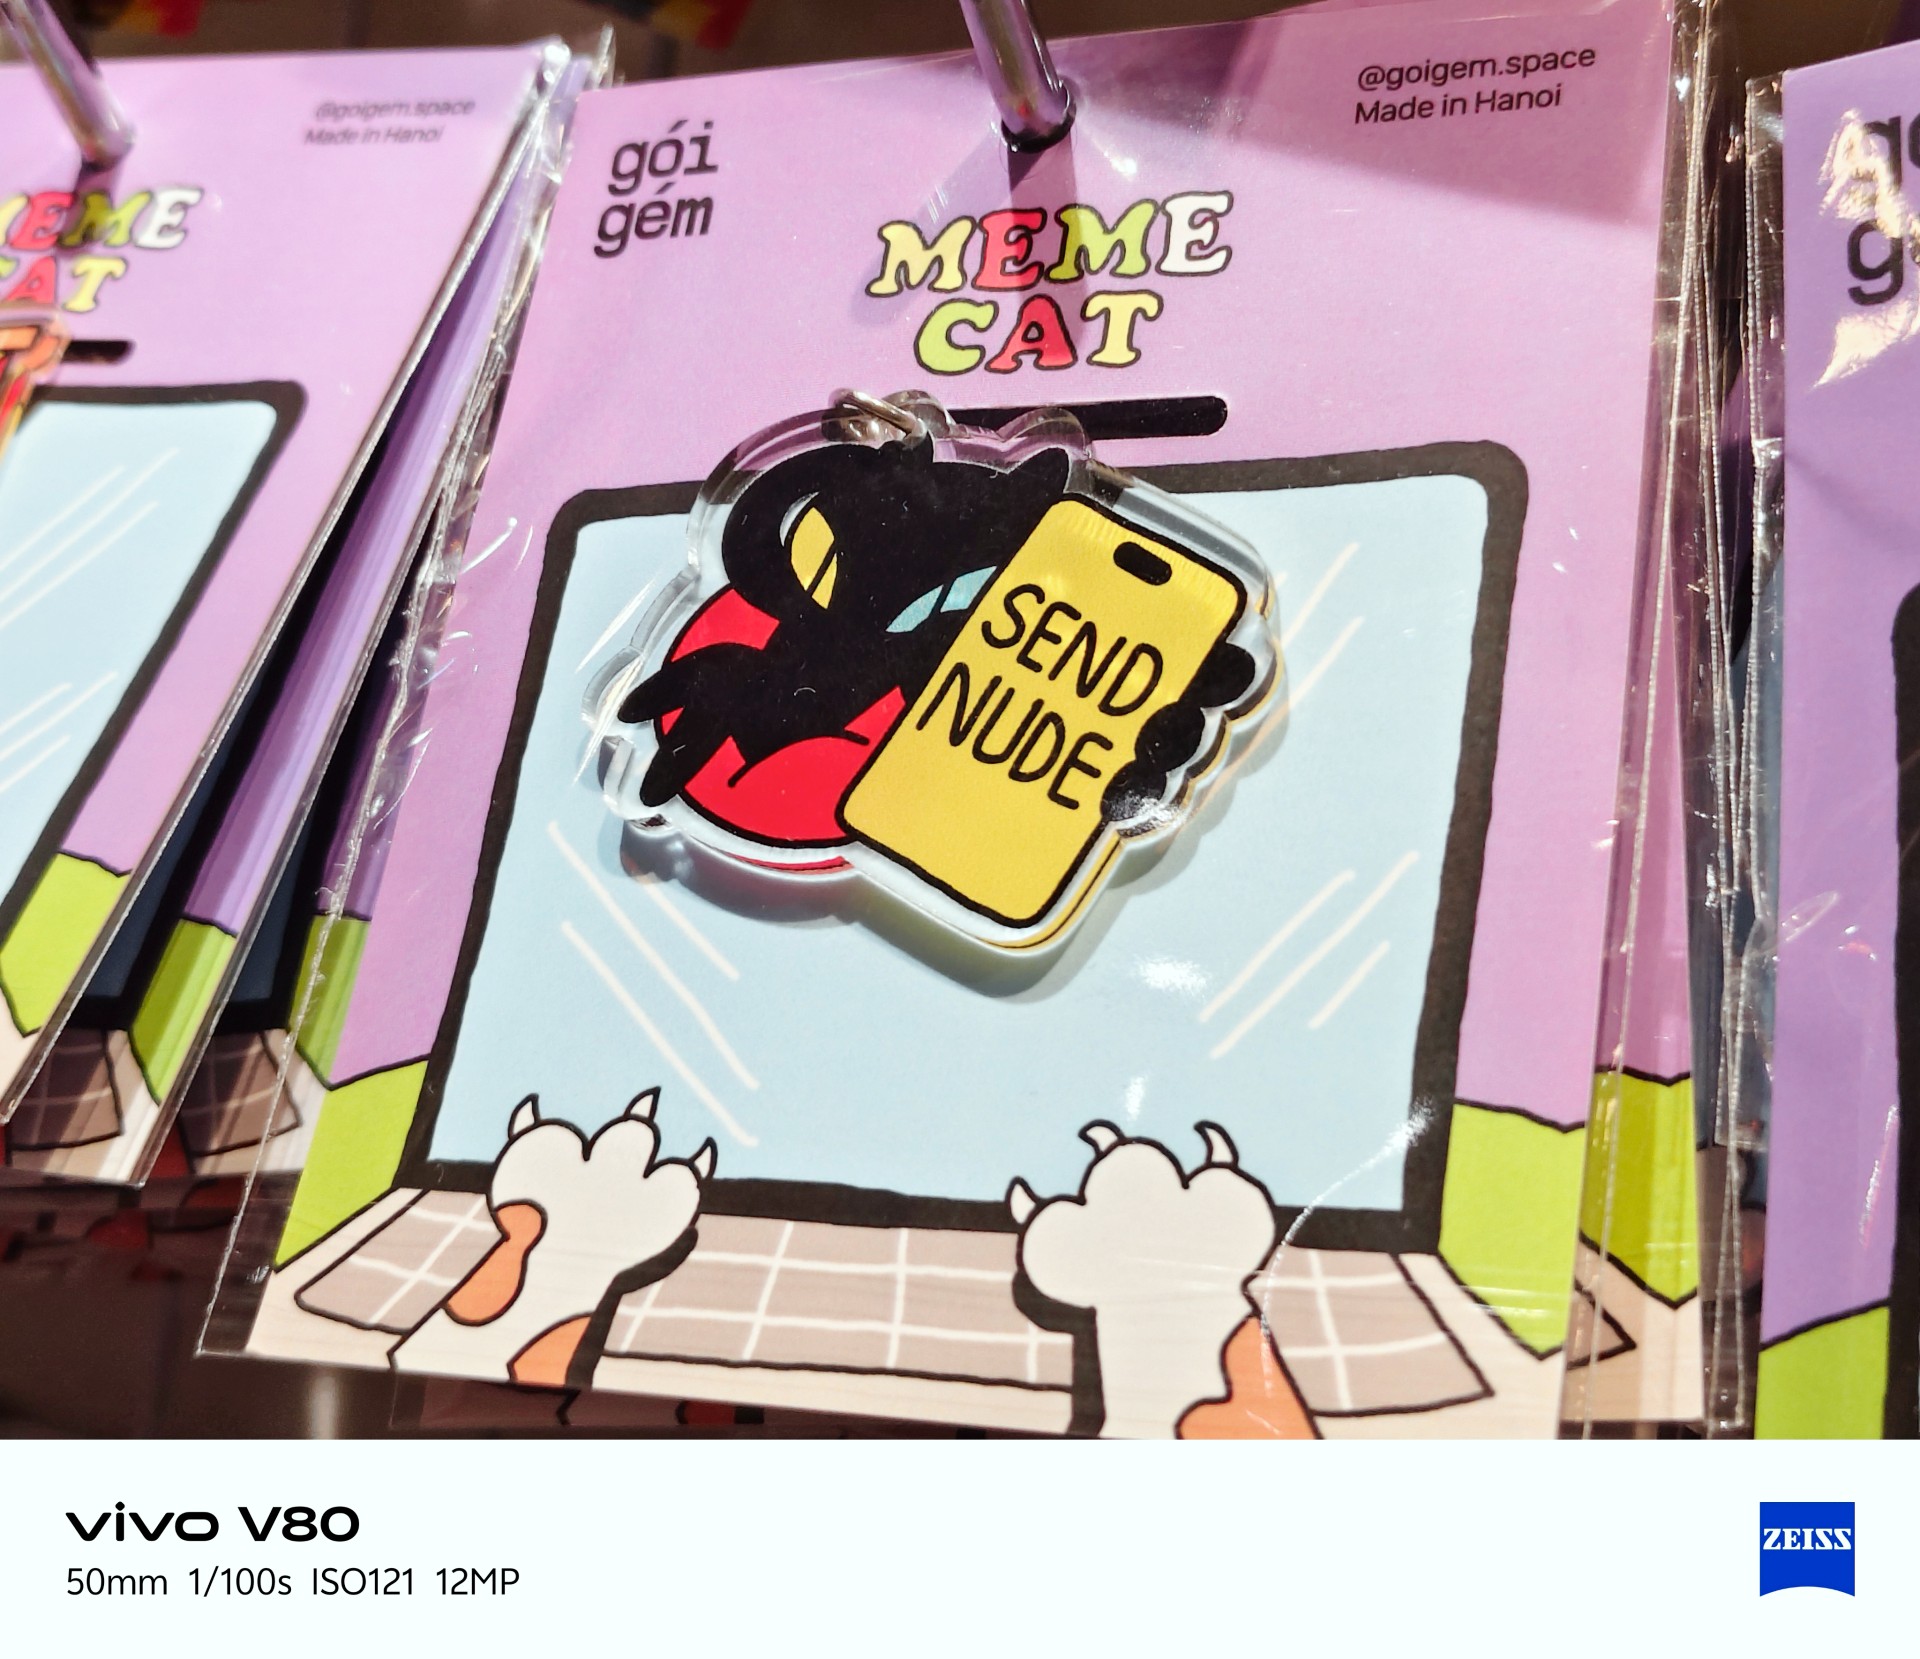

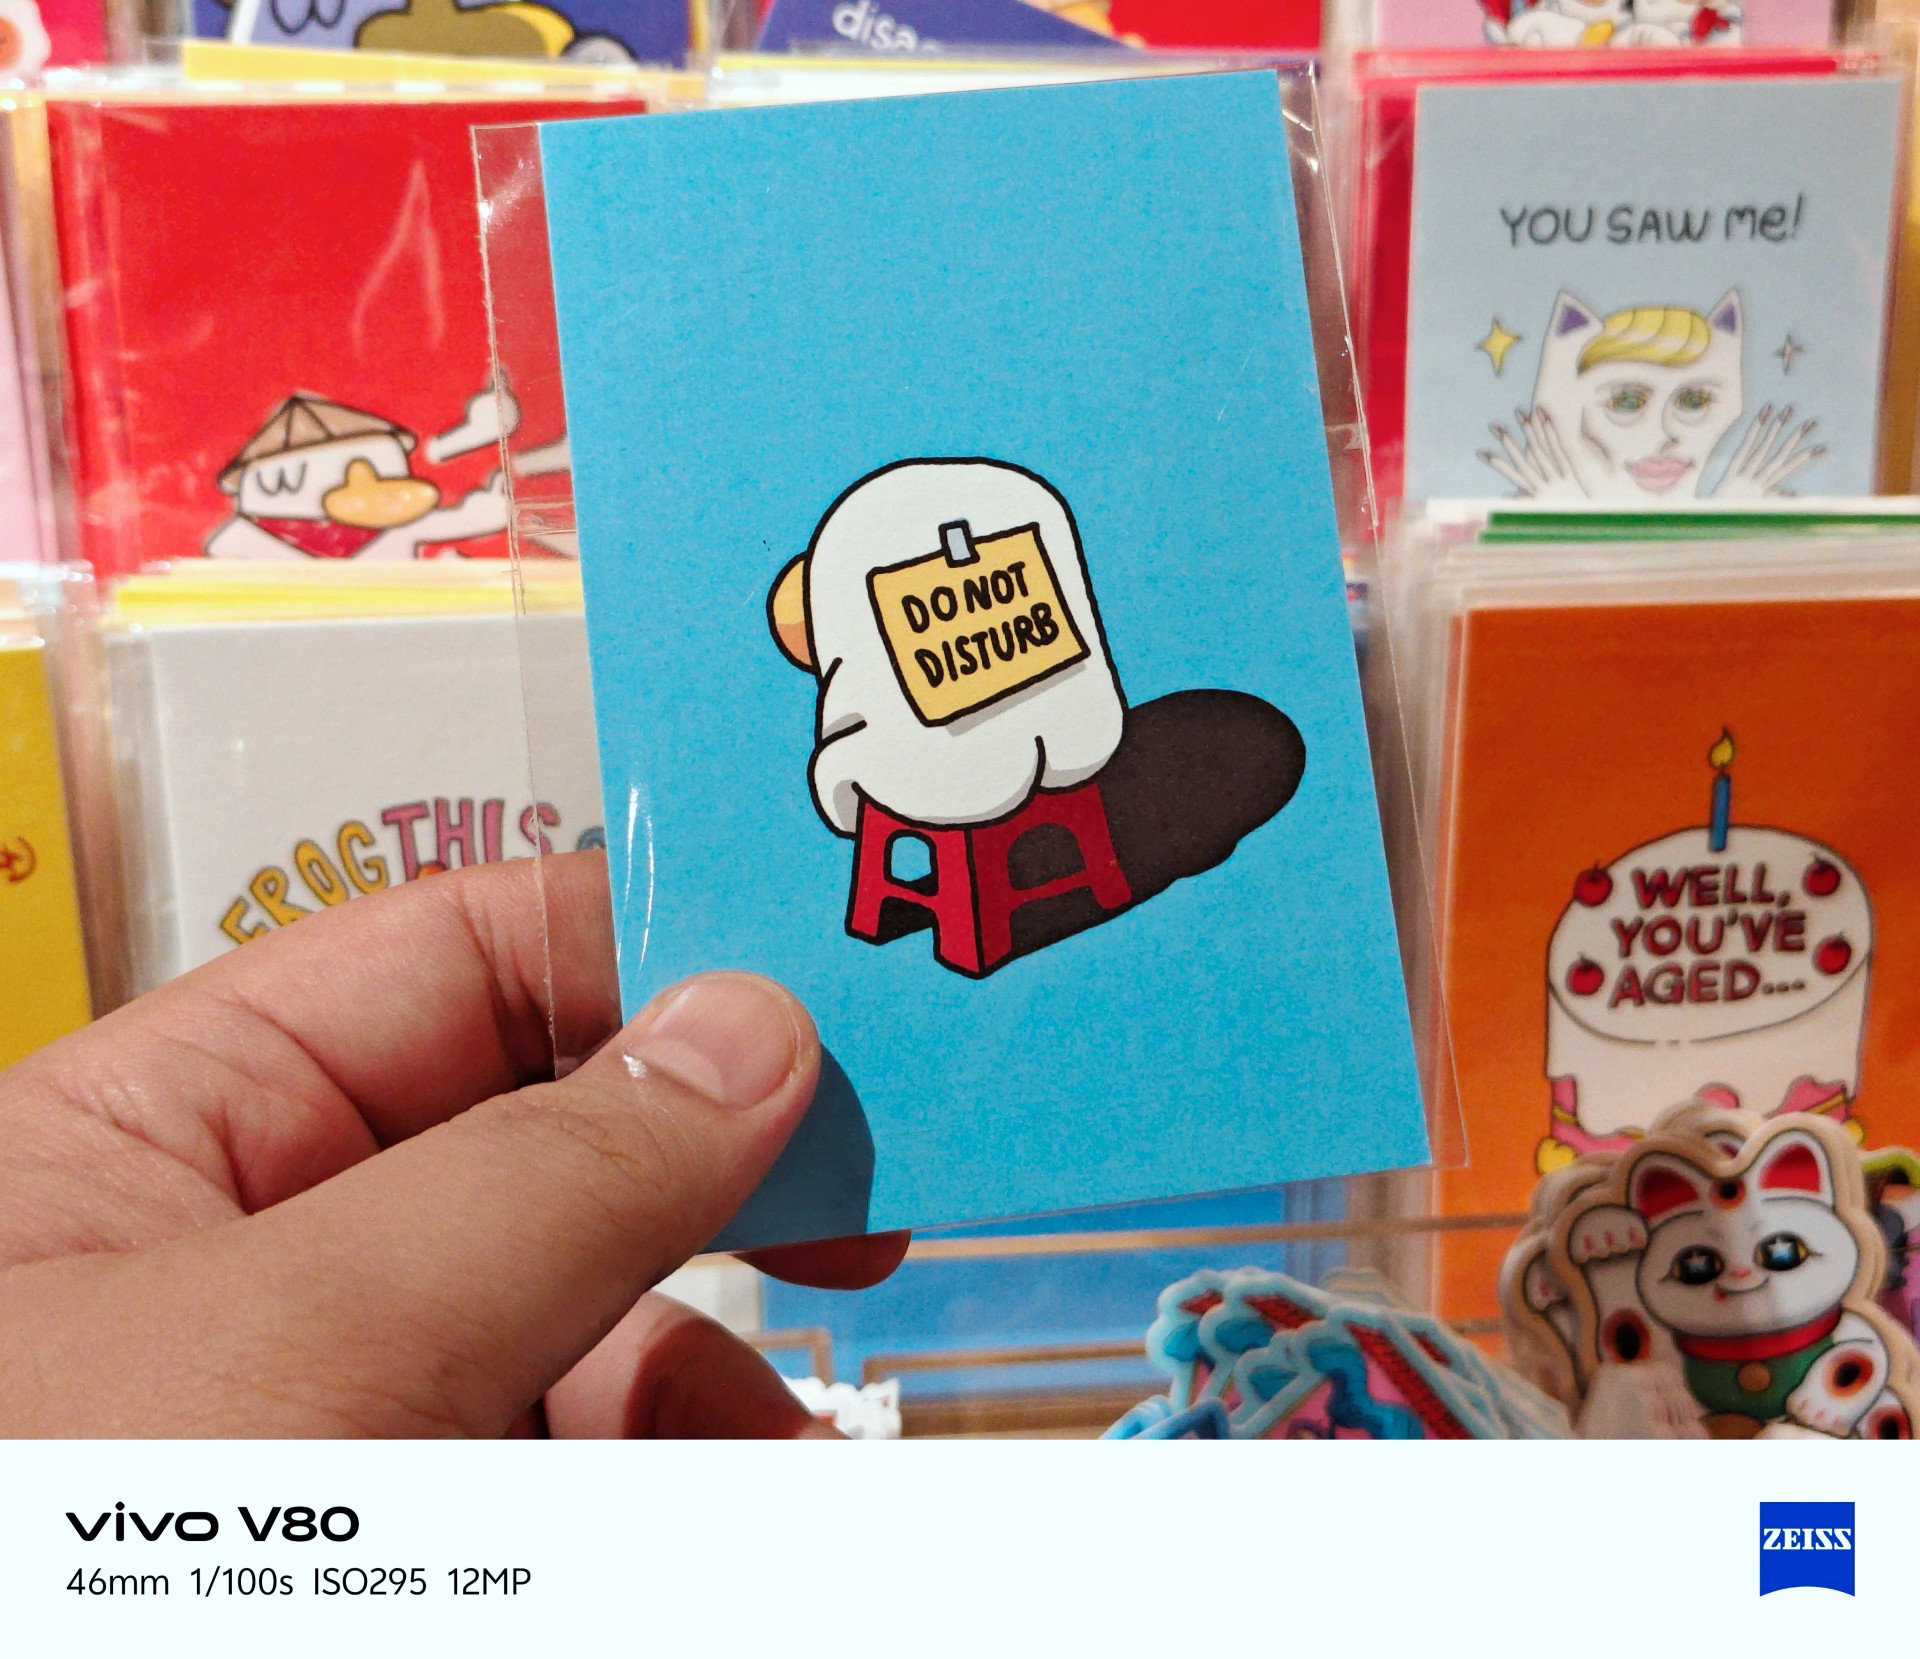
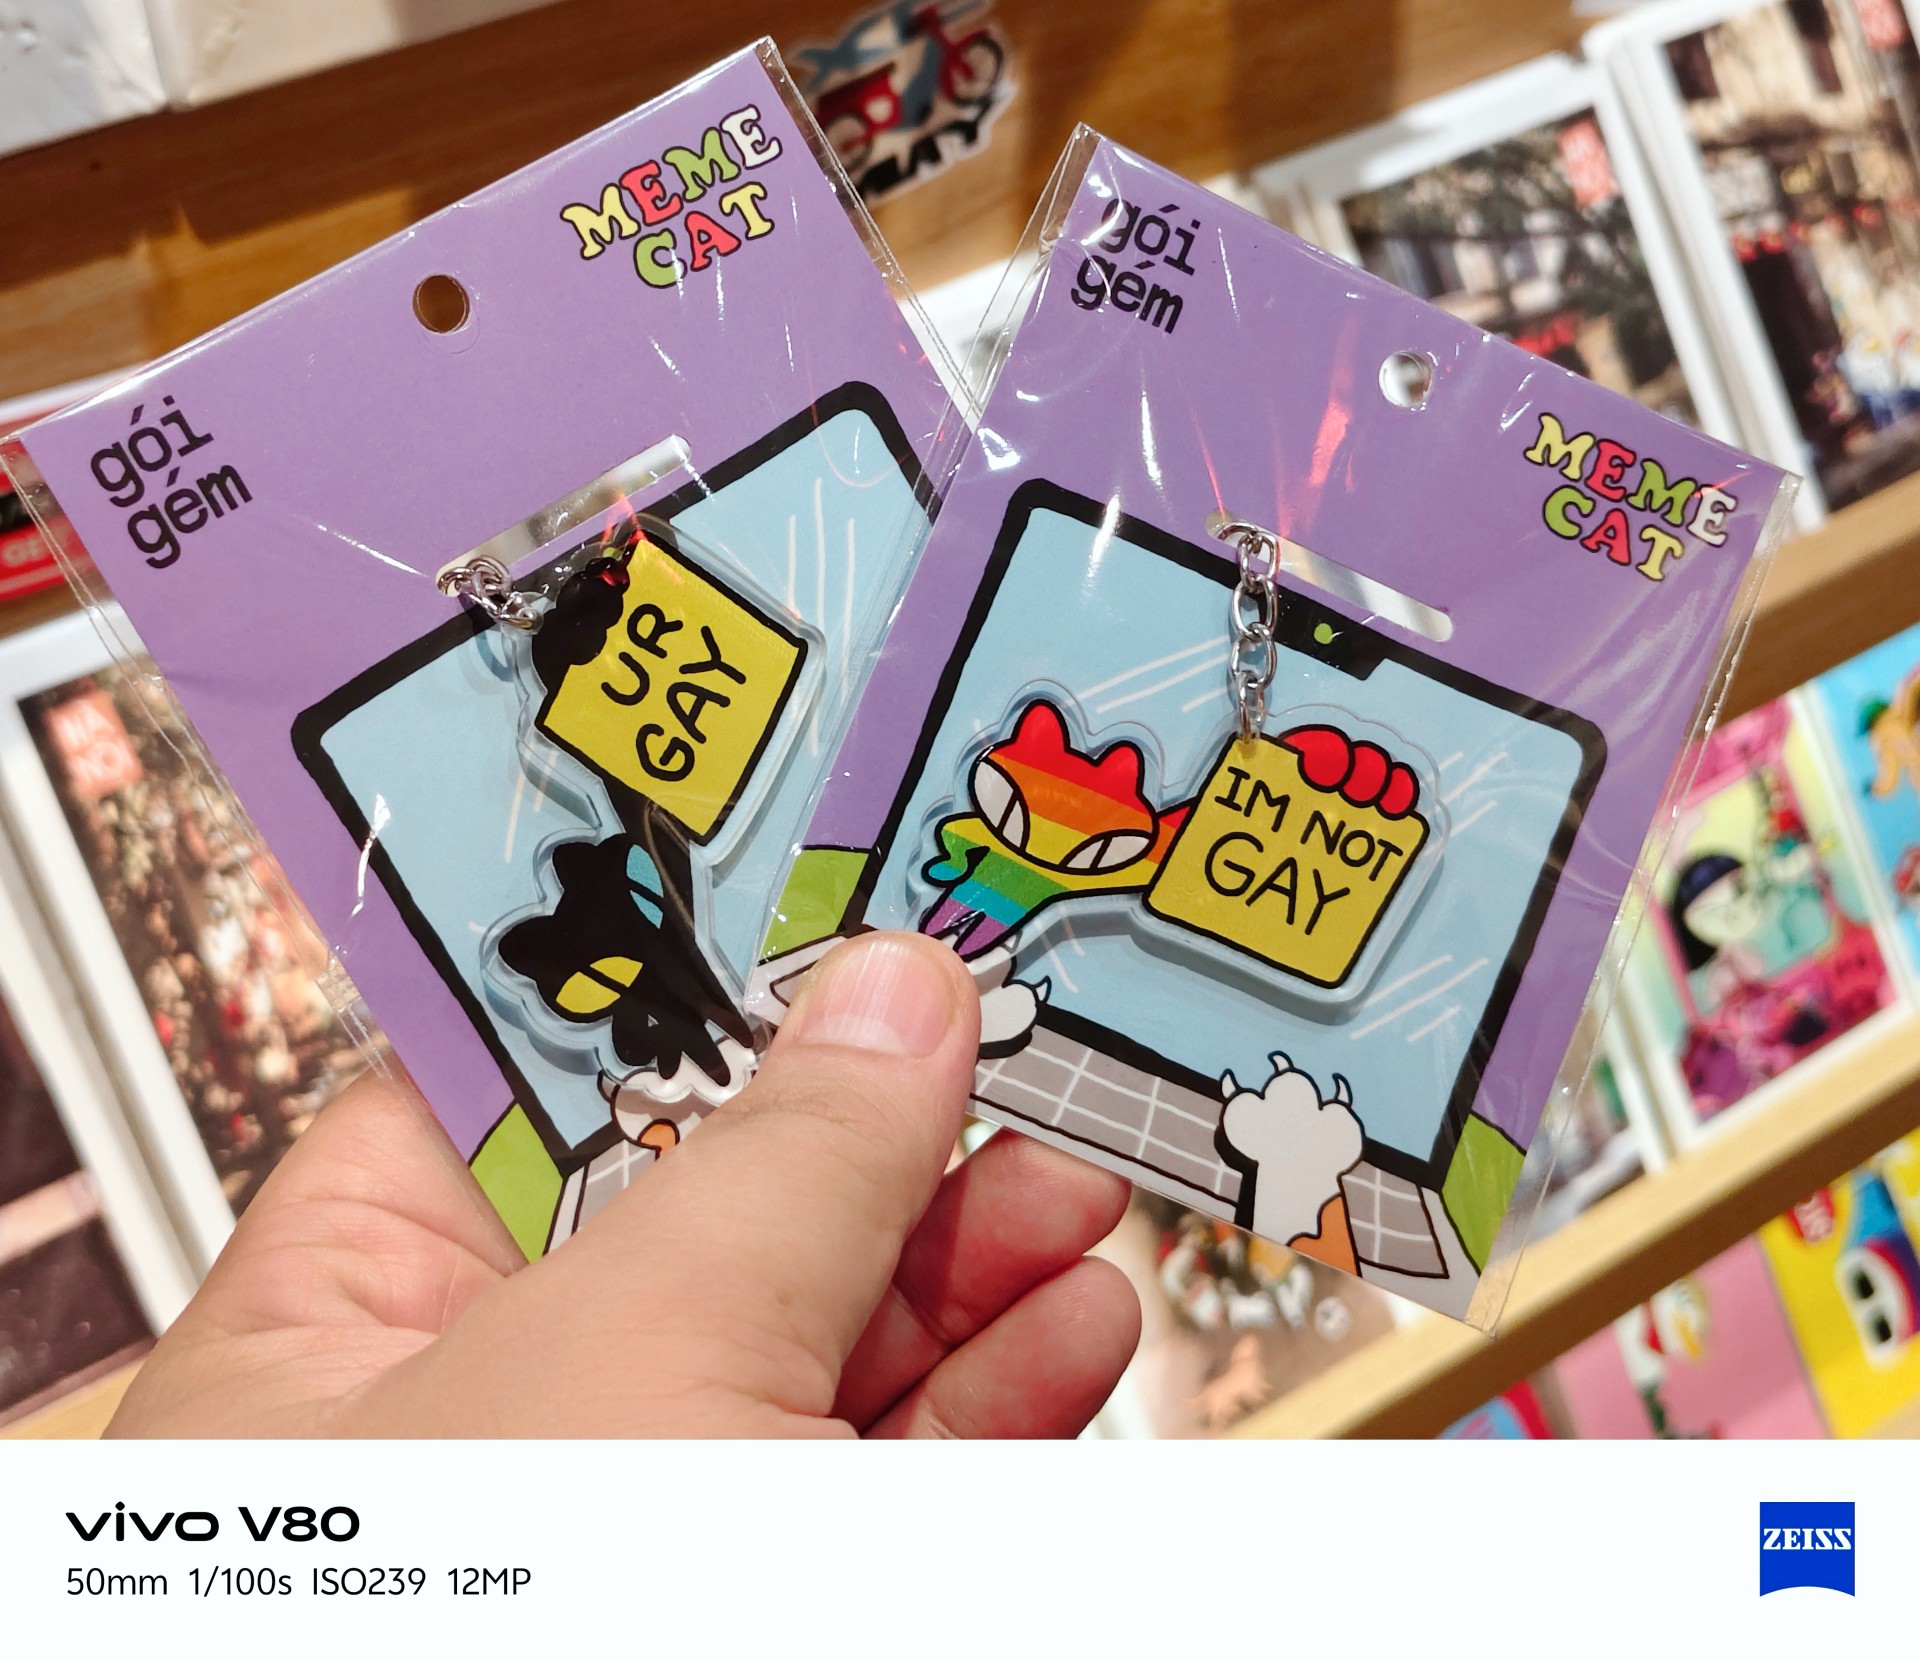


Portrait photography



Portraits weren’t my main focus during my time with the device. I only took four regular portrait shots while visiting a train-themed tourist attraction with some friends.
Lighting was a hit or miss here, too.
Time to talk games
Ha. Here we go.
I realized I can’t cop out anymore and keep saying I don’t play mobile games. To address this, I identified three games I would use in my smartphone reviews. Some may change from time to time.

Battle Cats was the most casual game I tried and probably the most fun I had playing. The phone had no trouble running it. The experience was smooth.
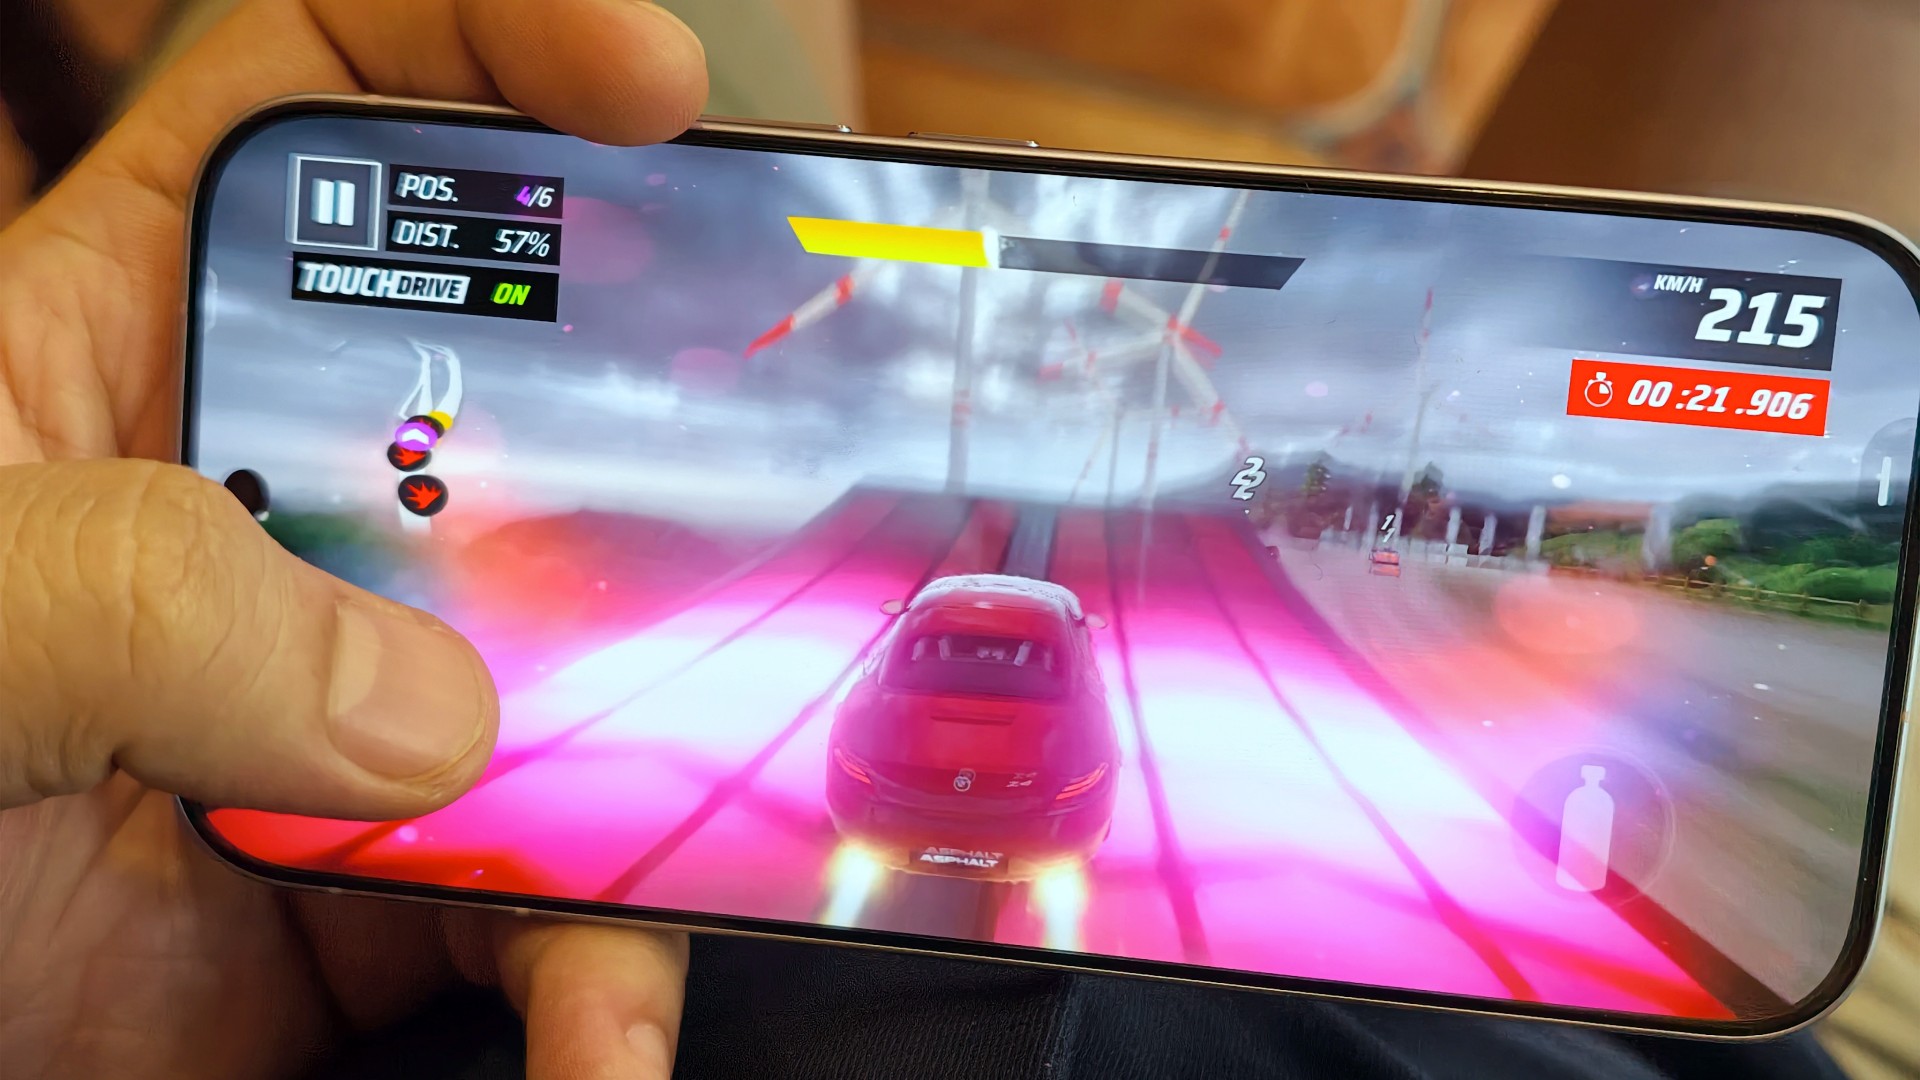
The same can be said about Asphalt Legends. Even when the graphics settings weren’t at their highest, the game still looked good and played well.
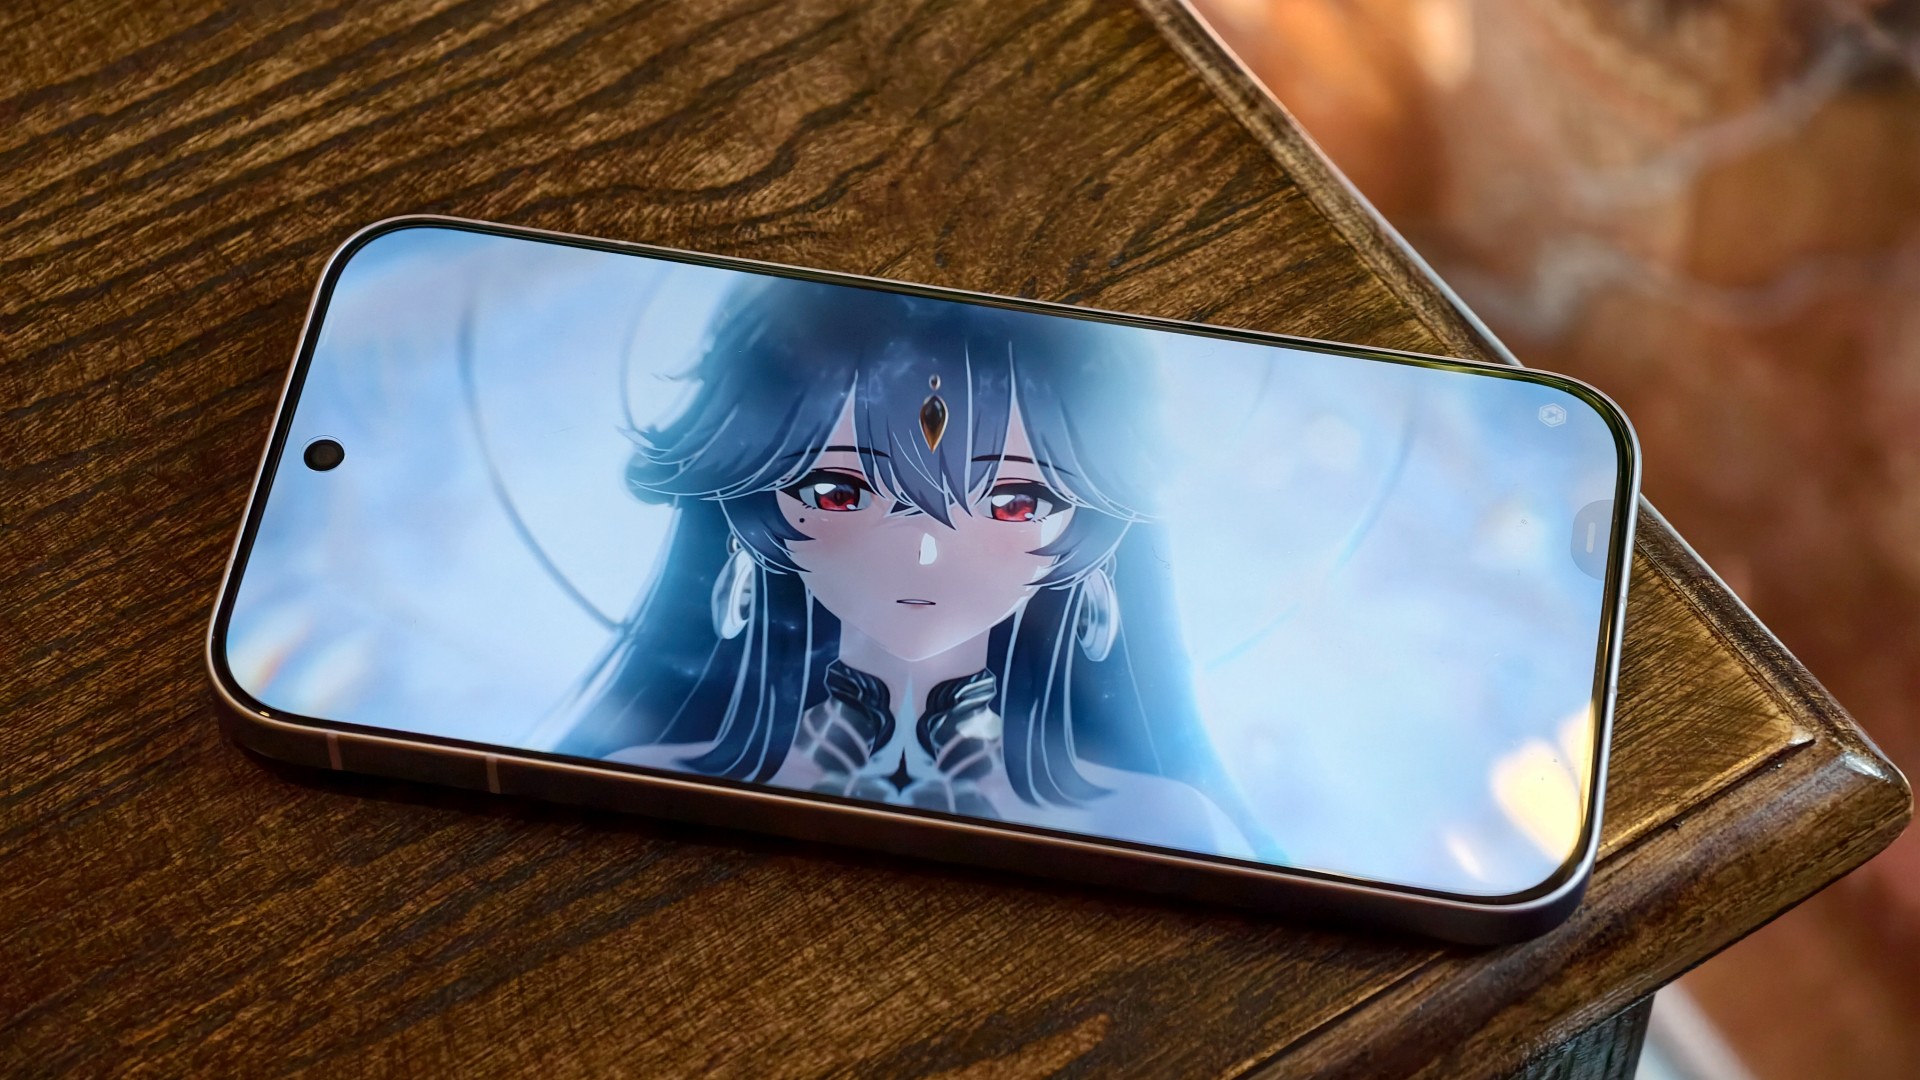
Wuthering Waves, meanwhile, defaulted to medium graphics settings. The game still looked decent, but you could already tell it could look better. The phone’s default settings prioritized a consistent and mostly lag-free experience. I wouldn’t push it beyond that.
I’m still on the lookout for mobile games I can include in these tests. Preferably, I’d like something that plays as simply as Battle Cats but offers peak graphical fidelity. I’m open to recommendations!
A screen that gets it right

Still Isa-holic after a few reviews
The vivo V80’s display is pretty darn good.
Even in broad daylight, I had no trouble seeing what was on the screen. I spent time at a cafe near a window in the early afternoon, watching STAYC Isa content and catching up on Doctor X: Mafia in White on Netflix.

I wanted to watch Merry Berry Love and see Imada Mio, too, but Disney+ wasn’t available in Vietnam during my trip. I settled for watching some trailers instead.

The display also performed well during gaming. I didn’t notice anything in particular that stood out, and I mean that in a good way. Everything looked and played as expected.

To me, that means the display technology worked to perfection. It delivered a clear, smooth experience without drawing attention to itself for the wrong reasons.
Two days? Maybe. One day? Absolutely
YES. Very dependable.
I had a hard time curating photos for this review because I took hundreds of them during my trip to Hanoi.

Between taking photos, testing games, doomscrolling, watching STAYC Isa content across different platforms, and catching up on shows like Doctor X: Mafia in White on Netflix, I never felt like I needed to find a plug or charge the phone in the middle of the day.
I typically ended the day with around 40–45% battery remaining. The vivo V80 can endure heavy days and likely more. Battery performance is excellent.

And you won’t feel like you’re away from the phone for too long when you finally need to charge it after a long day out. Topping it off takes roughly the time it takes to watch an episode and a half of anime, or about one episode of The Rookie. That’s around 30–40 minutes for a full charge.
The battery life and charging speeds are likely among the better ones in its class. Having both in a phone that’s relatively light and compact is quite a feat. I suppose this is the new normal for midrangers now.
OriginOS still feels a little offbeat

I’ve been using OriginOS sparingly for the last year or so. Something about it still feels offbeat to me.
Although, if you use phones from other Chinese manufacturers, you shouldn’t have too much difficulty adjusting. They all have subtle differences here and there, mostly in their icons and animations. However, the general feel will be familiar to most Android users.
Is the vivo V80 your GadgetMatch?
The vivo V80 is a good phone. It’s serviceable for mobile gaming, more than decent for everyday browsing and social media scrolling, mostly fantastic for taking photos, and capable of staying powered throughout all those activities.
The display is another highlight. It remains easy to see in bright daylight and delivers a smooth gaming experience without calling attention to itself. Meanwhile, the battery easily keeps up with heavy days of photography, gaming, and entertainment.
The kicker, like in most things, is usually the price.
Midrange phones have become harder to place of late. In a vacuum, they’re really good smartphones. But the asking price, which can be influenced by multiple factors, will give you pause.
The vivo V80 is listed at PhP 42,999 for the 8GB + 128GB model in the Philippines. In India, the same base storage configuration starts at INR 62,999. That’s quite a lot, especially for a smartphone that feels like it should be priced closer to its predecessor, which started at PhP 31,999.
It’s still a Swipe Right, but a shaky one at that. At this price point, I’m thinking I’d rather start saving up for a more premium smartphone. It’s easier to justify a higher price tag for something that performs excellently across the board and that I know I’ll use for years.

A year away from Ghost of Yōtei was enough to make me rusty. It wasn’t enough to make me forget why I loved it.
What immediately jumped out to me is how beautifully connected this game’s open-world mechanics are. Moving about and exploring felt like picking up where I left off after roughly a year of not really touching the game.
The Guiding Wind, the birds that point you toward locations of interest, and the encounters scattered throughout Ezo all work together to keep you busy without the tasks ever feeling like a chore. There is always something worth looking toward, whether it is a quest, a hidden location, or simply another reason to stop and appreciate the scenery.
And of course, the new area is just as beautiful as everything else we’ve seen in the base game.
That is probably the biggest compliment I can give Ghost of Yōtei Complete Edition. It does not feel like an expansion bolted onto an existing game. It feels like another excuse to step back into a world that already knew how to pull me in.
Picking up where I left off

I started my playthrough of the Complete Edition with Echoes of Sekigahara. I thought it was going to be a quick romp, but it’s proving to be a longer experience than I initially thought it would be.
I’ve spent roughly five to six hours playing through it, and I don’t think I’m anywhere near completing the story.
That said, I did get sidetracked quite a bit.
Which tends to happen with these Ghost games.
Not to their detriment, though. Every other quest and encounter in the open world feels like a contained story on its own that is well worth your time. The game has a way of presenting distractions that never really feel like distractions. You can set out with one objective in mind, stumble into something else, and suddenly realize an hour has passed.
That familiarity came back surprisingly quickly.

The new region introduced in Echoes of Sekigahara brings unfamiliar enemies, new weapons, and memories tied to Atsu’s past, giving the expansion its own identity while still operating within the systems that made the base game so easy to lose yourself in.
The Wolf quest line in particular was the first one I tackled, and it was quite a ride.
I’m deliberately leaving the details there.
This is the kind of story that is better experienced without knowing too much going in, and the review guidelines themselves ask reviewers to avoid major narrative developments and surprises.
Finding my footing again

While movement and exploration felt natural, it took me a while to get reacquainted with the combat.
My Atsu had many skills mastered, but being a year removed from the game meant I was rusty. I was dying against what I would consider fodder enemies.
There is something humbling about returning to a game where you once felt completely in control, only to discover that your muscle memory has apparently packed its bags and moved somewhere else.
Even now as I write this review, I don’t think I’ve gotten to the level I was when I first completed the game.
But I’m getting by just fine.
And that is partly because Yōtei gives you another toy to play with.
Massive weapons make a massive difference

Massive Weapons
The new wrinkle in combat is the Massive Weapons you get to pick up and swing around.
They are an absolute joy to use.
More importantly, they bailed me out of a few encounters already.
There is a satisfying weight to picking up one of these weapons and simply going to town on enemies. It changes the rhythm of a fight without asking you to relearn the entire combat system. After spending several hours trying to remember how I used to fight as Atsu, having the option to grab something enormous and start swinging was a welcome change of pace.
This was a definite win.
It also highlights one of the strengths of Yōtei’s combat. The foundation is already strong enough that adding another layer does not need to completely reinvent it. Sometimes, giving Atsu something massive to hit people with is enough.
Most Wanted keeps the blade moving

If you want to dive deeper into combat, Most Wanted is where it’s at.
PlayStation first-party games have had a habit of adding these roguelike-inspired modes to some of their games. There’s Valhalla for God of War Ragnarök and No Return for The Last of Us Part II.
Most Wanted takes that idea and puts Yōtei’s combat front and center.
The mode is a single-player combat survival experience built around escalating bounties, different playable characters, and experimenting with the game’s combat system. Unlike Echoes of Sekigahara, you can jump into it immediately without existing save data or base-game progression.
I’ve only had a couple of runs so far, but I can say I thoroughly enjoy the mode.
Mostly because I love the game’s combat mechanics.
That is what you engage with for much of Most Wanted, and it gives you a reason to keep testing yourself. You start a run, make your choices, fight your way through increasingly demanding encounters, and inevitably reach a point where things stop going according to plan.
Then you try again.
And again.
There is a particular satisfaction to a mode like this when the underlying combat is already enjoyable. Losing doesn’t necessarily feel like wasted time because every run gives you another opportunity to get better at the thing you were already having fun doing.
It can also be frustrating.
That is part of the appeal.
More Yōtei is still more Yōtei

The biggest strength of Ghost of Yōtei Complete Edition is also the simplest.
It gives me more Ghost of Yōtei.
Echoes of Sekigahara gives Atsu another story to tell. Most Wanted gives the combat another place to shine. The Complete Edition also adds cosmetics, Trophies, Photo Mode content, and other extras. Meanwhile, the October 1 update brings additional Watanabe Mode tracks, Beauty of Yōtei mode, quality-of-life improvements, and a new high-contrast accessibility option to all Ghost of Yōtei players.
After roughly a year away, I was surprised by how quickly I settled back into the rhythm.
The wind blew, birds flew, a quest turned into another quest, and a random encounter became a story.
Then I picked up a massive weapon and started remembering why I enjoyed this game so much in the first place.
That cohesion remains Yōtei’s greatest strength. Its world constantly gives you reasons to move forward without making the journey feel like work. The Complete Edition simply gives you more reasons to keep going.
Is Ghost of Yotei Complete Edition your Play Match?

Ghost of Yōtei was already one of the best experiences on PlayStation 5.
The Complete Edition gives you more of it.
Echoes of Sekigahara is shaping up to be a substantial addition rather than a short side adventure, while Most Wanted offers a compelling excuse to keep coming back to Atsu’s combat long after you’ve finished the main story.
I still have plenty more of both to see. But even after only a handful of hours with the new content, I know exactly how I feel about returning to Yōtei.
It feels familiar, fresh, and Most Wanted will both frustrate and hook you.
It’s absolutely thrilling.
Ghost of Yōtei Complete Edition is an easy Swipe Up.
After a year away, I came back rusty.
I’m still swinging. And I’m still having a damn good time.
-
 Wearables2 weeks ago
Garmin Enduro 4 promises up to 320 hours of battery life
-

 Gaming2 weeks ago
Dragon’s Dogma 2: Dark Arisen launches with new Official Pawns
-

 News1 week ago
vivo V80 debuts with ZEISS cameras
-
 Deals2 weeks ago
Score PhP 22,000 in guaranteed freebies when you pre-order the iPhone 18 Pro at Beyond the Box
-
 Philippines1 week ago
TECNO CAMON Slim 5G gets launch discounts, free MagBadge
-

 Wearables2 weeks ago
Garmin Approach S72 brings swing metrics, green reading to your wrist
-
 News1 week ago
Samsung: Galaxy Z Fold8 demand rose because of iPhone Duo
-
 Features1 week ago
I don’t want a phone that unfolds — the Galaxy Z Fold8 gets why