
Features
Huawei Mate 20 Pro vs Apple iPhone XS: Which is the better deal?
Battle of the tech giants!


Without a doubt, the rivalry between Huawei and Apple gets more fierce with every new generation of smartphones. Now that their best hands of the year have been shown, it’s time to make a detailed comparison.
For this shootout, we have the Mate 20 Pro and iPhone XS — both giants in their own ways. Not only do they offer the most advanced smartphone chipsets to date, but also a whole host of high-tech features.
Let’s see how they fare in each category.
Display
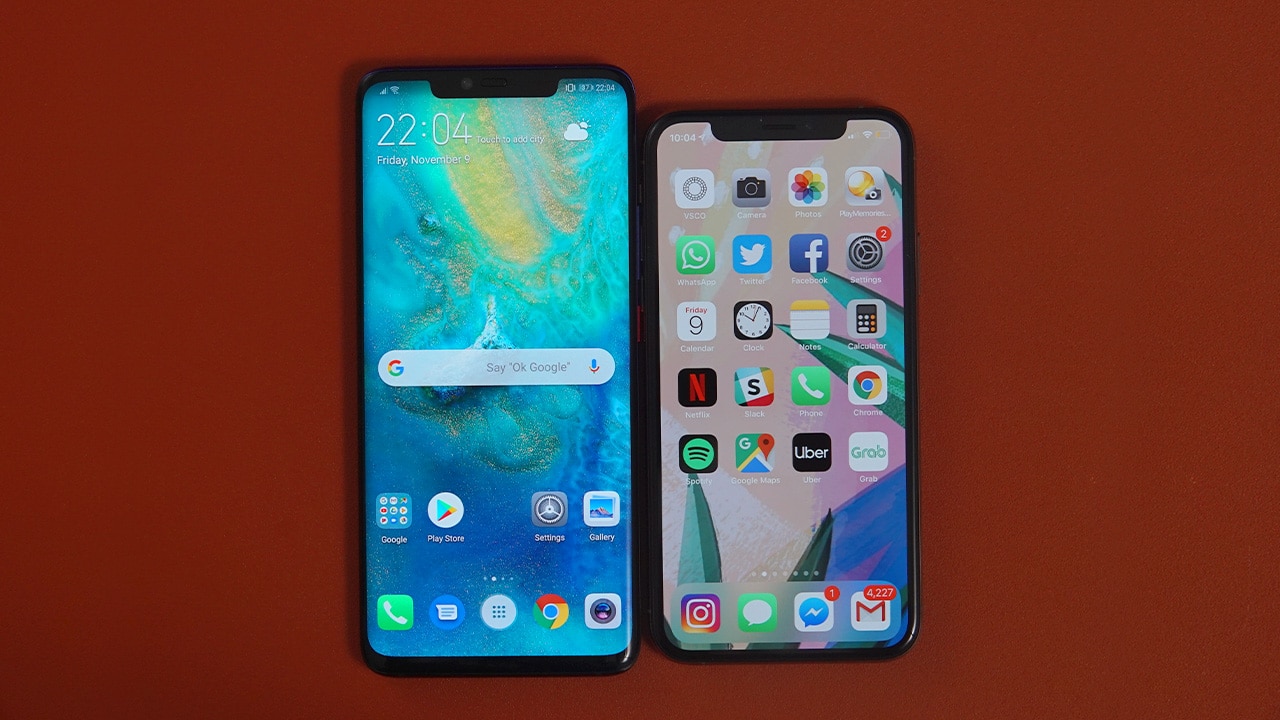
While they both have a beautiful display, the Mate 20 Pro’s is larger at 6.39 inches compared to the iPhone XS’ 5.8 inches. In addition, the former has curved edges and a more dense 1440p resolution, making it more suitable for overall media consumption.
To the iPhone’s credit, its AMOLED panel is curved inward at the bottom, leaving a slightly smaller chin on the surface. This gives the Apple product a nice, compact feel from top to bottom.
Security

The phones offer powerful facial scanning features to unlock the phone without much fuss. Apple has its complex Face ID system, and Huawei has its equally impressive 3D depth-sensing array, so we’re more or less even here.
What Huawei does better, however, is provide an alternative to this. There’s an under-display fingerprint scanner on the Mate 20 Pro, and even though it’s not the fastest way to log in, it’s better than not having one at all.
Battery

Apple rarely reveals specs such as for the battery, but it’s safe to say that the Mate 20 Pro has the advantage with its massive 4200mAh capacity. It’s enough to get through two days with moderate usage and over six hours of screen usage. With the iPhone XS, you can expect about an entire day of moderate to heavy usage with approximately five hours of screen-on time. As for watching videos, the Mate 20 Pro lasts around four hours longer with Wi-Fi turned on.
Another strong suit of the Mate 20 Pro is its fast charging. Not only is the 40W SuperCharge adapter included in the box — something Apple missed out on with the iPhone XS — but it can fully charge the phone from zero to 100 percent in about 70 minutes. That’s much faster than the 150 minutes needed for the iPhone XS and its much weaker 5W charger.
Cameras

This is where things get more interesting. Both manufacturers are proud of their camera implementations, and the results show how great they are.
The Mate 20 Pro has a solid combination on the rear: a high-resolution 40MP main camera, 20MP ultra-wide-angle shooter, and 8MP telephoto camera with 3x optical zoom. In front, we have a 24MP selfie camera.
As for the iPhone XS, it’s equipped with two rear cameras: one regular 12MP sensor, and another 12MP shooter with 2x optical zoom. The front camera has a standard 7MP sensor.
Impressions here are always subjective, so we’ll let you gauge which photos suit your taste better:
-

- iPhone XS
-

- Mate 20 Pro
-

- iPhone XS
-

- Mate 20 Pro
-

- iPhone XS
-

- Mate 20 Pro
-

- iPhone XS
-

- Mate 20 Pro
-

- iPhone XS
-

- Mate 20 Pro
Signature Features

The Mate 20 Pro is absolutely jam-packed with special features as mentioned earlier, plus it has wireless reverse charging so you can charge other Qi-enabled devices on its glass back and a gorgeous selection of colors to choose from.
The iPhone XS, on the other hand, benefits from excellent software support, receiving the latest iOS updates directly from Apple as soon as they roll out. In addition to the robust ecosystem, moving from one Apple device to another is easier than any other combination.
Pricing

Because the Mate 20 Pro and iPhone XS were released in different continents under different currencies, we’ll choose the Philippine pricing for this comparison to be more precise.
Currently, the Mate 20 Pro retails for PhP 49,990, while the iPhone begins at PhP 67,990 for the lowest storage configuration. It’s a rather large gap, but Apple has always been known for its extra premium prices.
Whichever phone you choose, whether it be for specific features or simply preferring one ecosystem over another, you’re guaranteed to receive the best each brand has to offer.







Whenever I see a small child holding a tablet (or worse, the same child throwing a tantrum when that tablet is pried away from them), I always think that there’s something wrong with society today. At the risk of sounding like an aging curmudgeon, I believe that we’re too comfortable with fostering our children’s reliance on technology. That said, I don’t believe that technology itself is the culprit. Technology is, as it has always been, a tool that helps more than it harms. Unfortunately, a pervasive mist of anti-technology has once again shrouded the Philippines, and it’s attacking a highly misunderstood platform called Discord.
Speaking as a survivor of previous wars against technology, such a crusade never works, and it never will.
What is Discord?
Discord is just a simple communication tool. If you’ve used Slack, Telegram, Teams, or any platform that has group functionalities, Discord offers much of the same functionalities. It just has a more casual bent, allowing users to adopt aliases or stream games for one another.
Now, if Discord is just a more casual version of the platforms we sometimes use for work, then why is there a war against it?
A few days ago, the Cybercrime Investigation and Coordinating Center ordered Discord and Reddit to establish local offices within 24 hours of the notice. The new regulation is supposed to help the government promote child and teenage safety by forcing these platforms into accountability inside the Philippines. This, in turn, is a response to school shootings happening around the country, which the local government is attributing to social media.
Late last night, the CICC temporarily restricted access to Discord as both parties explore options to establish an office in the country. At the time of this writing, the ban has already been lifted in response to backlash.
Discord isn’t a teenage wasteland
Let me be clear: School shootings are objectively bad. And, to be completely fair, in the vast stretch of time that I’ve been using Discord, I’ve seen (but not joined) abhorrent communities pop up, so the capacity of Discord to host morally questionable content is there. But the correlation between Discord and gun violence is still tenuous at best.
As a Discord power user, I’ve used the platform to foster a lot of communities. Currently, I’m a part of 54 communities across so many interests, including gaming, music, and even Formula 1. Not once have I seen messaging that promotes extremism or gun violence. In fact, I consider a good number of the people I’ve interacted with as good friends. In my experience, the platform has been a valuable tool for camaraderie and fostering genuine interests.
I’ve also met several people in the country who use the platform for their own interests. There are workers who prefer Discord over Telegram or Slack. There are students who voluntarily chose Discord to host group studies.
Discord is a force in the Philippines. A lot of people are currently affected by the ongoing restrictions. In a way, restricting access to Discord is tantamount to banning the entirety of Facebook because of a handful of questionable pages.
It wasn’t the problem anyway
As a thirty-something millennial, I’ve lived through periods where videogames were blamed as the causes of rising violence in children. And people still do that today. Yet, gaming continues to be one of the most lucrative industries in the world. A lot of people you know have touched games in their lifetime, whether it be on mobile, on console, or on a self-built PC. If you do know people like this, I’d hazard that almost all of them are well-adjusted individuals with no violent tendencies. The hatred towards videogames are often generalized against the stereotypical suspects like Grand Theft Auto, Call of Duty, or, in today’s case, Roblox.
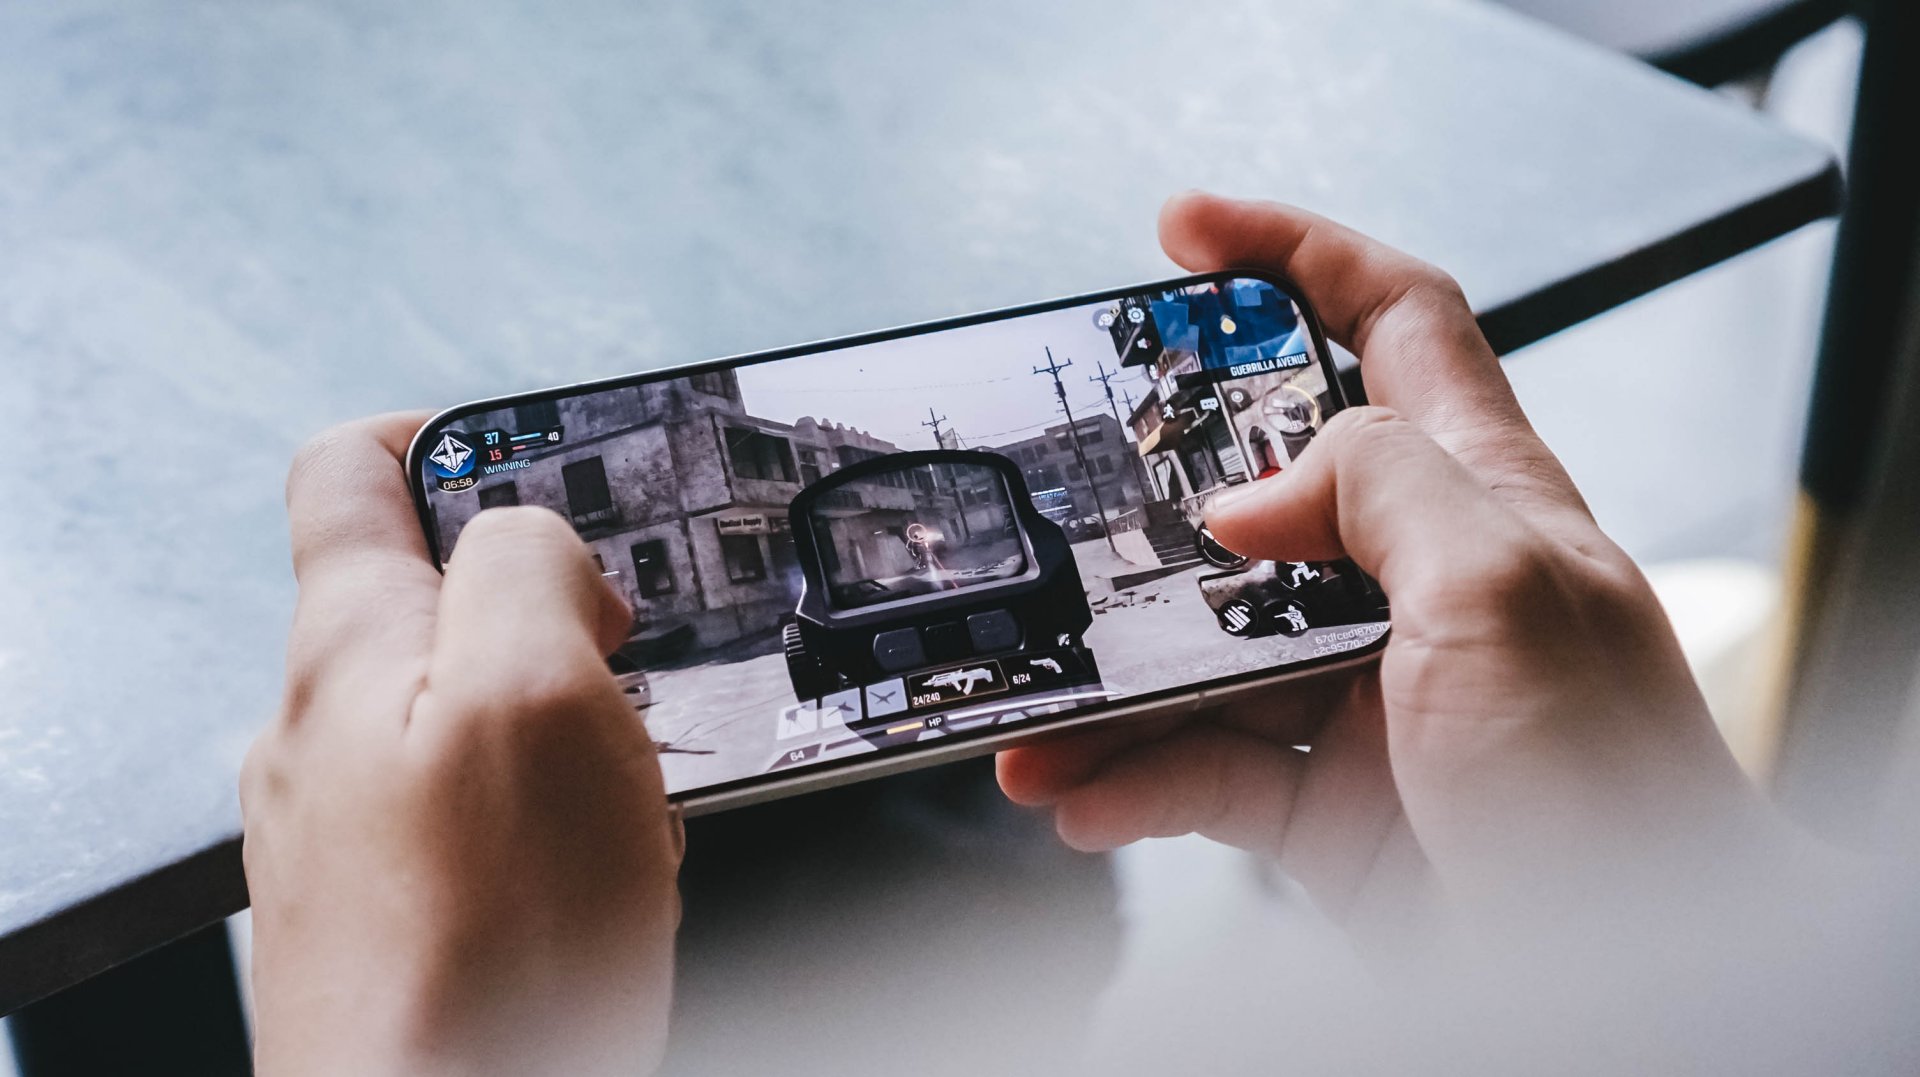
It’s the same thing with the crusade against Discord. Communication platforms were never the problem. If that were the case, there would be so many radicalized and violent youth today. There aren’t. And even then, how come we’re looking at platforms that are currently being used more often for good?
Children navigating through the net
Why aren’t we looking at improving parenting or technological literacy, for example? In today’s world where it’s become a norm to use tablets as a pacifying device, it should also be important to teach children how to navigate online spaces. If you’re a millennial parent, you’ve lived through a time when the internet was a lot more lawless than it is now. It was a time when downloading a simple Linkin Park song through Limewire might wreck your family’s PC because the file was a virus. Despite how many decades of that, we’re still embarrassingly inept at teaching the youth how to navigate the internet.
And no, limiting their tablet’s apps or the videos they watch isn’t enough. We were children once. How many times have our parents restricted us from certain things as children? And how many times have we bypassed those restrictions using tricks of our own? Children will always find a way. And that’s what’s beautiful. It taught us problem-solving skills. If my parents didn’t have the money to buy an album for me, how can I use Limewire to download it instead? Or, if I couldn’t buy an app, how can I jailbreak my phone to install apps for free?
A Discord restriction isn’t really doing anything but disrupt the activities of innocent citizens who just want a platform for their day-to-day activities.
The real problem
And let’s not forget the real problem, by the way. For all the attention that Discord and Reddit are getting now, why isn’t there a comparable uproar against the availability of guns? How did the children in these school shootings get access to guns?
Sure, parenting styles are under the jurisdiction of individual families, but gun accessibility is something that the government has control over. And yet, there’s hardly any backlash against that. We’re getting angry over the wrong things. The children involved in shootings should not have had access to guns, but they did.
To be fair, there are movements that are pushing for more regulation against gun accessibility or responsibility, but these movements are moving at a snail’s pace. In comparison, the move against Discord and Reddit seemingly blazed through bureaucracy with multiple telcos tagging along.
Though temporary, the restriction hints that technology continues as the scapegoat for violence. It shows a continued lack of understanding towards what makes the world tick. Discord, Reddit, and, as much as I don’t like it myself, Roblox were never the problem.
Features
When your body talks, the Galaxy ecosystem listens
The Galaxy Watch Ultra2 and Galaxy Z Flip8 turn training, recovery, and everything in between into something you actually understand.

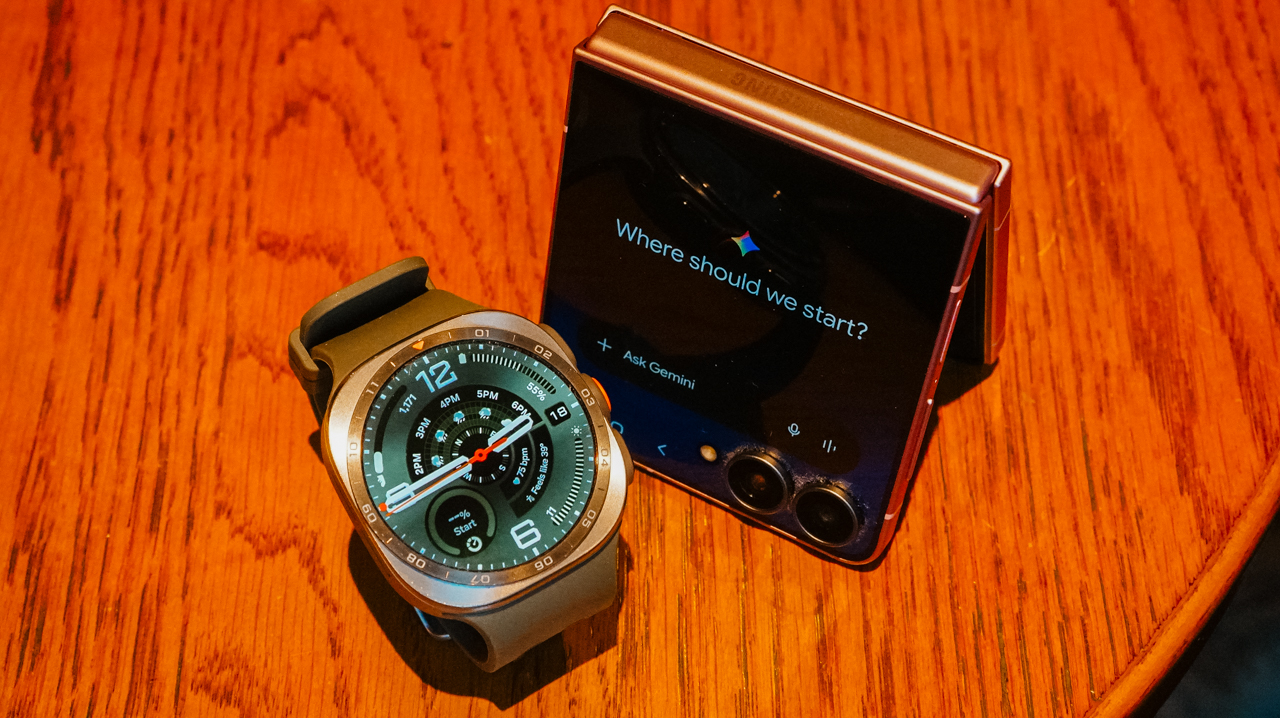
For a long time, my idea of training harder was simple. I wanted to work out more, run faster, and figure out the rest along the way. It took a while to realize that approach only works until it doesn’t.
The days I felt strongest weren’t always the days I trained hardest. More often, they were the days I actually knew what my body could handle before I asked it to handle anything.
That is the shift the Galaxy Watch Ultra2 has made in how I train. It doesn’t push me harder. Instead, it gives me a clearer picture of where I actually stand before I decide how hard to push at all.

Listening before I move
Every morning before I head out, I check Samsung Health. Galaxy AI takes the data the watch has been collecting overnight and over the previous days.
It looks at my heart rate, sleep, and activity load. It then turns those metrics into something I can read at a glance instead of a wall of numbers I would otherwise ignore.
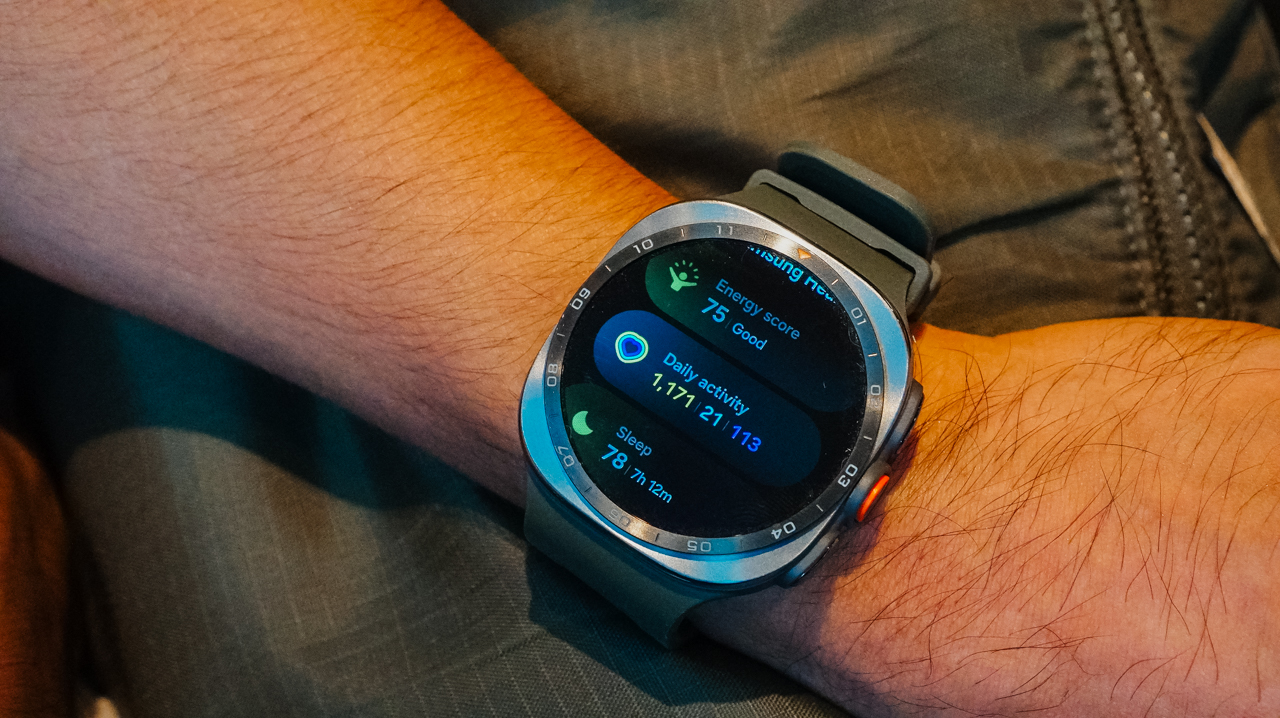
The Heart Health Score gives me a sense of how my cardiovascular system is holding up over time. It offers more than just a snapshot of the moment I glance at my wrist.
The Fitness Index tracks where my overall conditioning is trending. I am no longer guessing whether a plateau is real or just a rough week that will pass on its own.
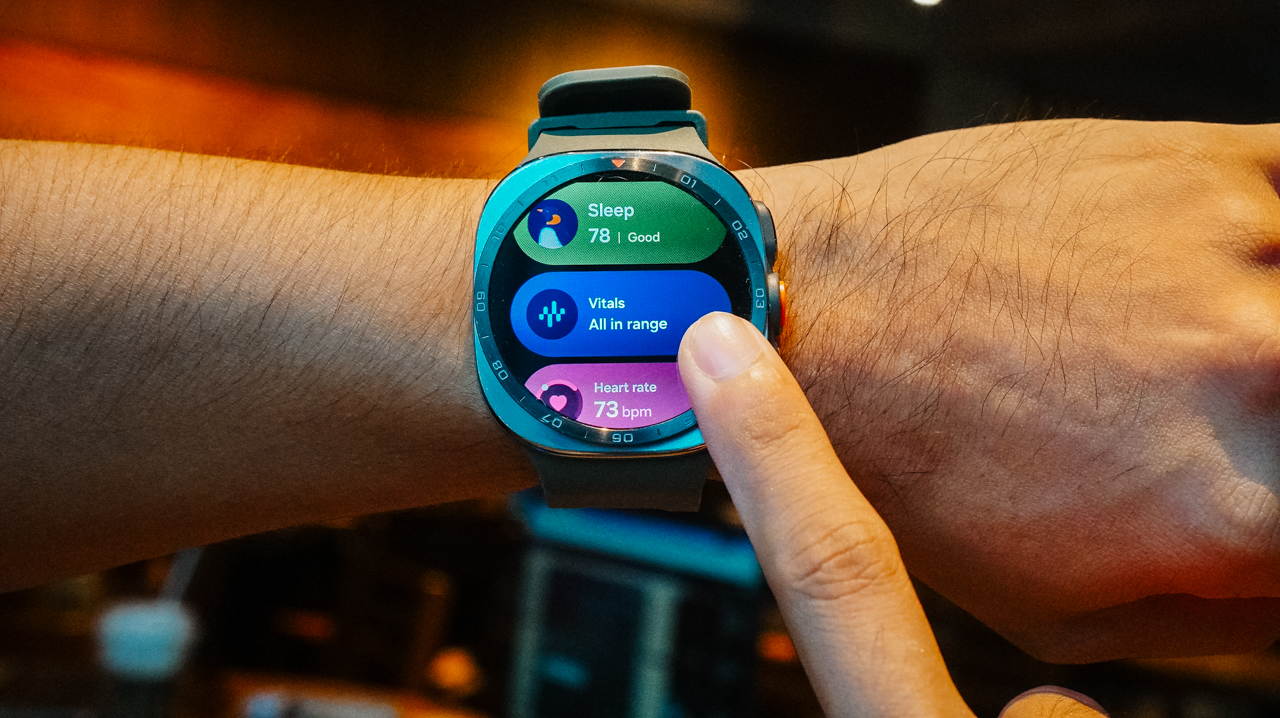
Daily Cardio Load tells me how much stress I have already put on my body recently. This matters more than people think when deciding whether today is a day to push or back off.
Finally, Vitals rounds it out with the basics I check without even thinking twice anymore, such as resting heart rate, blood oxygen, and skin temperature. These numbers used to mean nothing to me, and now they mean almost everything.
None of this replaces how a workout feels. A watch cannot tell you that your legs feel heavier than usual for no clear reason, or that today is the day everything just clicks.
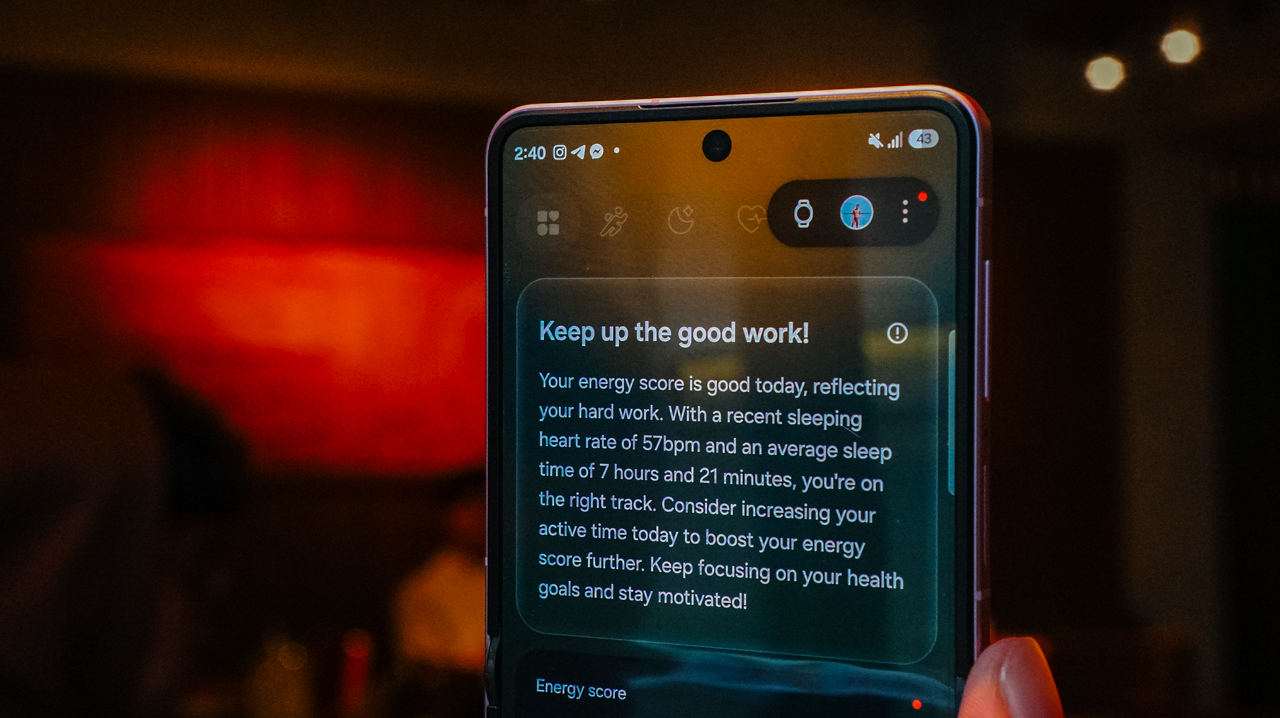
It simply fills in the parts that feeling alone cannot tell me. These are the parts I used to override with willpower alone because I lacked anything better to go on.
I have skipped sessions I would have pushed through a year ago. The data made it clear my body needed the rest more than my training plan needed the mileage.
I have also pushed harder on days I might have held back out of habit, because everything pointed to my body being more ready than I assumed it was.
That’s the real value here: It’s not about following the numbers blindly, but finally having a second opinion that isn’t just my own stubbornness talking.
Turning runs into conversations
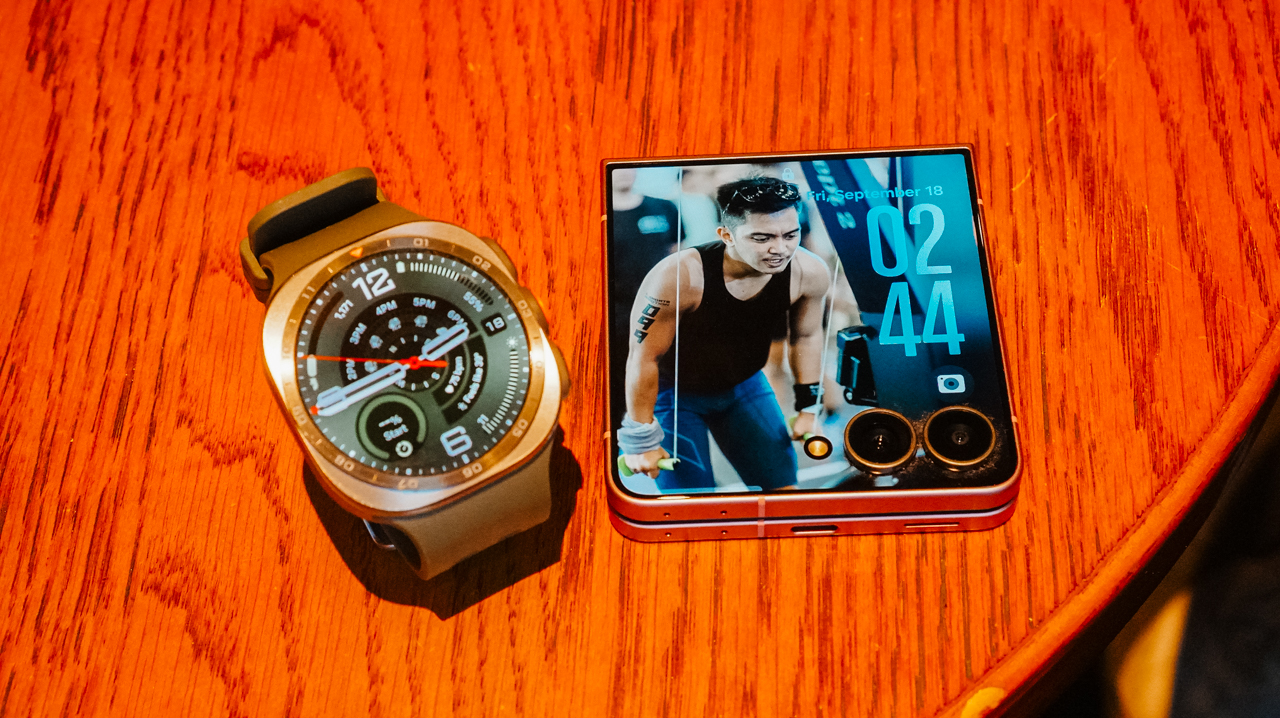
When I am running, the watch keeps tracking in real time. Distance, pace, heart rate, and effort are all available with a quick glance at my wrist without breaking stride.
That part matters during the run itself. However, the more valuable moment usually comes after the run is done and the real analysis starts.
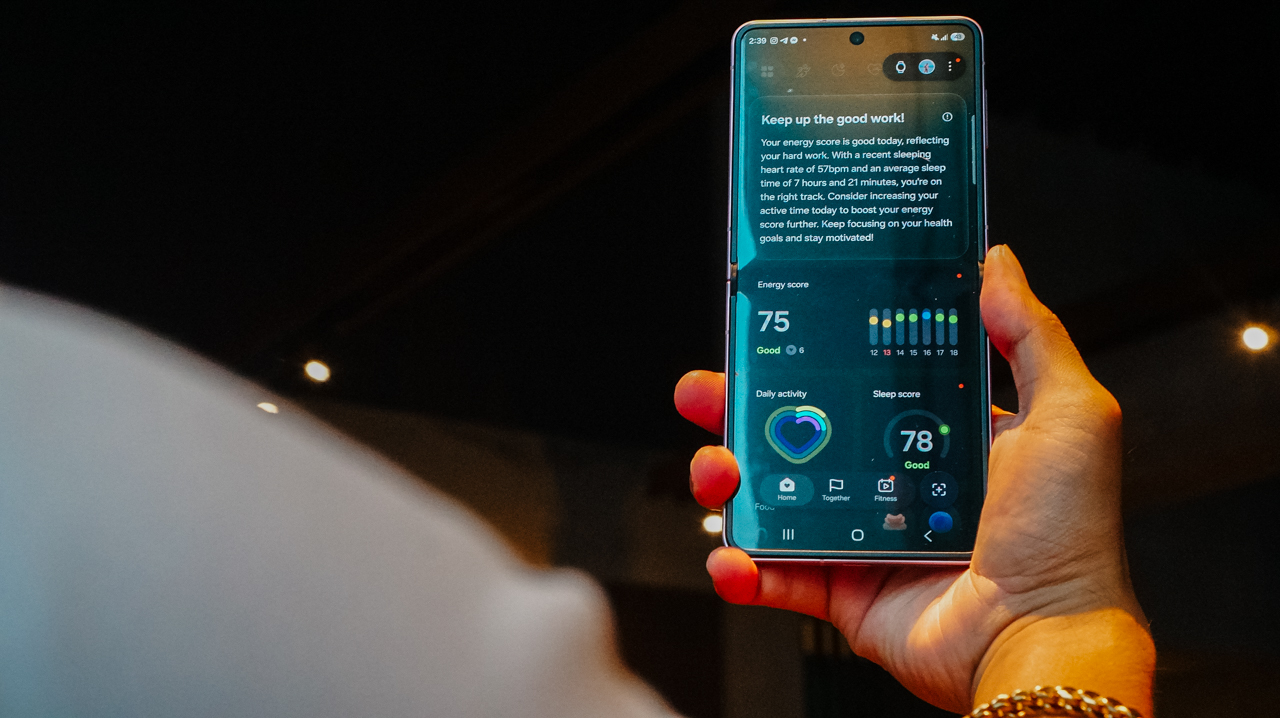
Back on my Galaxy Z Flip8, I go through the full picture. I review the route I took and the training data the watch collected. I look at how the session fits into the recovery and load trends I have watched all week.
Seeing it laid out on a bigger screen, connected to everything the watch already tracked, makes it easier to spot patterns I would otherwise miss while glancing at a wrist display mid-run.

I can easily spot a string of high cardio load days without enough recovery in between. I notice a week where my resting heart rate crept up slightly before I even felt tired.
Small signals that used to slip past me entirely now show up clearly. This happens because the watch and the phone are working from the same data instead of two separate stories.
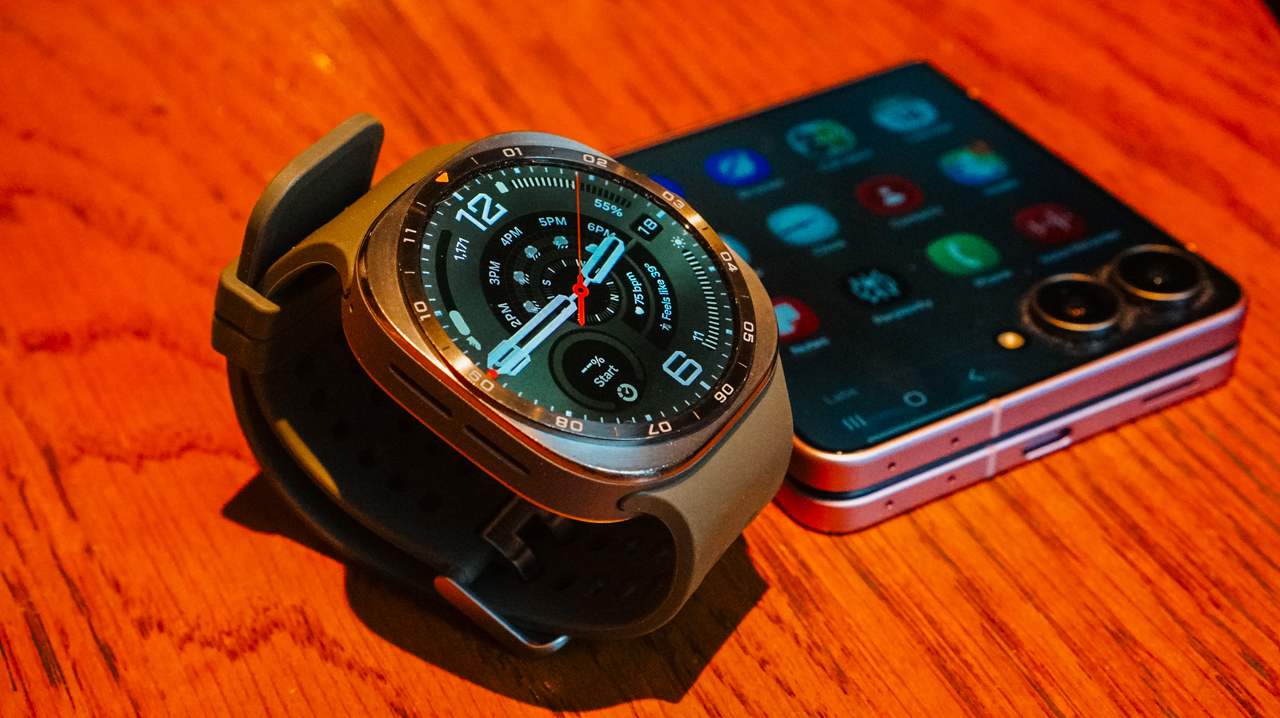
That’s the part that has changed the most for me. Performance used to be something I chased mid-run. I sought a harder pace, a longer distance, and whatever it took in the moment to feel like I had earned the effort.
Now, performance starts long before I ever lace up. It starts with understanding what my body is actually ready for that day. It continues long after the run ends, as I actually sit with the data instead of moving straight on to the next session.
A clearer path forward
The Galaxy Watch Ultra2 doesn’t train for me. It just makes sure I am not training blind. I am no longer guessing at recovery the way I used to and hoping I guessed right.

Once your health data, your training data, and your devices are all working from the same picture, you no longer have to rely on scattered memories and gut feelings.
Every decision you make gets a little more confident. That holds true whether the decision happens on the trail, in the middle of a recovery week, or the night before a race when you are deciding how hard tomorrow should really be.
Better performance starts with better information. See how the Galaxy Watch Ultra2 and Galaxy Z Flip8 work together to help you train harder and recover smarter.
Explore the Galaxy Watch Ultra2 | Discover the Galaxy Z Flip8

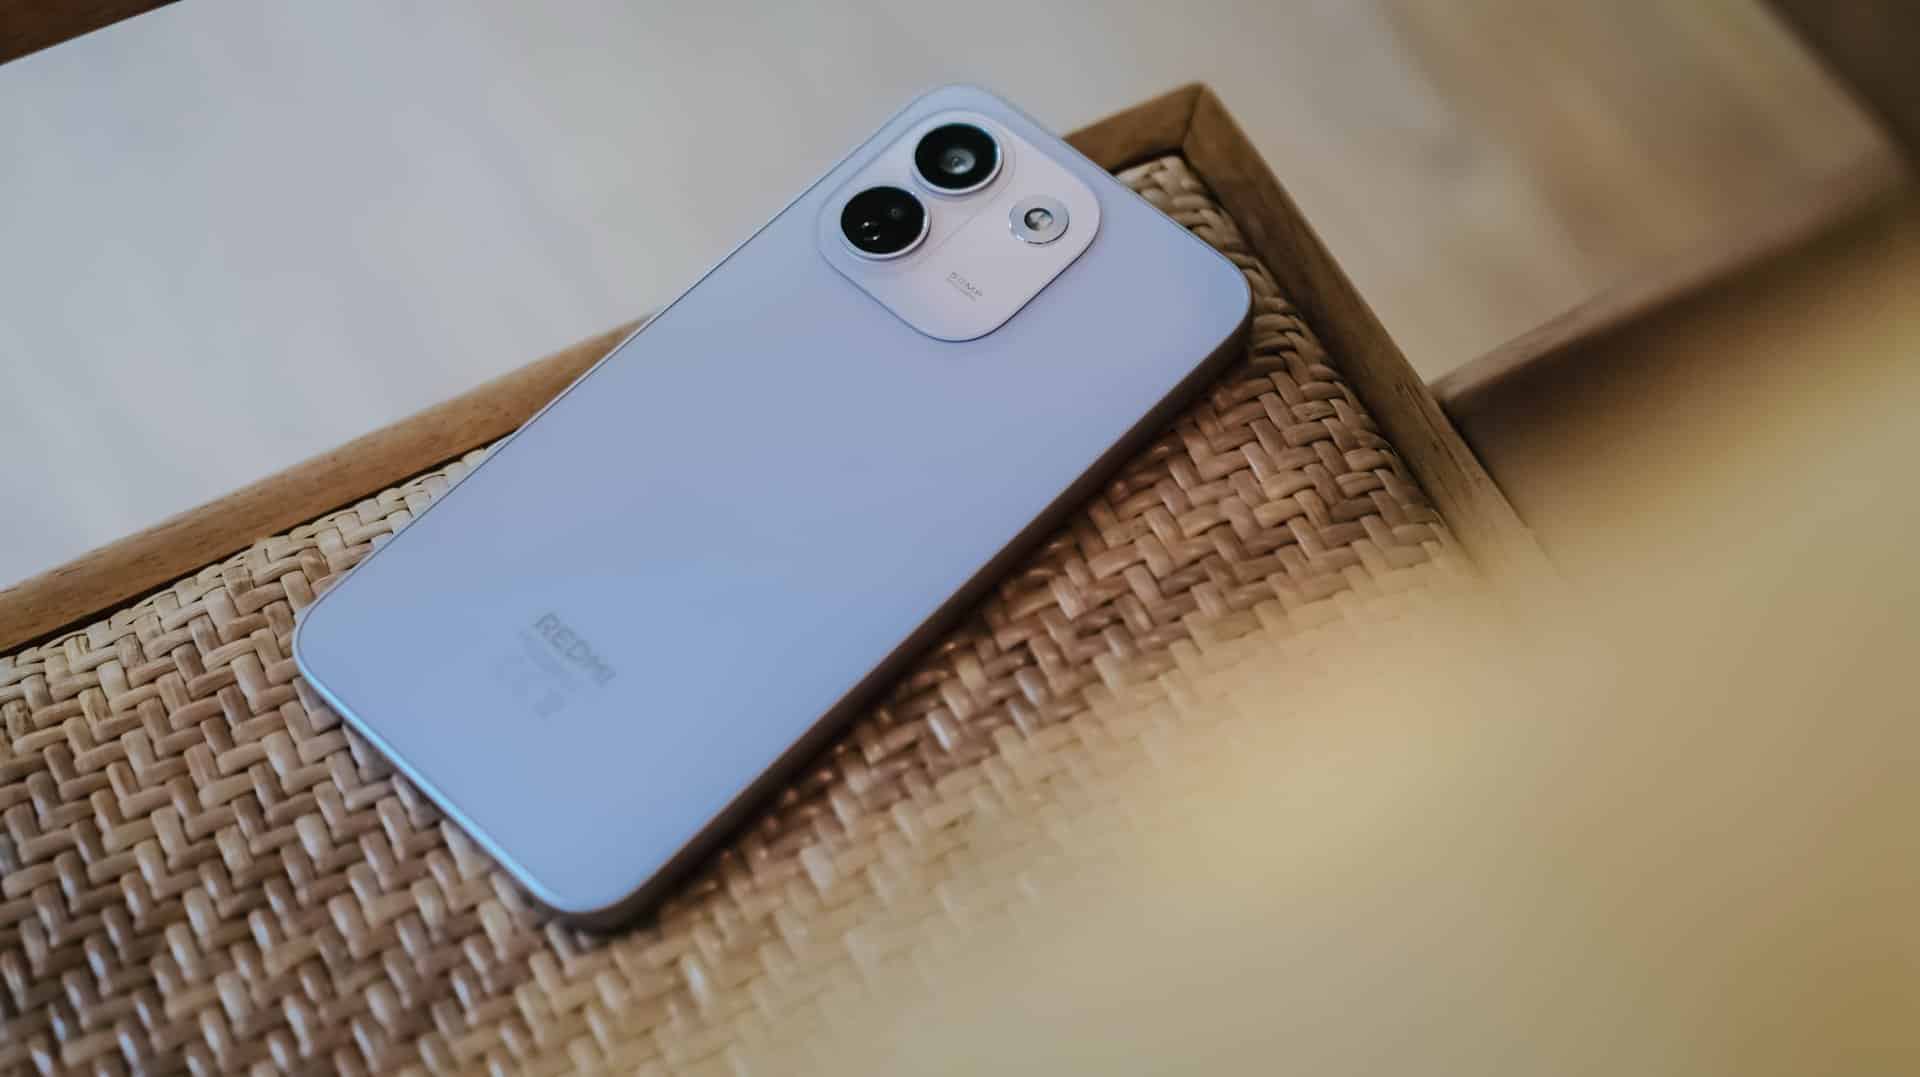
REDMI has summoned a new phone breed under their notable “Note” lineup since 2014.
(Un)officially retiring the Pro+ model, it’s not just the sub-brand’s first “Pro Max” phone, it’s also the Chinese giant’s first ever smartphone to feature a whopping 10,000mAh tank within.
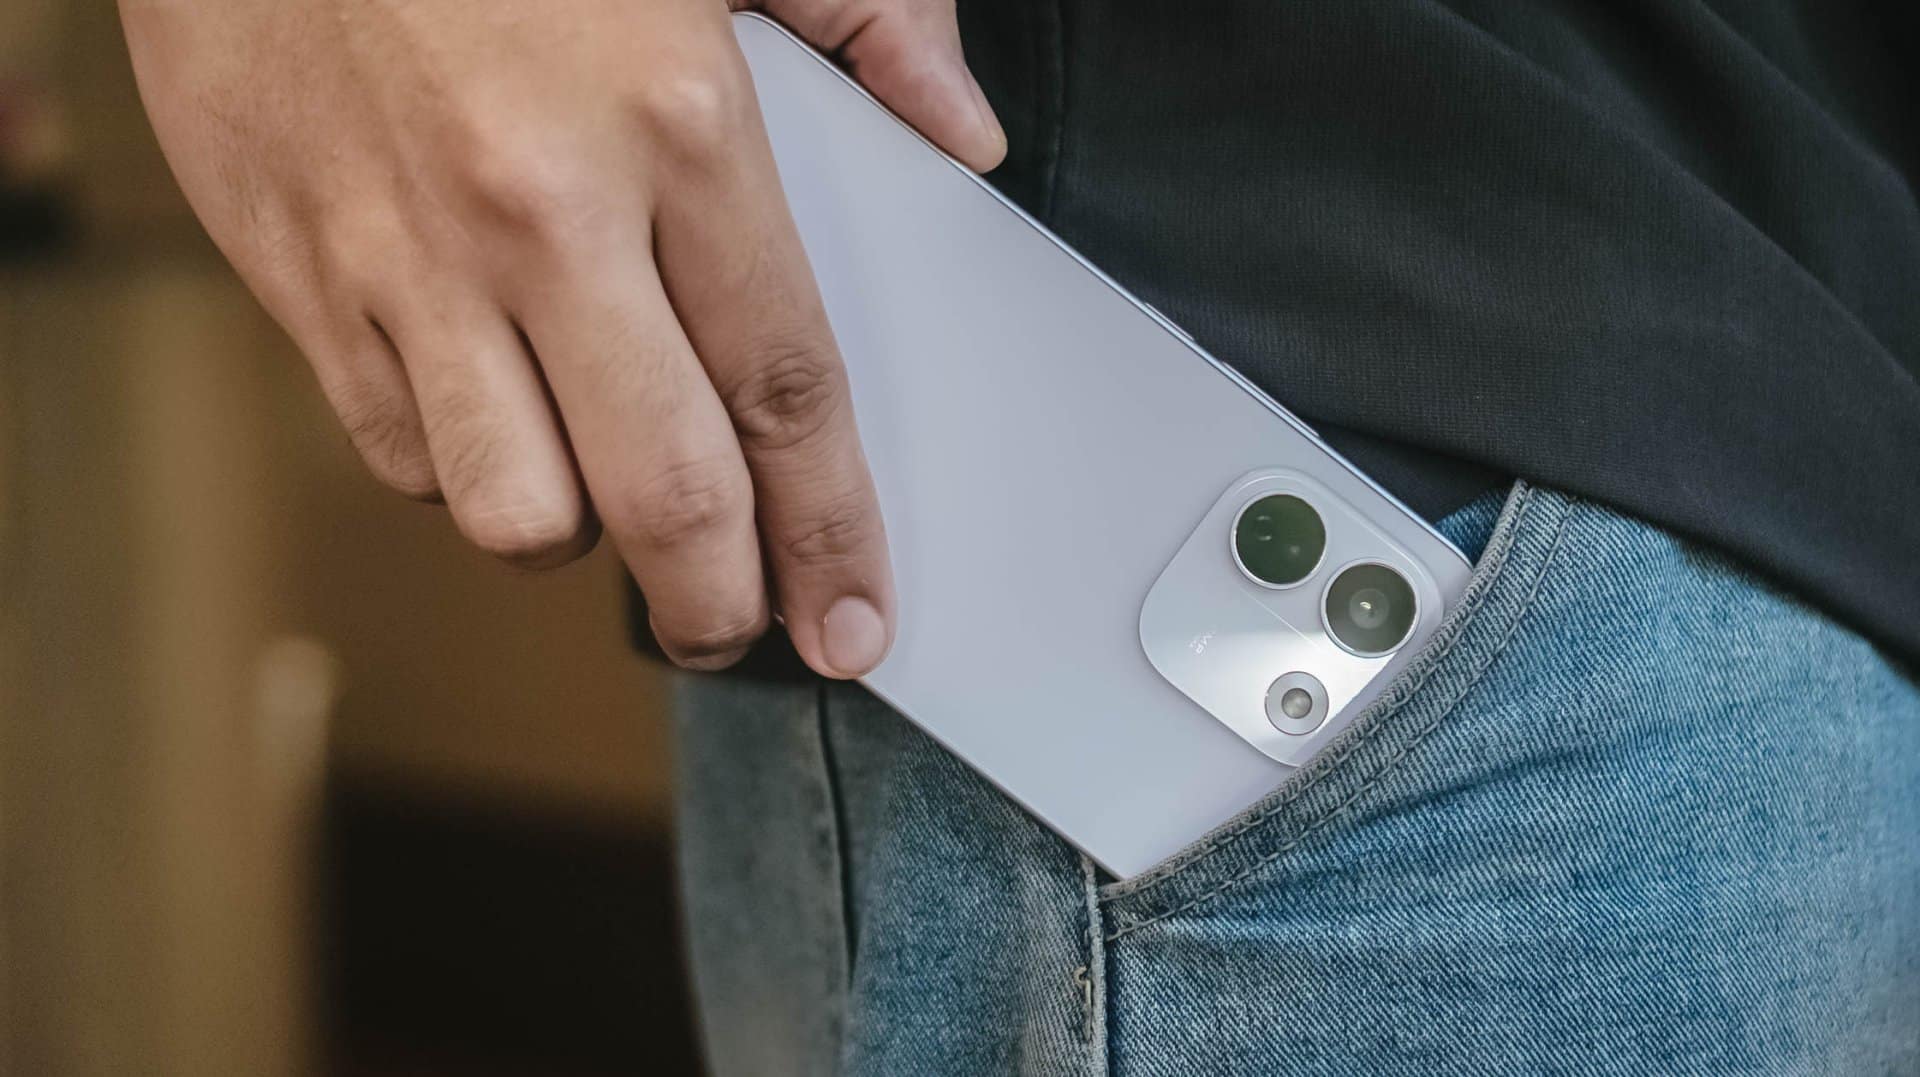
But is that feat alone enough to choose over its Pro sibling?
Here’s my in-depth REDMI Note 17 Pro Max review.
Design that just resigned
The moment you unwrap it from its paper cocoon, the REDMI Note 17 Pro Max greets you with its refined design.
That also meant REDMI has resigned from its premium-like, signature centered camera island just after two generations.
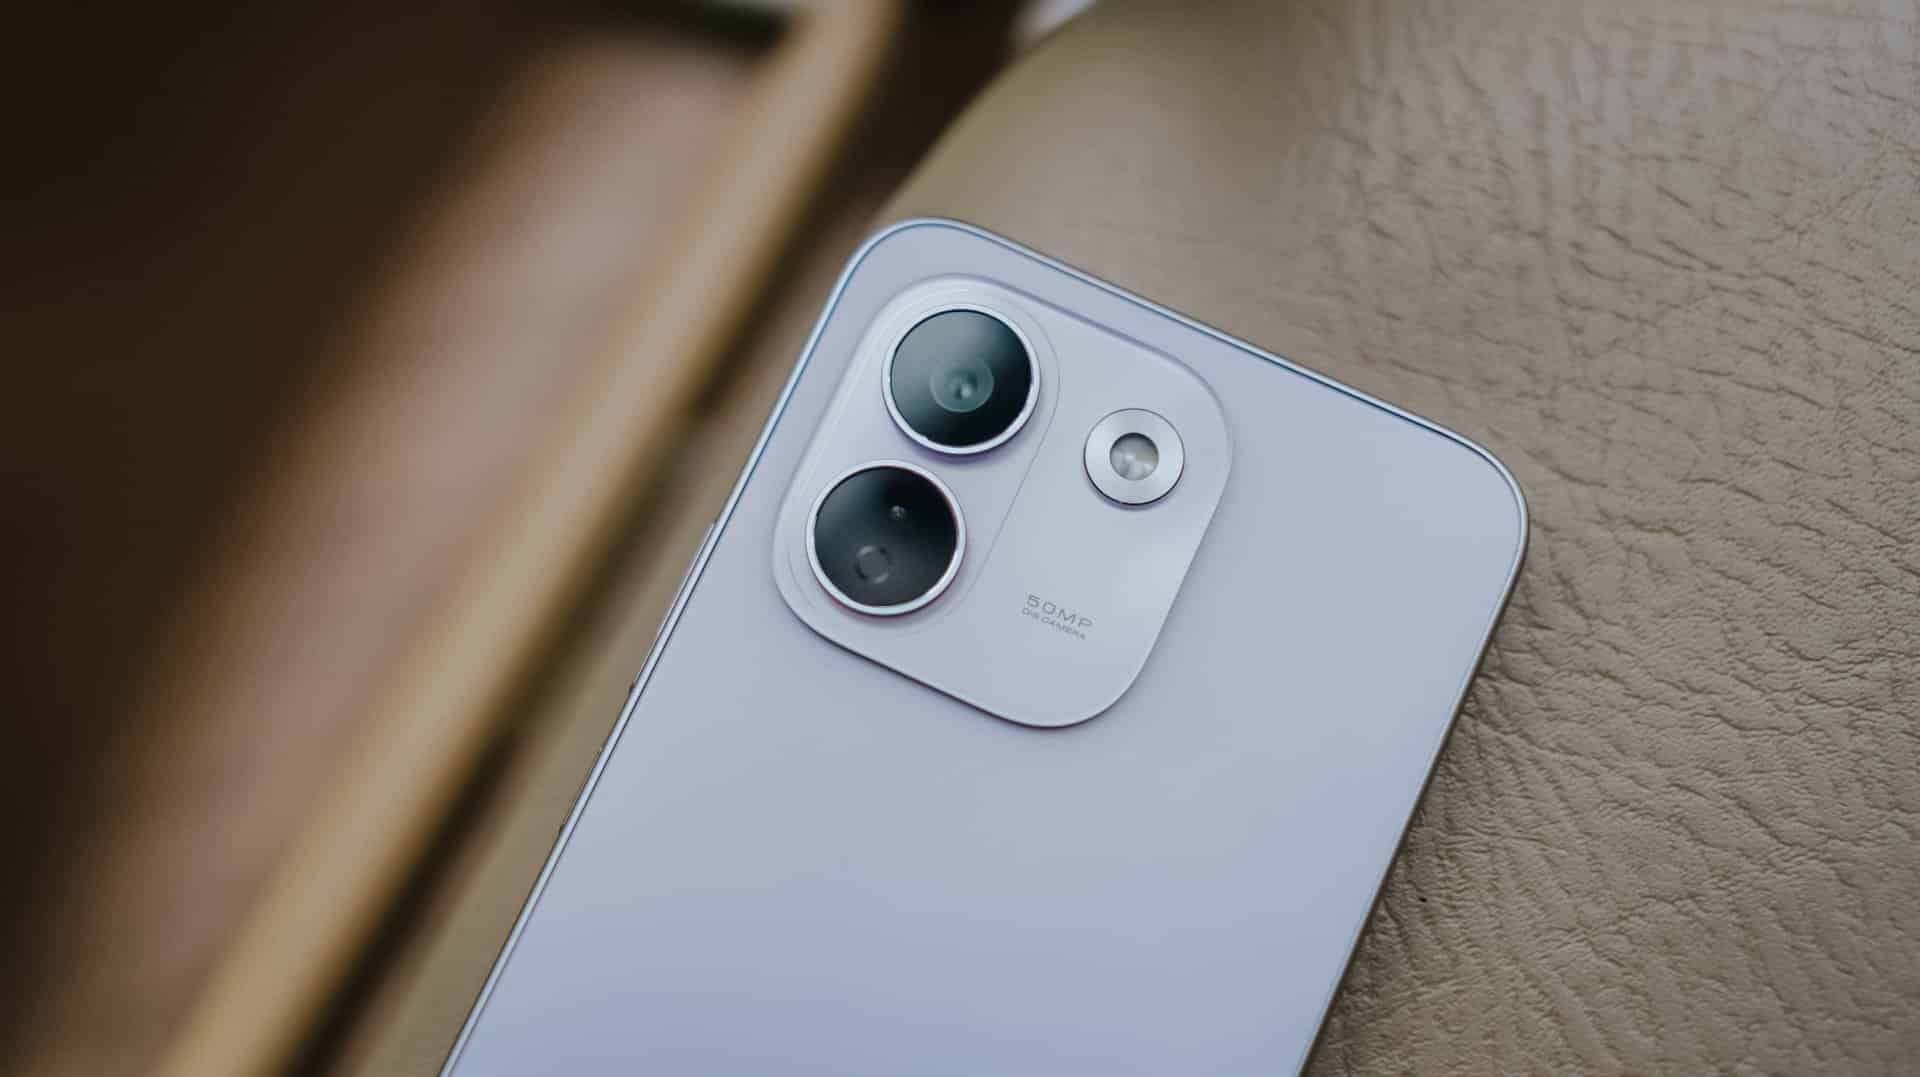
Much like most Android midrangers nowadays, it now features a smaller squircular camera cutout placed at the back’s top-left part.
This made me question and doubt their design team’s decision.
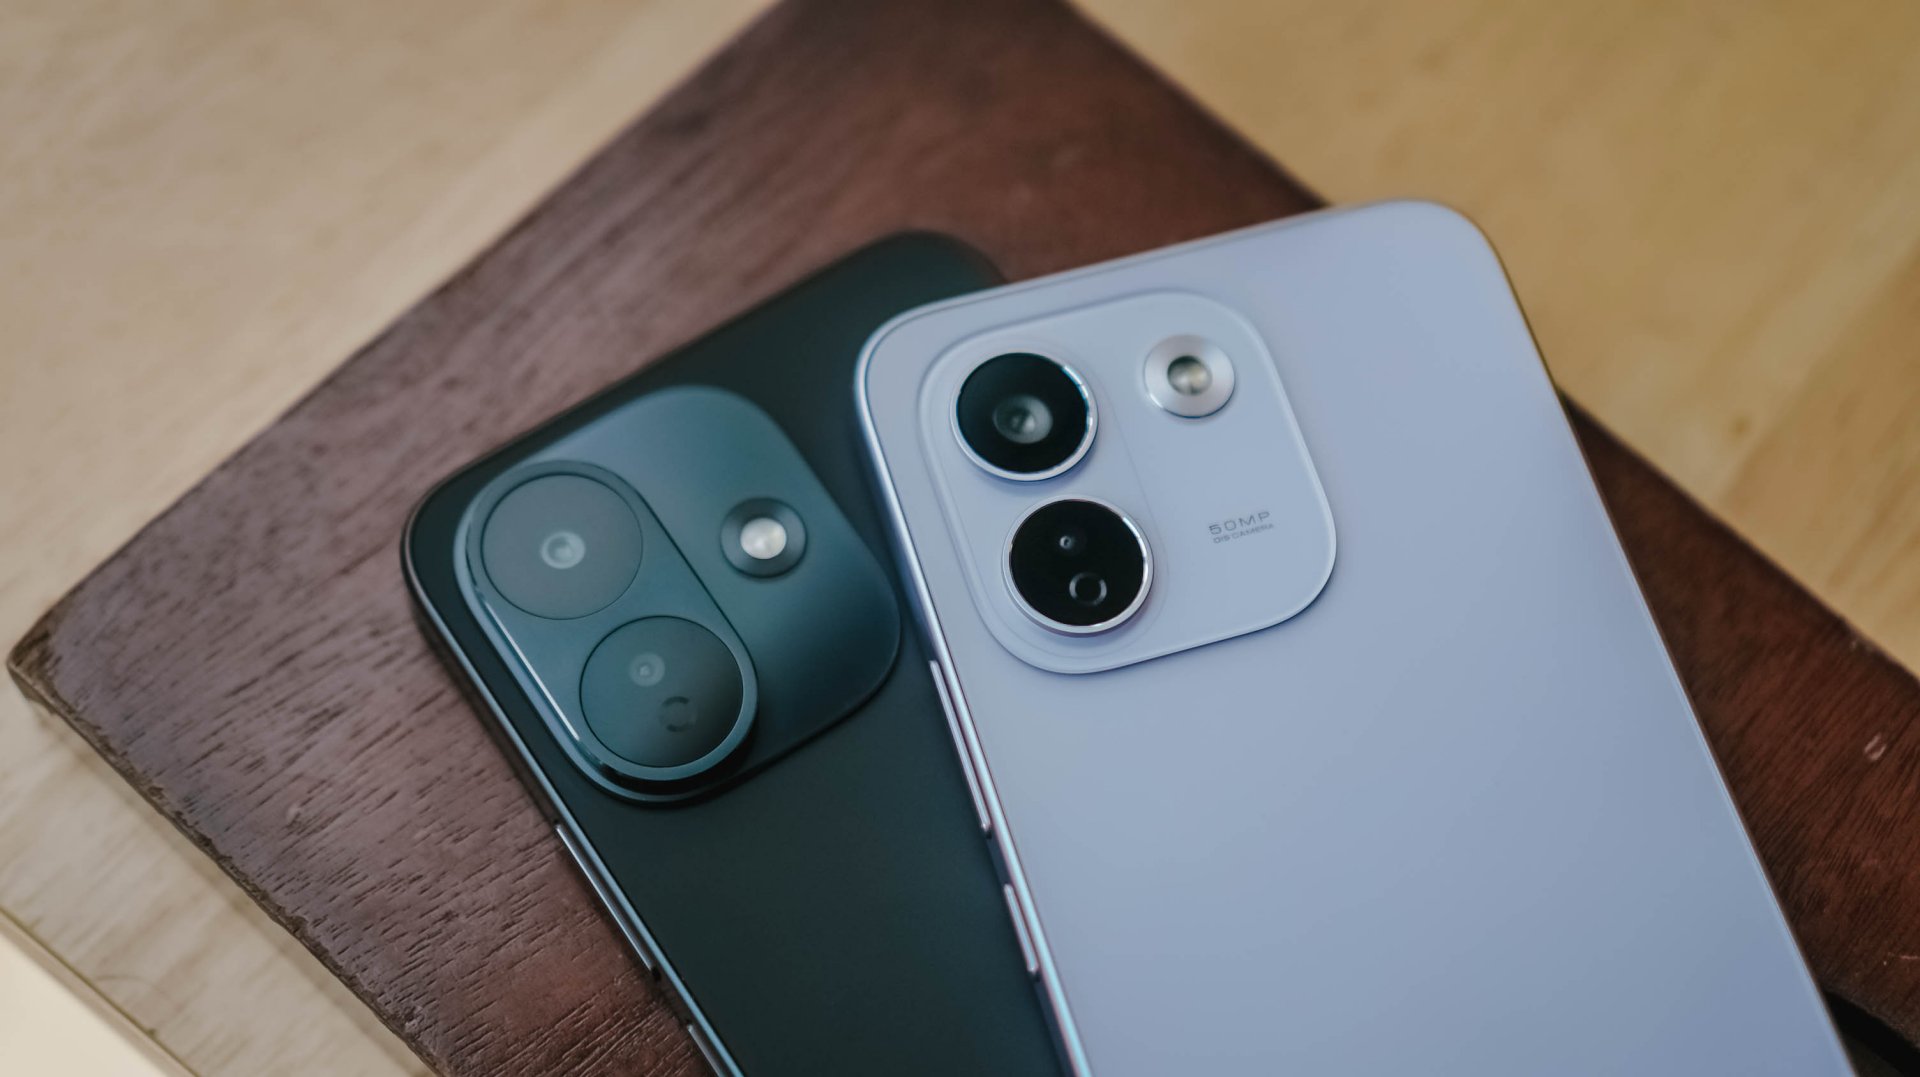
If we’re solely talking about design distinction, the iPhone-esque camera layout of the Note 17 Pro suits more towards the Pro Max variant — and vice versa.
After all, that same oval cutout can be seen with its sister brand’s Pro Max model. But I digress.
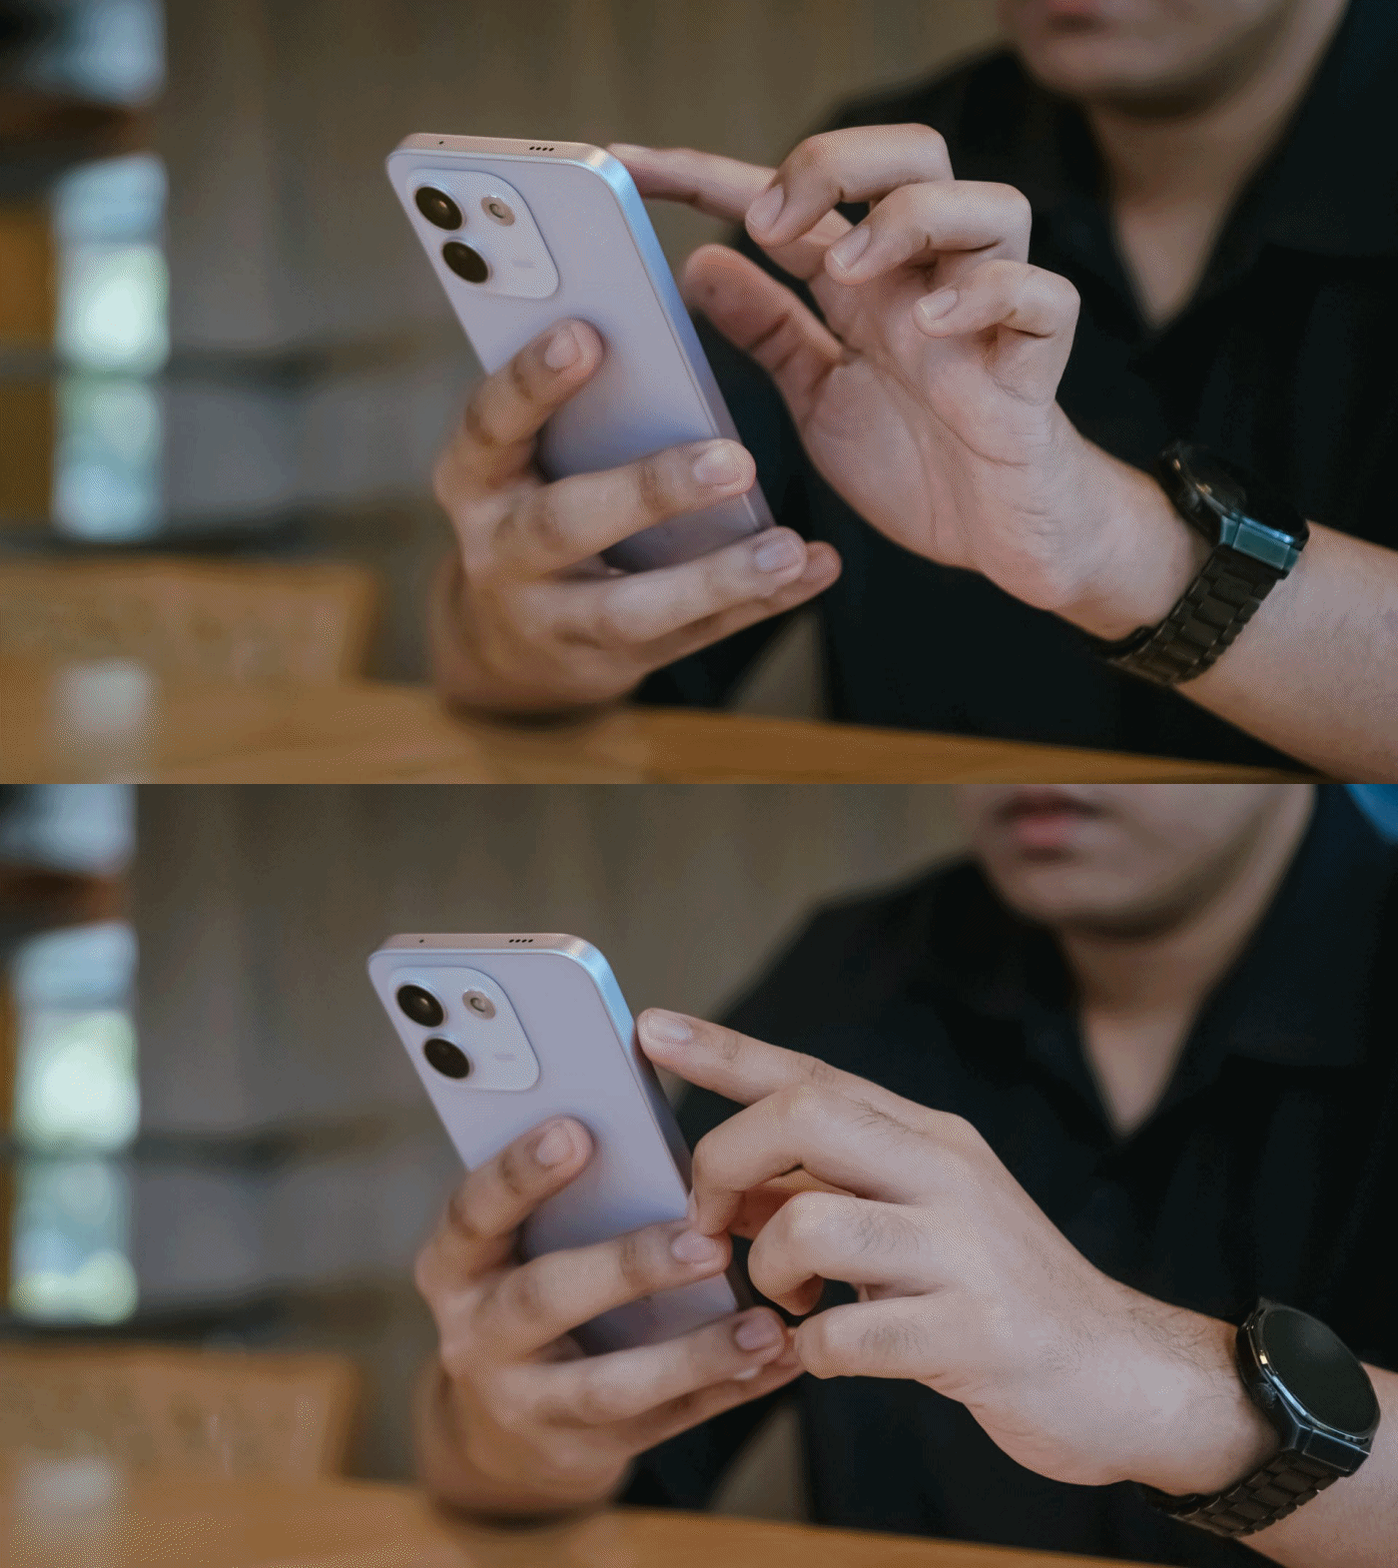
Rants aside, the REDMI Note 17 Pro Max is favorable to hold — at least for a big-handed guy like me.
Still, much like design, the actual feel is preferential.

Although some might argue that the quad-curved display and curved back of the previous Note 15 Pro+ might soothe the palms a little bit better, the flat display and edges of Note 17 Pro Max don’t necessarily mean a sharp and abrupt feel at hand. This honestly feels more secure to hold.
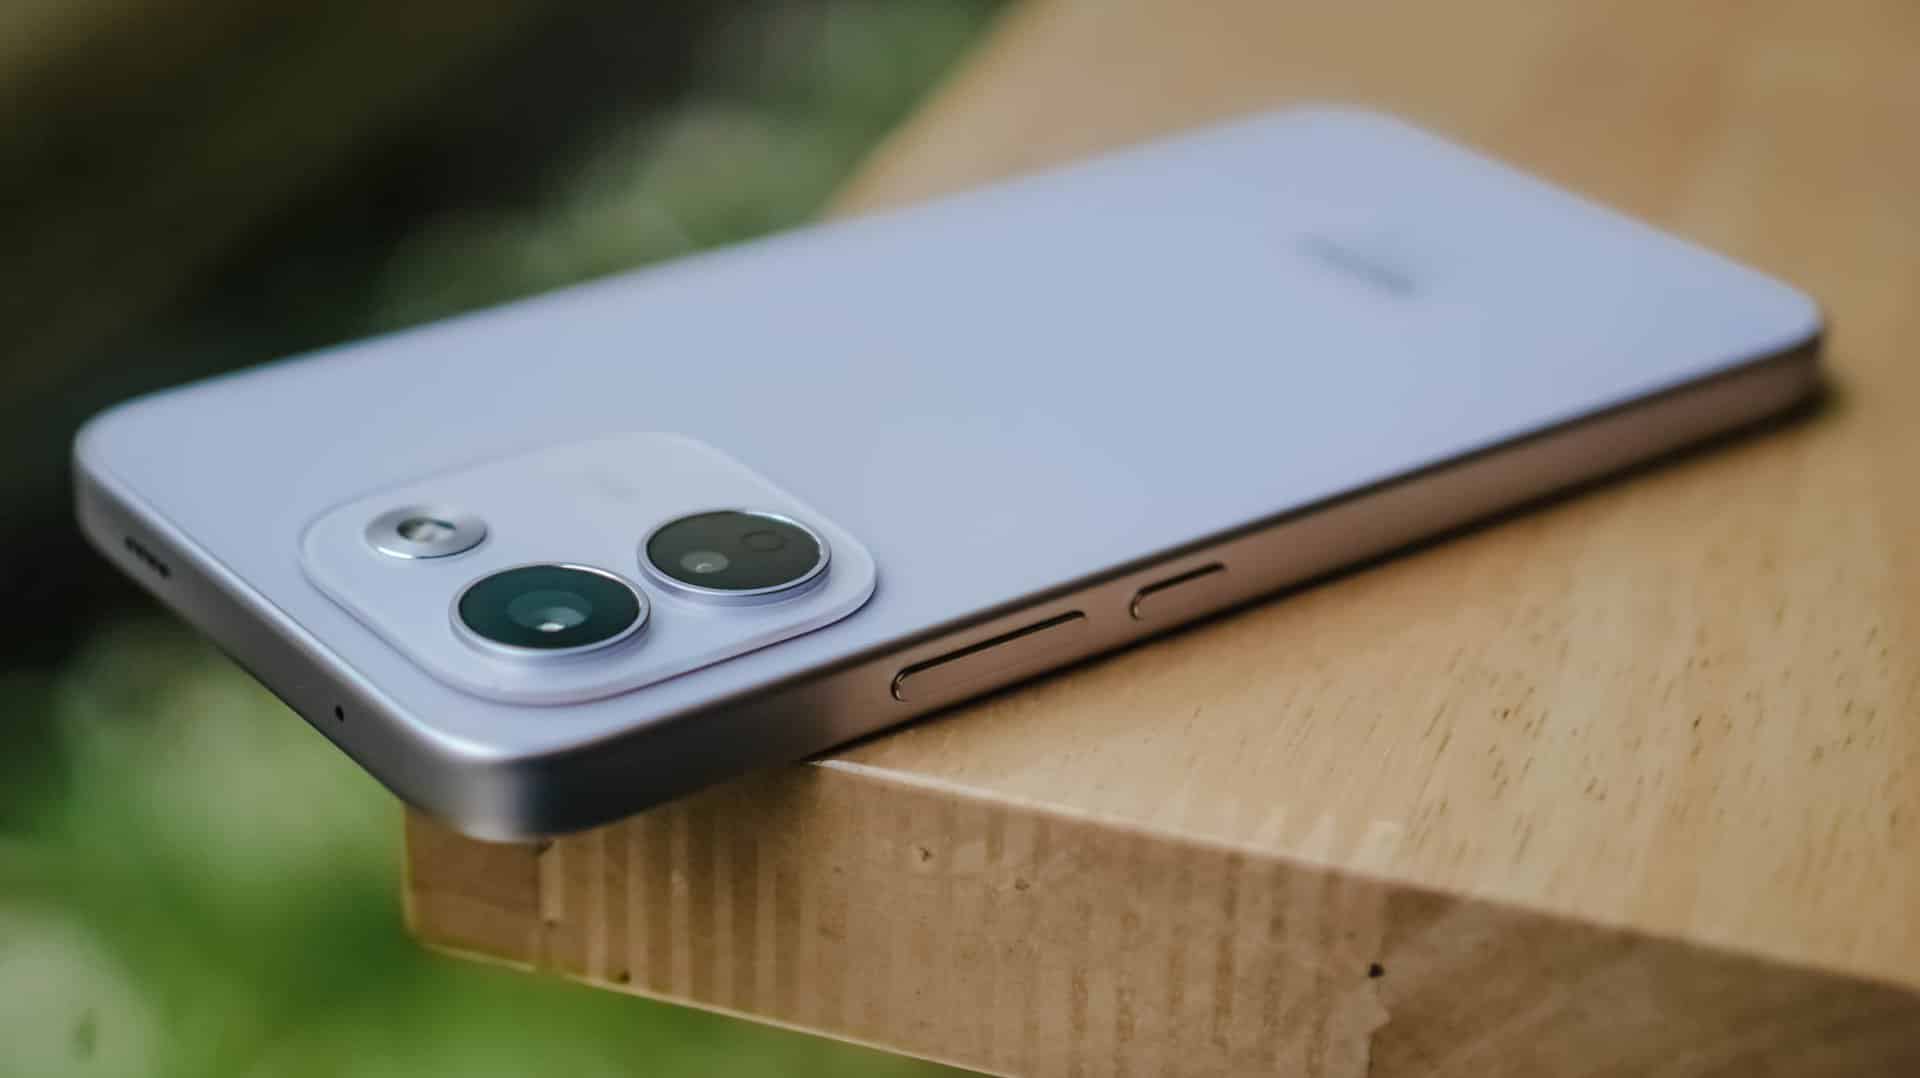
In case you drop it, the Note 17 Pro Max is made to last especially with its reinforced Titan chassis. This structural design makes it withstand drops as high as three meters — or taller than any human being at around 9.84 feet.
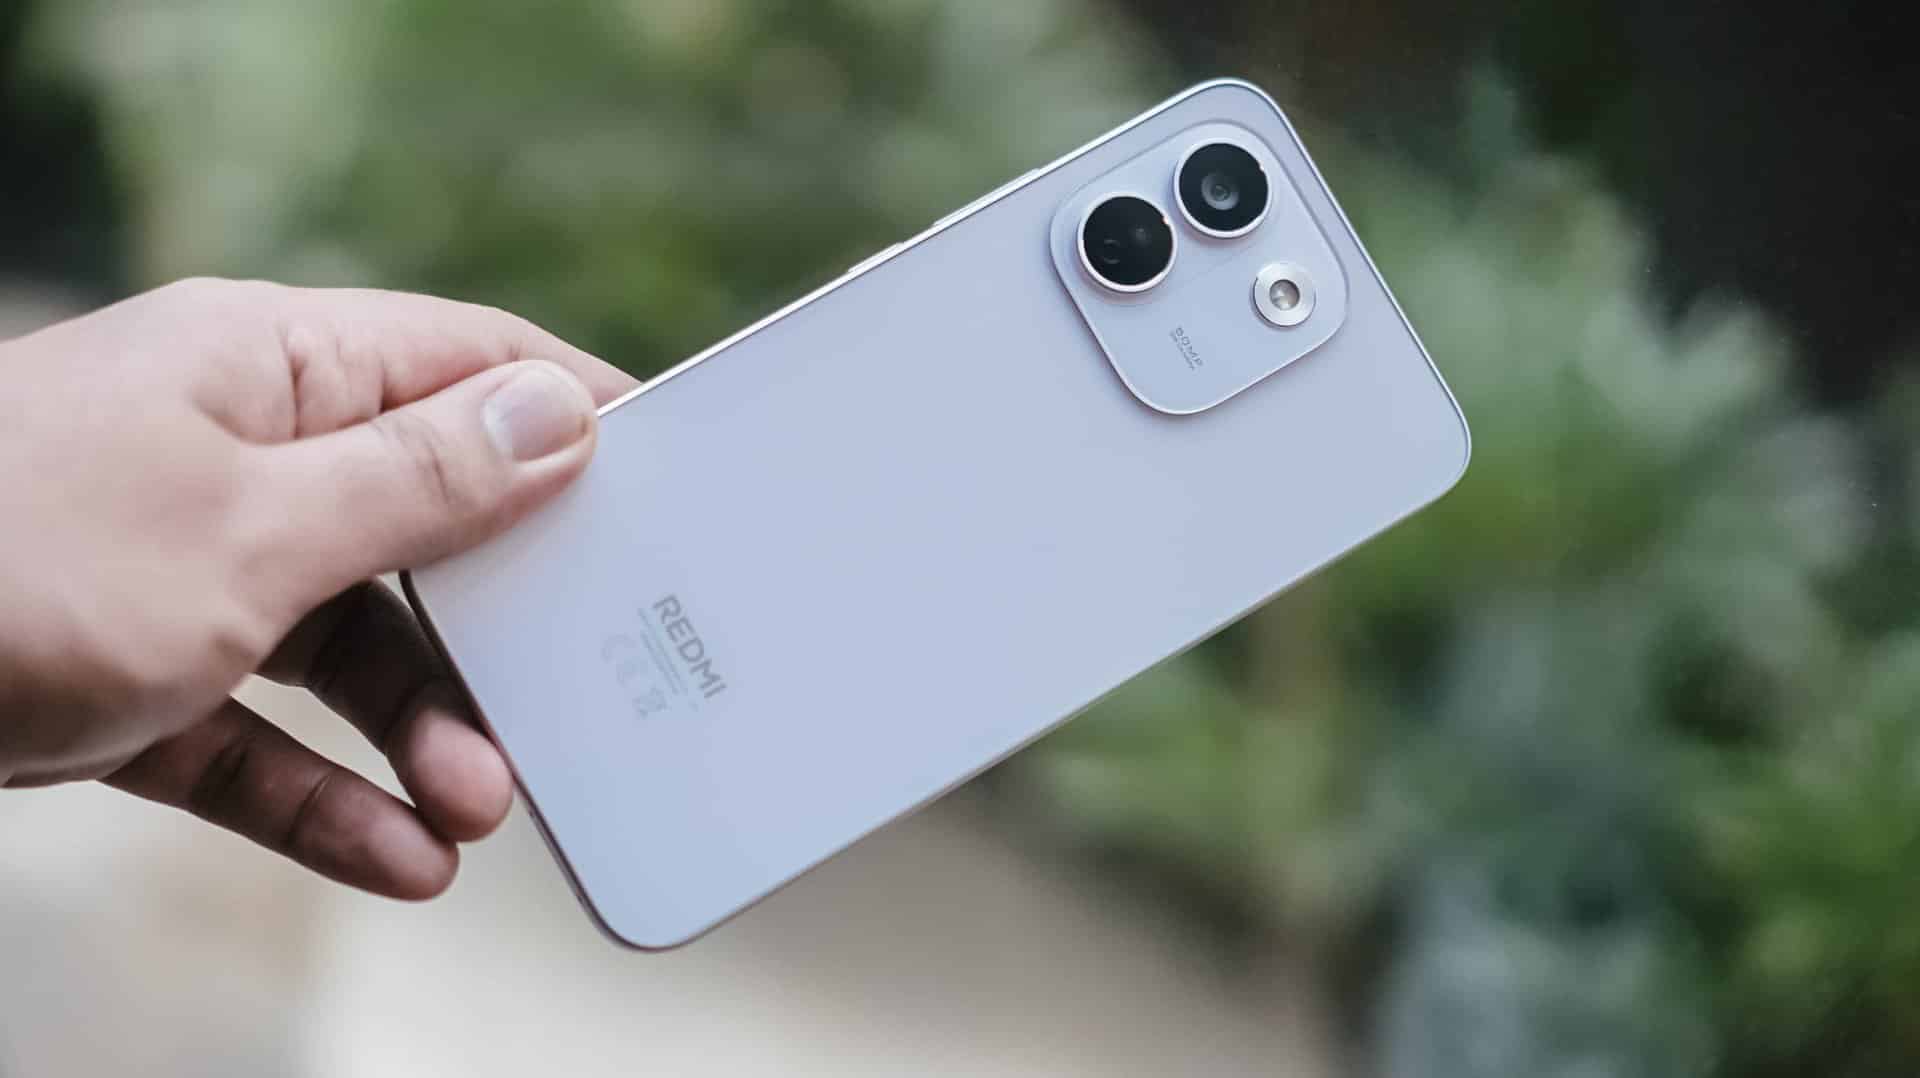
To make it more “future-proof,” this smartphone also has these quintessential IP ratings: IP66, IP68, IP69, and IP69K certifications.
How can I forget that strengthened Corning Gorilla Glass Victus 2 on its front?
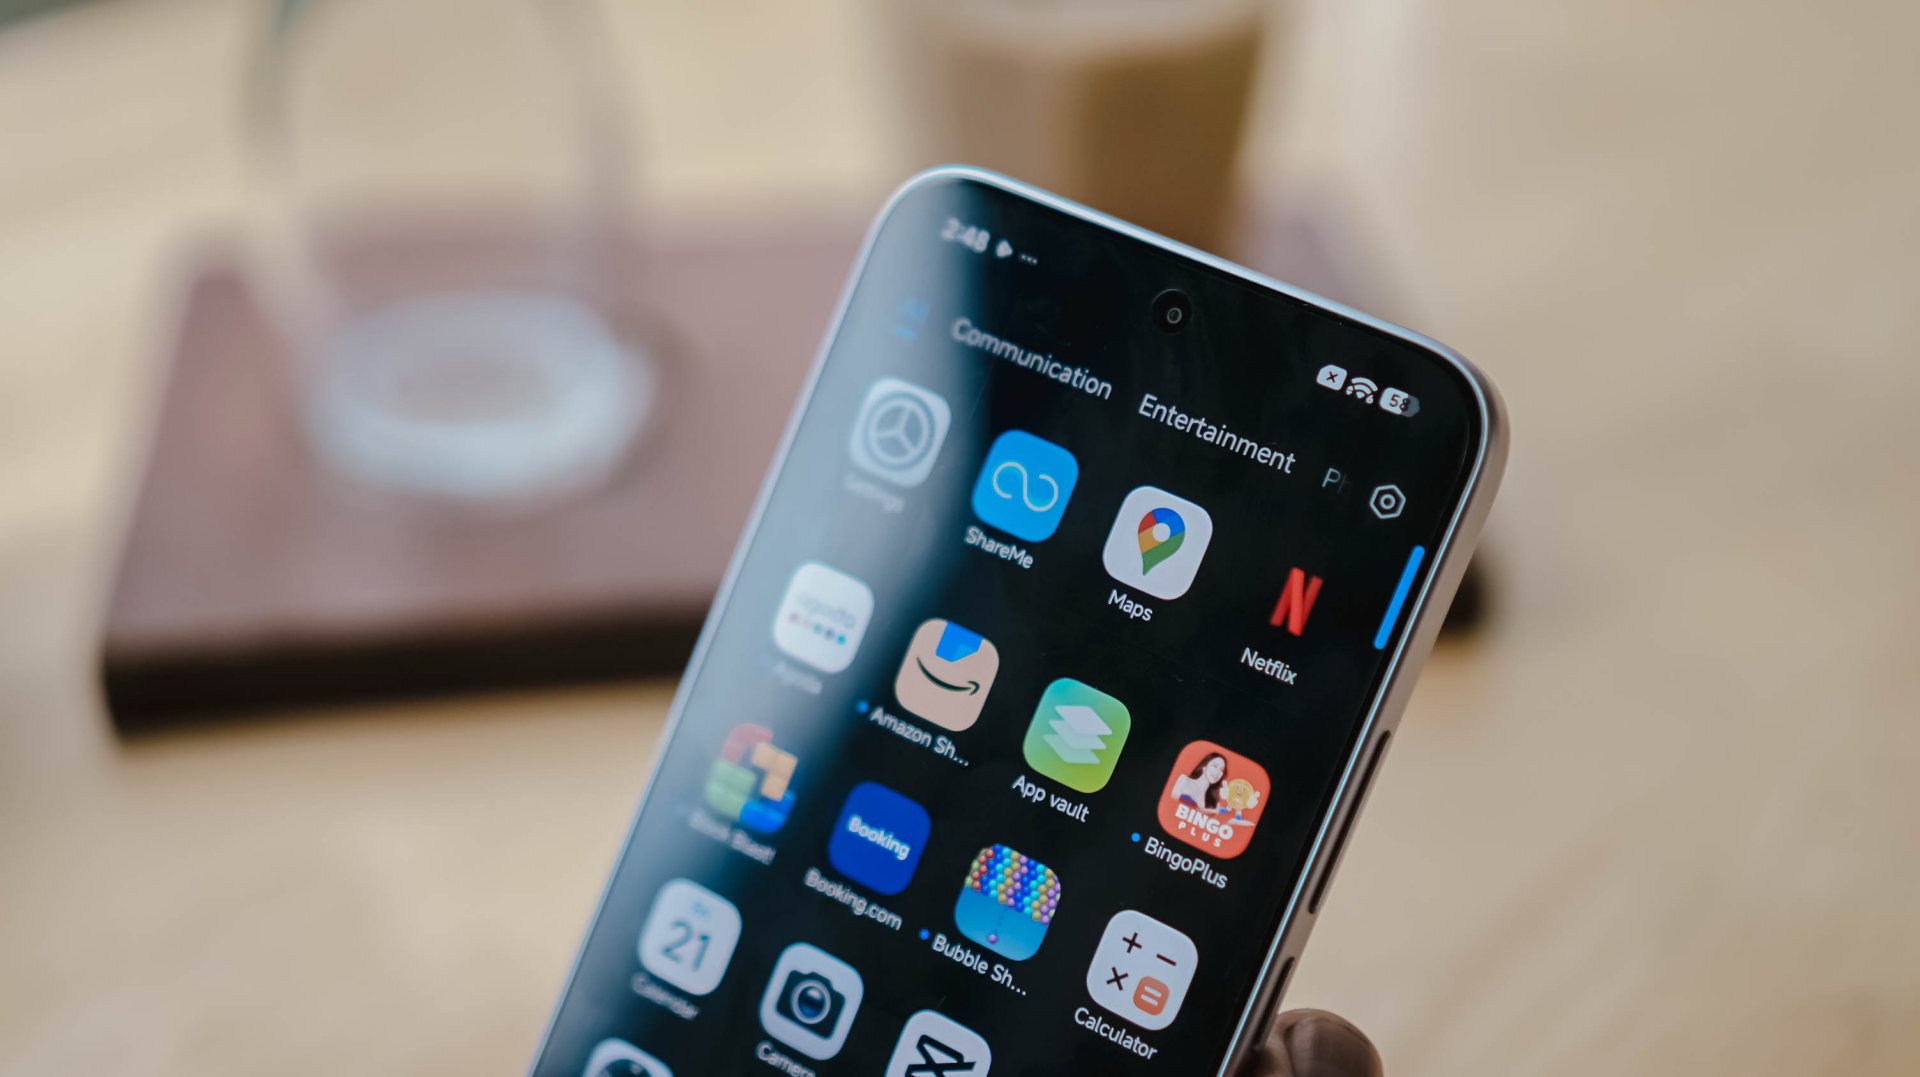
Gorilla Glass Victus2 ft. Xiaomi HyperOS 3 and its usual app bloat
It’s an amazing inclusion considering this type of glass protection is usually limited to flagship models like Samsung’s Galaxy S26 series and Google’s latest Pixel 11 lineup.
#NowPlaying: My Bias, My Boss
With the phone’s front already introduced, let’s now focus on that large 6.83-inch AMOLED display.
At the surface level, both displays are just impossible to differentiate.
Still, there are subtle differences that one might prefer over another.
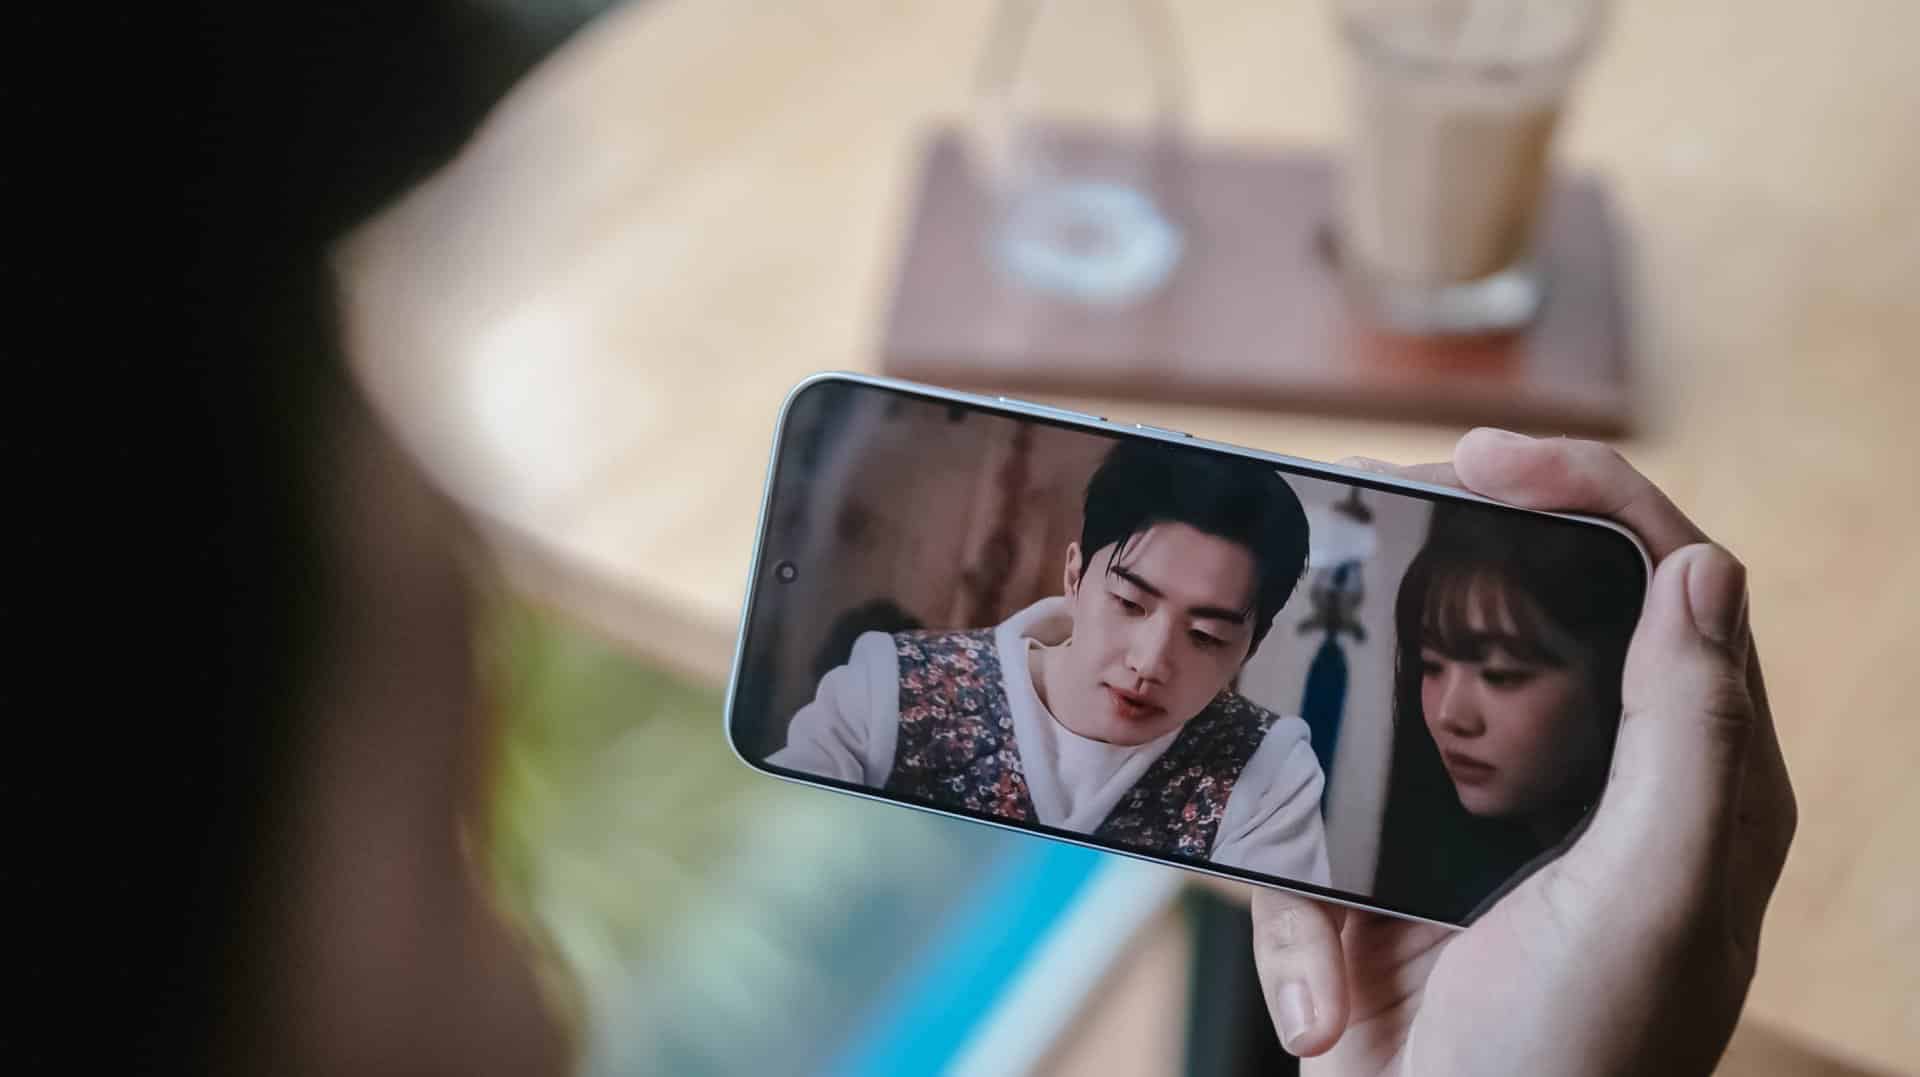
It’s pretty much the same in the latest drama I’ve binged and finished using this smartphone.
Nam Da-reum had her feelings confused both for her office boss (Kang Ha-gi) and her actual, long-time K-Pop bias (Lee Chan) — which both happened to be her work colleagues.
For the most part, this struggle happens to a lot of buyers, too.
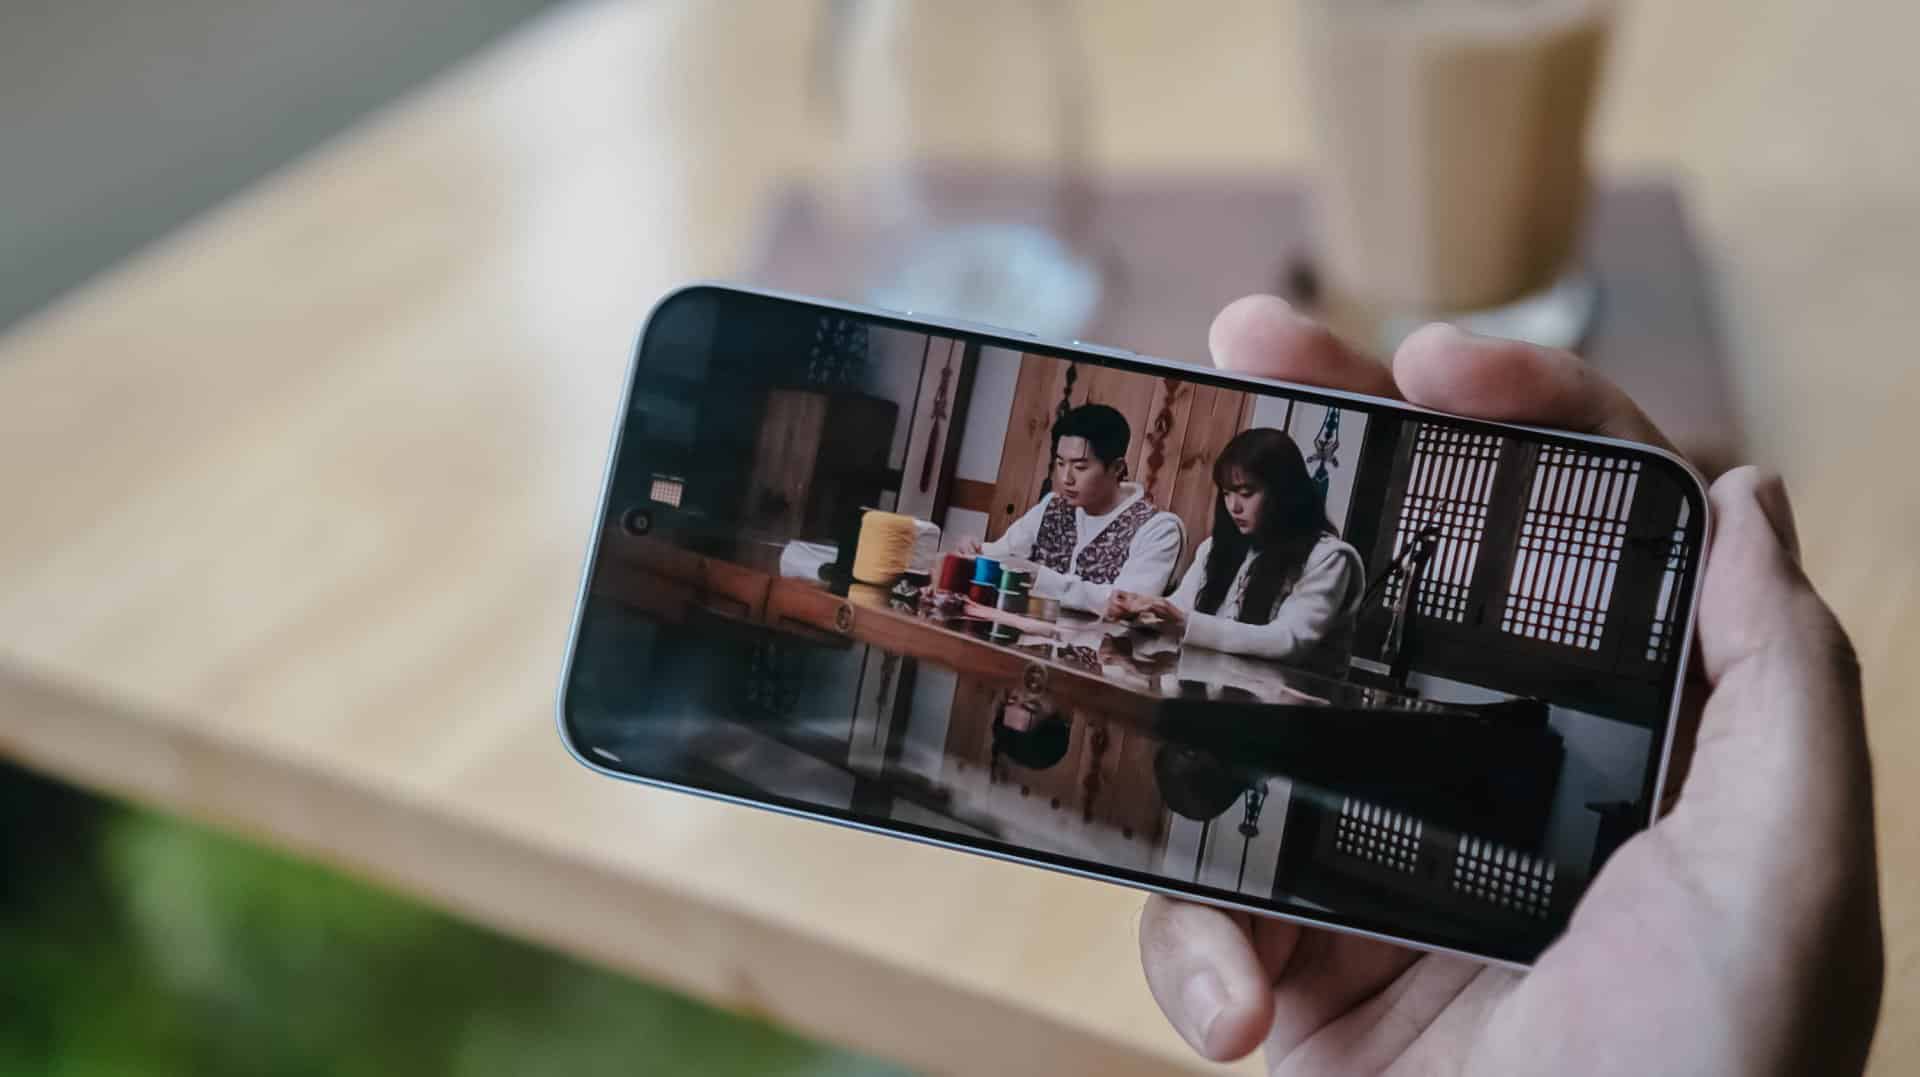
Just like the visual supremacy of both Kang Hoon and Cha Woo-min, both the REDMI Note 17 Pro and Pro Max also share the same attributes. There’s that sharp 1.5K display resolution, 3500 nits of peak brightness, 12-bit color depth, even 240Hz / 3200Hz touch sampling rates.
Well, the Pro Max has the slight upper hand with its HDR10+ and Dolby Vision support that the Pro model lacks.
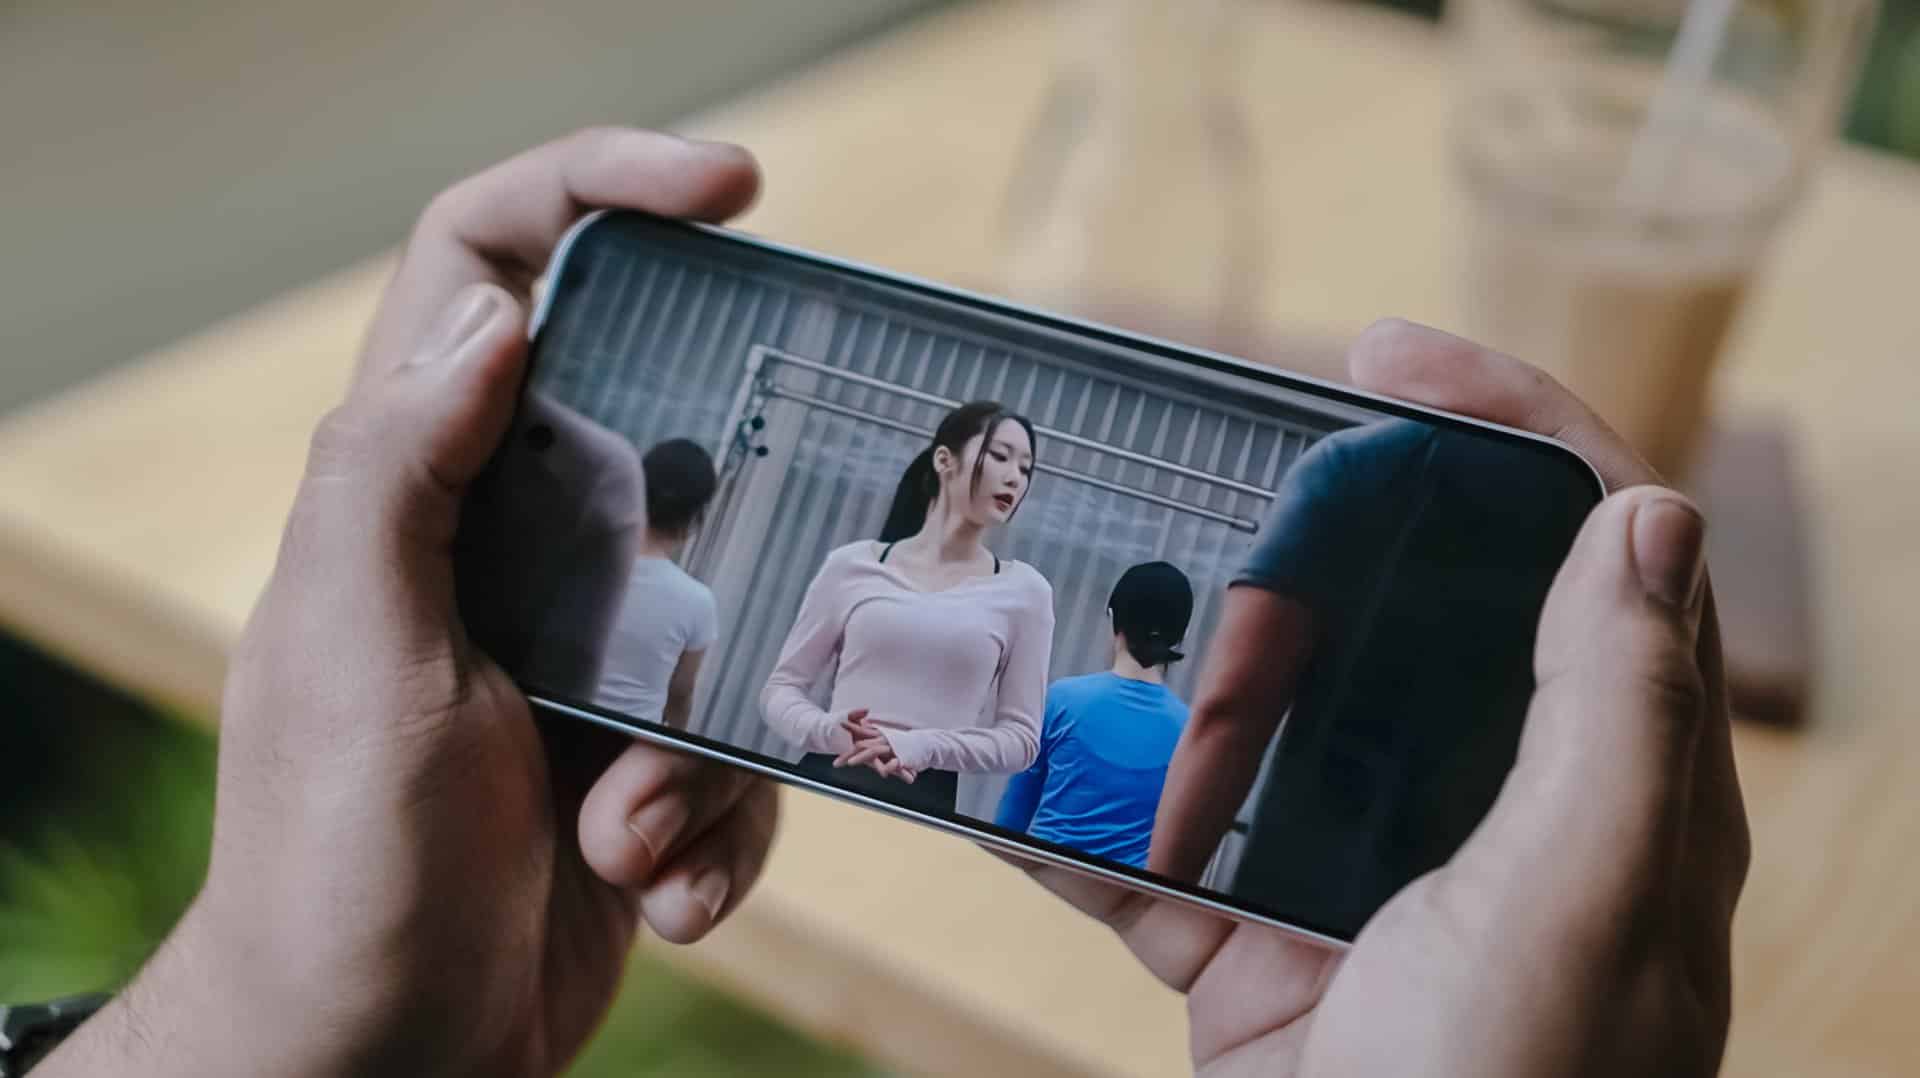
This is such a star-studded drama ft. former OH MY GIRL’s Jiho
This meant that HDR content is livelier and more immersive on the REDMI Note 17 Pro Max.
Regardless if it’s on YouTube, Netflix, Disney+, or HBO Max, one will definitely appreciate the Pro Max’s screen better.
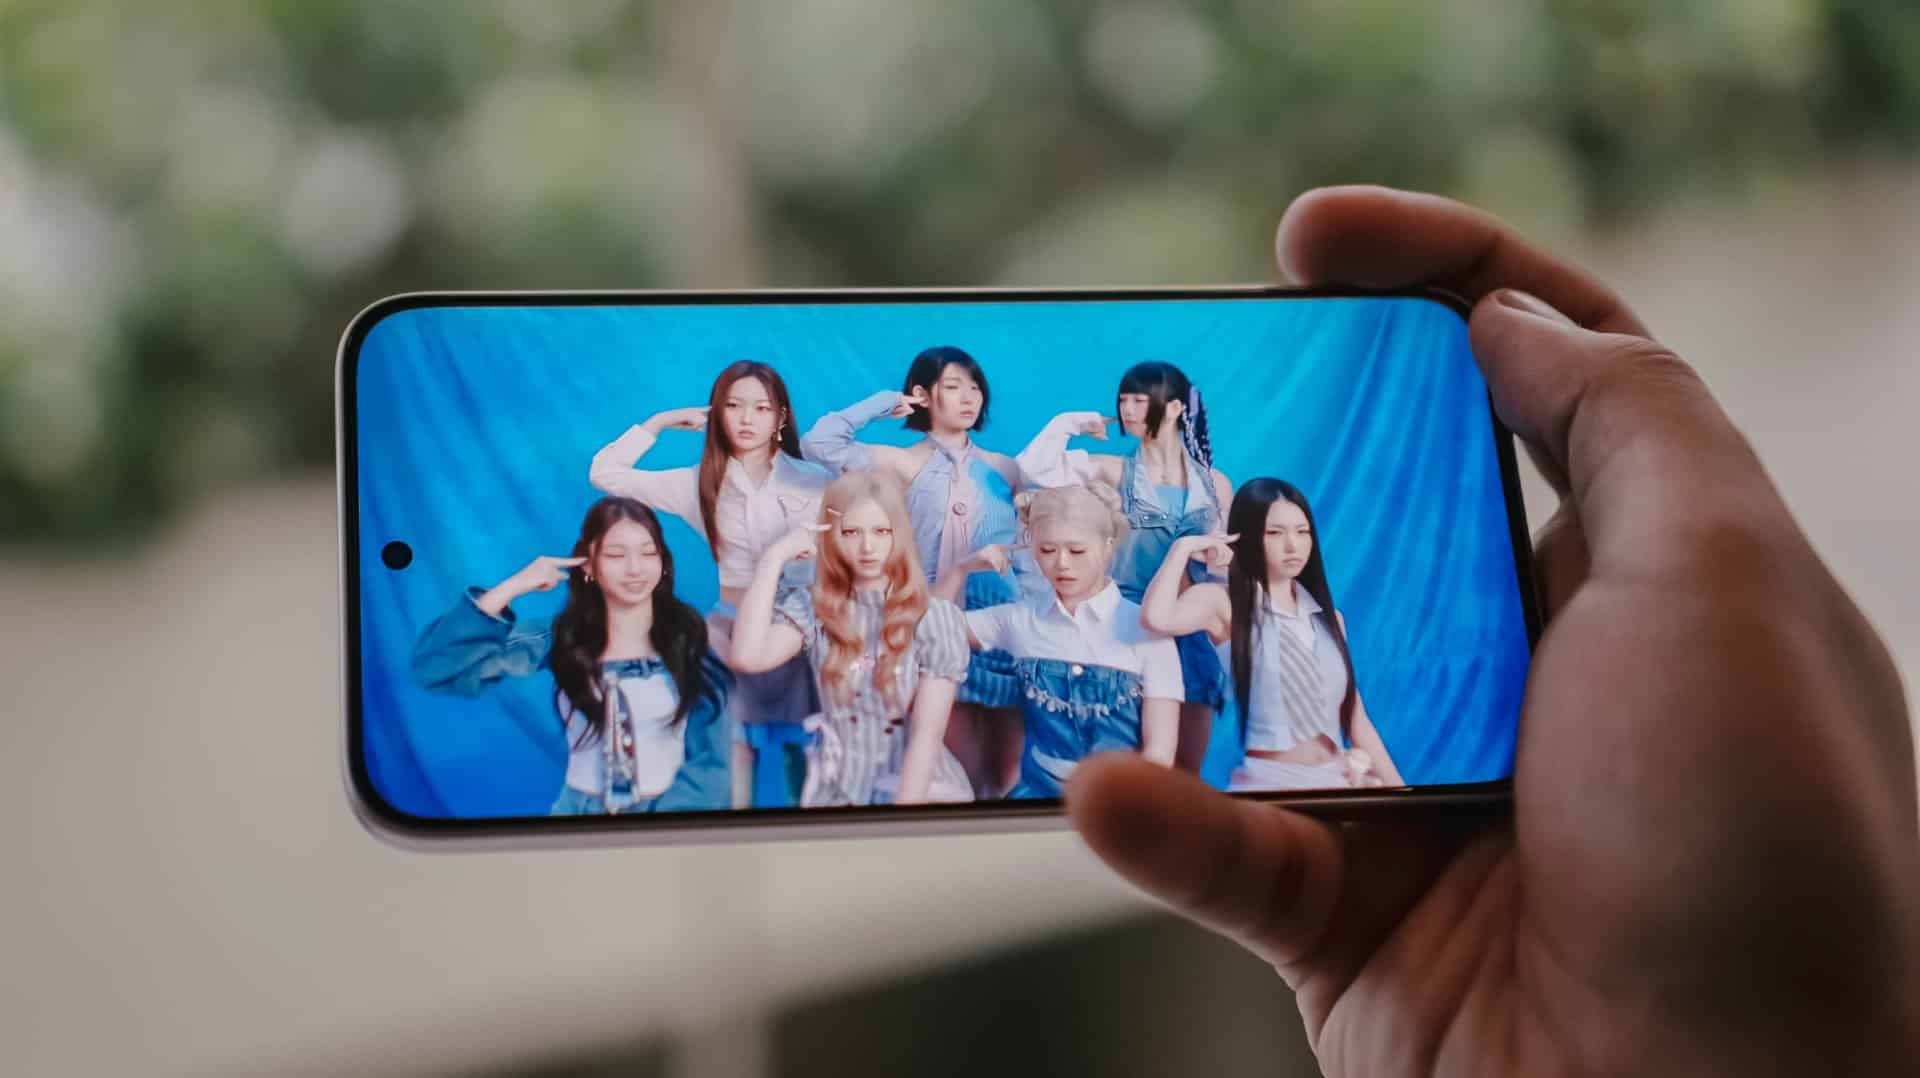
Now, if you’re concerned about eye safety, both phones boast TÜV Rheinland’s Low Blue Light, Flicker Free, Circadian Friendly certifications.
On Queue: TUIDE, OURBIRTHDAY
Much like the dual debut of the REDMI Note 17 Pro series, two septet K-Pop girl groups were also born during this third quarter of 2026.
While both groups share the same member number, these two newly-created groups are also distinct from one another.
The REDMI Note 17 Pro and Pro Max both possess the same stereo speaker setup. Dolby Atmos and Hi-Res Lossless features weren’t forgotten as well.
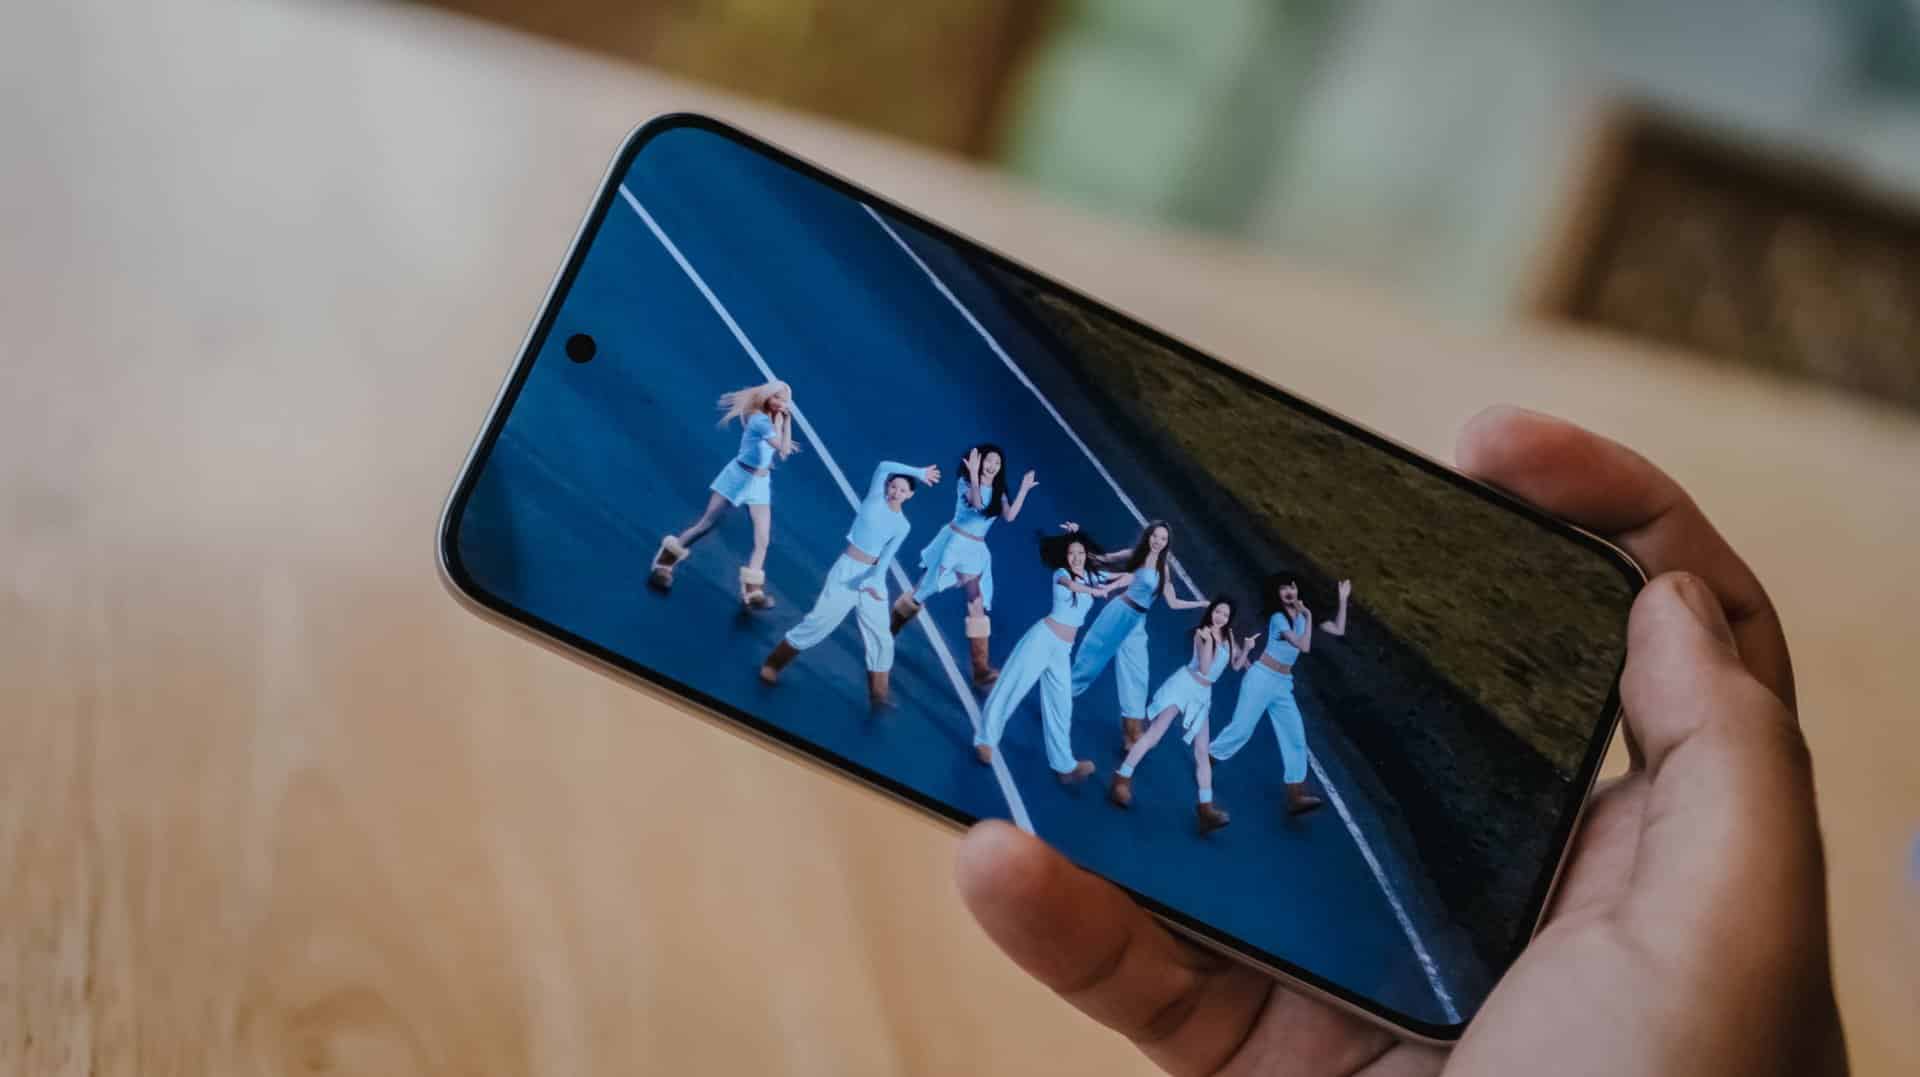
Upon closer inspection though, the Note 17 Pro Max produces an even louder output thanks to its 400% Volume Boost feature. That’s in contrast to the 300% boost of its Pro sib.
At least on my ears, REDMI’s Note 17 Pro Max sounded deeper especially heard with TUIDE’s vocals in their lowkey-addicting “SUN KISS” debut track.
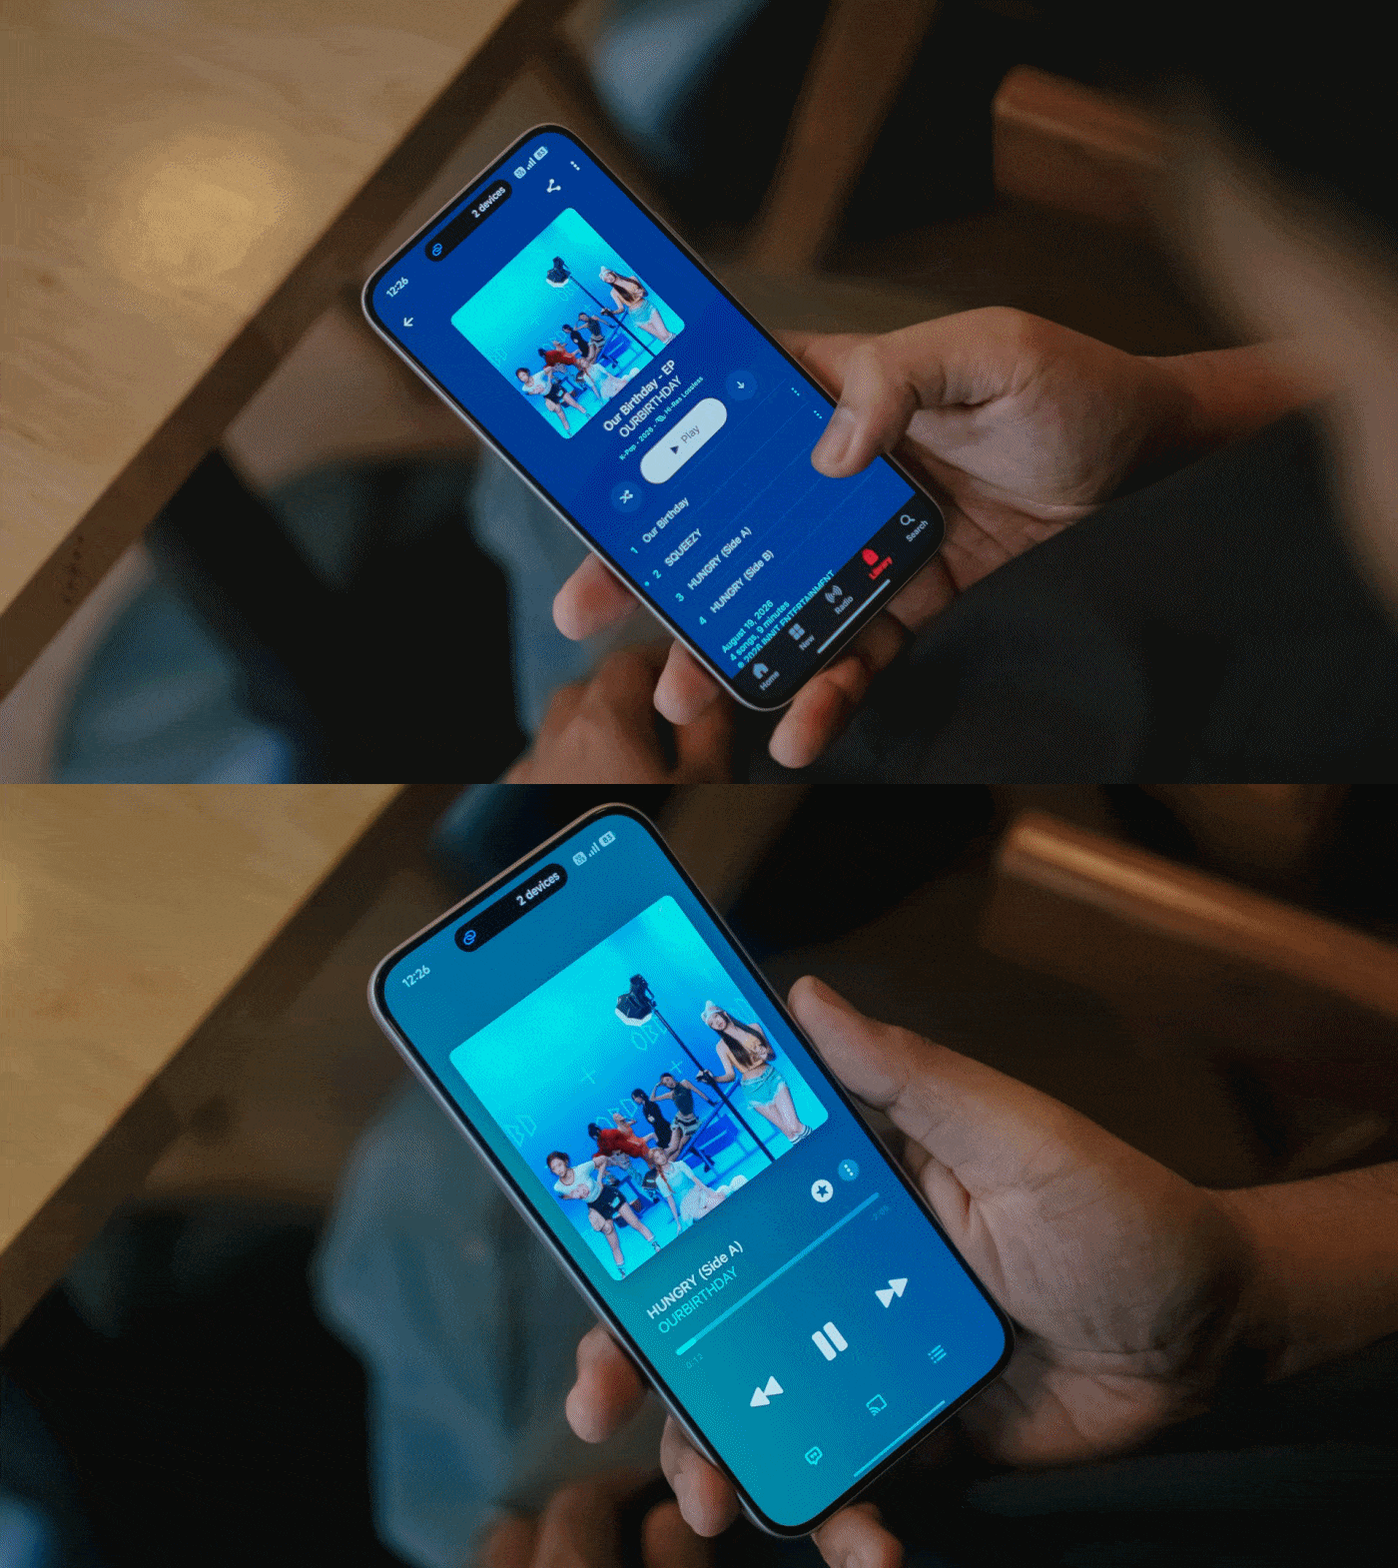
Even more, the steps and thumps in OURBIRTHDAY’s “HUNGRY” also felt and sounded more powerful and impactful as opposed to the Note 17 Pro’s output.
New chip above its hip
Unlike its Max-less sibling running a slower Snapdragon 6s Gen 4, the REDMI Note 17 Pro Max rocks the “faster” Snapdragon 6 Gen 5 SoC.
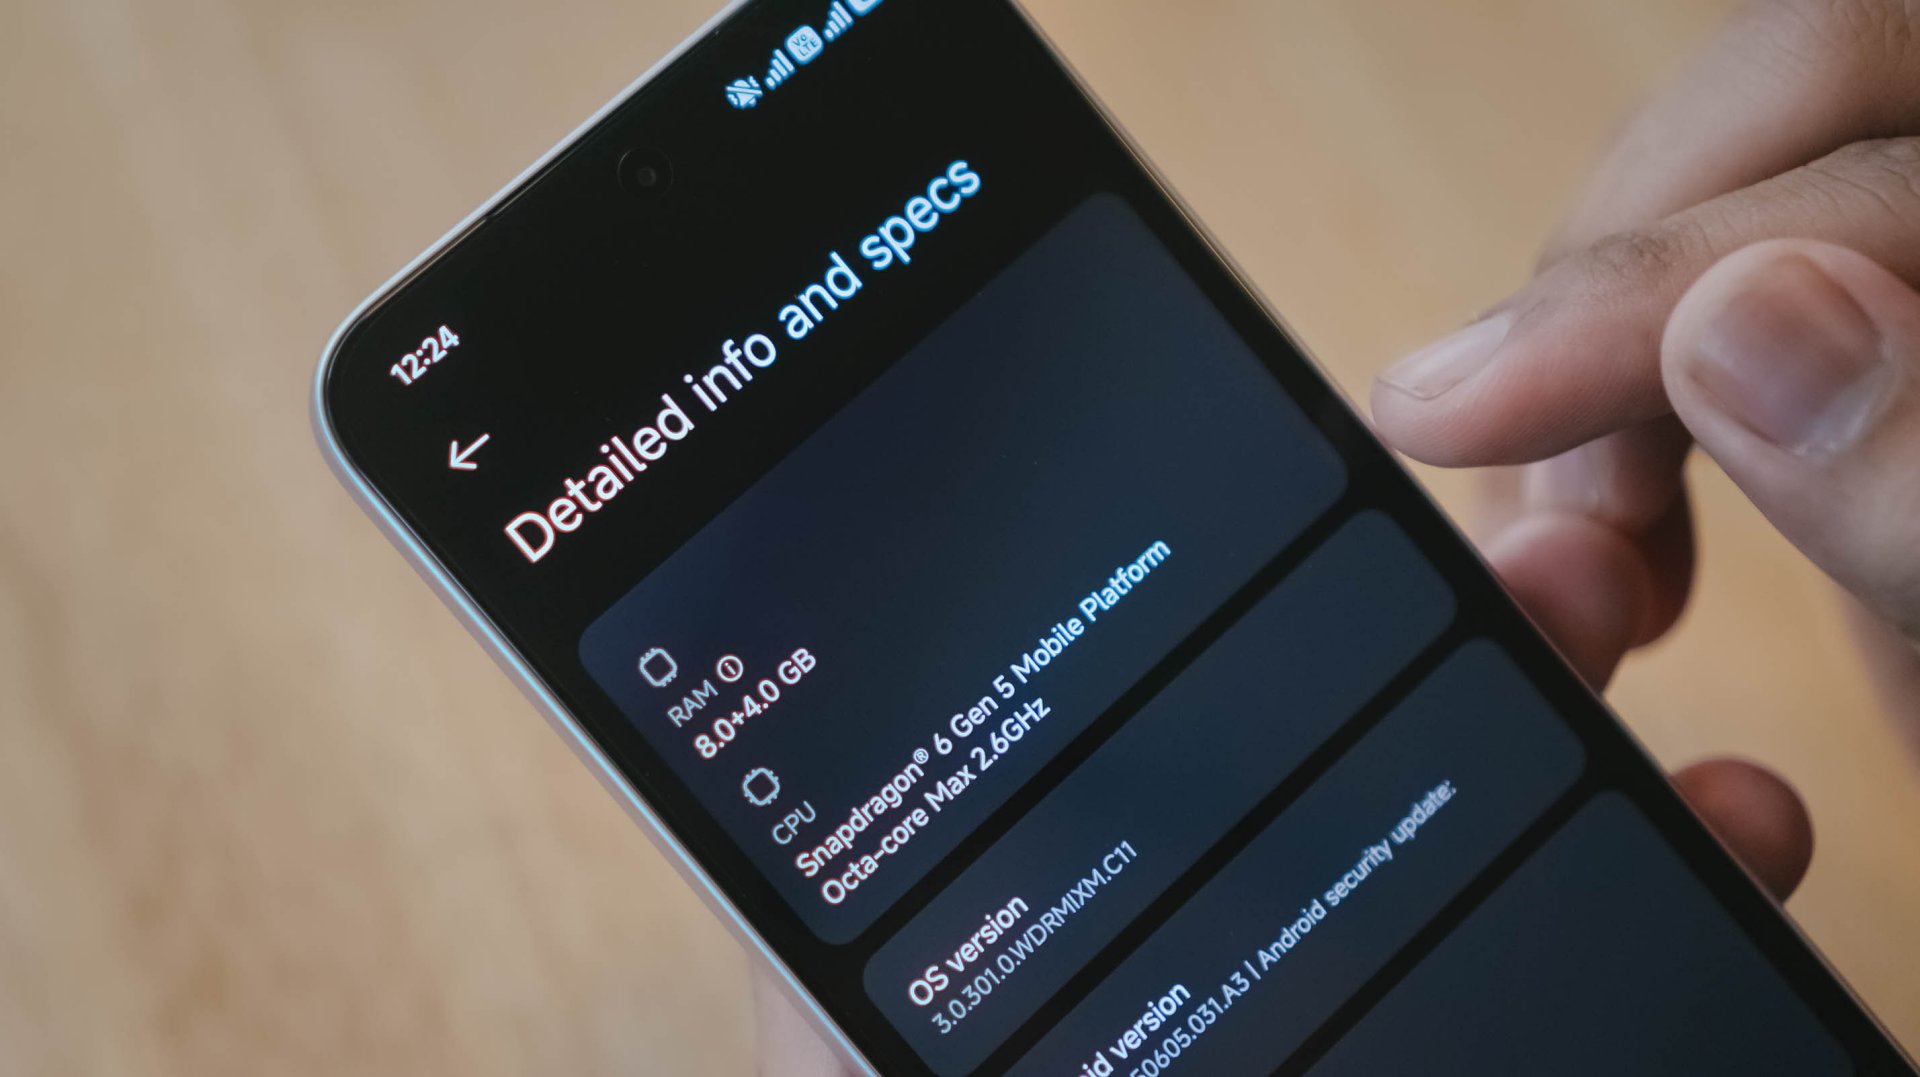
This brand new chip announced by Qualcomm this 2026 piqued my interest to the point that it made me install three games with three varying graphic capabilities.
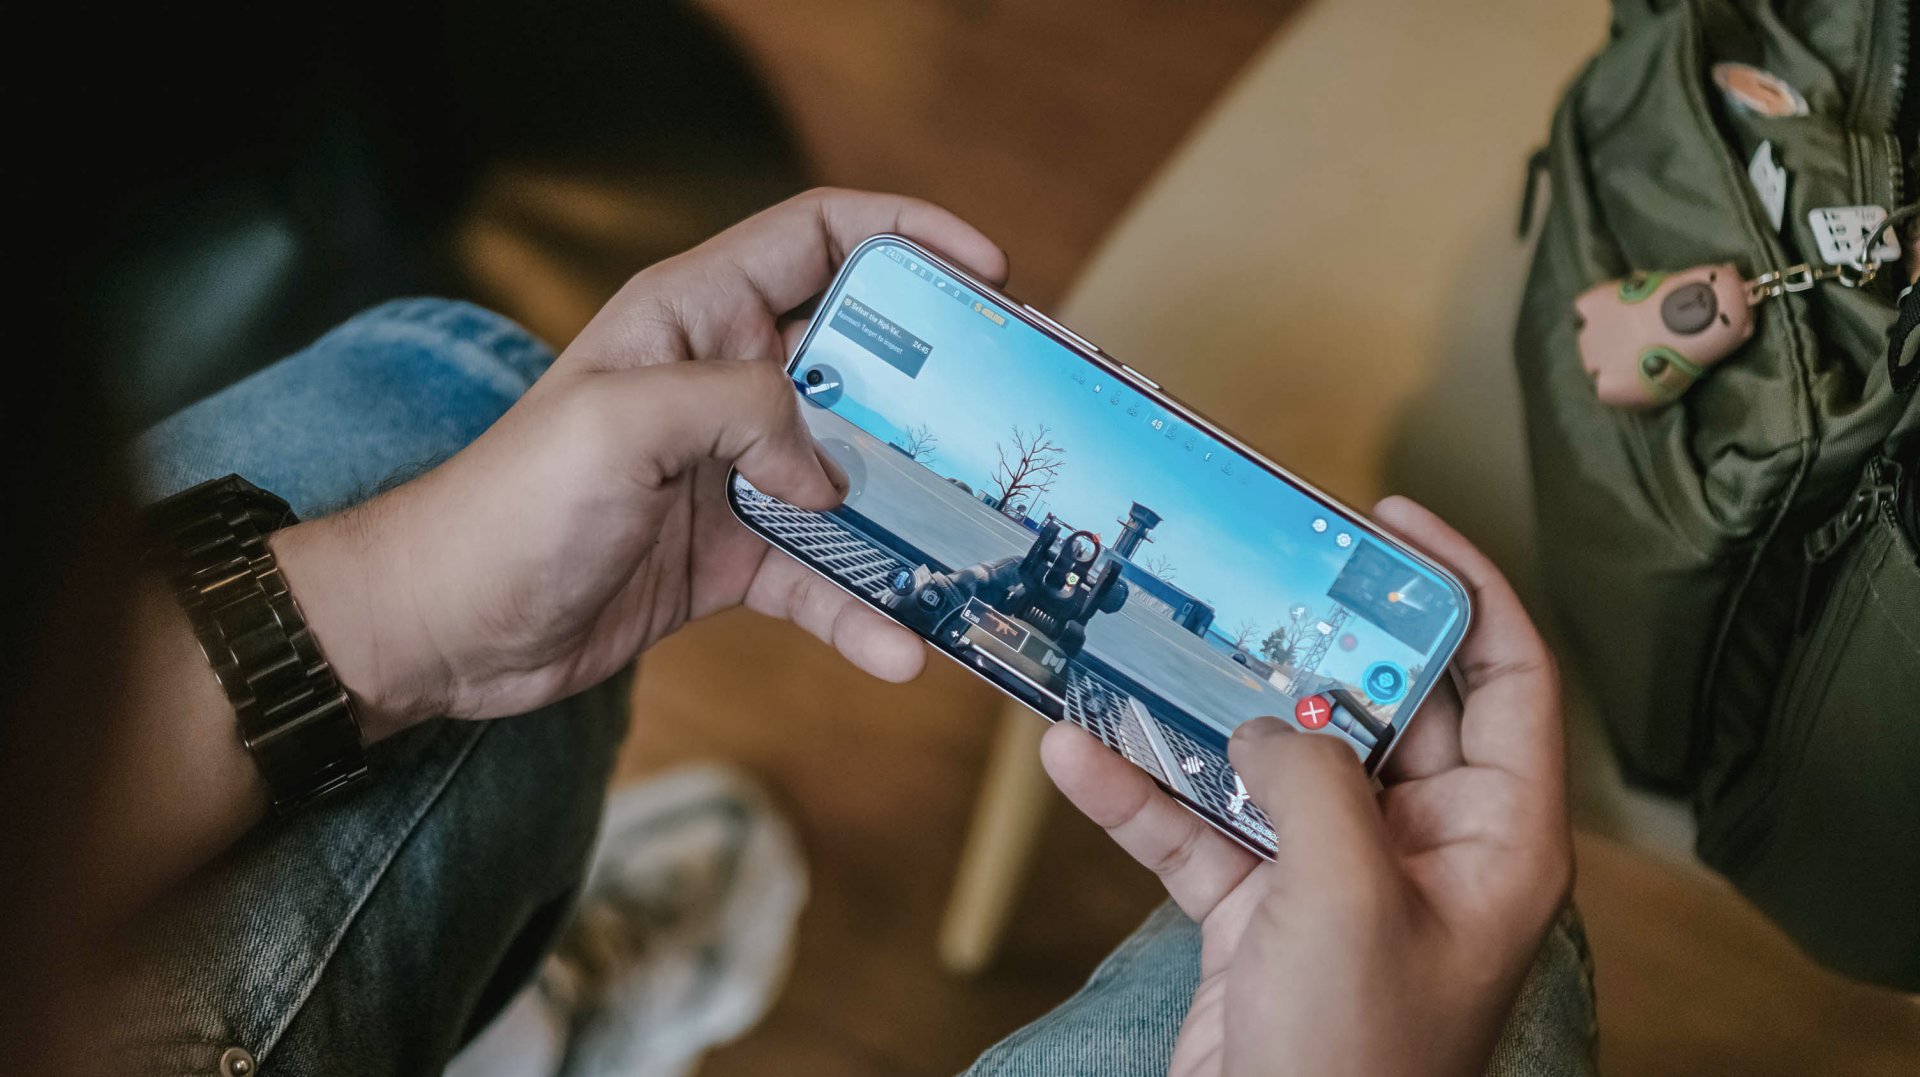
Of course, like any other FPS or MOBA game, the REDMI Note 17 Pro Max handles them with ease. Whether that may be CoDM, MLBB, PUBG, HOK, and countless games in the same league, this phone can and will run ’em.
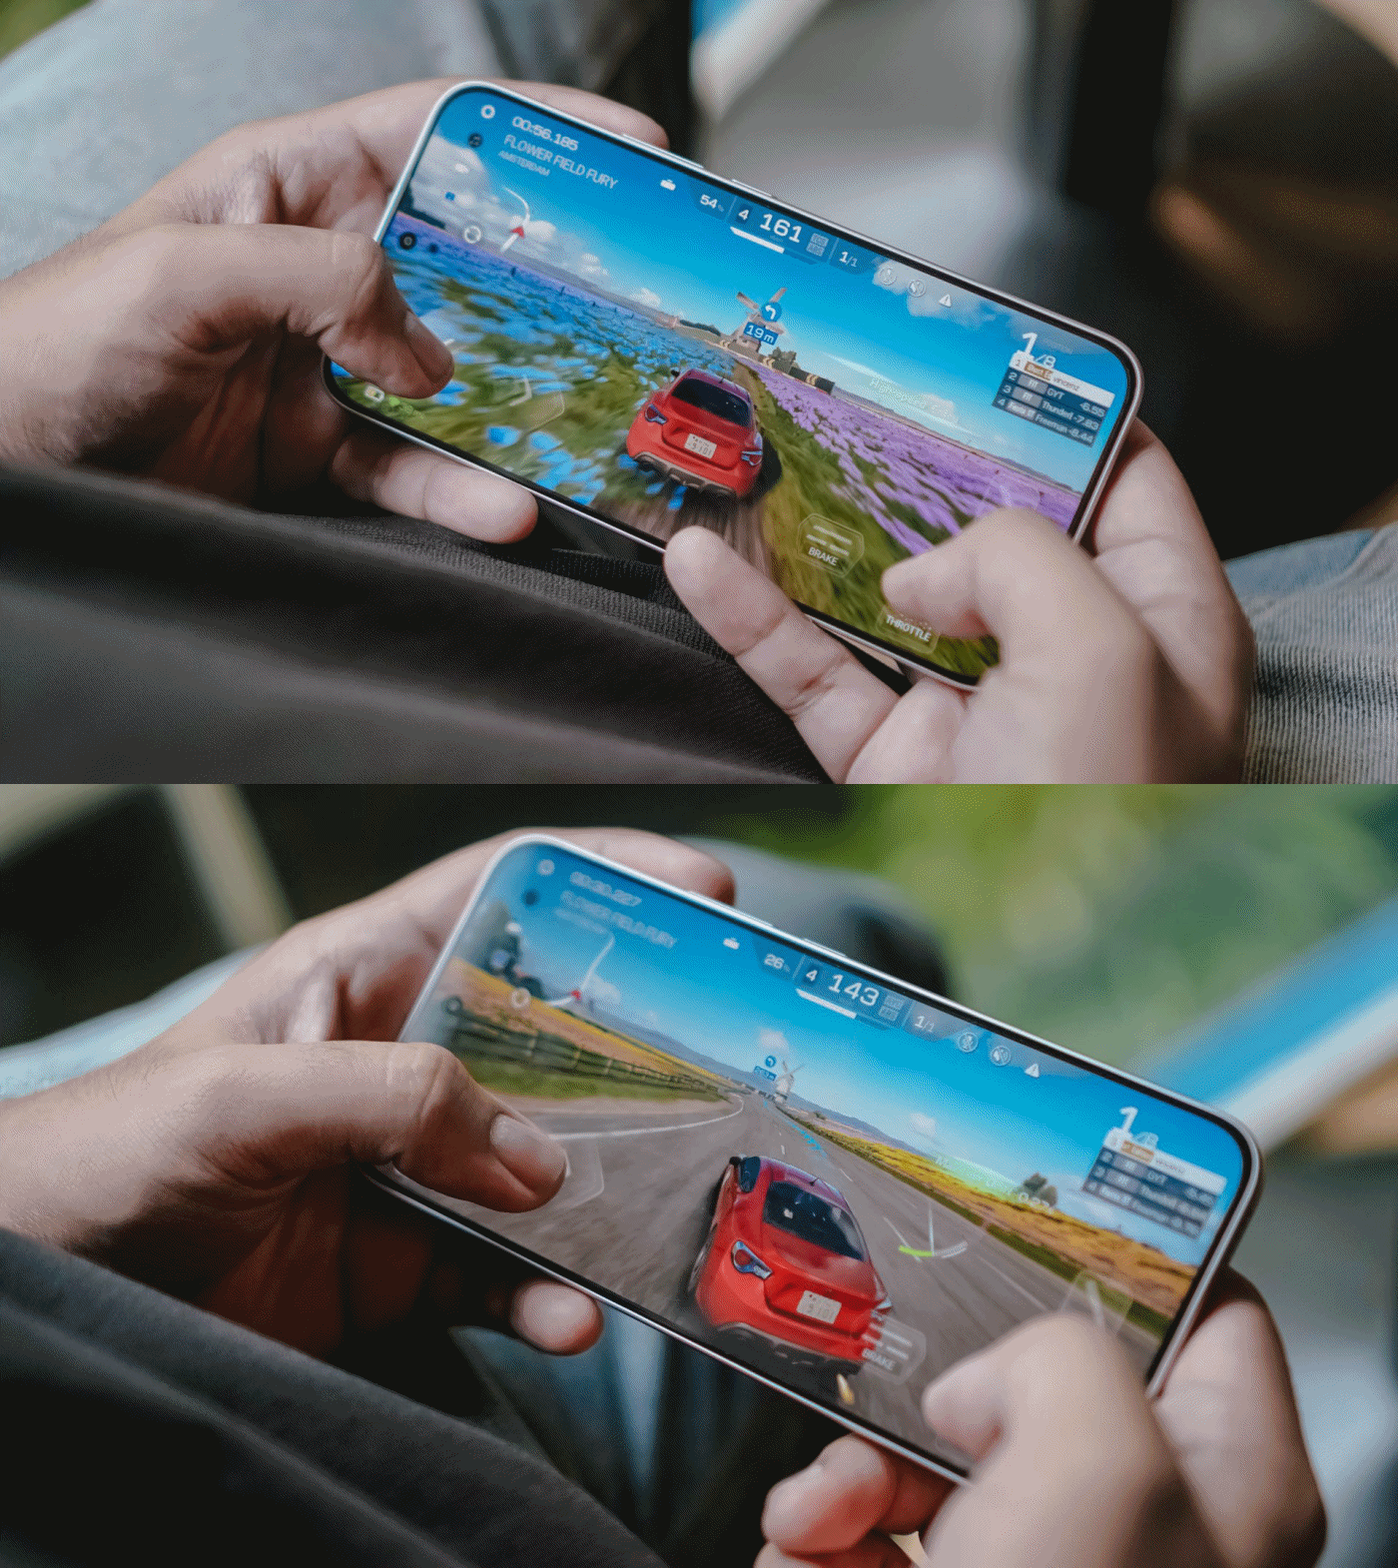
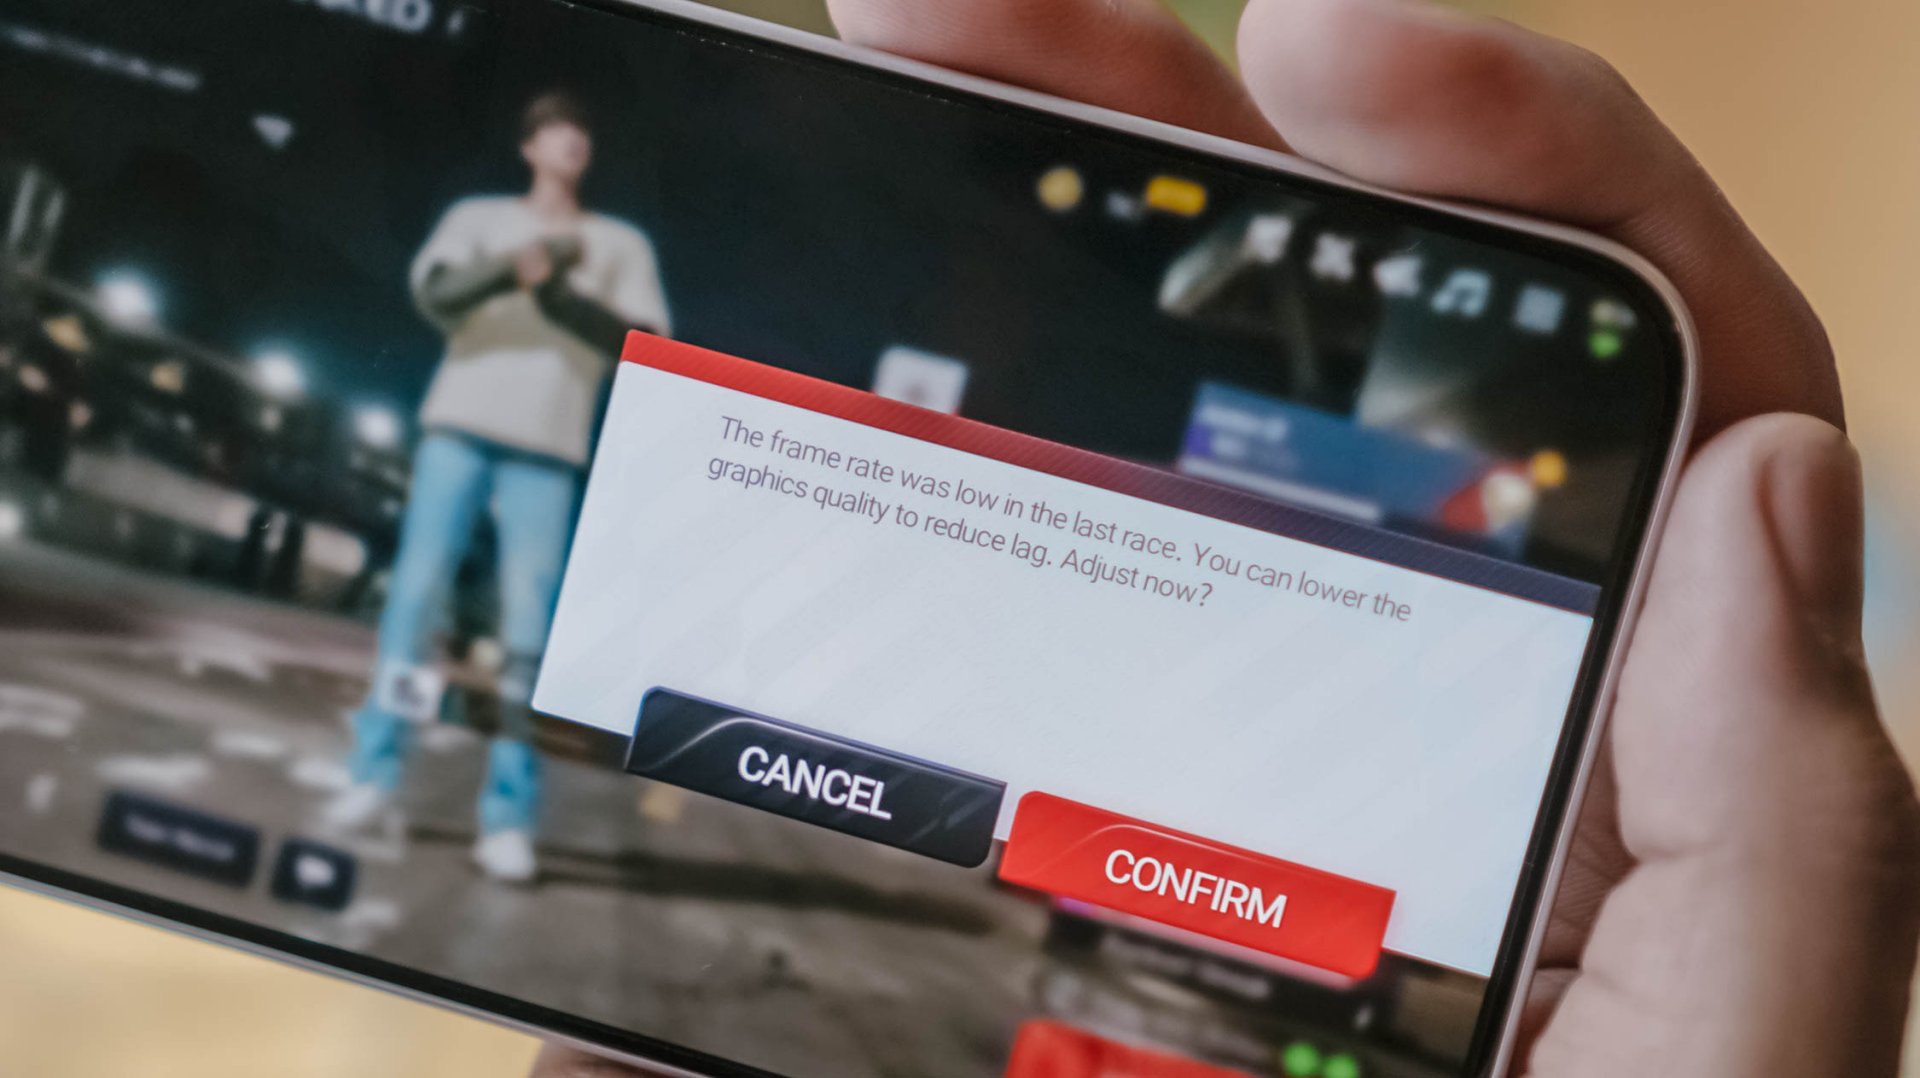
Now, onto a more demanding one: my all-time favorite Racing Master. At first, it was able to run in Ultra HD resolution at 60fps frame rate.
Unfortunately, it didn’t had much superiority over its Pro counterpart. After a 10-minute gameplay, it prompts to a graphic setting warning.
Last but definitely not the least, HoYoverse’s graphics-intensive Zenless Zone Zero.
As expected, the graphics were set to the lowest settings after installing core resources.
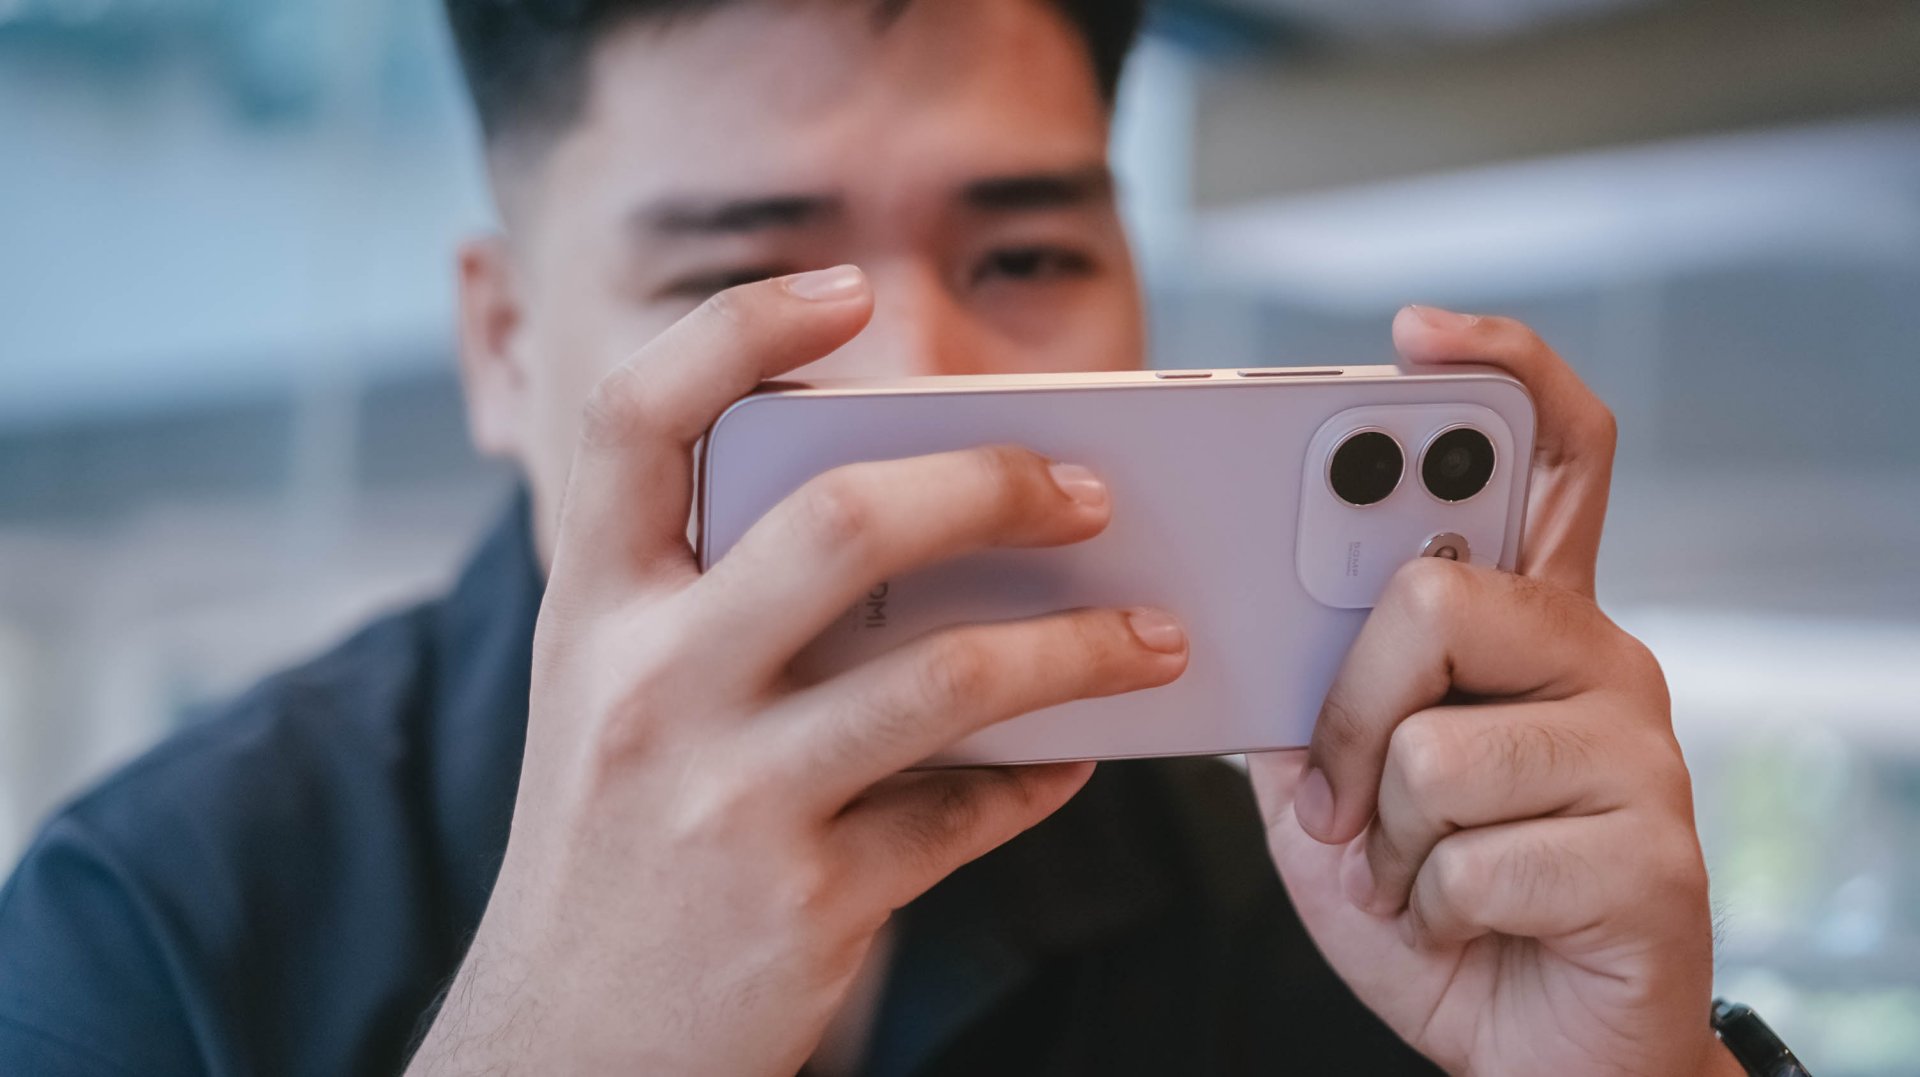
Roaming around New Eridu and Hollow felt just right. The moment you enter combat mode, though, is where things go out of hand.
The frame stutters and jitters are just unstoppable. Even with Performance Mode turned on, it wasn’t enough to salvage the frame rate.
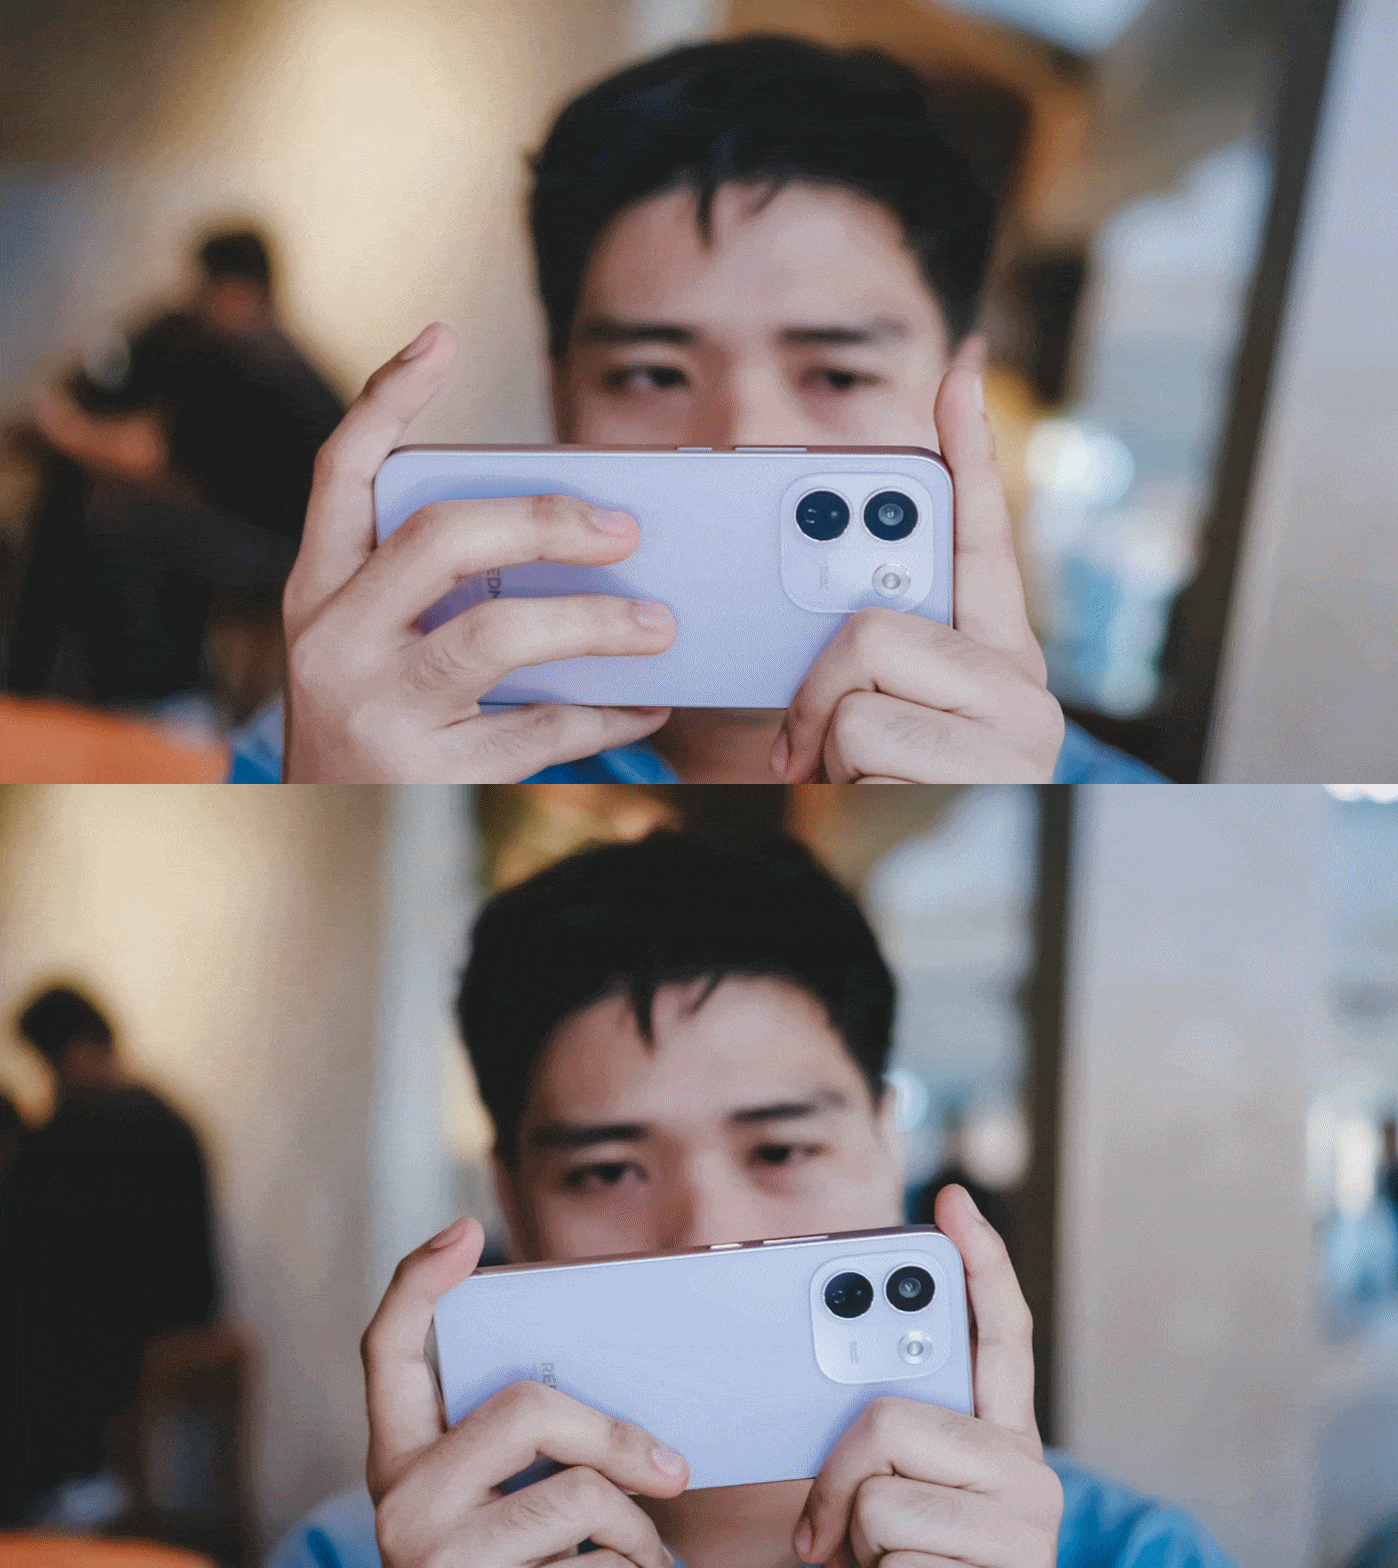
The unwanted lag and lack of effective heat dissipation is already a disappointment as it is.
Even worse, after quickly checking my social media app, the game closed right after I jumped back to it.
I know what some of you might think: This is a midrange phone with a mid-class chipset.
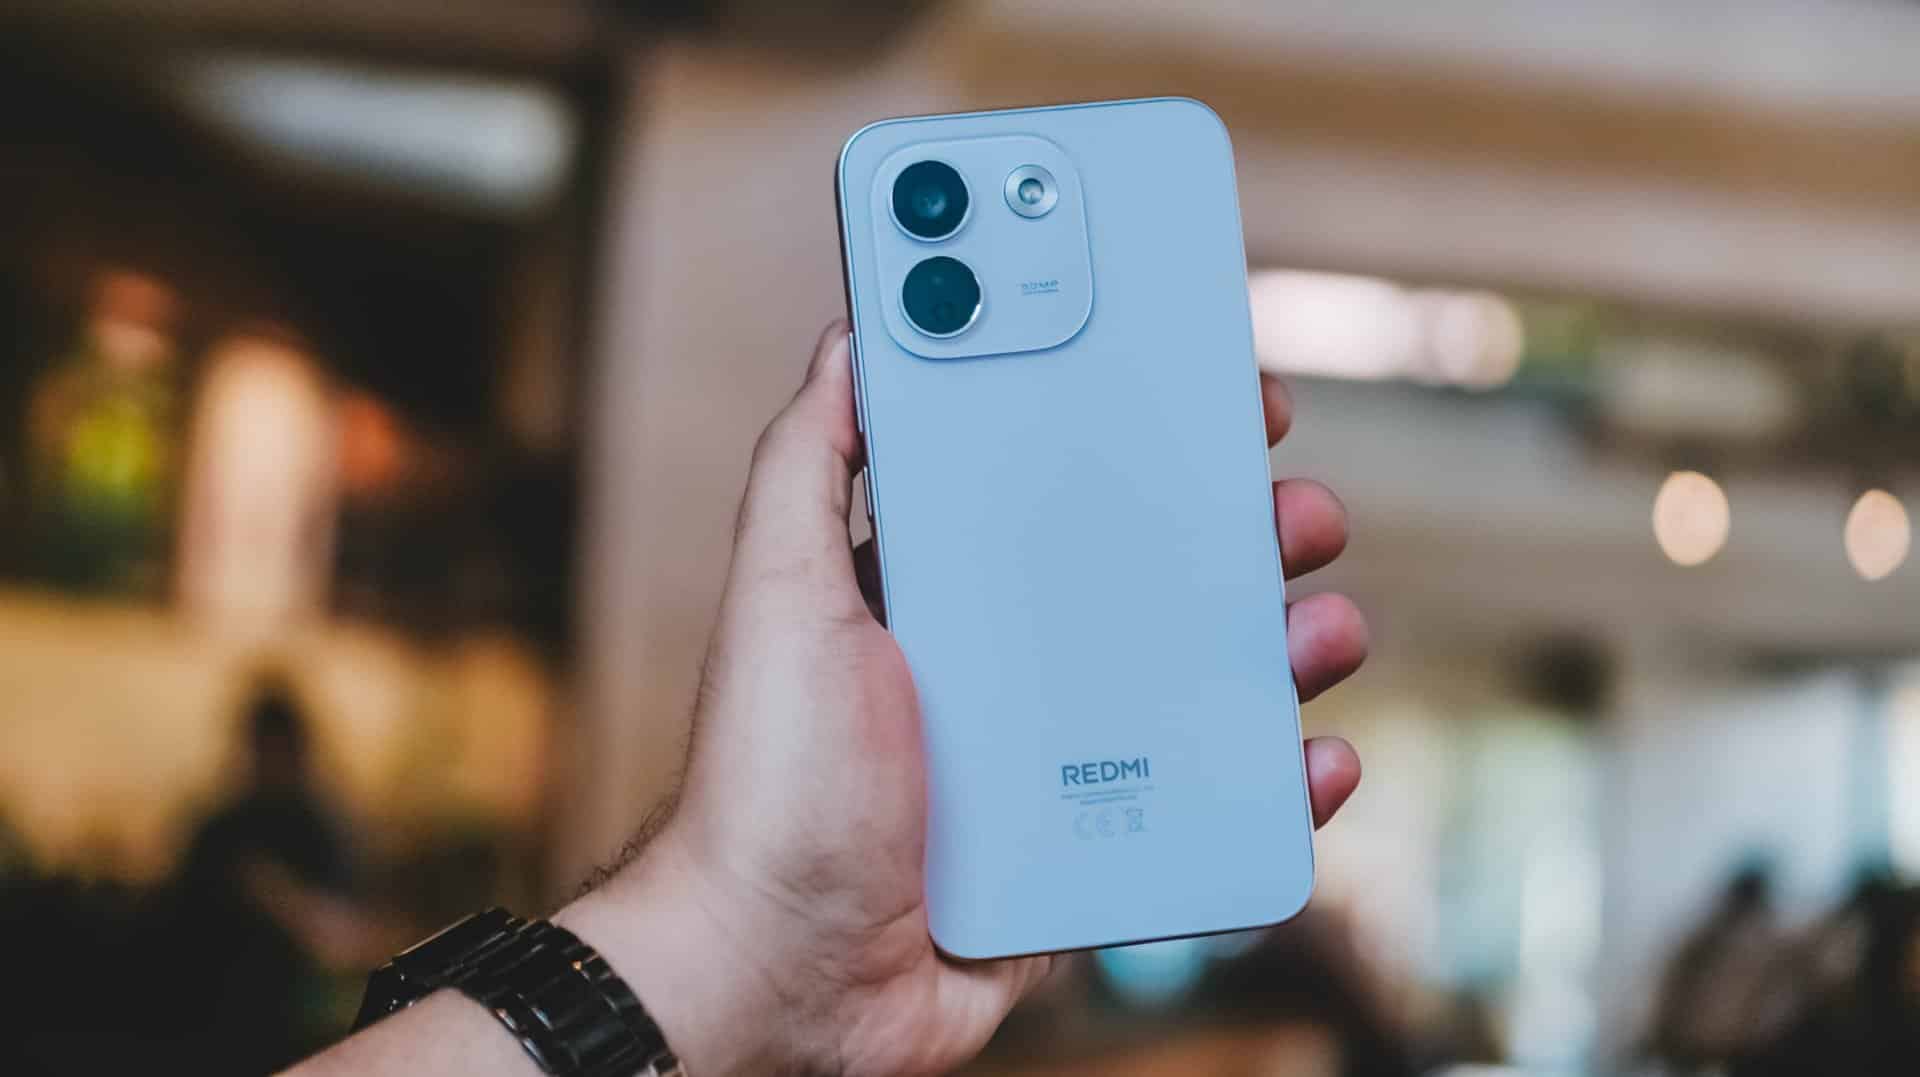
As someone who practices journalistic integrity, it’s my responsibility to share all these observations. No sugarcoating aside, this isn’t any better from REDMI Note 15 Pro+’s Snapdragon 7s Gen 4 chipset.
Still, Xiaomi changing the internals to a faster LPDDR5X memory plus UFS 4.1 storage over the LPDDR4X+ UFS 2.2 combo found in its predecessor is more than a welcome change.
Come for the cameras
The consistency continues with the REDMI Note 17 Pro Max sharing the same camera system as its Pro brother.
ICYMI, it’s a combination of 50MP main (1x wide) and an 8MP f/2.2 UWA (Ultra-Wide Angle) lens.

Admittedly, I was about to make this part short. However, my curiosity dared me to compare it to its Max-less sib.
With a wider aperture of f/1.5 (versus f/1.8), larger 0.8µm sensor (over 0.64µm), and one more lens element at 6P (Pro has 5P), the REDMI Note 17 Pro Max simply has the upper-hand despite those “small” gaps.
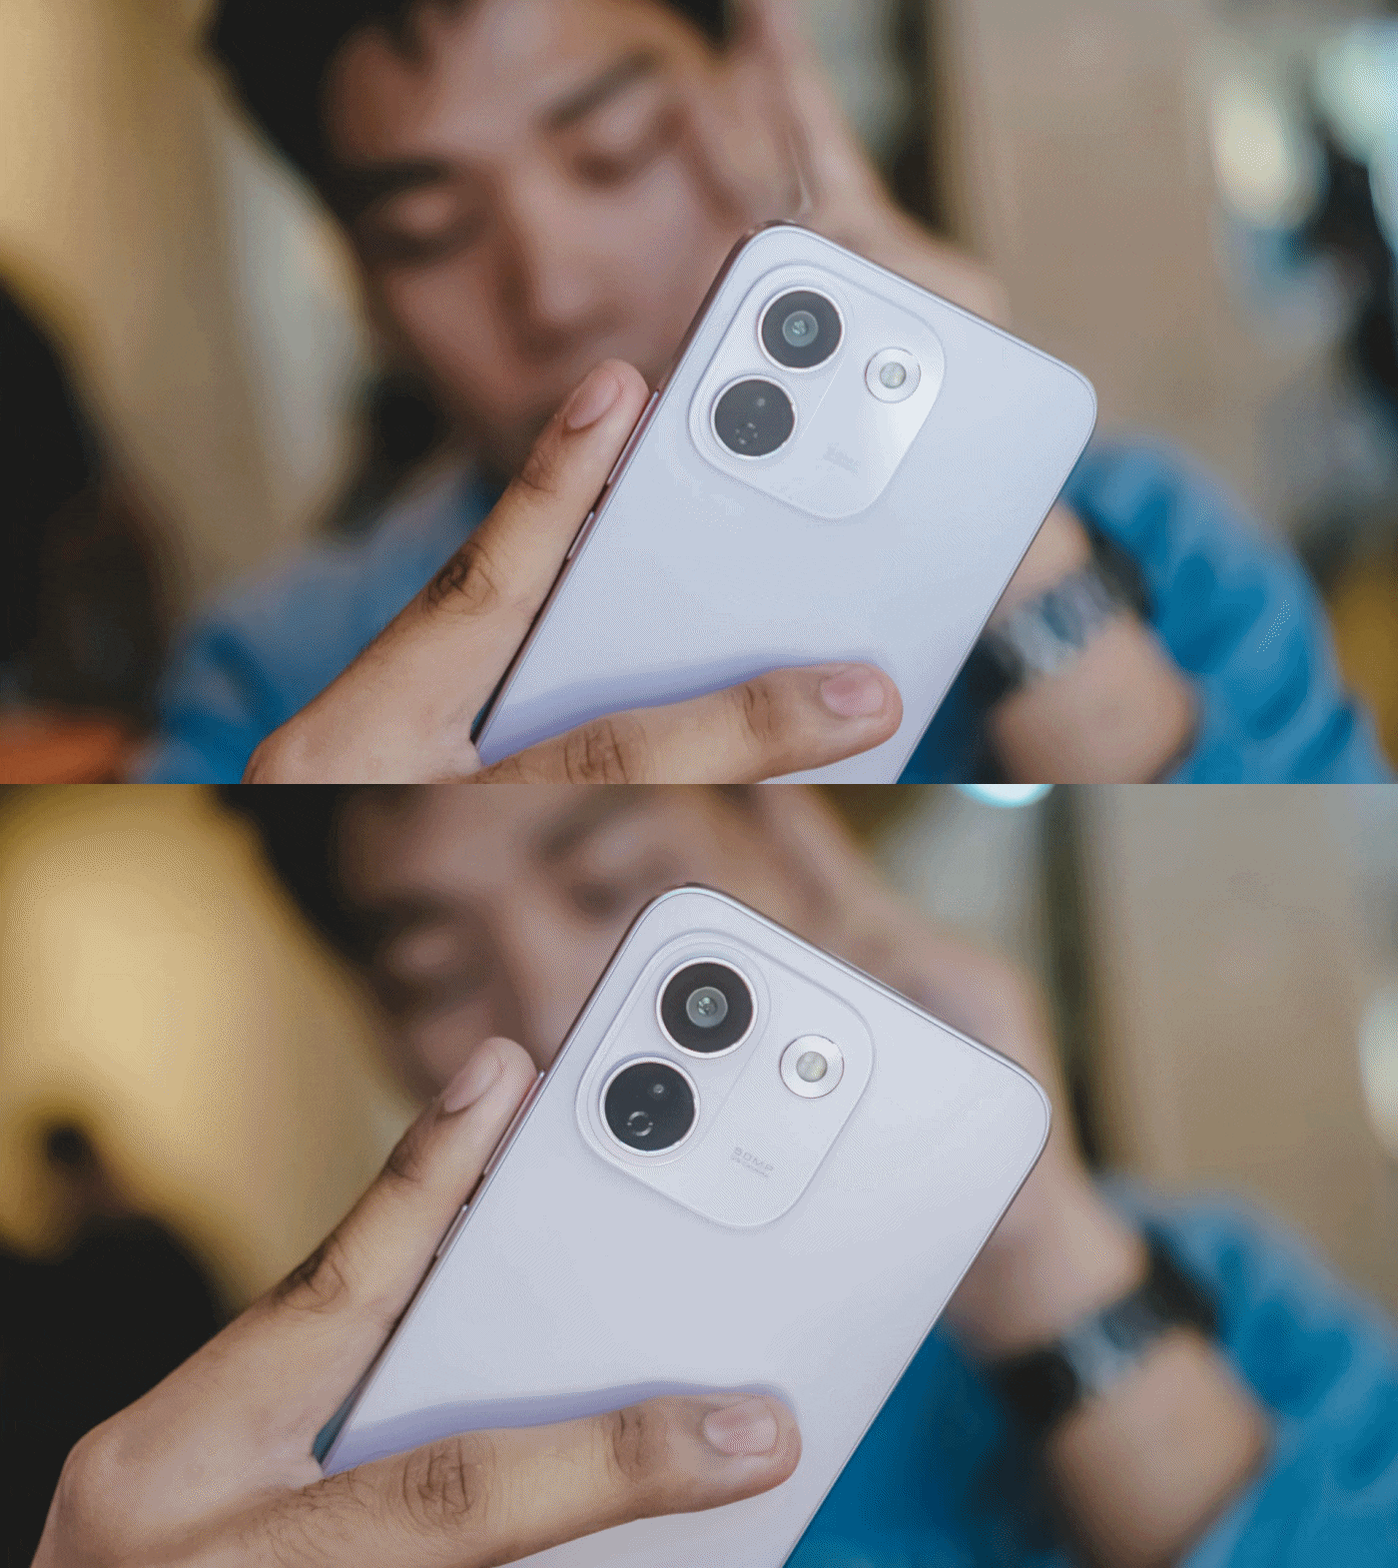
And, as much as how we value camera hardware, the chip equipped within surprisingly matters.



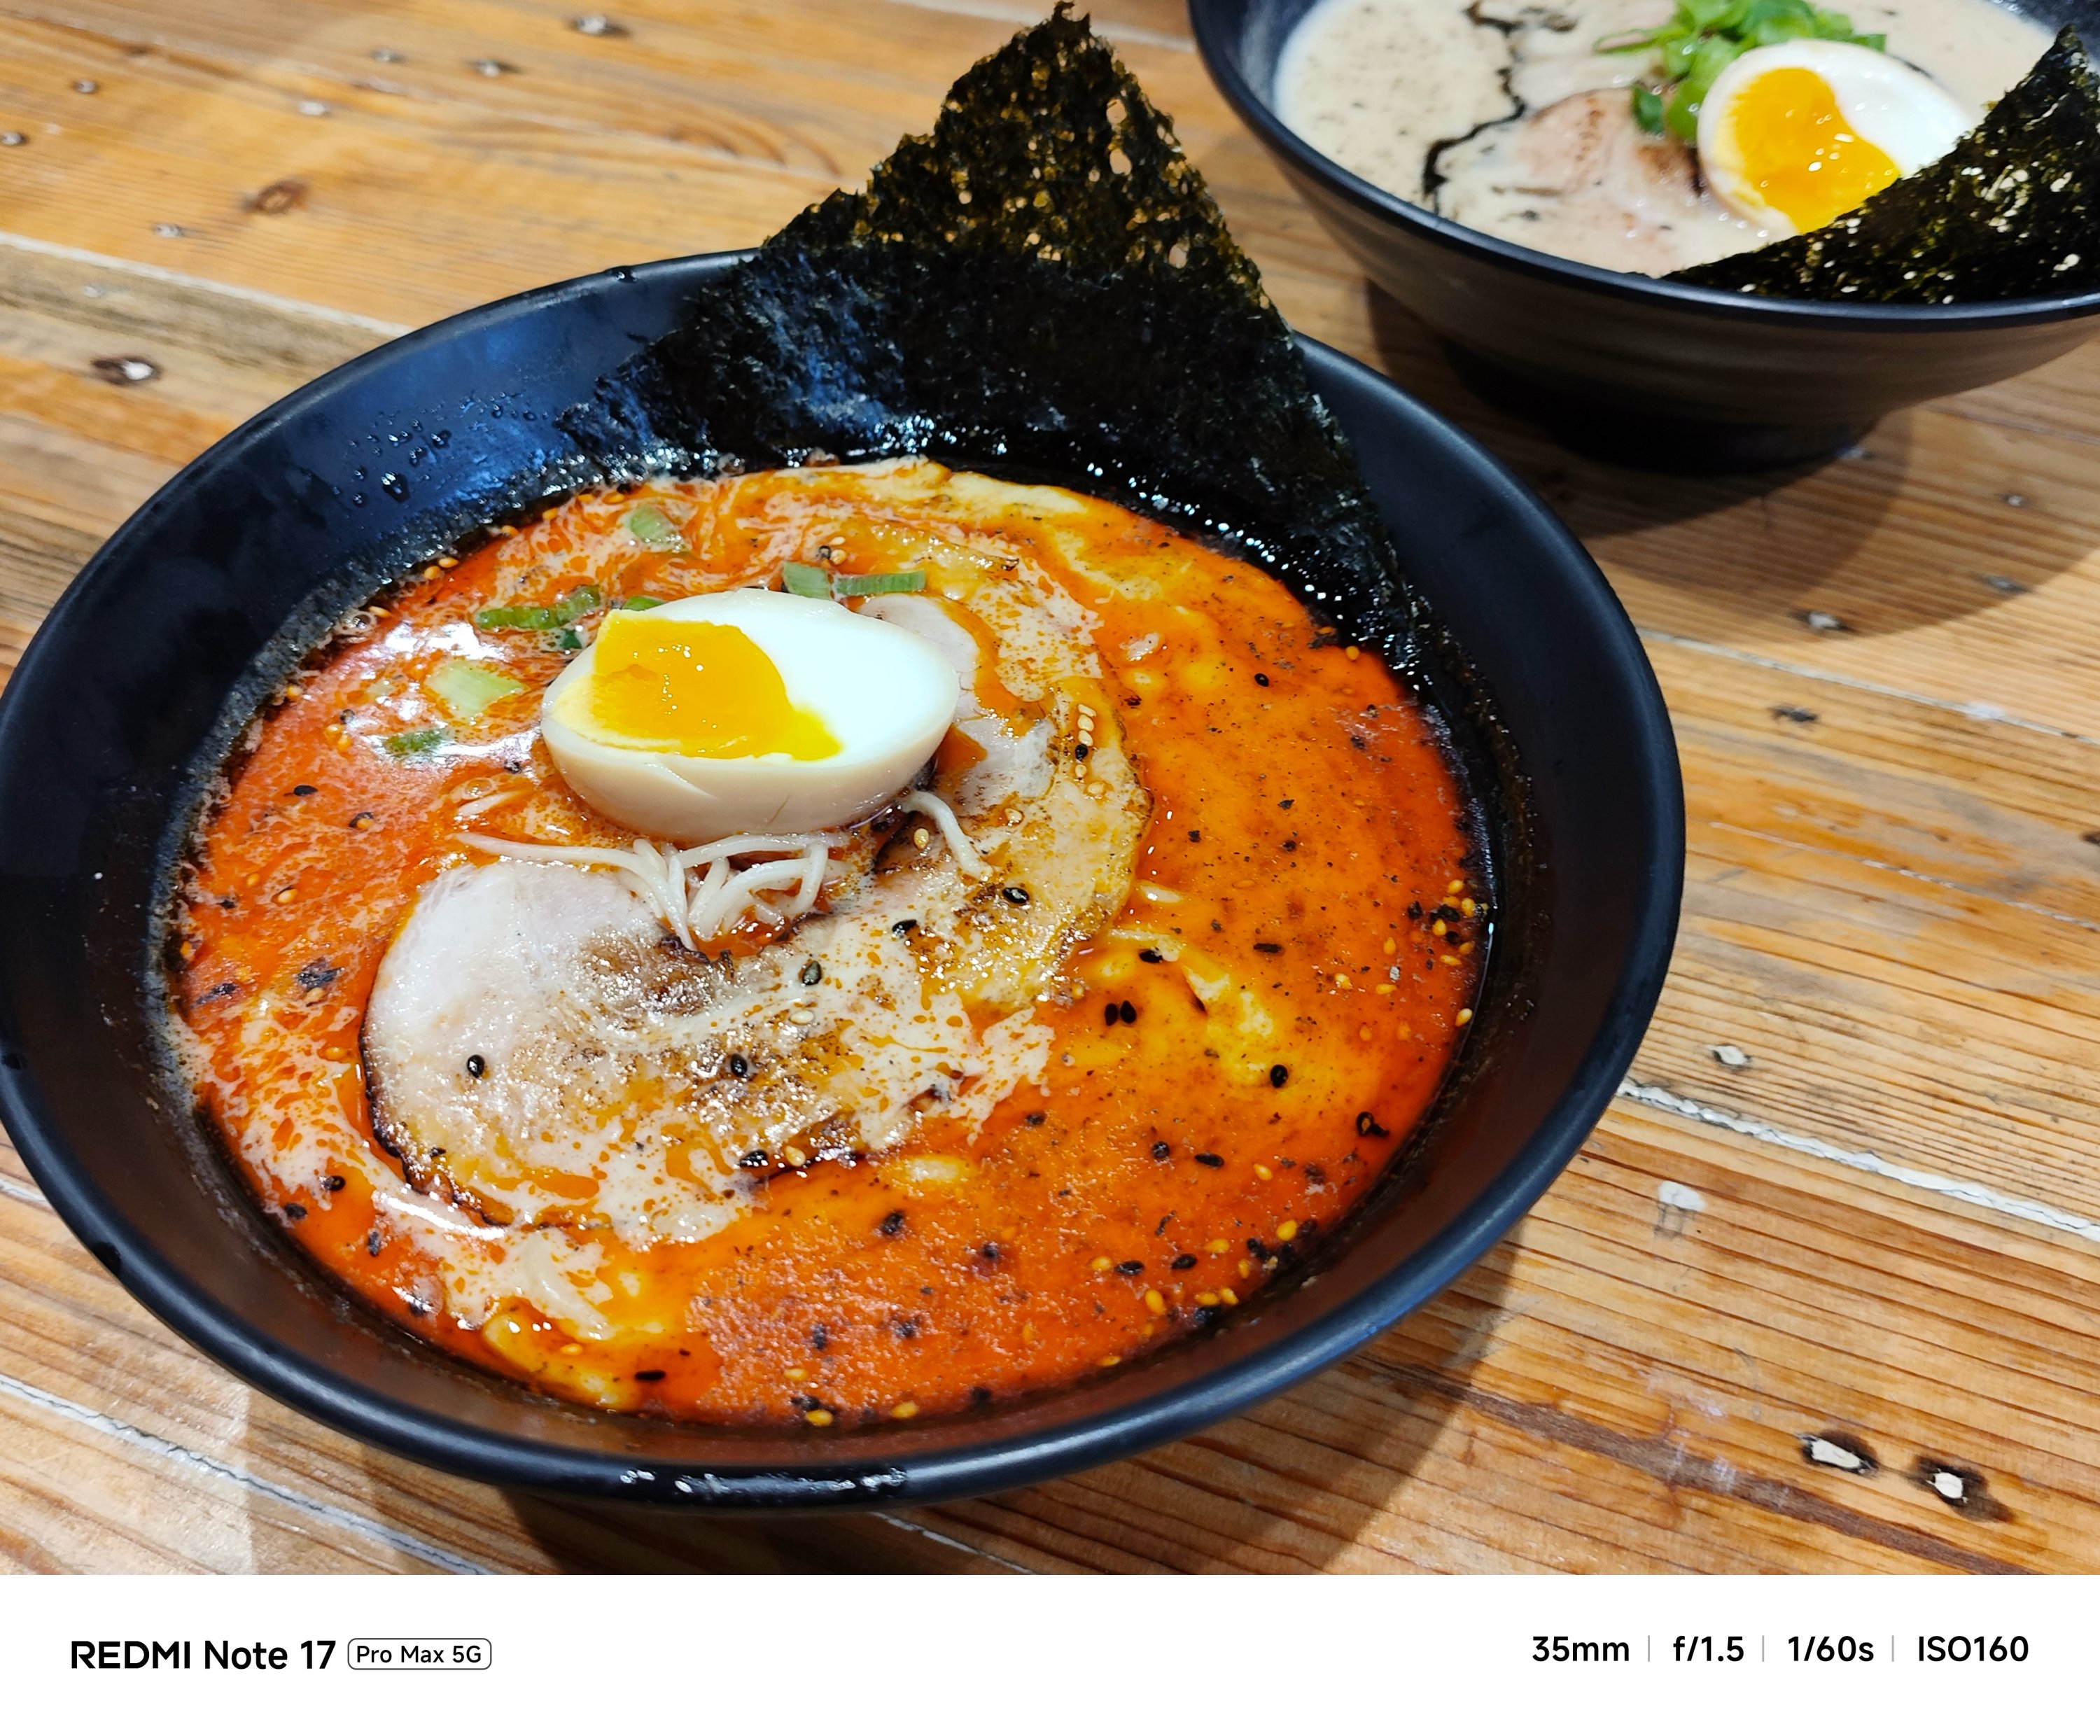

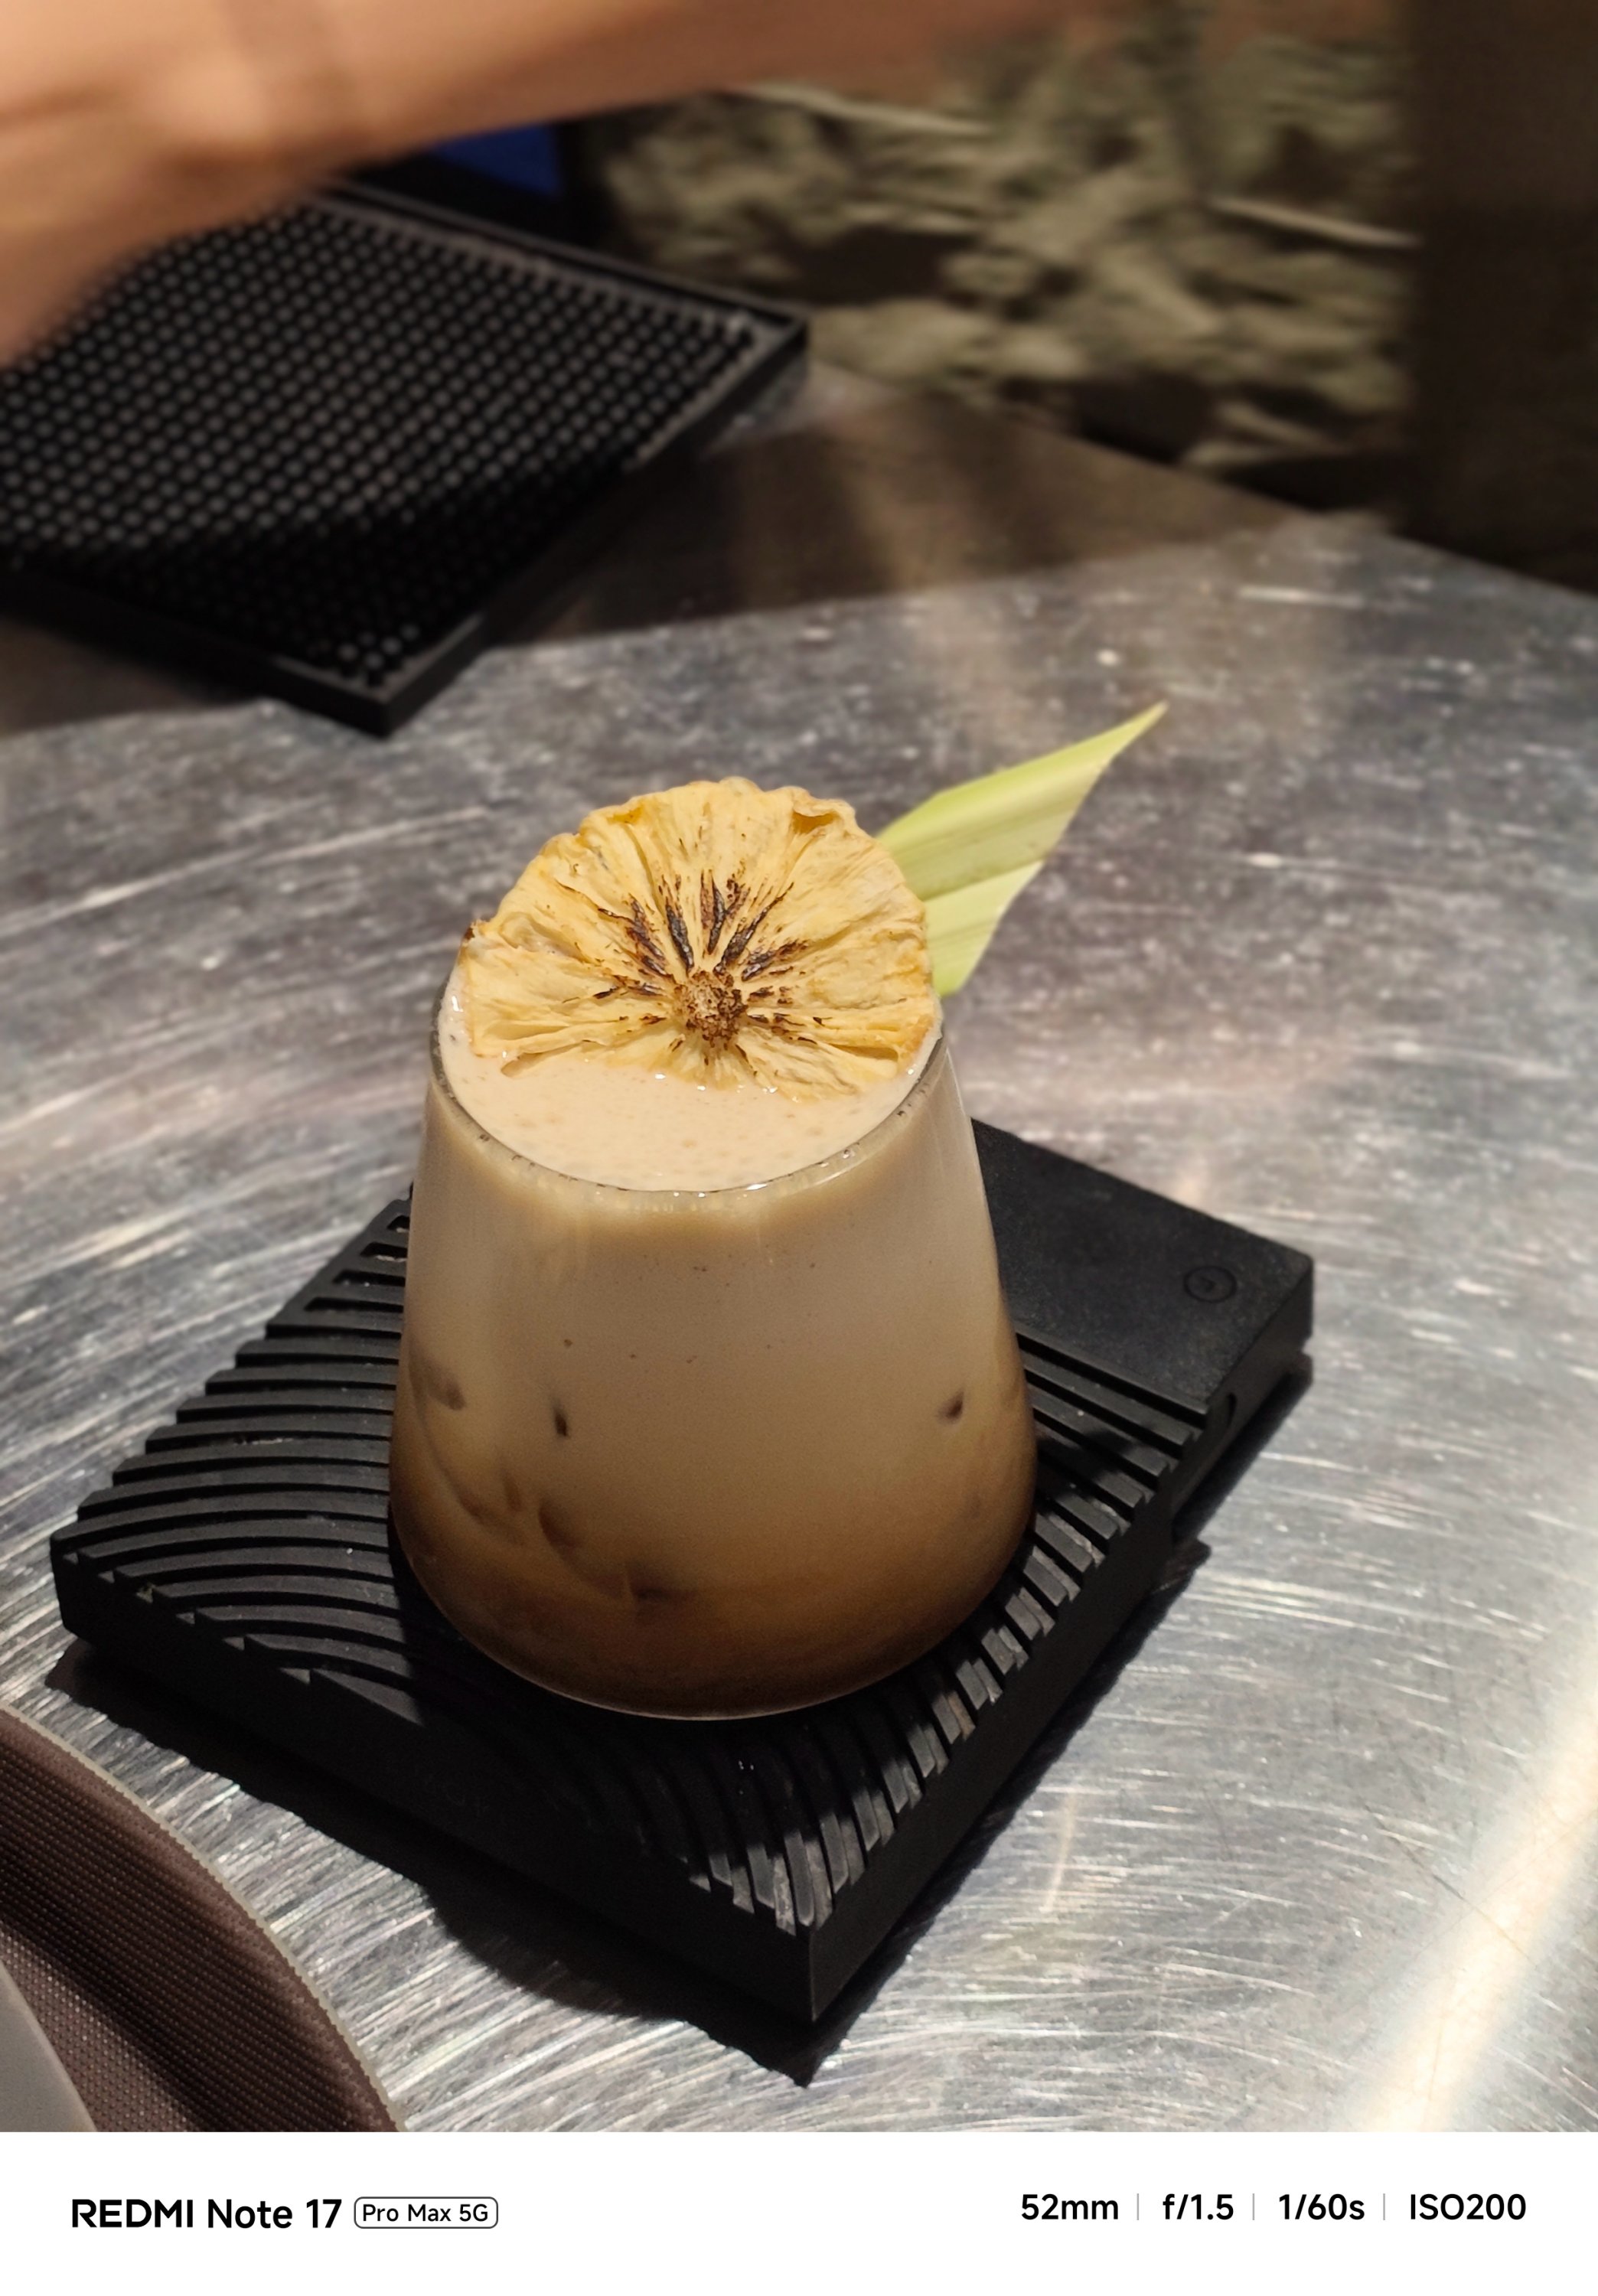
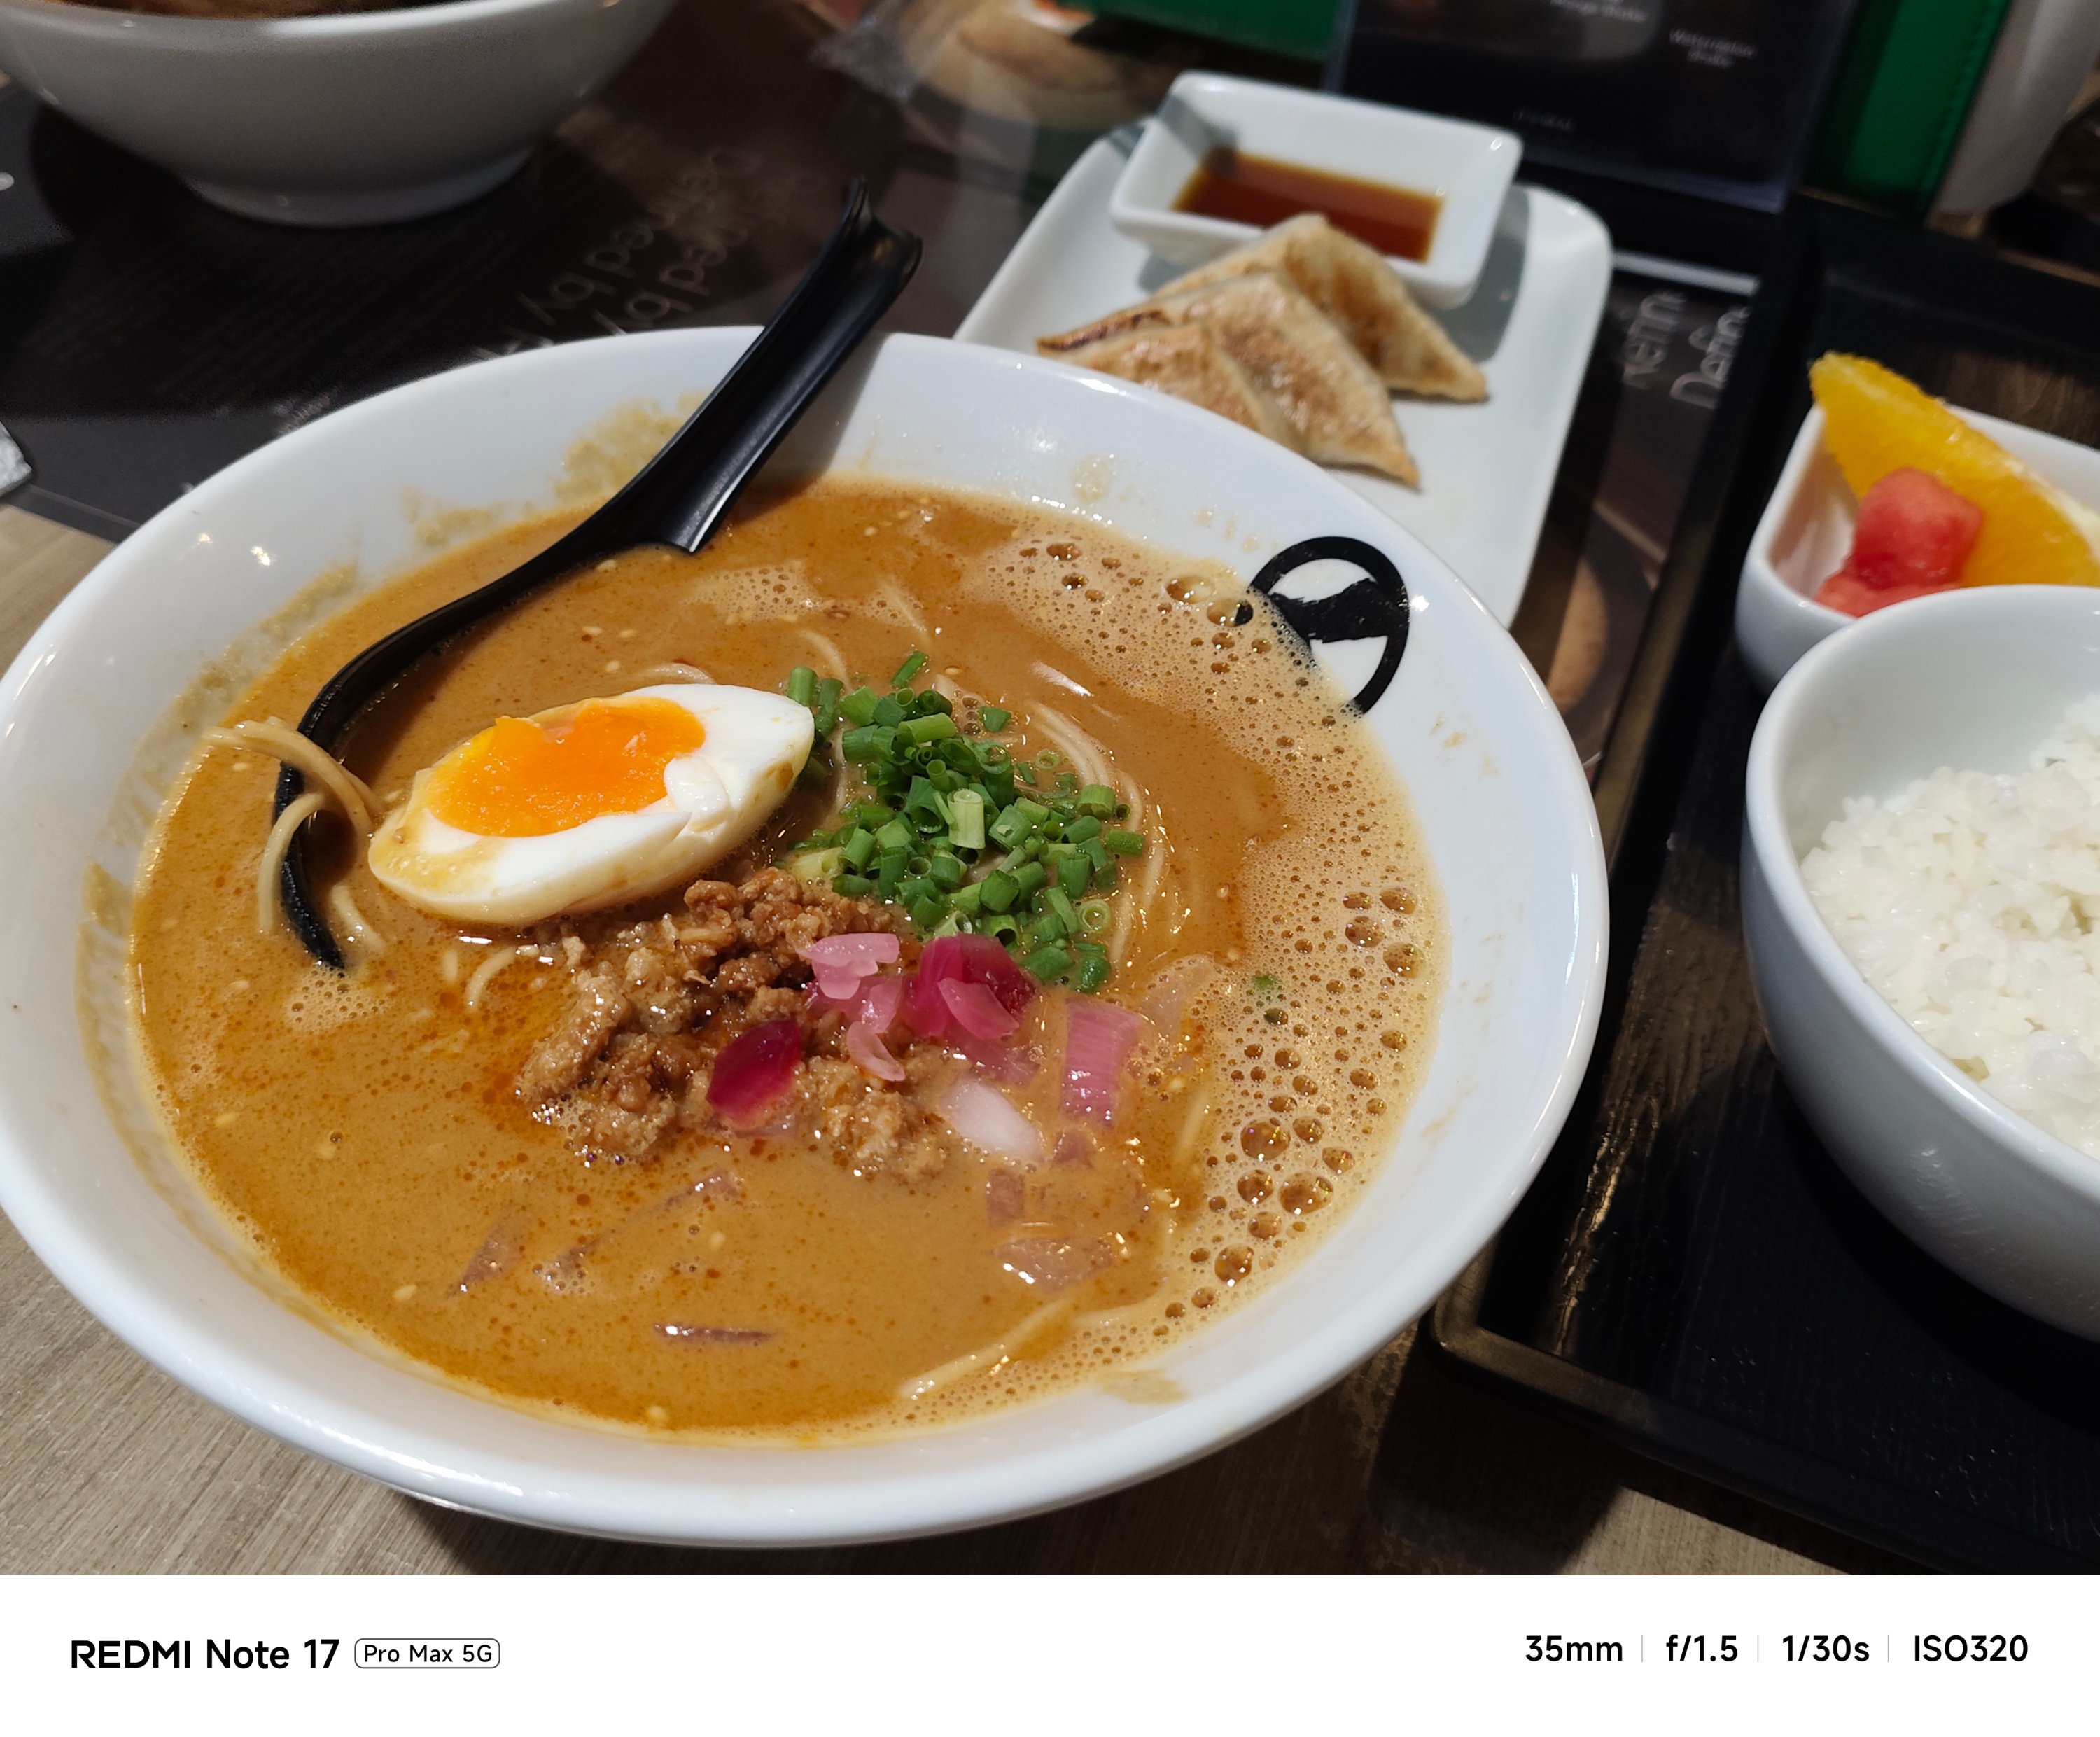





My short camera comparison proves that a different SoC also produces a different image output. This is very apparent when taking food shots.
**
Left – REDMI Note 17 Pro Max
Right – REDMI Note 17 Pro

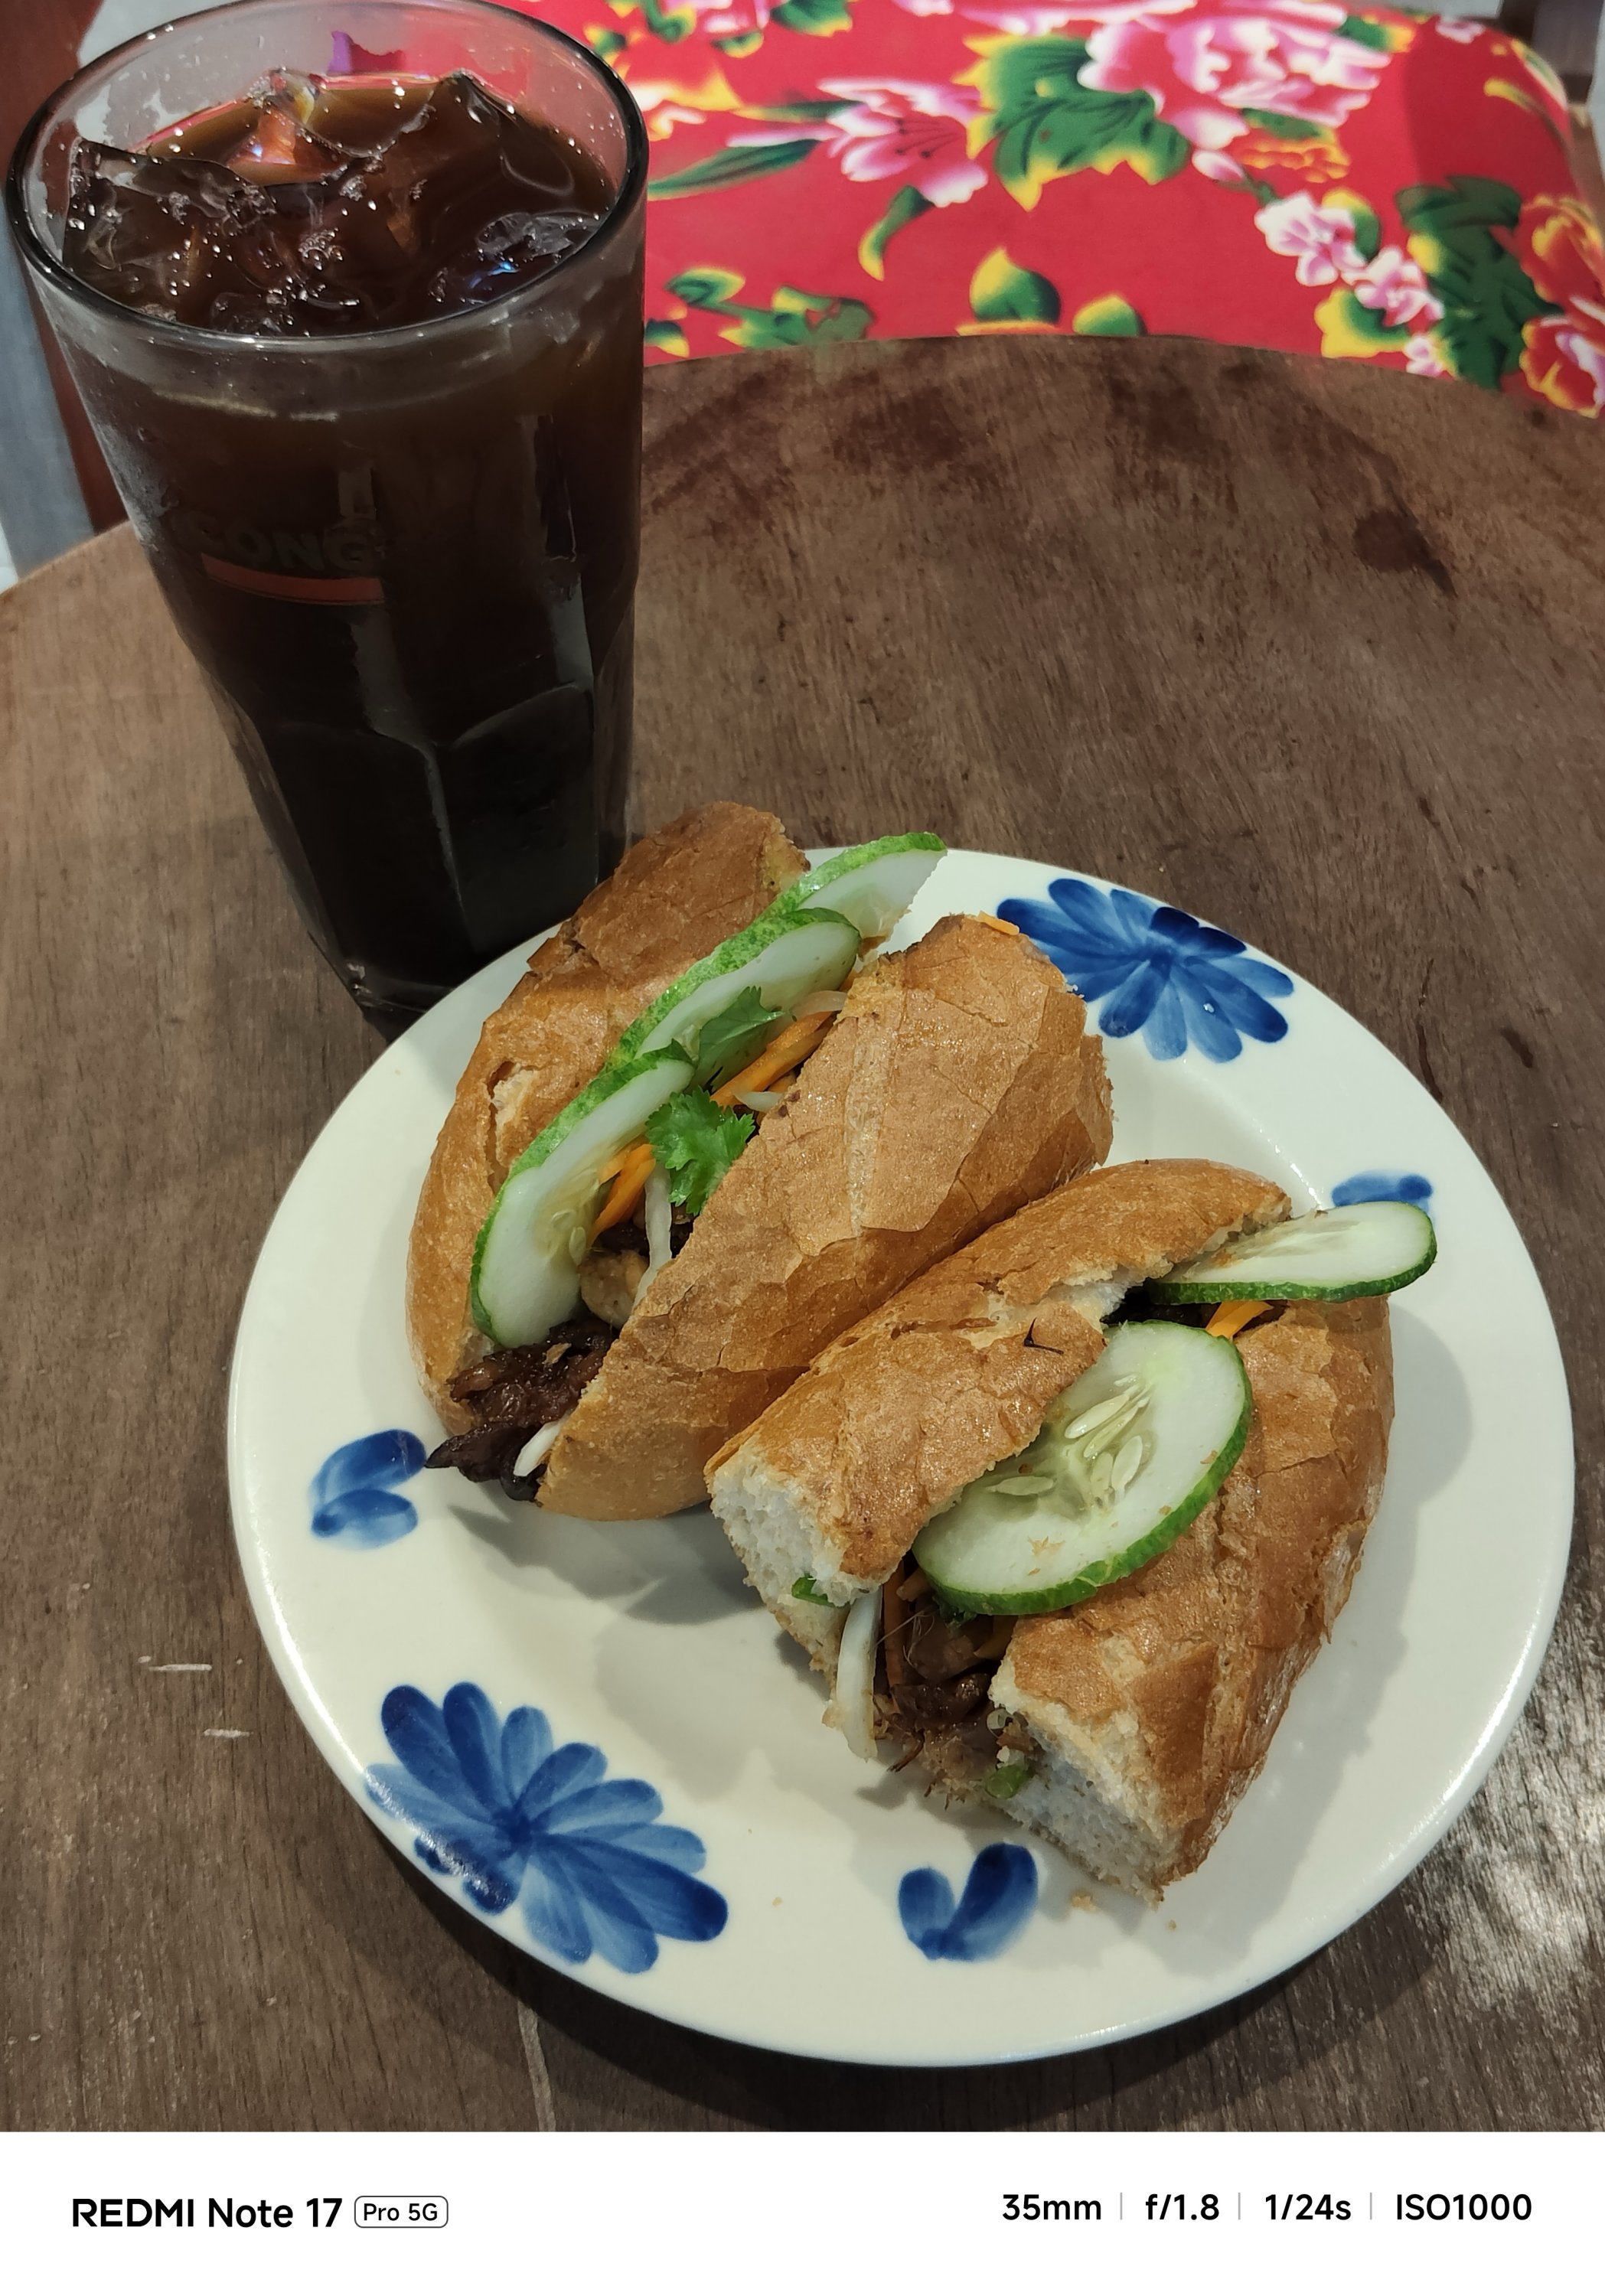
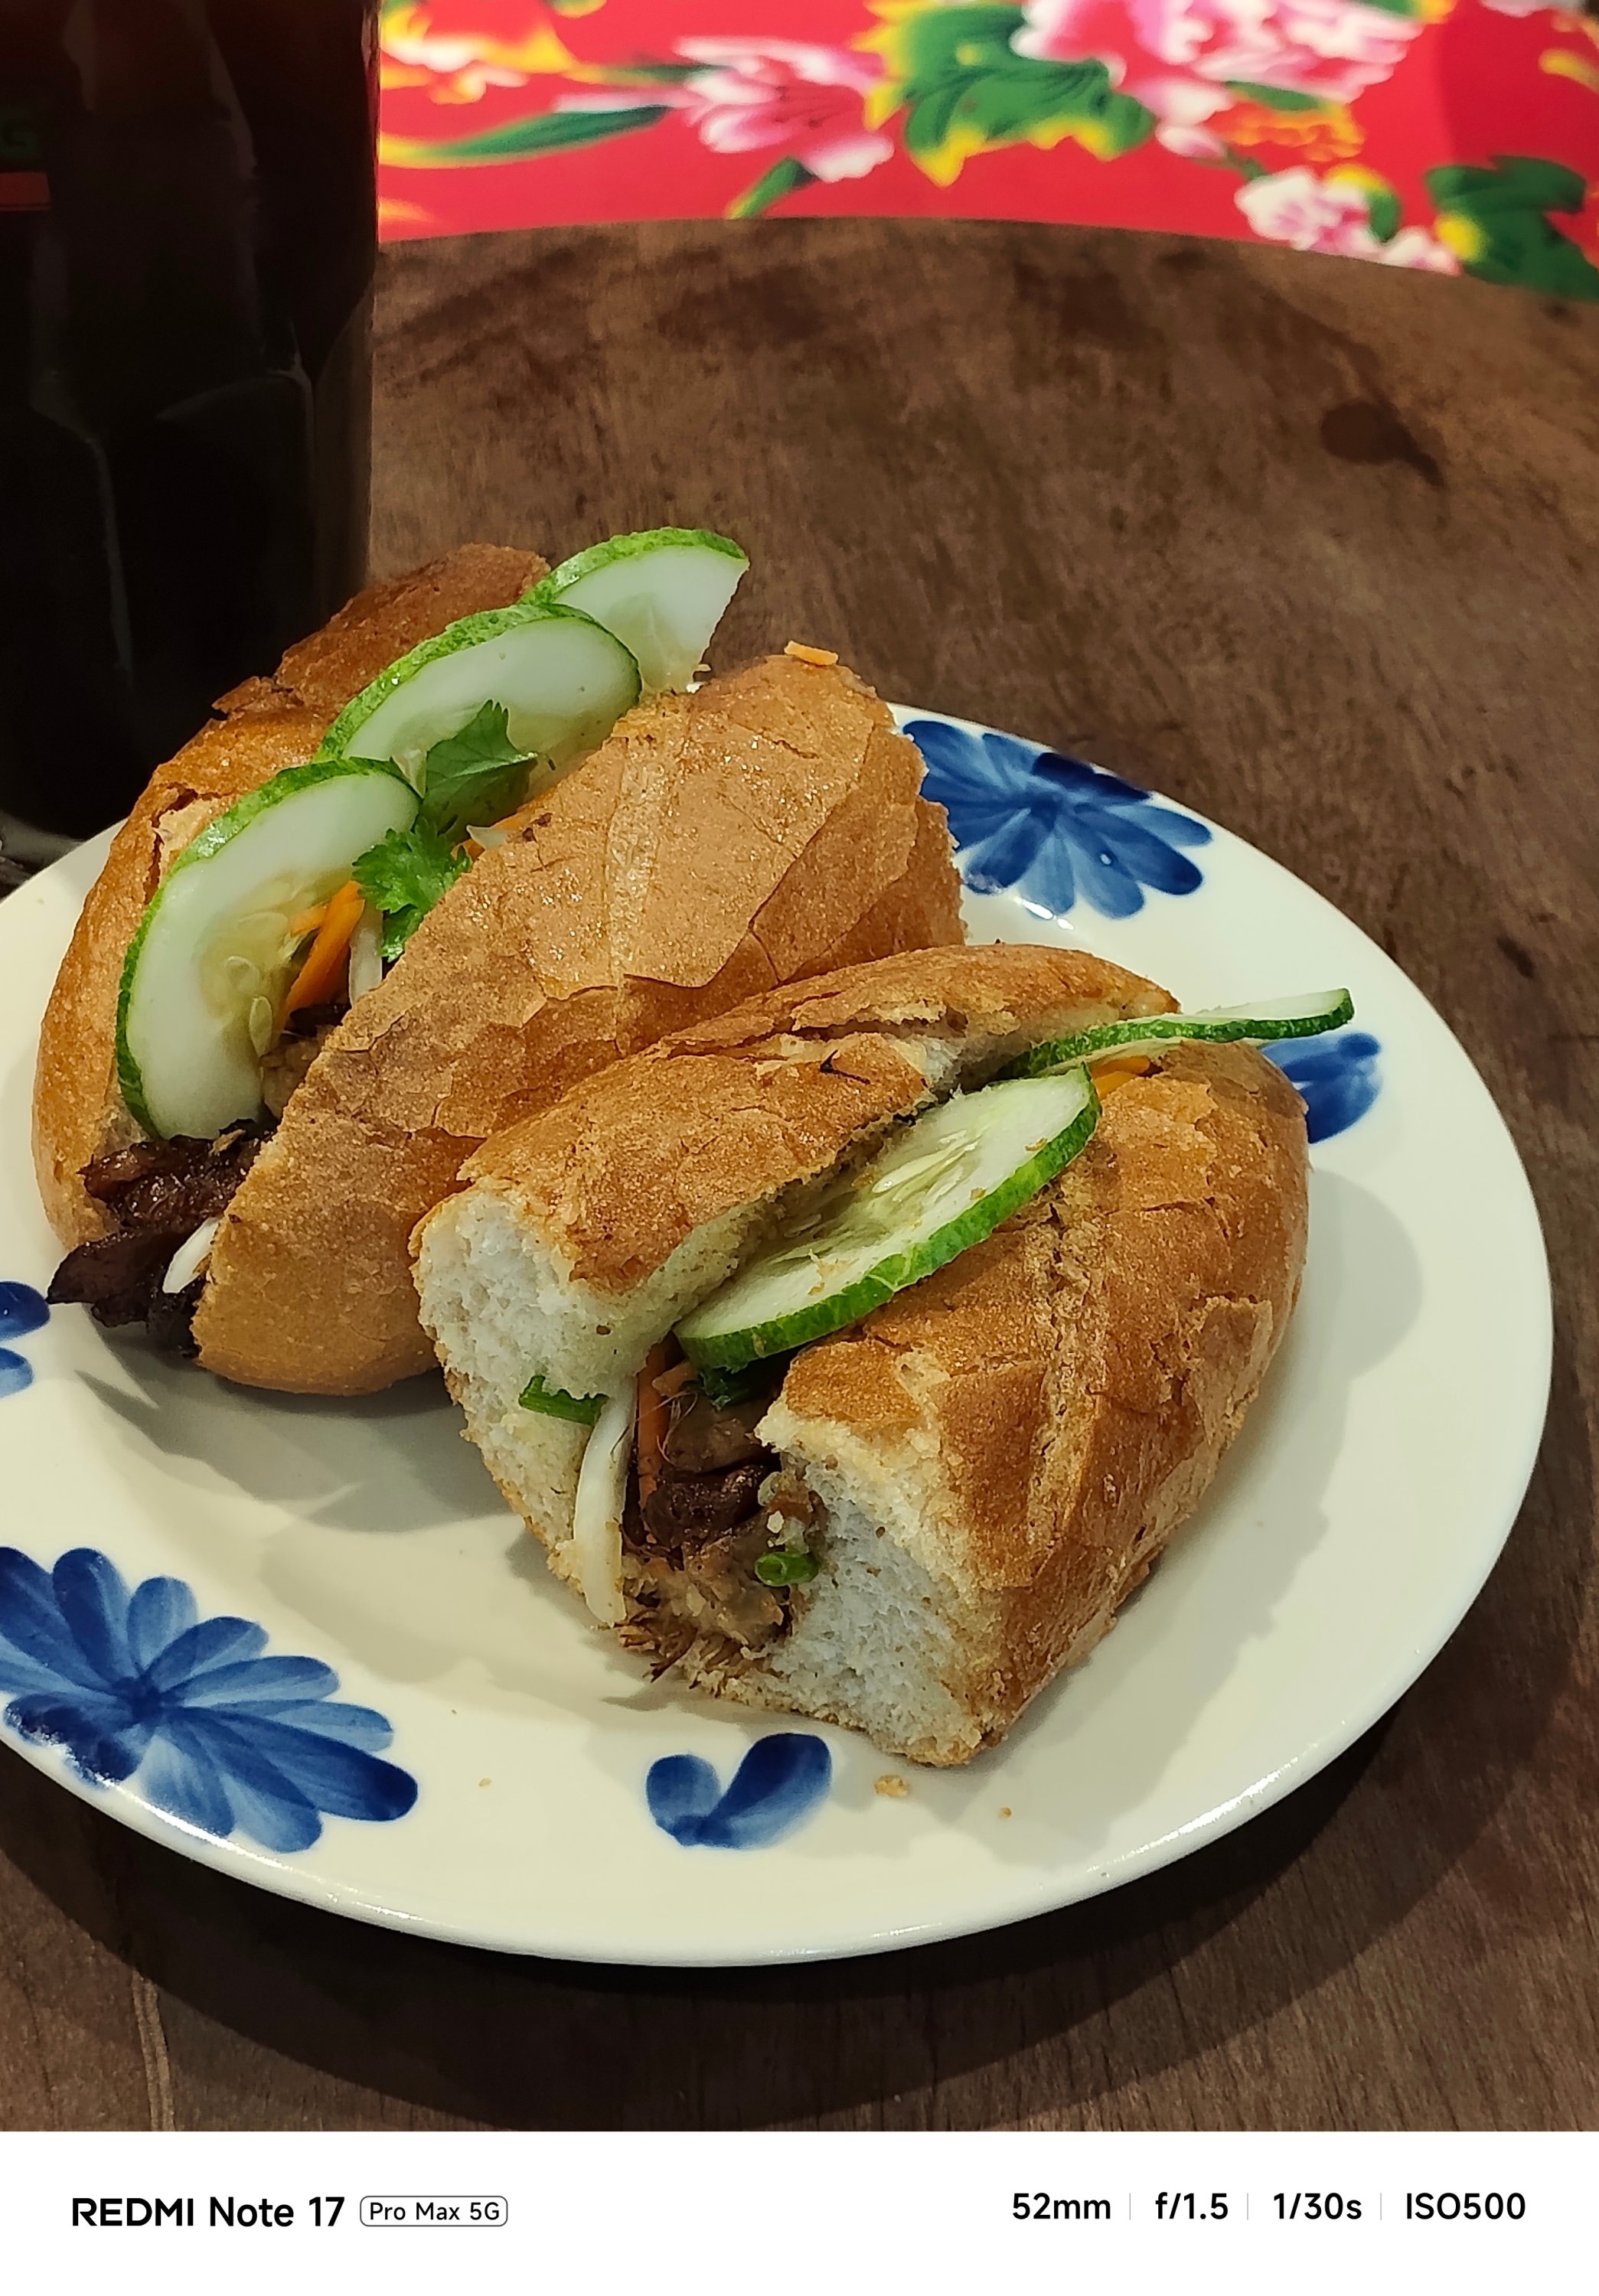
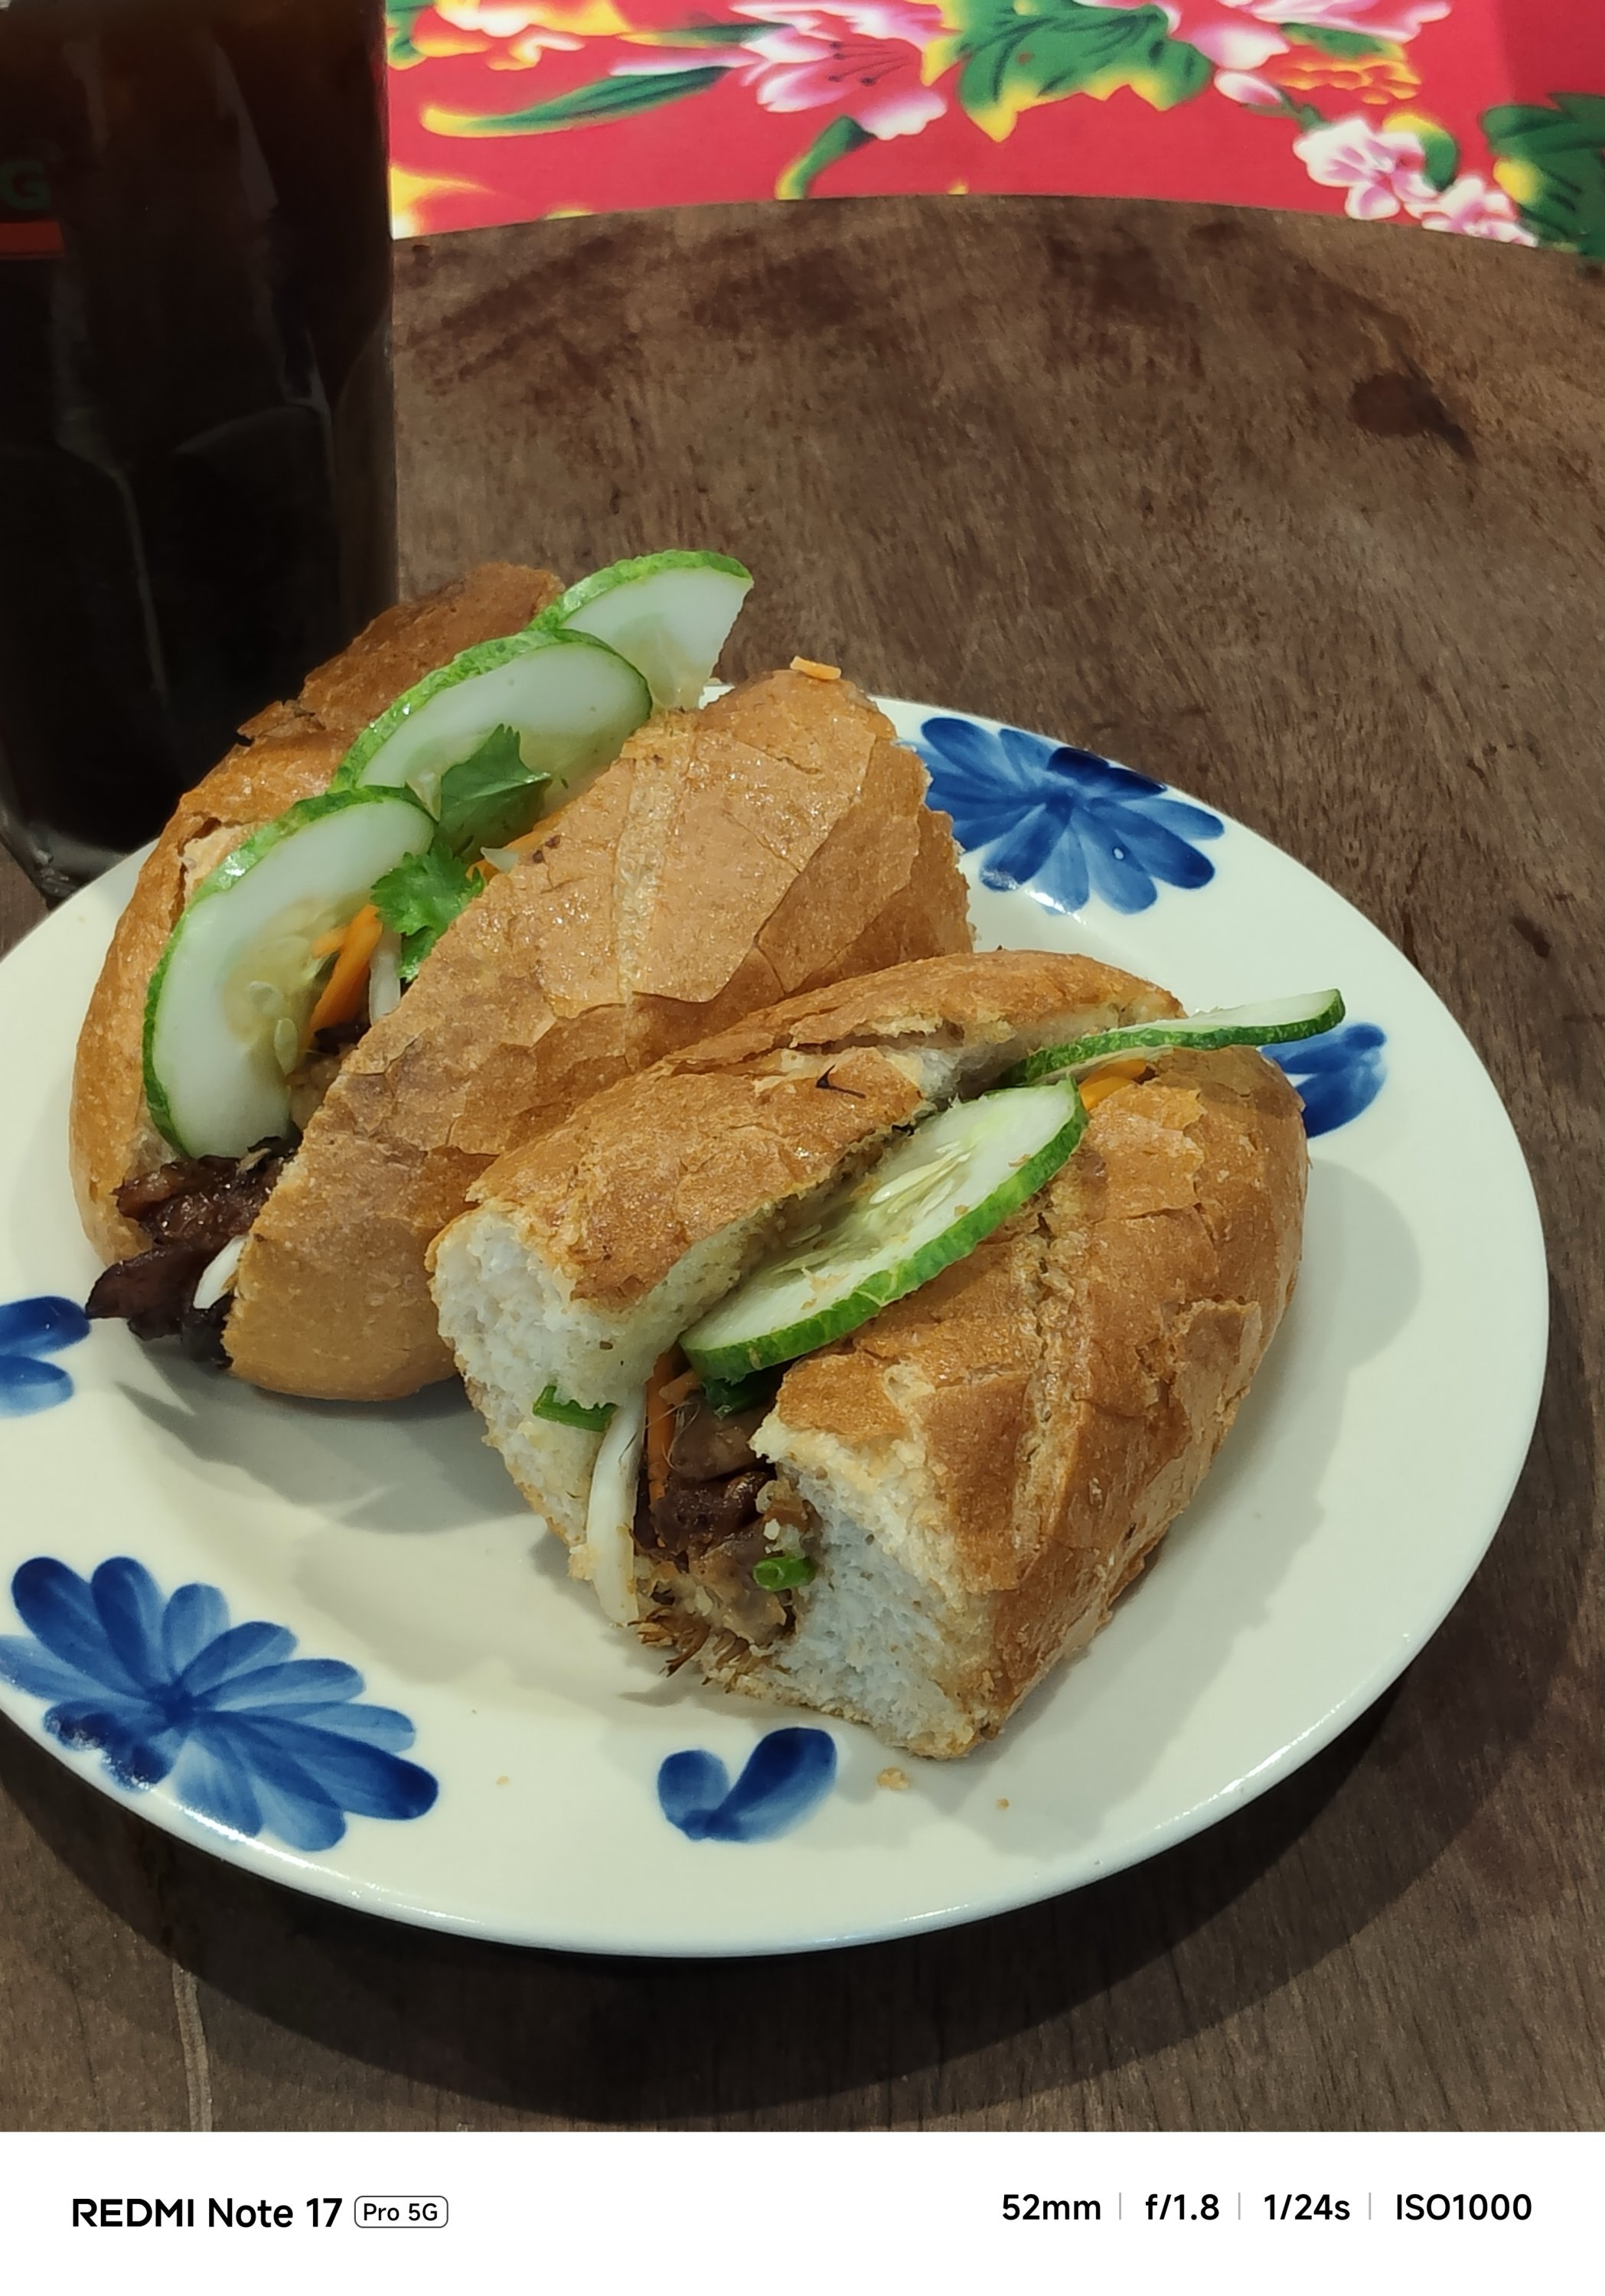
My main complaint about the Note 17 Pro is how some photos looked washed out. The bokeh falloff also looks forced.






The Note 17 Pro Max also captured shots with an accurate AWB (Auto White Balance) while the latter usually leans on the warmer side.




The Pro model even had focusing issues. That’s even after installing the latest software updates for both phones.




If you’re not satisfied with its regular output, there are built-in color filters and always-on flash in the camera app for that added flair.



With the lack of a dedicated telephoto lens (for both), it’s expected to have an AI-improved output.
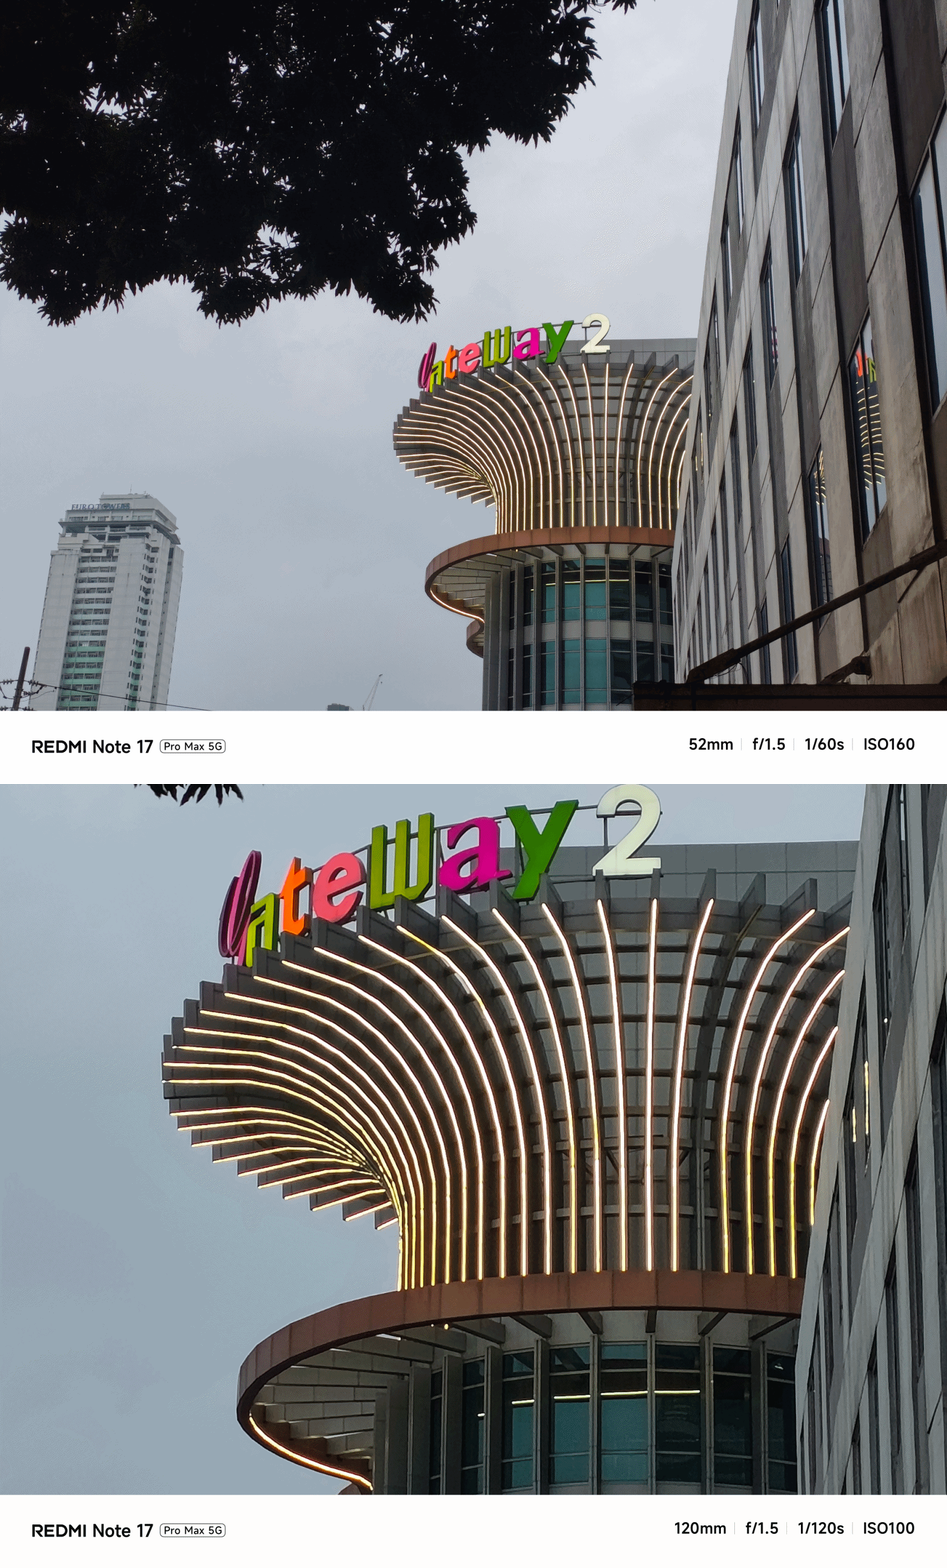
Even its UWA shooter produced better results despite having the same lens module.

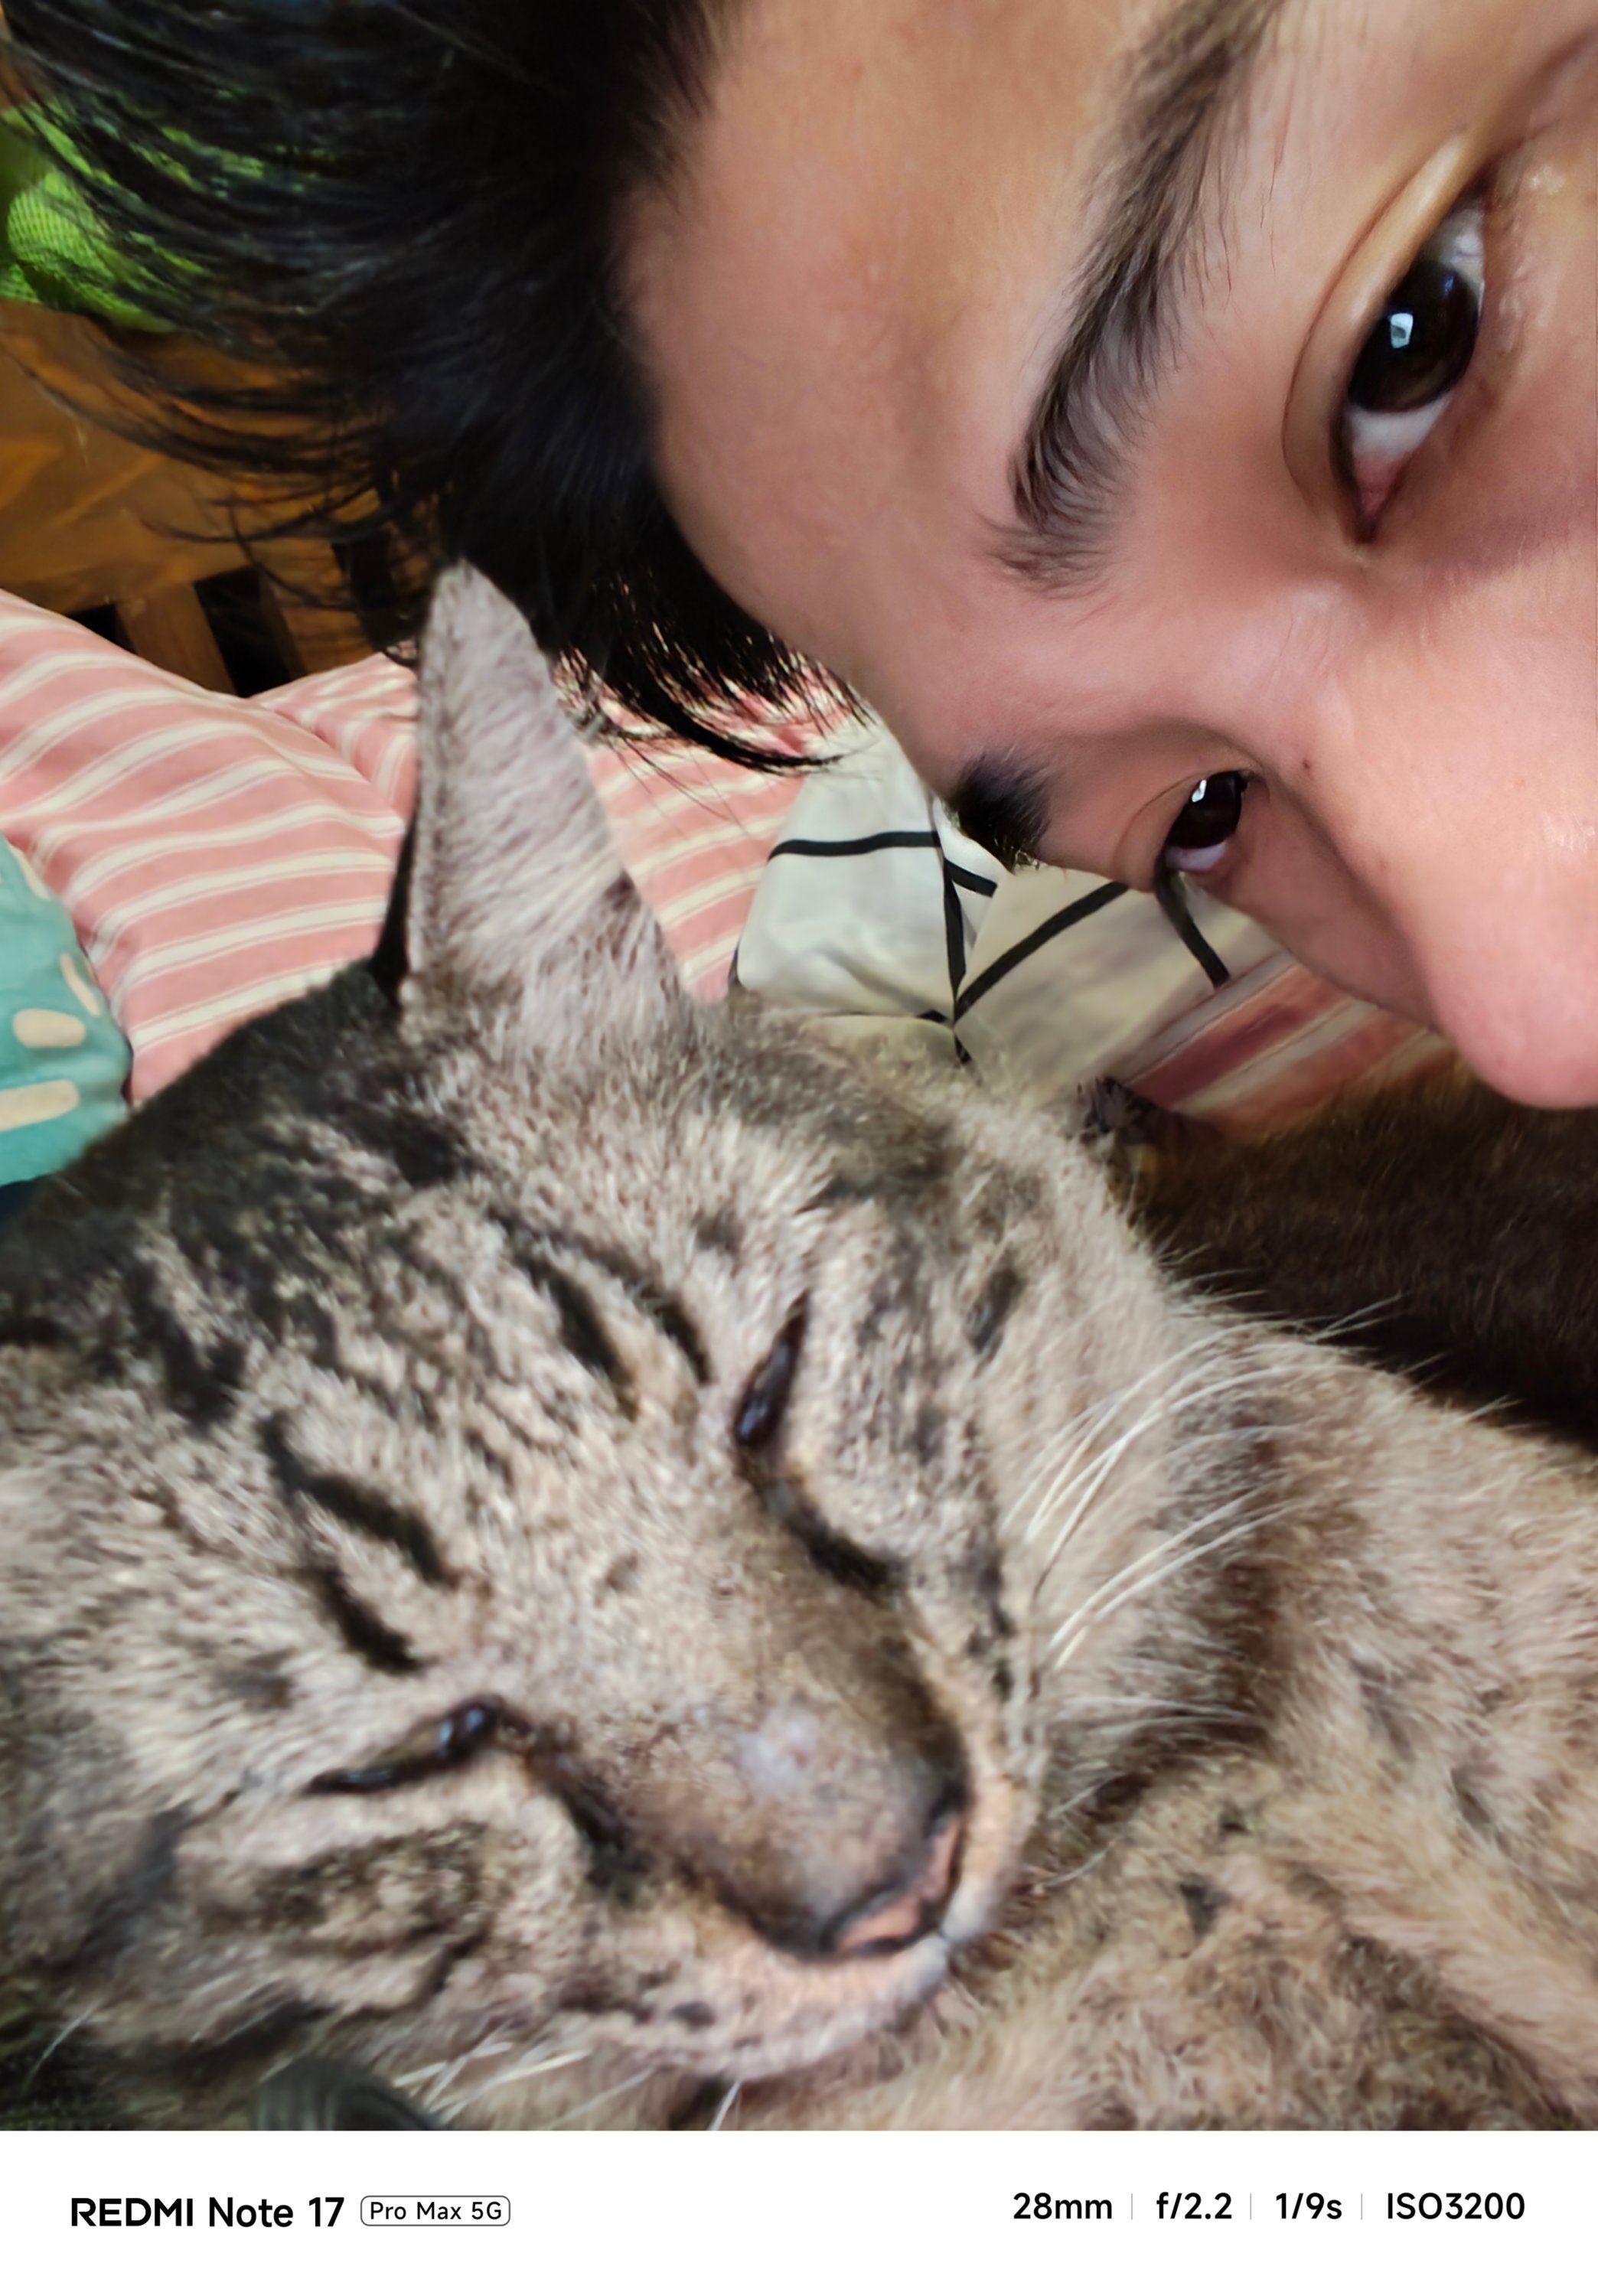
Safe to say, I enjoyed using the cameras of the Pro Max a whole lot more. Whether those are taking mementos of frisky fur friends…







…indoor shots with little to no presence of natural light…

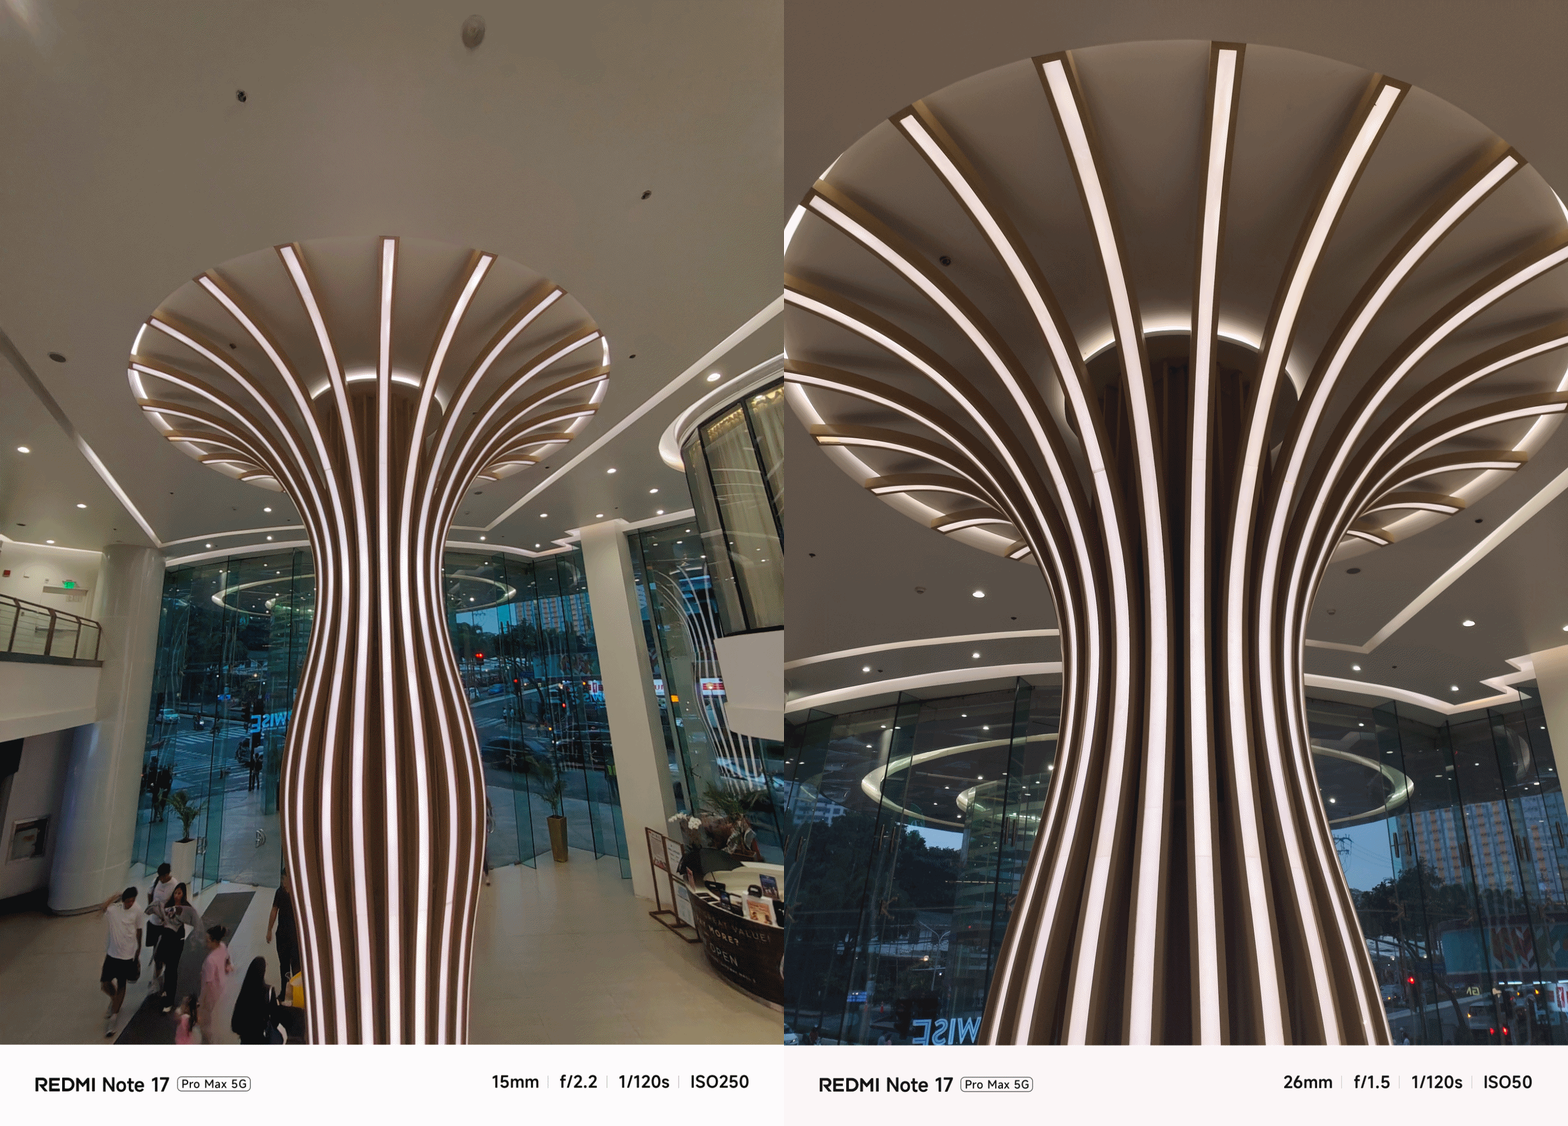
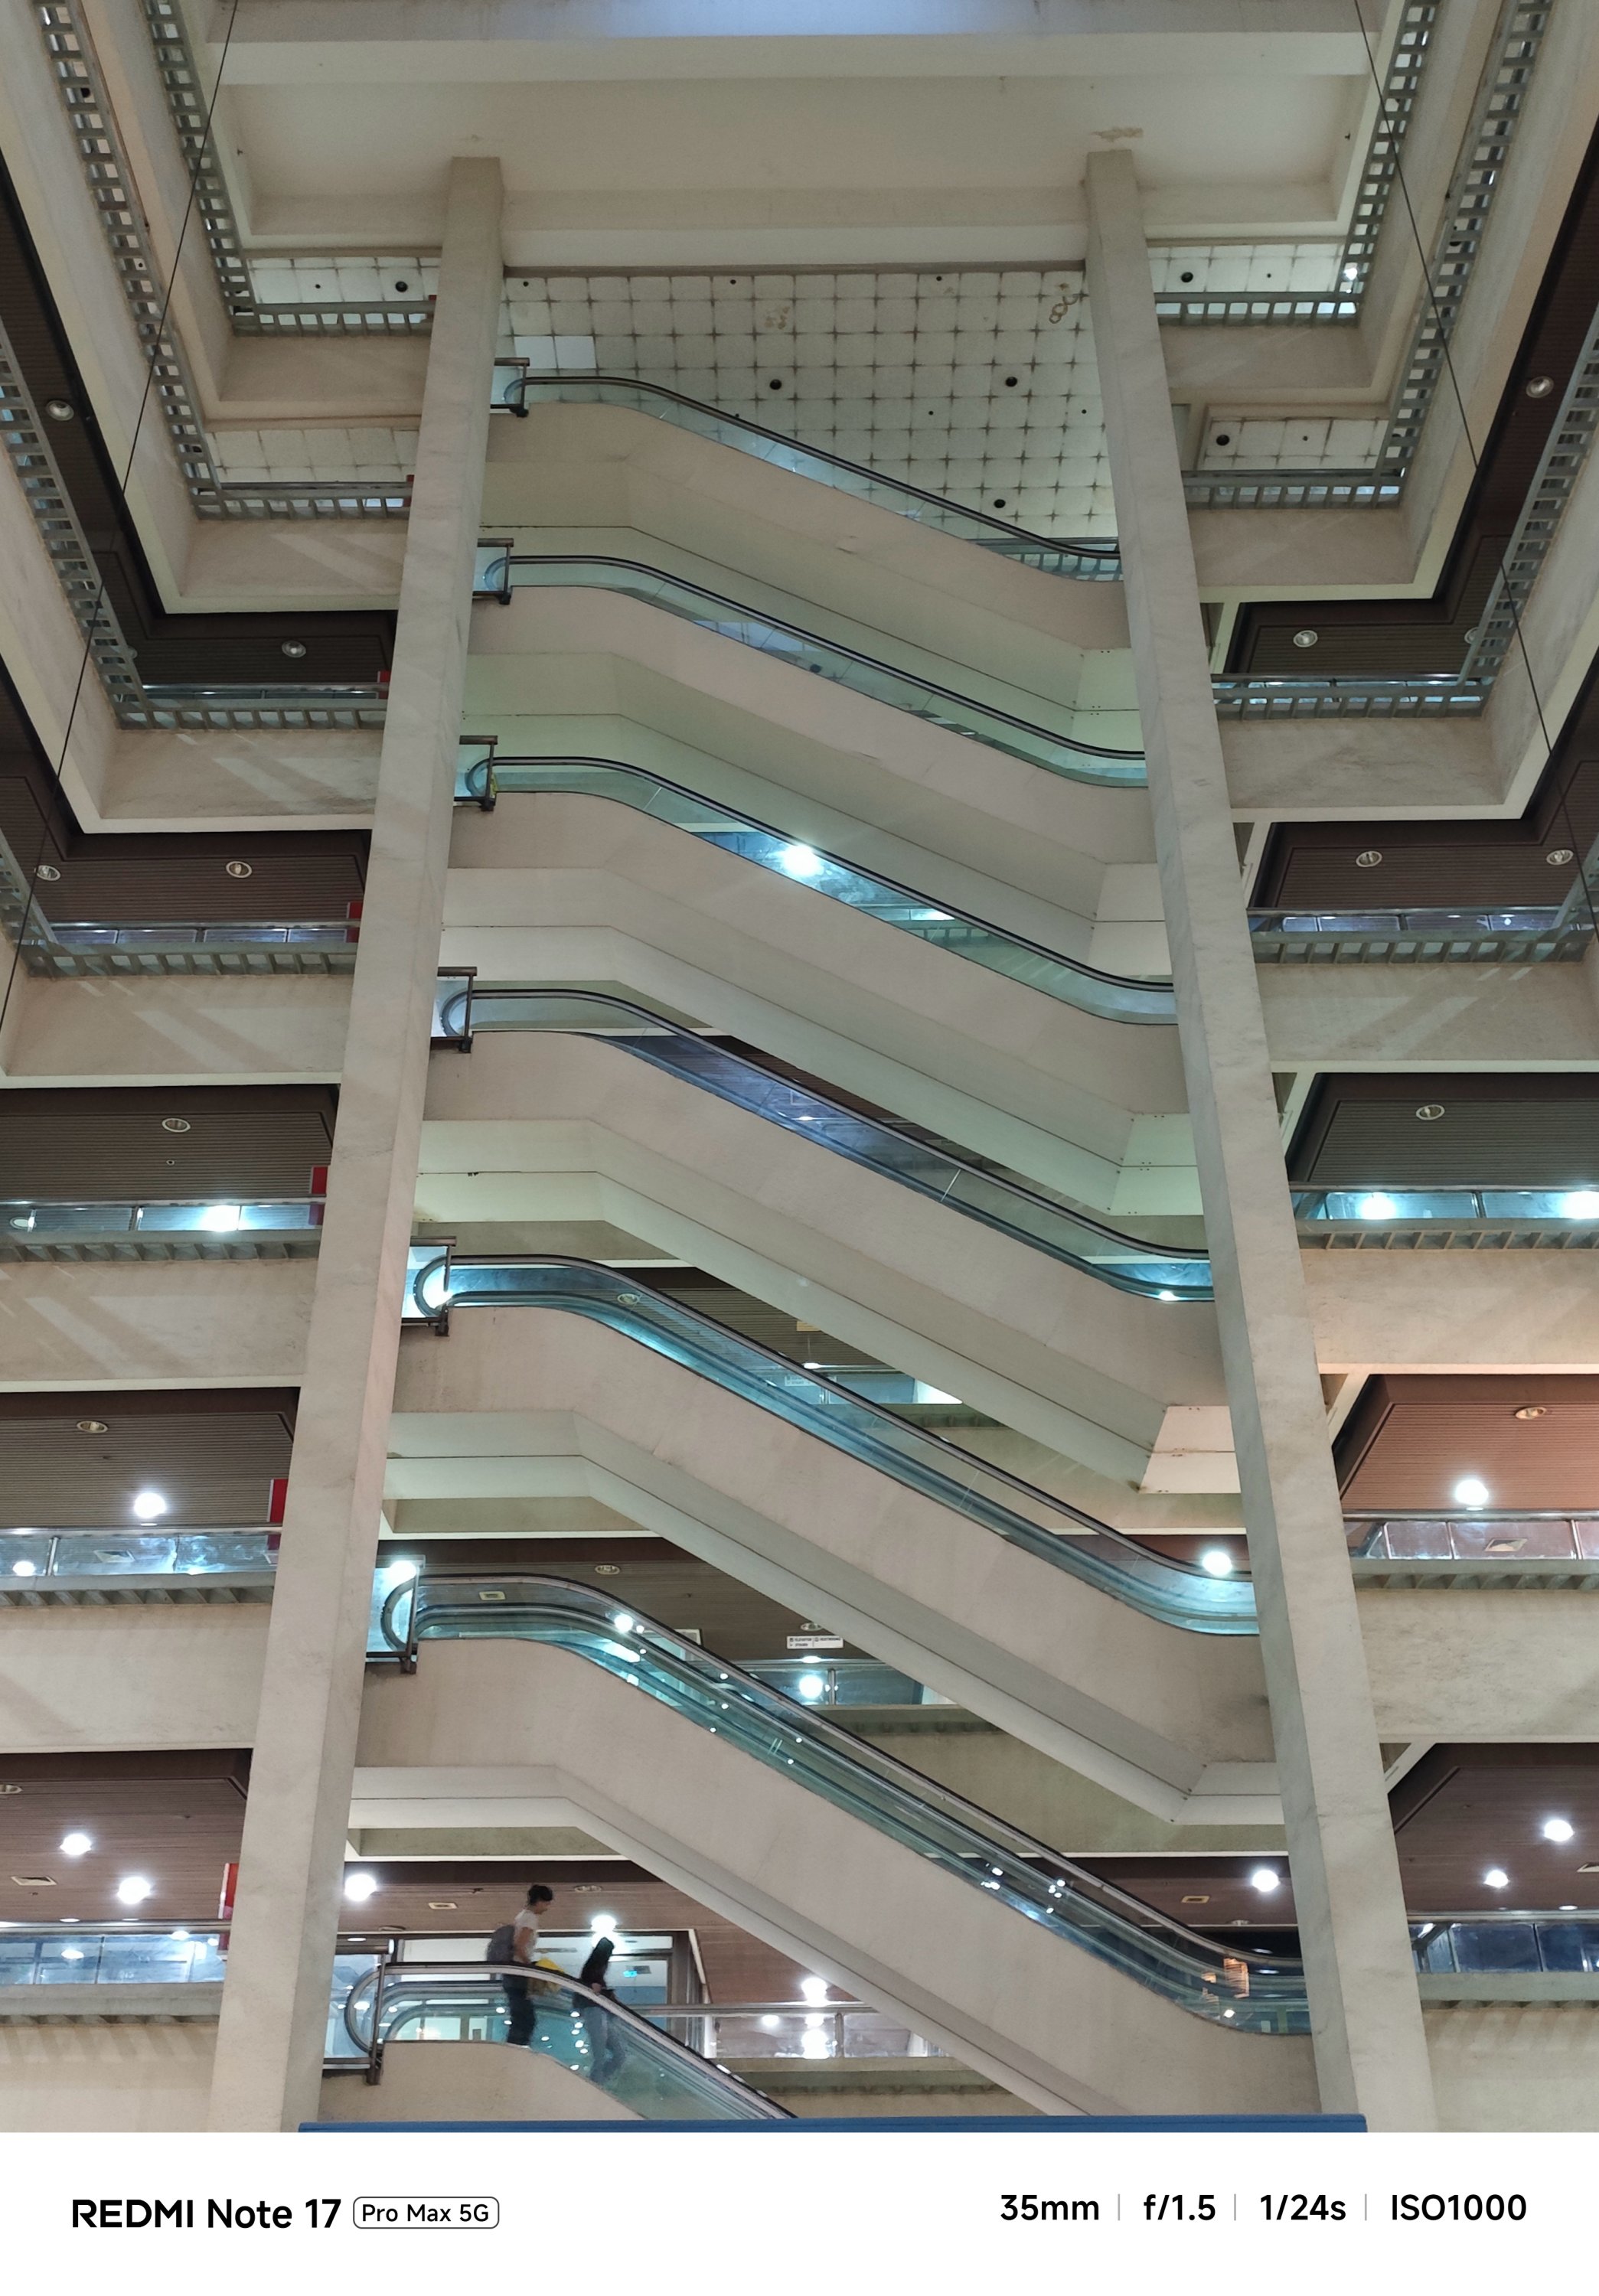

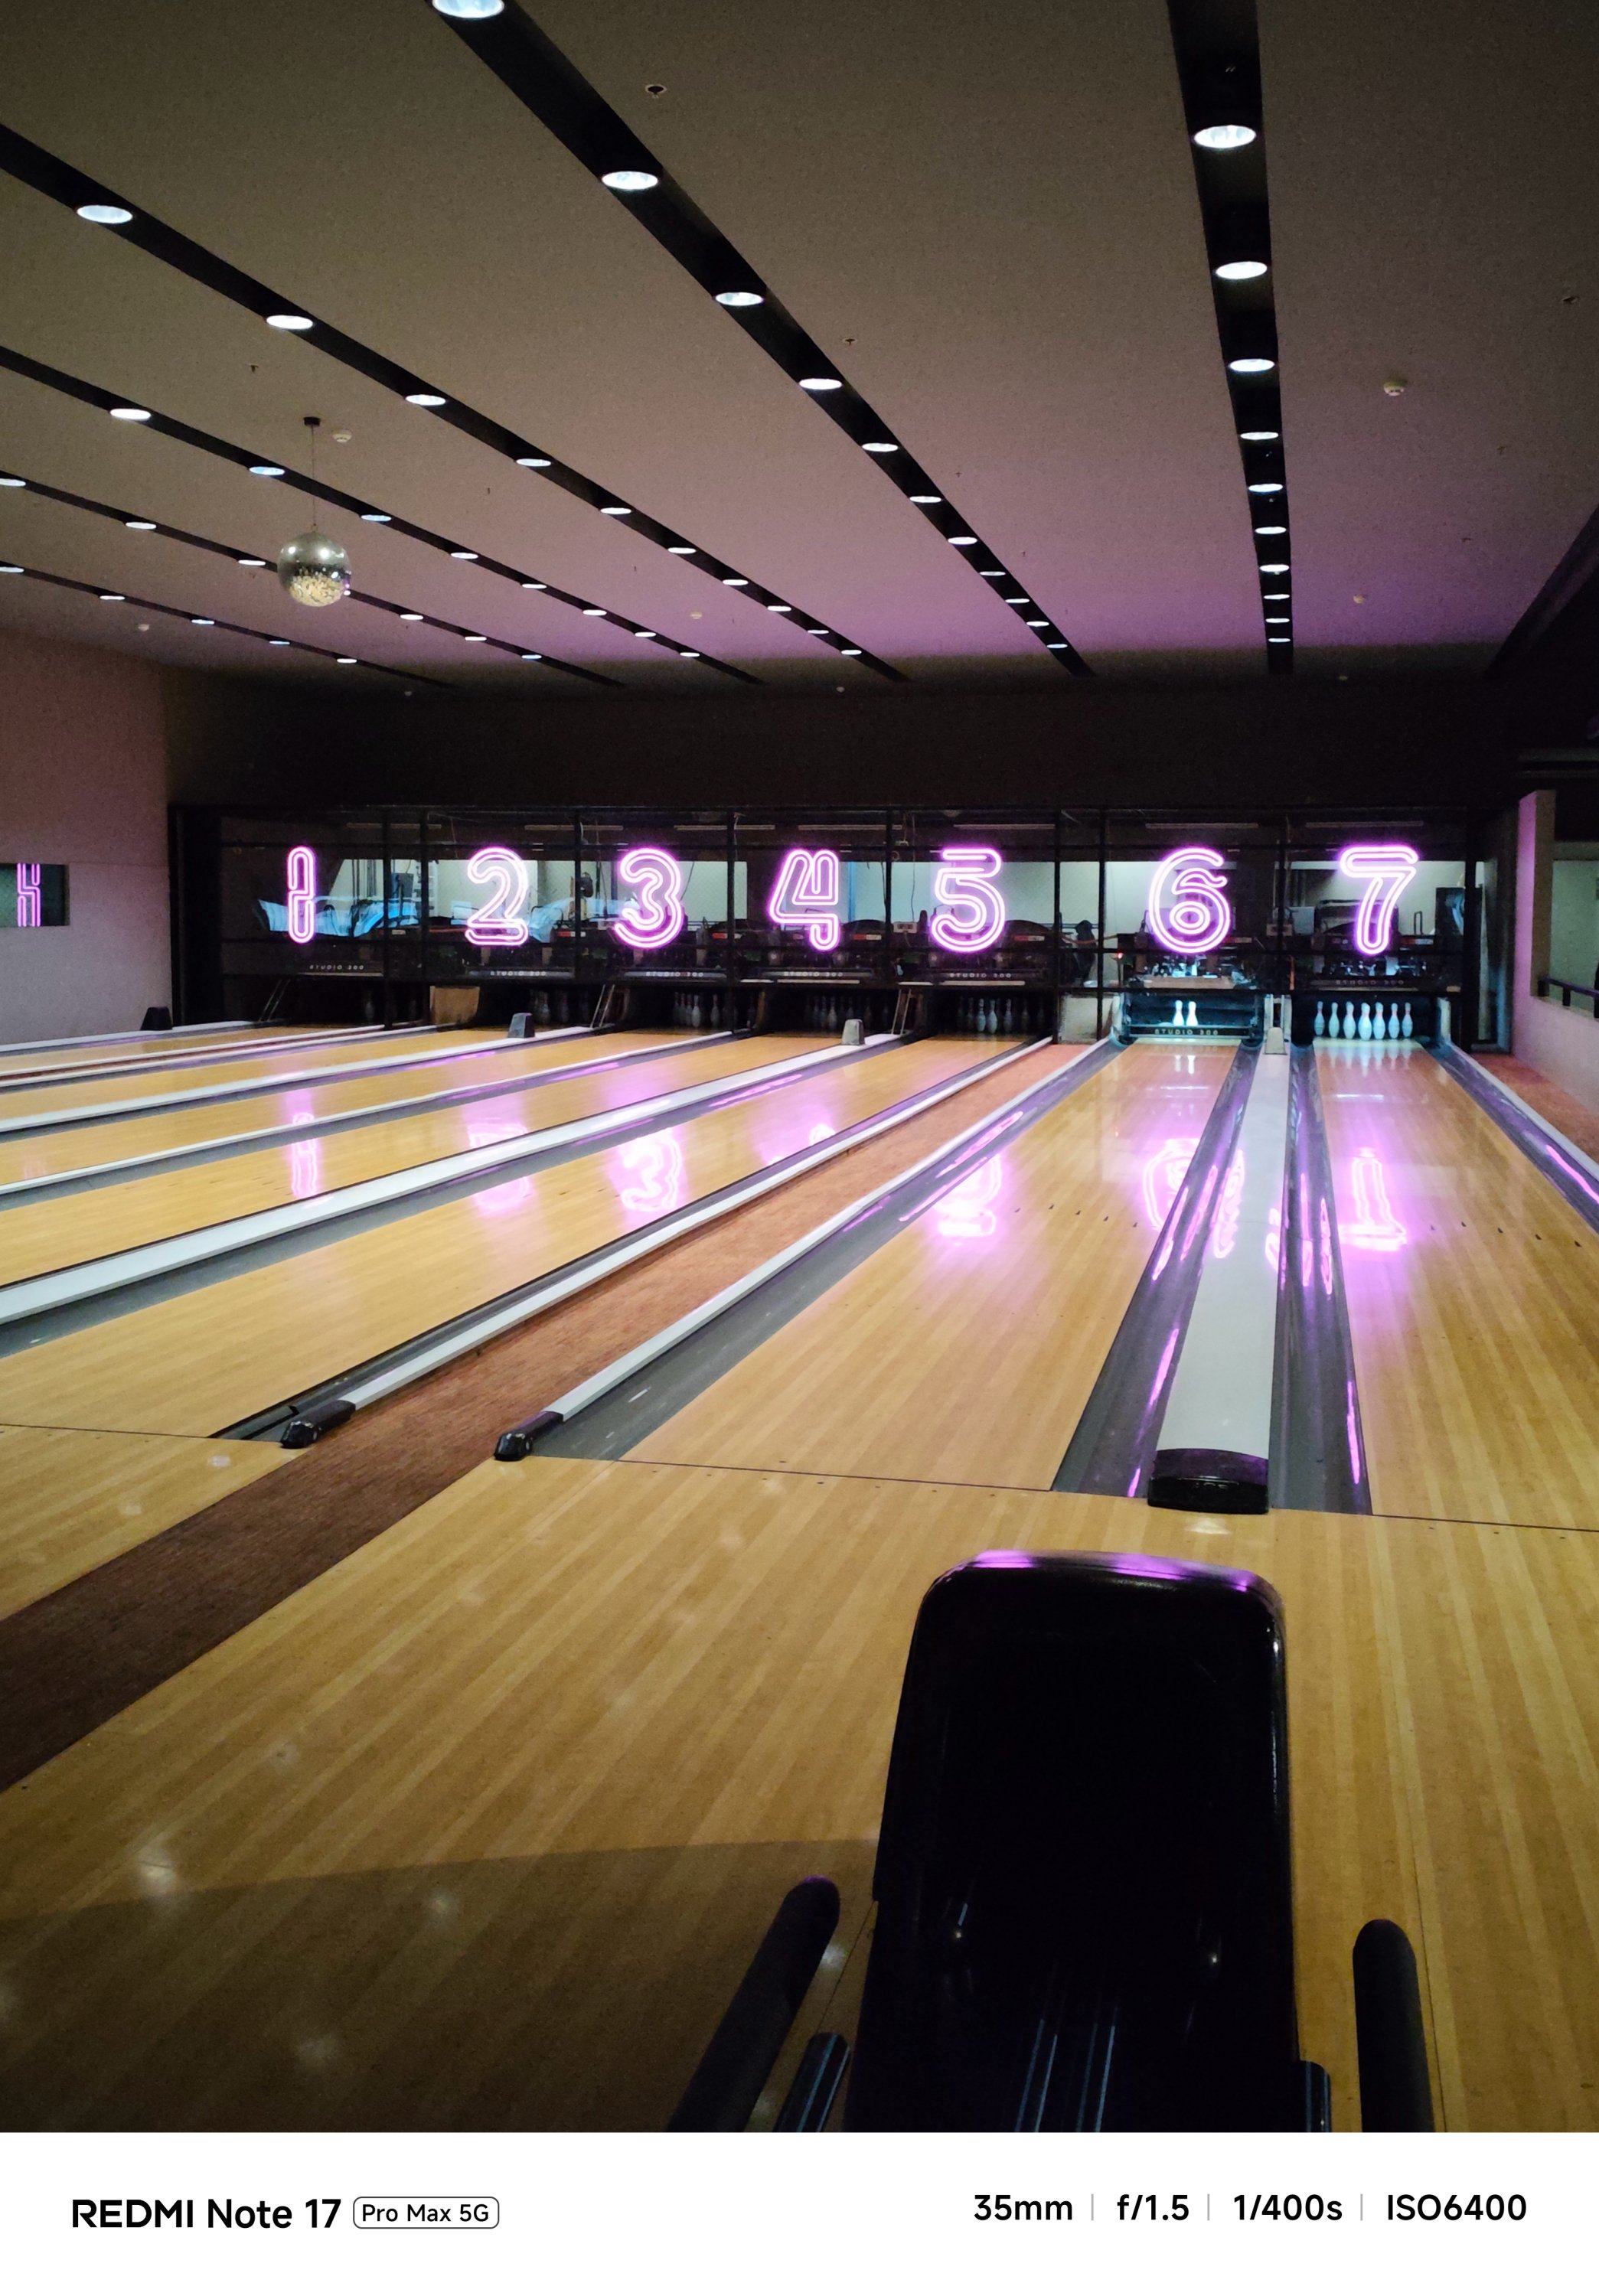

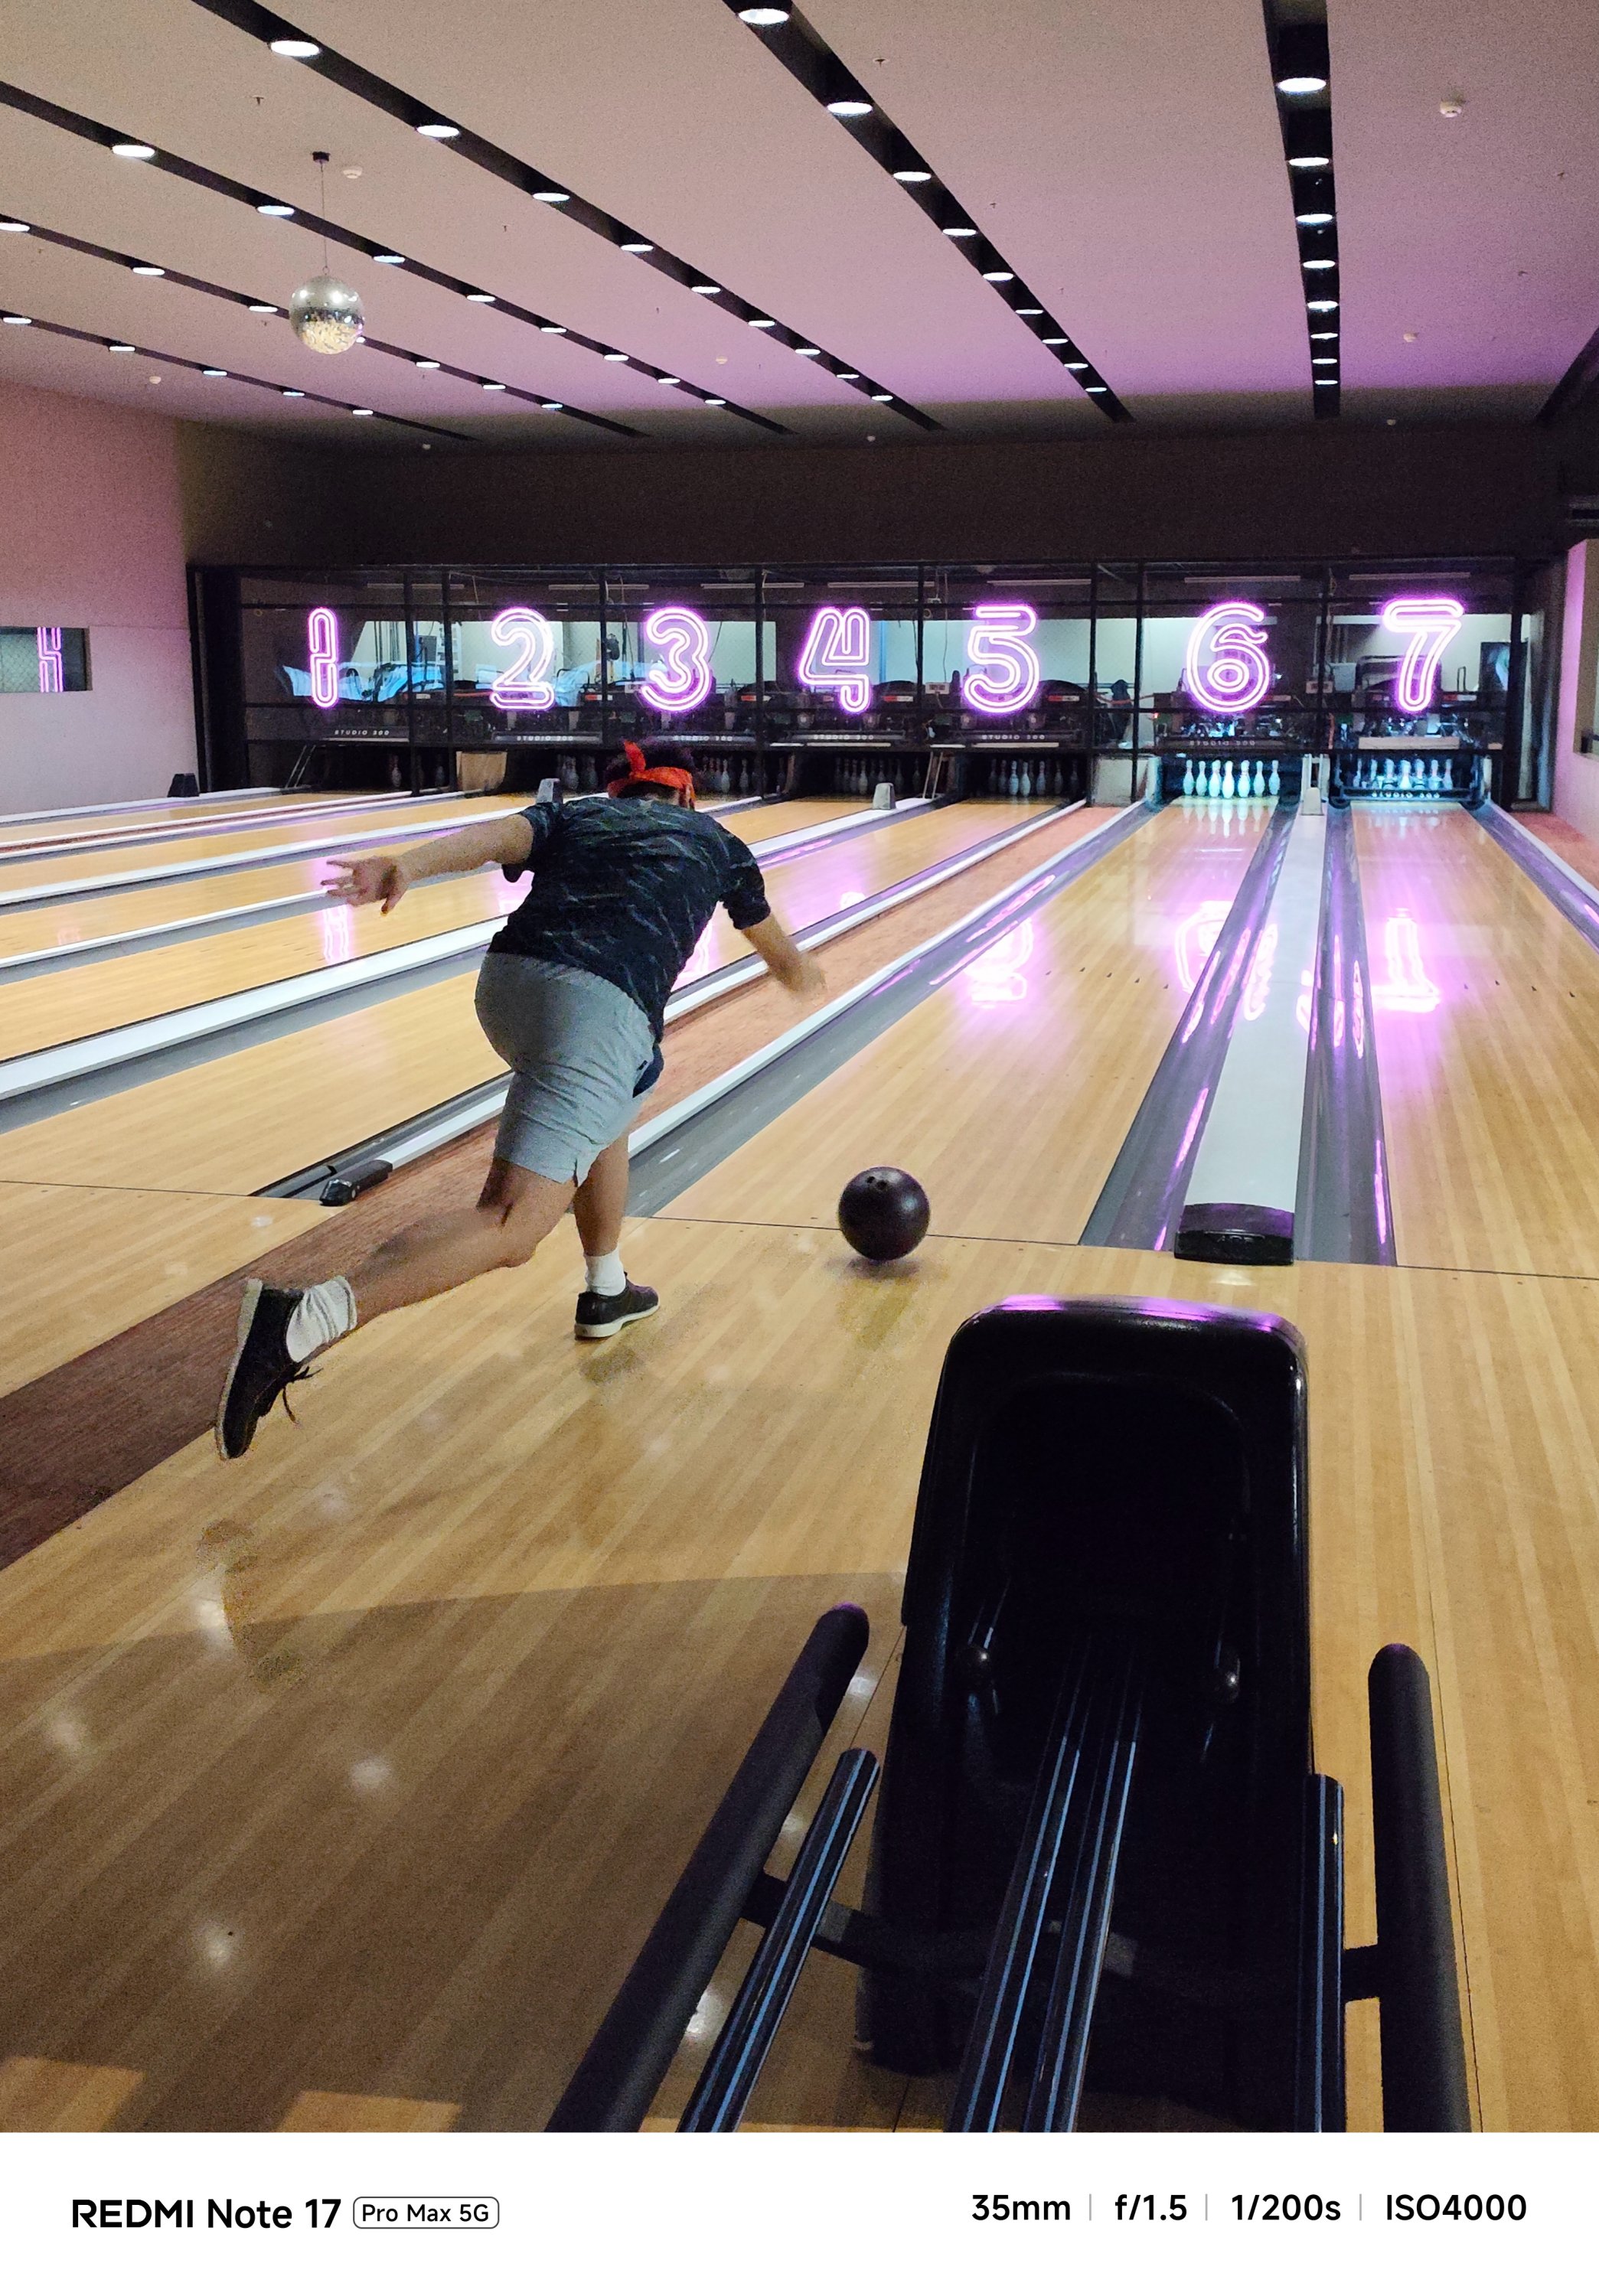
…or even portraits and action-filled snaps, shooting with it was overall smoother and snappier compared to its Pro counterpart.

And now that it’s mentioned, the selfie shooter of the Pro Max is indifferent at 32MP f/2.2. That’s against the smaller and darker 16MP f/2.4 module of the Note 17 Pro.
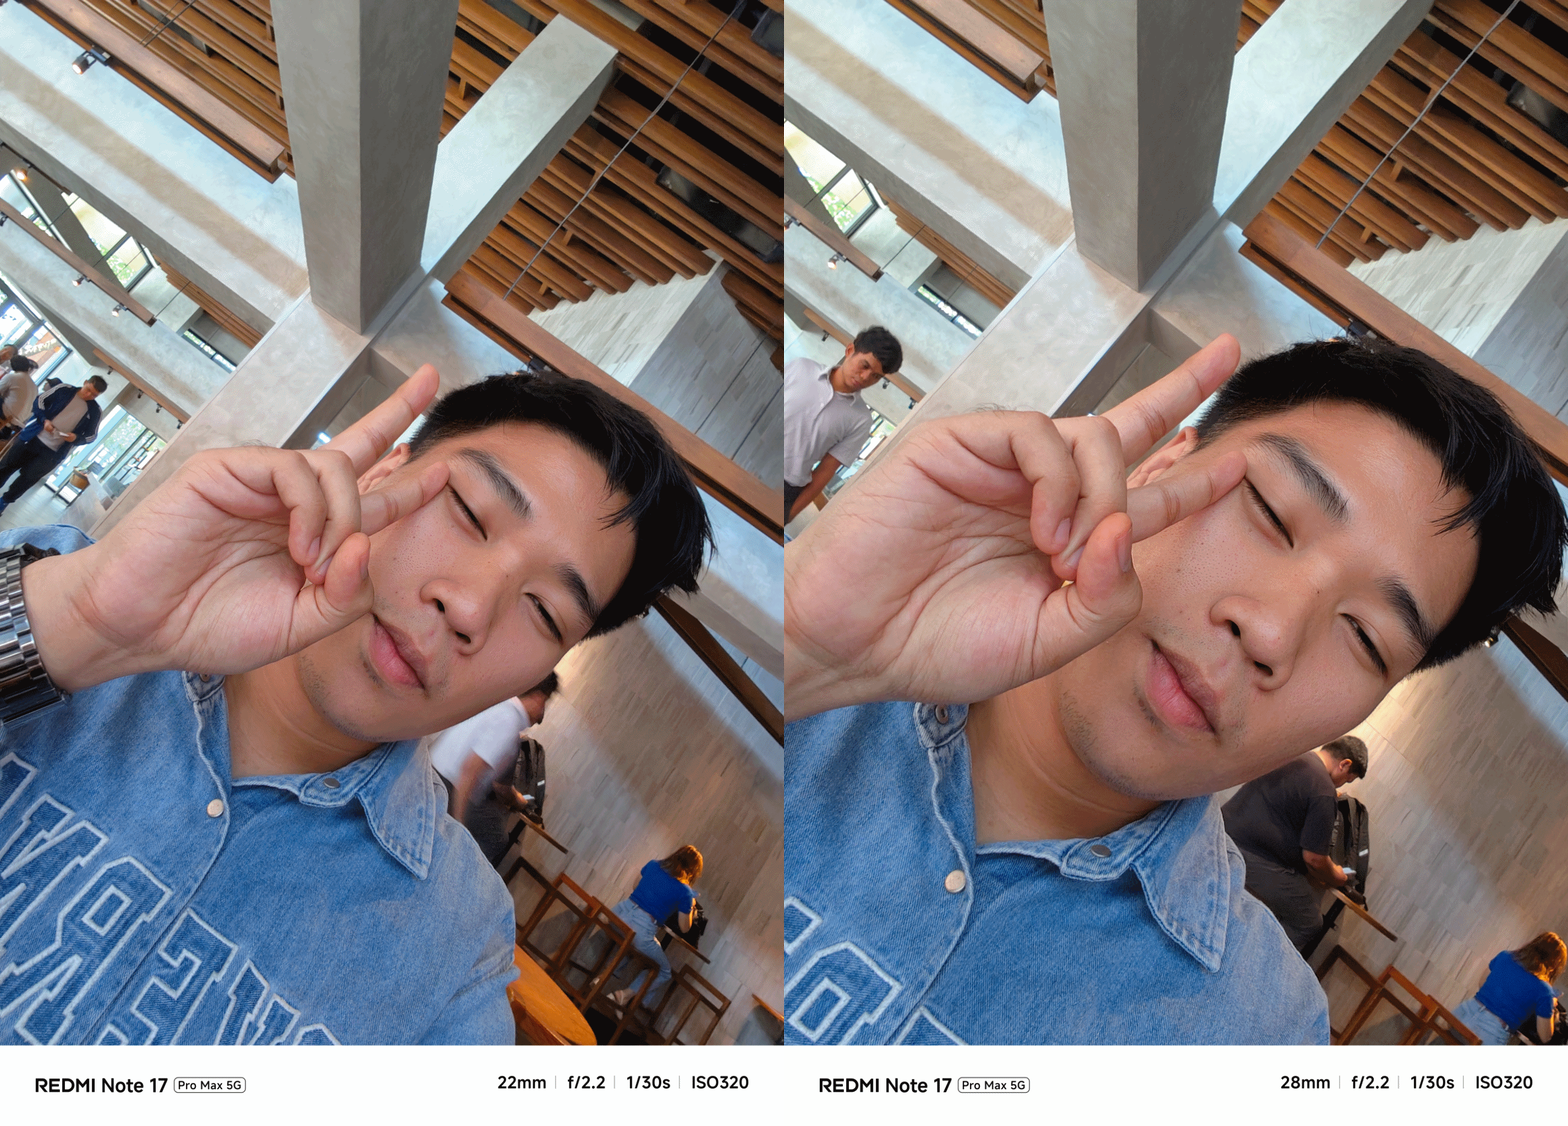
Tasked to the max
As of writing, the REDMI Note 17 Pro Max is the brand’s first smartphone with a 10,000mAh battery. And by that, it boasts the biggest battery in any REDMI and Xiaomi smartphone so far.
One minor caveat: In certain regions, you’ll get the smaller 9210mAh capacity. But even with that 790mAh difference, it’s still heaps larger than the 8340mAh-equipped Note 17 Pro.
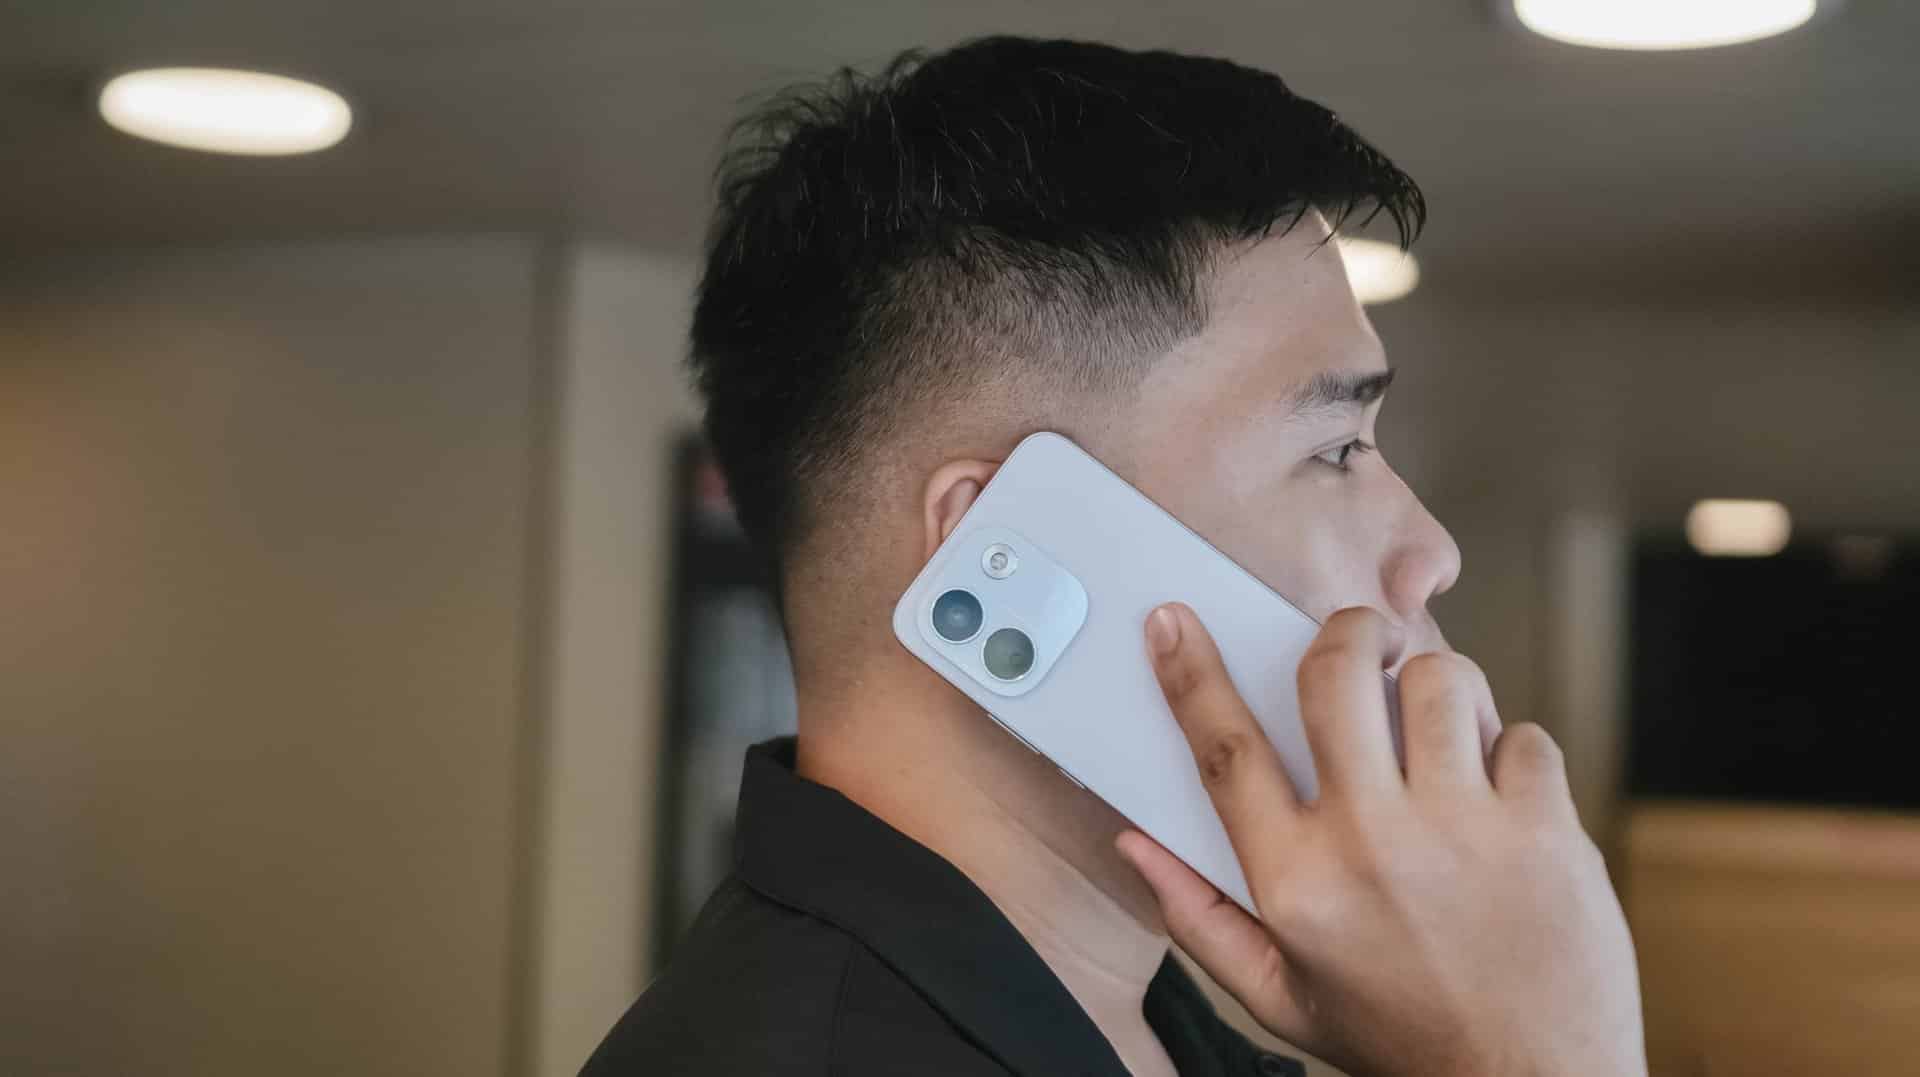
The long-lasting endurance is as amazing as how it looks on paper. Moderate usage can last more than 24 hours. Minimal usage? That’s about two to three days max. Of course, standby time is a lot longer when you don’t use it extensively.
There’s even a reverse wired charging capability just in case your other feeble-powered smartphones lose that precious charge.
For instance, I tried charging my completely dead iPhone 13 Pro Max using the REDMI Note 17 Pro Max for 30 minutes. With that duration, it gave around 29% charge. That is already good especially if one’s out from an outlet and already in a pinch.
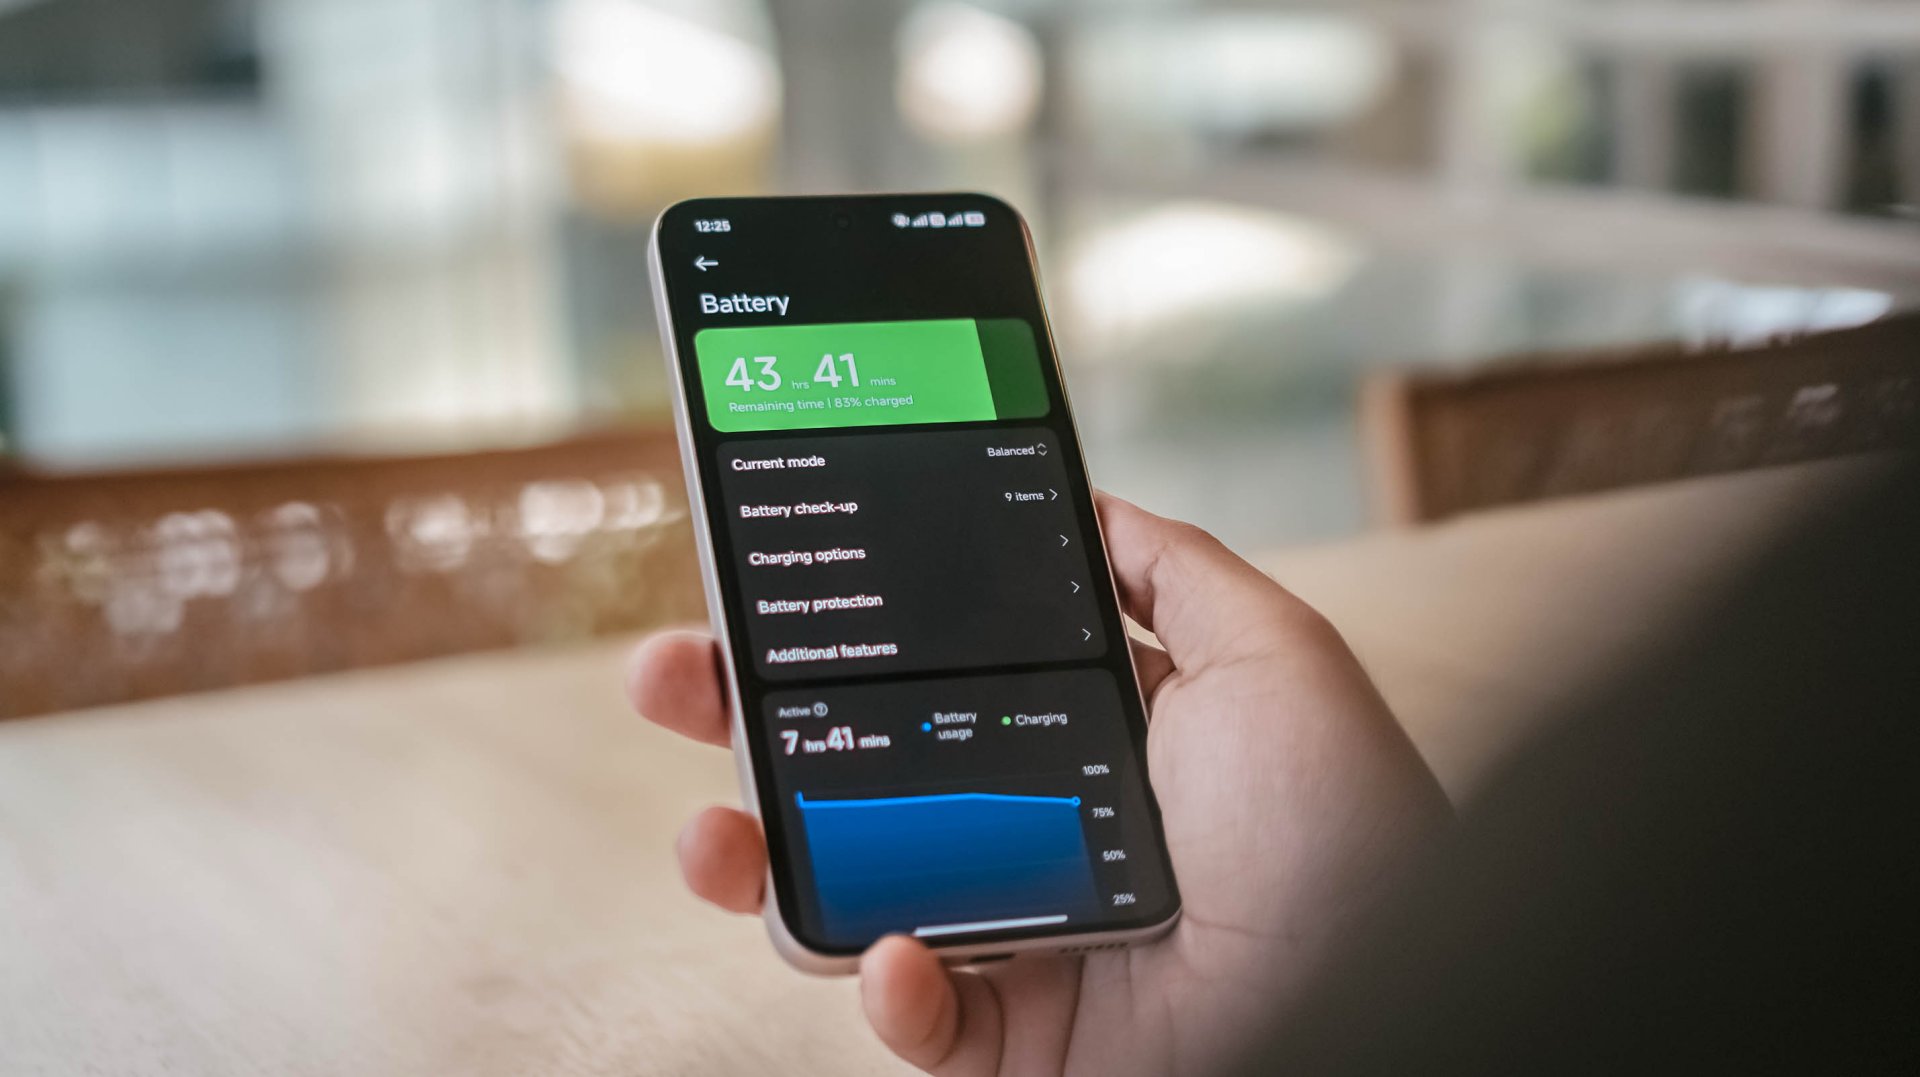
That said, one should still consider the app running in the foreground and background.
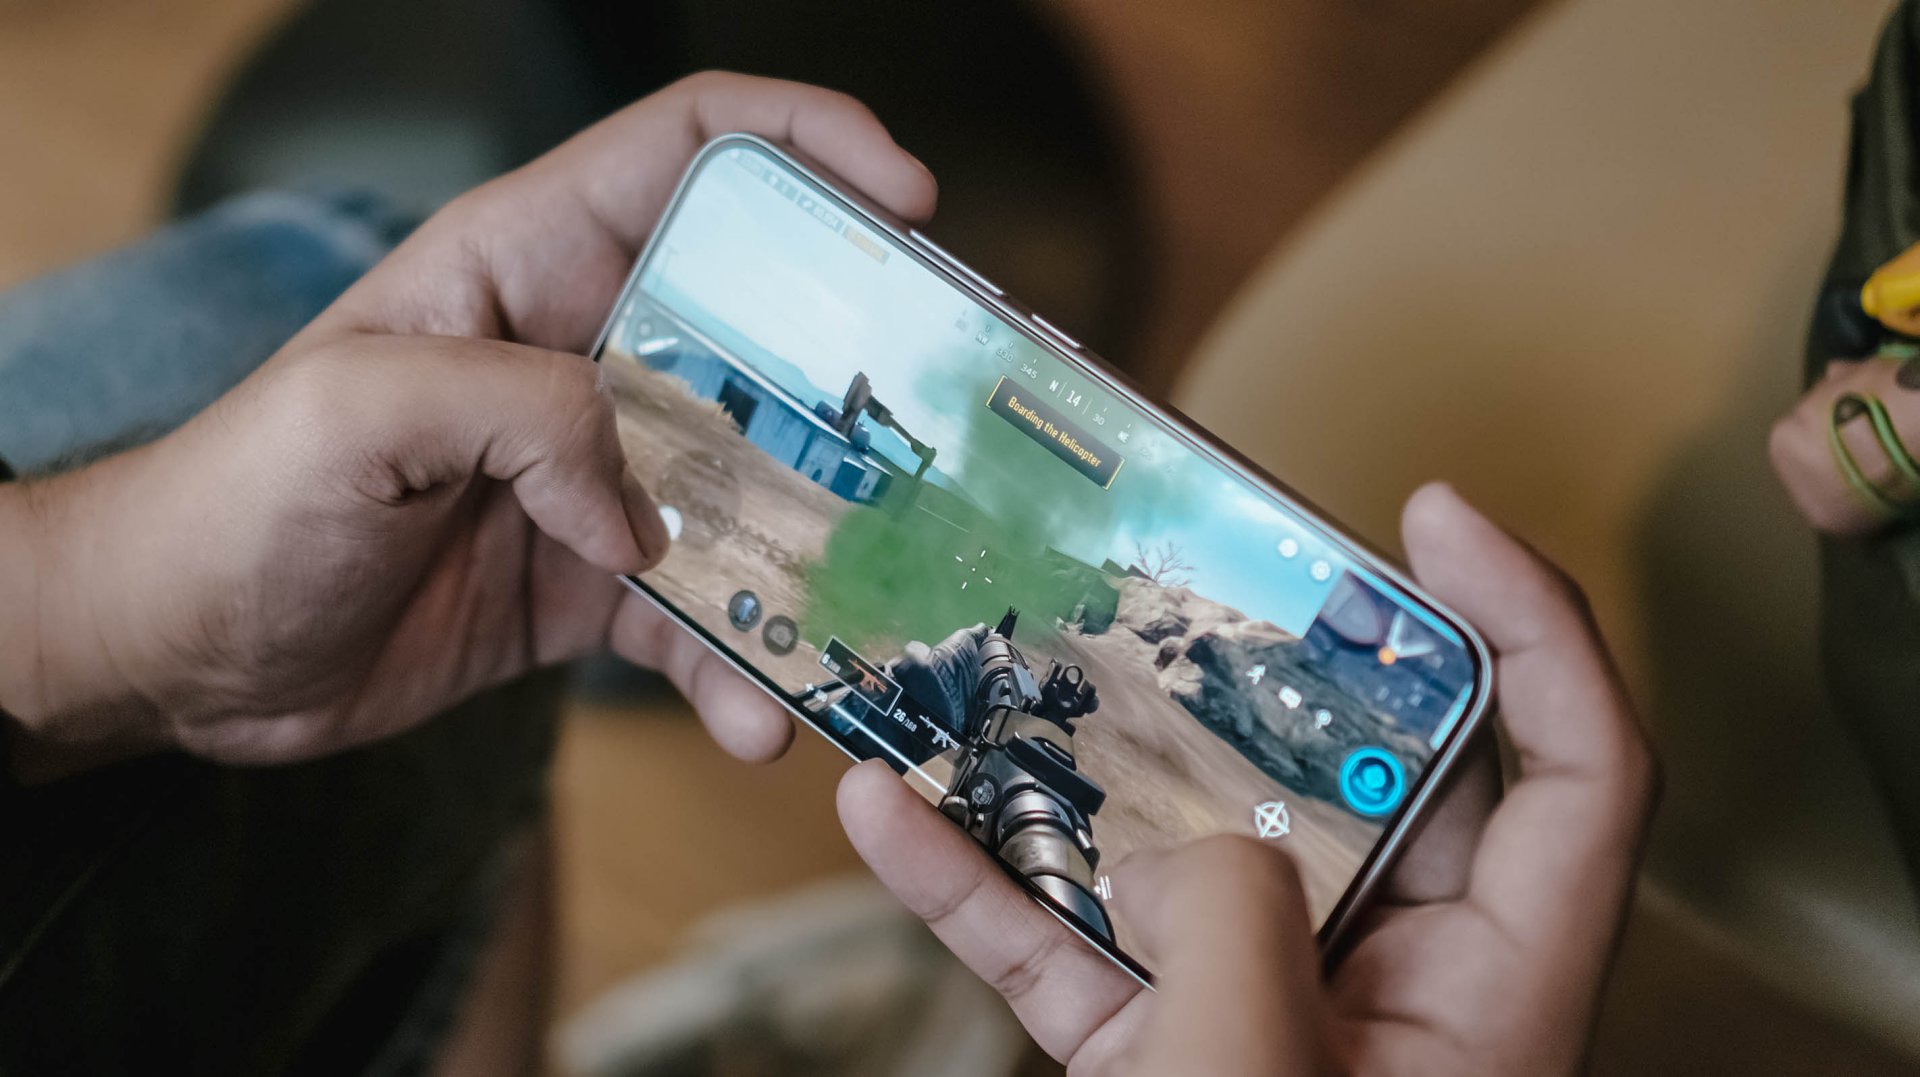
With almost two hours worth of installation and gameplay, including ZZZ’s countless character dialogues and a lone yet lengthy combat consumed, the REDMI Note 17 Pro Max consumed 19% charge.
Other than the phone’s actual battery capacity, the inclusion of charging brick and cable is also region-dependent.
In Asia, or at least where I reside, it still comes bundled out of the box.
Now, if you live in European regions, you’d know by now how EU’s strict laws result to the absence of these accessories.
Still, it’s worthy to note that the Note 17 Pro Max supports USB-C PPS protocol.
In my GadgetMatch Charge Test though, that still accounts for 21 minutes of charging time difference.
Xiaomi 100W Charger +
|
UGREEN 100W Uno + ADATA
|
|
START TIME (from 0%) |
6:05PM |
9:54AM |
3 minutes |
5% |
6% |
5 minutes |
9% |
8% |
10 minutes |
16% |
12% |
15 minutes |
21% |
18% |
30 minutes |
38% |
41% |
45 minutes |
55% |
57% |
1 hour |
72% |
75% |
1 hour 15 minutes |
88% |
89% |
1 hour 30 minutes |
– |
95% |
END TIME (100%) |
7:29PM
|
11:39AM
|
With that speedy and reliable 100W HyperCharge speed, it was able to juice up the phone to the very brim under 1 hour 25 minutes.
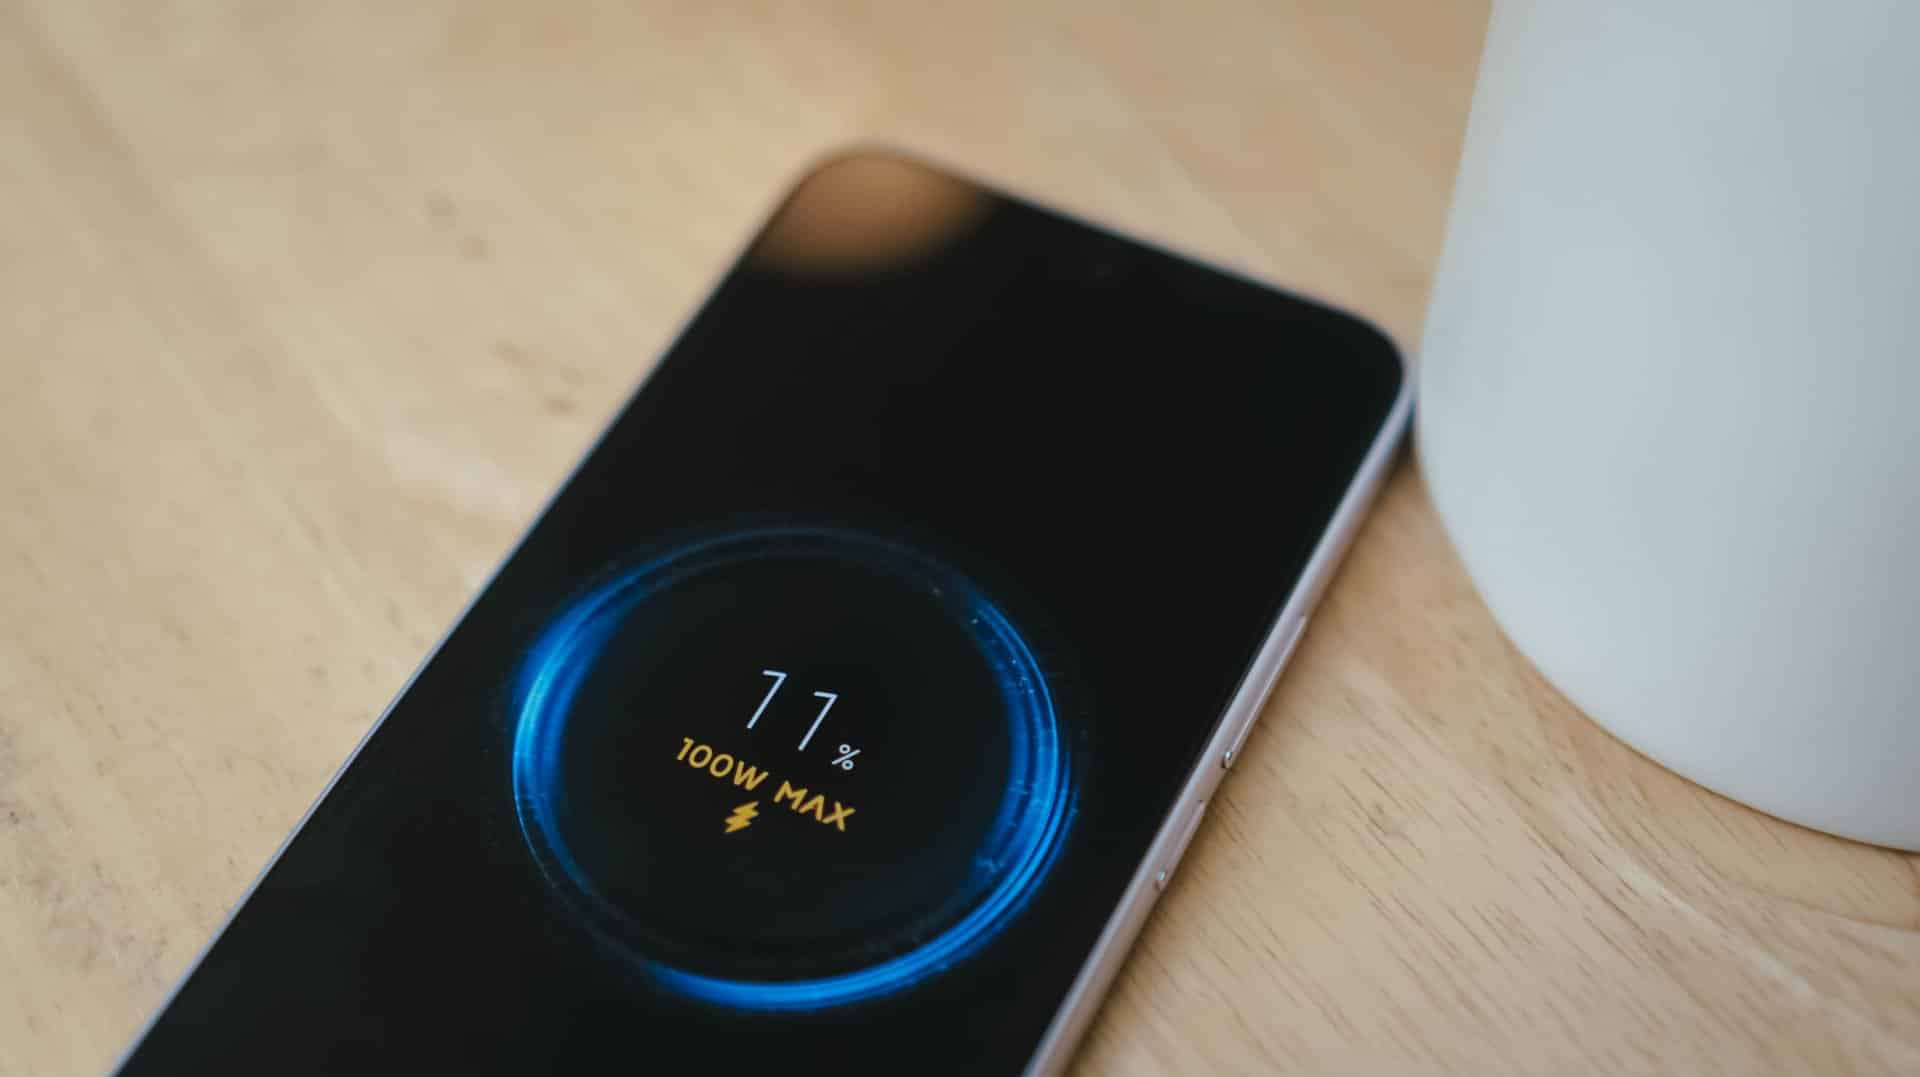
Coincidentally, the Note 17 Pro got fully-filled in 1 hour 25 minutes using Xiaomi’s 100W HyperCharger and cable.
Now this is the part where I can truthfully say the REDMI Note 17 Pro Max reigns.
Is the REDMI Note 17 Pro Max your GadgetMatch?
With a starting price of PhP 30,999 / SG$ 749, the REDMI Note 17 Pro Max isn’t sitting on the same throne as its predecessor and clearest contender, the REDMI Note 15 Pro+.
The ever-immersive audiovisual goodness, utmost Titan durability, and capable cameras are found on both models. Ultimately, it comes down to personal preference when it comes to aesthetics and ergonomics.
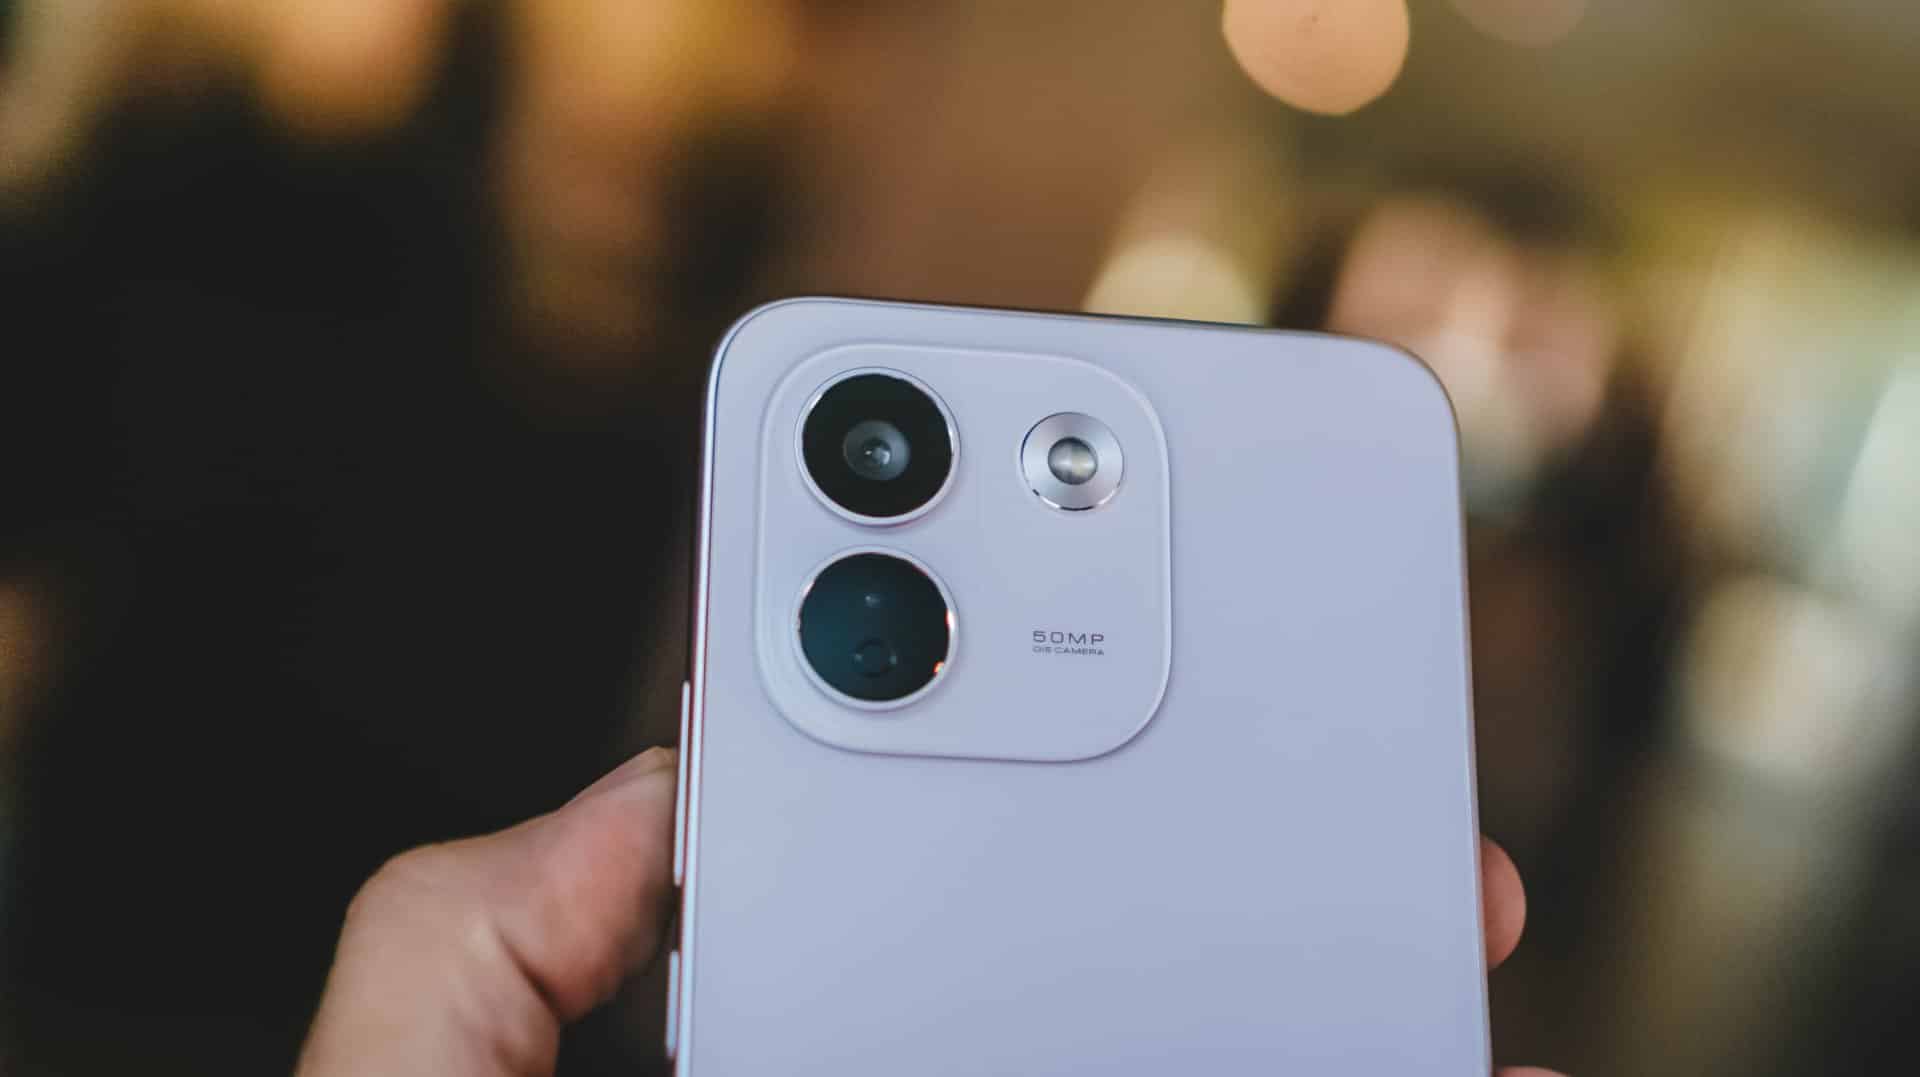
Now, if you favor that beastly battery above all else, the Note 17 Pro Max is worth the Swipe Right.
But, with that PhP 6500 / SG$ 90 price gap between the 512GB variants of both models, the REDMI Note 17 Pro Max is simply a Swipe Left.
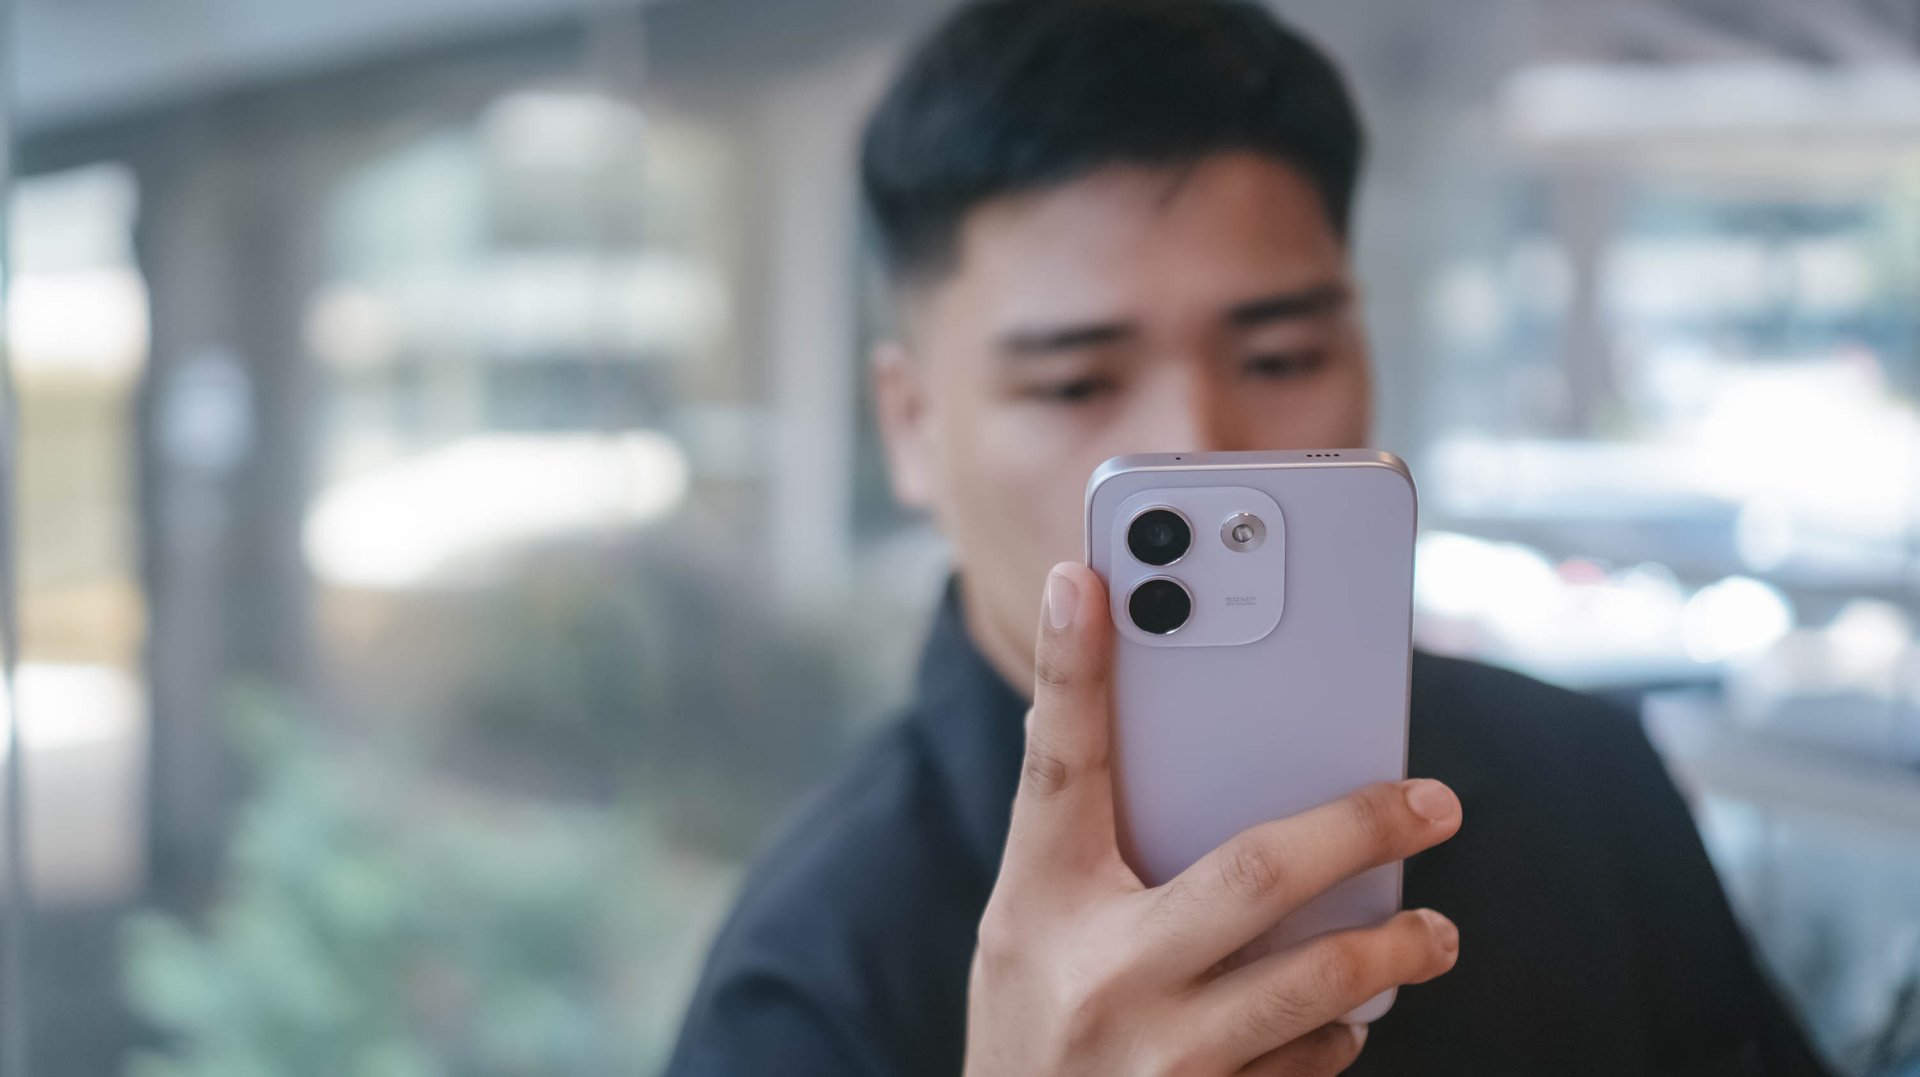
Adding more fuel to the fire, the previous Pro+ model has the better chipset and a more refined 200MP main camera. Not to mention, the base memory starts at 12GB, while the newer one, despite being faster, only comes with 8GB of RAM.
So, unless that bigger battery is a dealbreaker for you, the older Pro+ model remains the better value.
A new breed born from AI greed
Clearly, the continuous components crisis isn’t stopping anytime soon. The culprit is none other than the further use and abuse of AI.
As someone who has seen the early warning signs of AI since 2019, this is one among what I fear and dread the most.
The birth of the REDMI Note 17 Pro Max as a new phone breed was undoubtedly brought by the unnecessary AI greed of both companies and consumers’ demands alike.
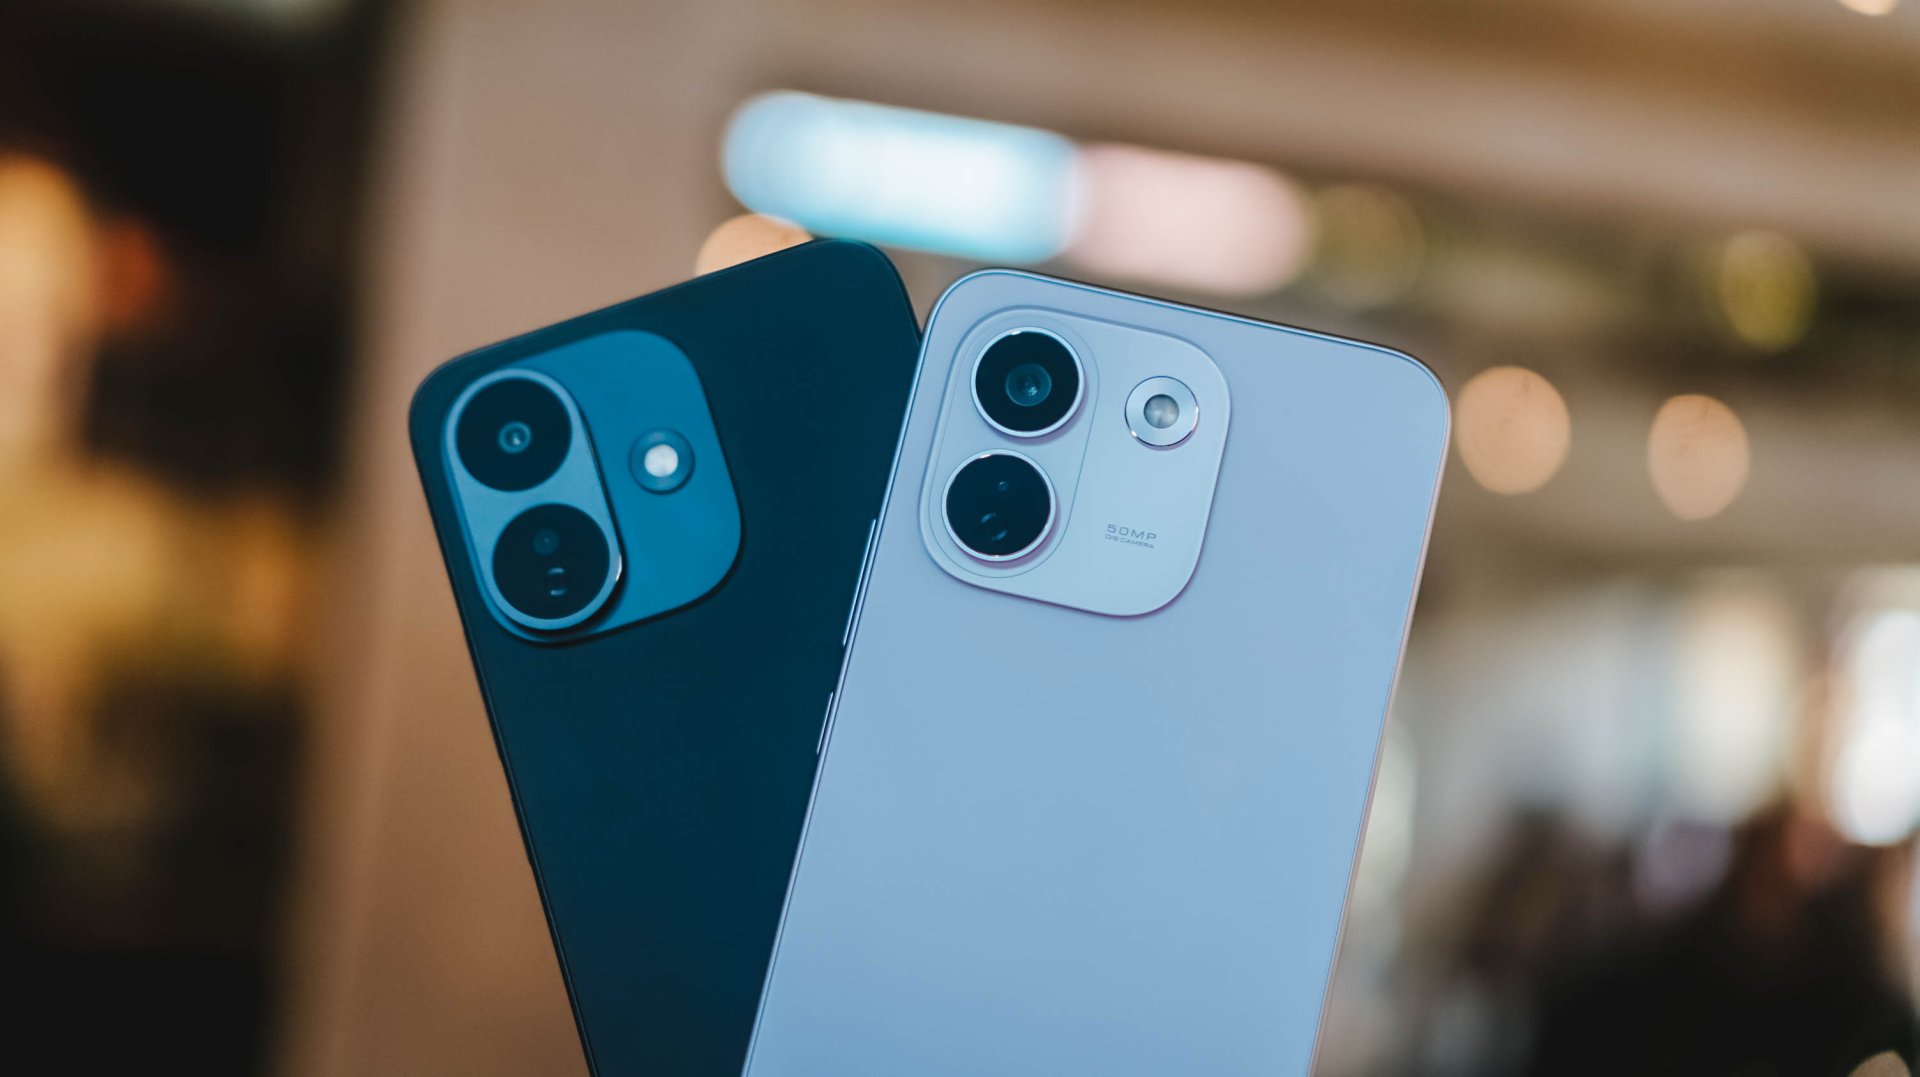
And, as much as I hate to admit it, midrange smartphones with this high price to lower performance ratio might actually be the “new normal.”
The final purchasing power still falls under your hands. However, at the end of the day, these discrepancies and inconsistencies in hardware alongside an even higher launch pricing truly and surely speaks volumes on what to expect with smartphones starting now and the years to come.

DJI Lito X1 review: Is this the best lightweight drone for creators?
Making a strong case as a travel companion and a capable B-cam!

REDMI Note 17 Pro Max review: A new breed born from AI greed
Welcome to the new normal


Marvel’s Wolverine review: When the claws come out
A brutal, cinematic superhero adventure

Chimelong’s newest attraction might be the robots themselves

Xiaomi 18 Pro series is launching globally, Xiaomi confirms

Google Photos can now censor your kid’s face better

CRISIS CORE -FINAL FANTASY VII- REUNION physical edition now available for Switch 2

Smart launches AI.Smart, an affordable AI workspace

realme 16T 5G with 8000mAh battery, IP69 Pro rating launches in PH

HUAWEI Pura X View is 2026’s first WIDE slab-type smartphone

REDMI reveals the refreshed Note 17 and Note 17 Pro series

REDMI Note 17 Series: Price, availability in Singapore

The CAMON Slim 5G is TECNO’s latest ultra-slim smartphone


-
 News4 days ago
vivo X500 Series launches with major imaging upgrades
-
 Hands-On2 weeks ago
Apple iPhone 18 Pro Series Hands-on
-

 Gaming2 weeks ago
BlizzCon 2026 announces World of Warcraft: Forever and Diablo V
-
Reviews2 weeks ago
REDMI Note 17 Pro Max review: A new breed born from AI greed
-

 News3 days ago
OPPO Find X10 Pro Max is the first phone with a triple 200MP camera system
-

 Singapore6 days ago
Epson Lifestudio Grand Plus EH-LS970B with 4K projection, more launches
-

 News4 days ago
vivo introduces OriginOS 7 with smarter multitasking and AI features
-
 Gaming2 weeks ago
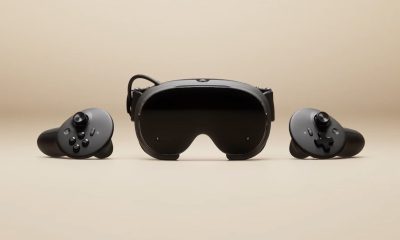
Valve unveils price of the Steam Frame