
Features
Huawei Mate 10 vs Mate 10 Pro: Which one do you choose?


Huawei launched a total of three Mate 10 series phones yesterday, and while the Porsche Design edition is unique on its own, the other two are a little more difficult to differentiate from one another. Let’s fix that.
Normally when you go for the Pro model of a certain smartphone, you’re bound to get the better deal. That isn’t the case however with the Mate 10 and Mate 10 Pro. The non-Pro has version has its own distinct advantages, which we’ll get into now.
Design
They’re both good-looking handsets, but choosing one design over the other is highly subjective.
For one, the Mate 10 Pro has that tall 18:9 ratio screen that’s gradually becoming the industry standard thanks to support from several other brands. However, this pushes the fingerprint scanner to the back. Some may prefer the wider 16:9 ratio of the regular Mate 10 which also provides space for the front-mounted fingerprint sensor.

As shown above, color options are slightly different, as well. Pink gold and mocha brown are the common offerings; black and champagne gold are exclusive to the Mate 10, while titanium gray and midnight blue are found on the Mate 10 Pro. Take your pick.
Lastly, there’s the difference in water and dust resistance. The Mate 10 Pro comes with an IP67 rating, giving it decent protection against the elements. The plain Mate 10 and its IP rating-less body are less fortunate, but it should be able to handle light spills like most modern devices.
Specifications
Despite having the same processor (Kirin 970), software (EMUI 8.0 on top of Android 8.0 Oreo), and battery capacity (4000mAh with fast charging), there are some notable specs you have to consider.
Interestingly, the Mate 10 has a more pixel-packed display with a resolution of 2560 x 1440 on its 5.9-inch LCD compared to the 2160 x 1080 pixels of the Mate 10 Pro’s 6-inch OLED panel. But the density won’t be that noticeable if you compare them side by side, especially since both screens also natively support HDR (high dynamic range) content.

Another way for Huawei to separate the two models is by offering a better memory and storage configuration for the Mate 10 Pro; it comes with 6GB of RAM and 128GB of integrated storage. The Mate 10 delivers slightly less with 4GB of memory and 64GB of storage, but the latter is expandable using a microSD card.
And then we have the possible deal-breaker: The Mate 10 Pro doesn’t come with a 3.5mm audio port for some reason. It’s a head-scratching move on Huawei’s part and makes choosing between the two even more difficult.
Their Leica-infused cameras are identical, by the way, just the way it should be. You get the same 12-megapixel color camera at the back coupled with a 20-megapixel monochrome sensor. The former is optically stabilized for steadier shots and both have super-bright f/1.6 aperture openings. A more basic 8-megapixel shooter is found on the front of the two smartphones.
Value
Retailing for EUR 100 less than the Mate 10 Pro, the Mate 10 manages to have its own advantages.
The 3.5mm headphone jack is invaluable to some; the wider and more pixel-dense screen may be more manageable; and the inclusion of a front-mounted fingerprint reader and microSD card slot can potentially improve the phone’s usability. The Mate 10 also has the same capable cameras as its more expensive sibling.

So, what does the Mate 10 Pro offer to justify its EUR 799 price? It looks more like a 2017 flagship with its near-borderless display and water resistance; the additional memory and storage are more future-proof; and there’s arguably a better selection of colors.
To get a definite answer as to which of these two Mate 10 variants is your GadgetMatch, you’ll have to wait for our full reviews.
SEE ALSO: Huawei unveils Porsche Design Mate 10
[irp posts=”22372″ name=”Huawei unveils Porsche Design Mate 10″]



Features
When your body talks, the Galaxy ecosystem listens
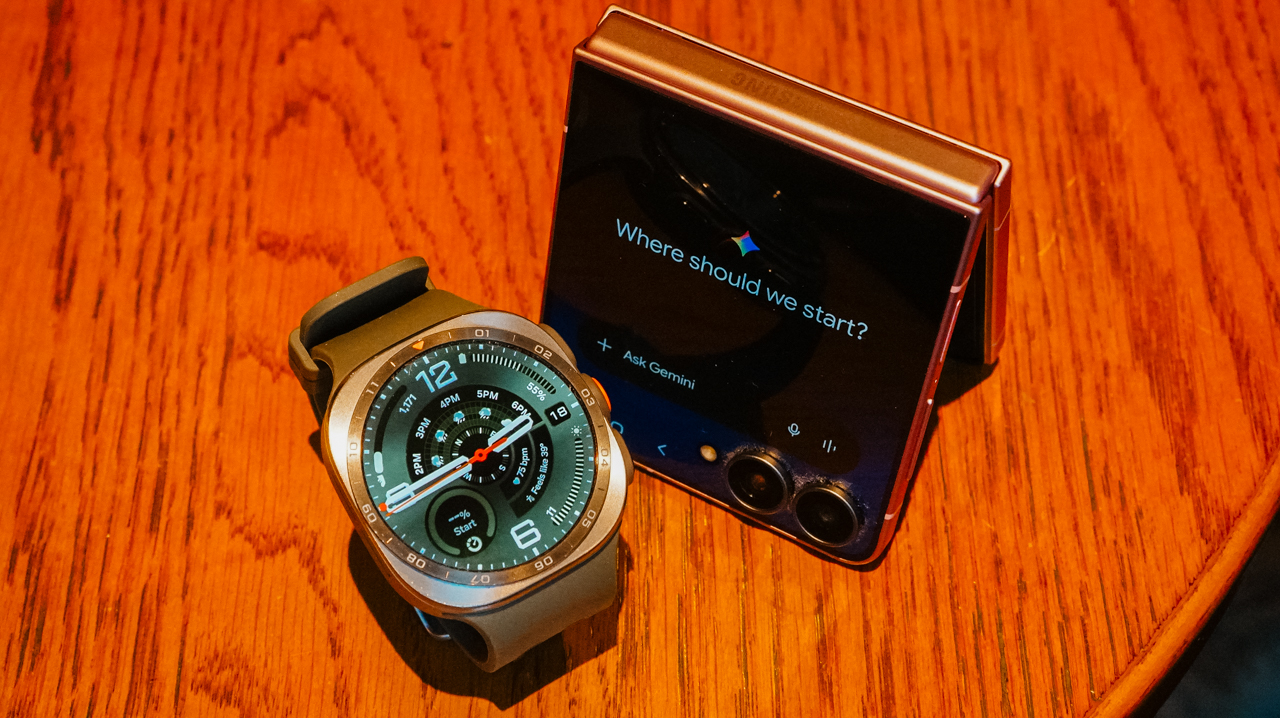
The Galaxy Watch Ultra2 and Galaxy Z Flip8 turn training, recovery, and everything in between into something you actually understand.

For a long time, my idea of training harder was simple. I wanted to work out more, run faster, and figure out the rest along the way. It took a while to realize that approach only works until it doesn’t.
The days I felt strongest weren’t always the days I trained hardest. More often, they were the days I actually knew what my body could handle before I asked it to handle anything.
That is the shift the Galaxy Watch Ultra2 has made in how I train. It doesn’t push me harder. Instead, it gives me a clearer picture of where I actually stand before I decide how hard to push at all.

Listening before I move
Every morning before I head out, I check Samsung Health. Galaxy AI takes the data the watch has been collecting overnight and over the previous days.
It looks at my heart rate, sleep, and activity load. It then turns those metrics into something I can read at a glance instead of a wall of numbers I would otherwise ignore.
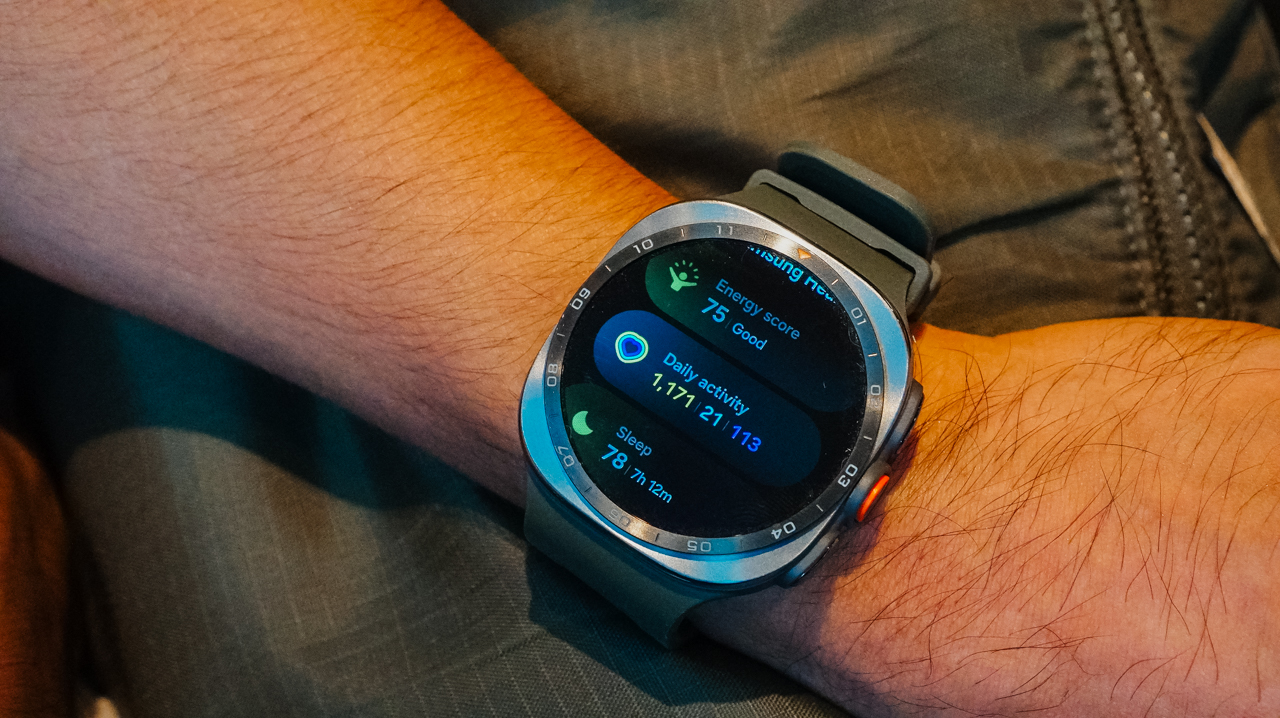
The Heart Health Score gives me a sense of how my cardiovascular system is holding up over time. It offers more than just a snapshot of the moment I glance at my wrist.
The Fitness Index tracks where my overall conditioning is trending. I am no longer guessing whether a plateau is real or just a rough week that will pass on its own.
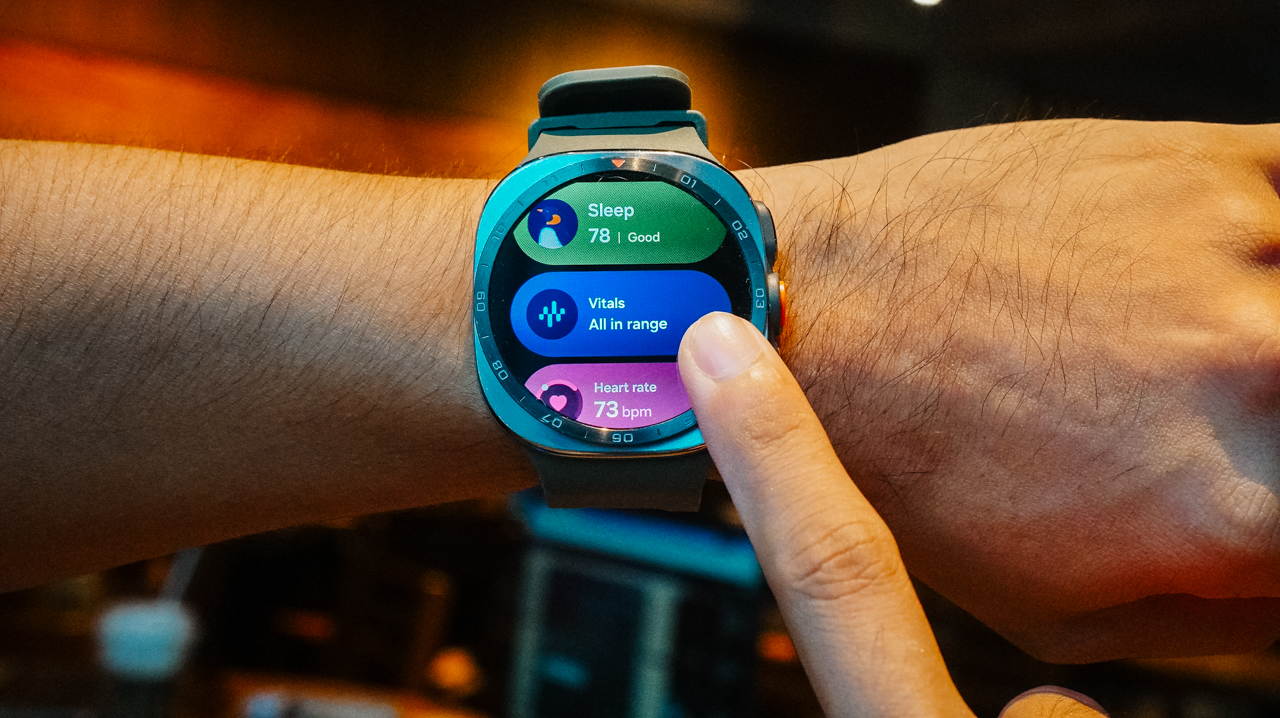
Daily Cardio Load tells me how much stress I have already put on my body recently. This matters more than people think when deciding whether today is a day to push or back off.
Finally, Vitals rounds it out with the basics I check without even thinking twice anymore, such as resting heart rate, blood oxygen, and skin temperature. These numbers used to mean nothing to me, and now they mean almost everything.
None of this replaces how a workout feels. A watch cannot tell you that your legs feel heavier than usual for no clear reason, or that today is the day everything just clicks.
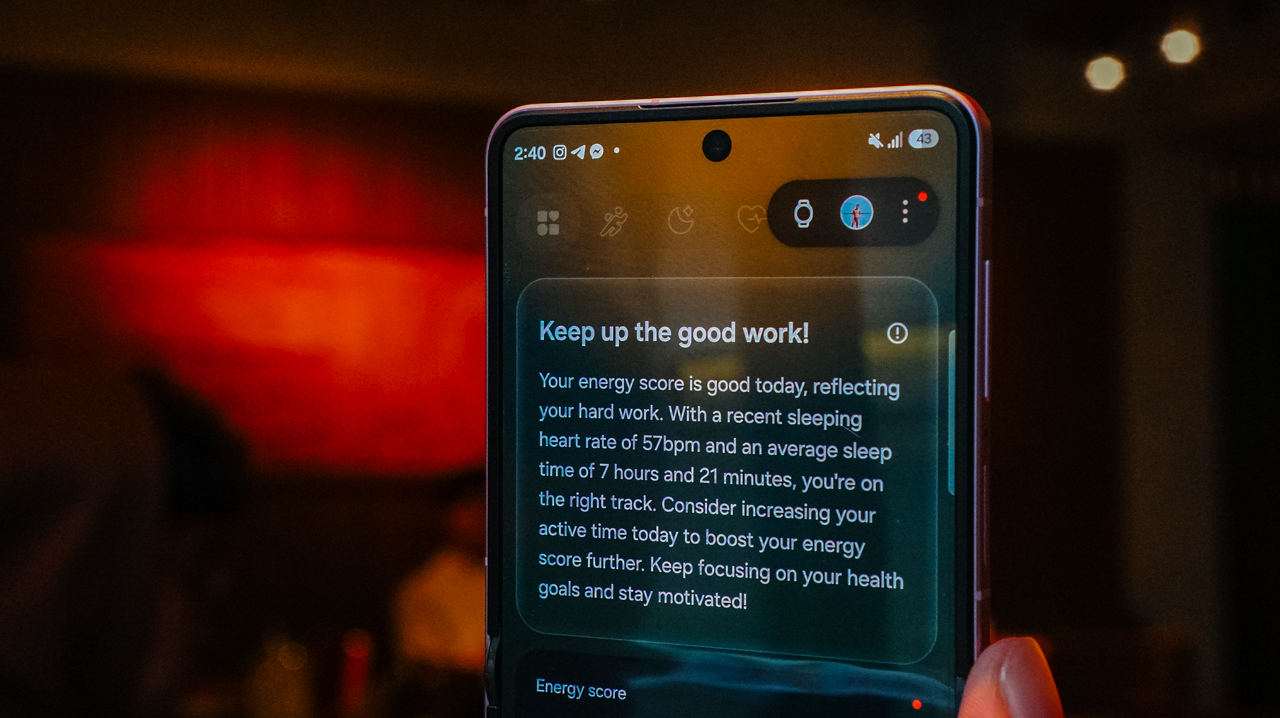
It simply fills in the parts that feeling alone cannot tell me. These are the parts I used to override with willpower alone because I lacked anything better to go on.
I have skipped sessions I would have pushed through a year ago. The data made it clear my body needed the rest more than my training plan needed the mileage.
I have also pushed harder on days I might have held back out of habit, because everything pointed to my body being more ready than I assumed it was.
That’s the real value here: It’s not about following the numbers blindly, but finally having a second opinion that isn’t just my own stubbornness talking.
Turning runs into conversations
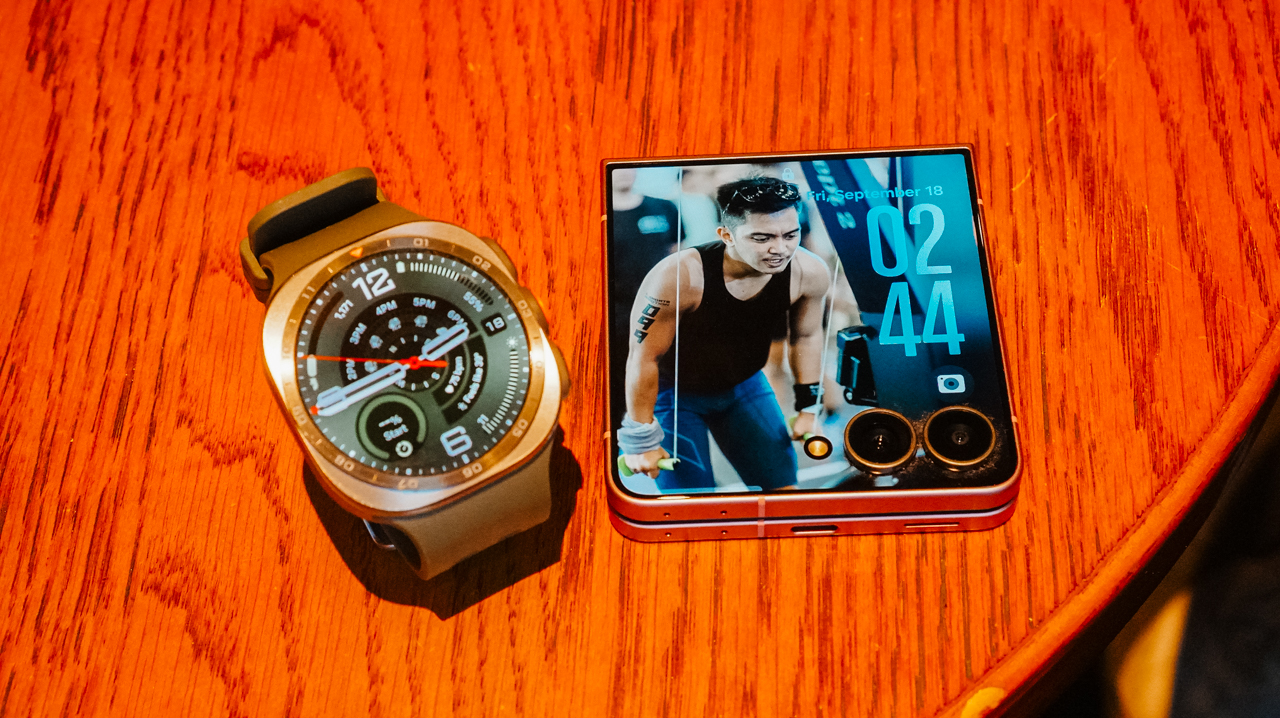
When I am running, the watch keeps tracking in real time. Distance, pace, heart rate, and effort are all available with a quick glance at my wrist without breaking stride.
That part matters during the run itself. However, the more valuable moment usually comes after the run is done and the real analysis starts.
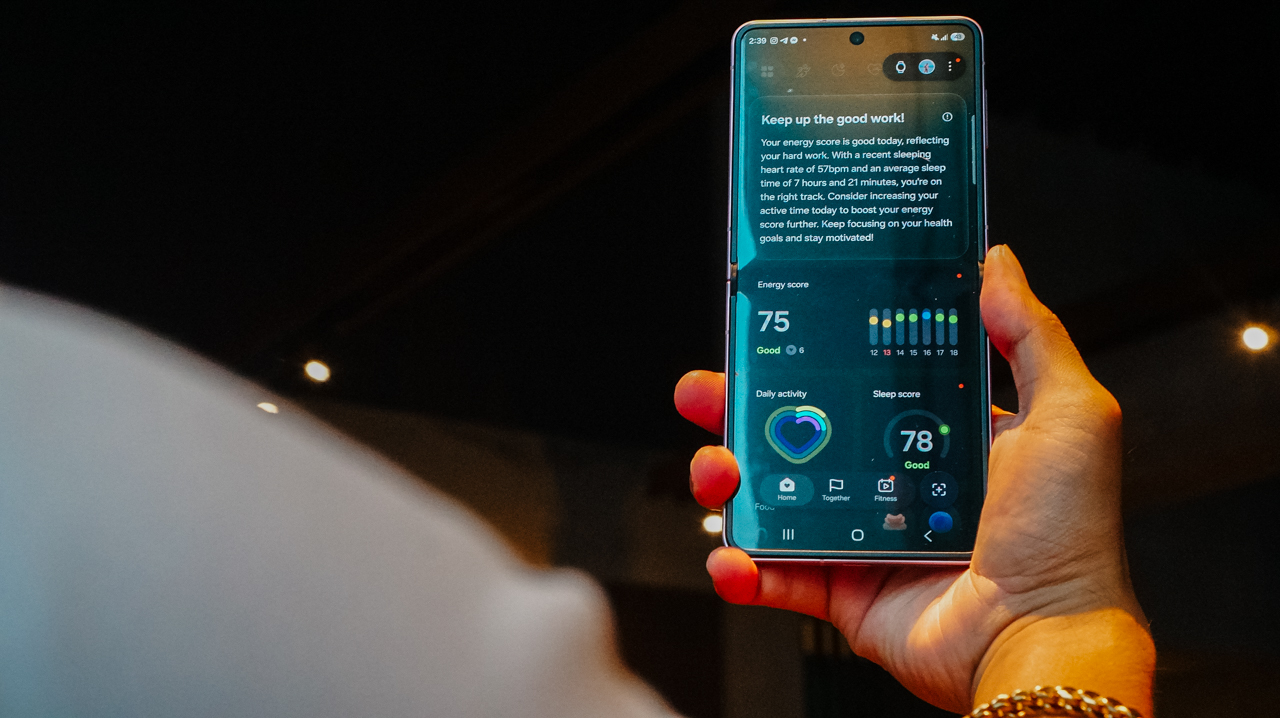
Back on my Galaxy Z Flip8, I go through the full picture. I review the route I took and the training data the watch collected. I look at how the session fits into the recovery and load trends I have watched all week.
Seeing it laid out on a bigger screen, connected to everything the watch already tracked, makes it easier to spot patterns I would otherwise miss while glancing at a wrist display mid-run.

I can easily spot a string of high cardio load days without enough recovery in between. I notice a week where my resting heart rate crept up slightly before I even felt tired.
Small signals that used to slip past me entirely now show up clearly. This happens because the watch and the phone are working from the same data instead of two separate stories.
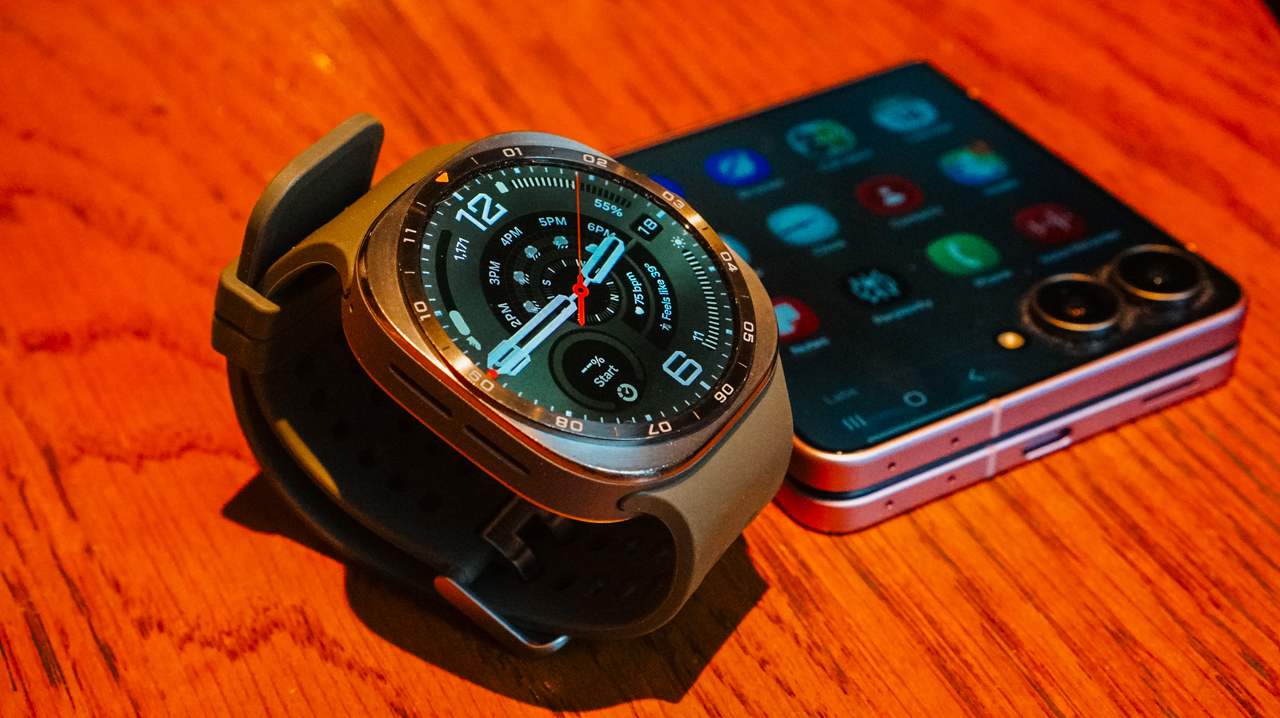
That’s the part that has changed the most for me. Performance used to be something I chased mid-run. I sought a harder pace, a longer distance, and whatever it took in the moment to feel like I had earned the effort.
Now, performance starts long before I ever lace up. It starts with understanding what my body is actually ready for that day. It continues long after the run ends, as I actually sit with the data instead of moving straight on to the next session.
A clearer path forward
The Galaxy Watch Ultra2 doesn’t train for me. It just makes sure I am not training blind. I am no longer guessing at recovery the way I used to and hoping I guessed right.

Once your health data, your training data, and your devices are all working from the same picture, you no longer have to rely on scattered memories and gut feelings.
Every decision you make gets a little more confident. That holds true whether the decision happens on the trail, in the middle of a recovery week, or the night before a race when you are deciding how hard tomorrow should really be.
Better performance starts with better information. See how the Galaxy Watch Ultra2 and Galaxy Z Flip8 work together to help you train harder and recover smarter.
Explore the Galaxy Watch Ultra2 | Discover the Galaxy Z Flip8

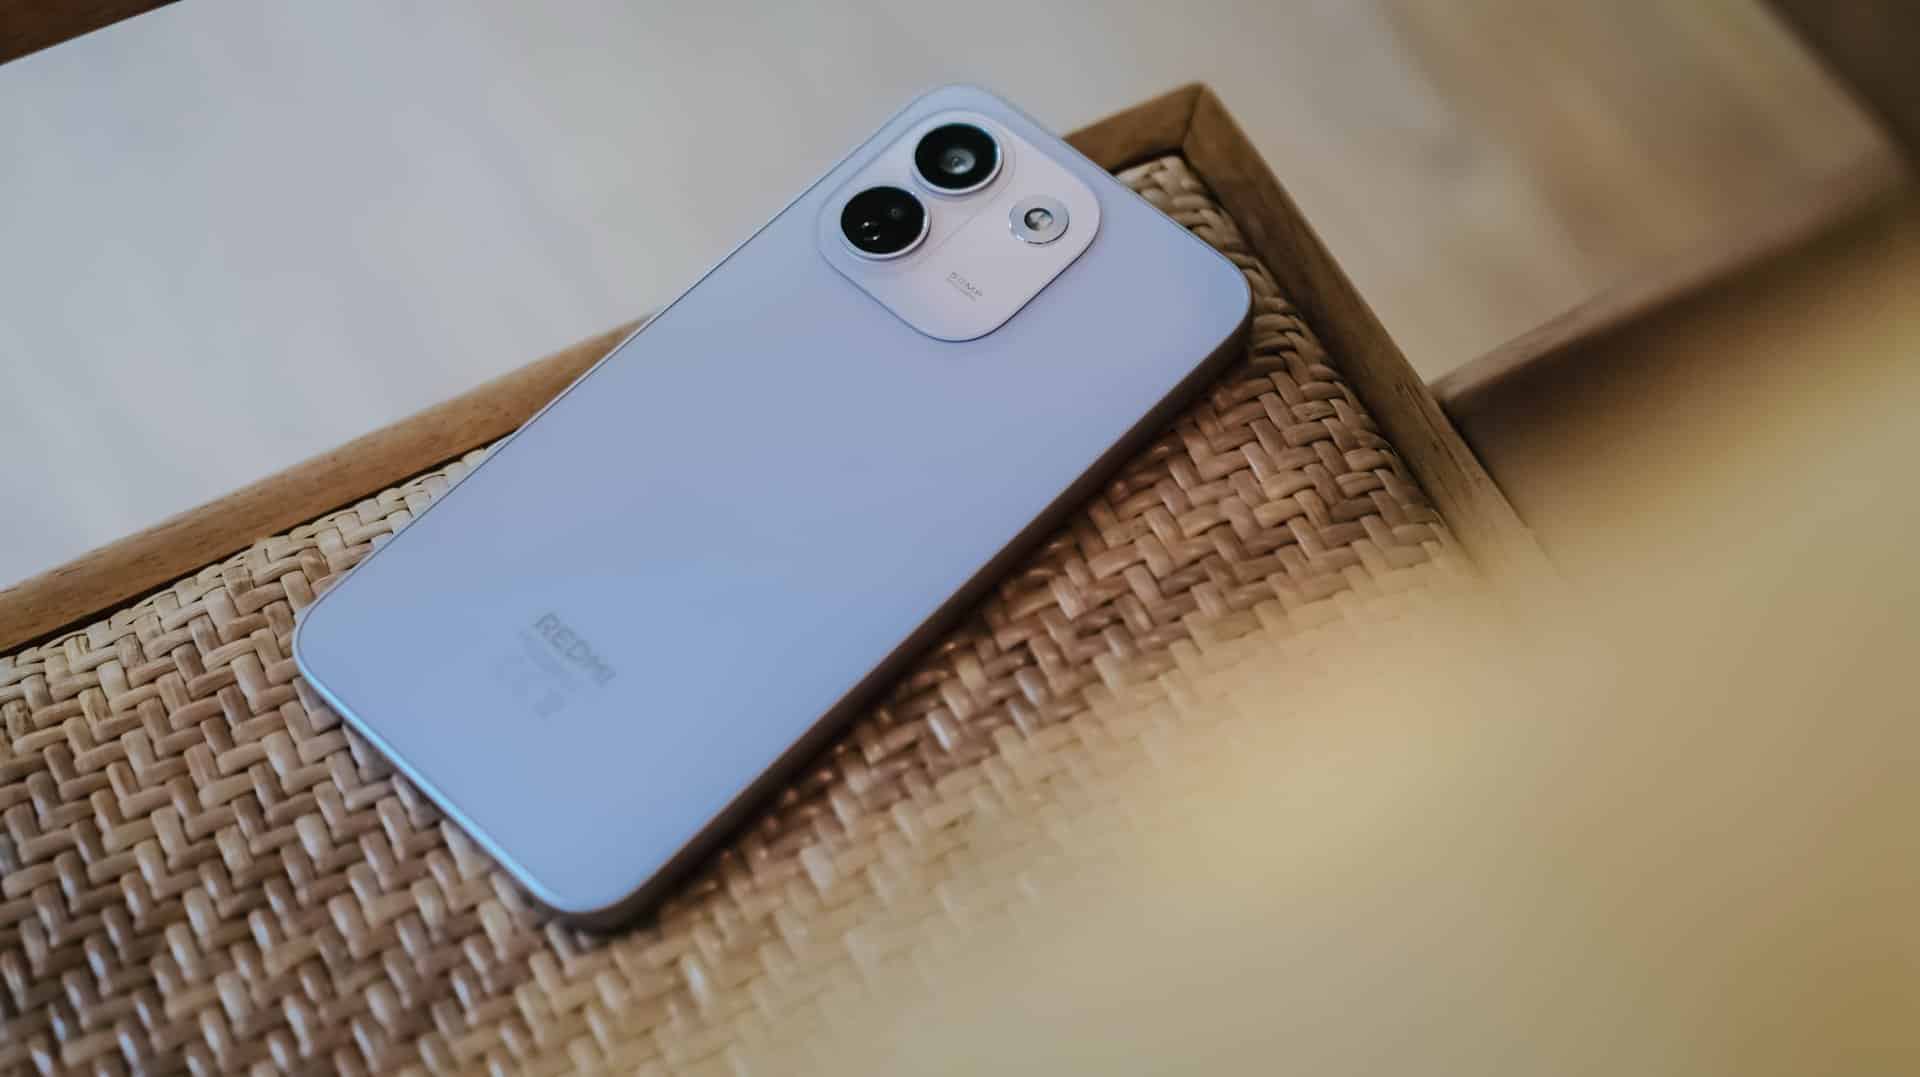
REDMI has summoned a new phone breed under their notable “Note” lineup since 2014.
(Un)officially retiring the Pro+ model, it’s not just the sub-brand’s first “Pro Max” phone, it’s also the Chinese giant’s first ever smartphone to feature a whopping 10,000mAh tank within.
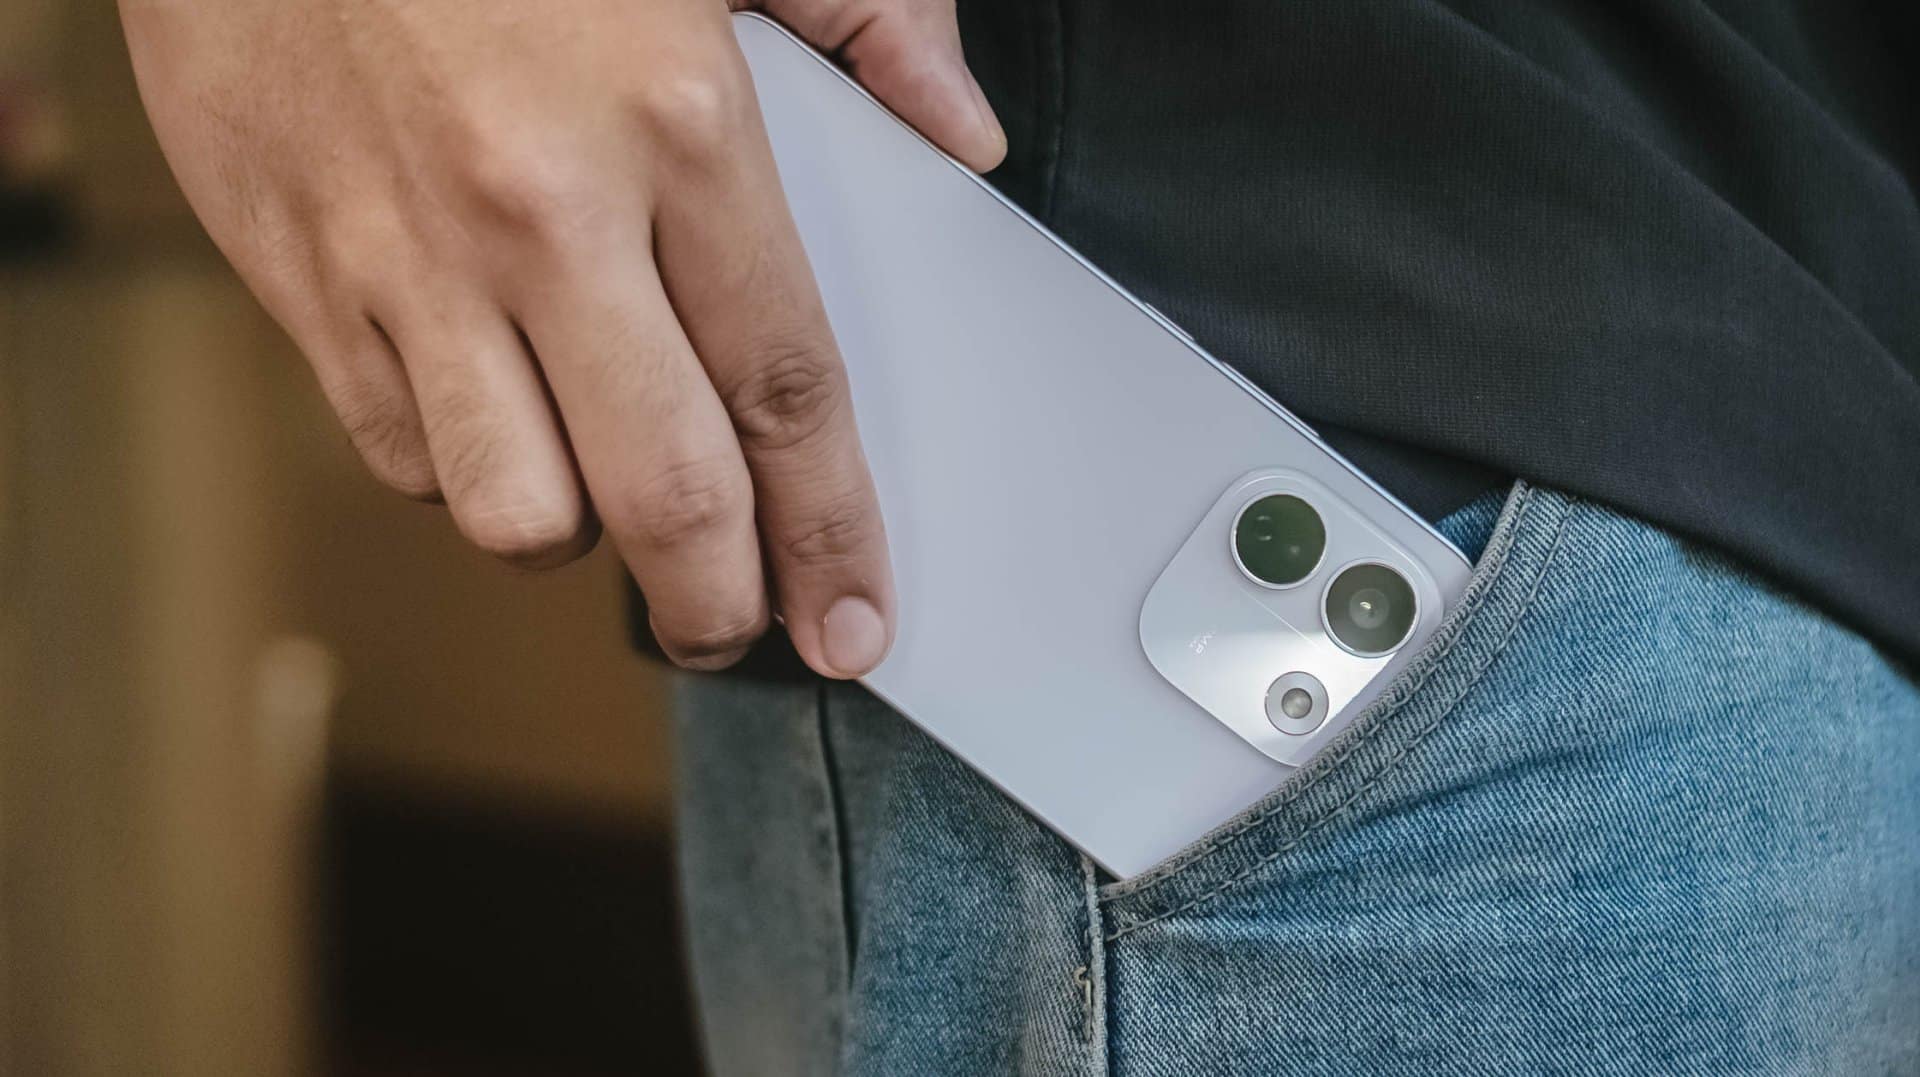
But is that feat alone enough to choose over its Pro sibling?
Here’s my in-depth REDMI Note 17 Pro Max review.
Design that just resigned
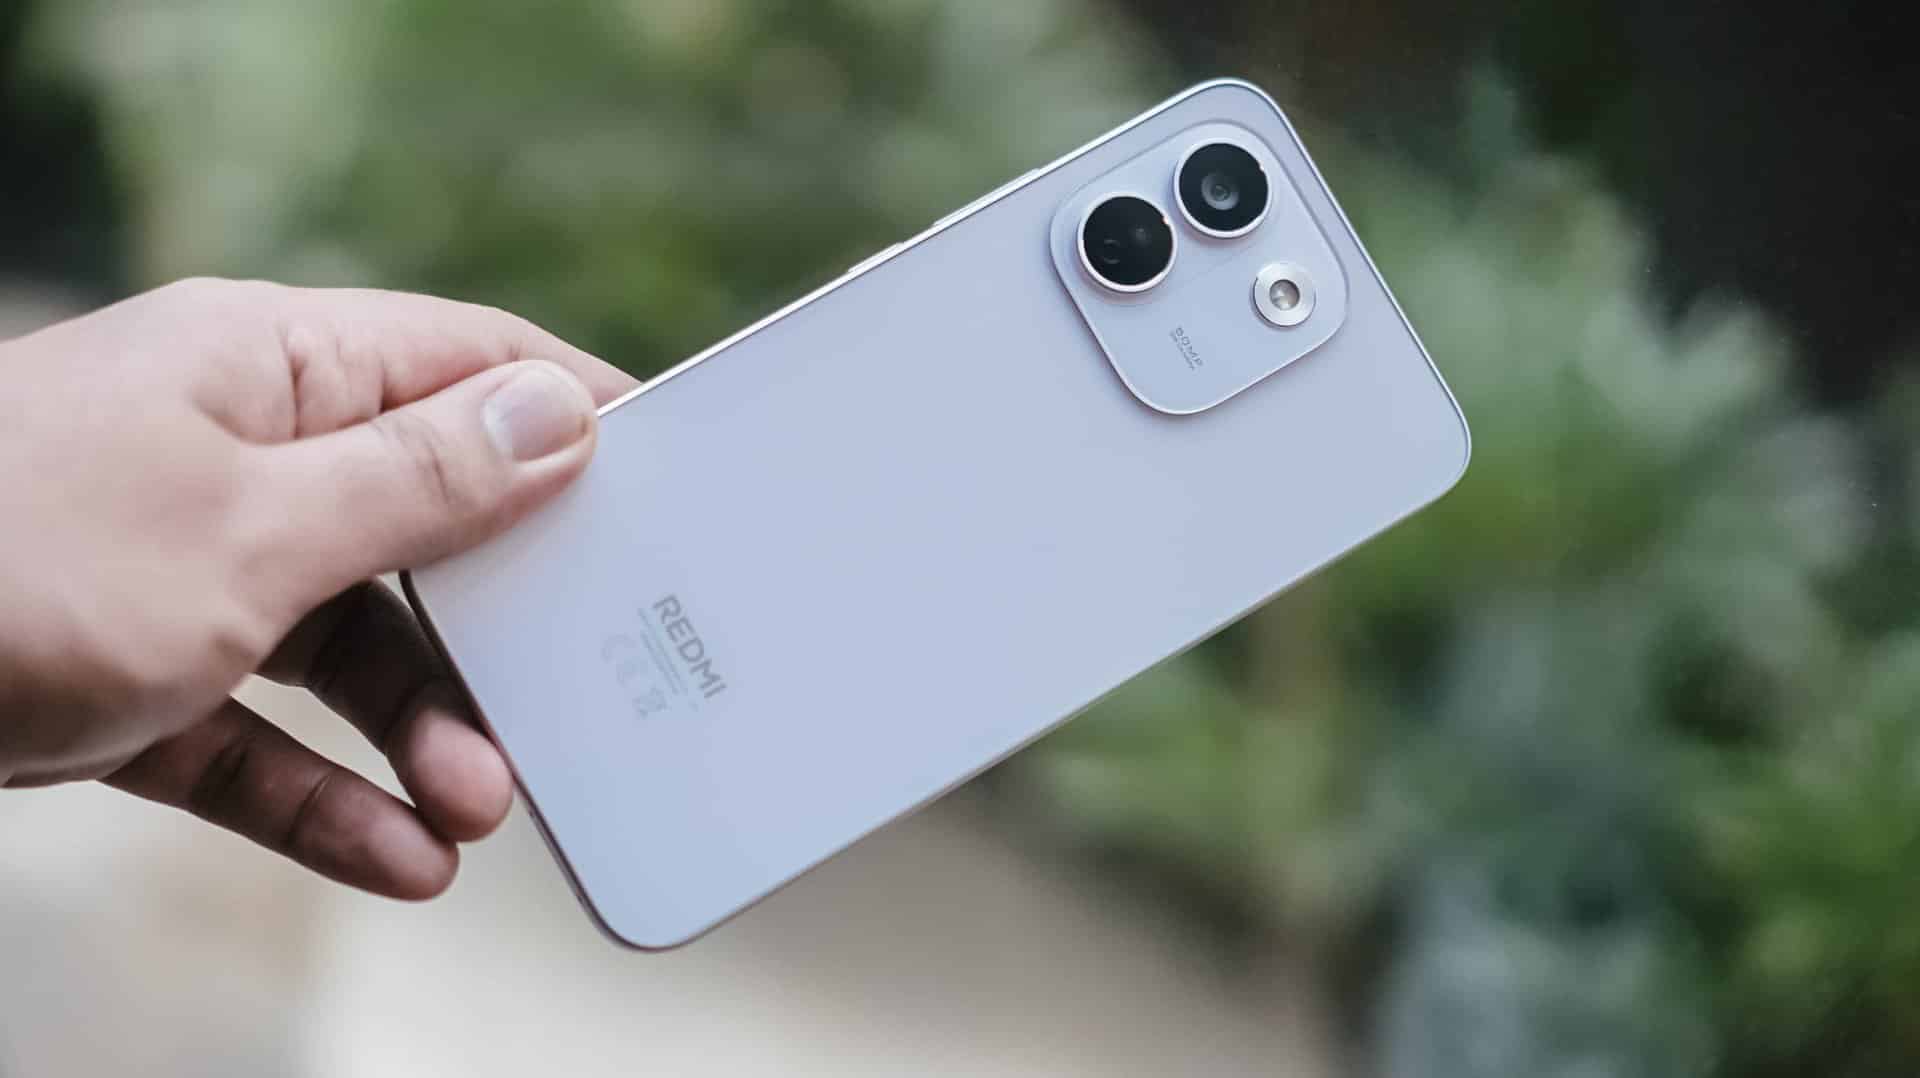
The moment you unwrap it from its paper cocoon, the REDMI Note 17 Pro Max greets you with its refined design.
That also meant REDMI has resigned from its premium-like, signature centered camera island just after two generations.
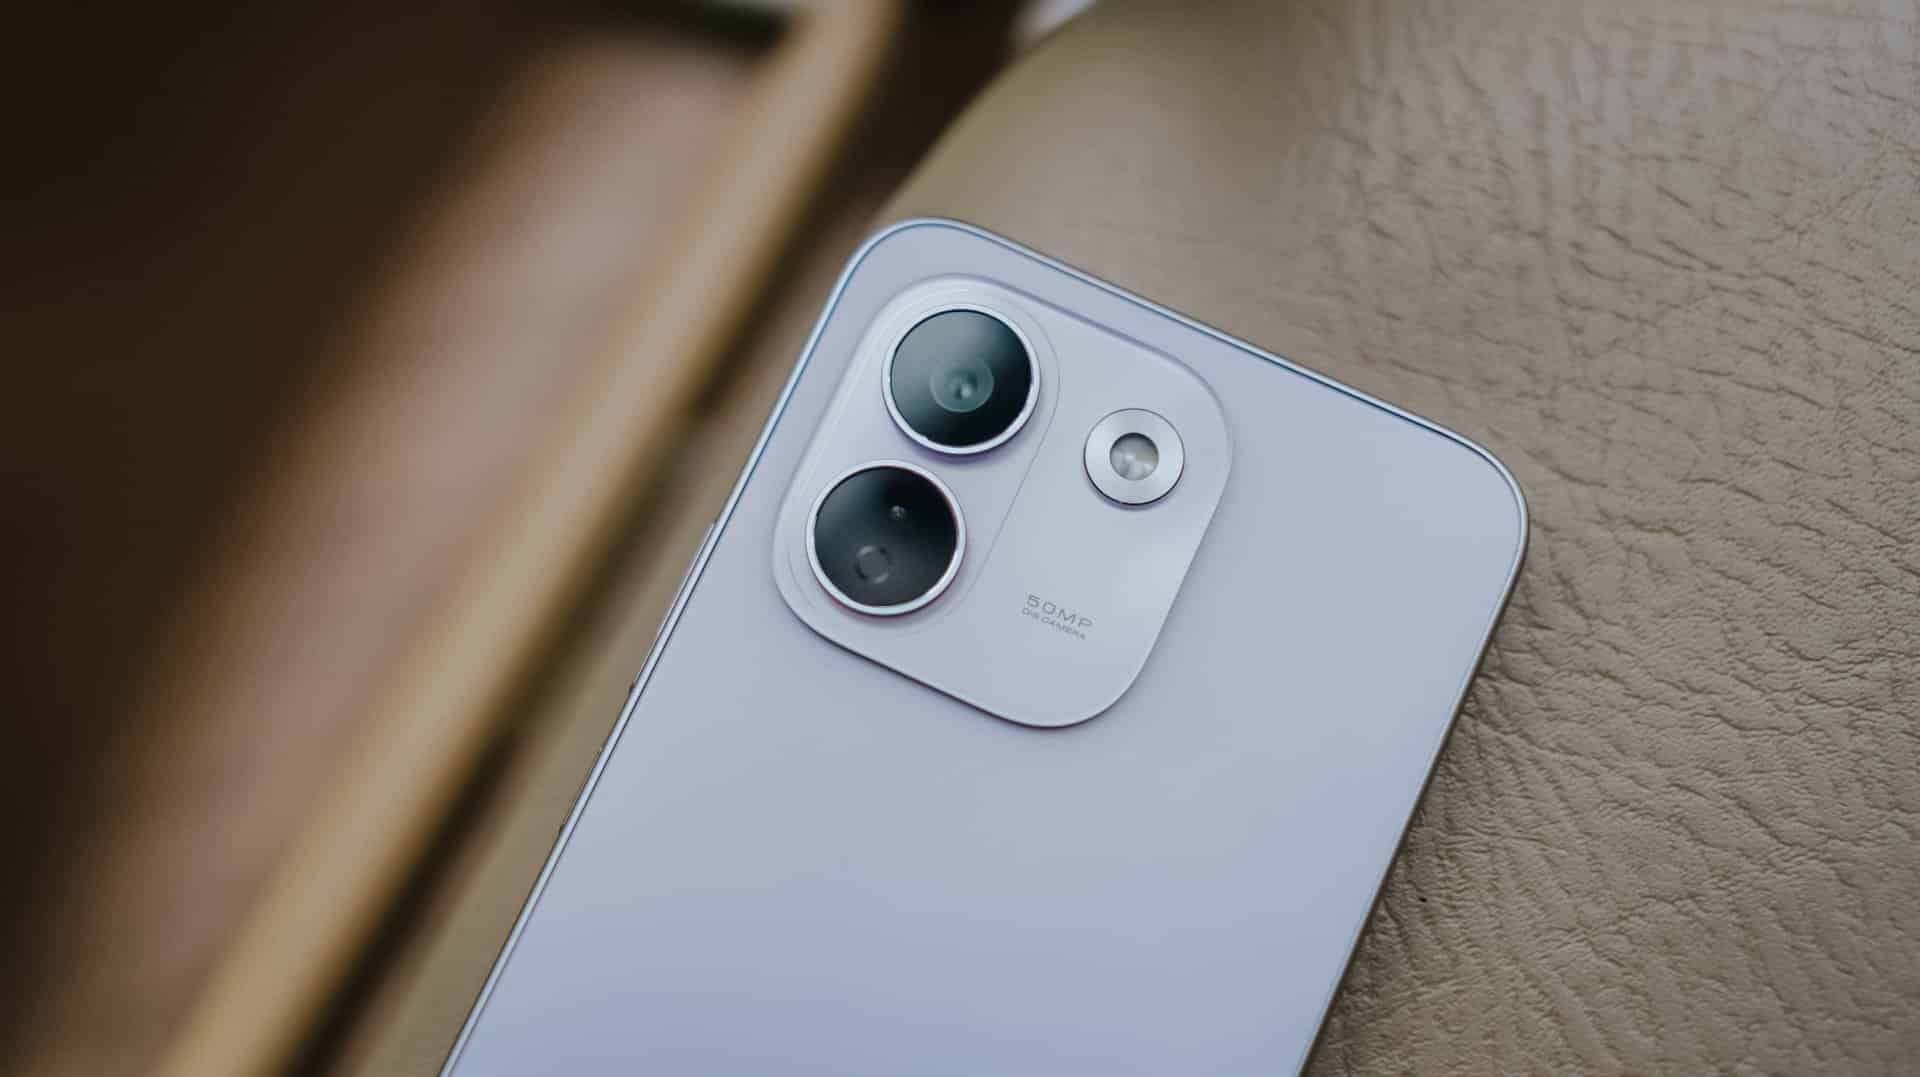
Much like most Android midrangers nowadays, it now features a smaller squircular camera cutout placed at the back’s top-left part.
This made me question and doubt their design team’s decision.
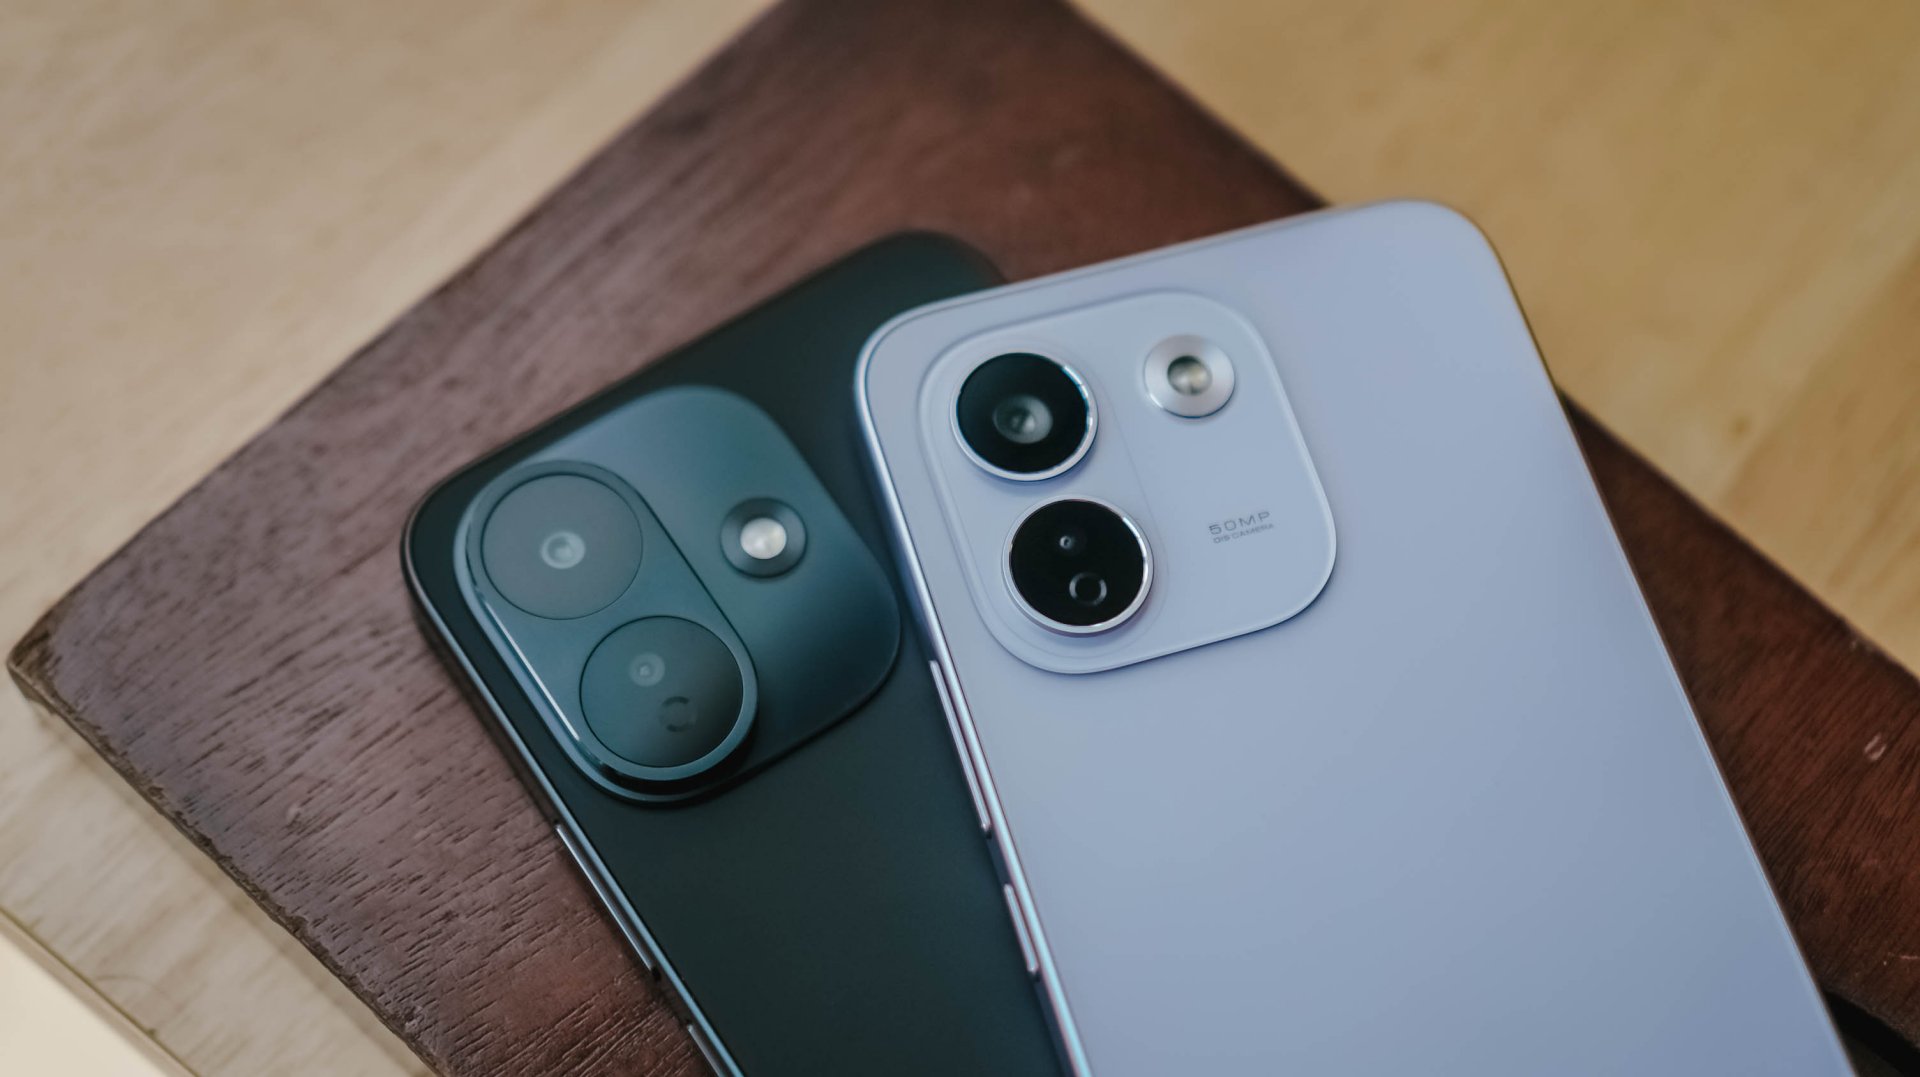
If we’re solely talking about design distinction, the iPhone-esque camera layout of the Note 17 Pro suits more towards the Pro Max variant — and vice versa.
After all, that same oval cutout can be seen with its sister brand’s Pro Max model. But I digress.
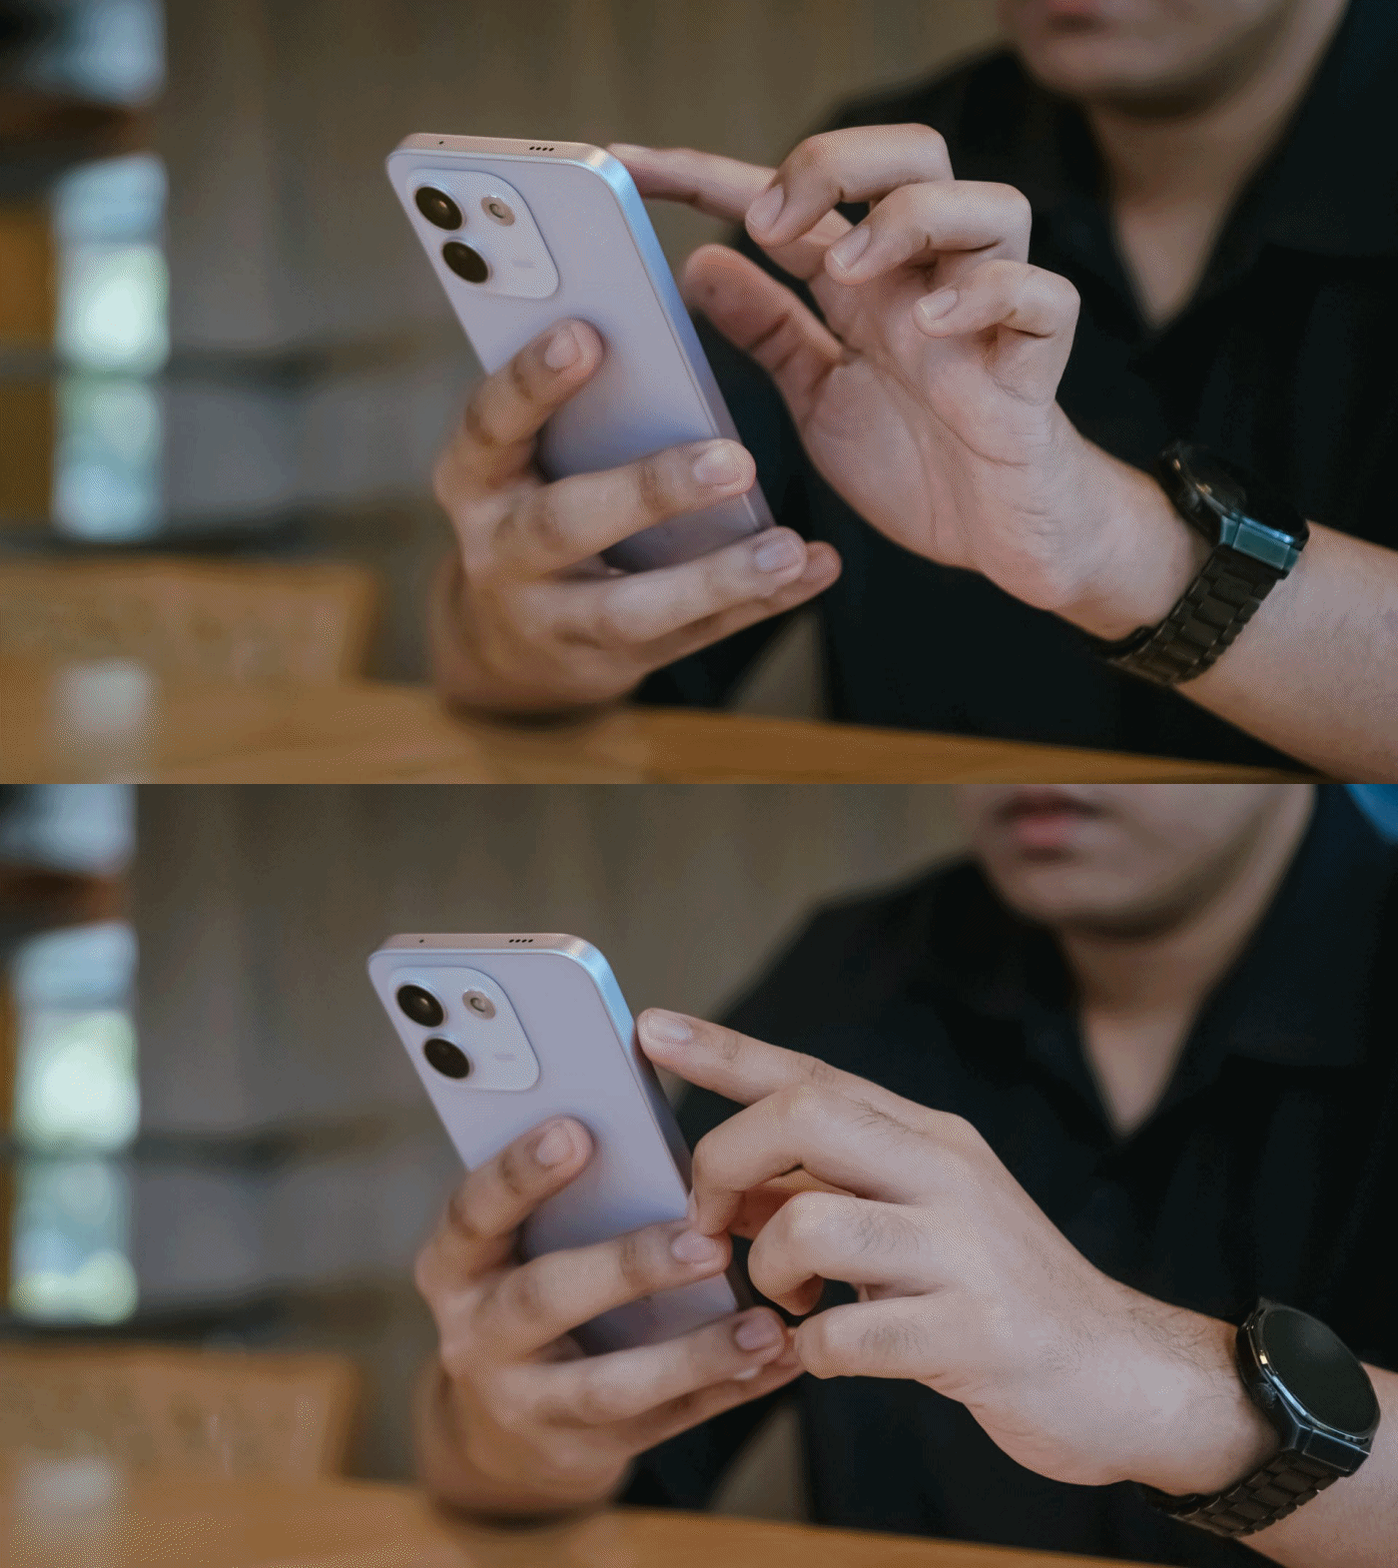
Rants aside, the REDMI Note 17 Pro Max is favorable to hold — at least for a big-handed guy like me.
Still, much like design, the actual feel is preferential.

Although some might argue that the quad-curved display and curved back of the previous Note 15 Pro+ might soothe the palms a little bit better, the flat display and edges of Note 17 Pro Max don’t necessarily mean a sharp and abrupt feel at hand. This honestly feels more secure to hold.
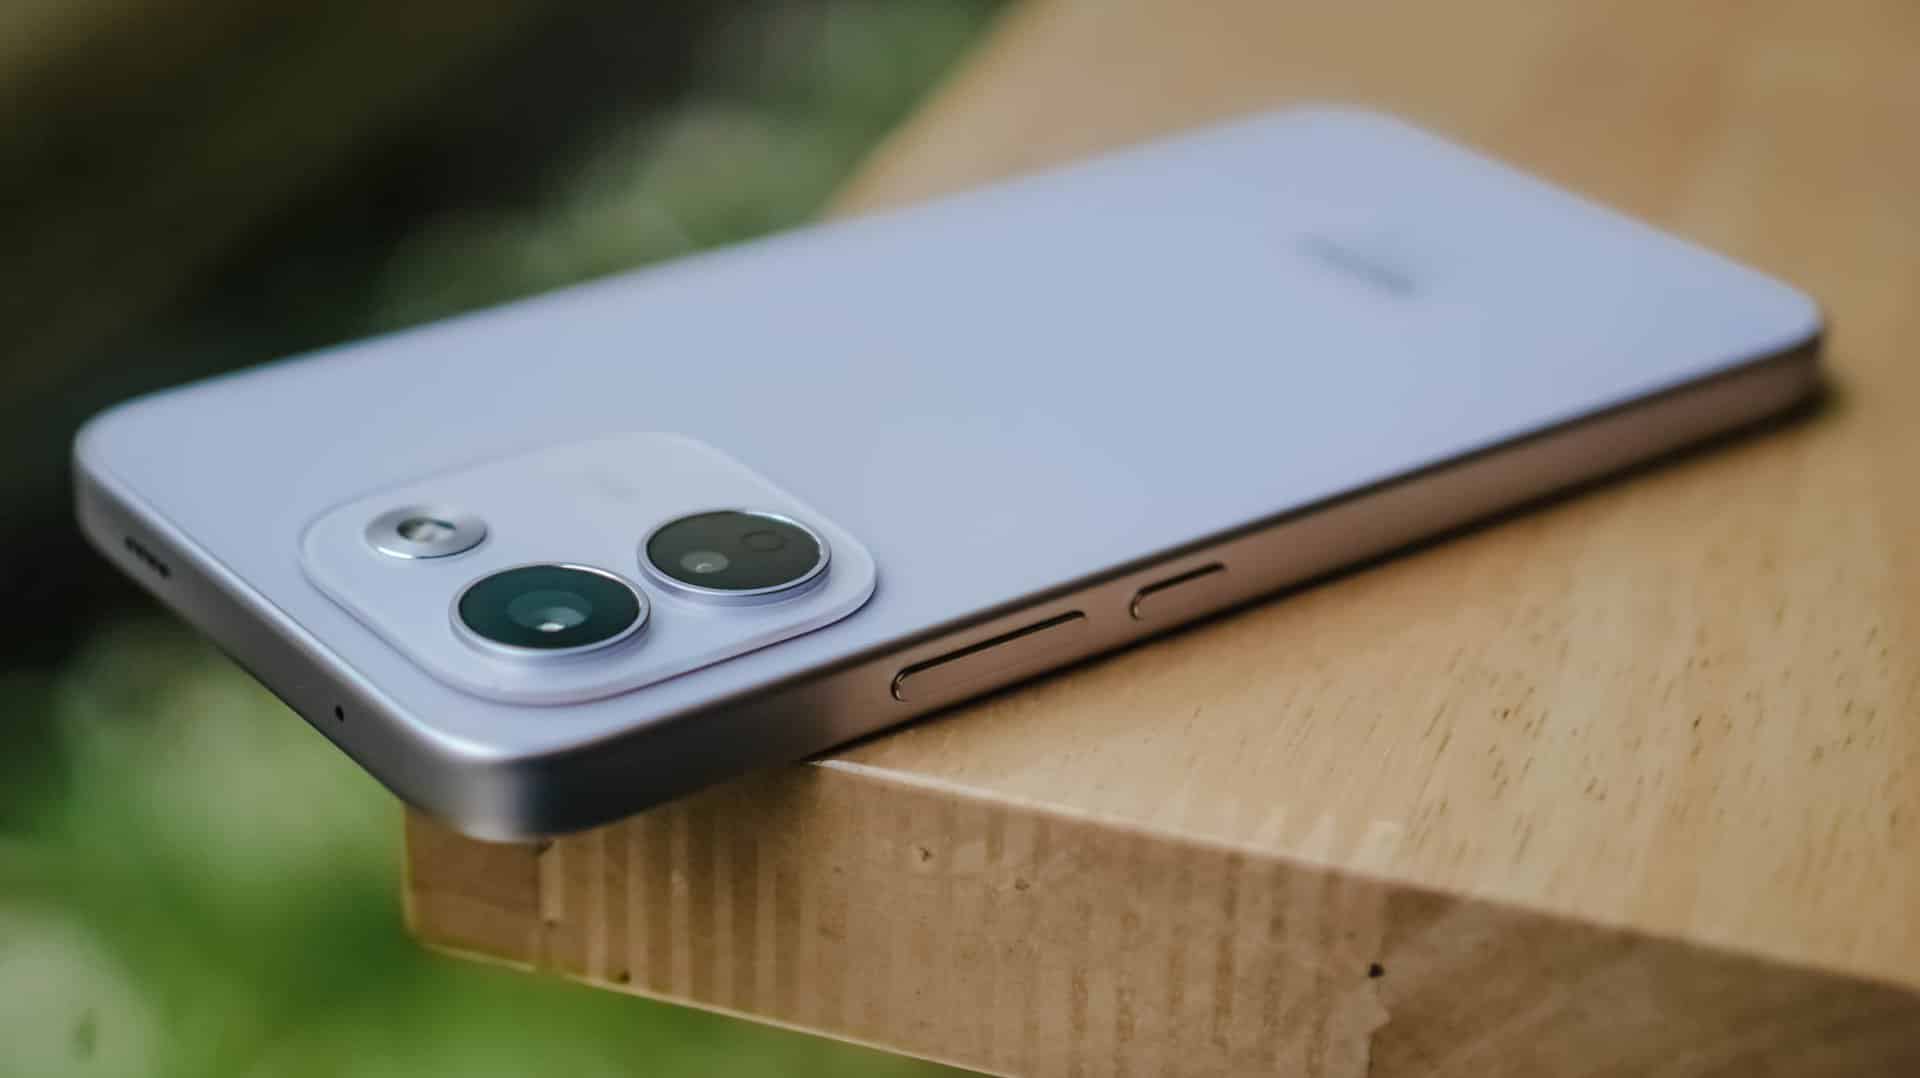
In case you drop it, the Note 17 Pro Max is made to last especially with its reinforced Titan chassis. This structural design makes it withstand drops as high as three meters — or taller than any human being at around 9.84 feet.
To make it more “future-proof,” this smartphone also has these quintessential IP ratings: IP66, IP68, IP69, and IP69K certifications.
How can I forget that strengthened Corning Gorilla Glass Victus 2 on its front?
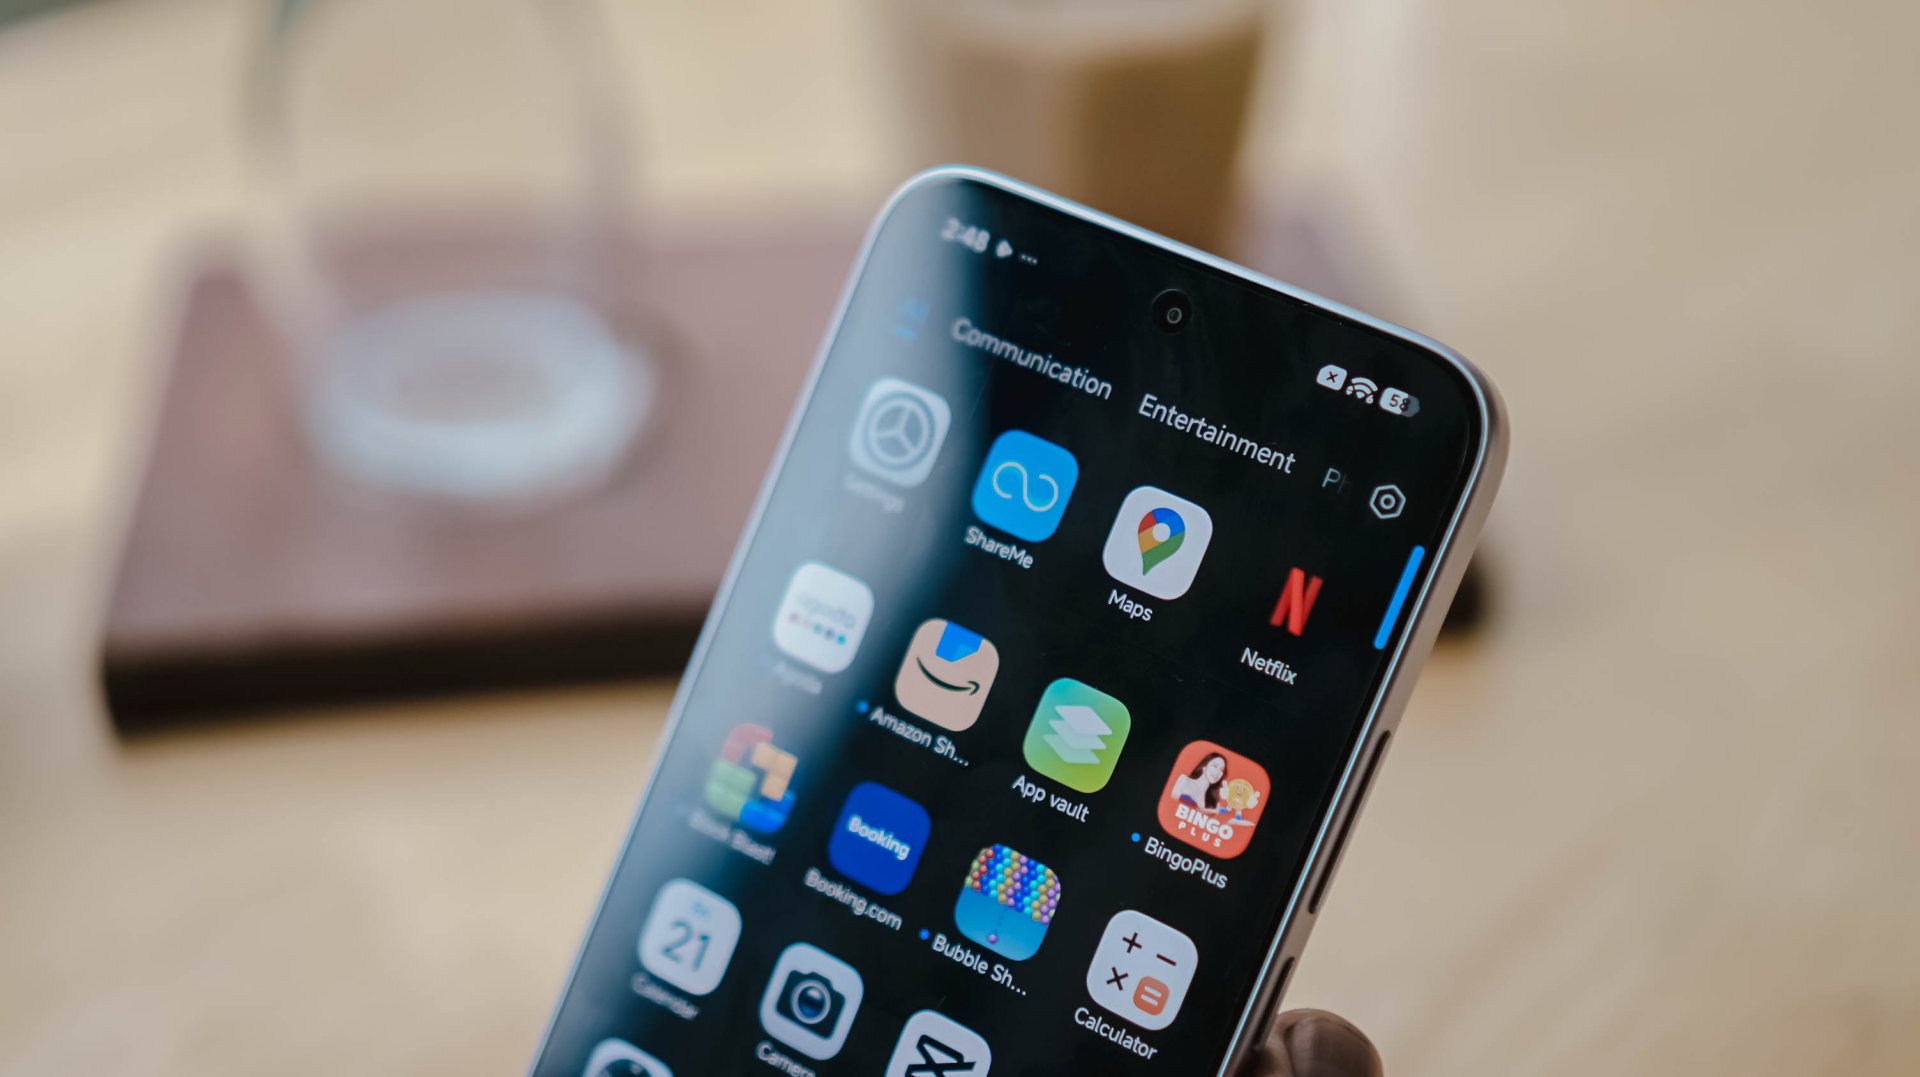
Gorilla Glass Victus2 ft. Xiaomi HyperOS 3 and its usual app bloat
It’s an amazing inclusion considering this type of glass protection is usually limited to flagship models like Samsung’s Galaxy S26 series and Google’s latest Pixel 11 lineup.
#NowPlaying: My Bias, My Boss
With the phone’s front already introduced, let’s now focus on that large 6.83-inch AMOLED display.
At the surface level, both displays are just impossible to differentiate.
Still, there are subtle differences that one might prefer over another.
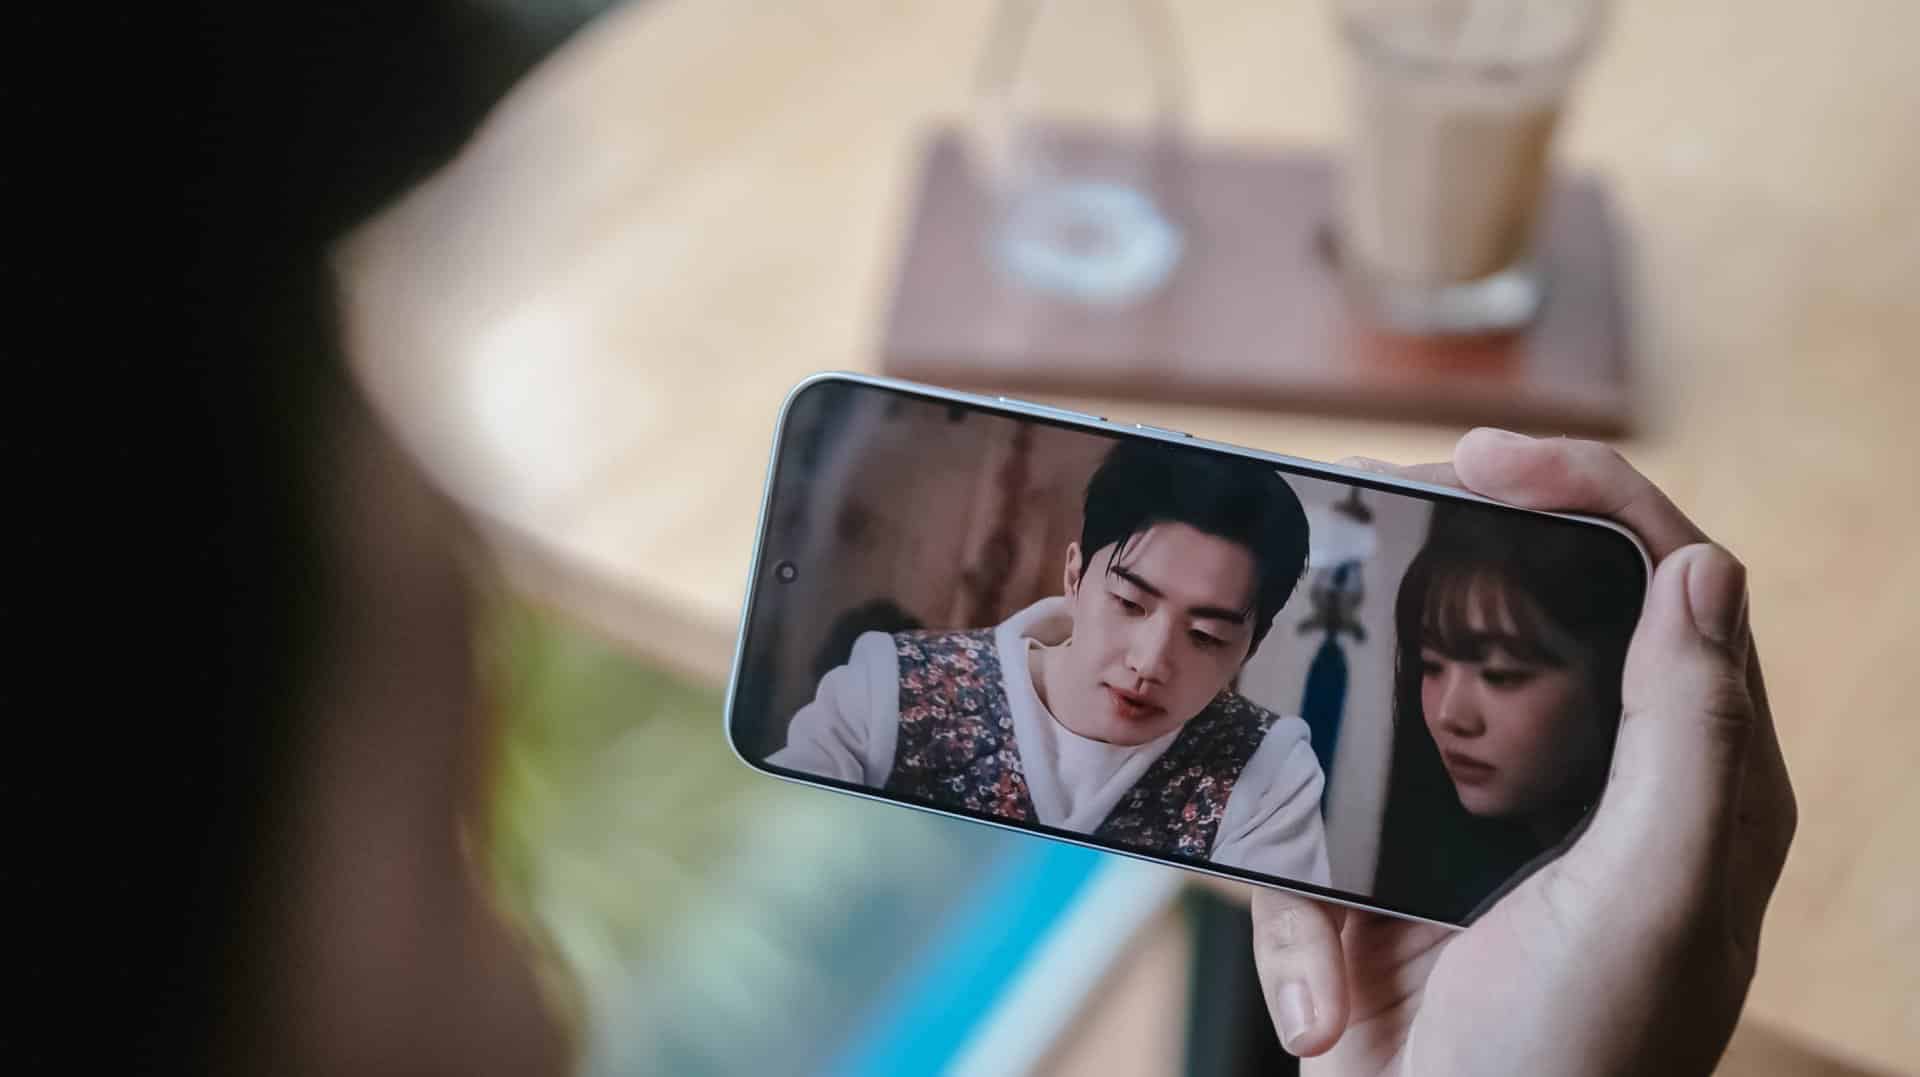
It’s pretty much the same in the latest drama I’ve binged and finished using this smartphone.
Nam Da-reum had her feelings confused both for her office boss (Kang Ha-gi) and her actual, long-time K-Pop bias (Lee Chan) — which both happened to be her work colleagues.
For the most part, this struggle happens to a lot of buyers, too.
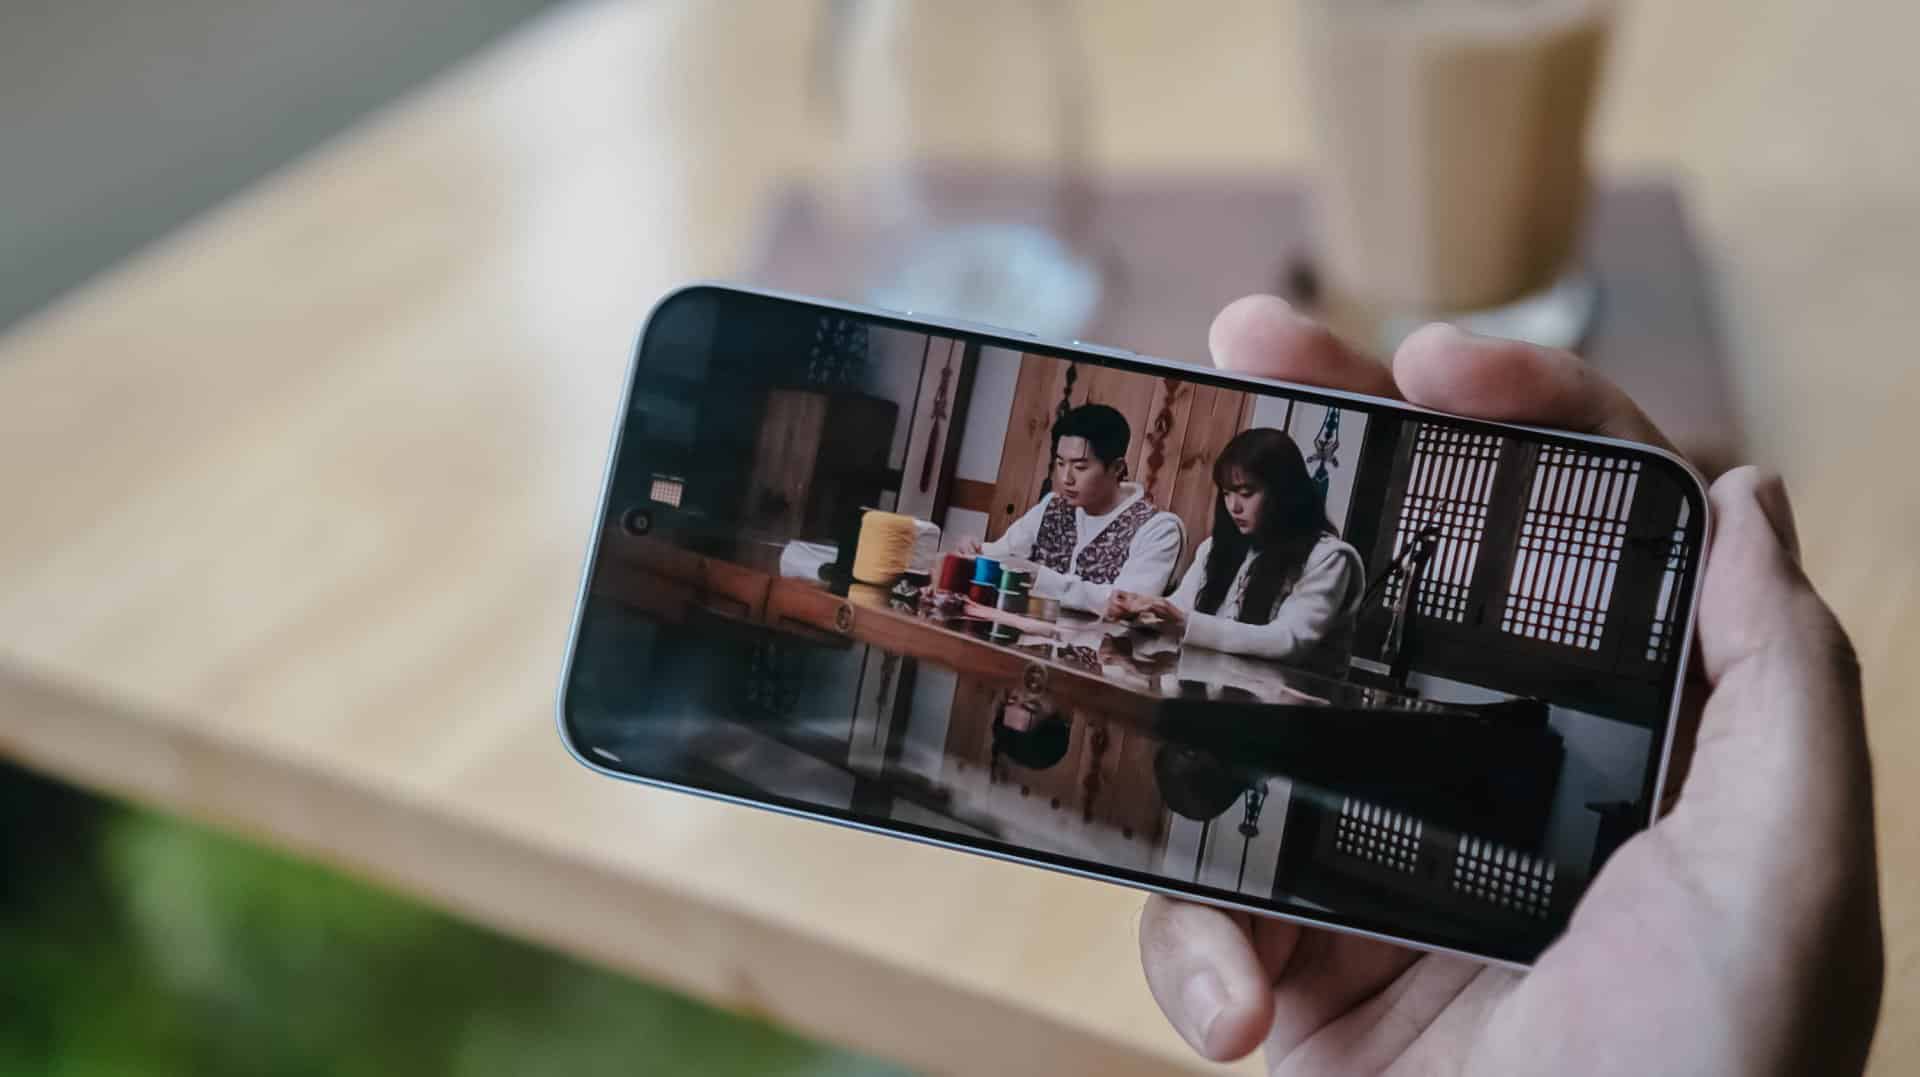
Just like the visual supremacy of both Kang Hoon and Cha Woo-min, both the REDMI Note 17 Pro and Pro Max also share the same attributes. There’s that sharp 1.5K display resolution, 3500 nits of peak brightness, 12-bit color depth, even 240Hz / 3200Hz touch sampling rates.
Well, the Pro Max has the slight upper hand with its HDR10+ and Dolby Vision support that the Pro model lacks.
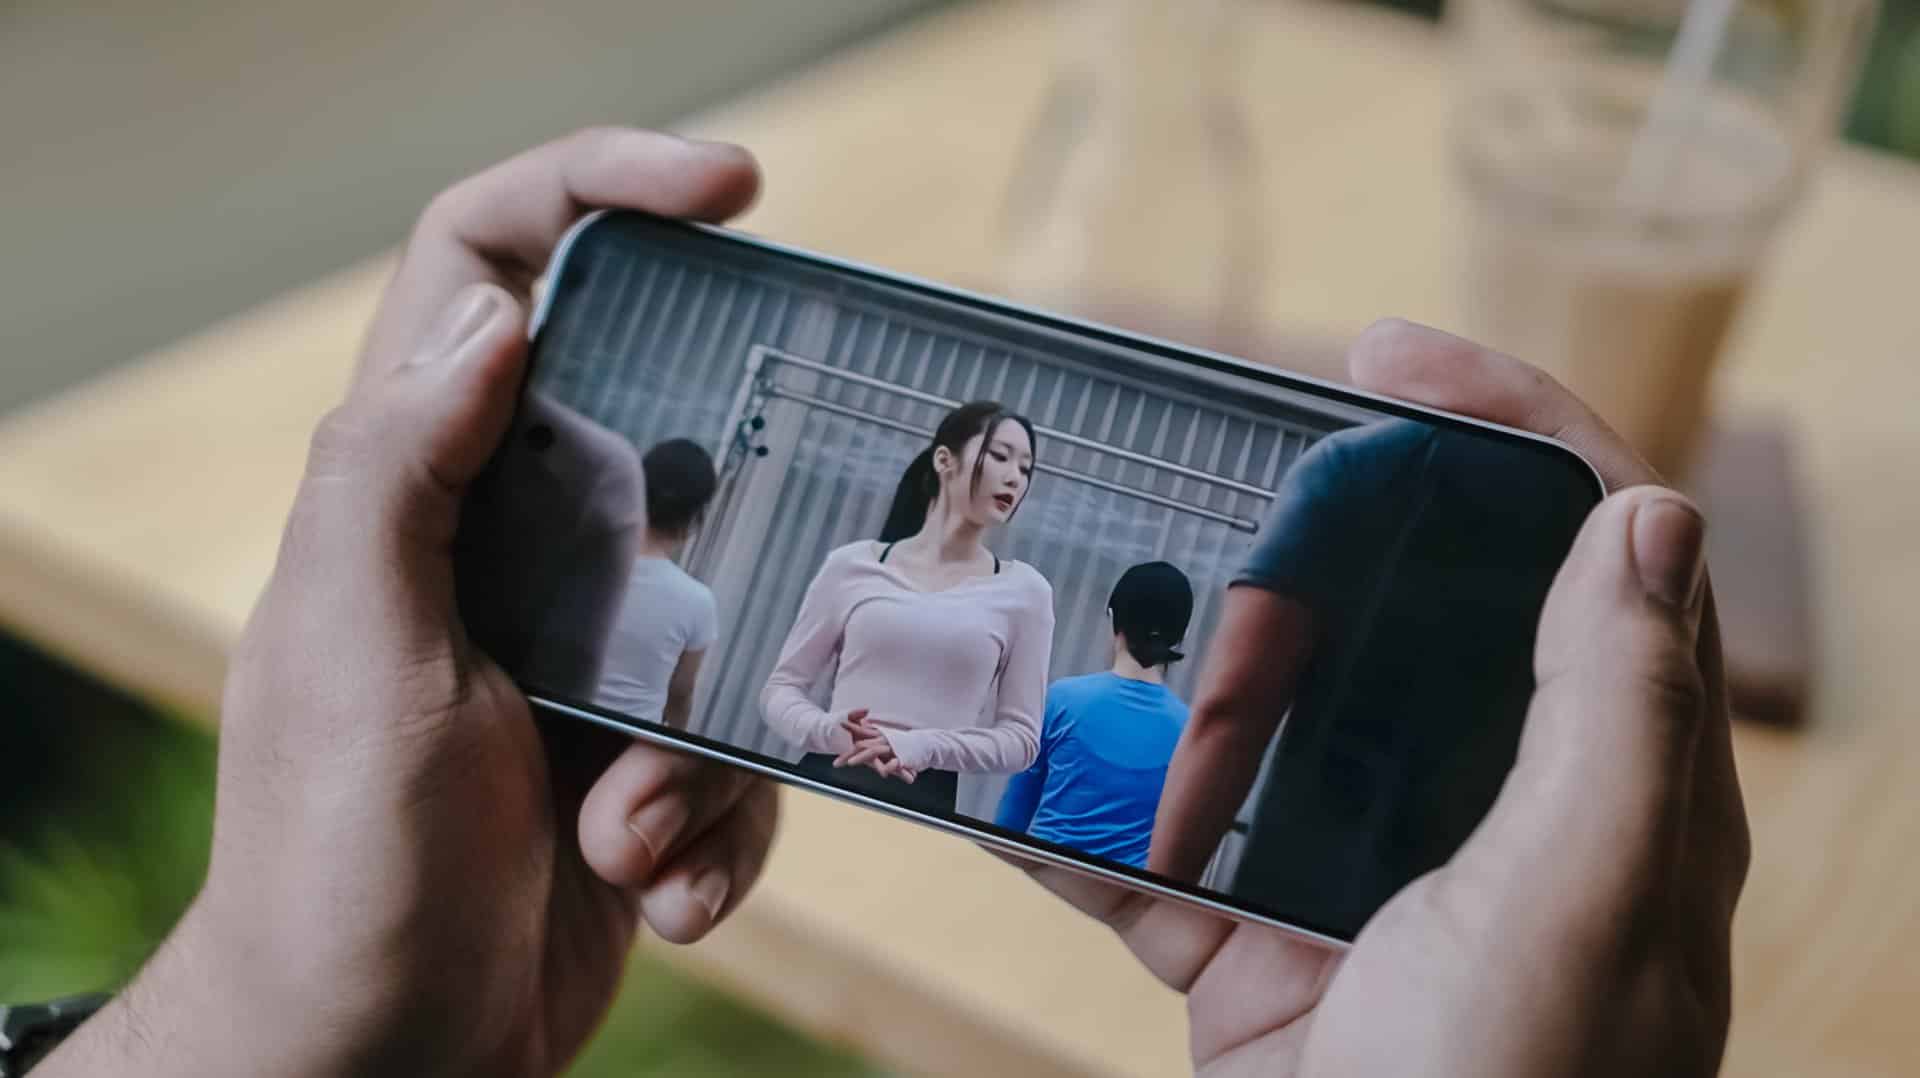
This is such a star-studded drama ft. former OH MY GIRL’s Jiho
This meant that HDR content is livelier and more immersive on the REDMI Note 17 Pro Max.
Regardless if it’s on YouTube, Netflix, Disney+, or HBO Max, one will definitely appreciate the Pro Max’s screen better.
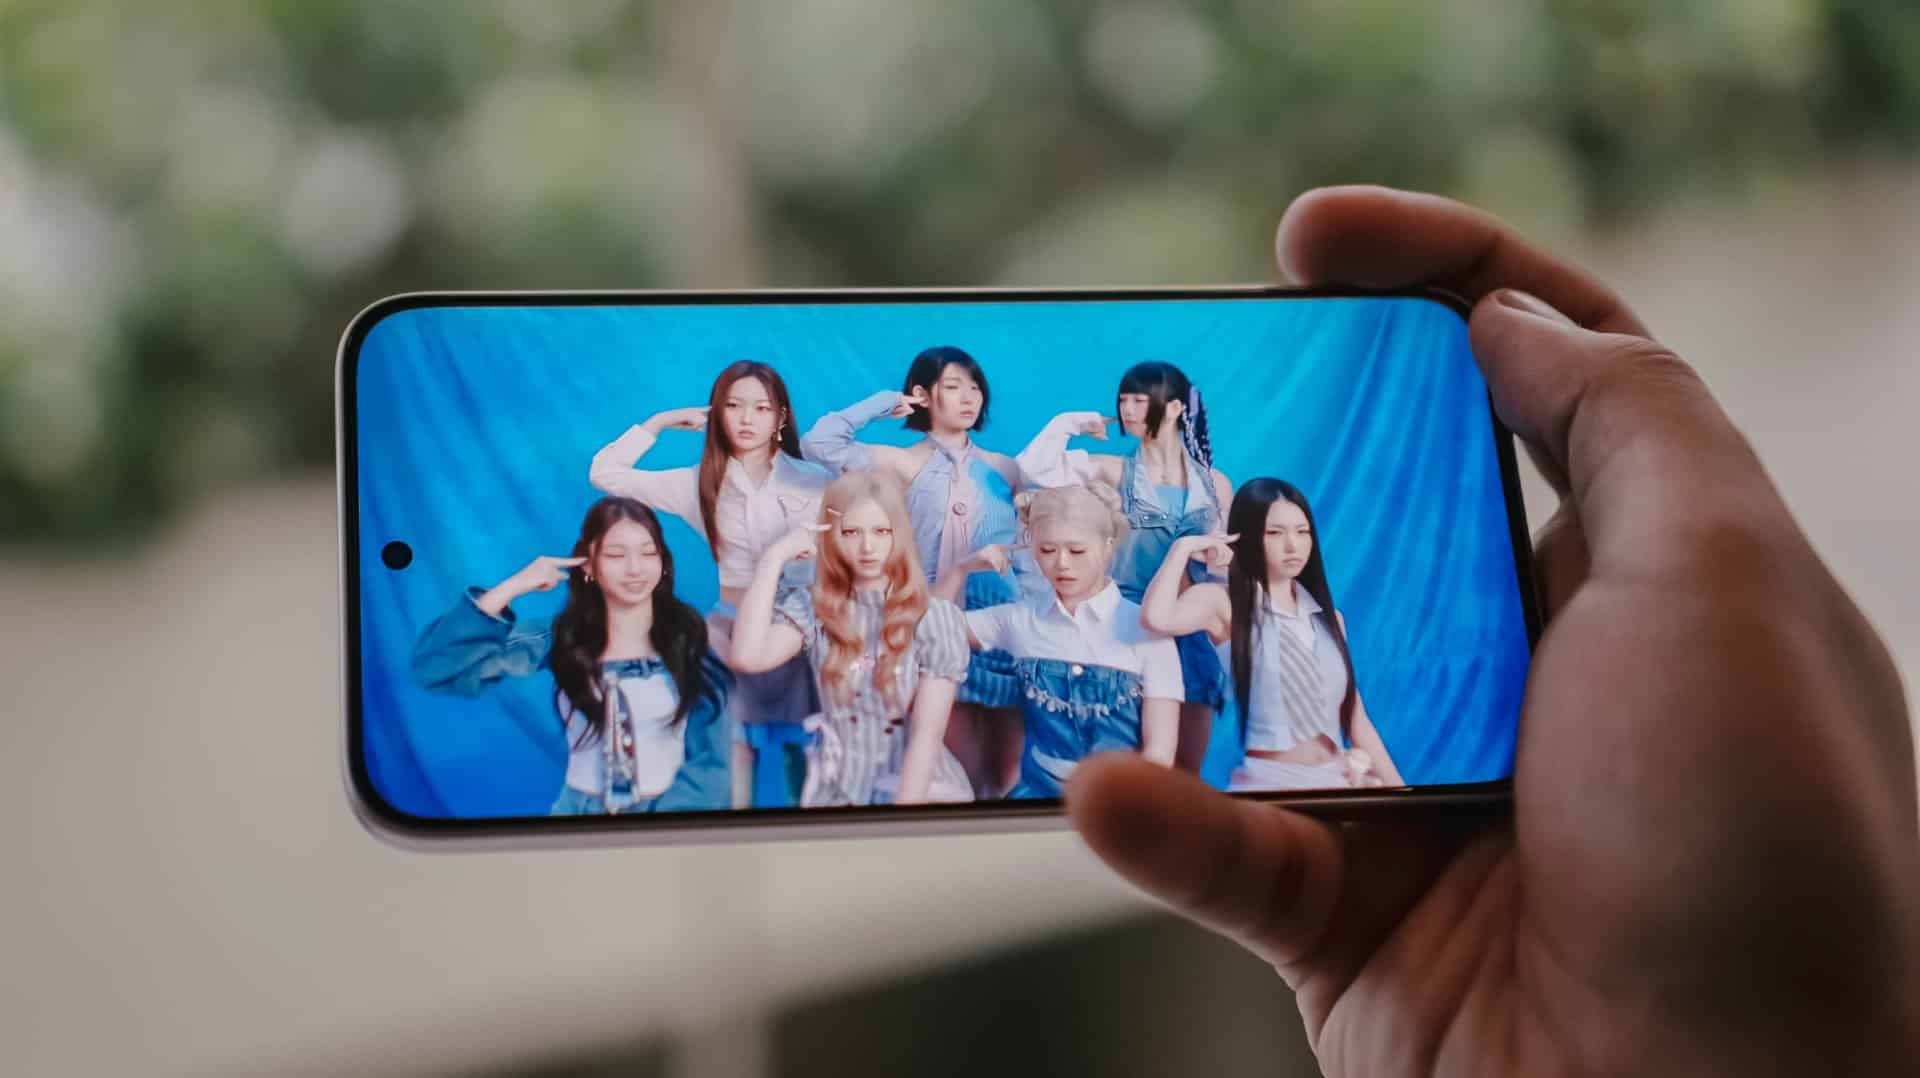
Now, if you’re concerned about eye safety, both phones boast TÜV Rheinland’s Low Blue Light, Flicker Free, Circadian Friendly certifications.
On Queue: TUIDE, OURBIRTHDAY
Much like the dual debut of the REDMI Note 17 Pro series, two septet K-Pop girl groups were also born during this third quarter of 2026.
While both groups share the same member number, these two newly-created groups are also distinct from one another.
The REDMI Note 17 Pro and Pro Max both possess the same stereo speaker setup. Dolby Atmos and Hi-Res Lossless features weren’t forgotten as well.
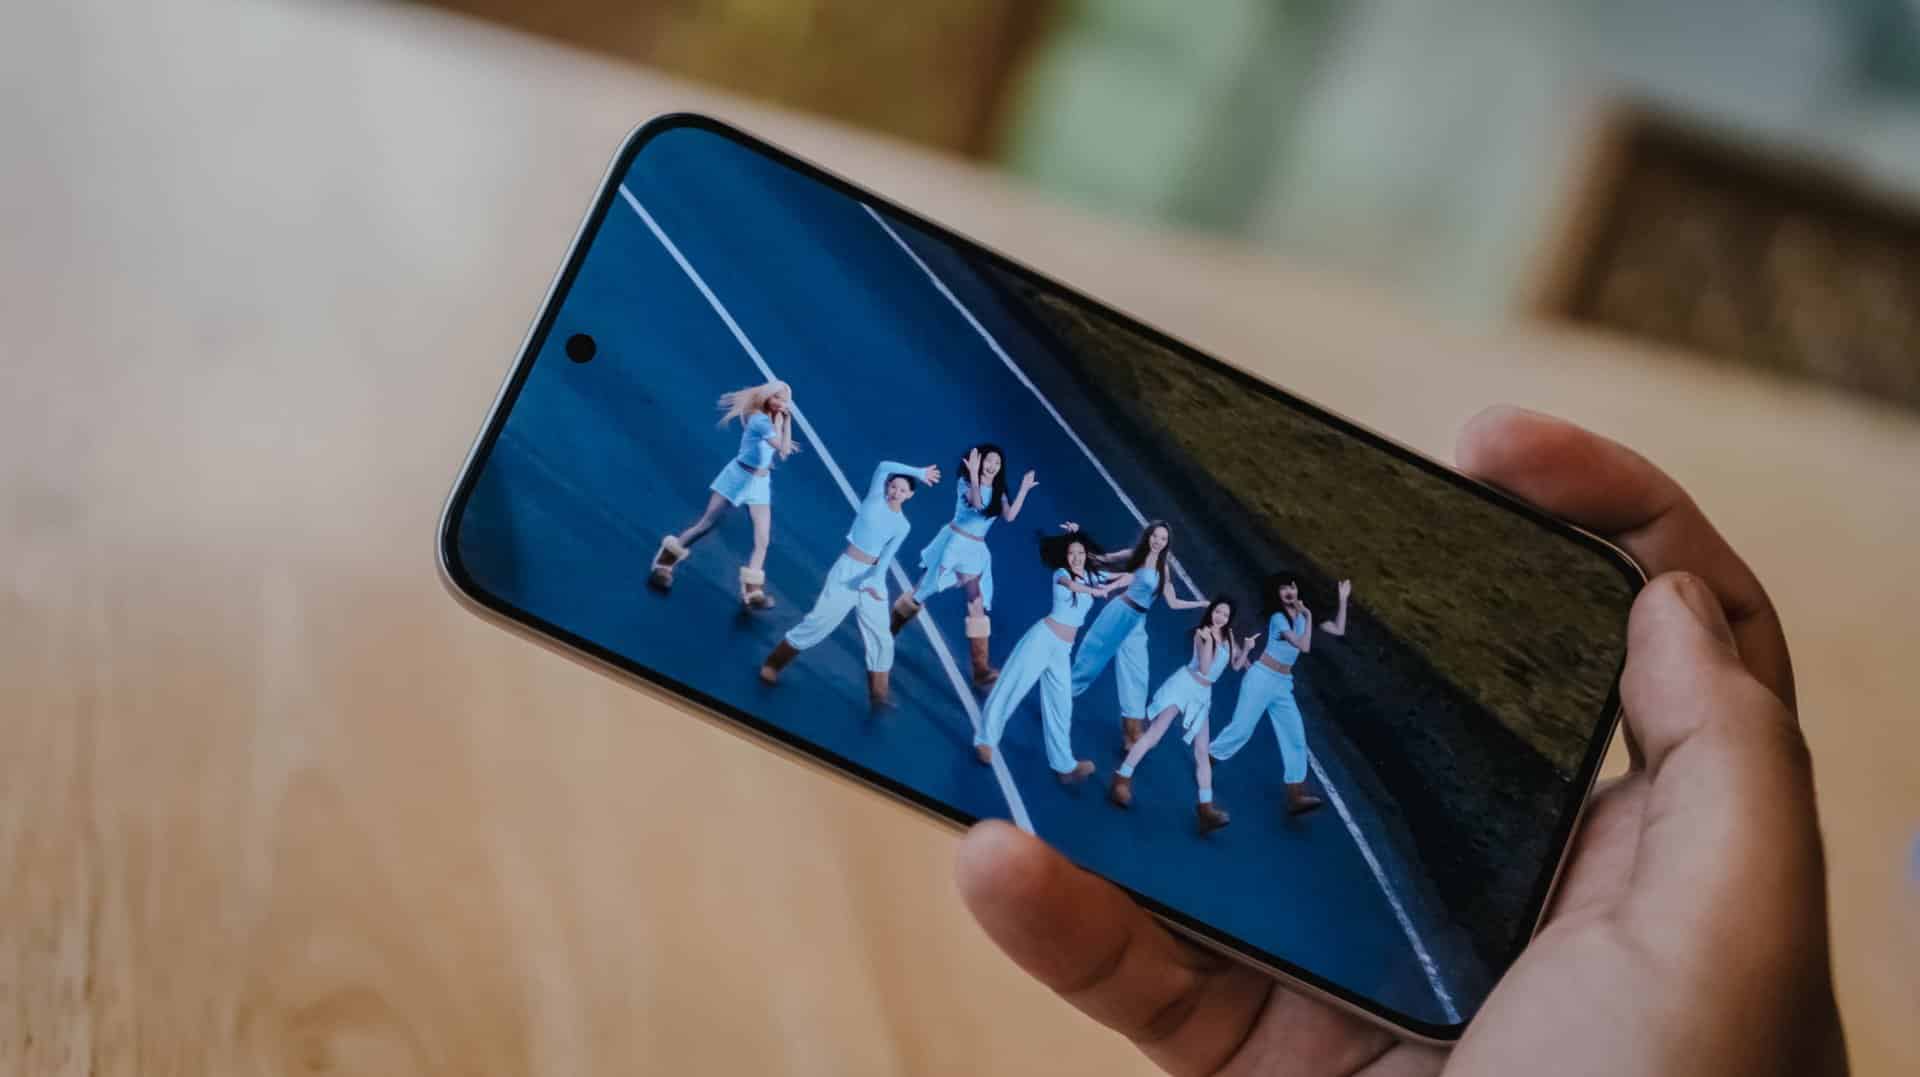
Upon closer inspection though, the Note 17 Pro Max produces an even louder output thanks to its 400% Volume Boost feature. That’s in contrast to the 300% boost of its Pro sib.
At least on my ears, REDMI’s Note 17 Pro Max sounded deeper especially heard with TUIDE’s vocals in their lowkey-addicting “SUN KISS” debut track.
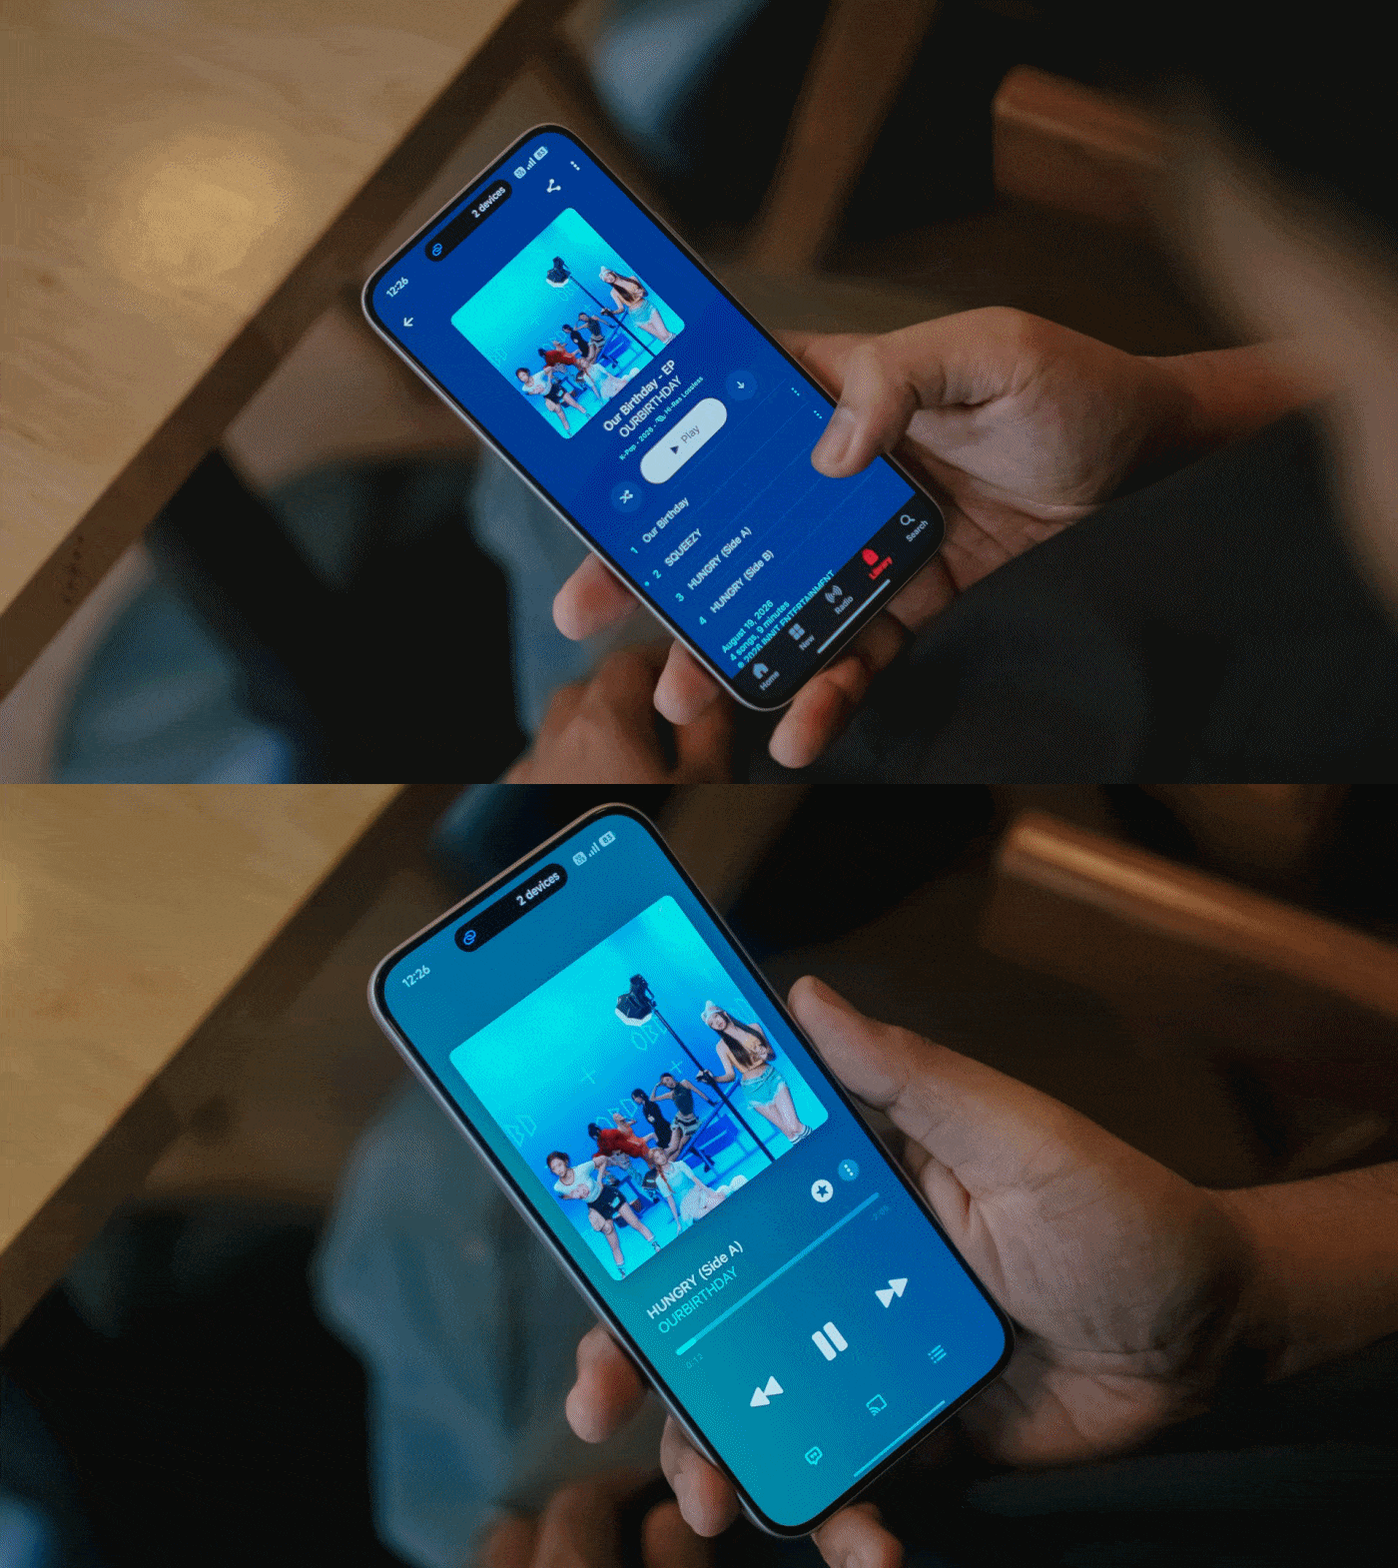
Even more, the steps and thumps in OURBIRTHDAY’s “HUNGRY” also felt and sounded more powerful and impactful as opposed to the Note 17 Pro’s output.
New chip above its hip
Unlike its Max-less sibling running a slower Snapdragon 6s Gen 4, the REDMI Note 17 Pro Max rocks the “faster” Snapdragon 6 Gen 5 SoC.
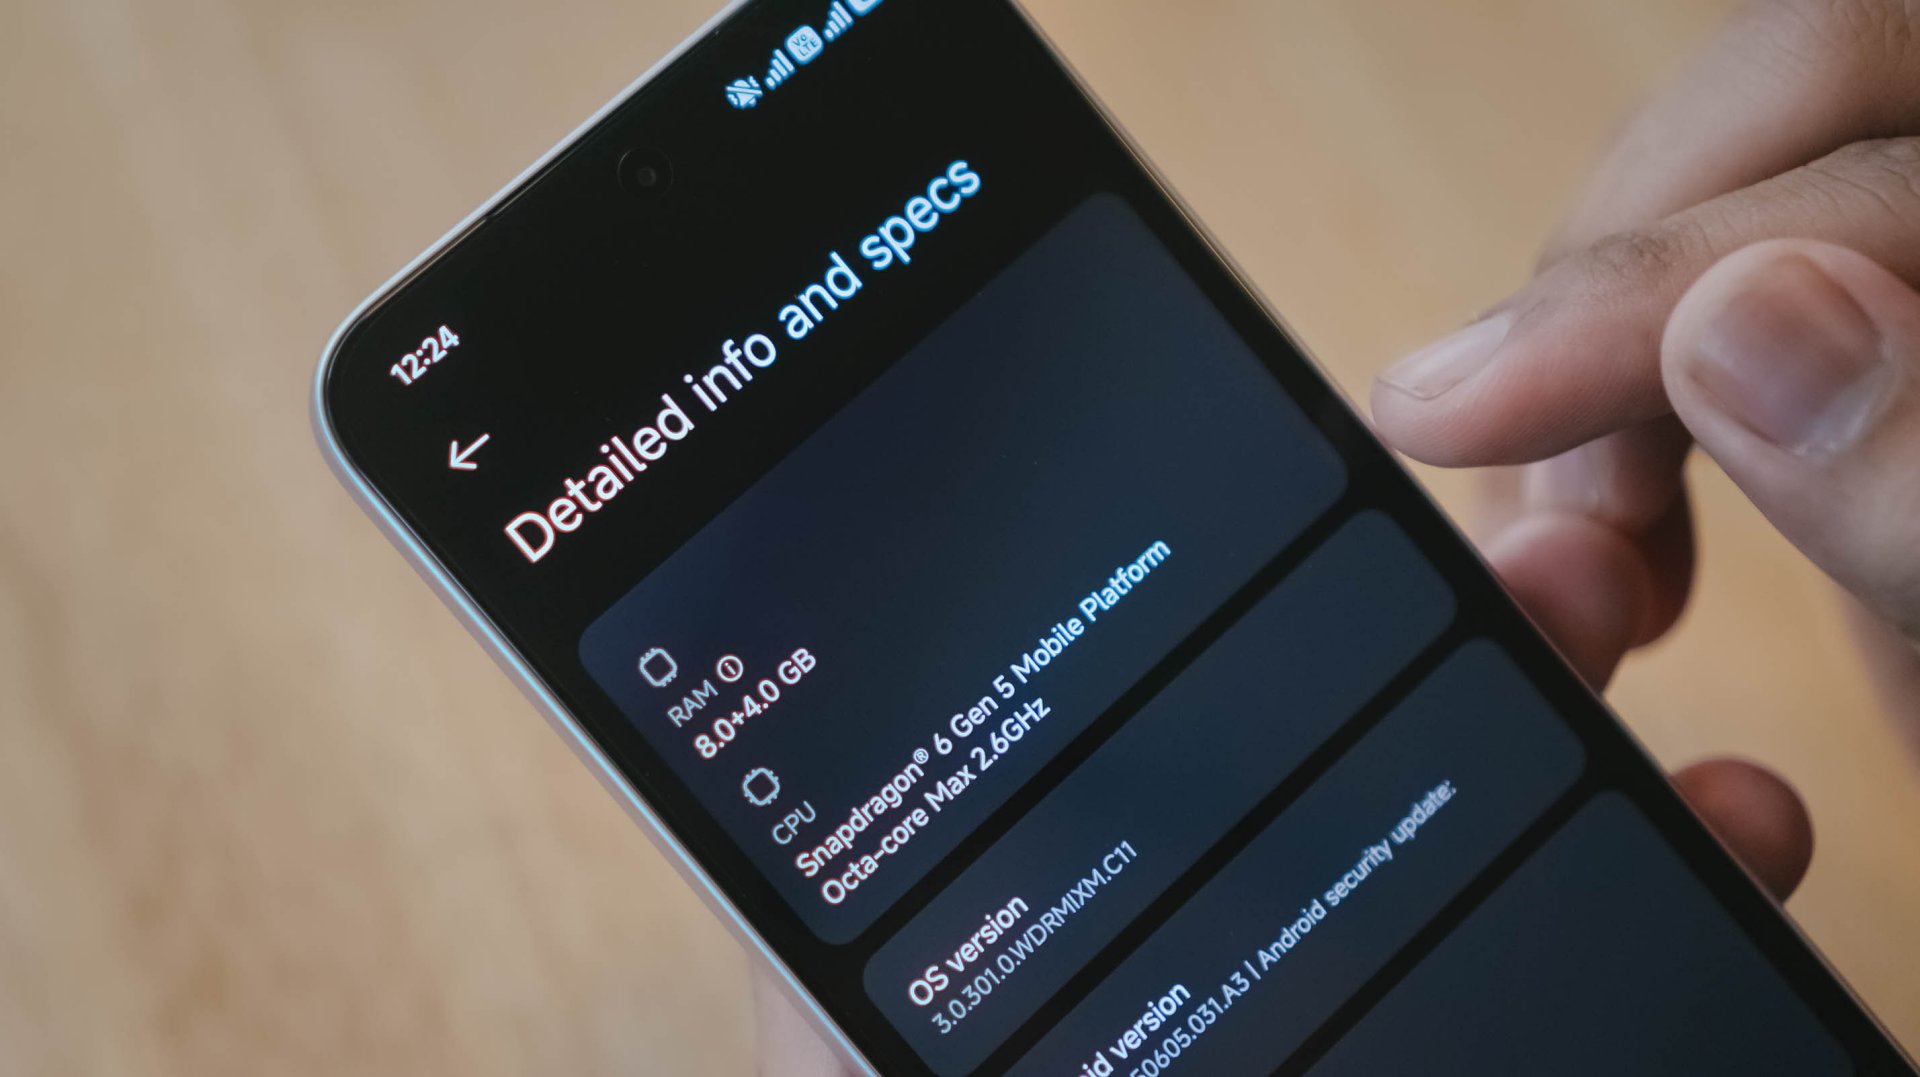
This brand new chip announced by Qualcomm this 2026 piqued my interest to the point that it made me install three games with three varying graphic capabilities.
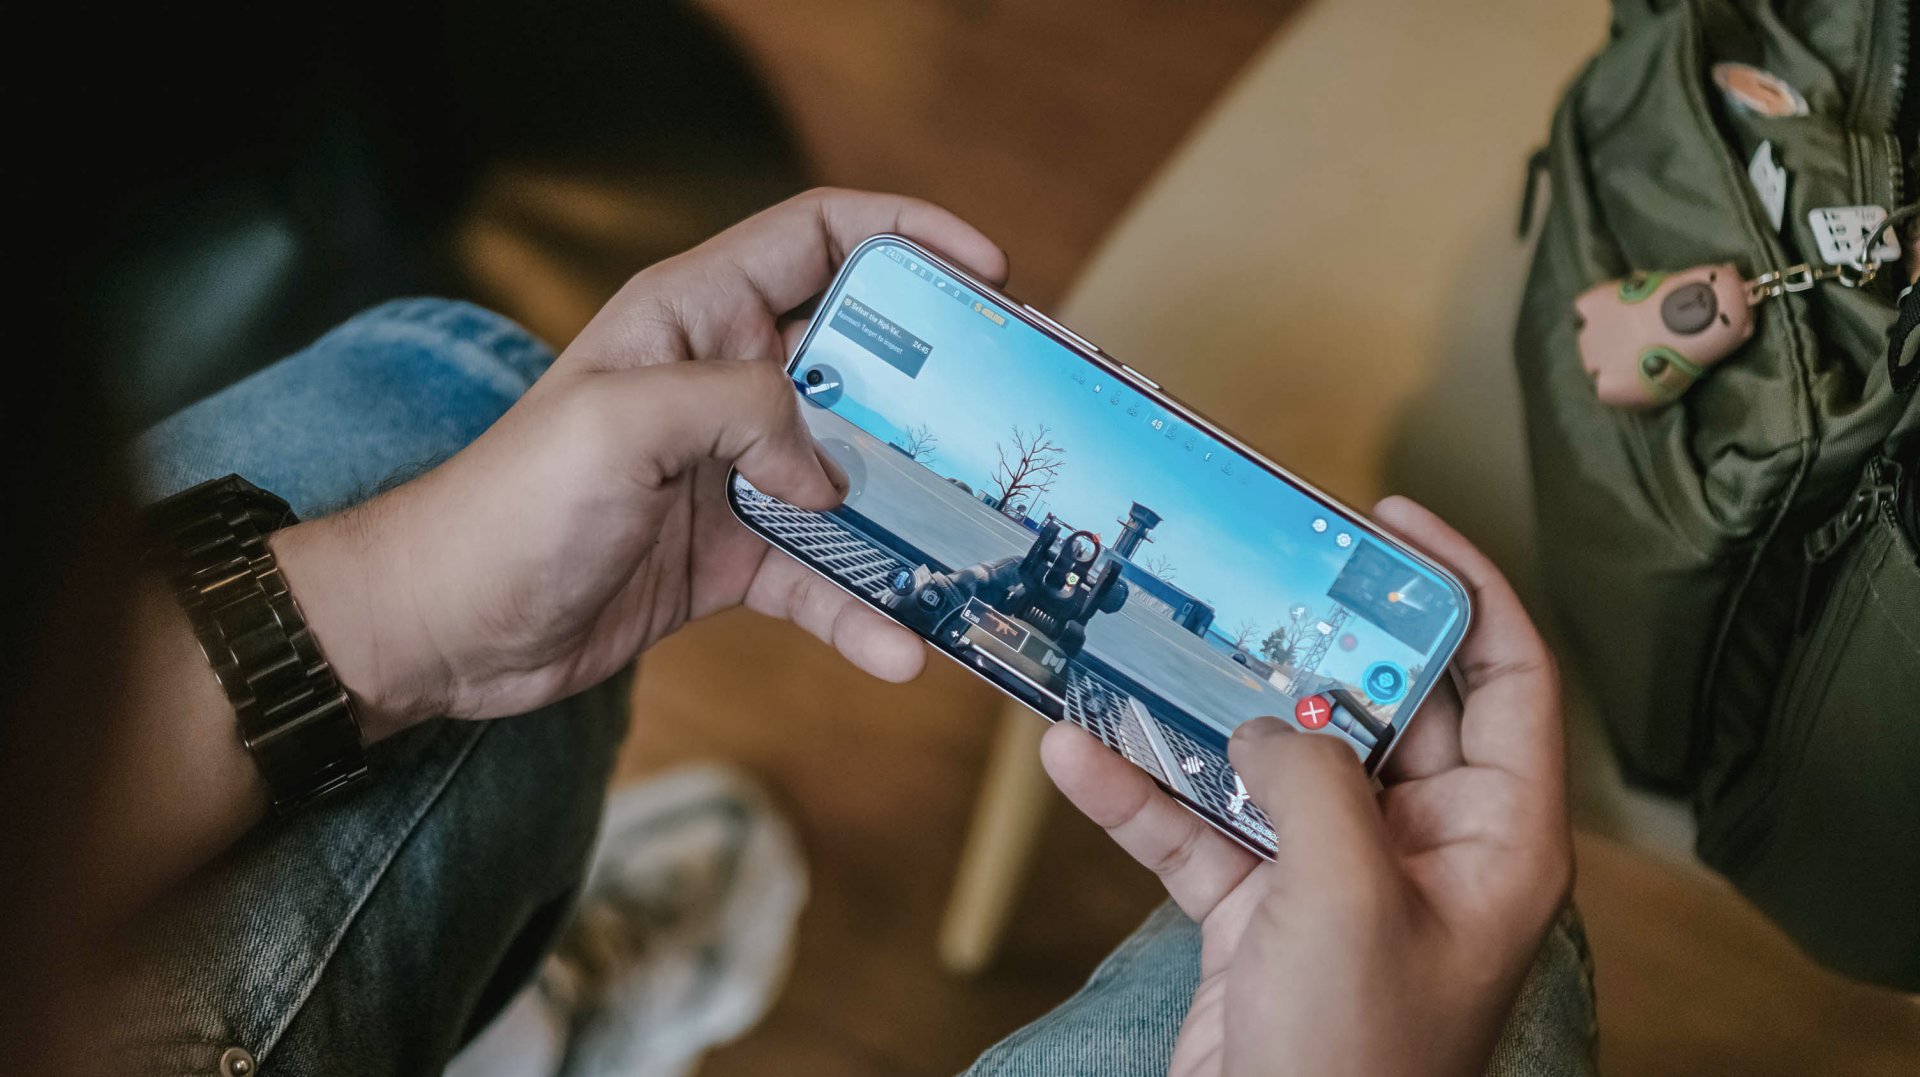
Of course, like any other FPS or MOBA game, the REDMI Note 17 Pro Max handles them with ease. Whether that may be CoDM, MLBB, PUBG, HOK, and countless games in the same league, this phone can and will run ’em.
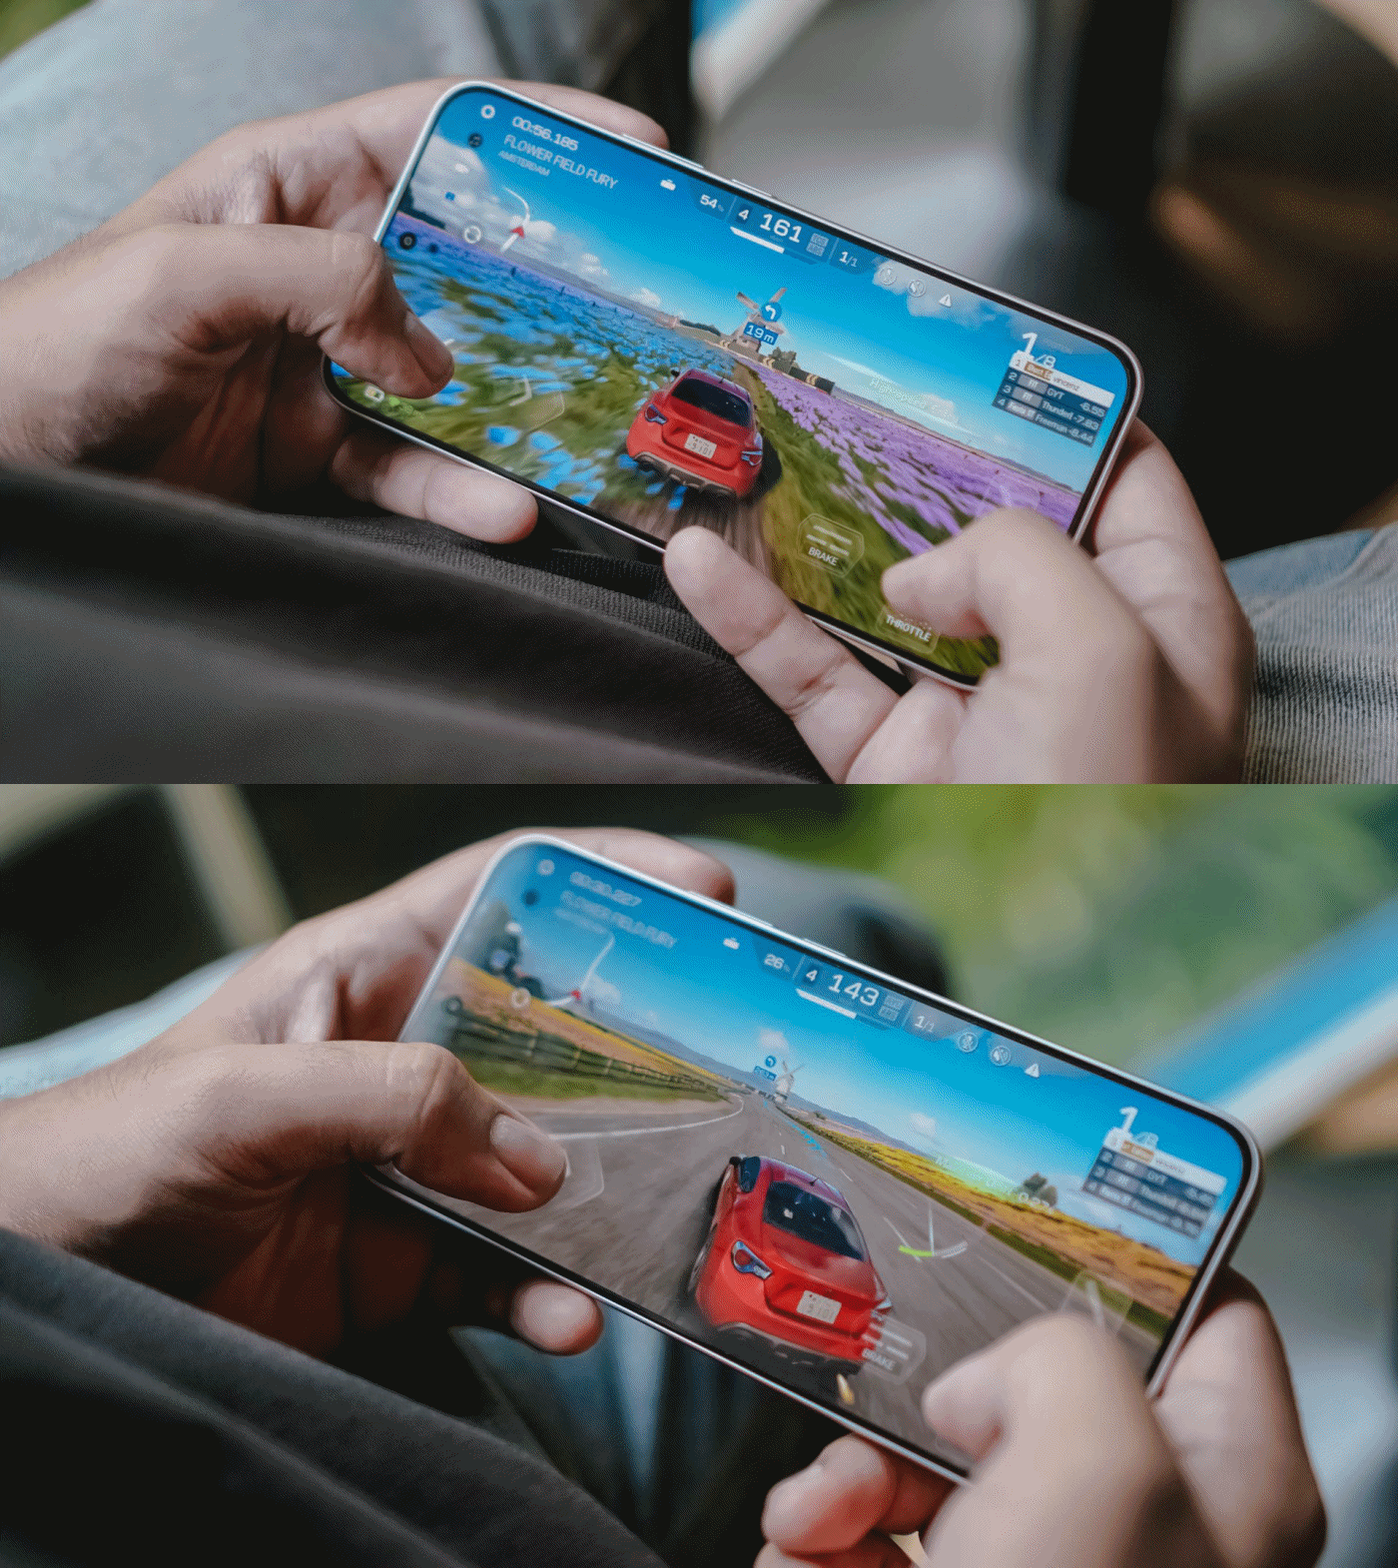
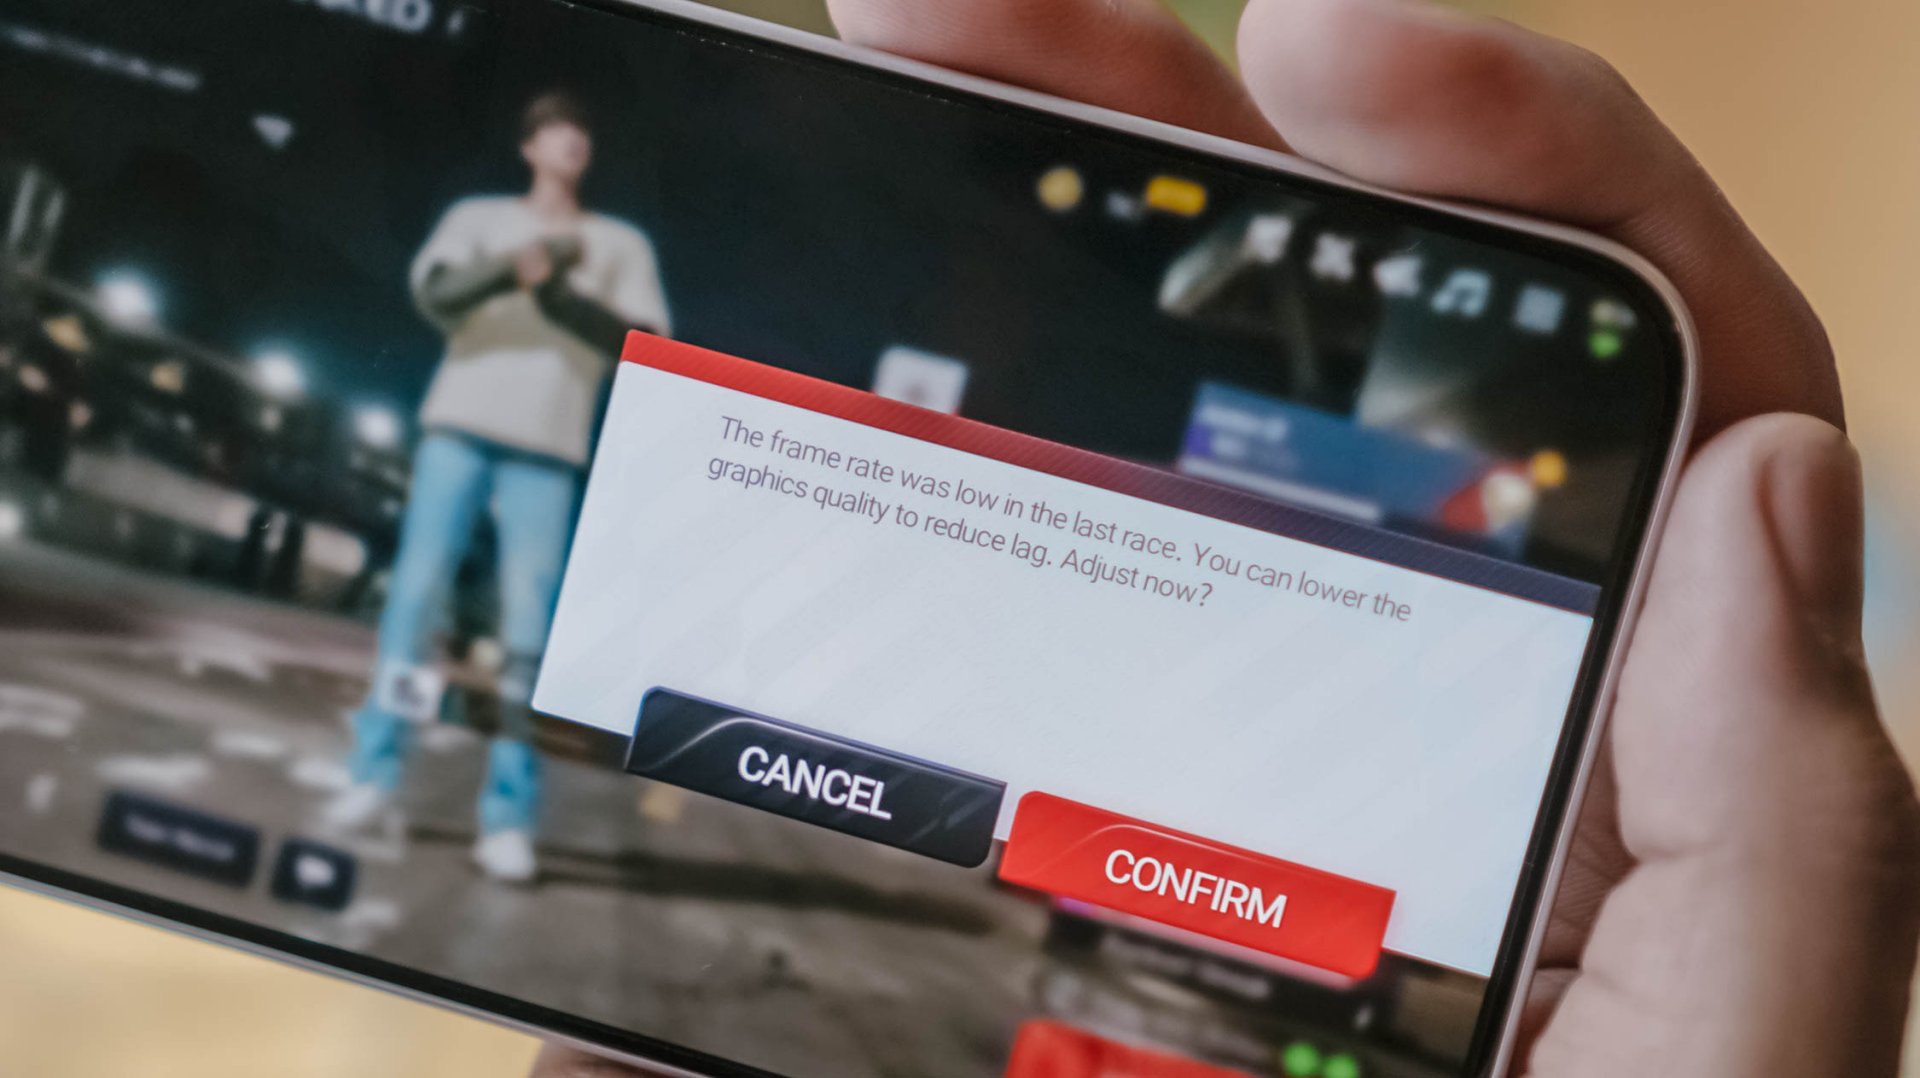
Now, onto a more demanding one: my all-time favorite Racing Master. At first, it was able to run in Ultra HD resolution at 60fps frame rate.
Unfortunately, it didn’t had much superiority over its Pro counterpart. After a 10-minute gameplay, it prompts to a graphic setting warning.
Last but definitely not the least, HoYoverse’s graphics-intensive Zenless Zone Zero.
As expected, the graphics were set to the lowest settings after installing core resources.
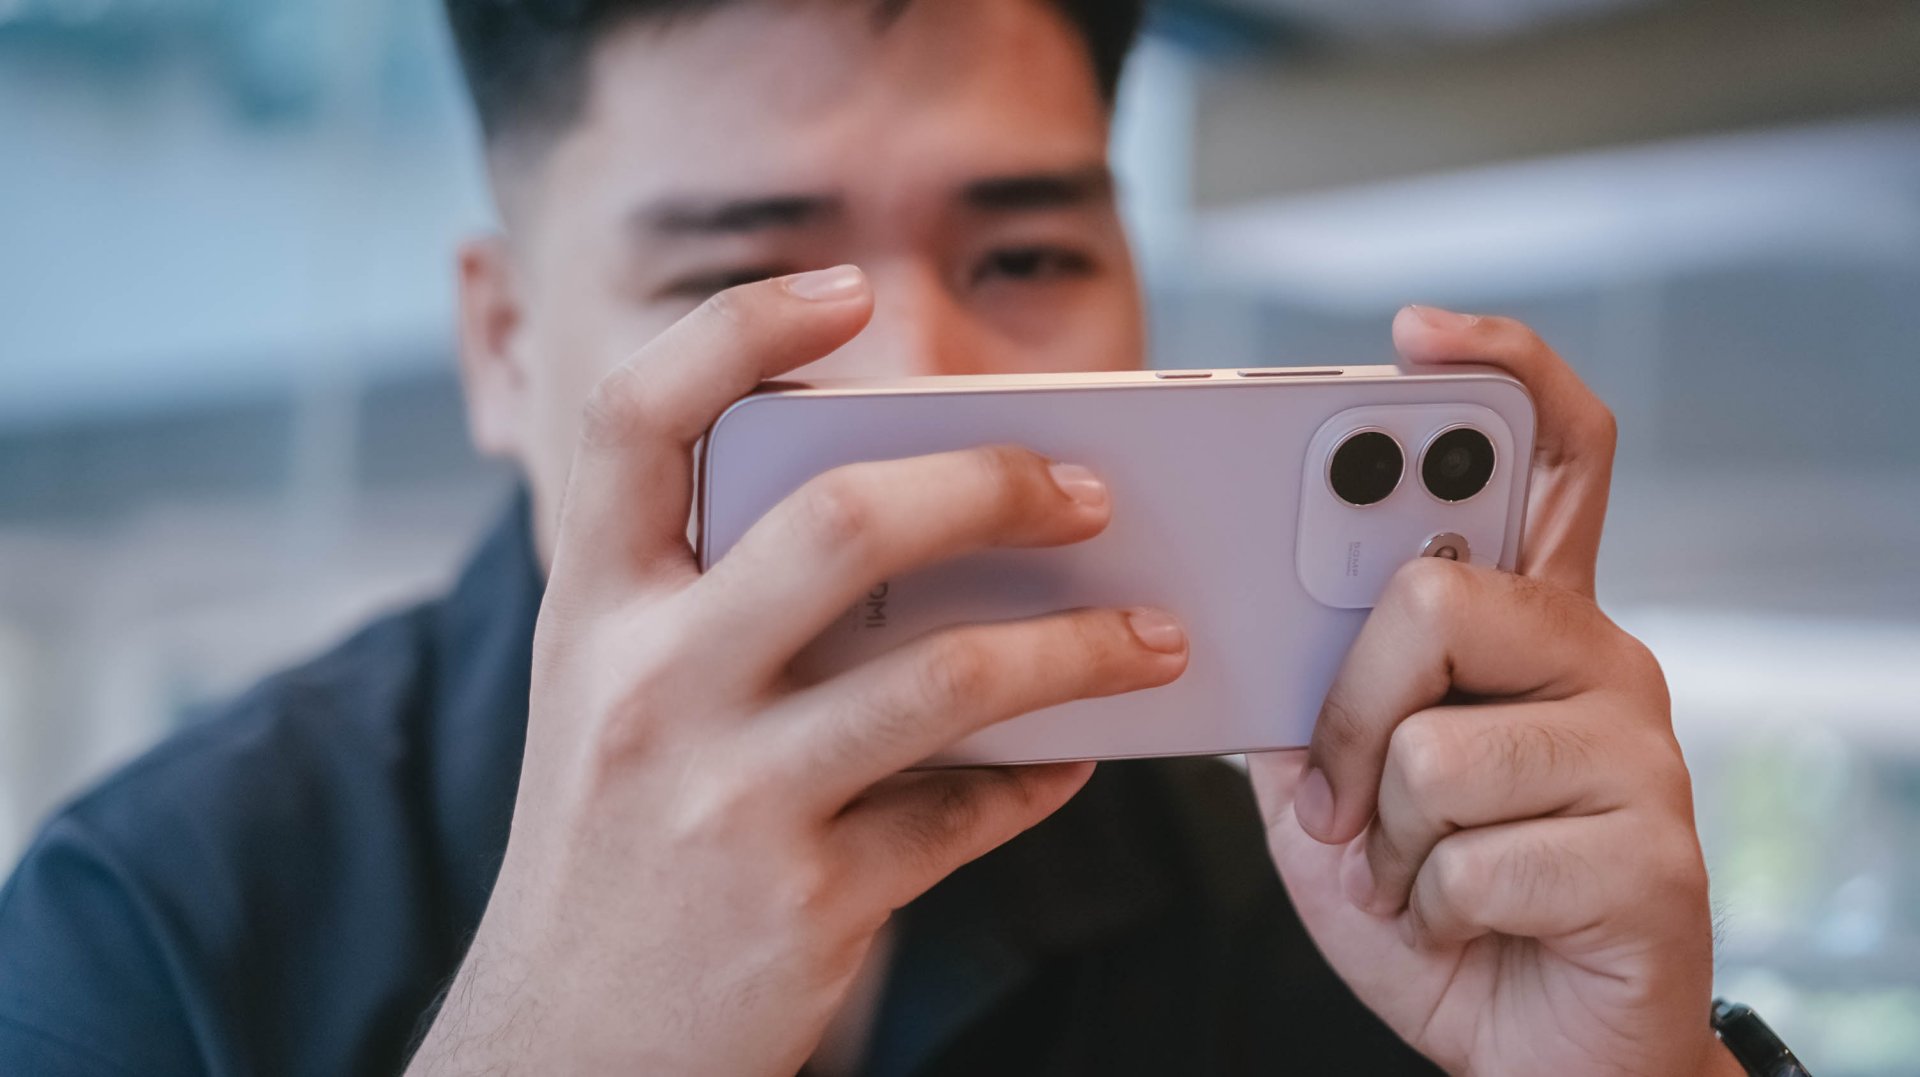
Roaming around New Eridu and Hollow felt just right. The moment you enter combat mode, though, is where things go out of hand.
The frame stutters and jitters are just unstoppable. Even with Performance Mode turned on, it wasn’t enough to salvage the frame rate.
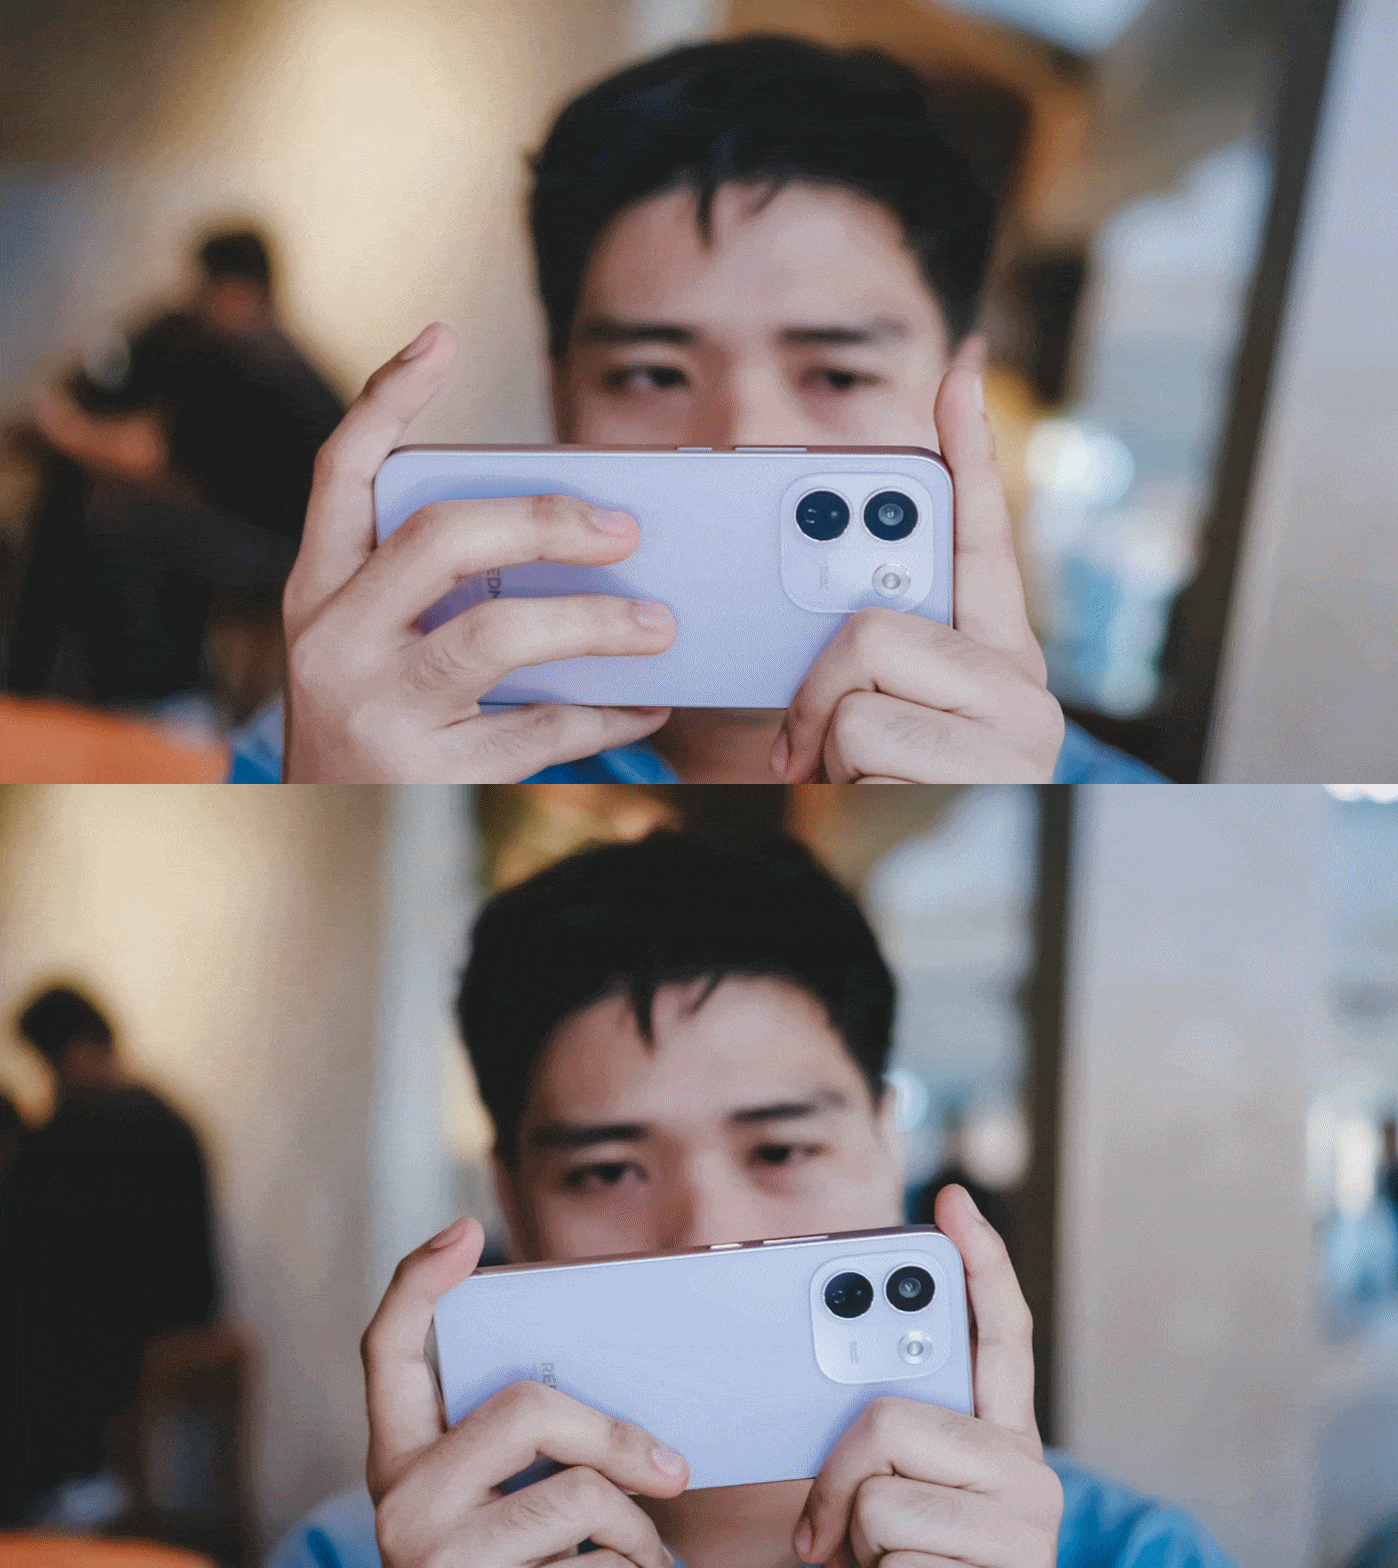
The unwanted lag and lack of effective heat dissipation is already a disappointment as it is.
Even worse, after quickly checking my social media app, the game closed right after I jumped back to it.
I know what some of you might think: This is a midrange phone with a mid-class chipset.
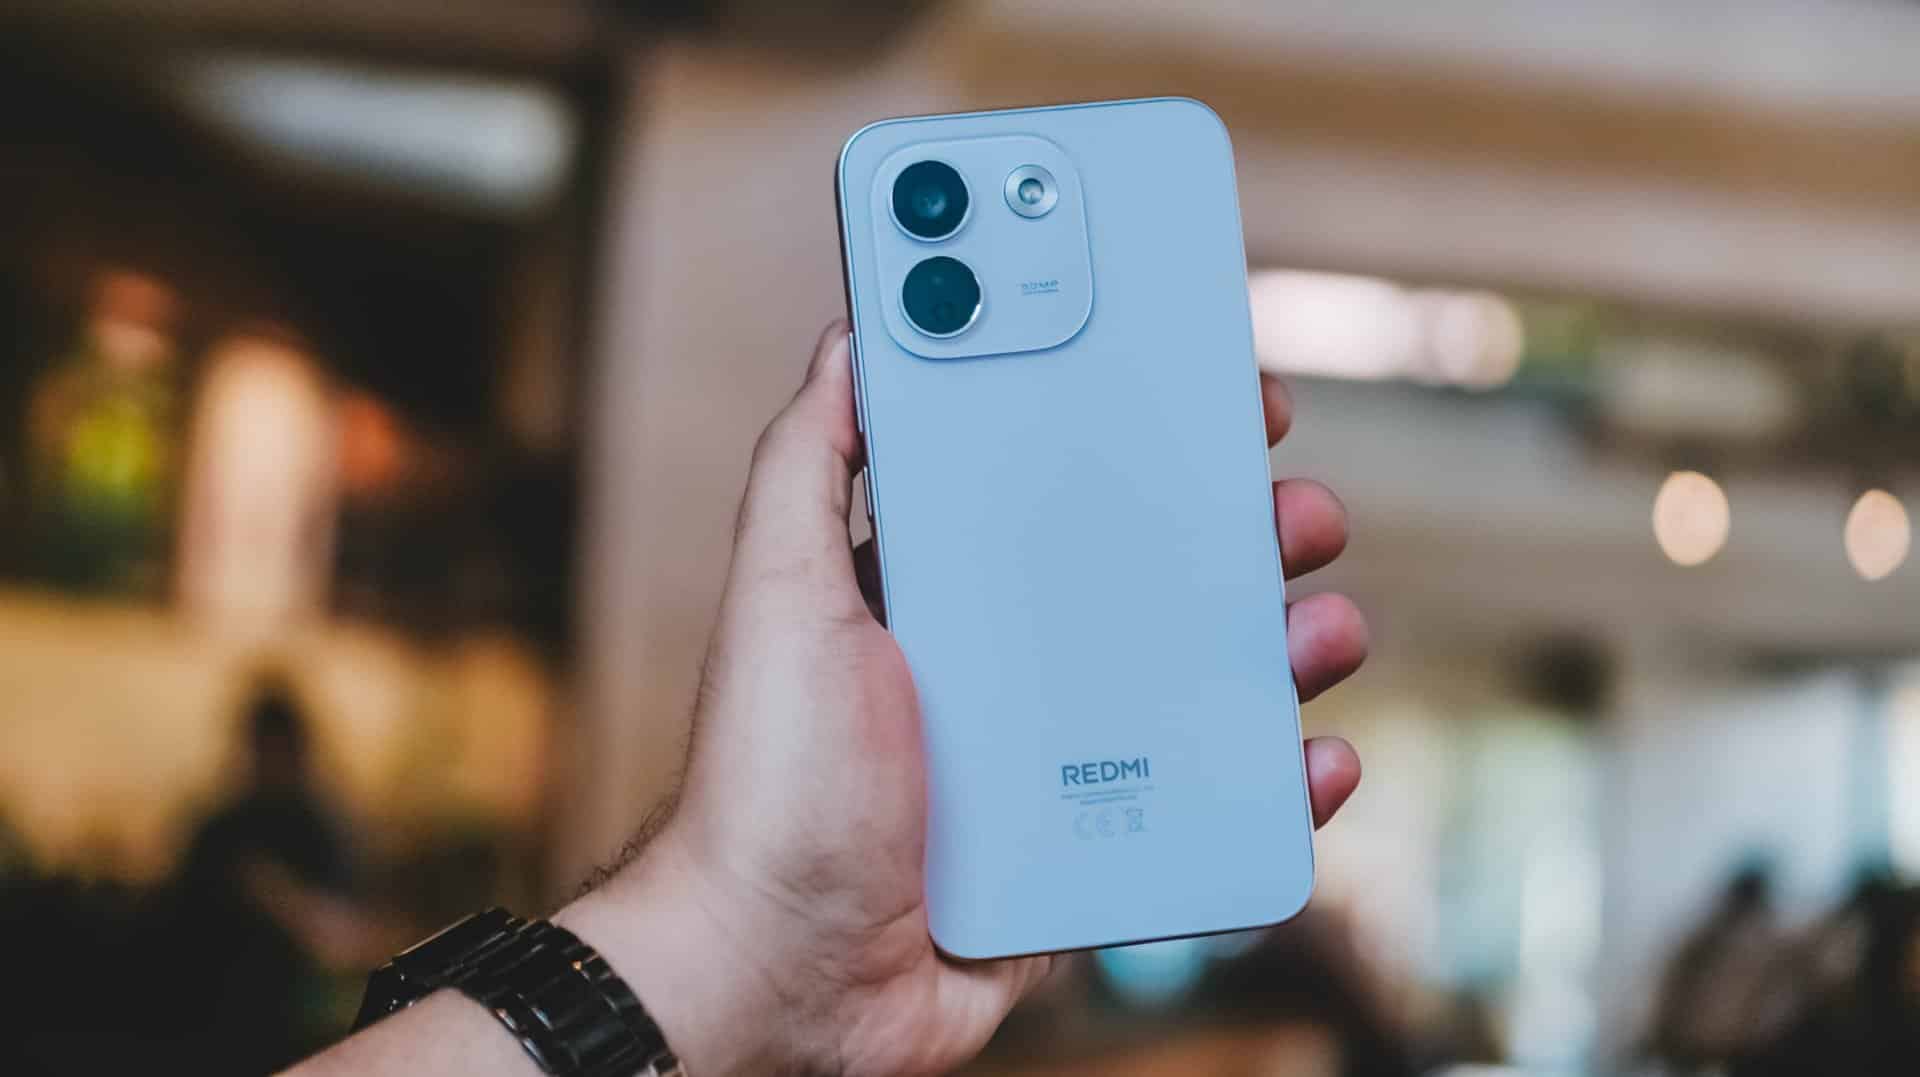
As someone who practices journalistic integrity, it’s my responsibility to share all these observations. No sugarcoating aside, this isn’t any better from REDMI Note 15 Pro+’s Snapdragon 7s Gen 4 chipset.
Still, Xiaomi changing the internals to a faster LPDDR5X memory plus UFS 4.1 storage over the LPDDR4X+ UFS 2.2 combo found in its predecessor is more than a welcome change.
Come for the cameras
The consistency continues with the REDMI Note 17 Pro Max sharing the same camera system as its Pro brother.
ICYMI, it’s a combination of 50MP main (1x wide) and an 8MP f/2.2 UWA (Ultra-Wide Angle) lens.

Admittedly, I was about to make this part short. However, my curiosity dared me to compare it to its Max-less sib.
With a wider aperture of f/1.5 (versus f/1.8), larger 0.8µm sensor (over 0.64µm), and one more lens element at 6P (Pro has 5P), the REDMI Note 17 Pro Max simply has the upper-hand despite those “small” gaps.
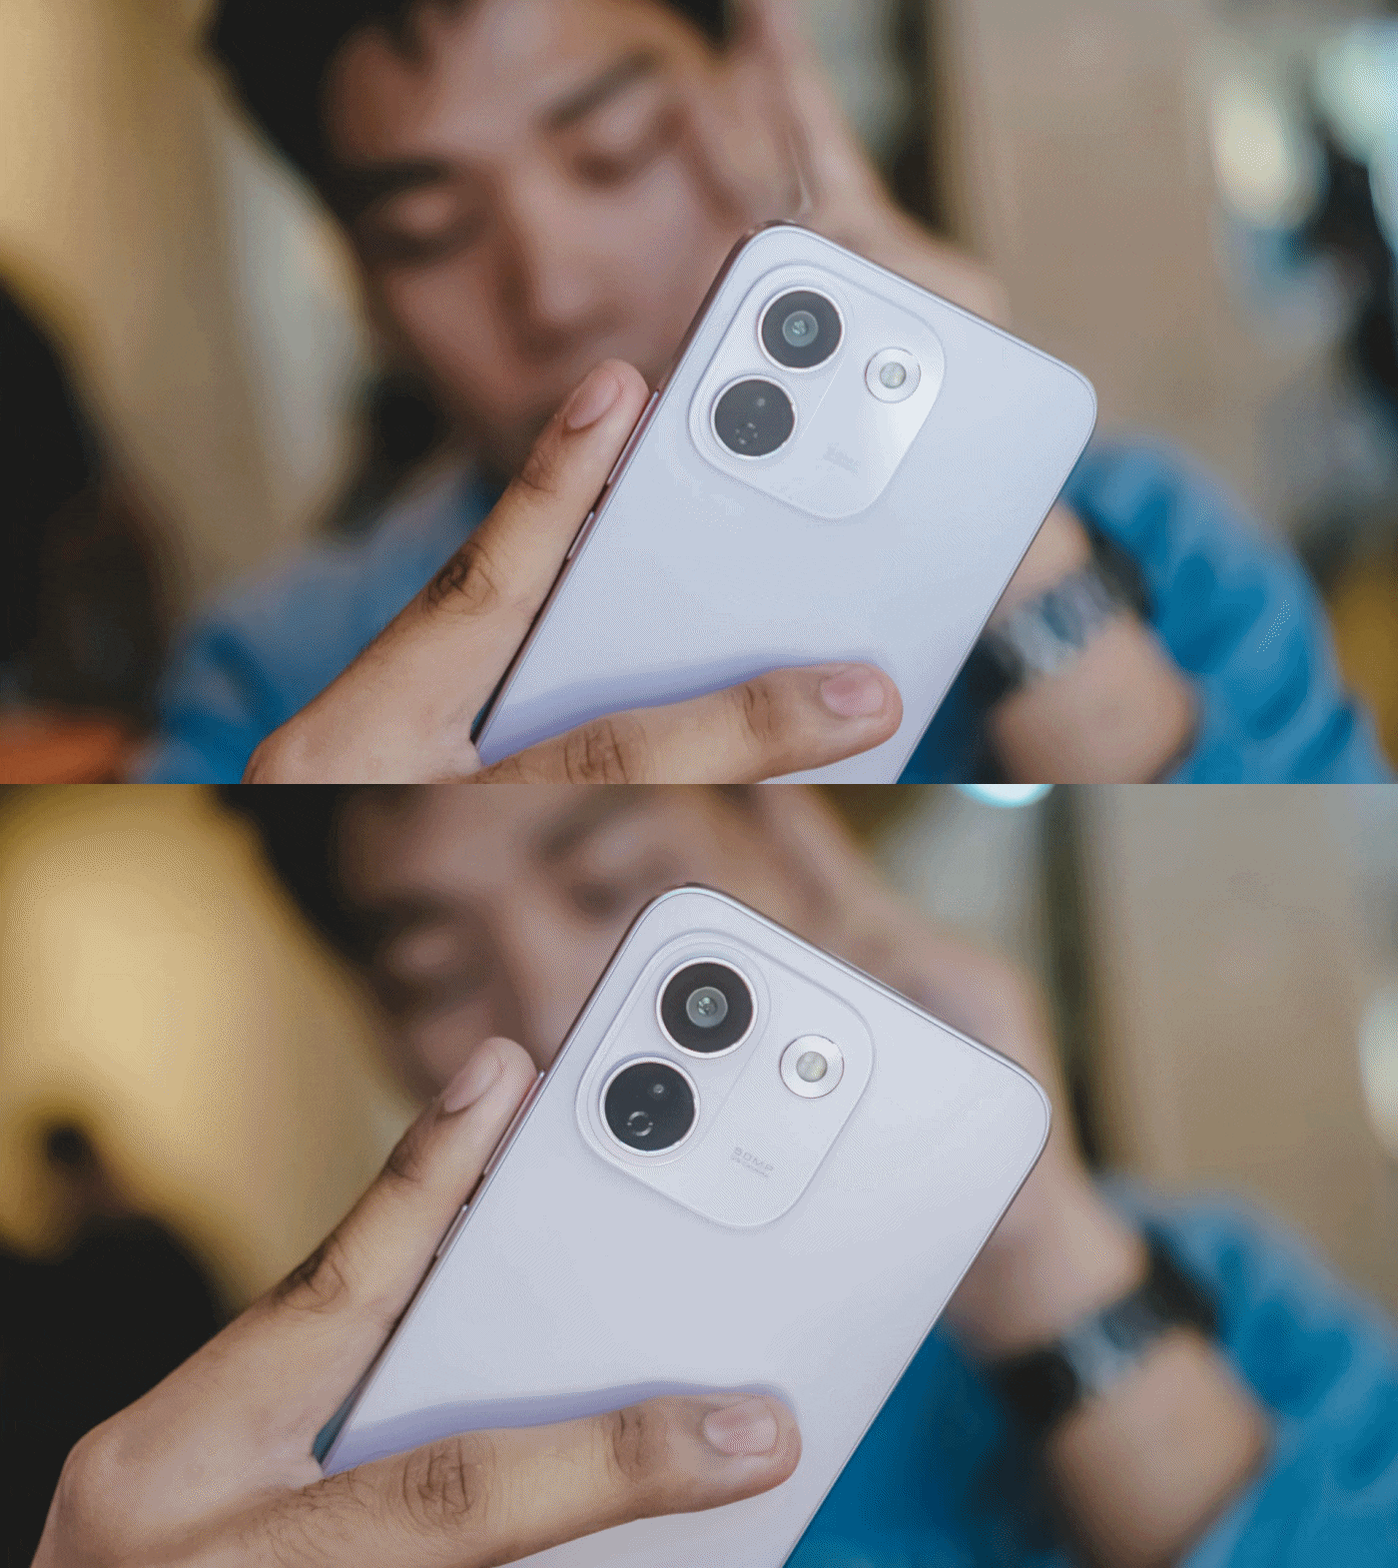
And, as much as how we value camera hardware, the chip equipped within surprisingly matters.
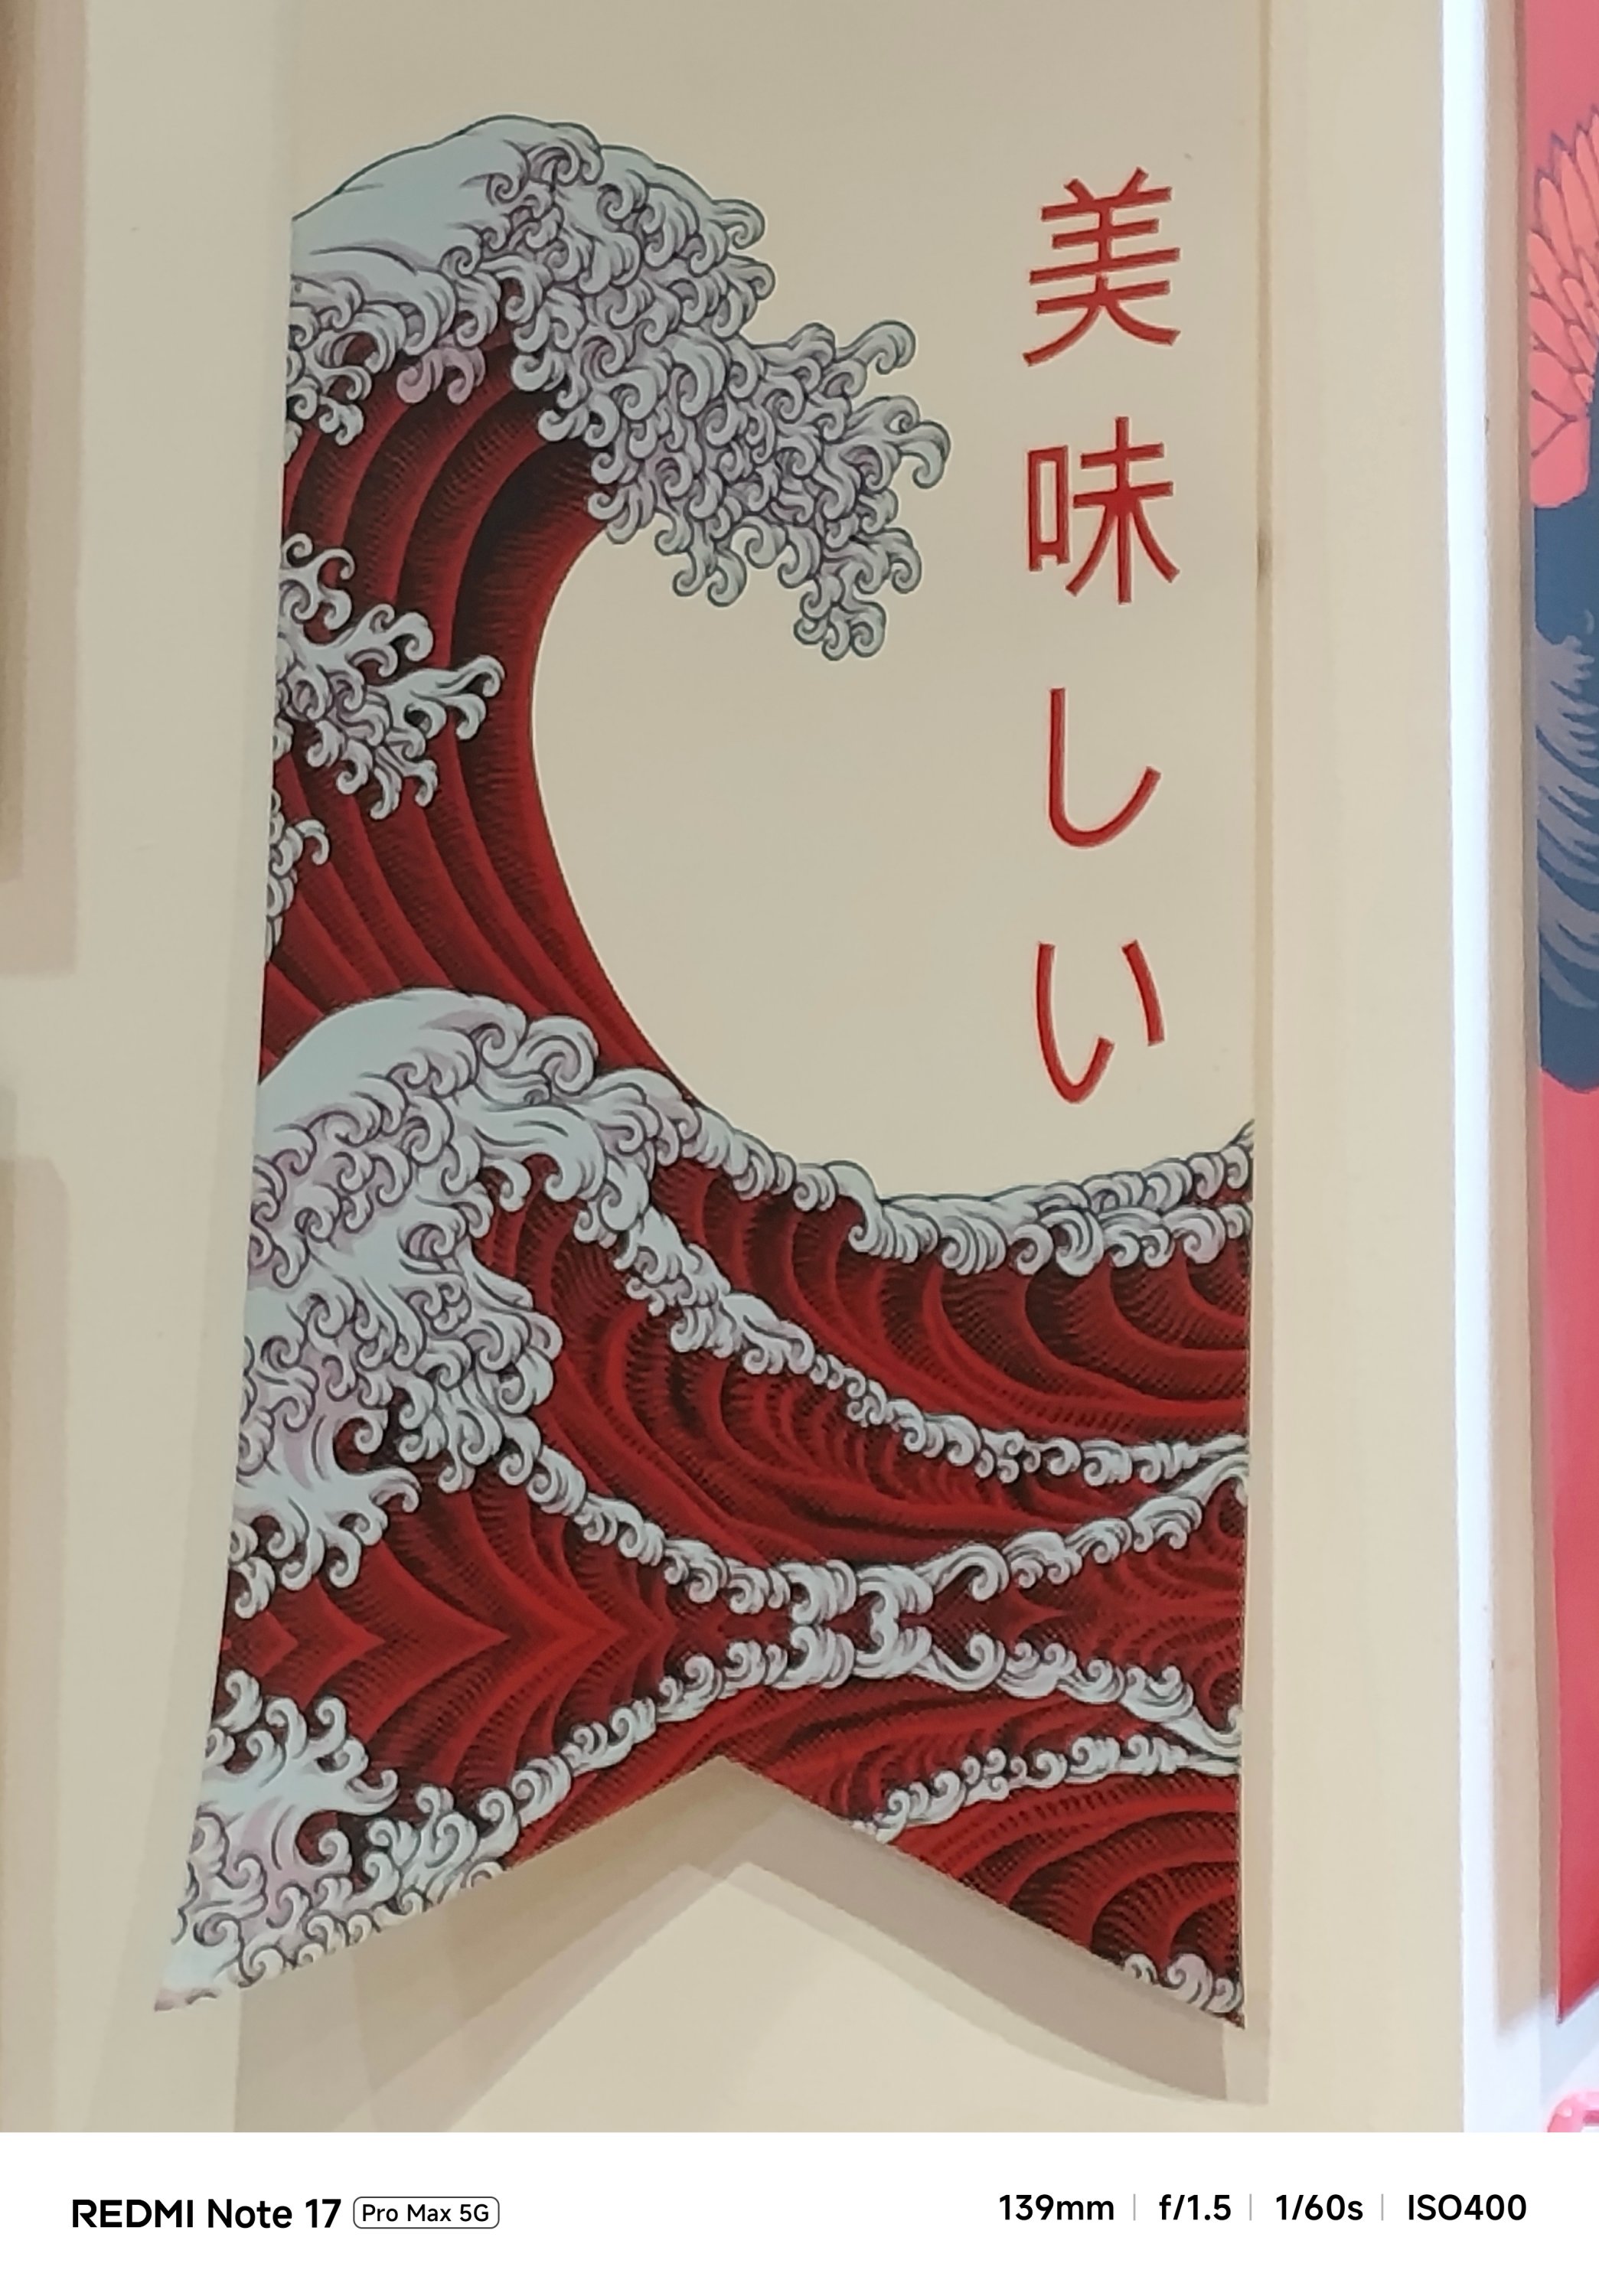

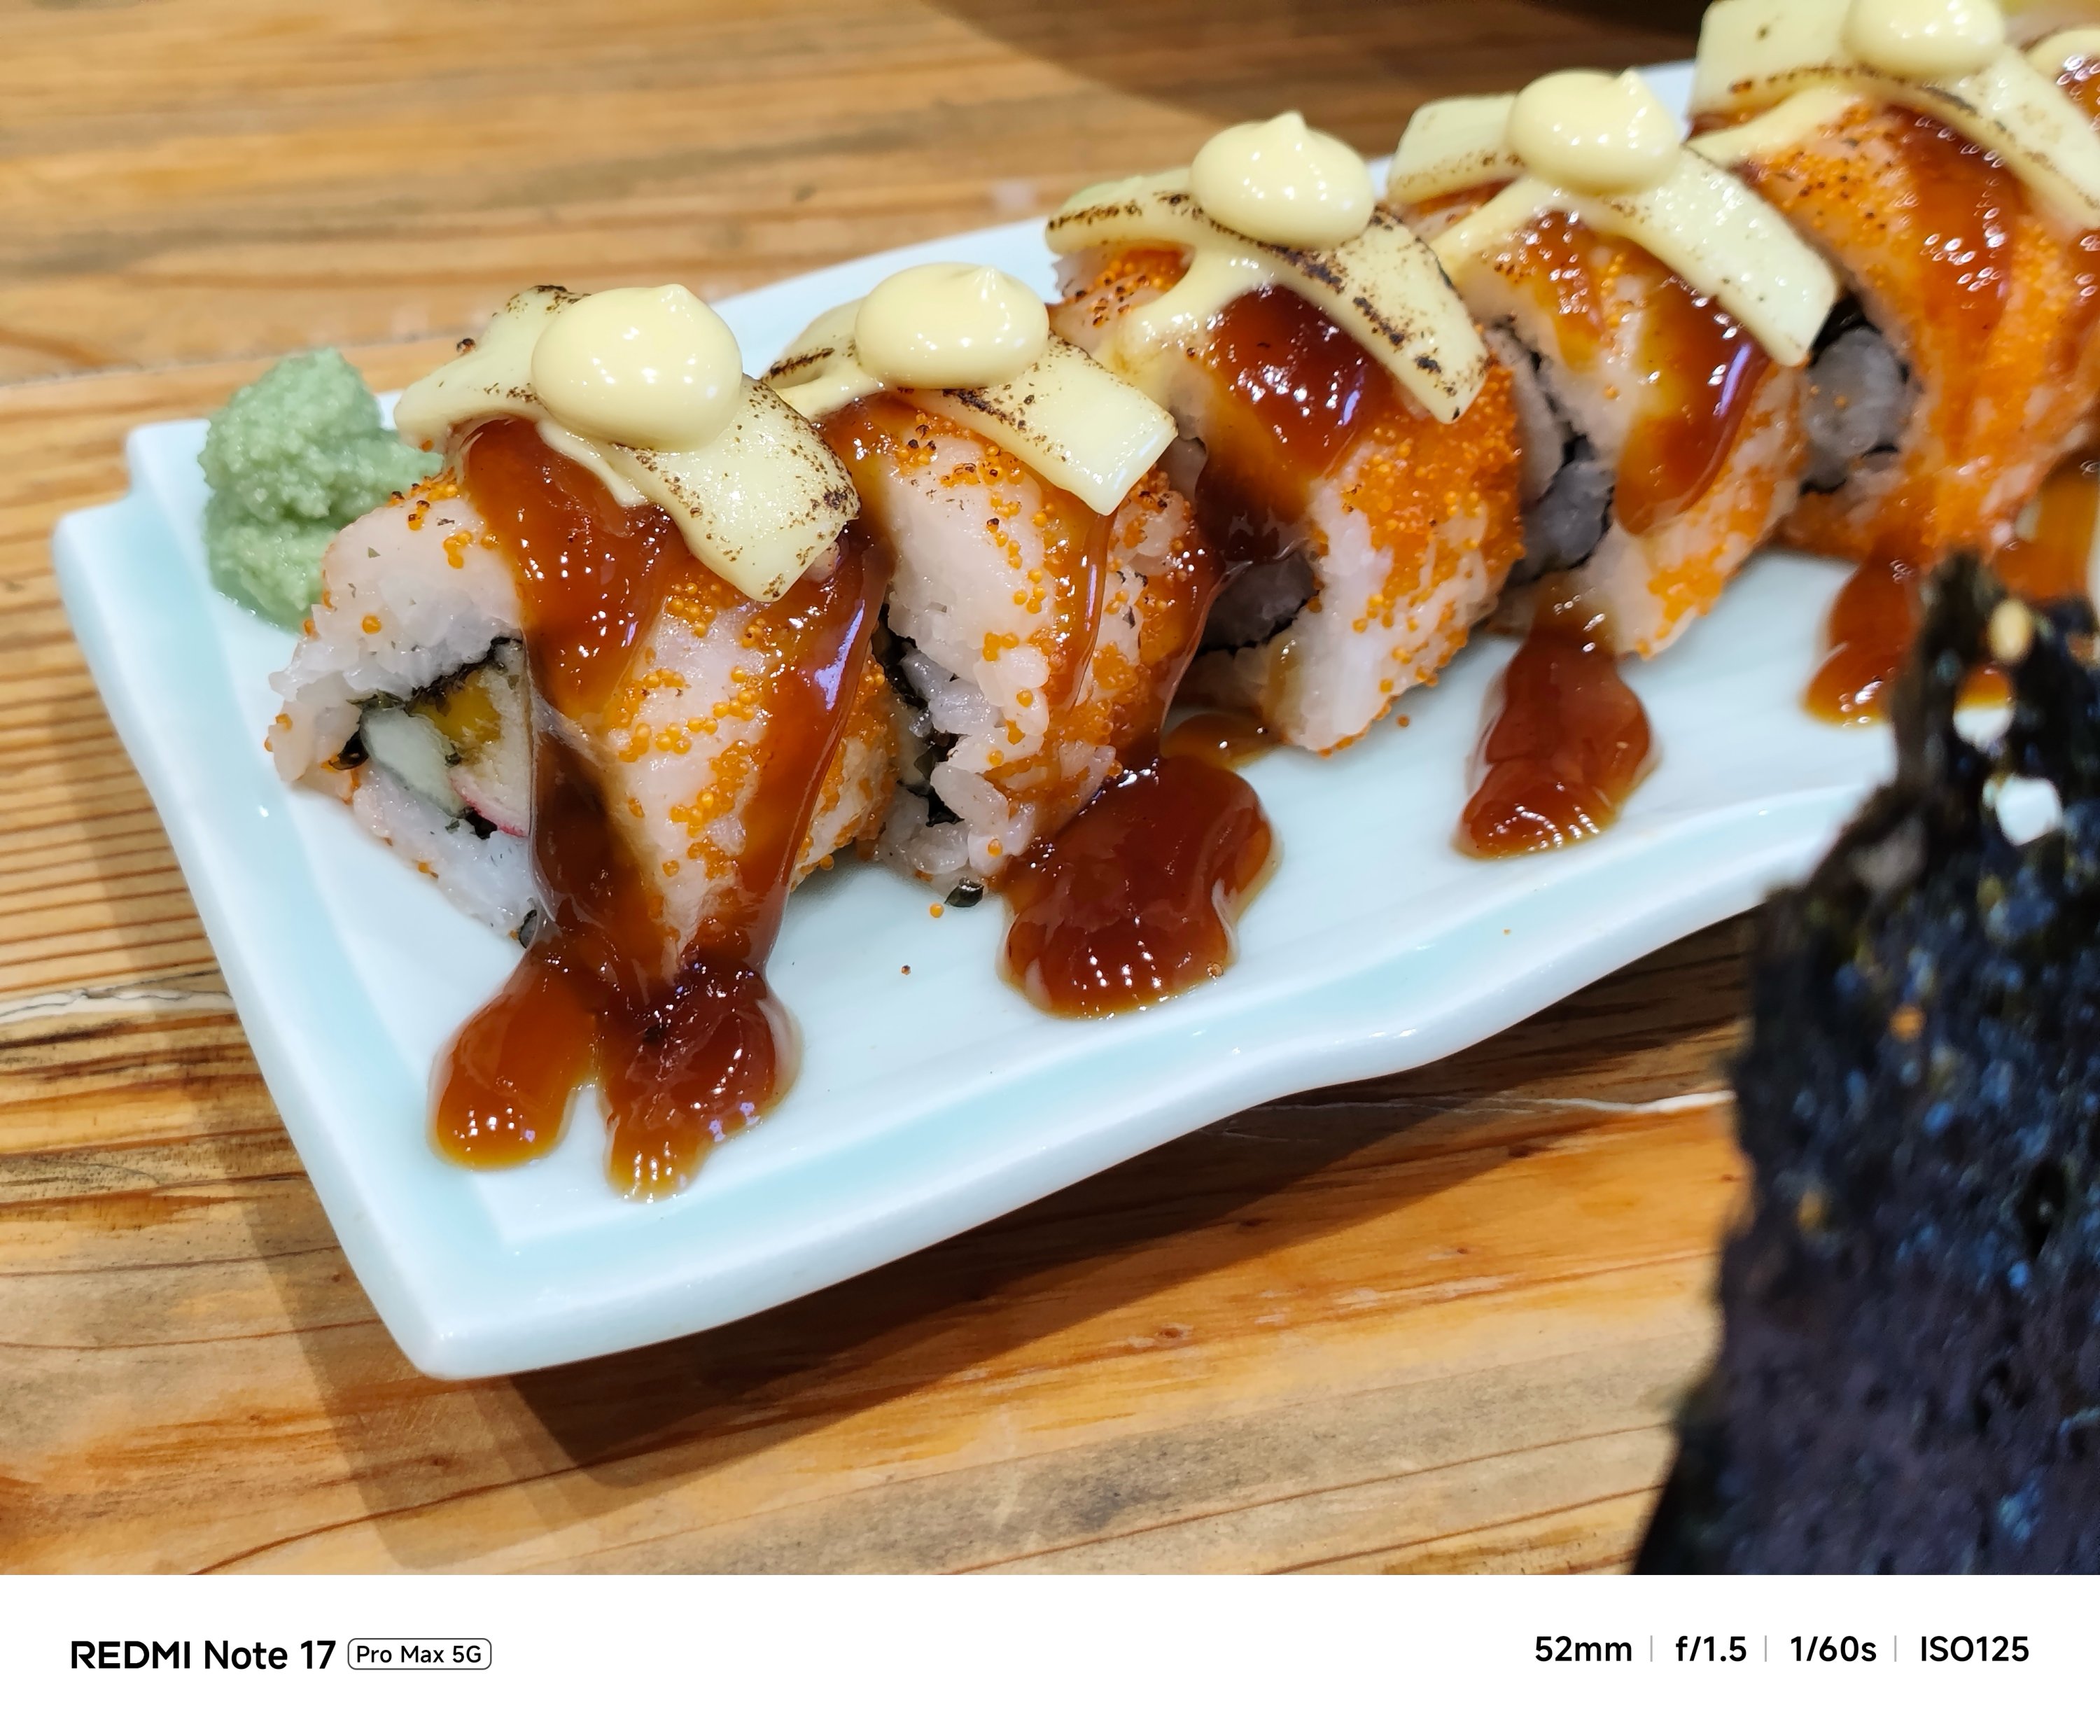
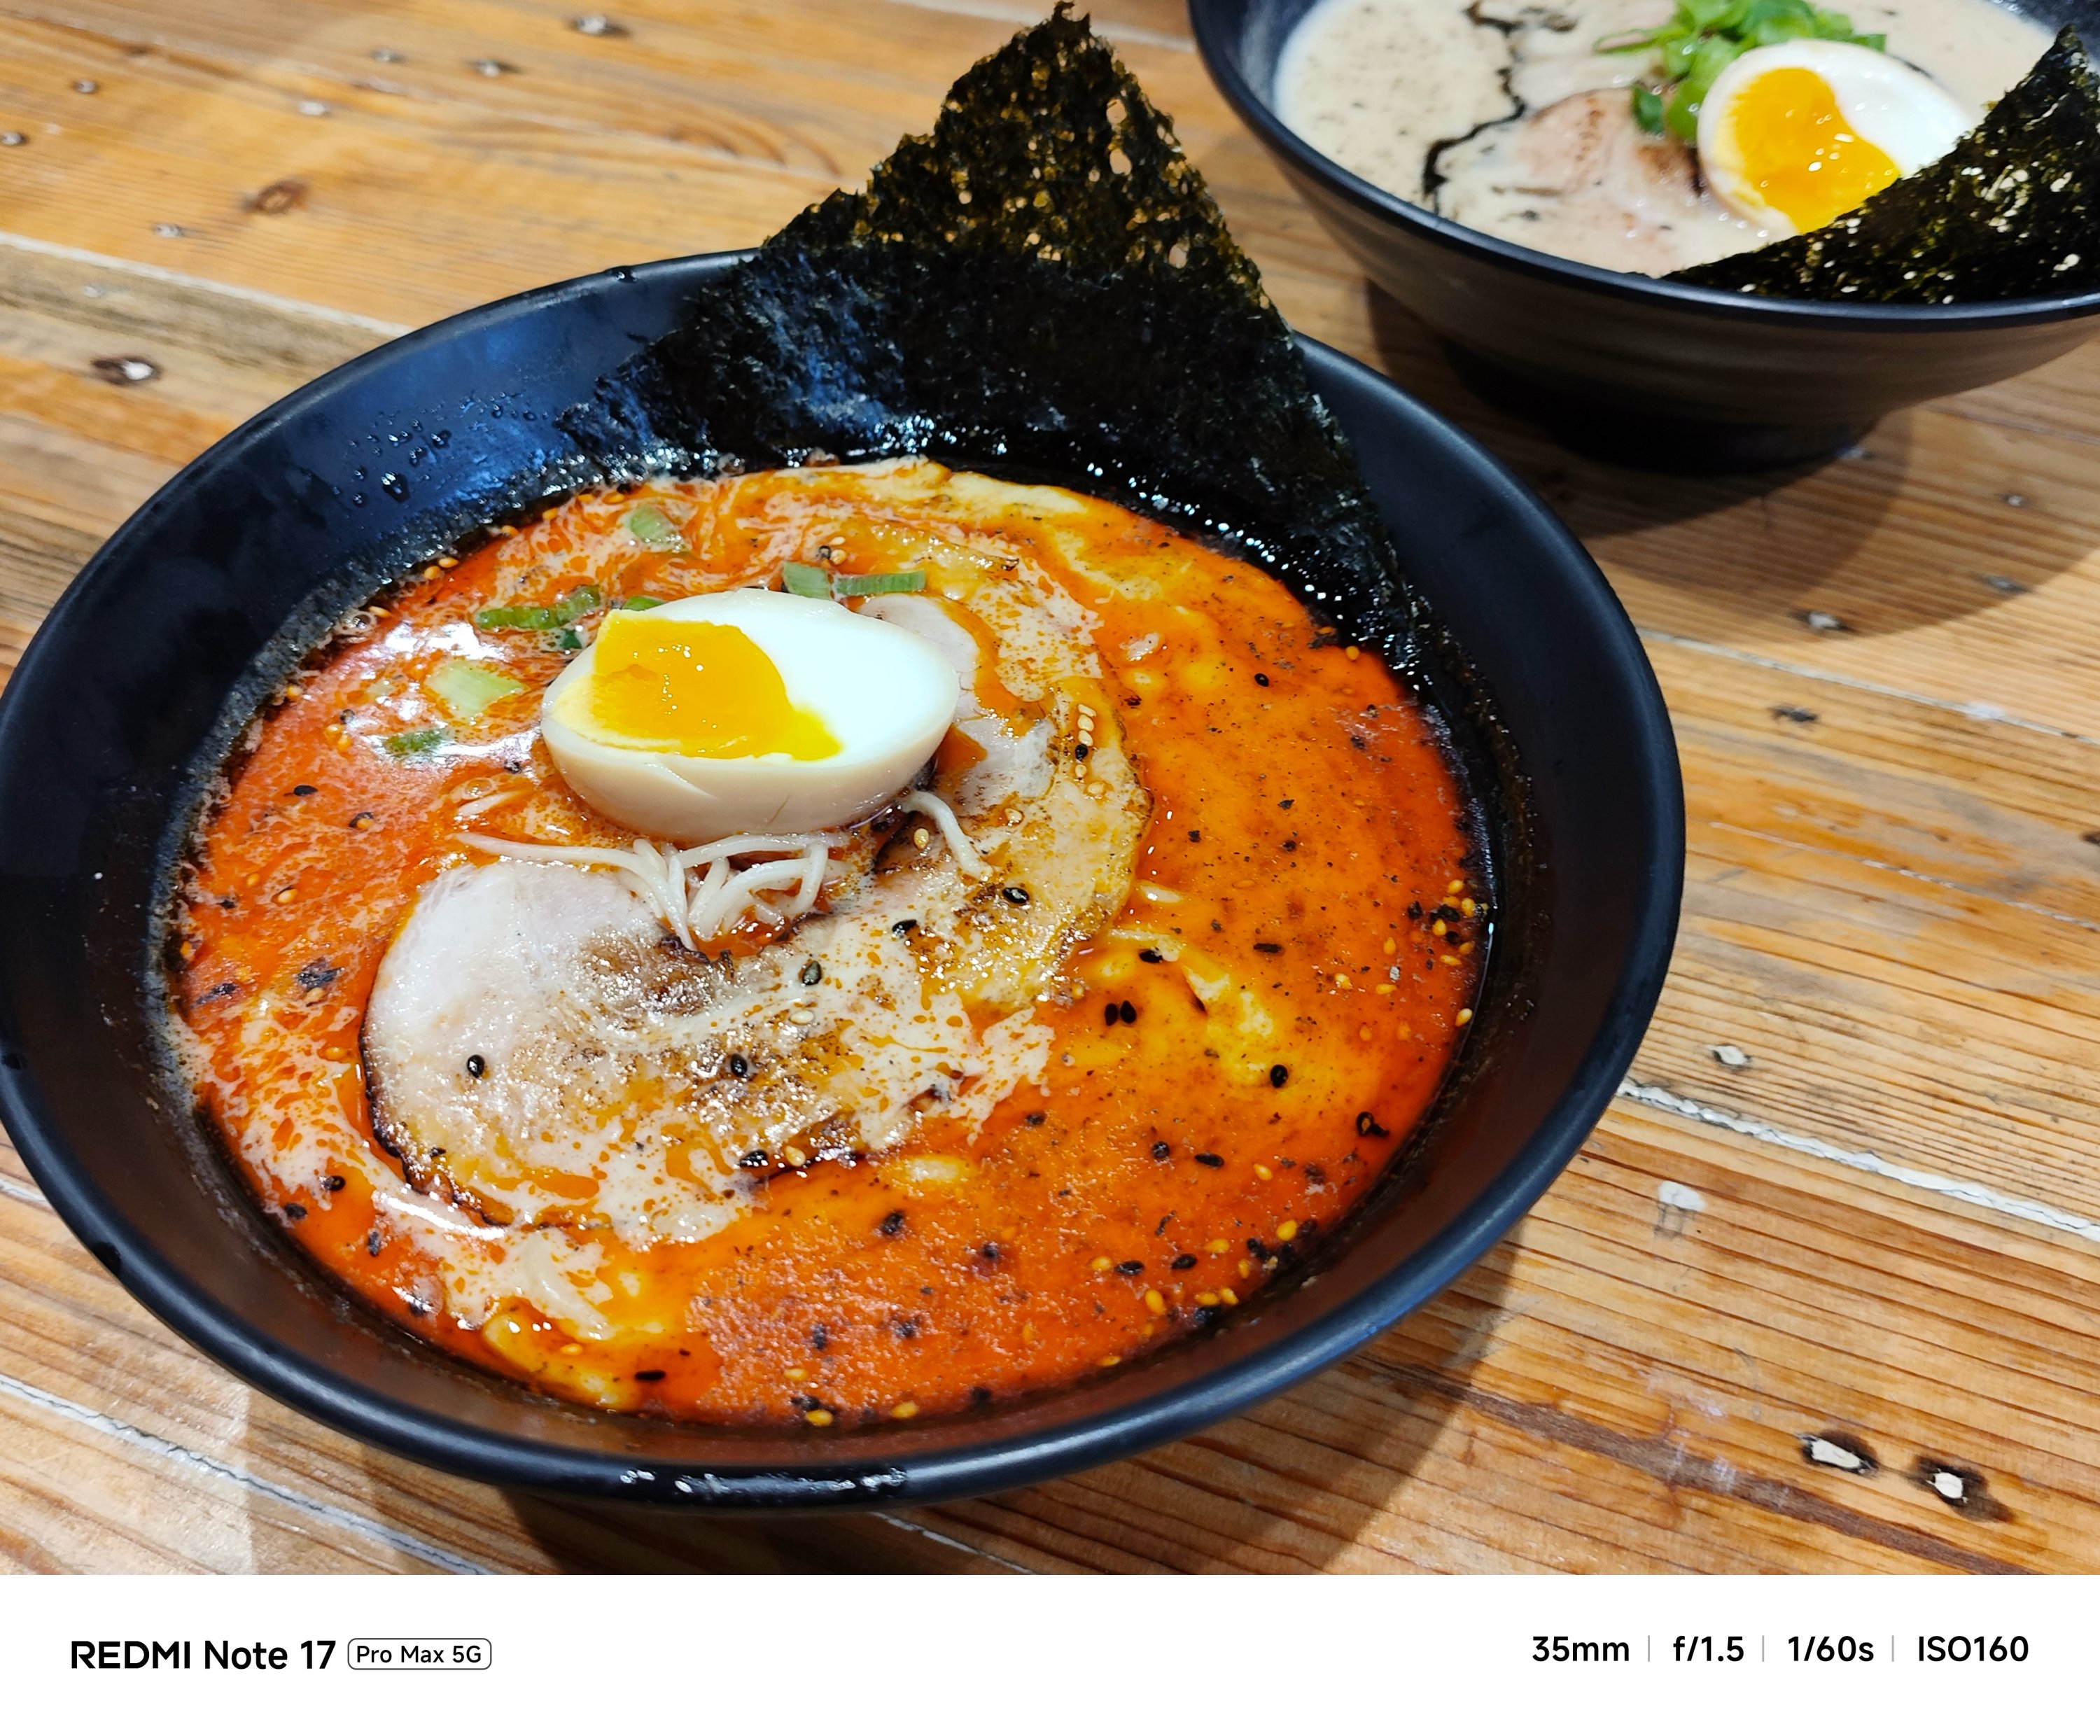

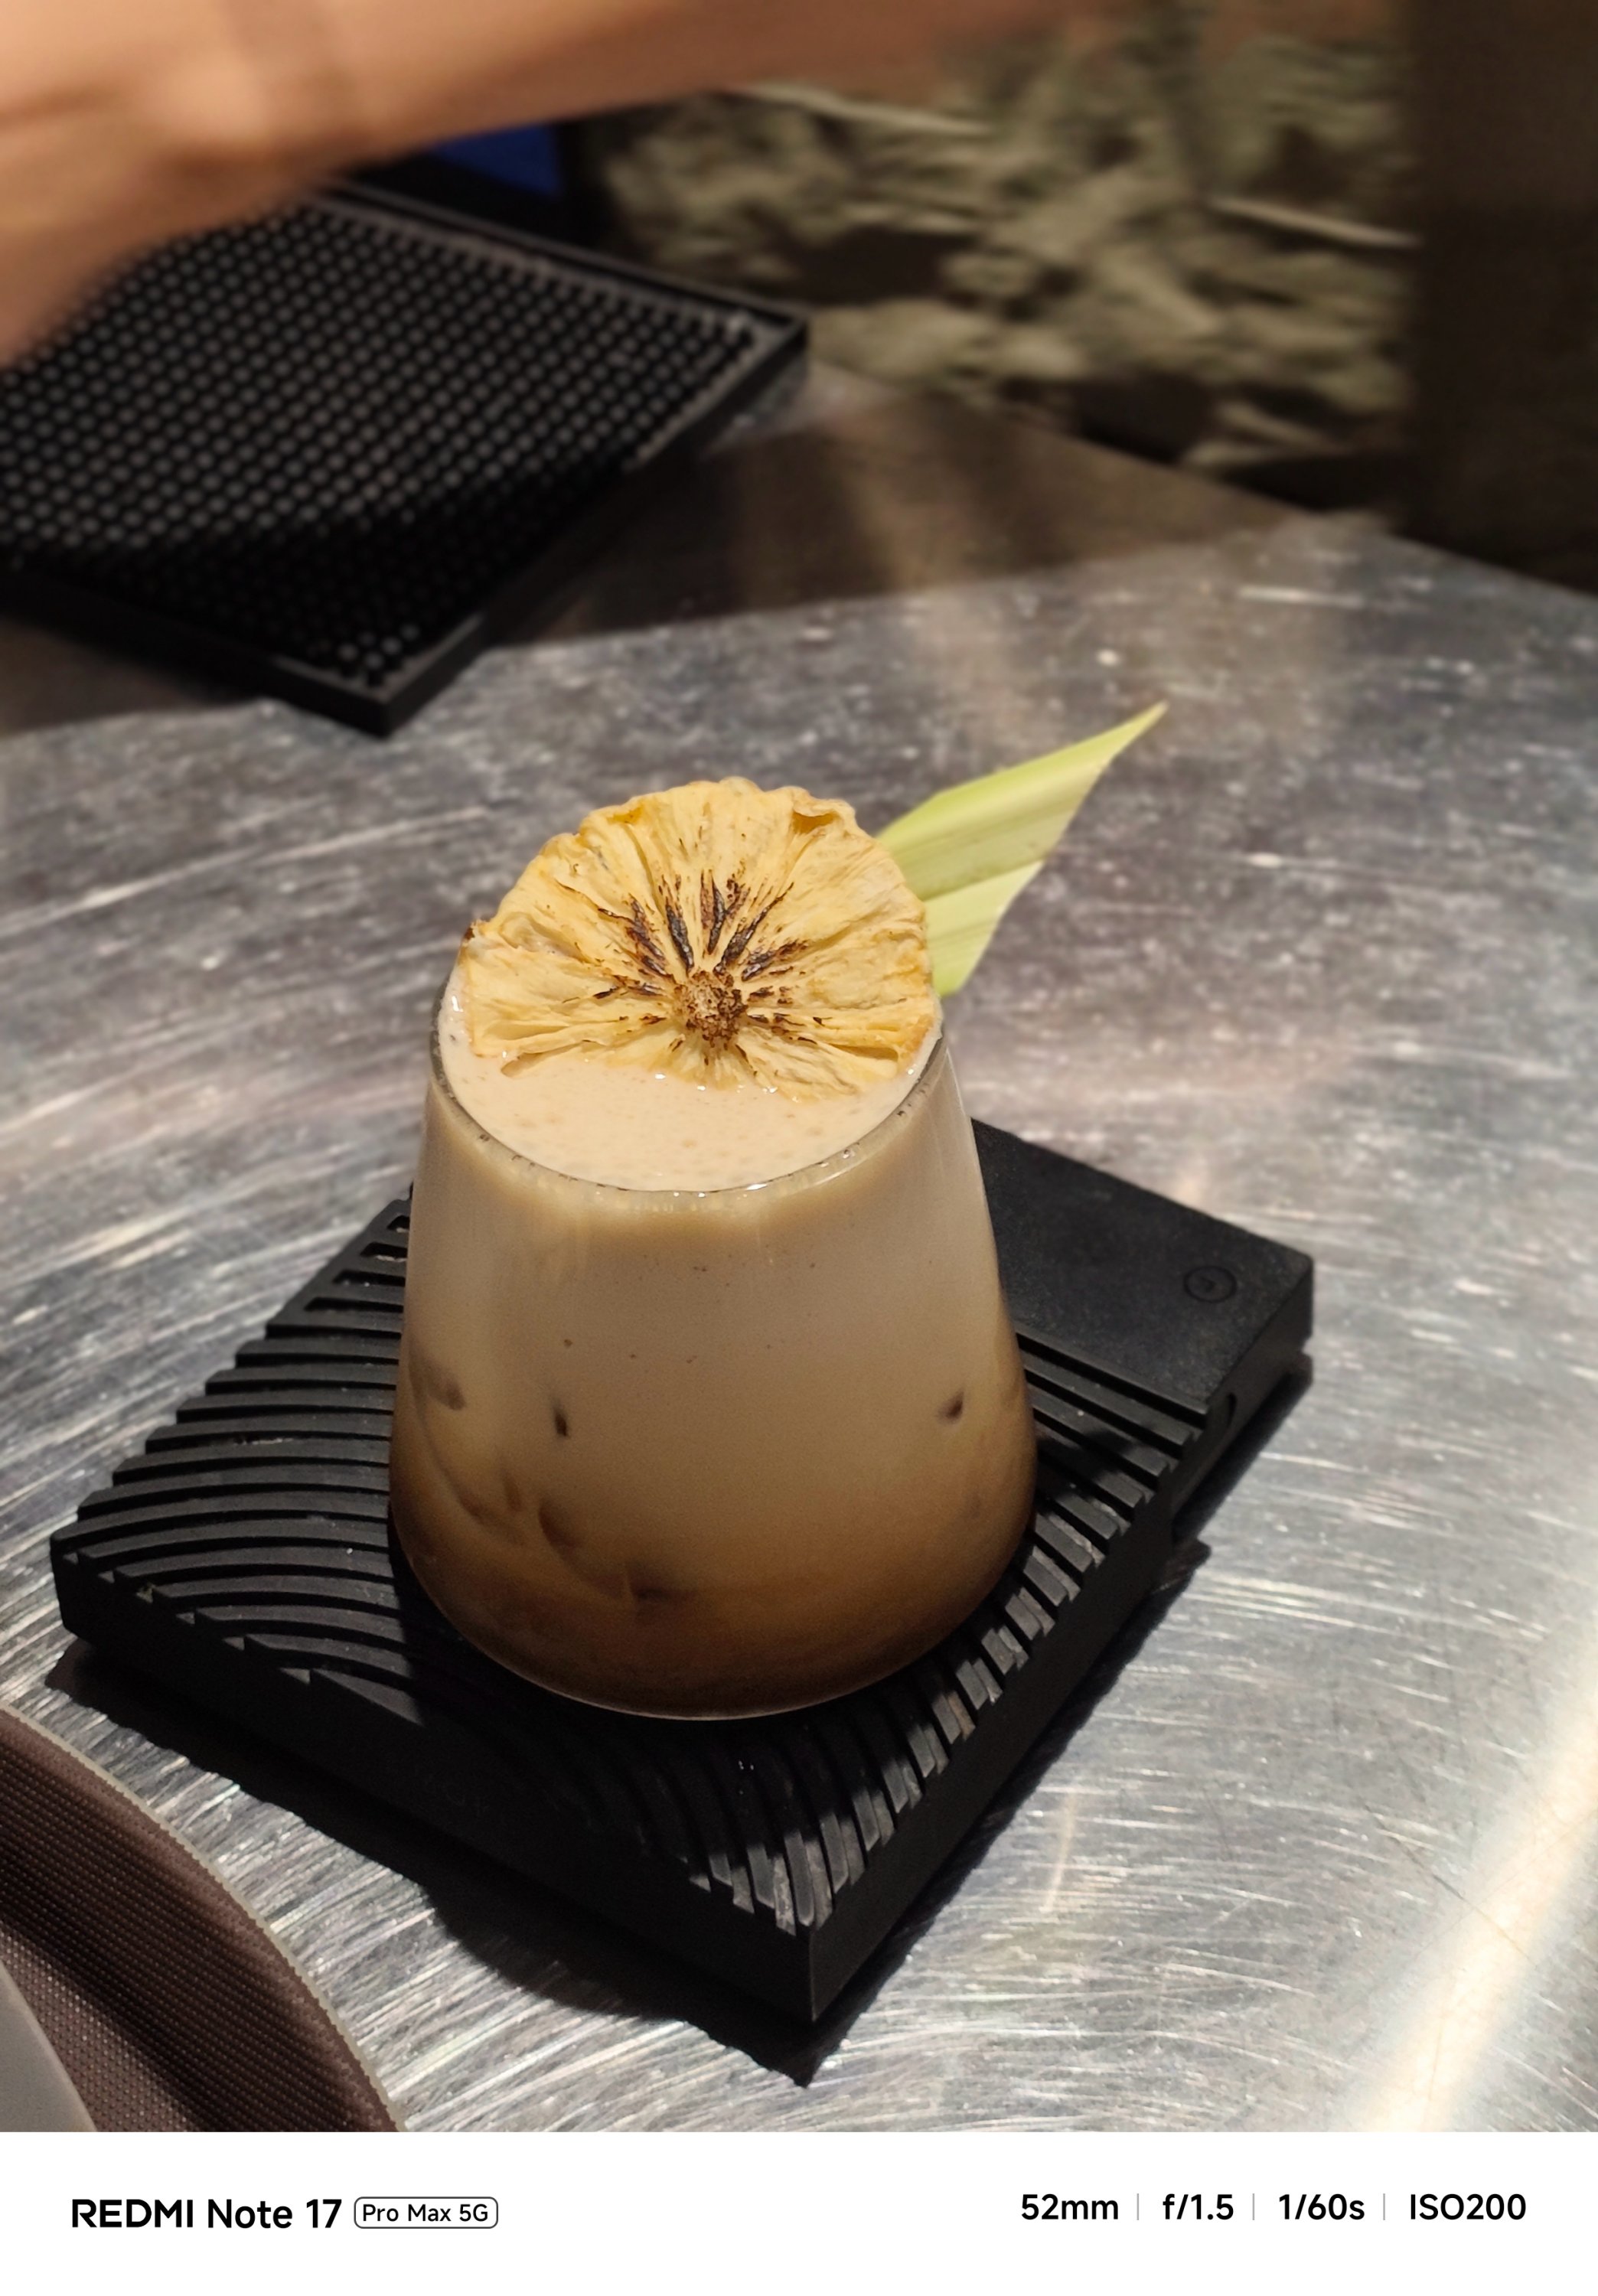
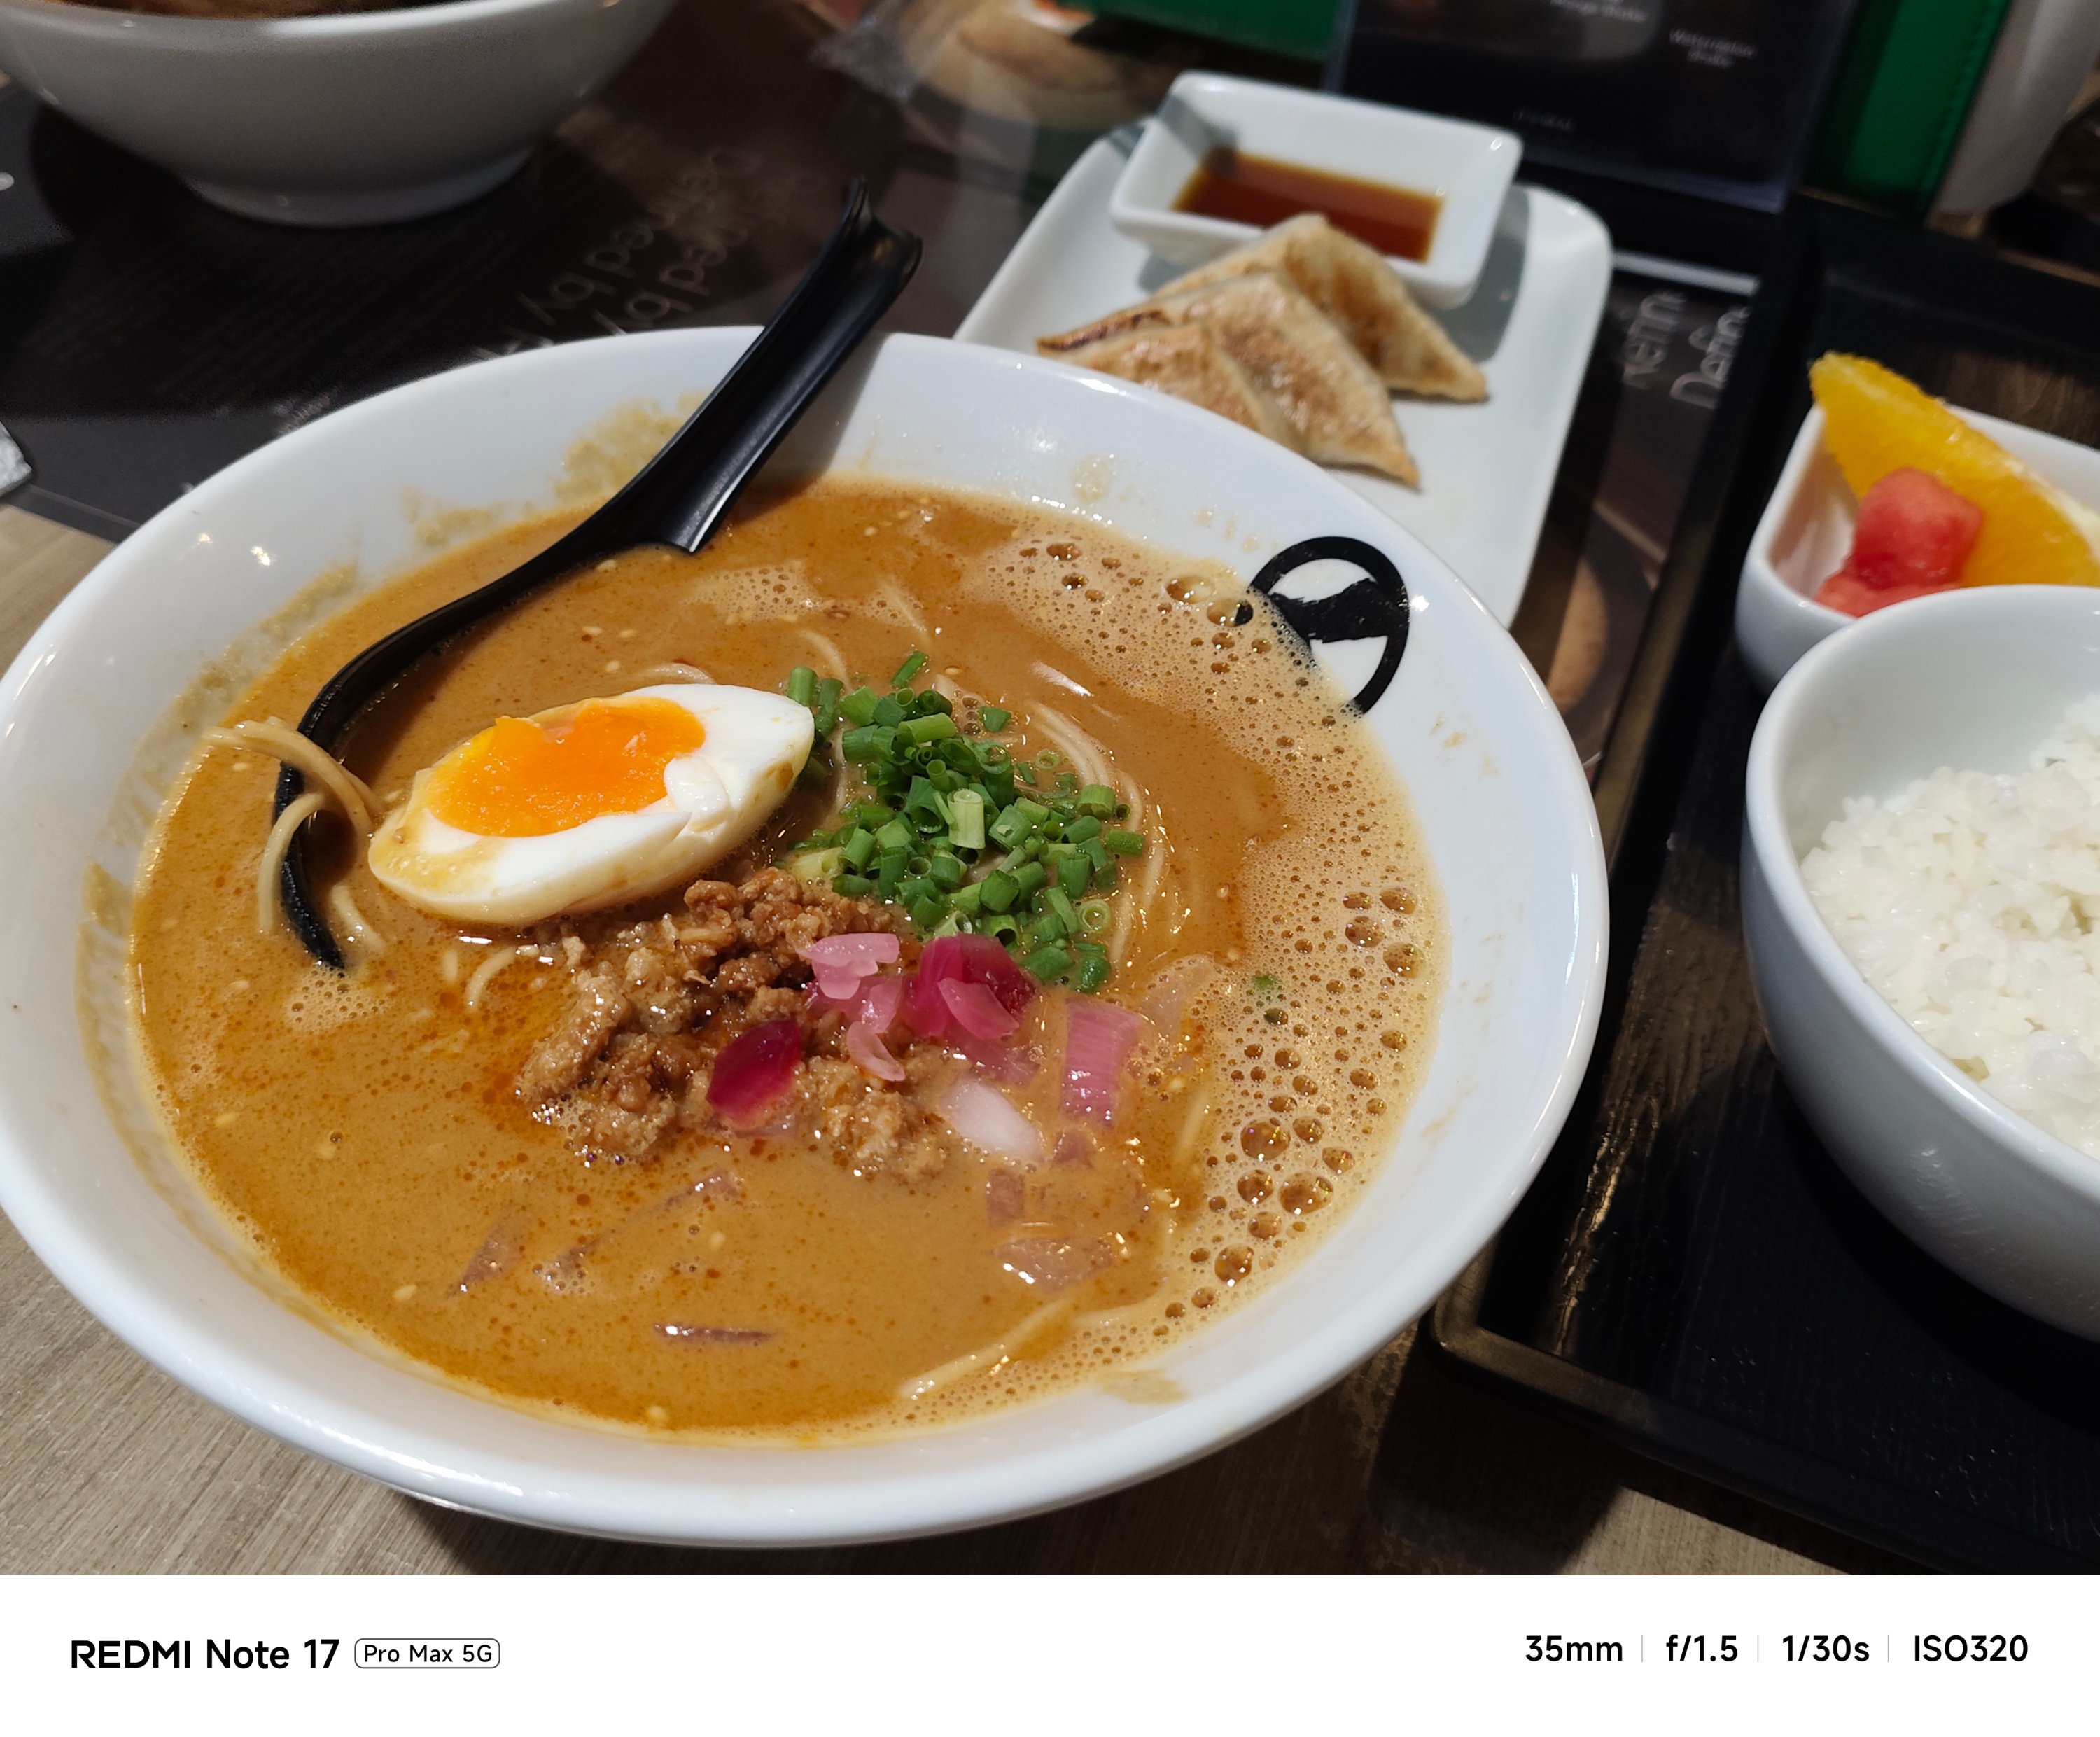

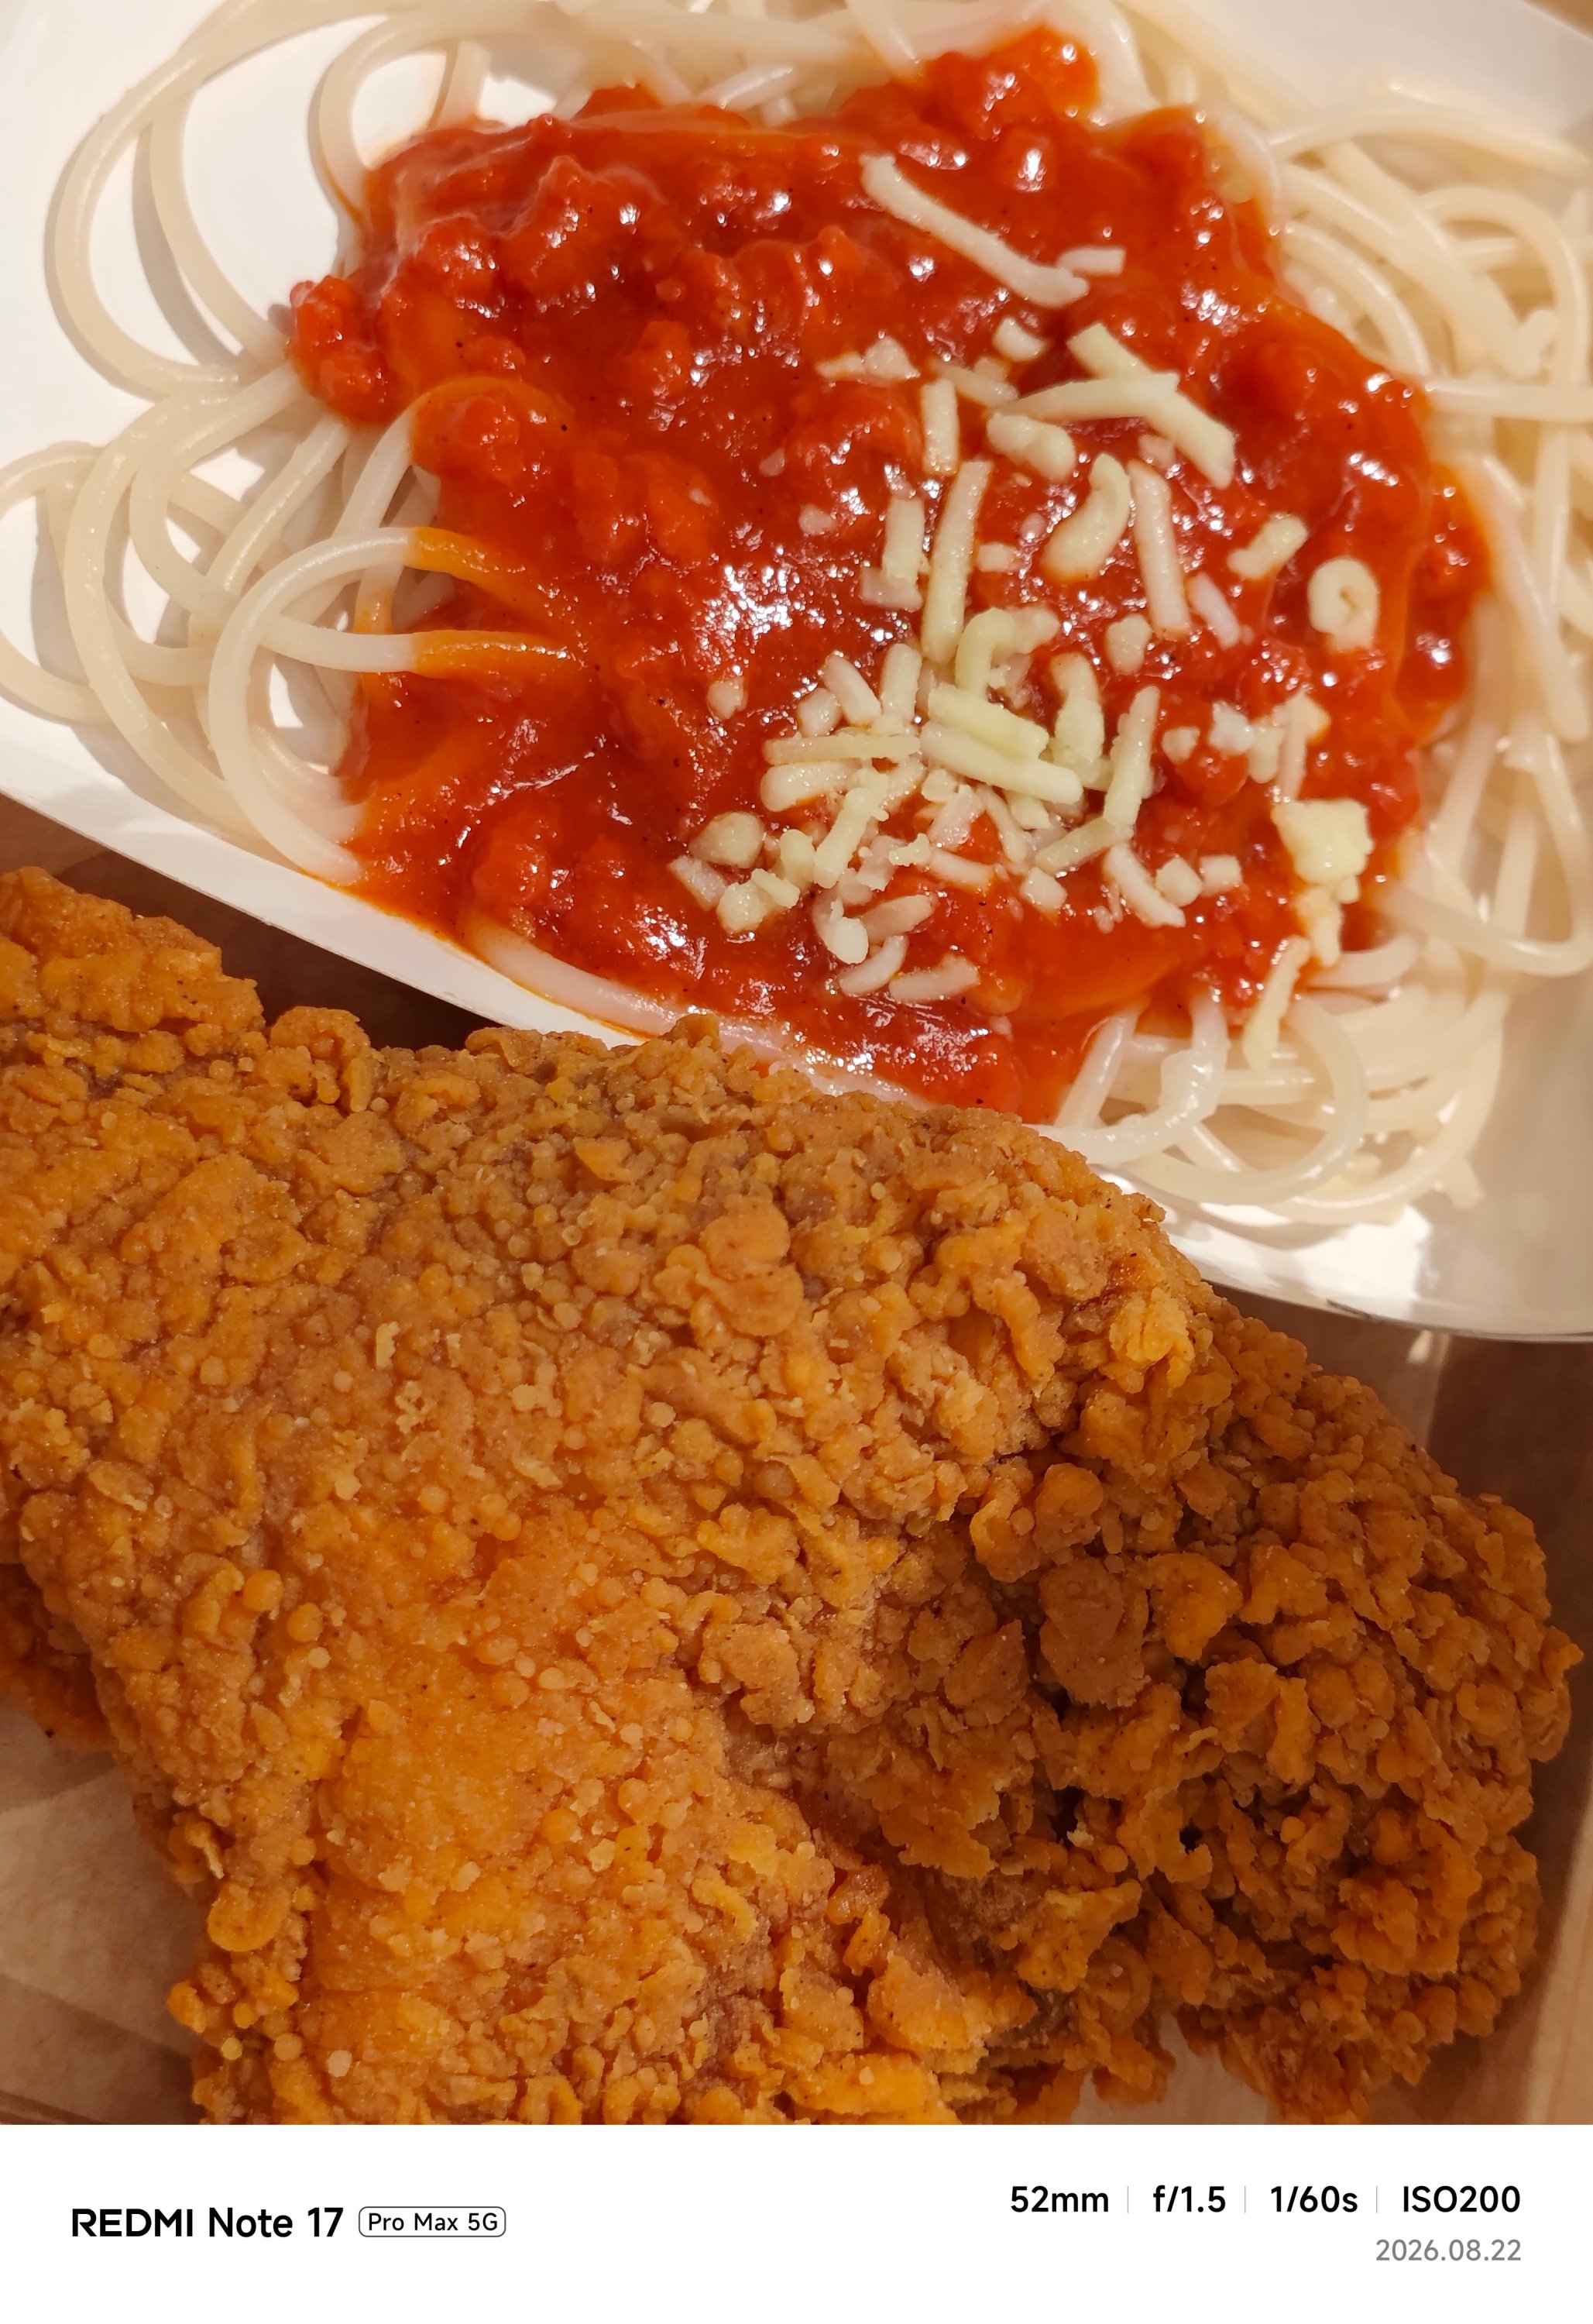



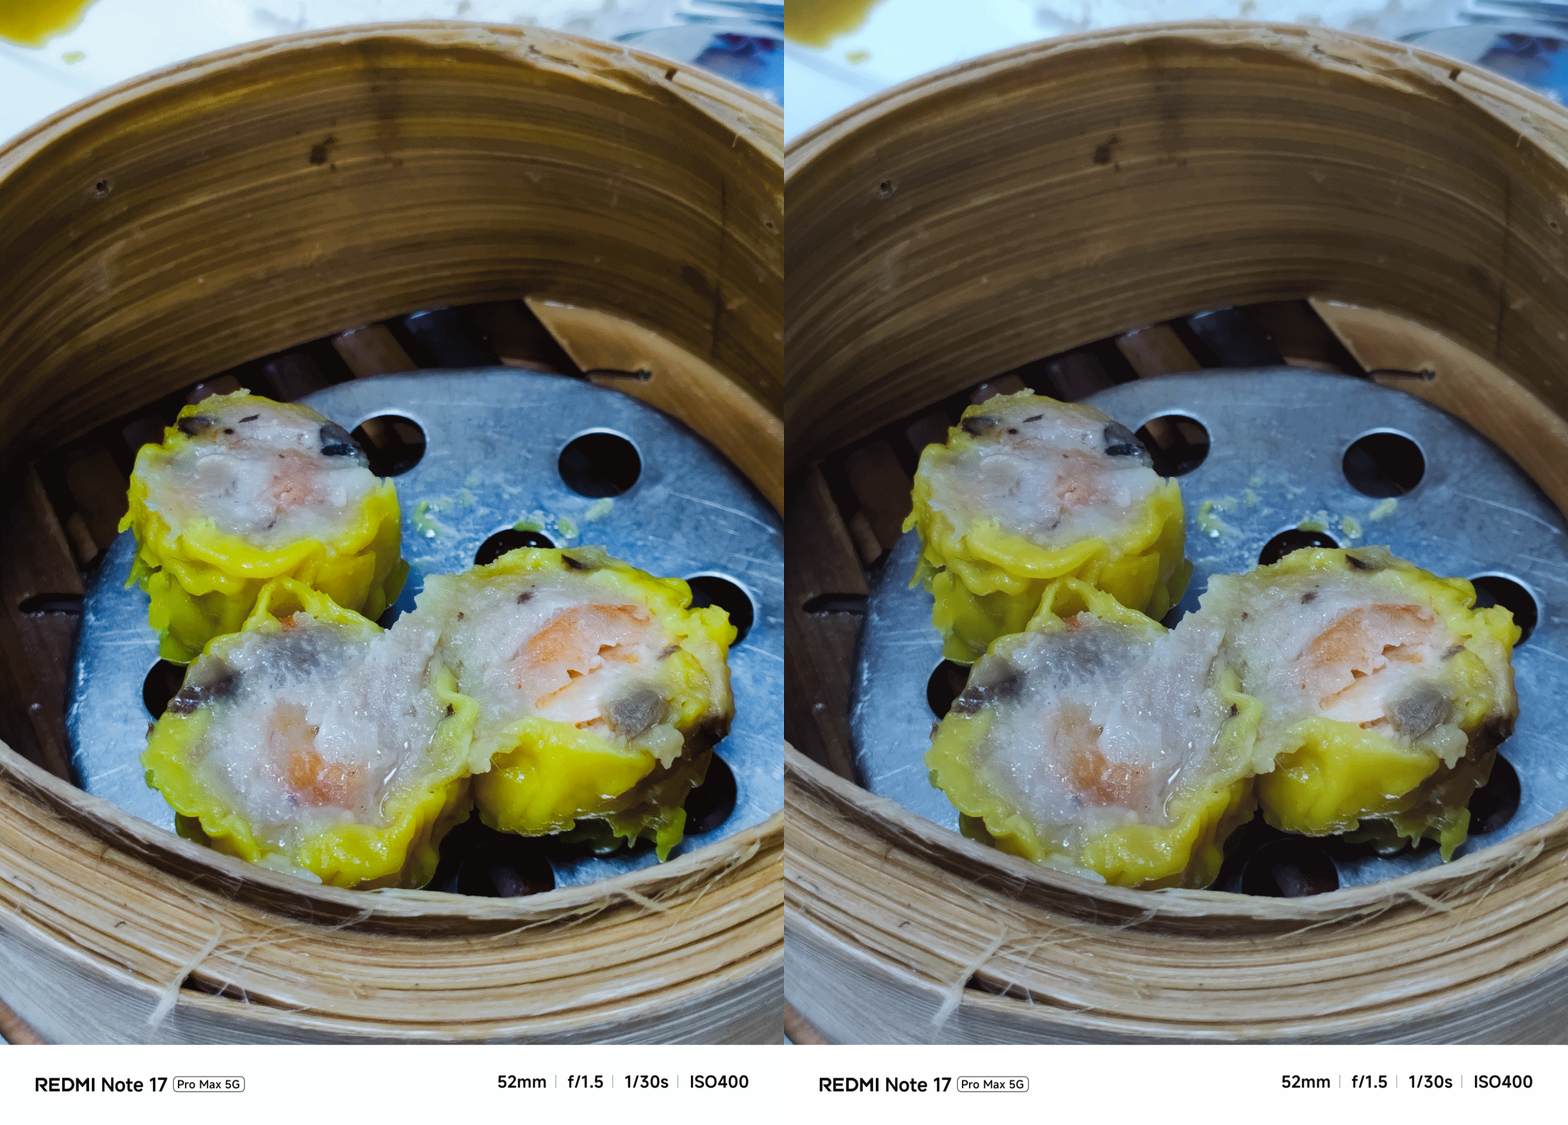
My short camera comparison proves that a different SoC also produces a different image output. This is very apparent when taking food shots.
**
Left – REDMI Note 17 Pro Max
Right – REDMI Note 17 Pro
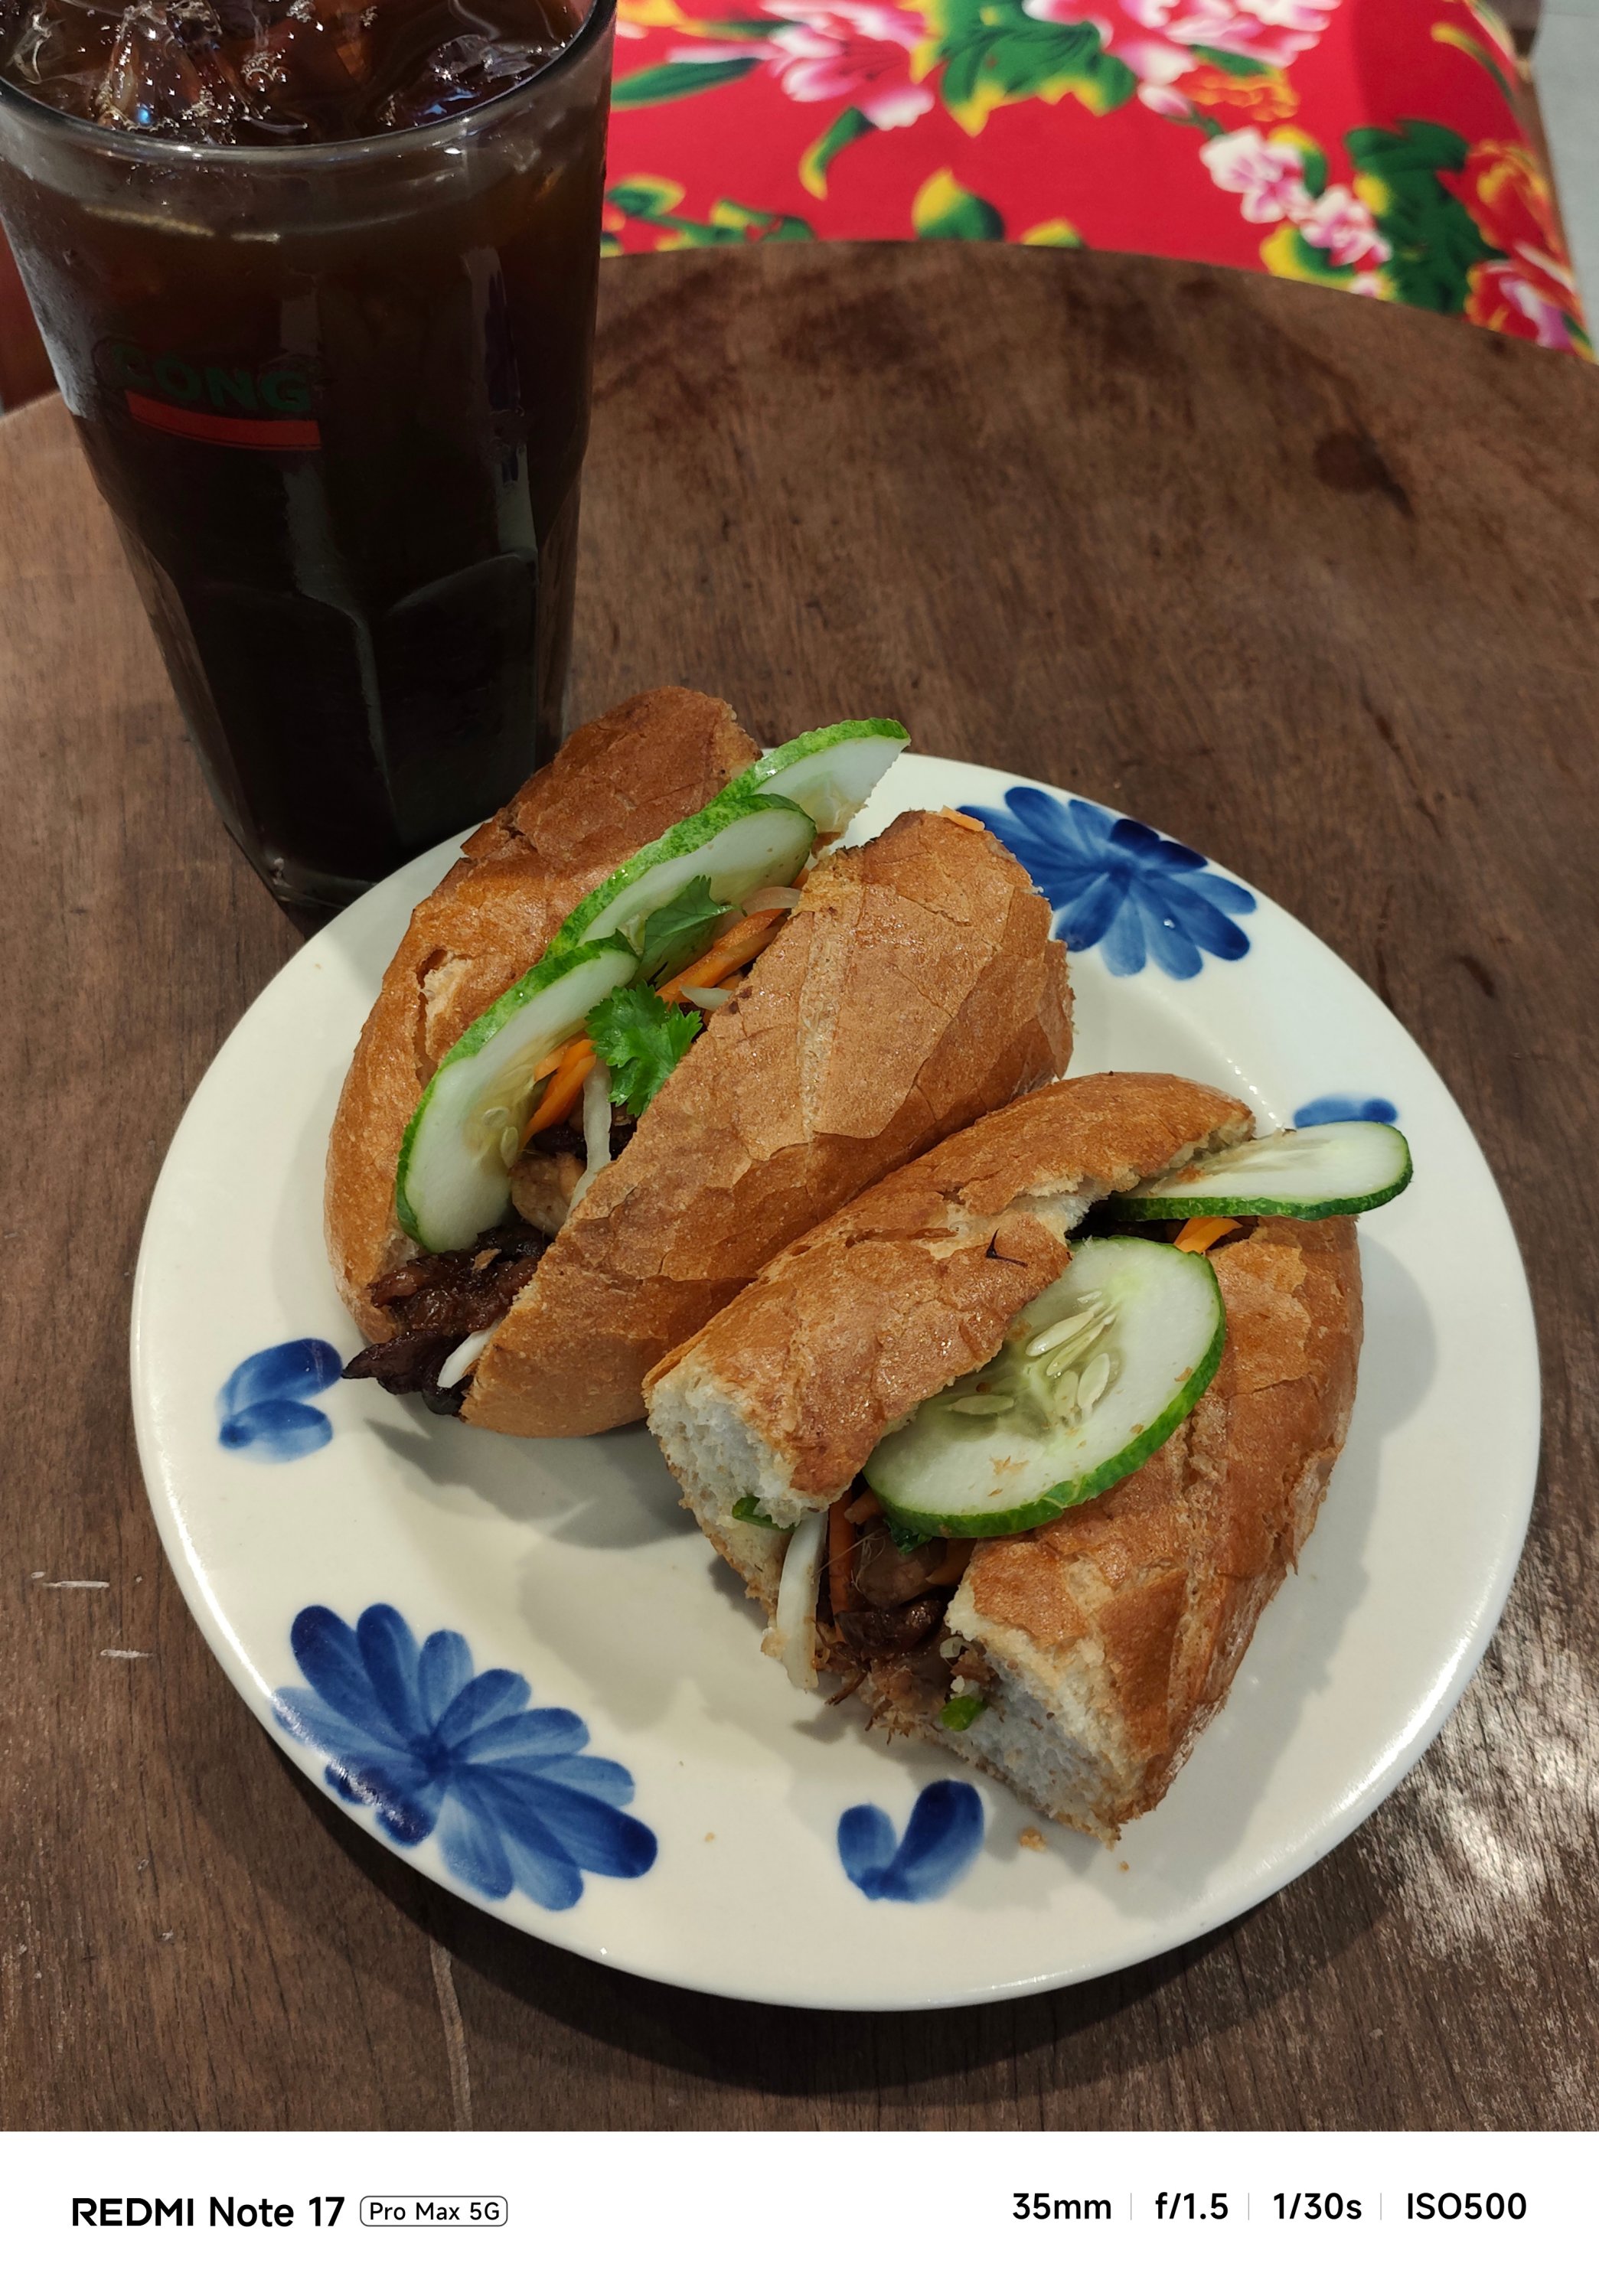
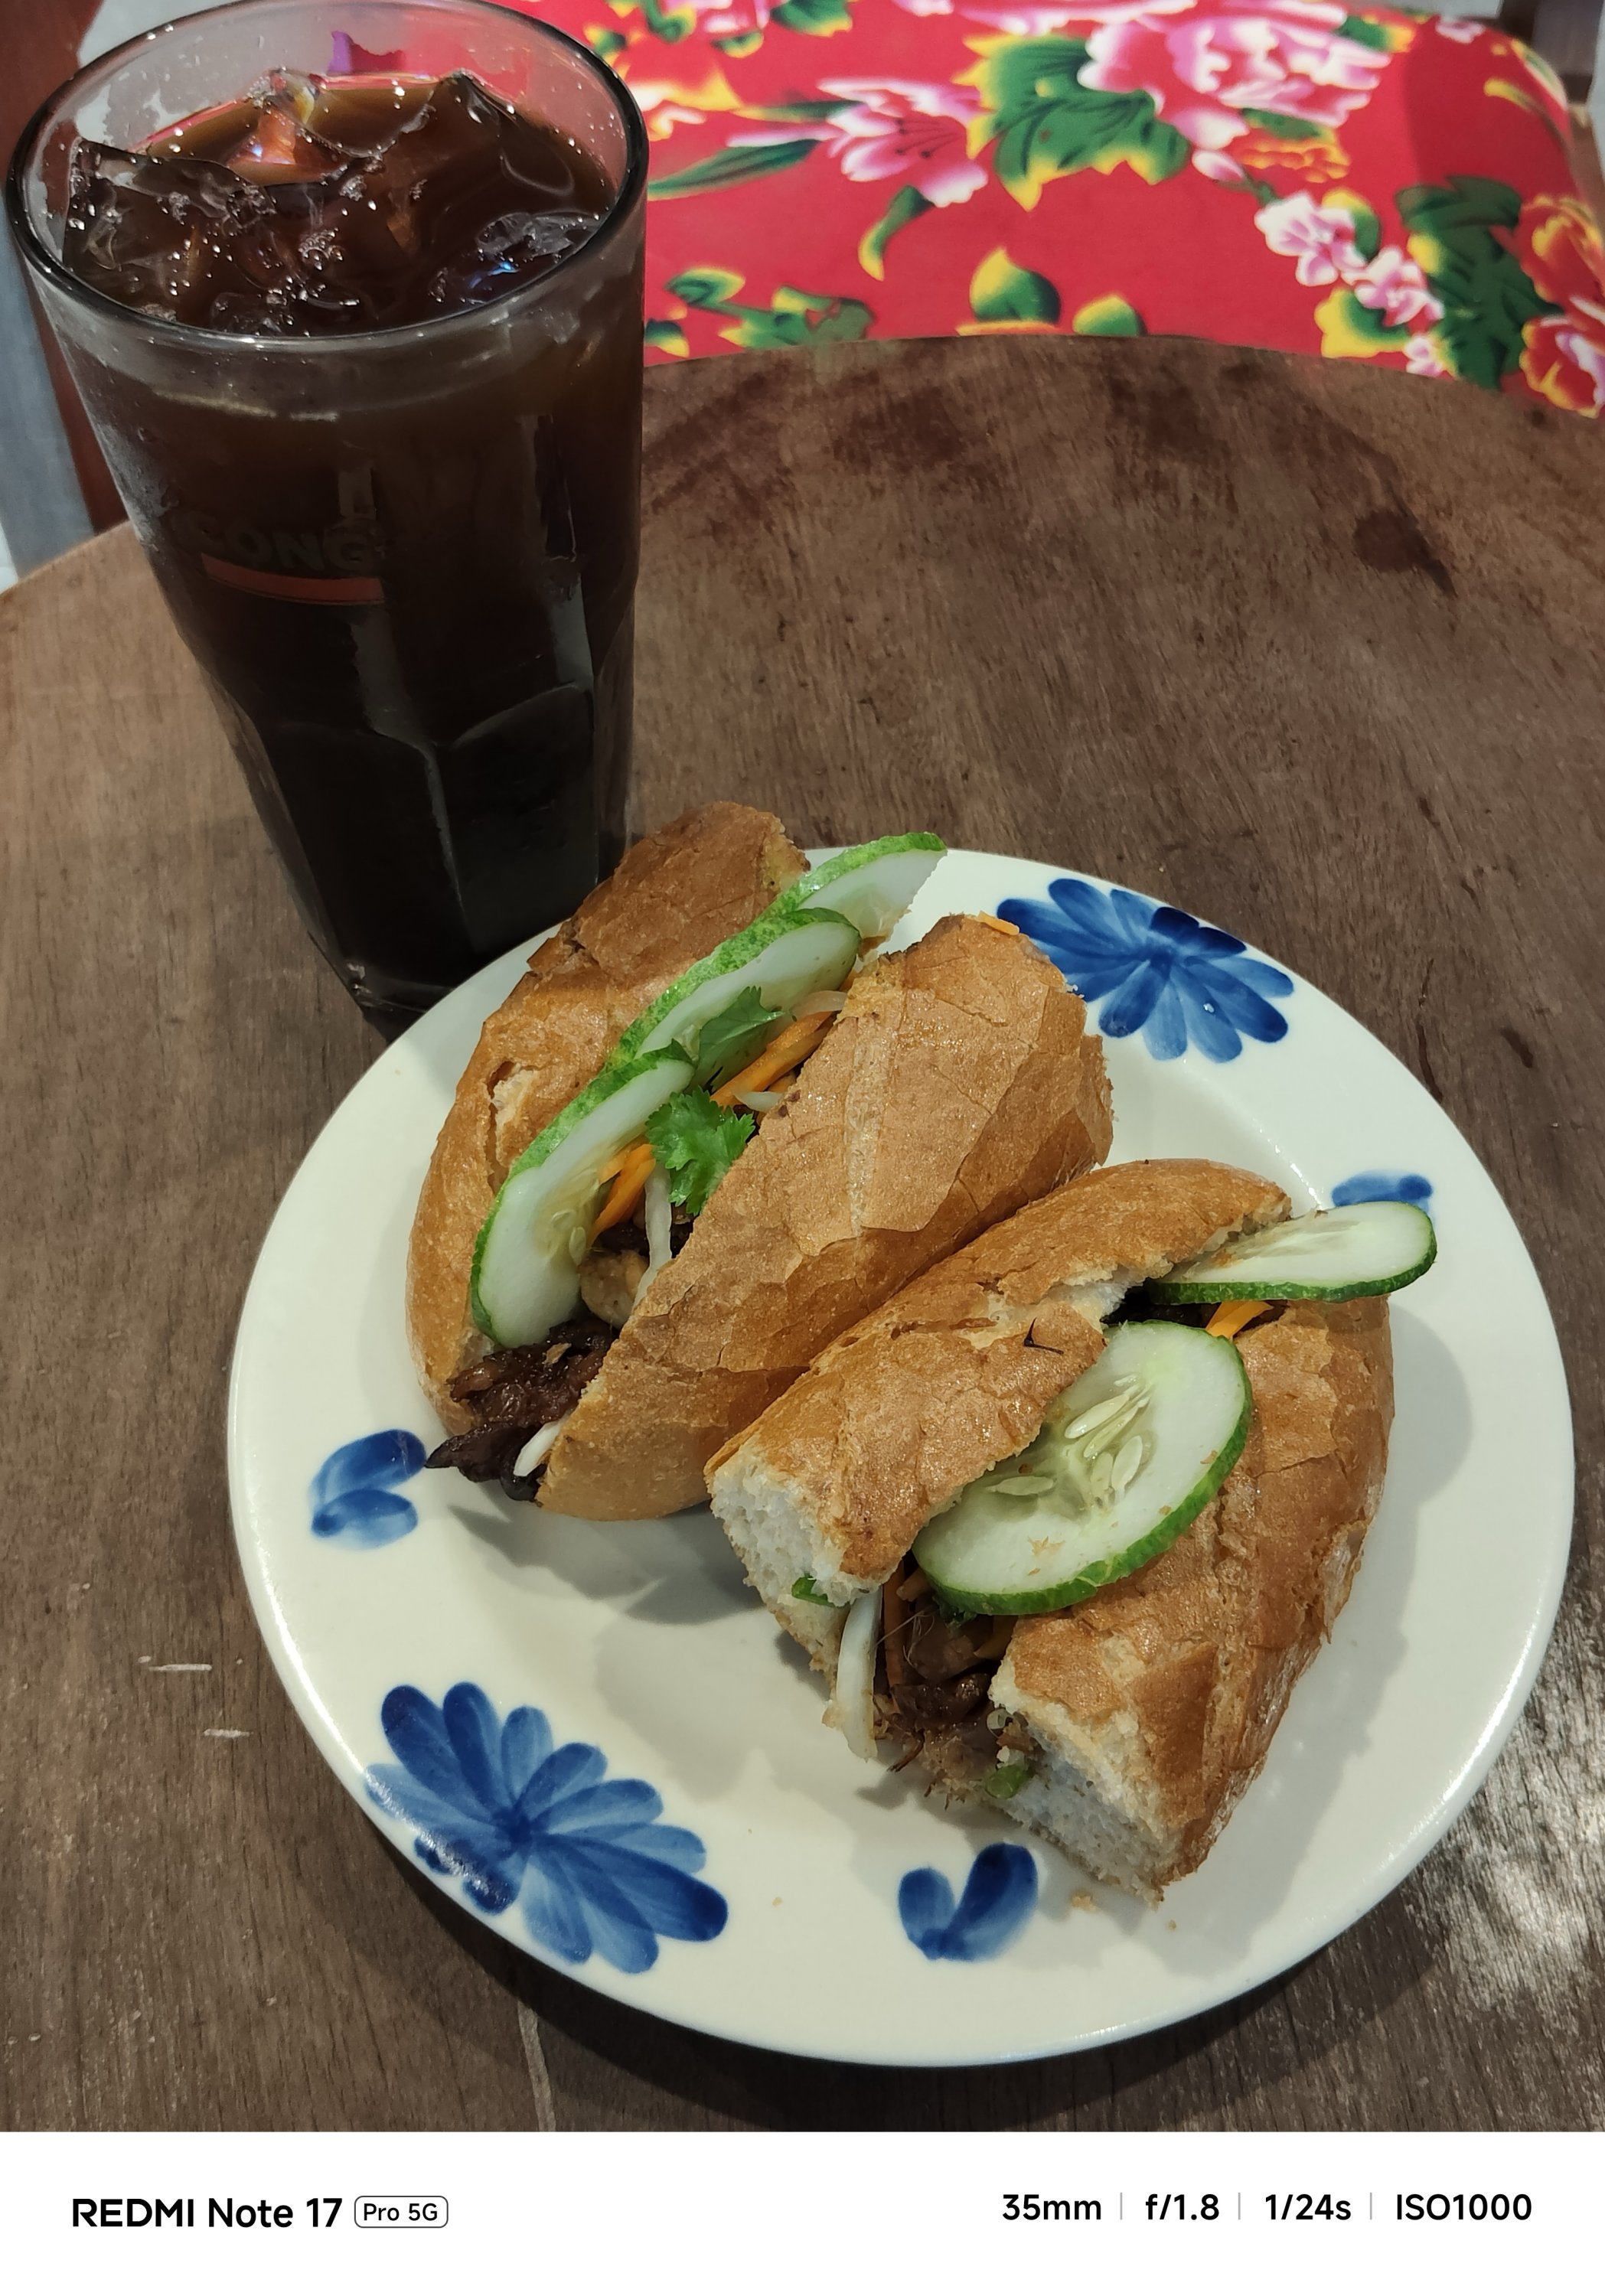
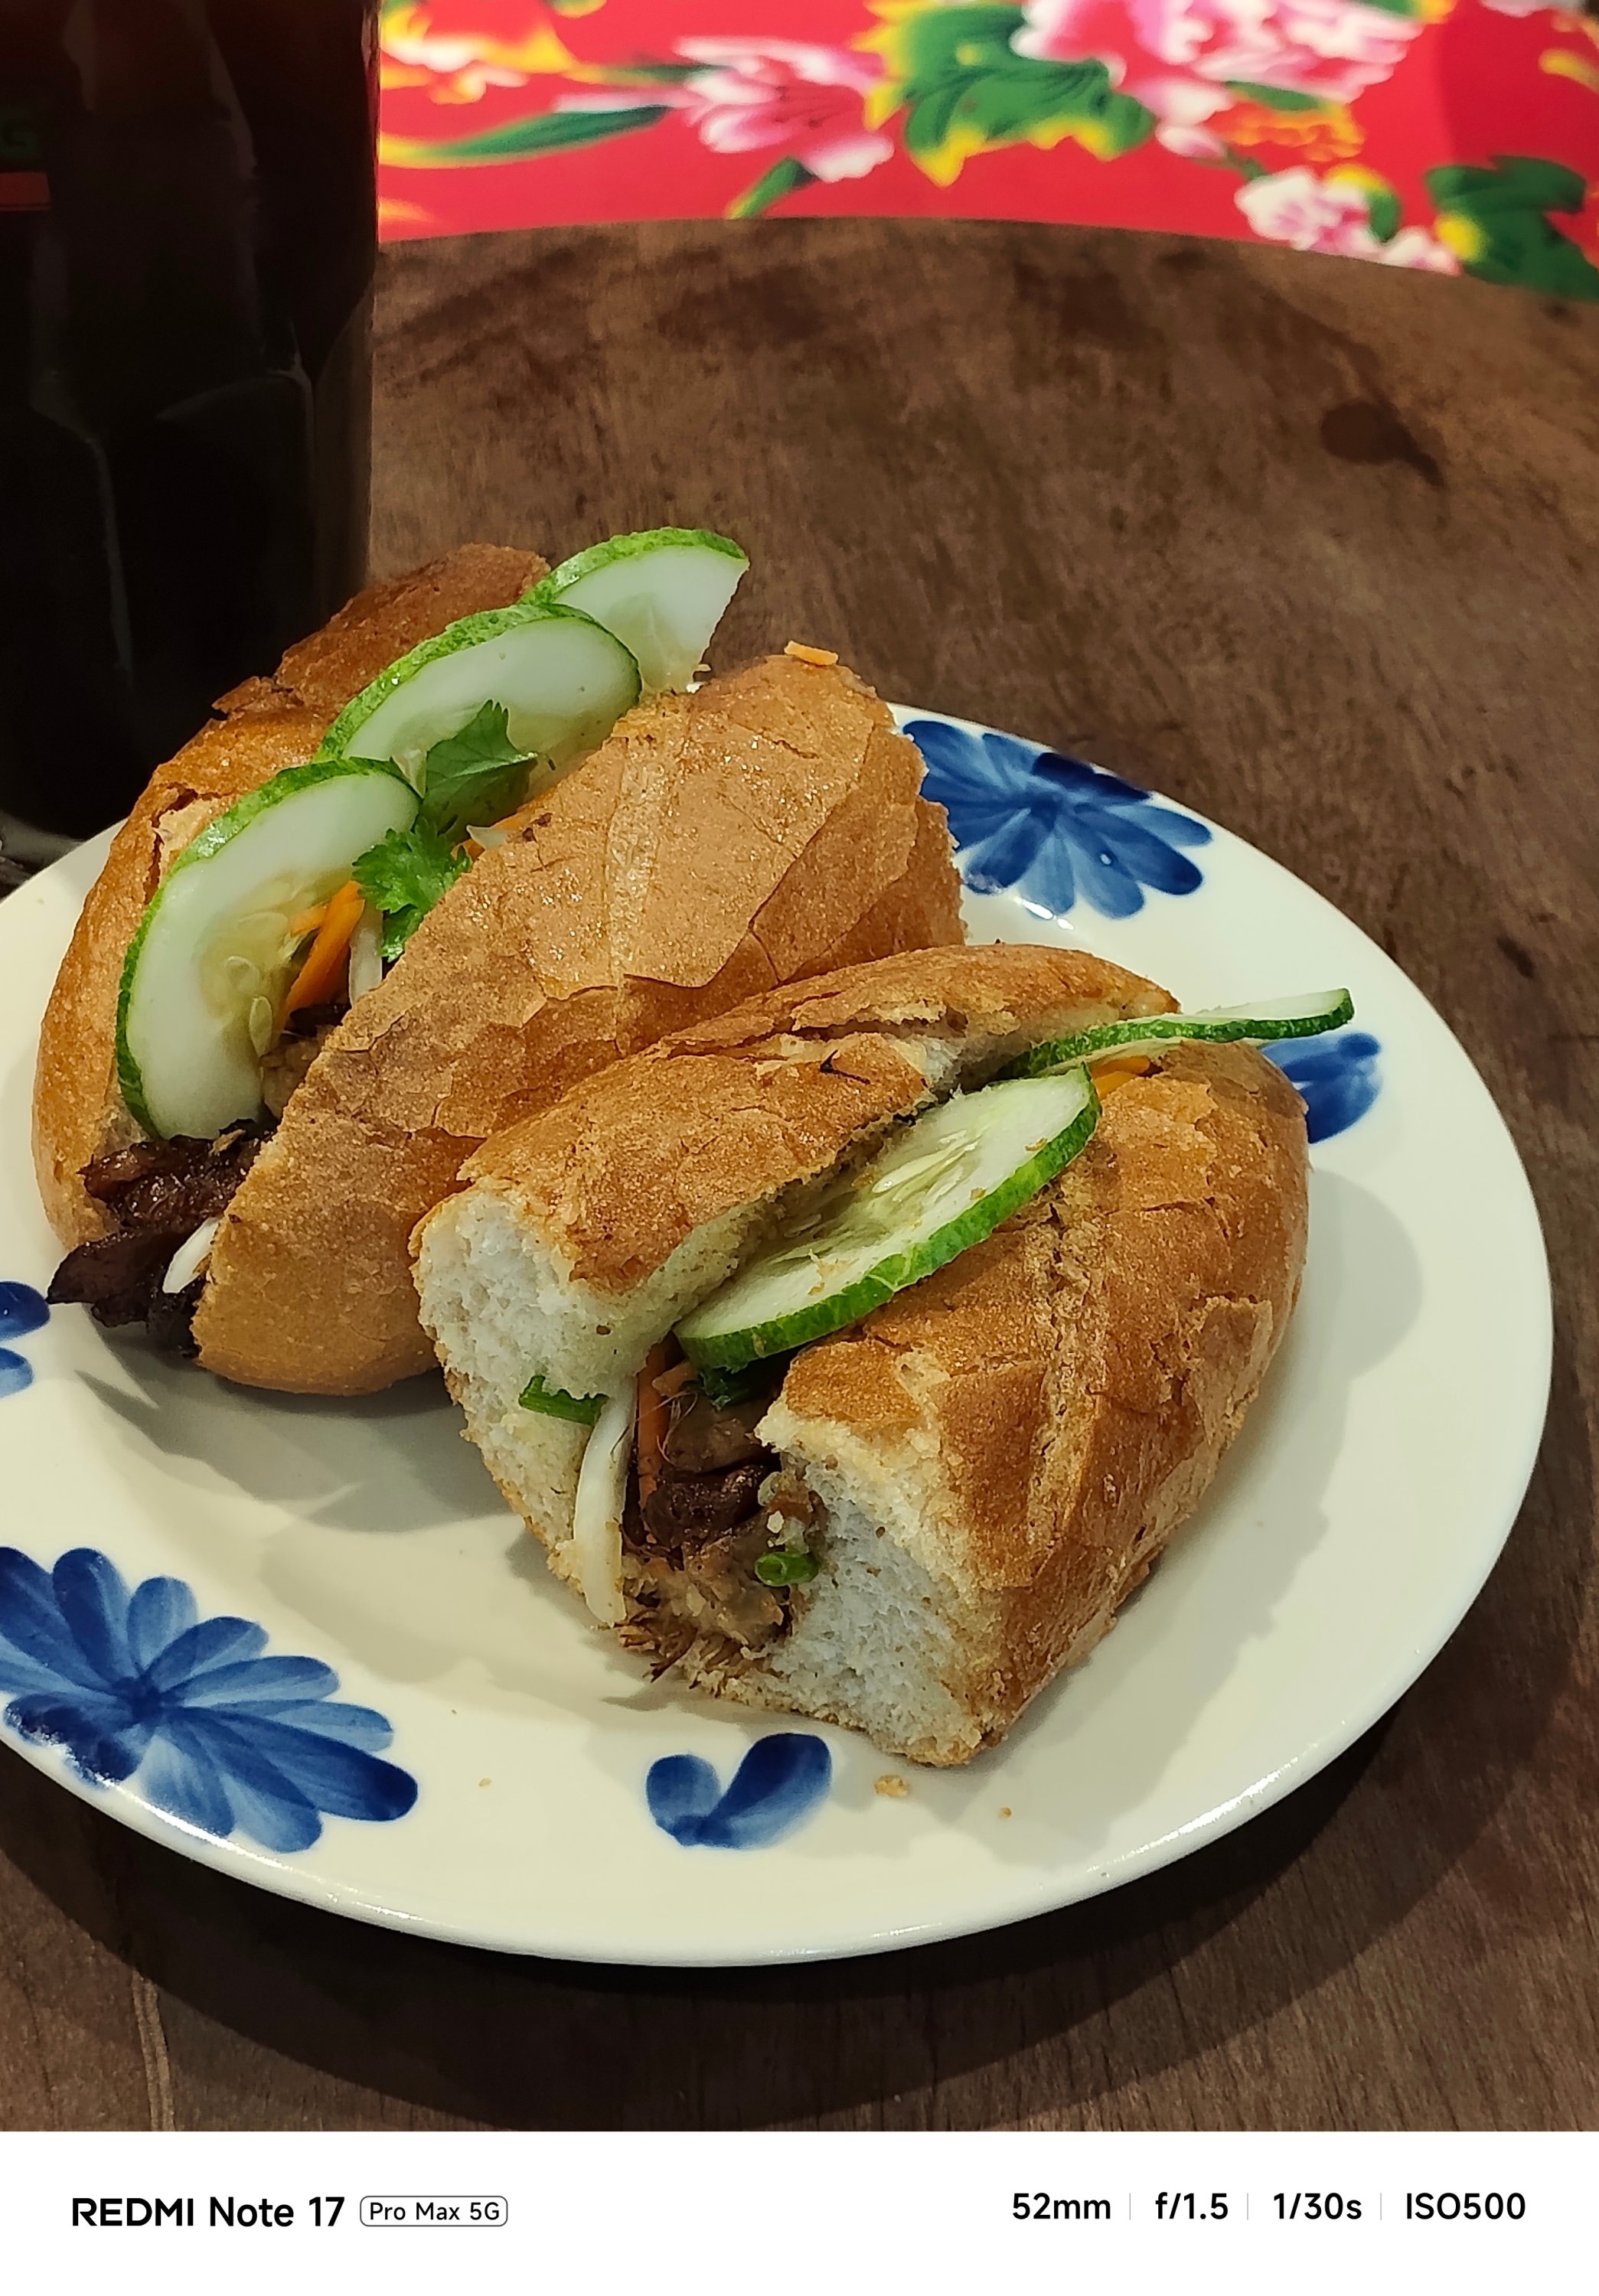
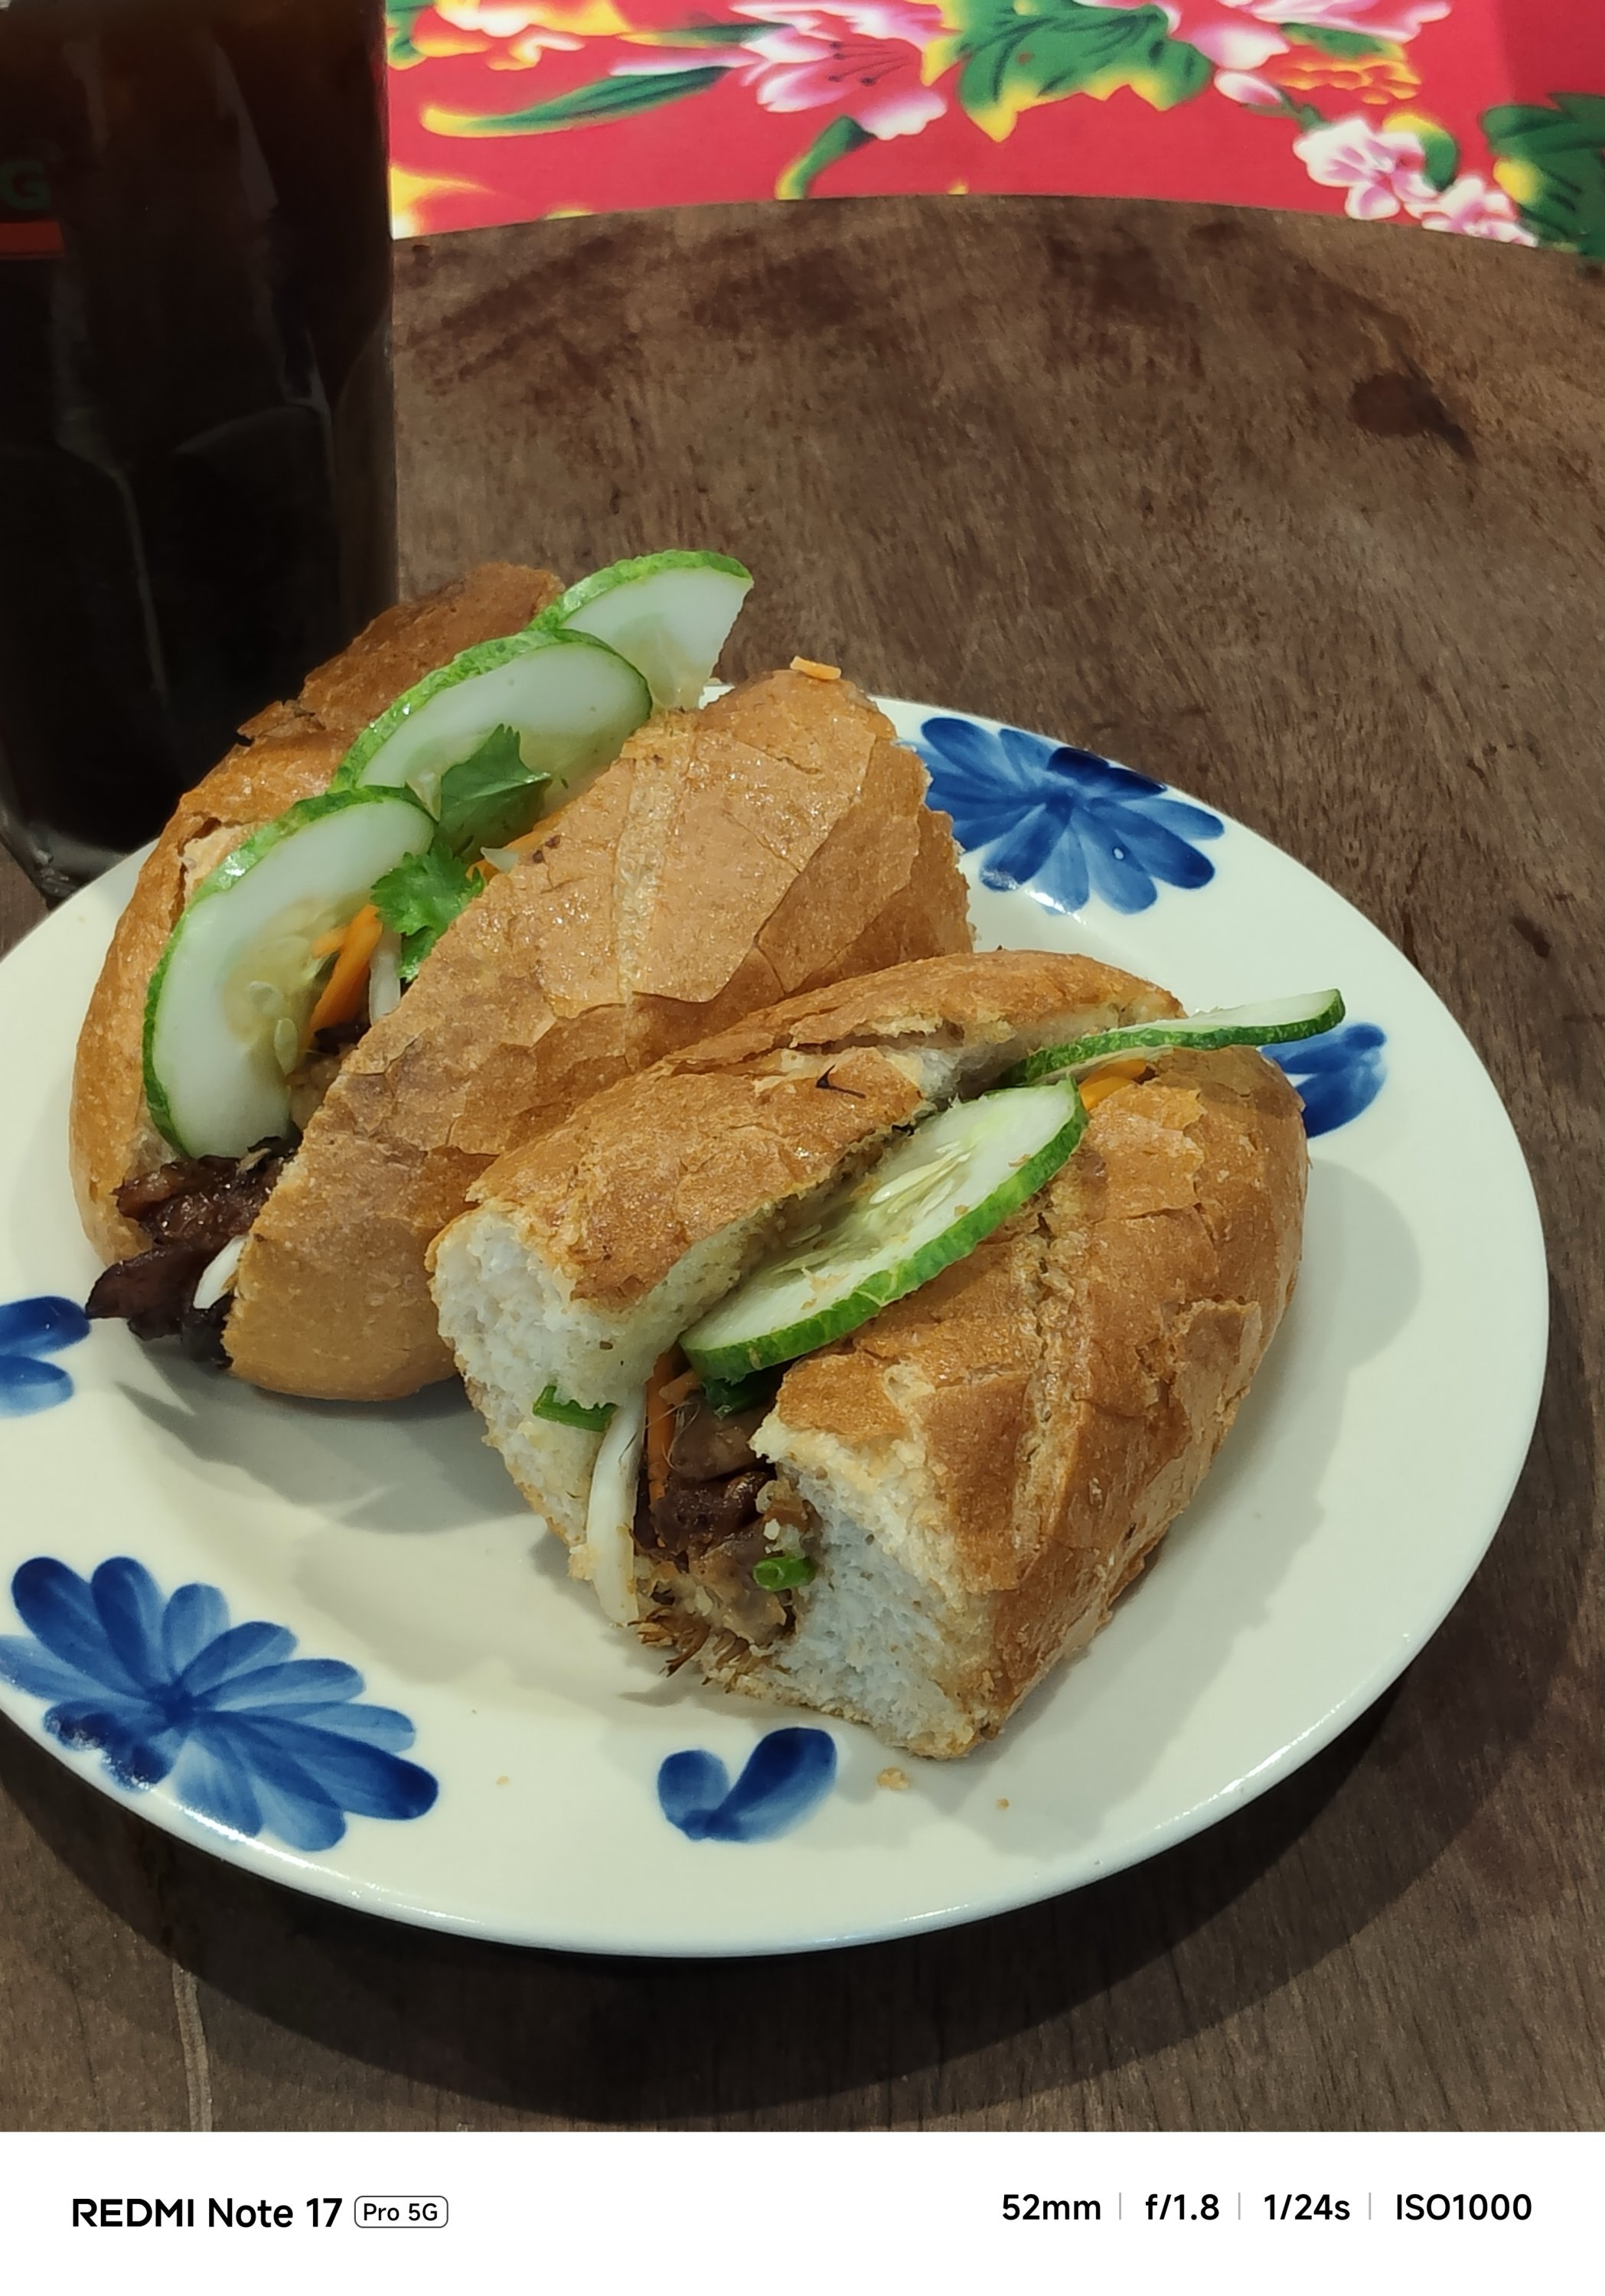
My main complaint about the Note 17 Pro is how some photos looked washed out. The bokeh falloff also looks forced.


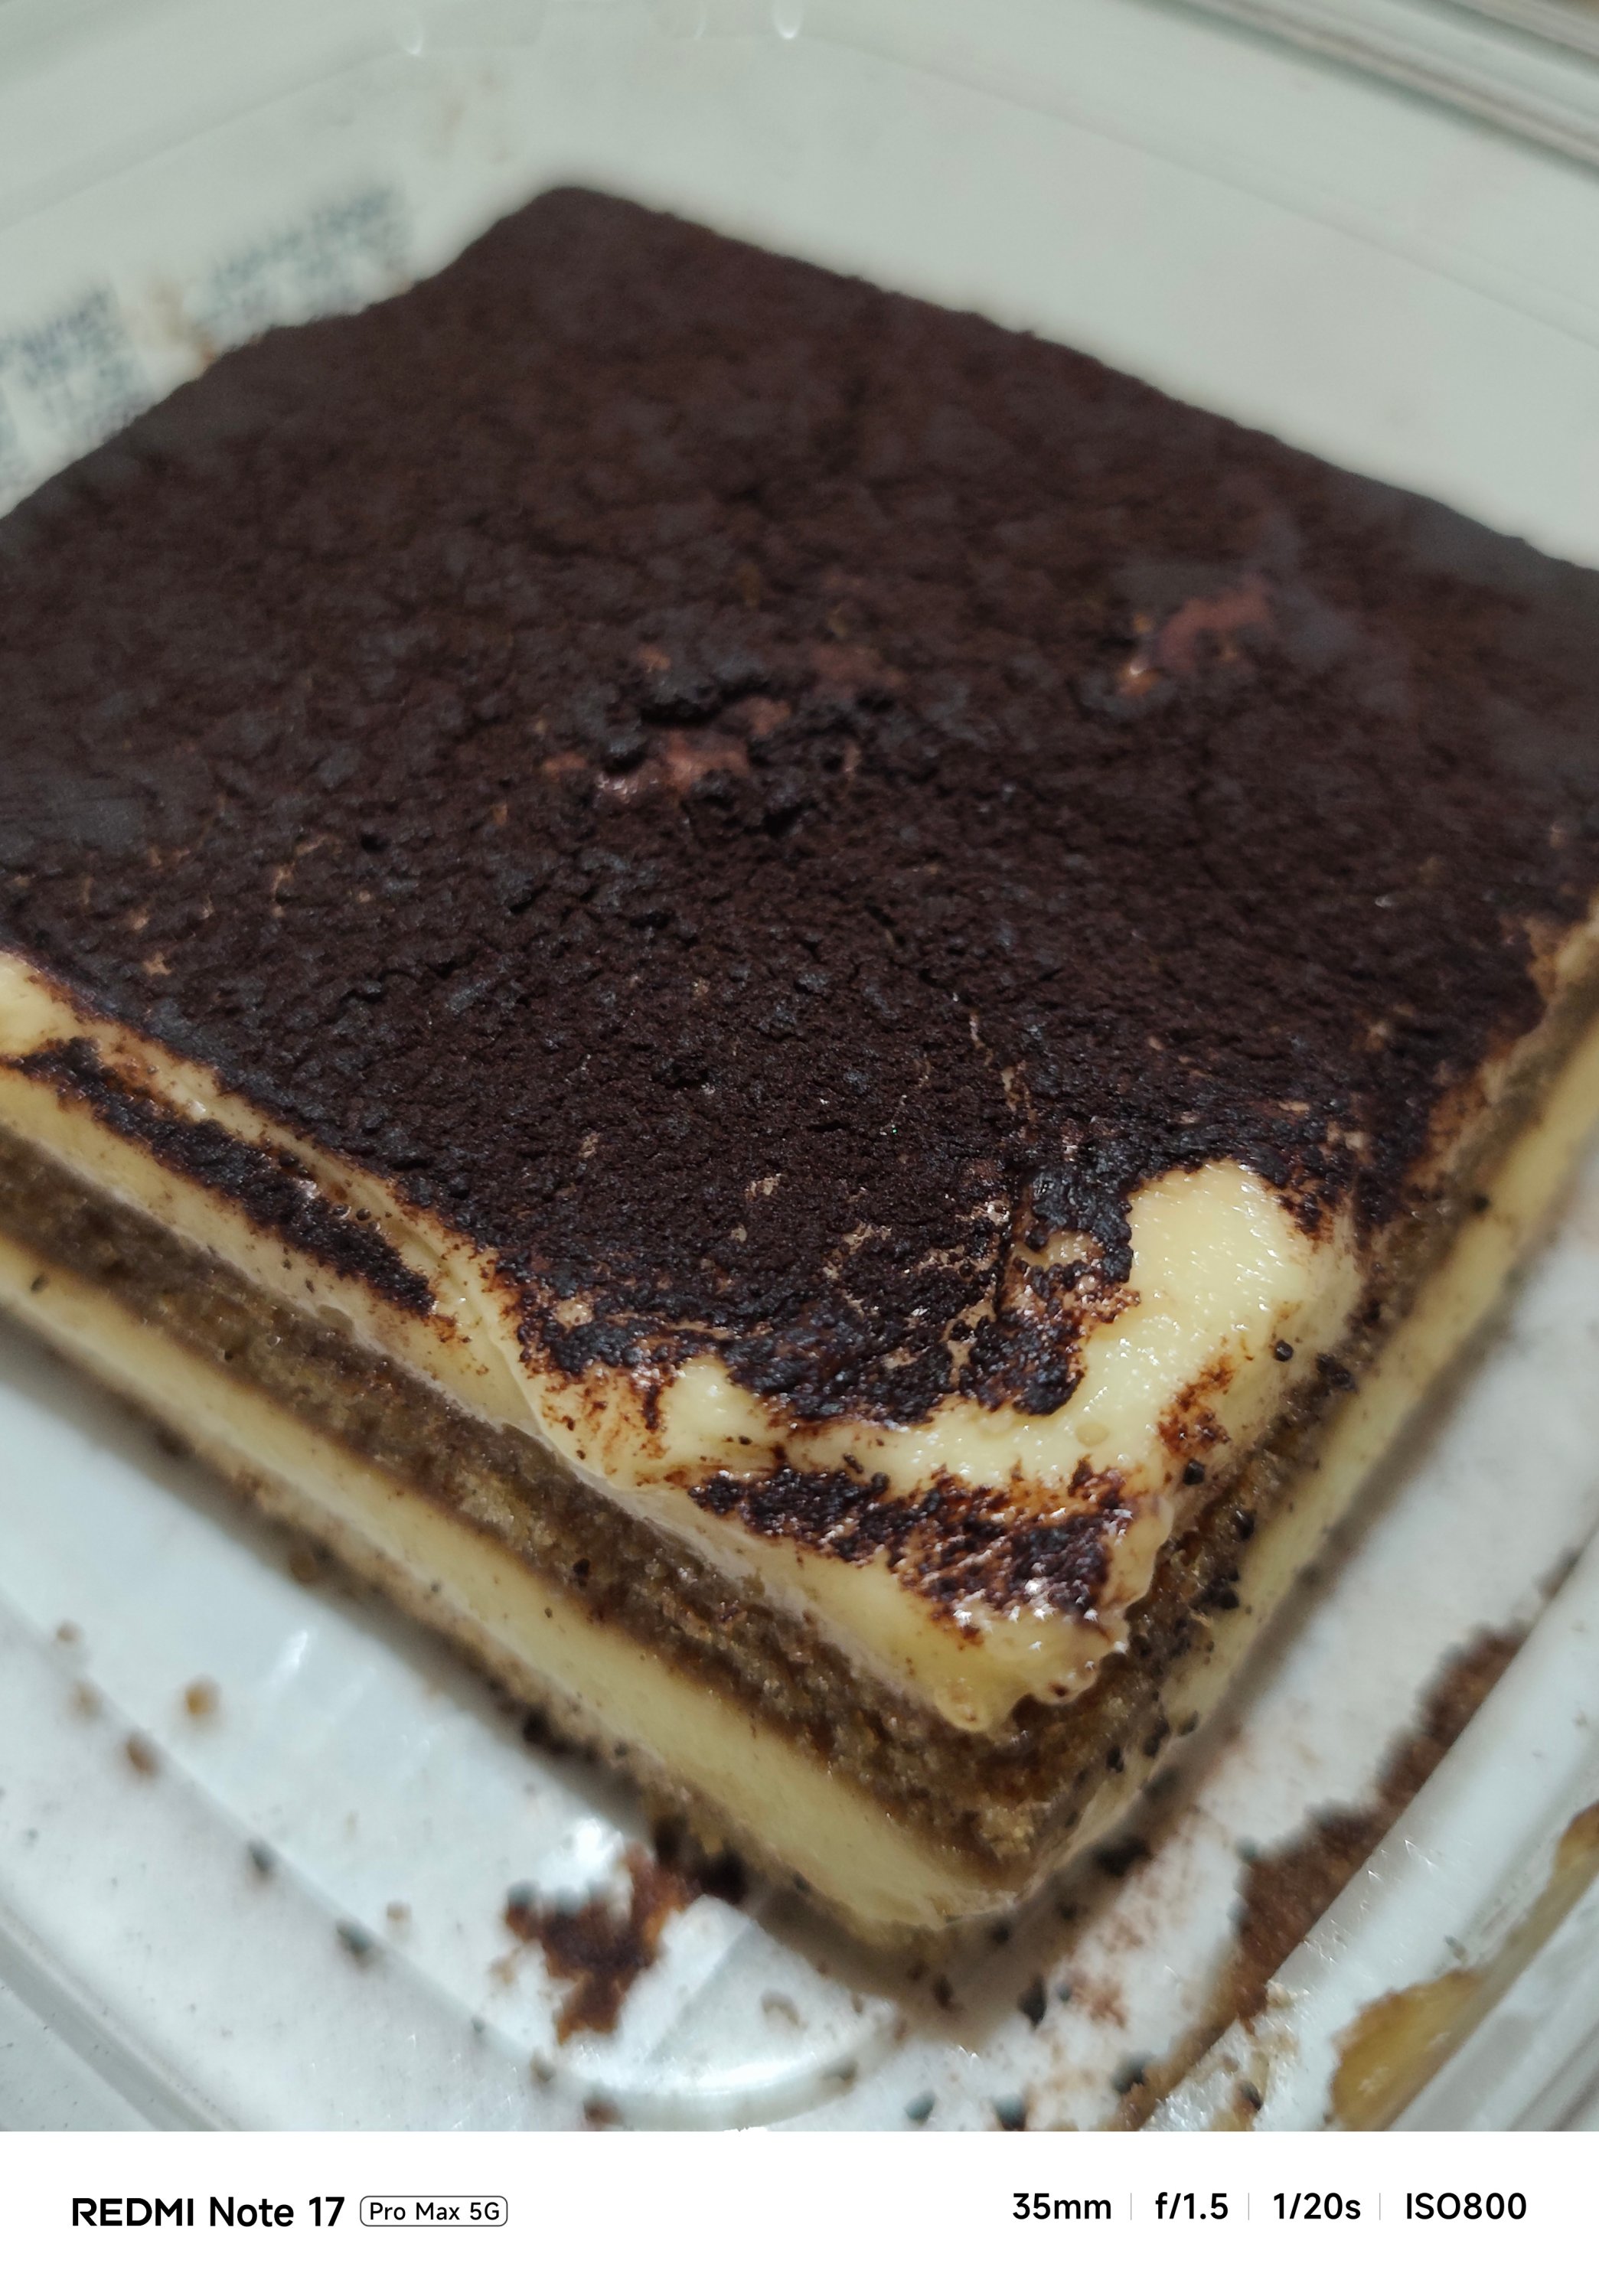


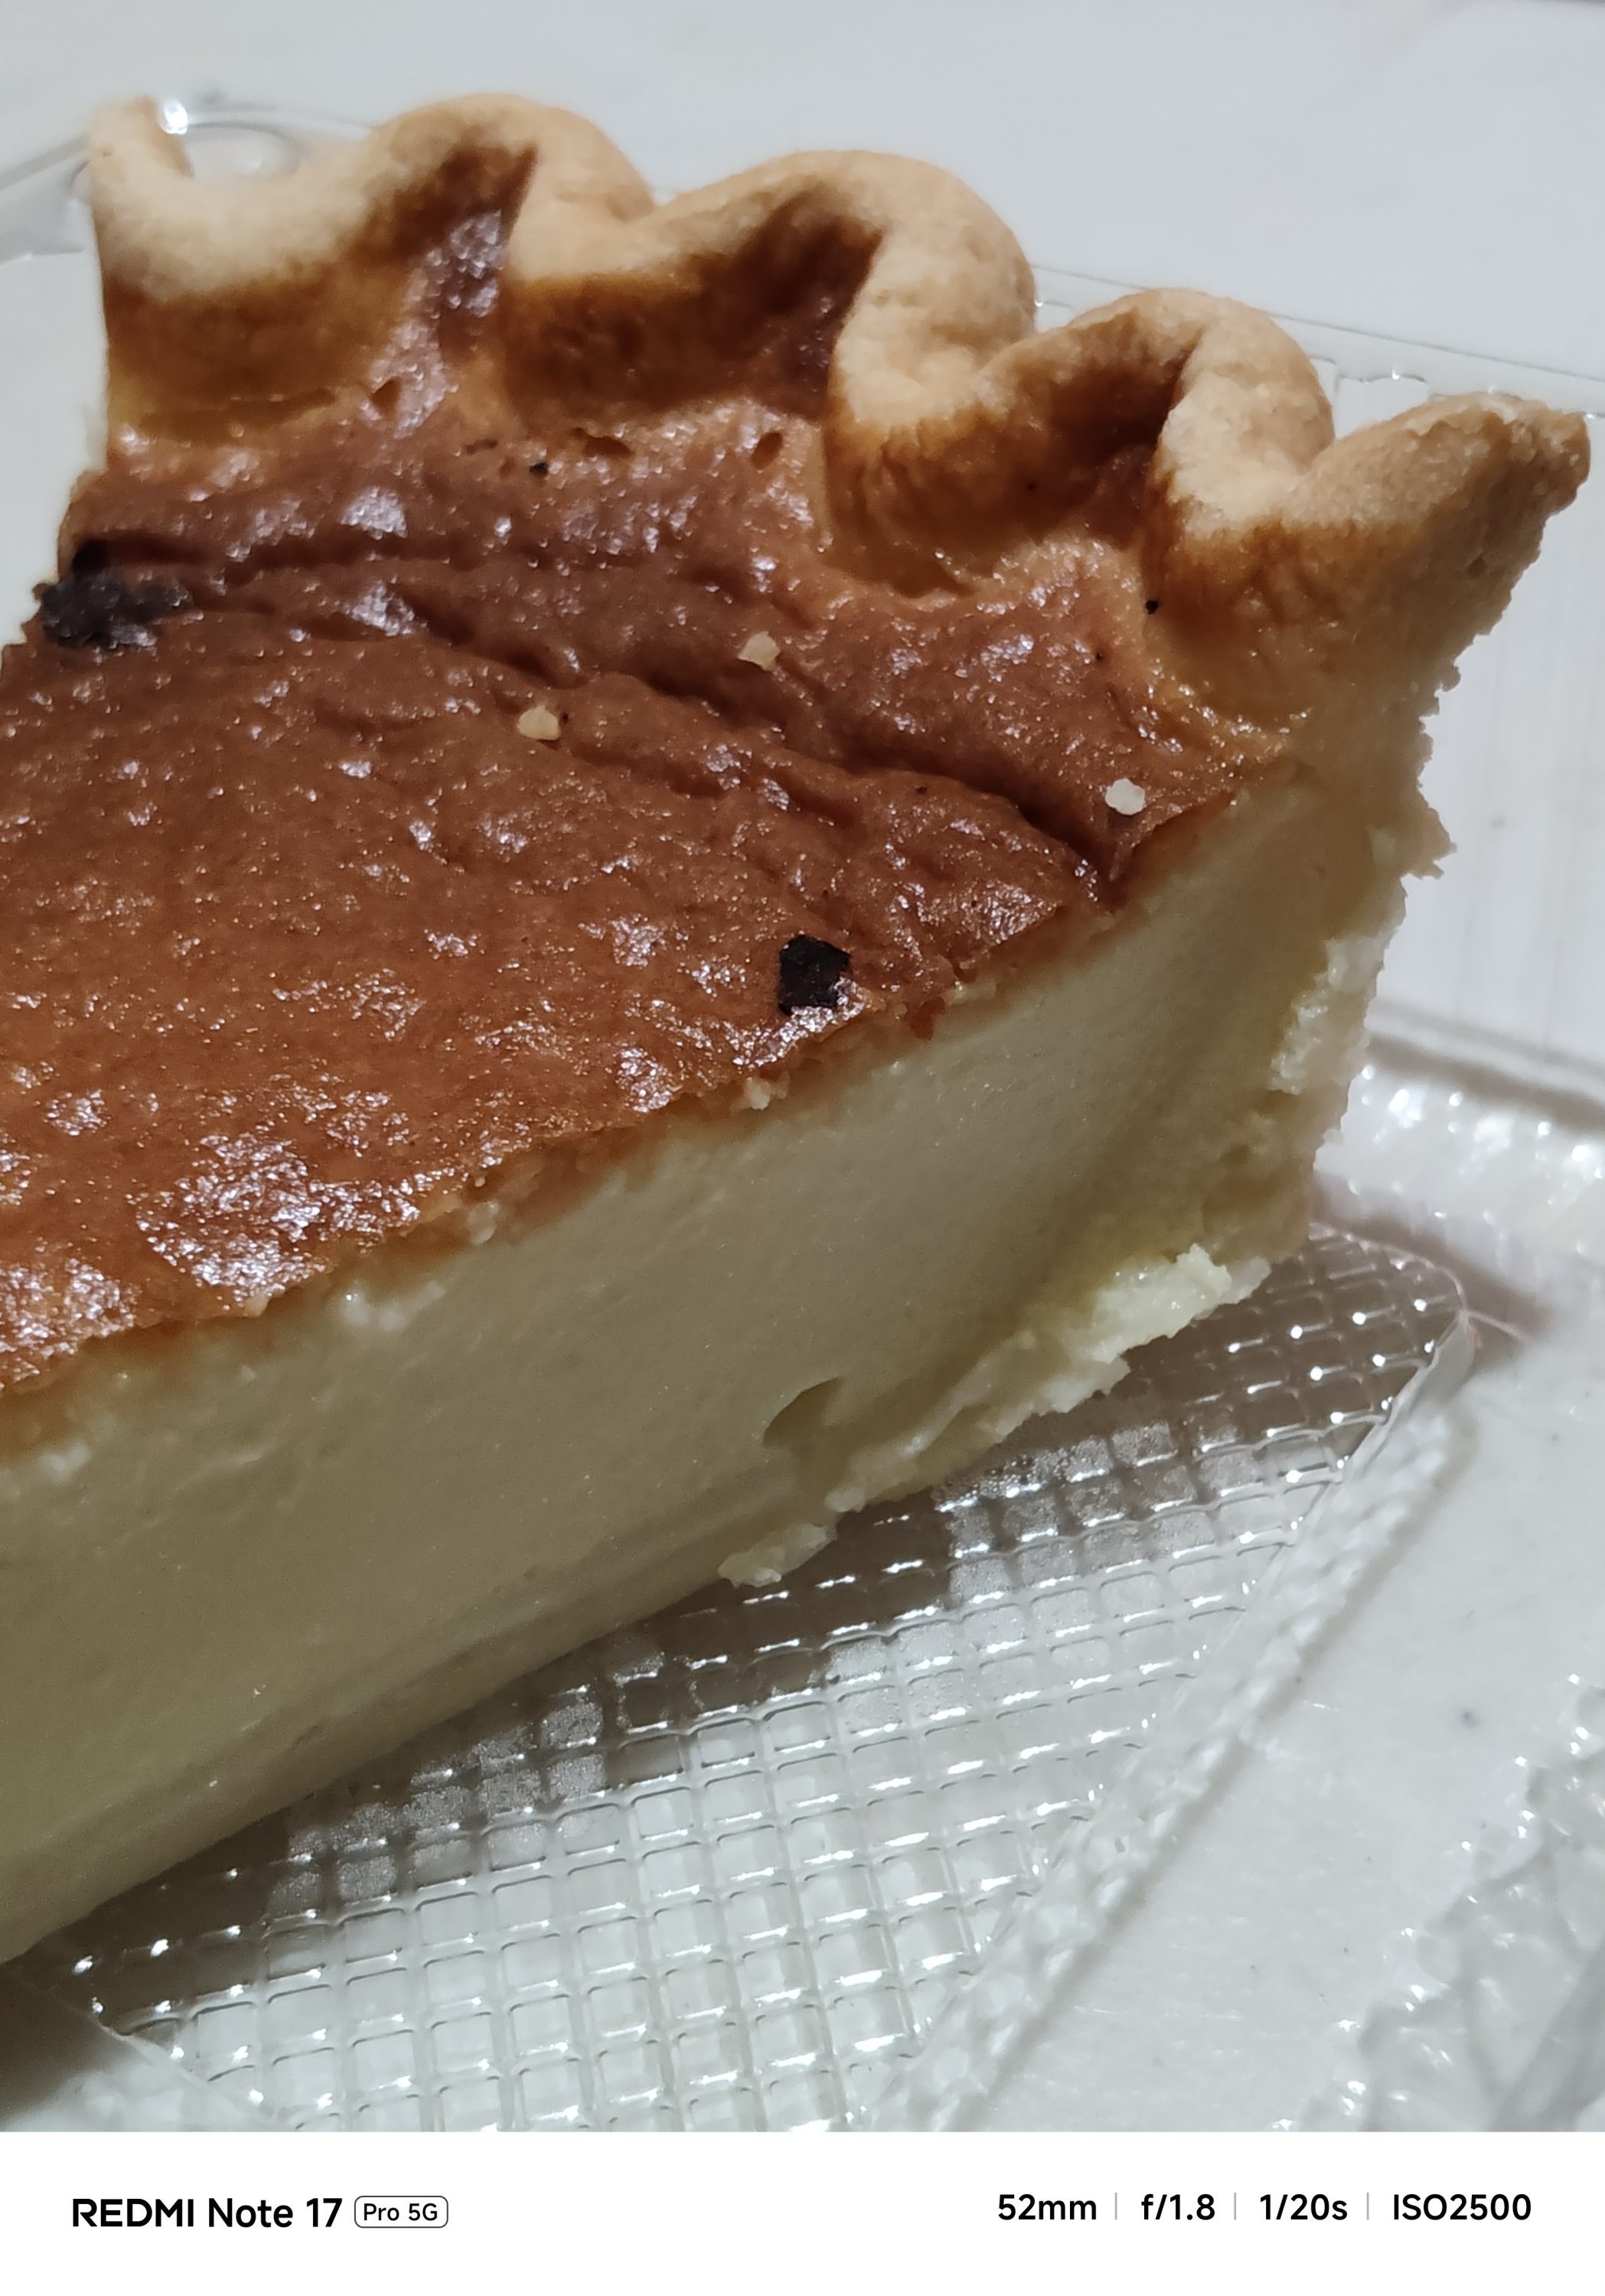
The Note 17 Pro Max also captured shots with an accurate AWB (Auto White Balance) while the latter usually leans on the warmer side.
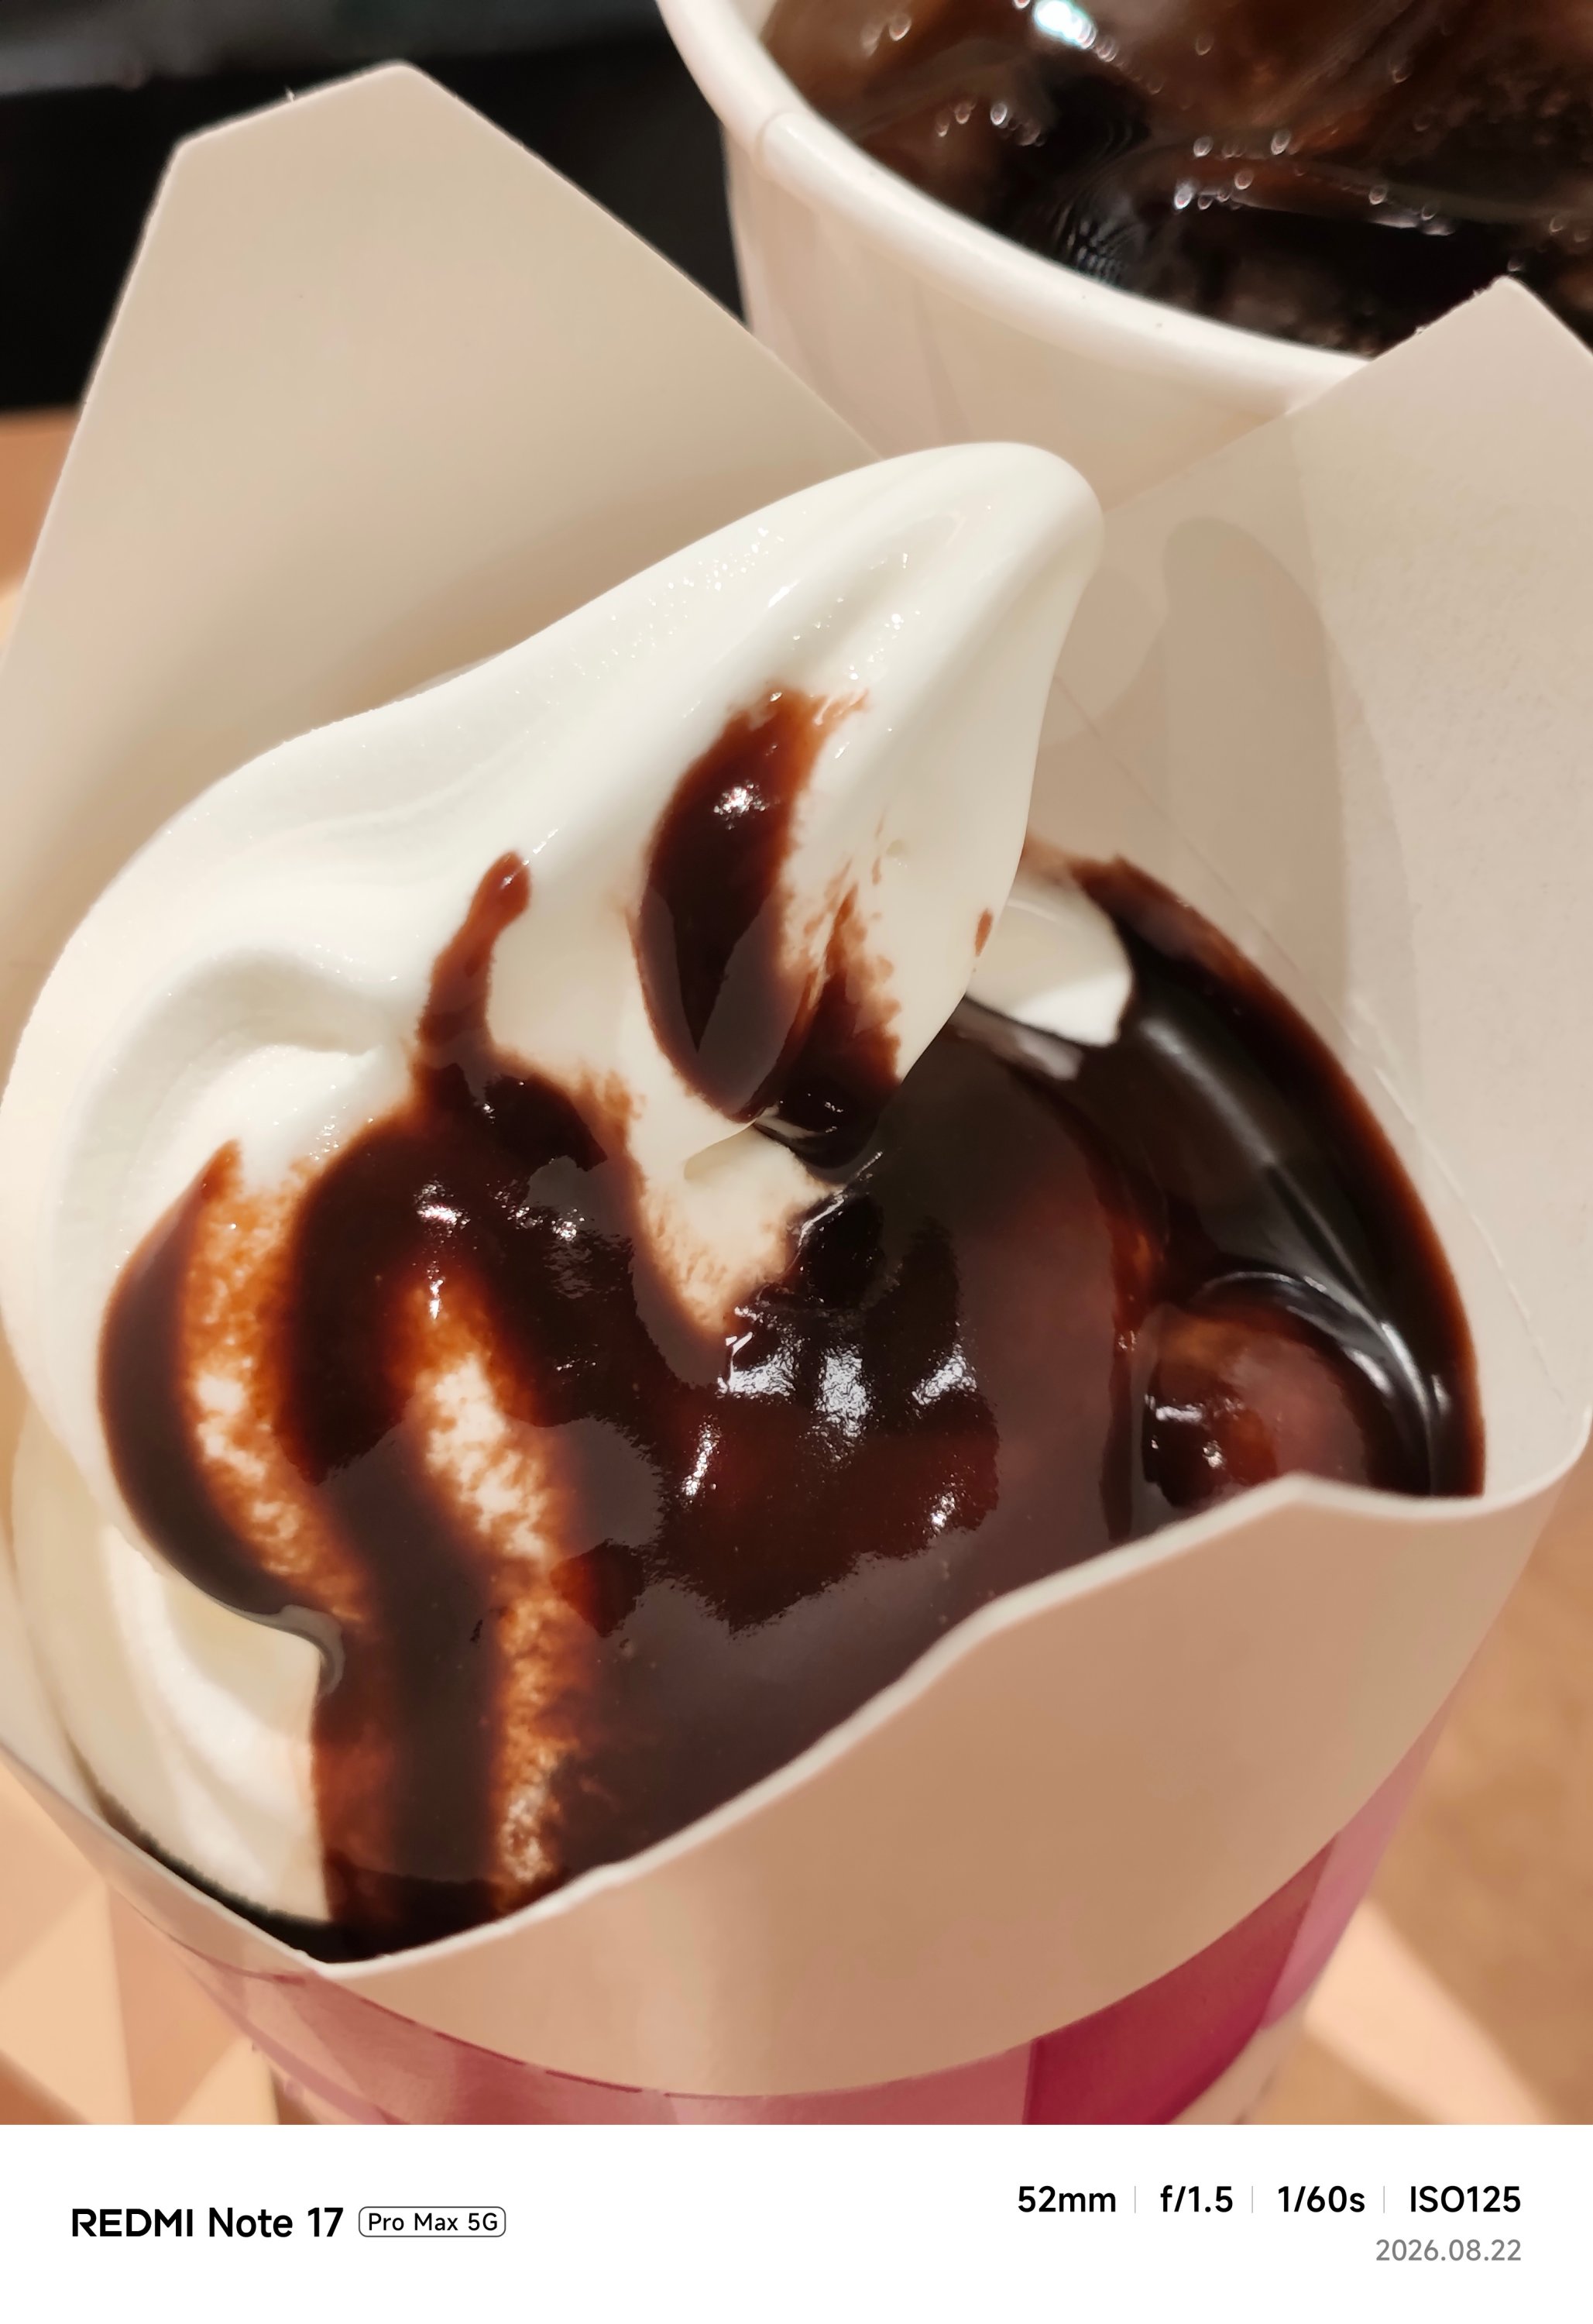
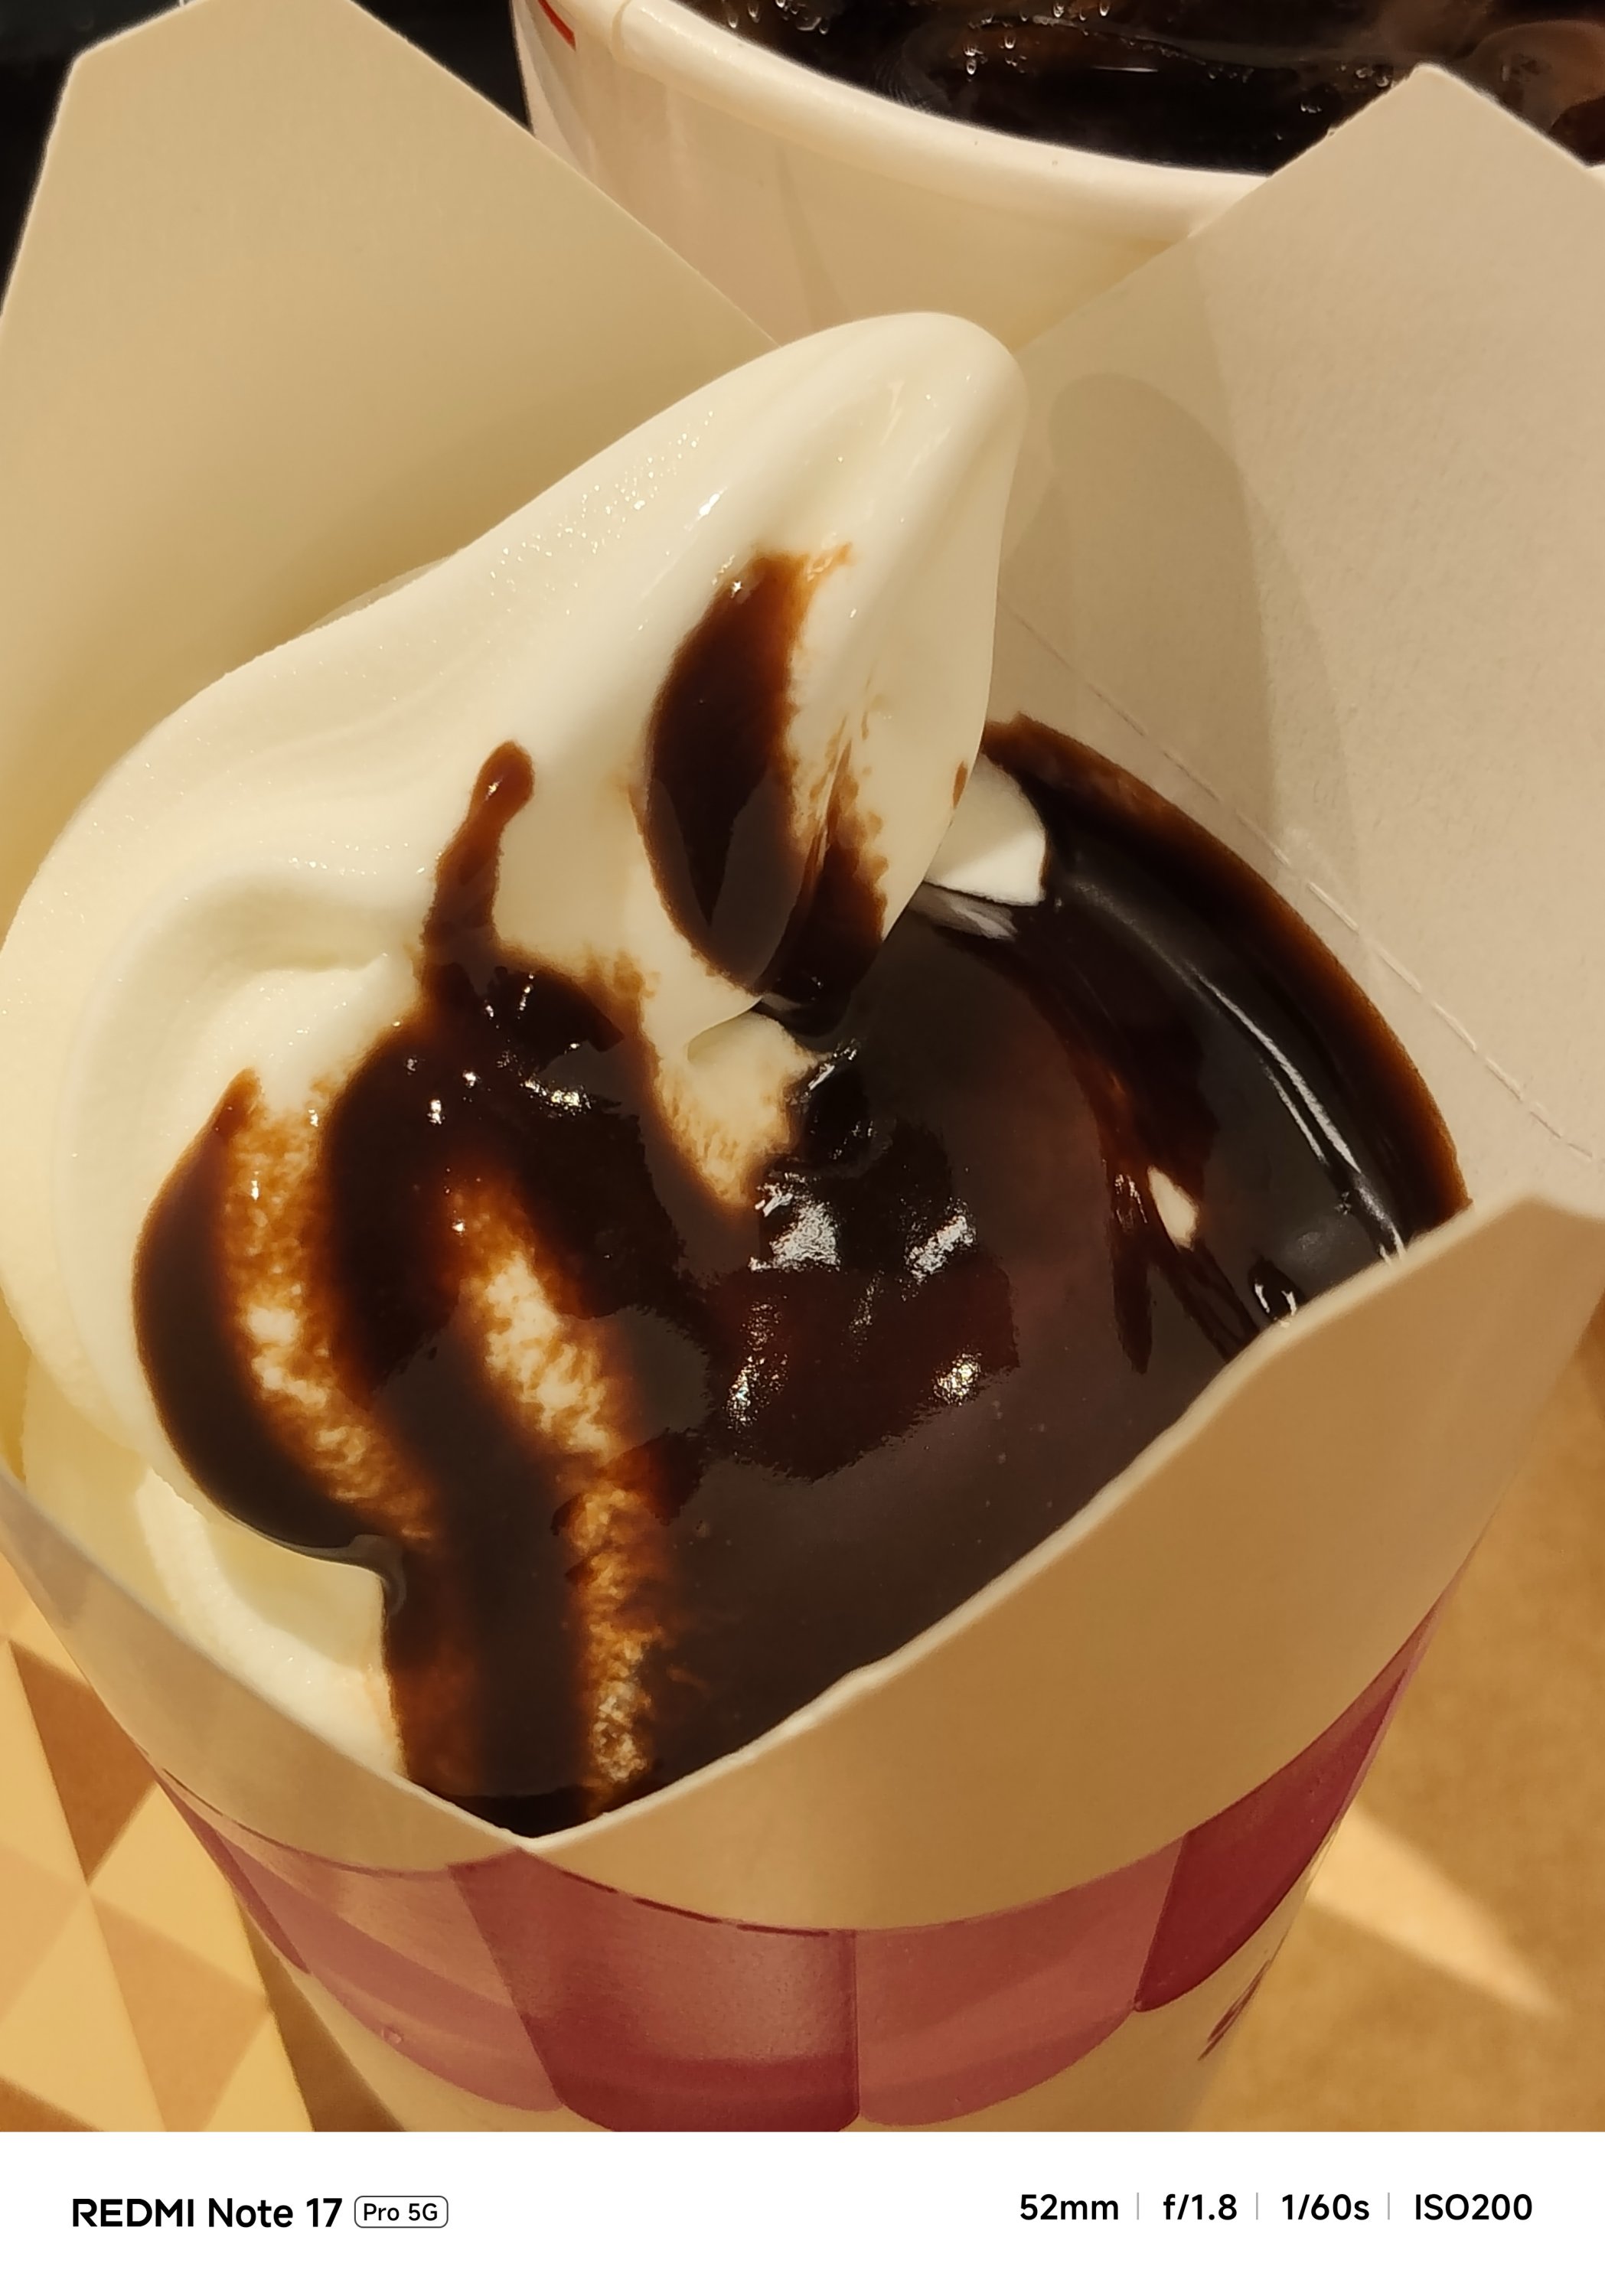

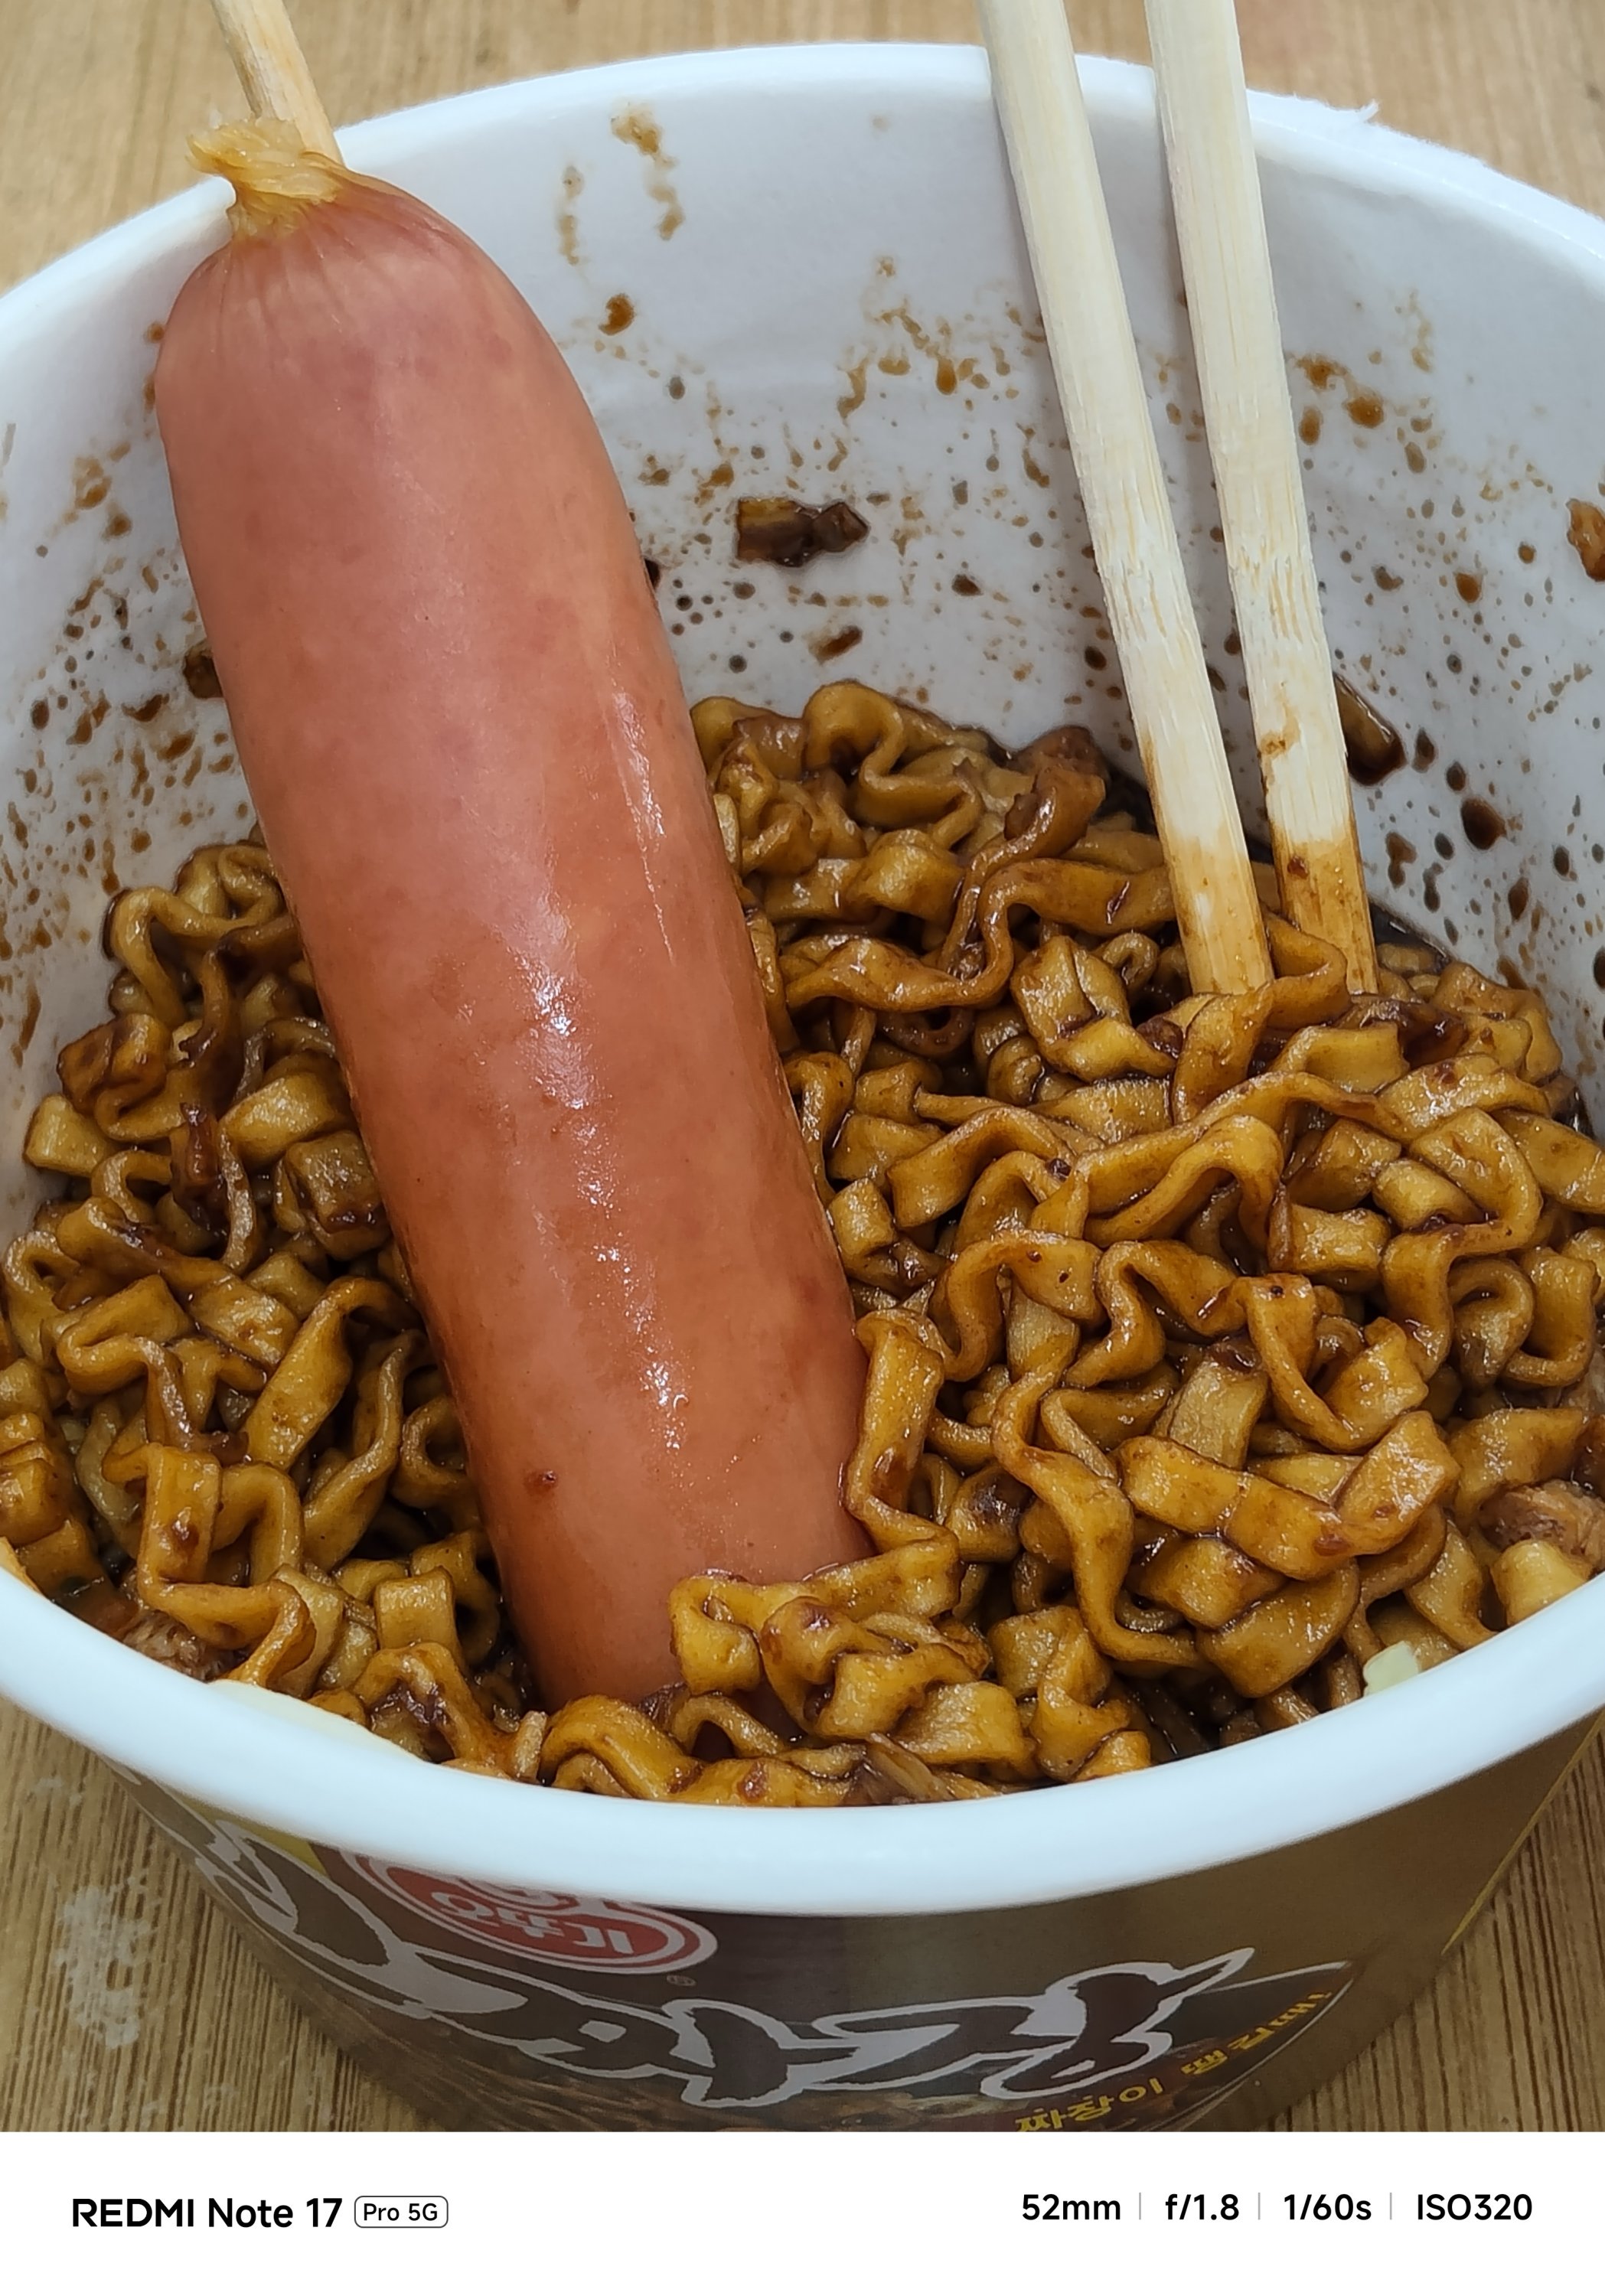
The Pro model even had focusing issues. That’s even after installing the latest software updates for both phones.
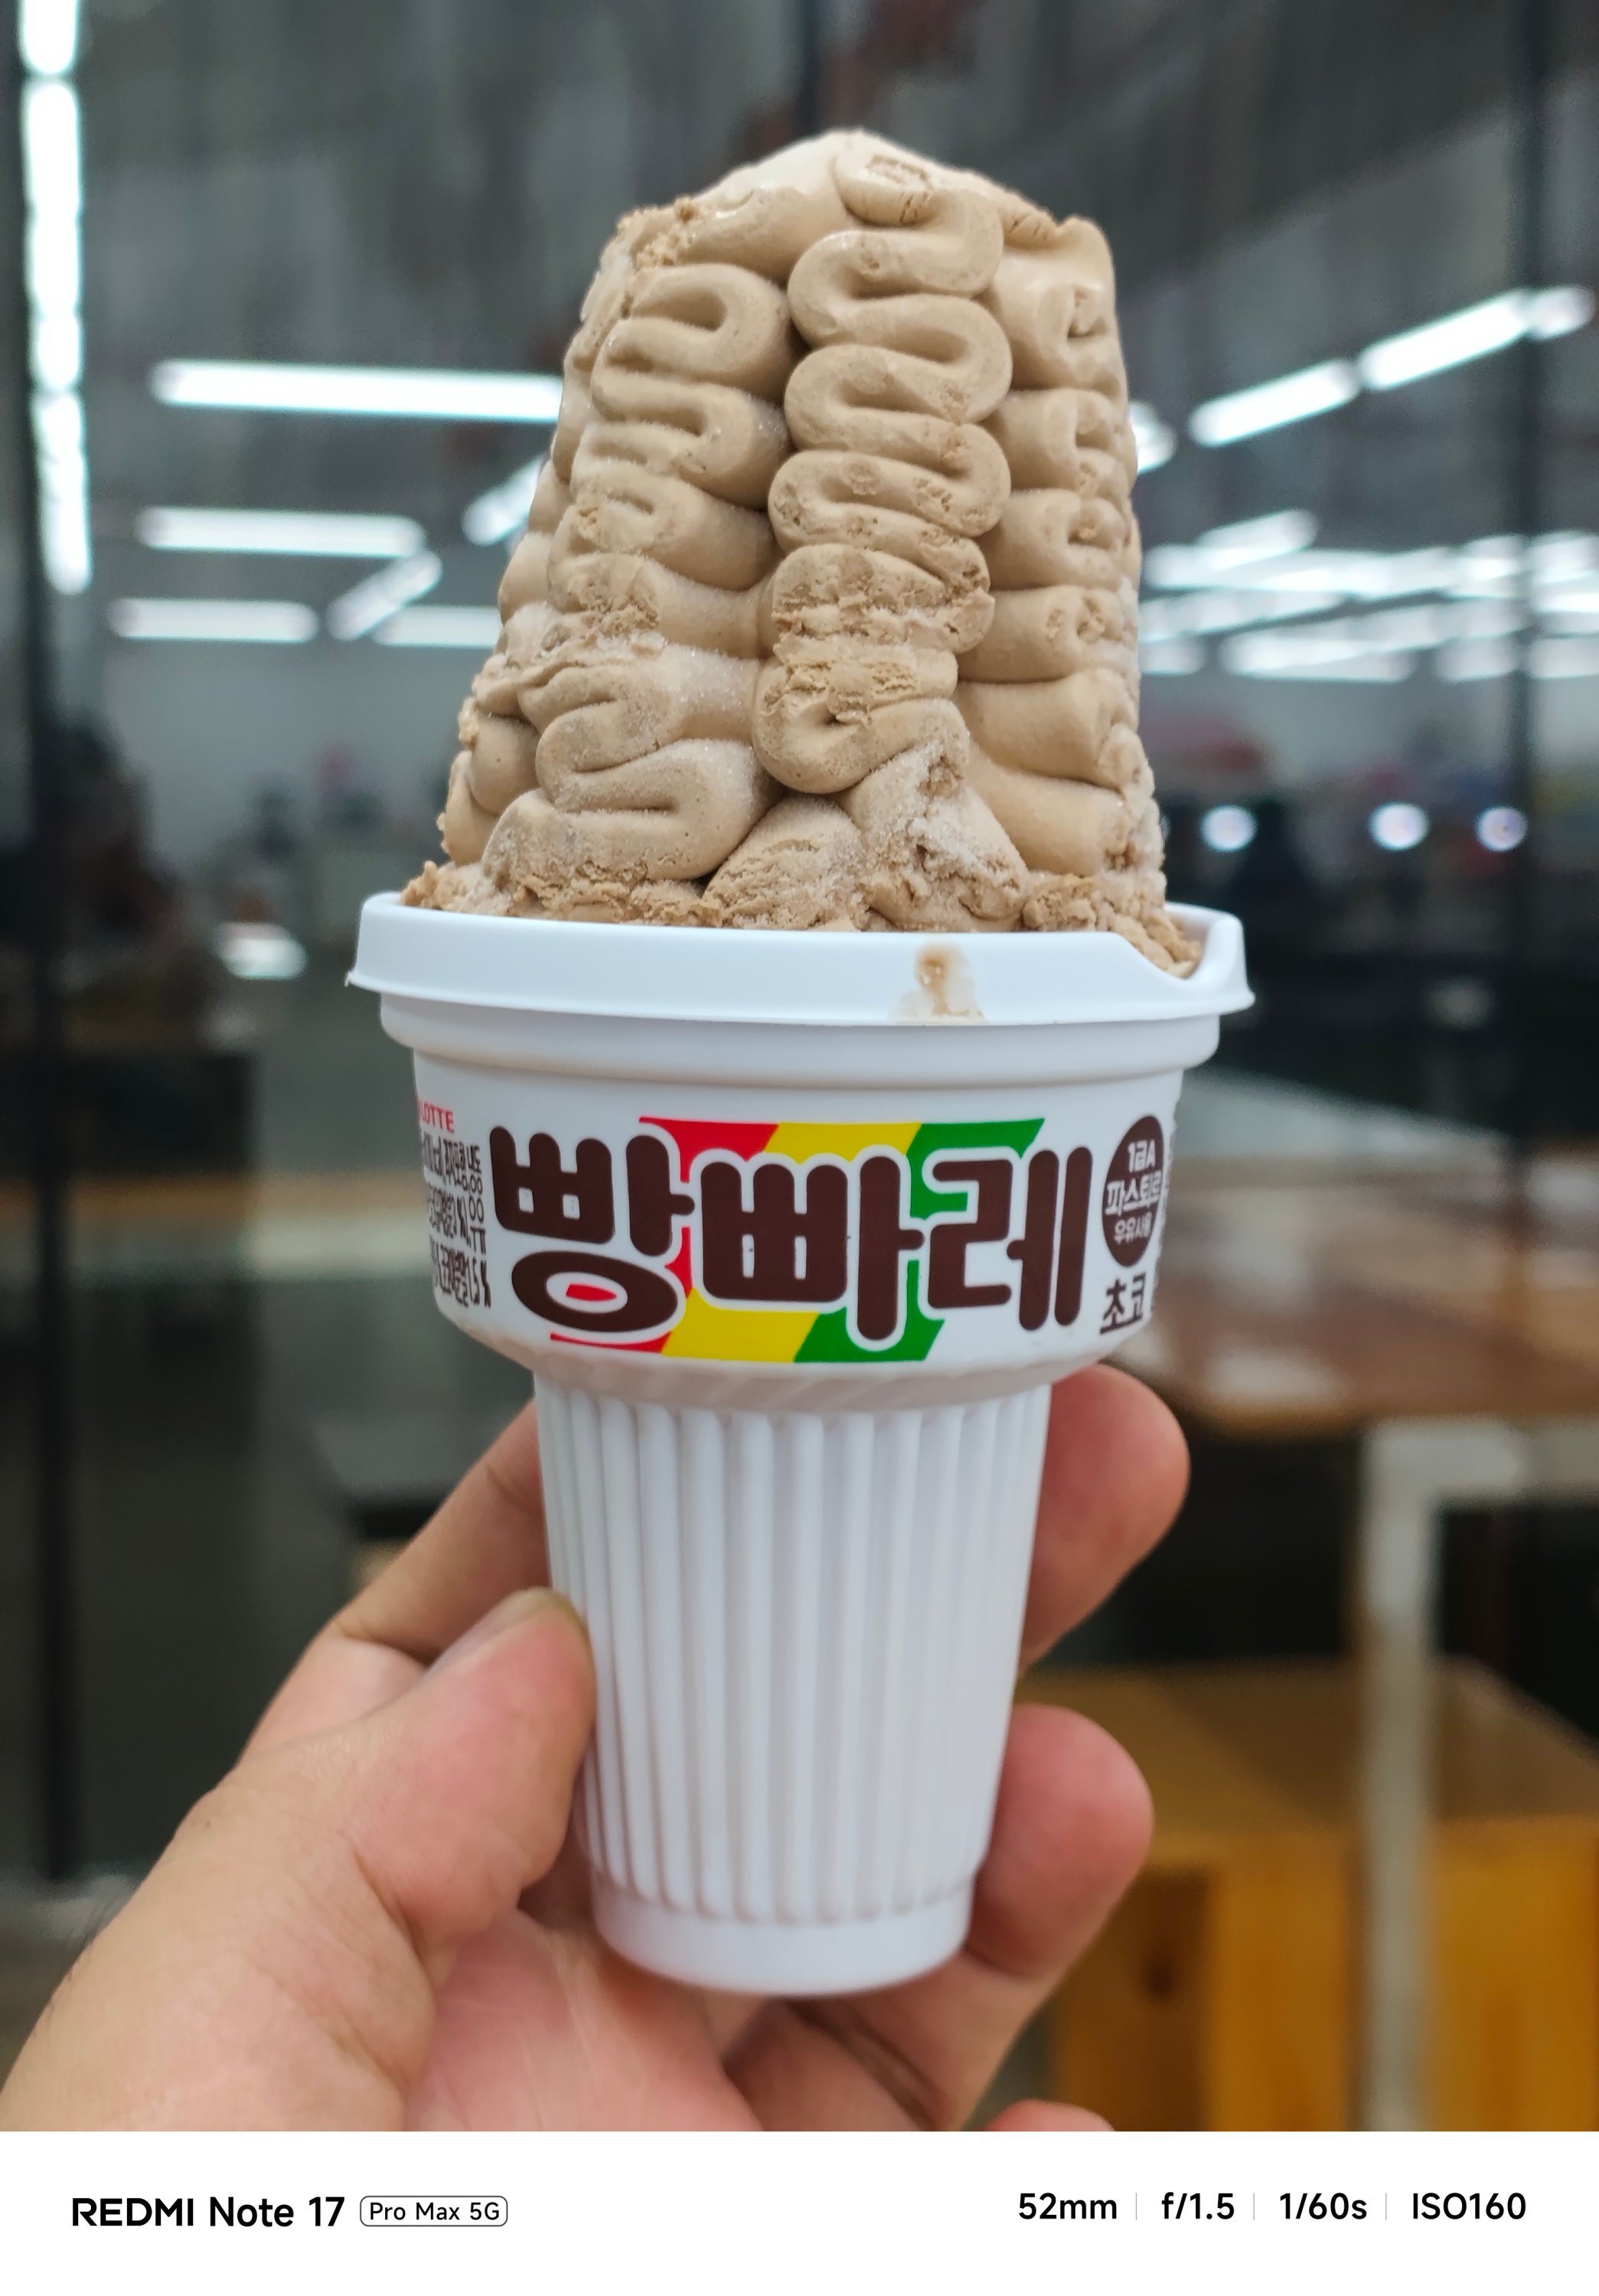



If you’re not satisfied with its regular output, there are built-in color filters and always-on flash in the camera app for that added flair.


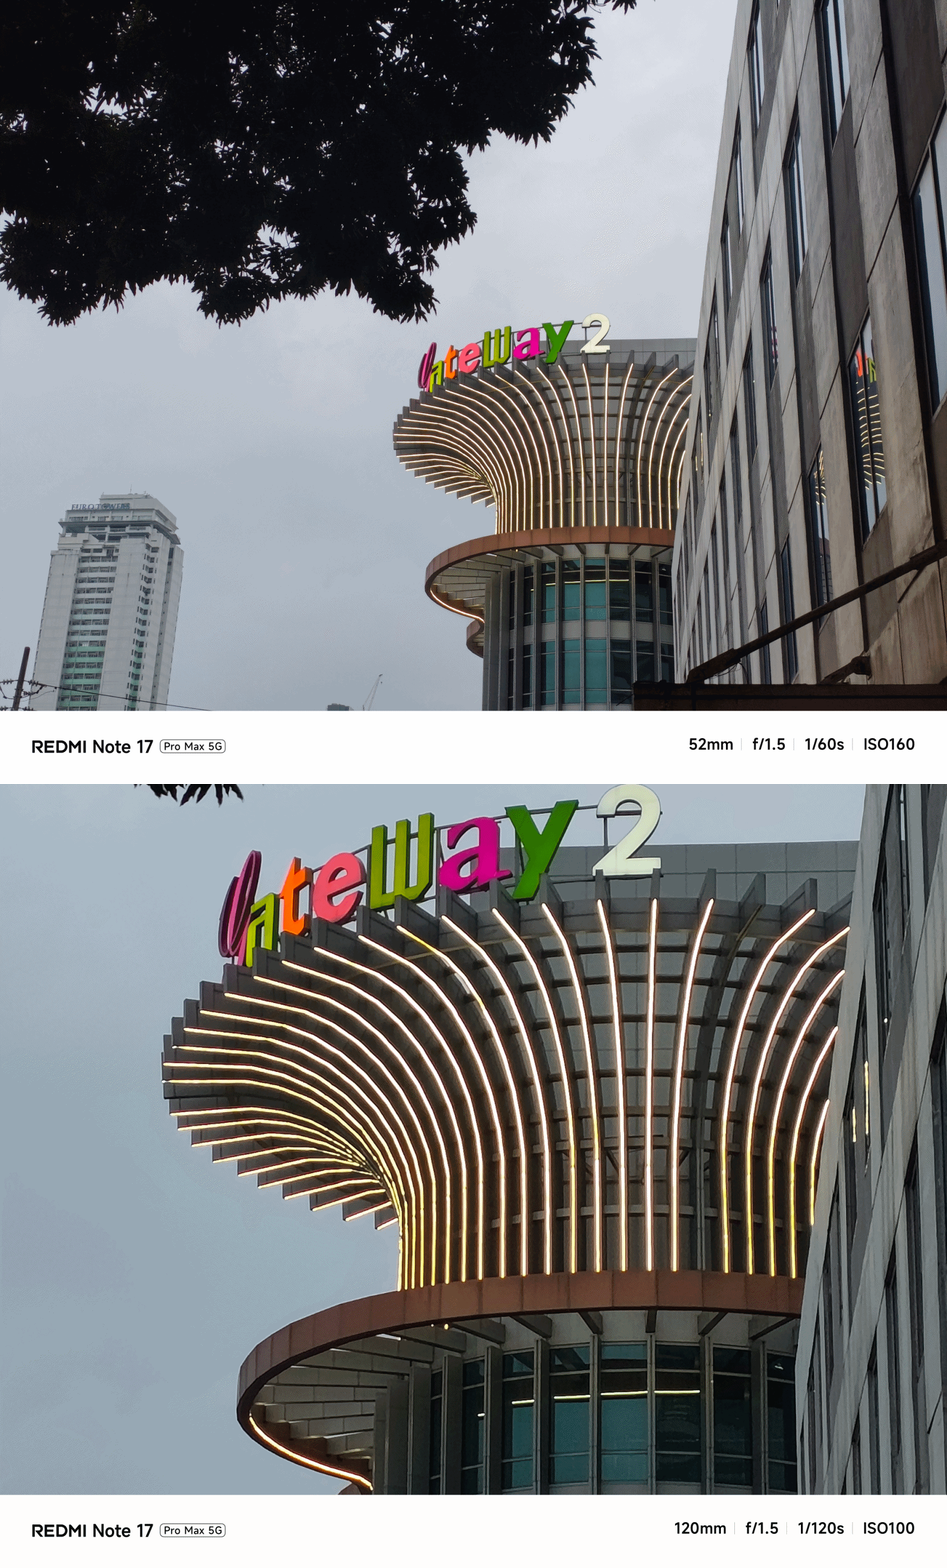
With the lack of a dedicated telephoto lens (for both), it’s expected to have an AI-improved output.
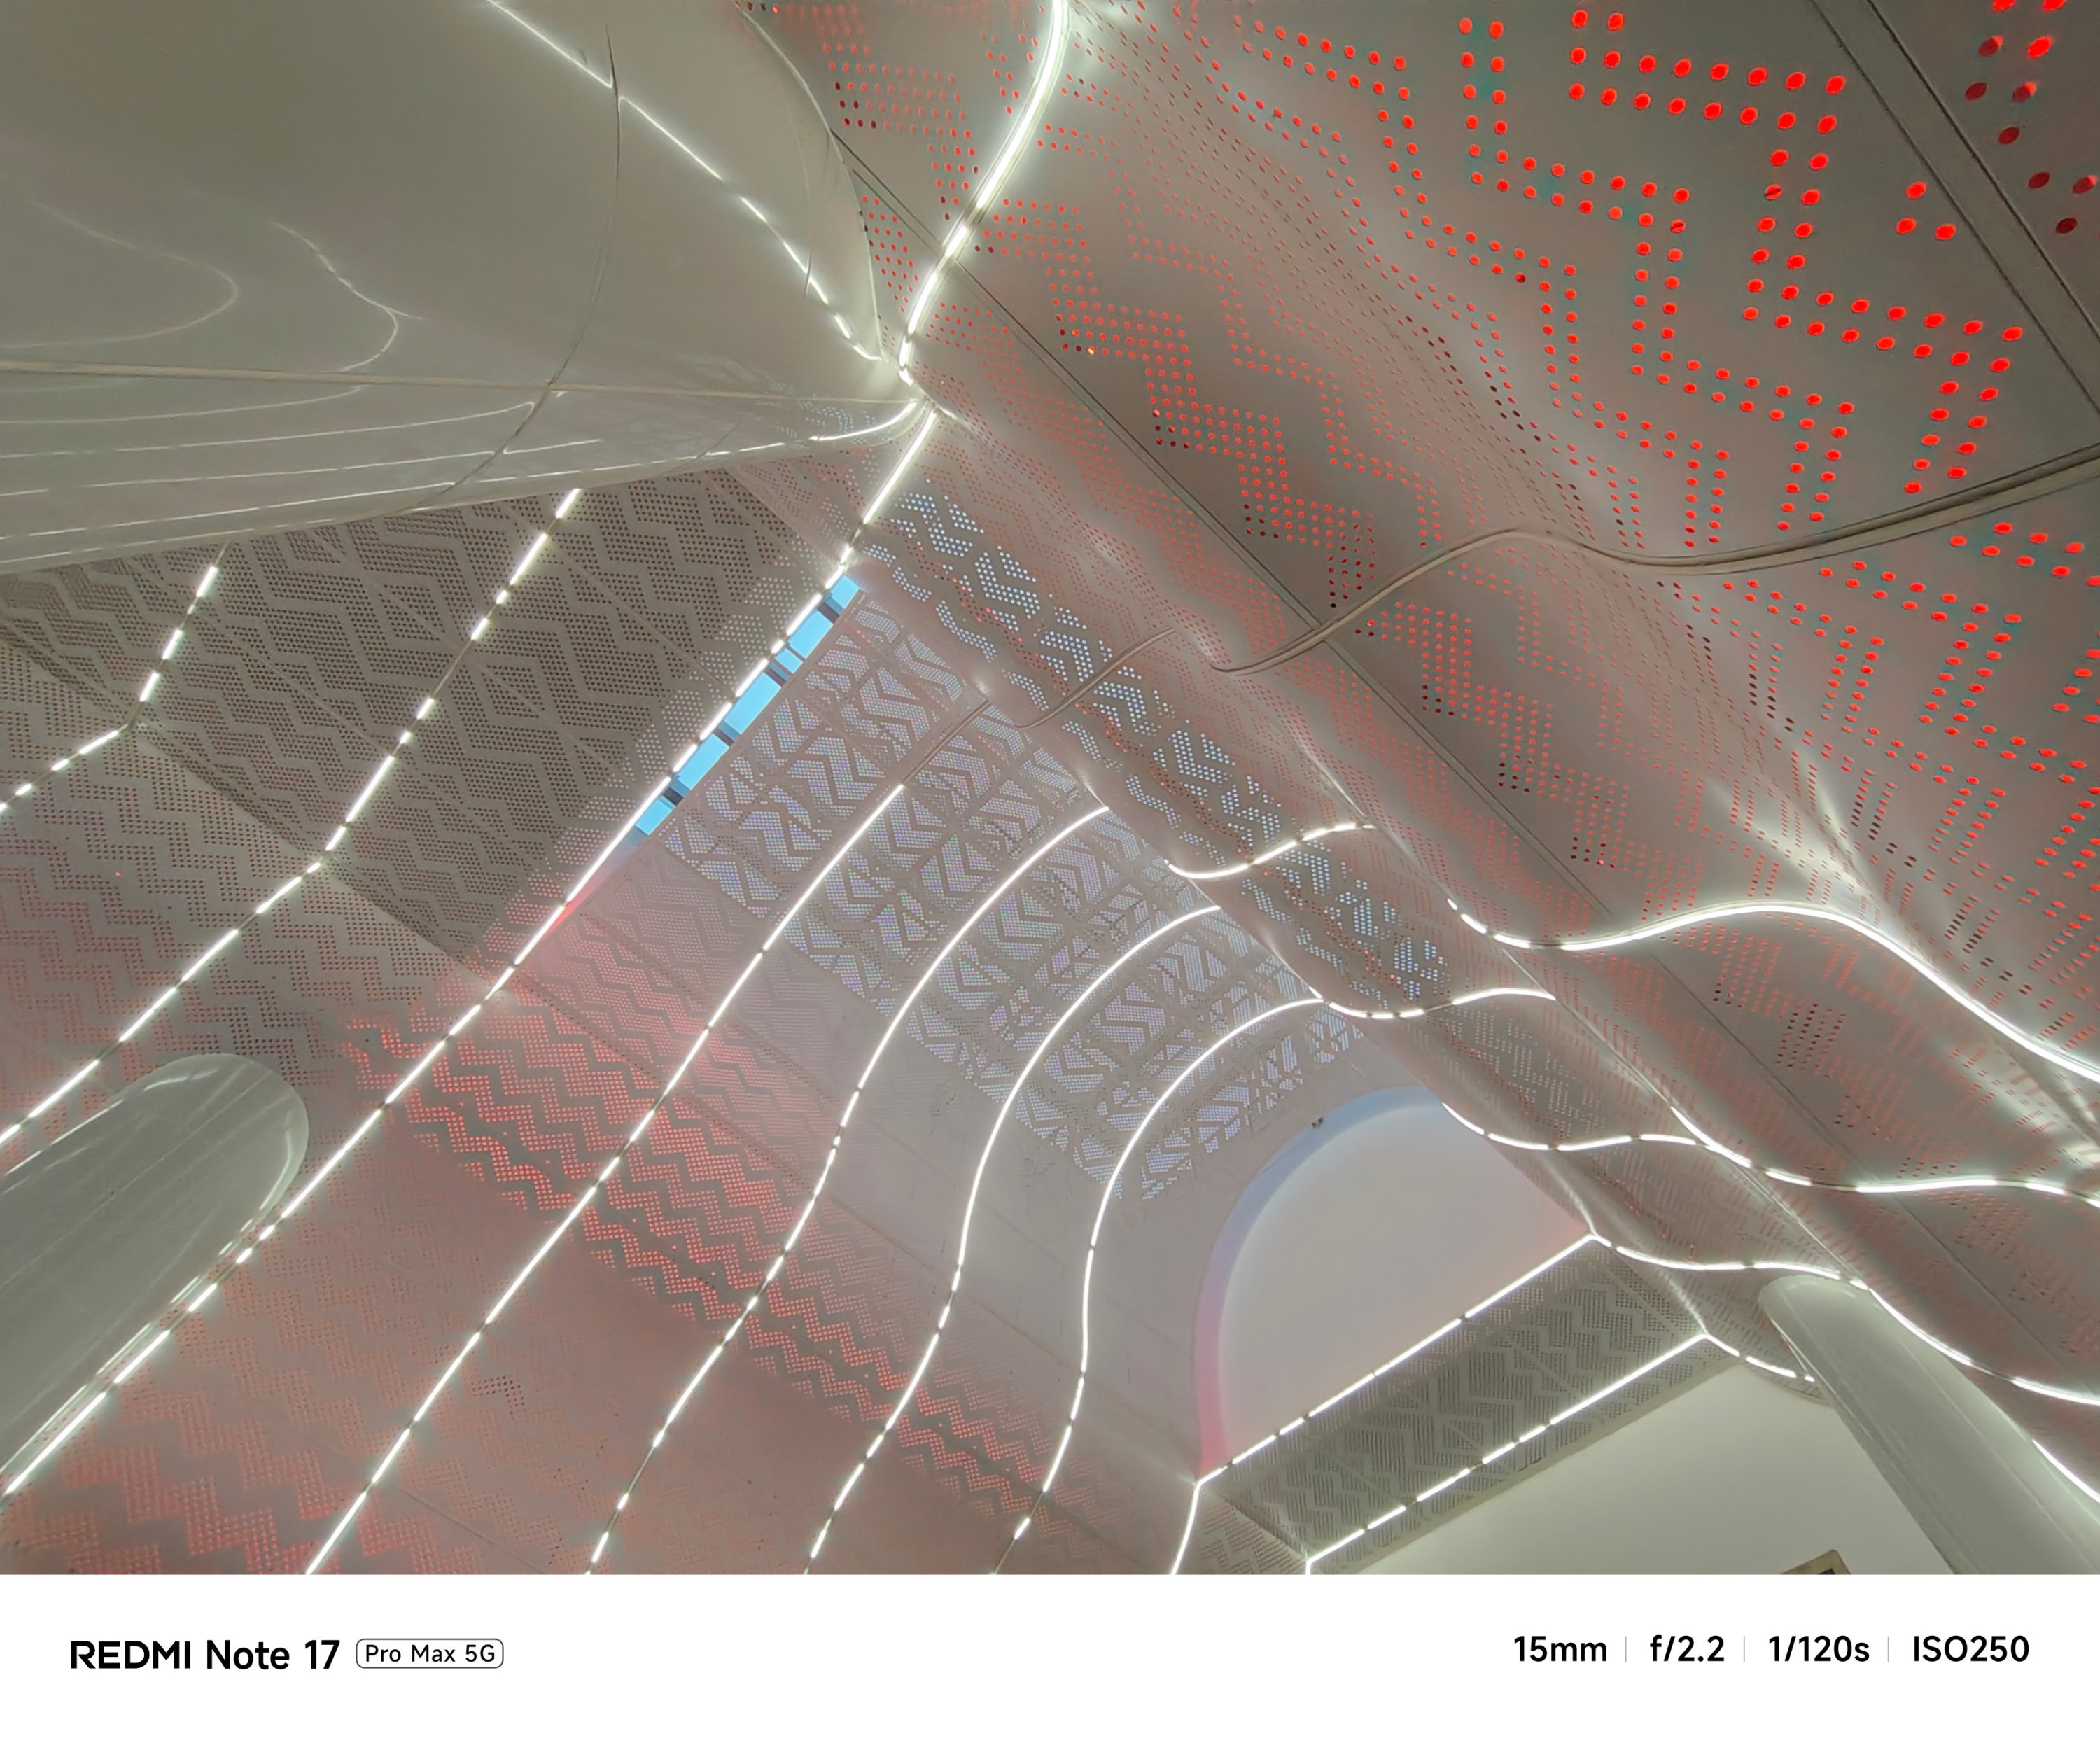
Even its UWA shooter produced better results despite having the same lens module.
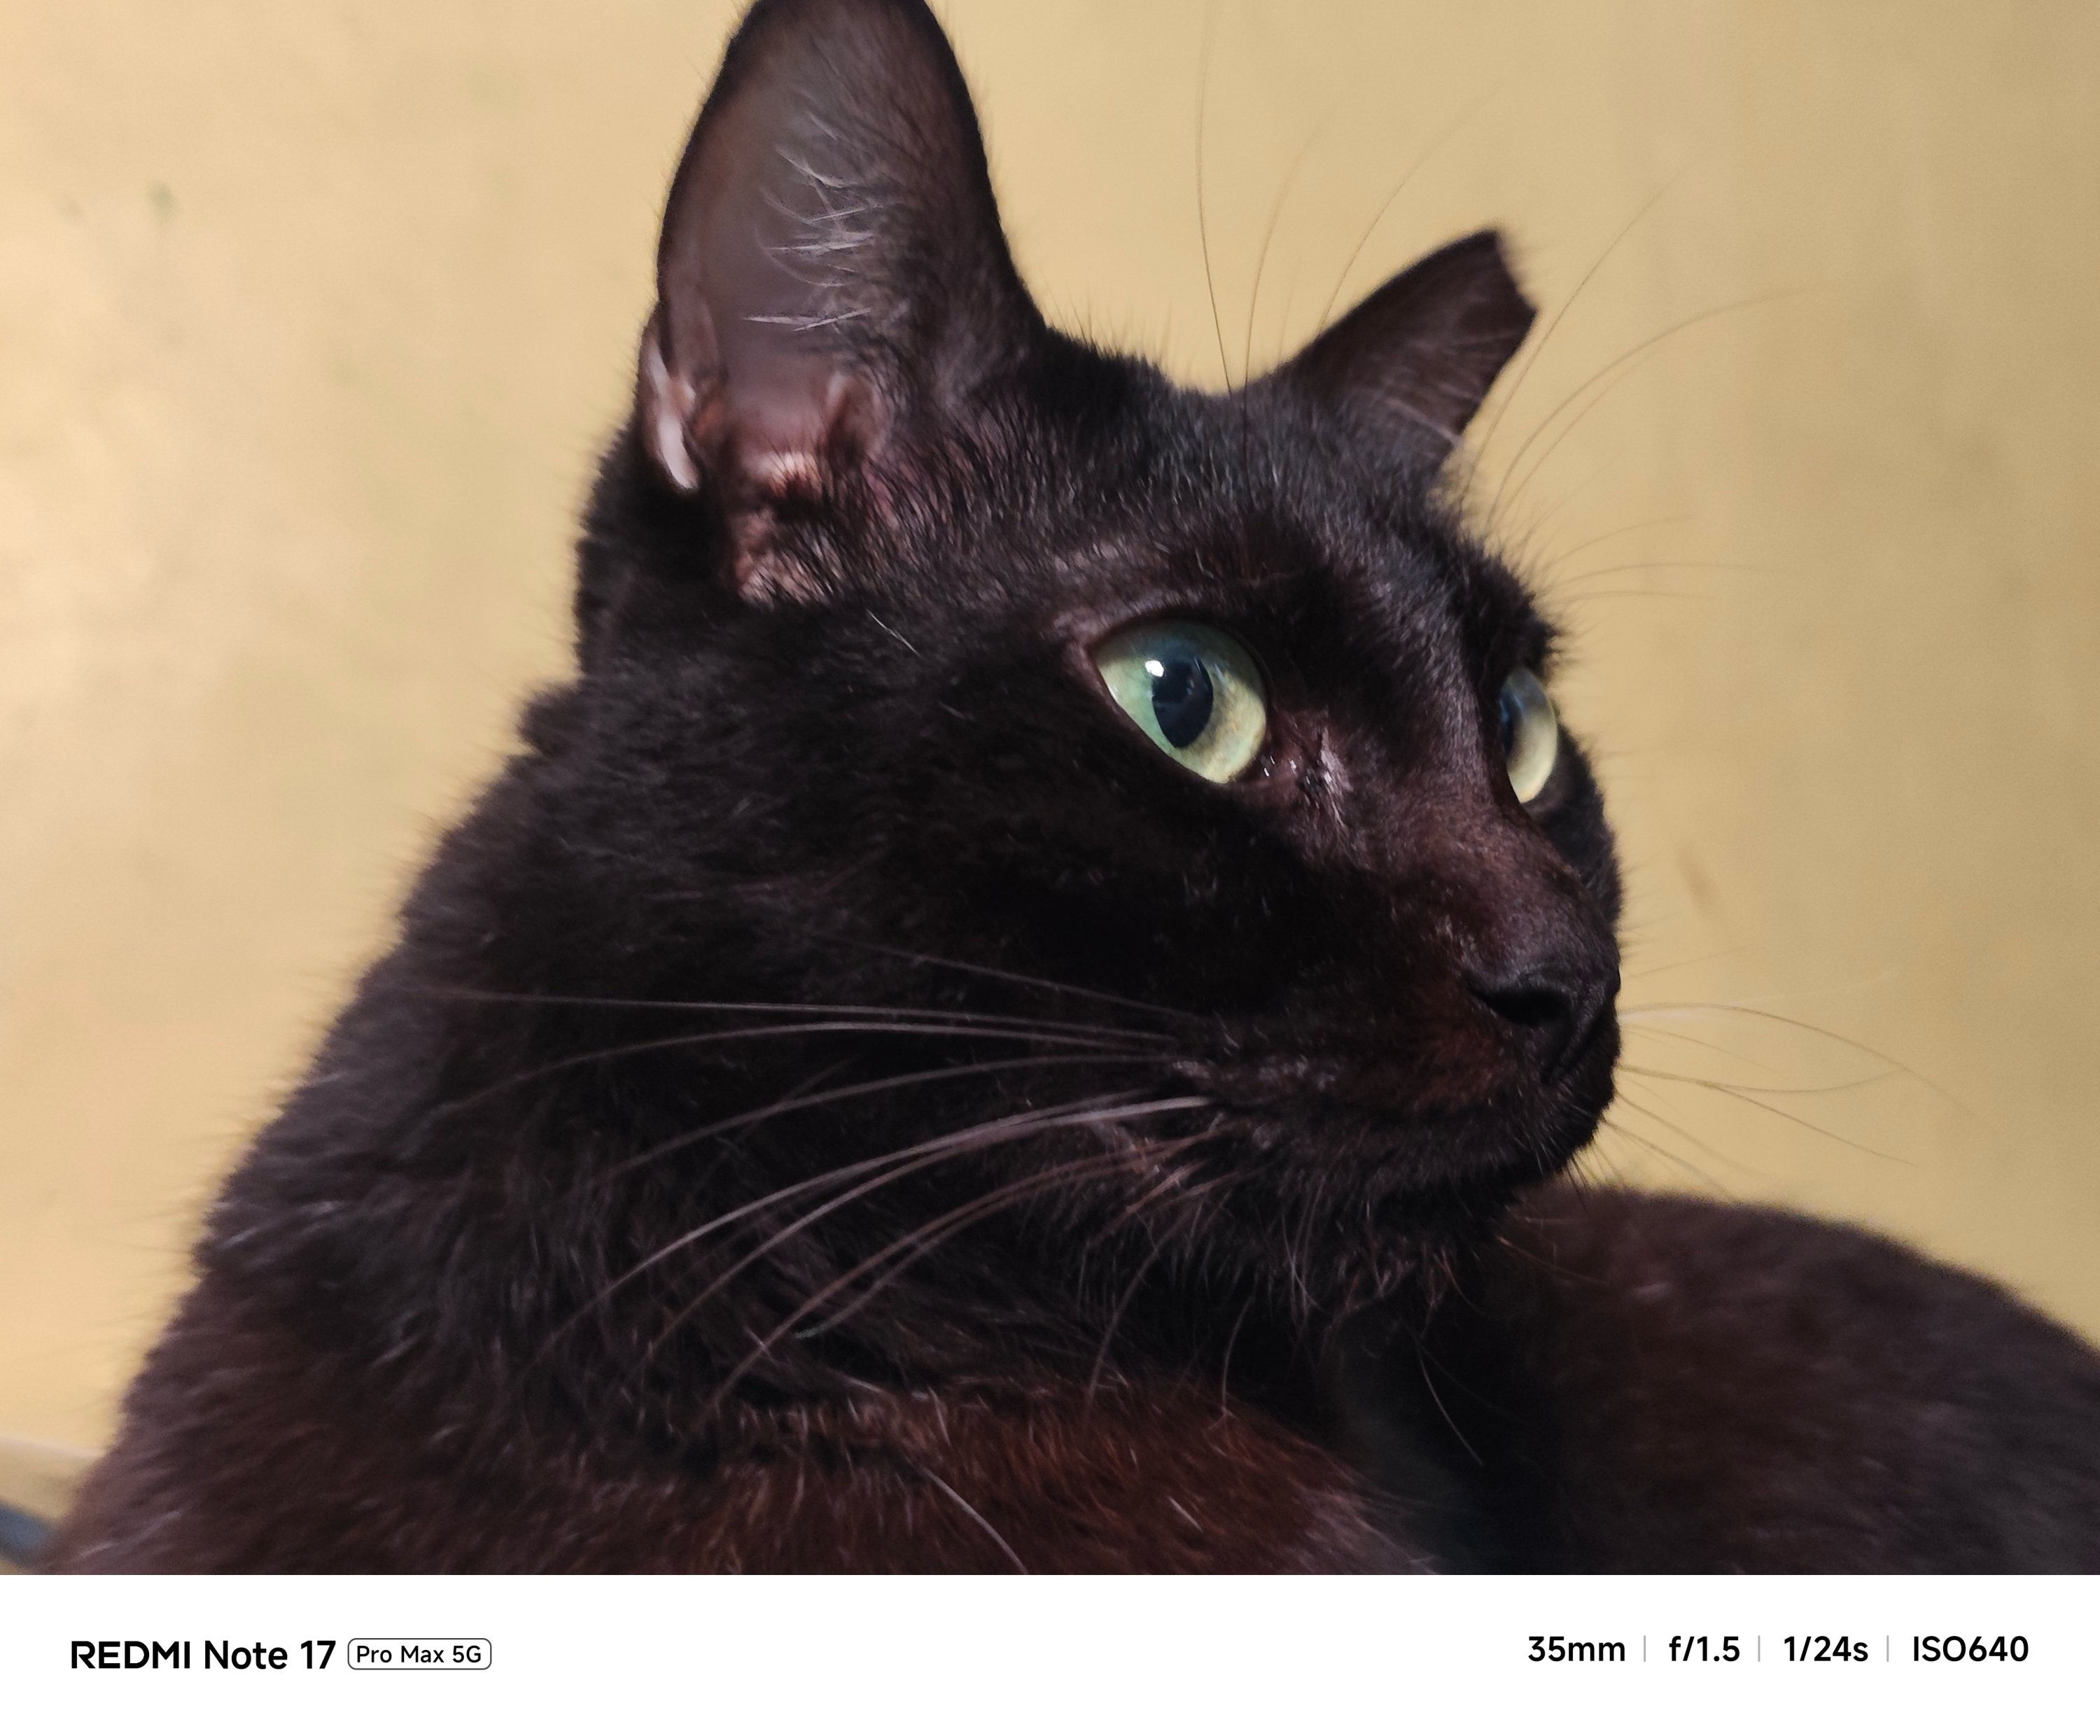
Safe to say, I enjoyed using the cameras of the Pro Max a whole lot more. Whether those are taking mementos of frisky fur friends…



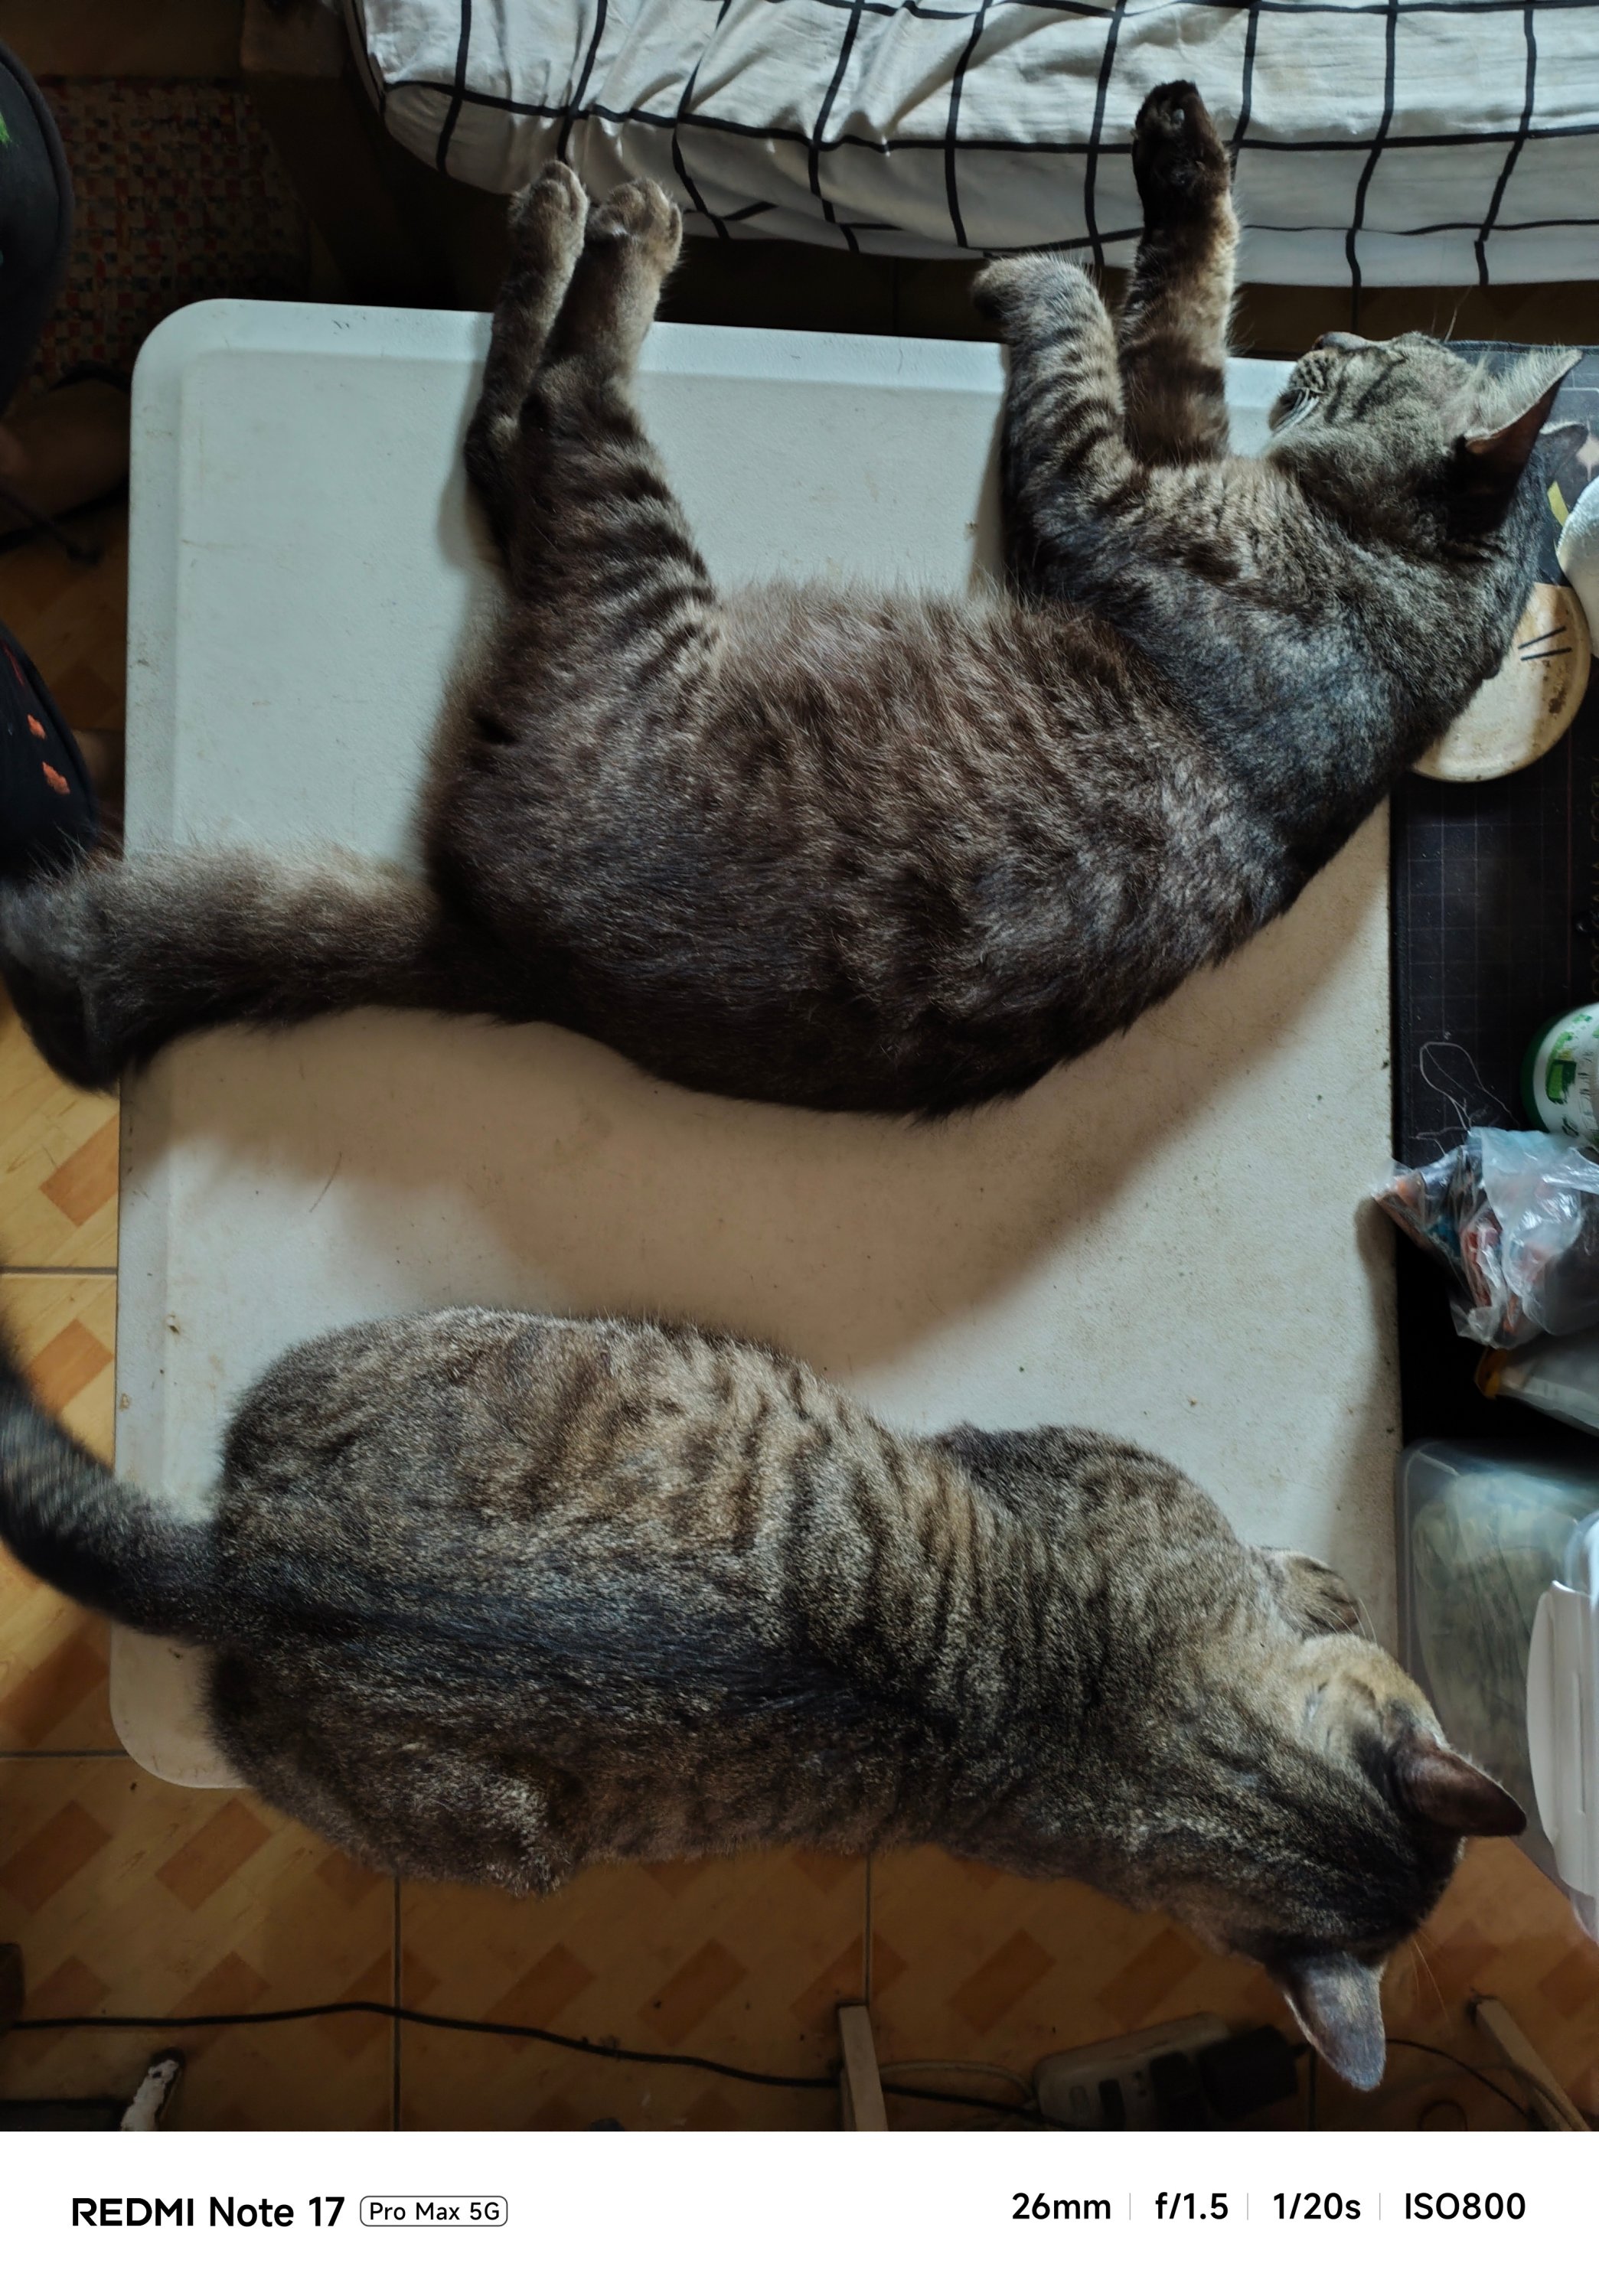

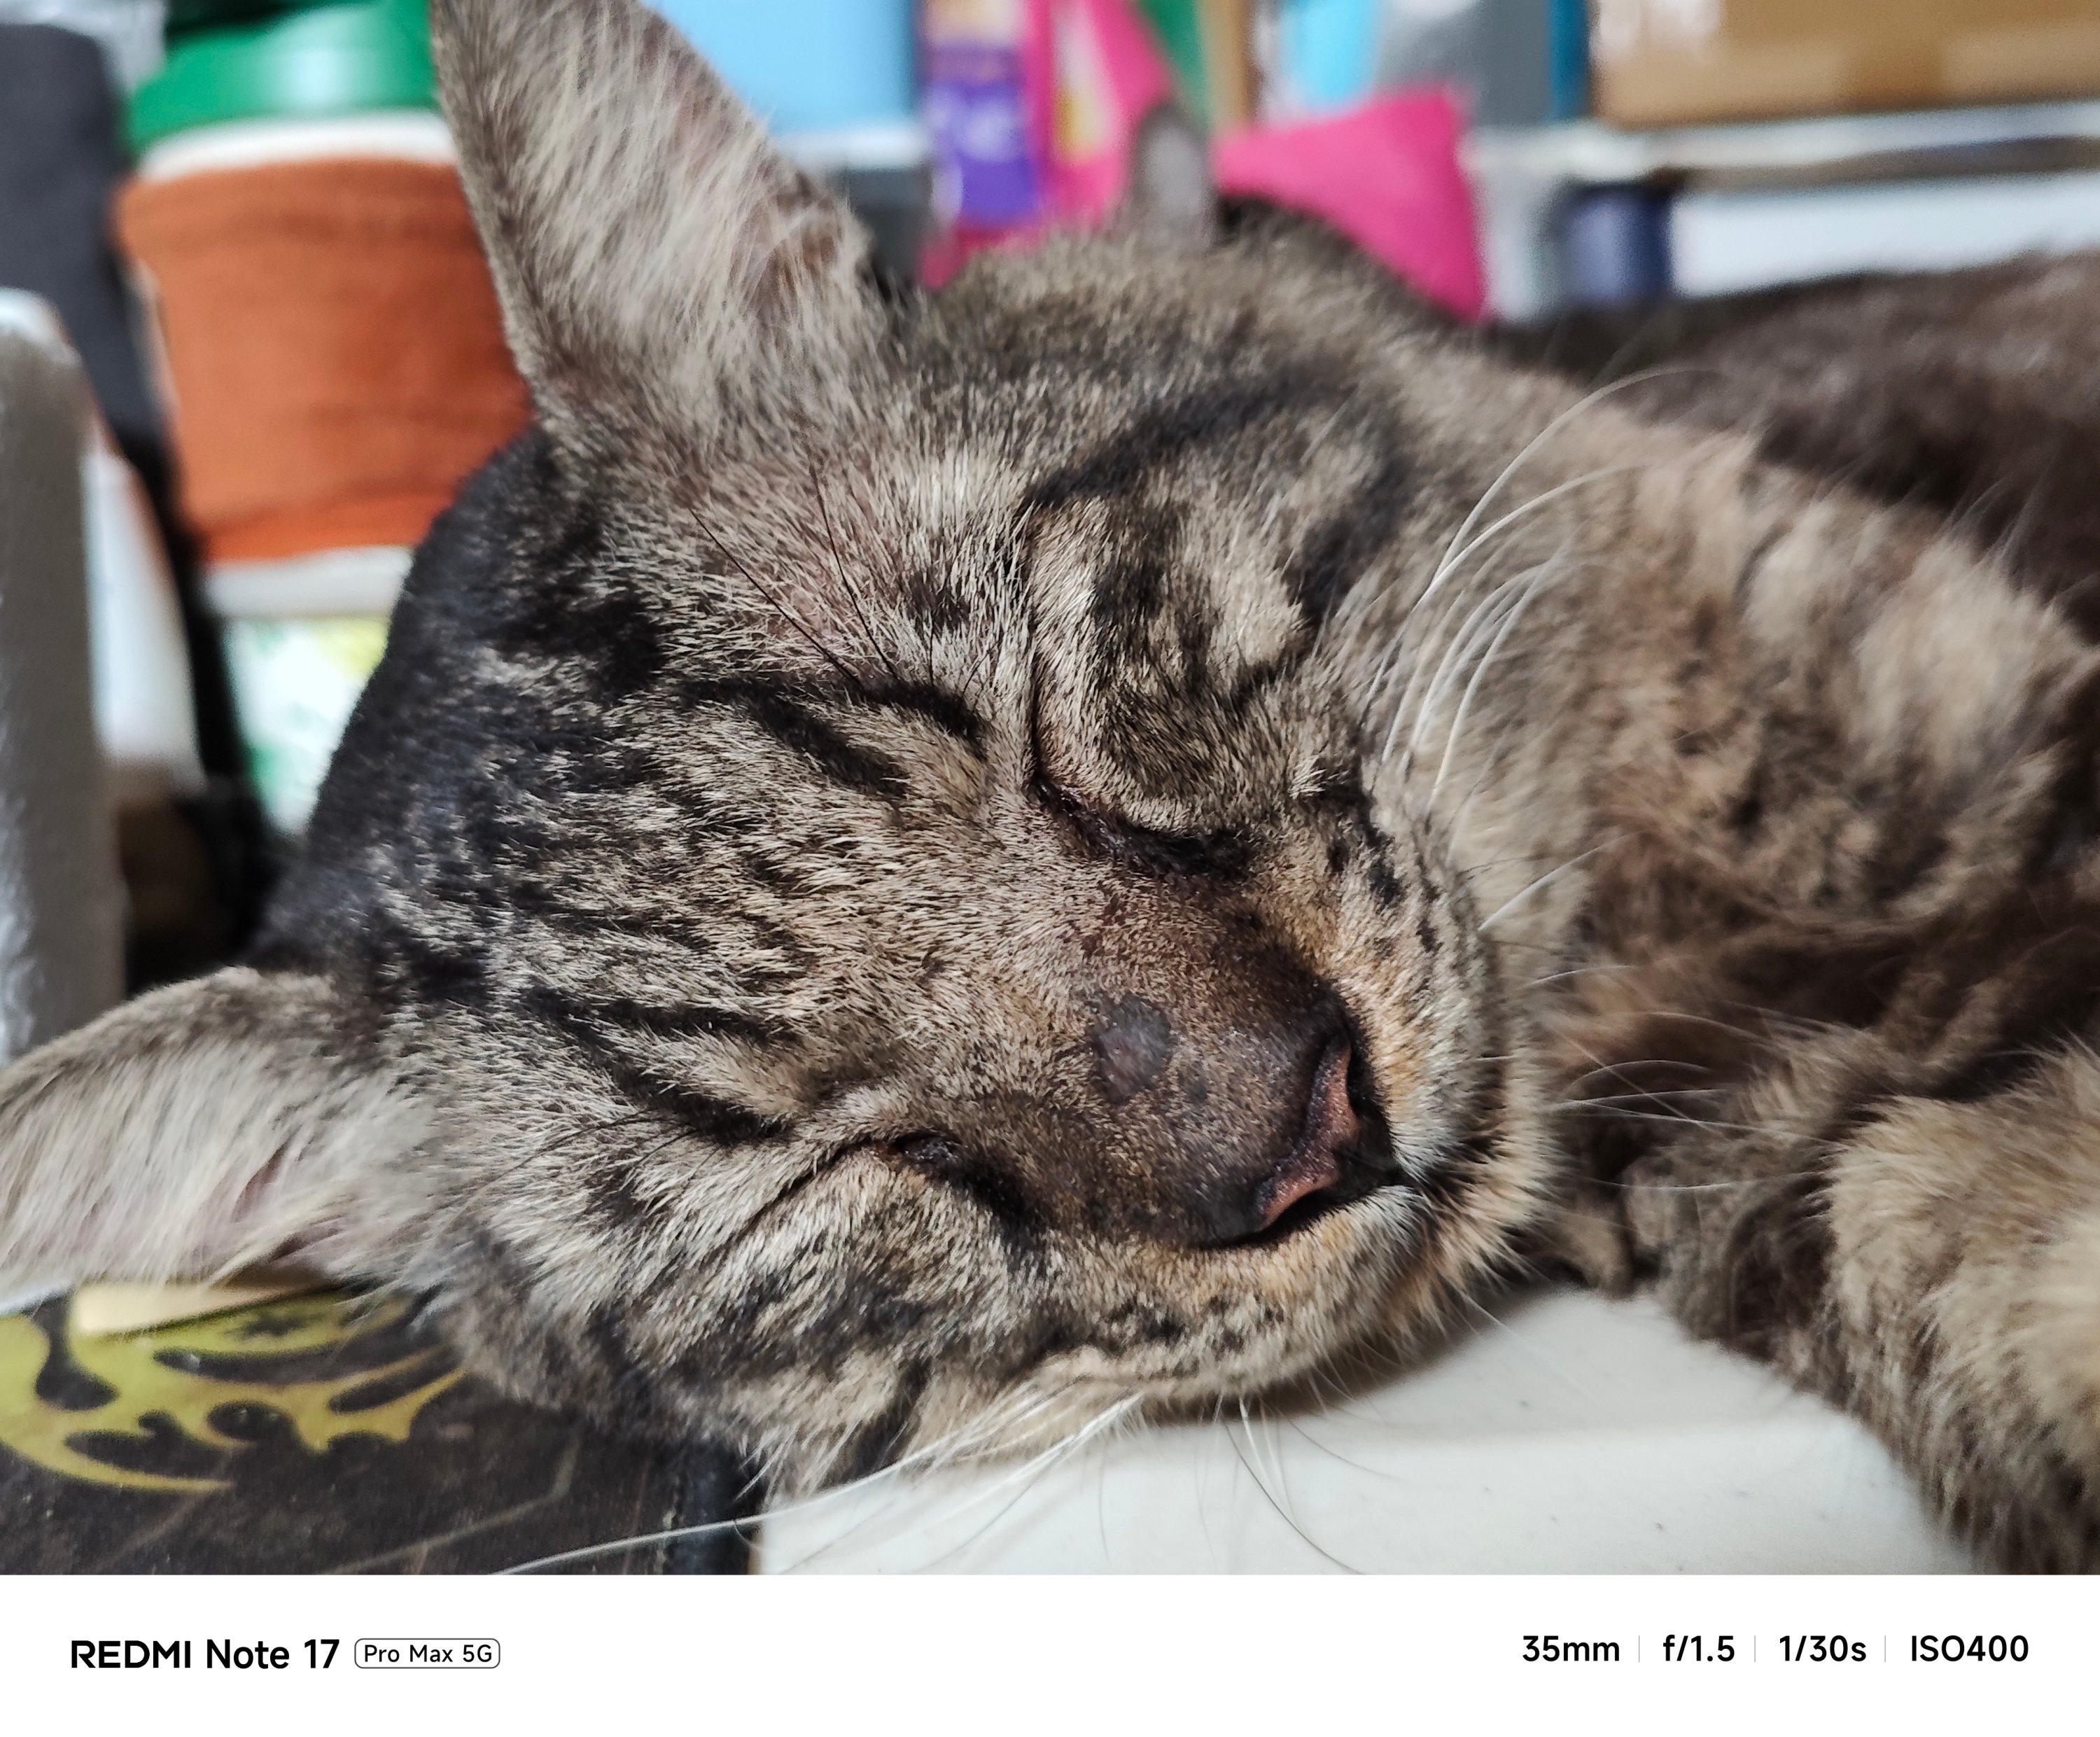
…indoor shots with little to no presence of natural light…

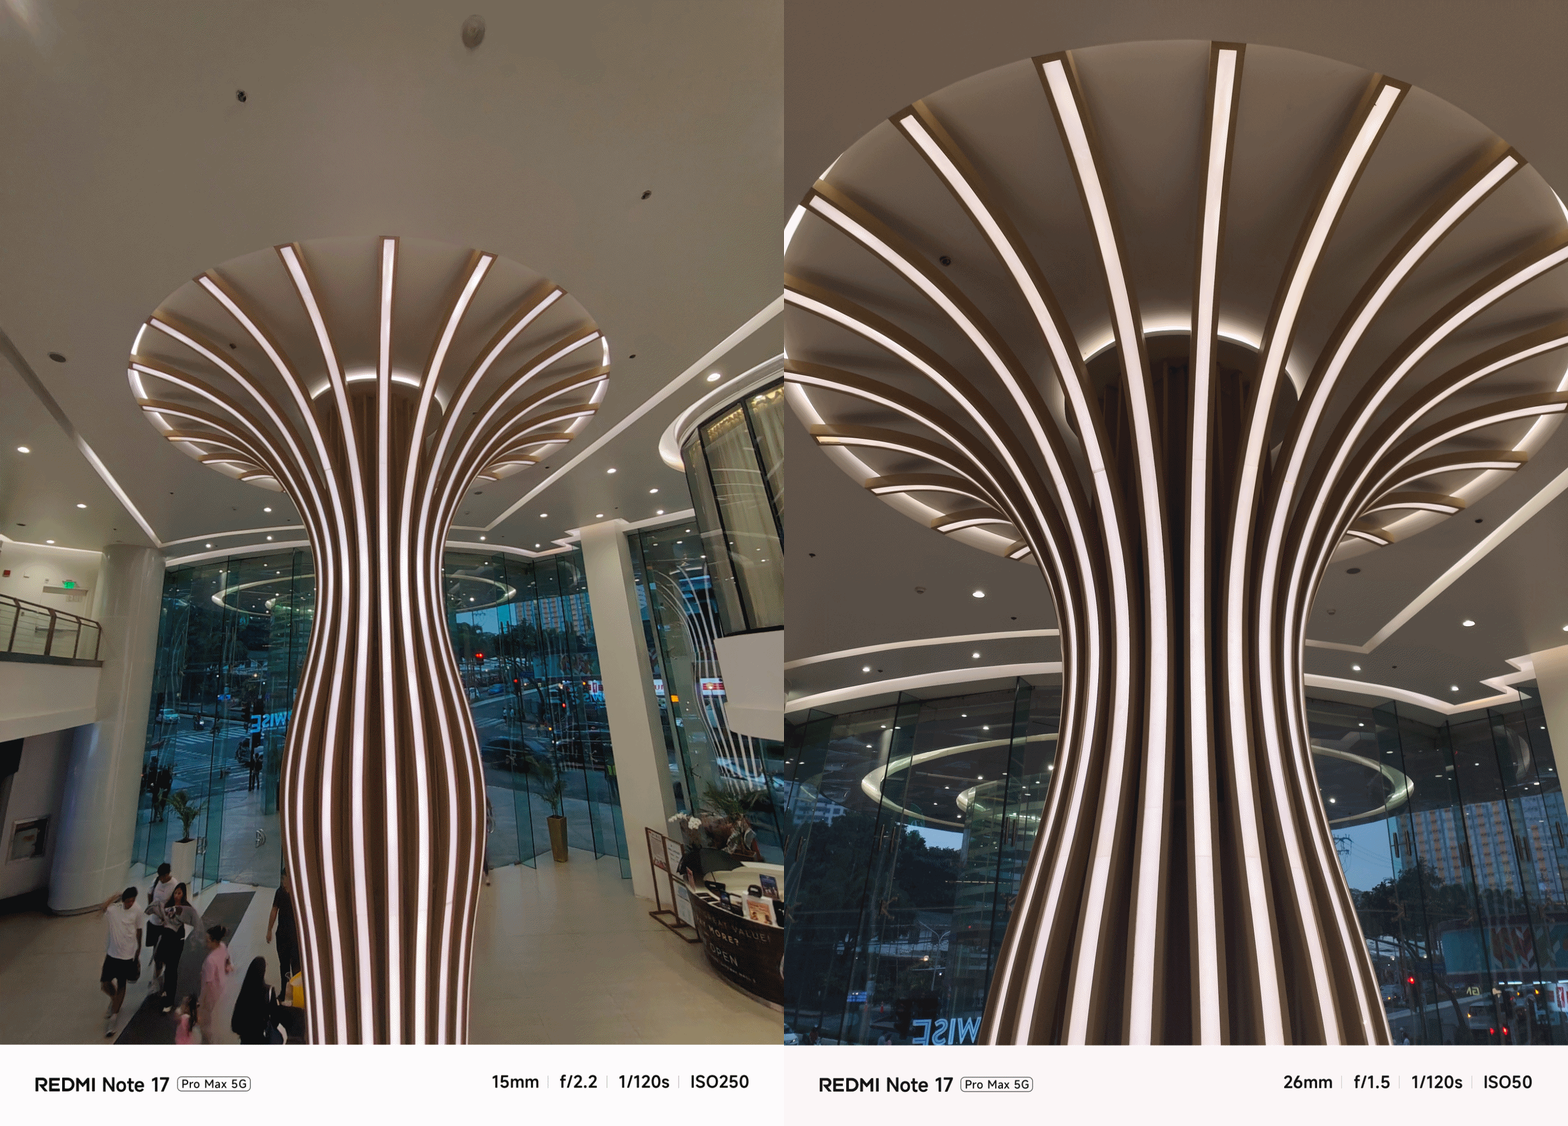
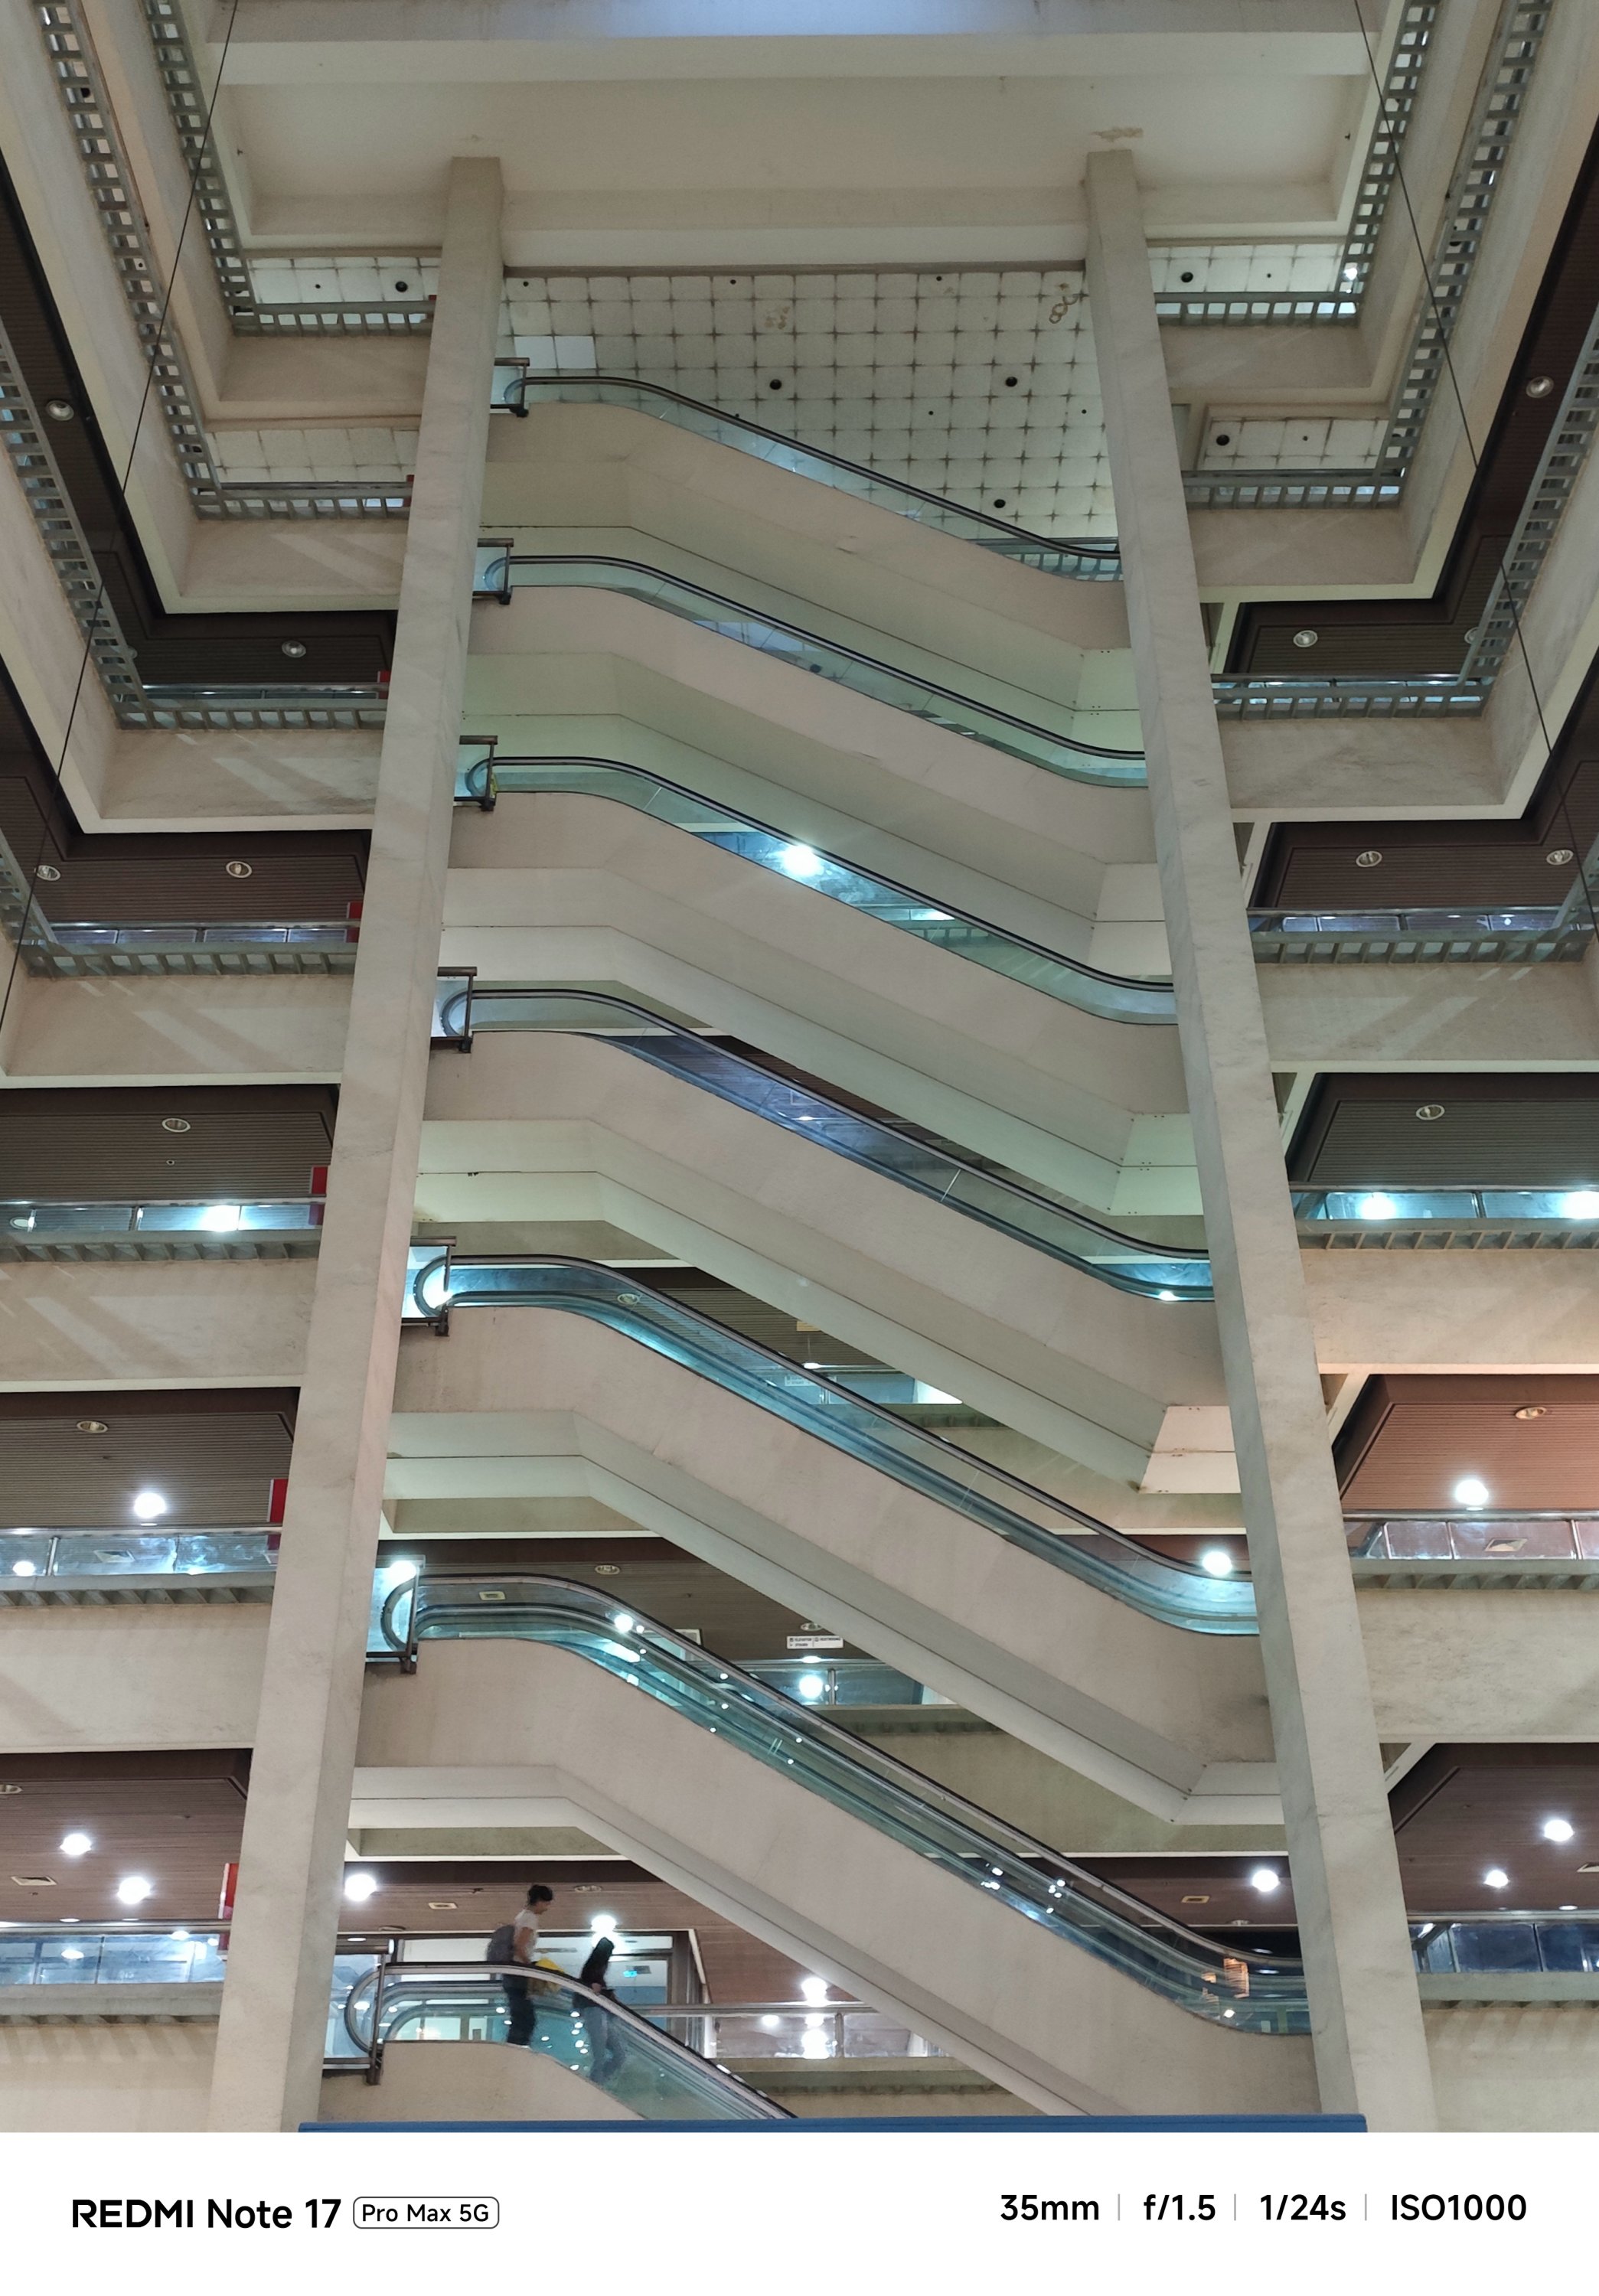

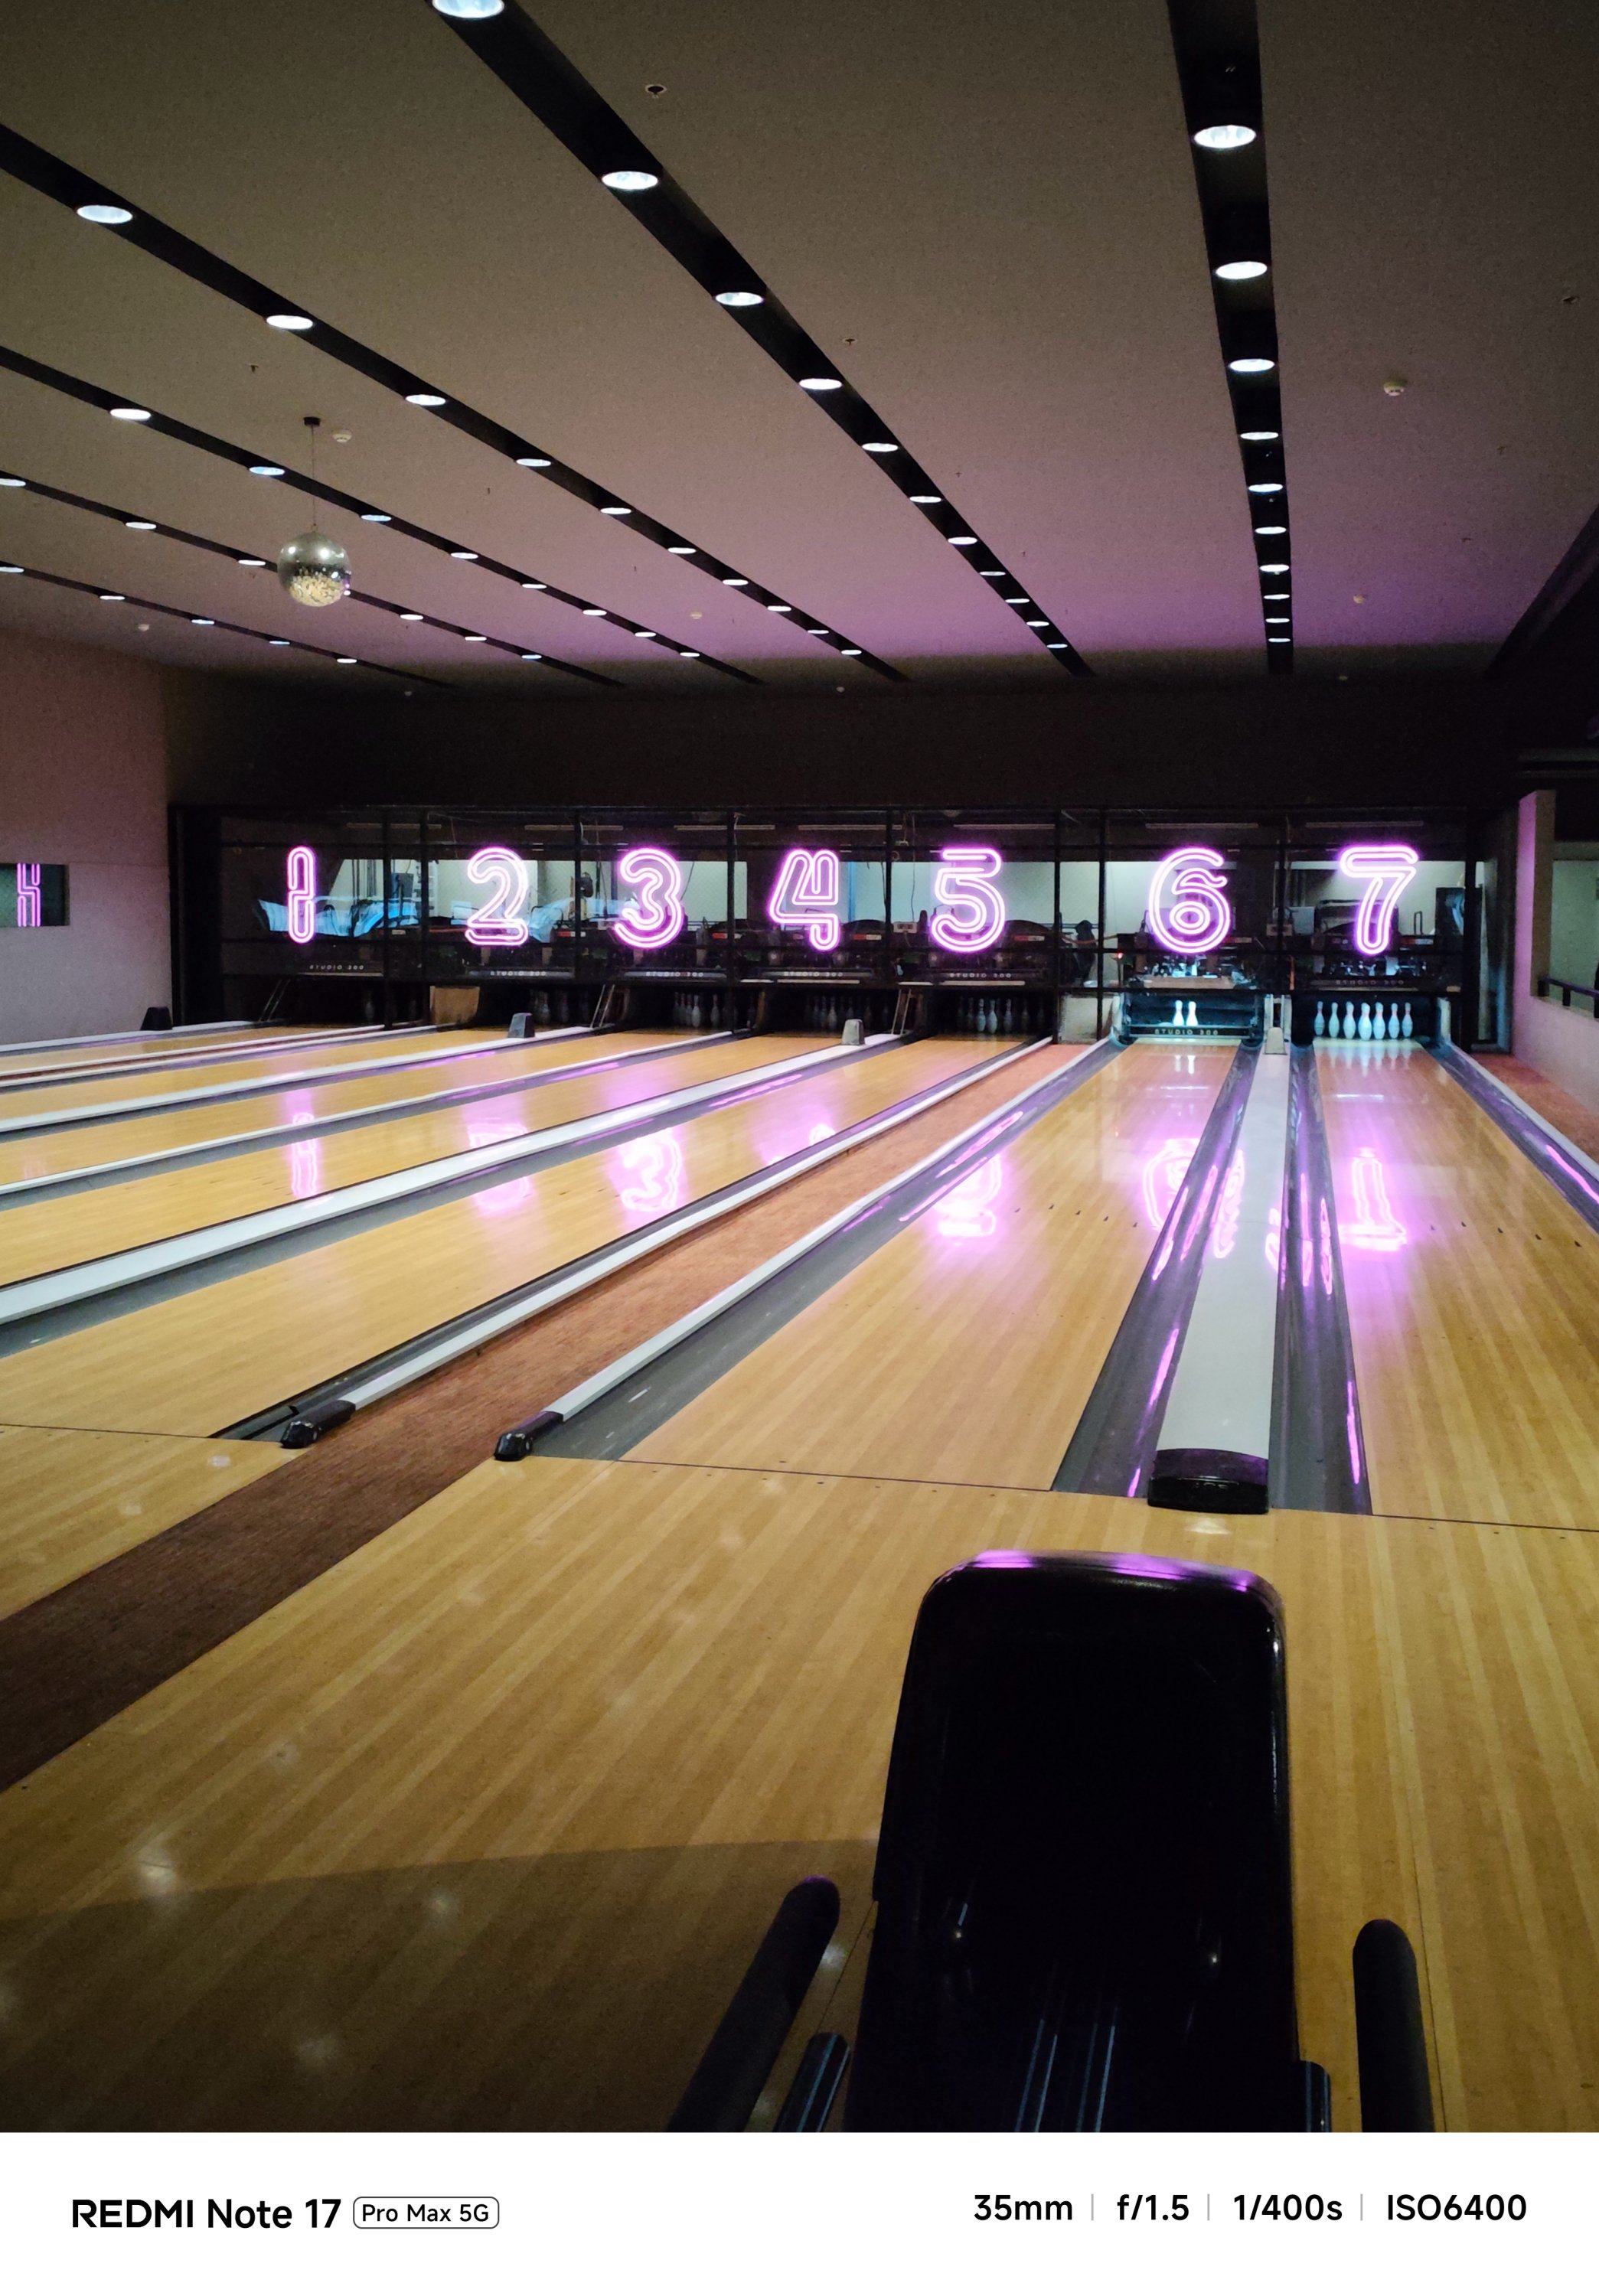

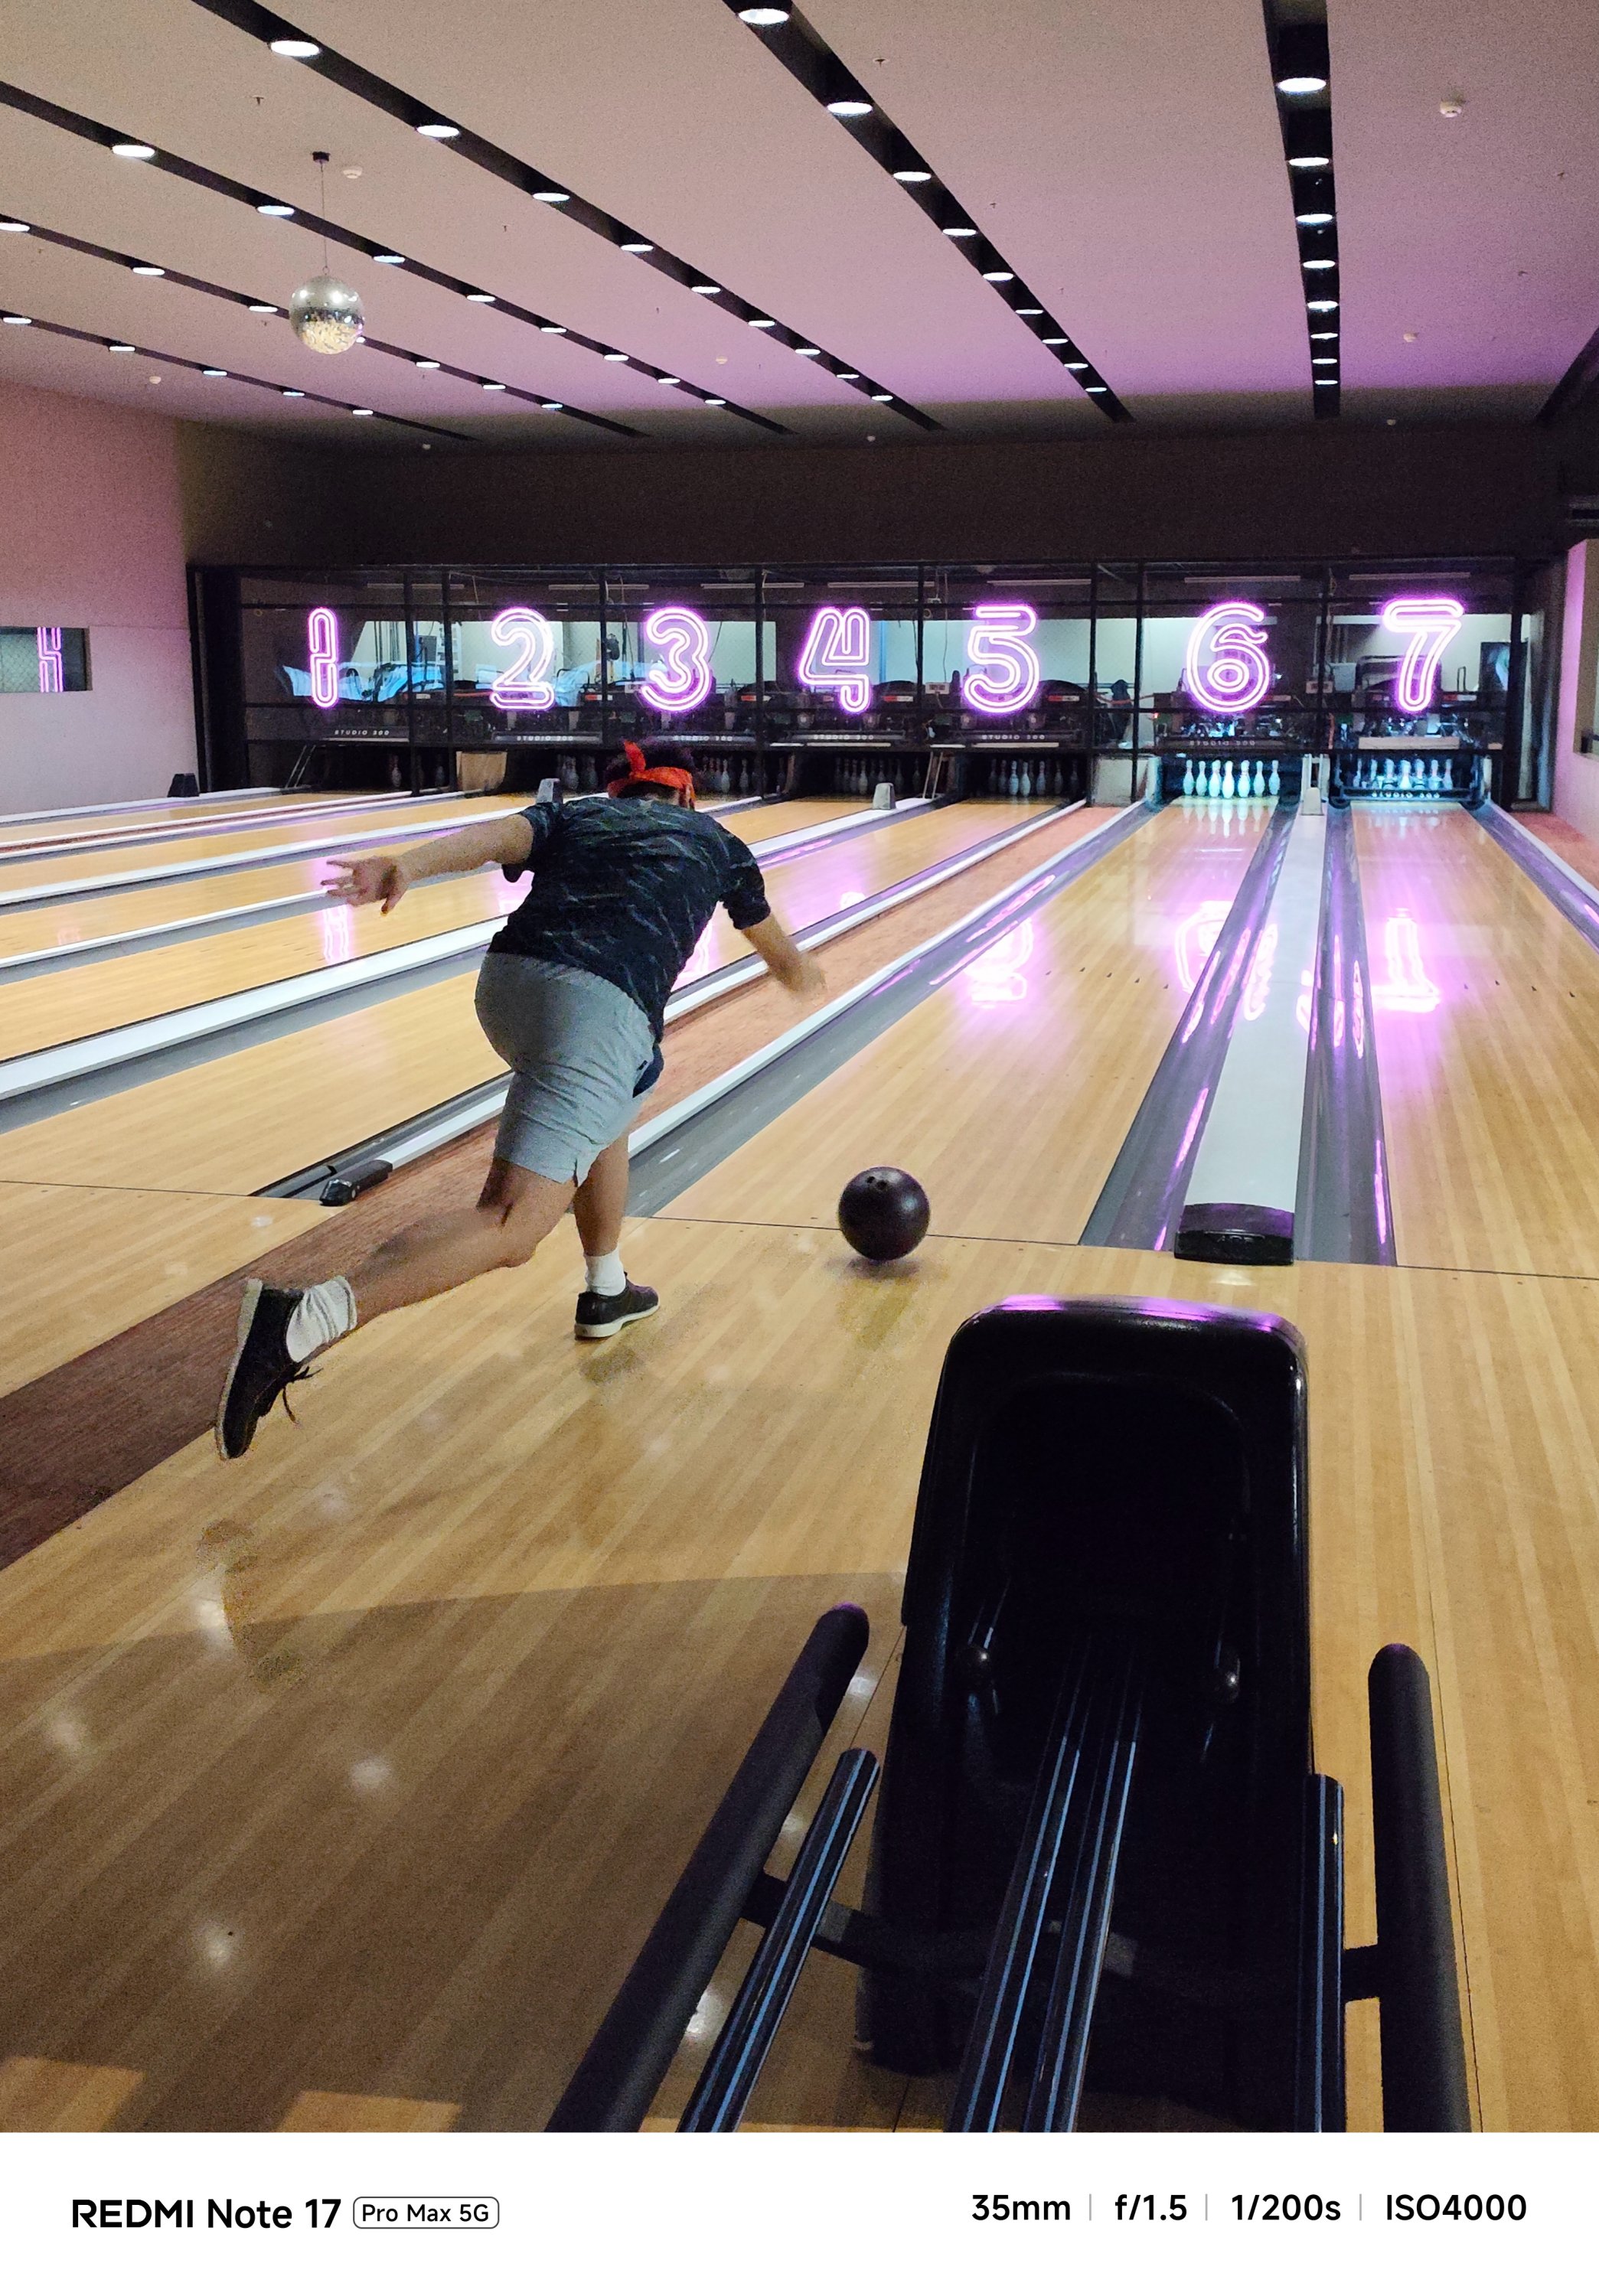
…or even portraits and action-filled snaps, shooting with it was overall smoother and snappier compared to its Pro counterpart.

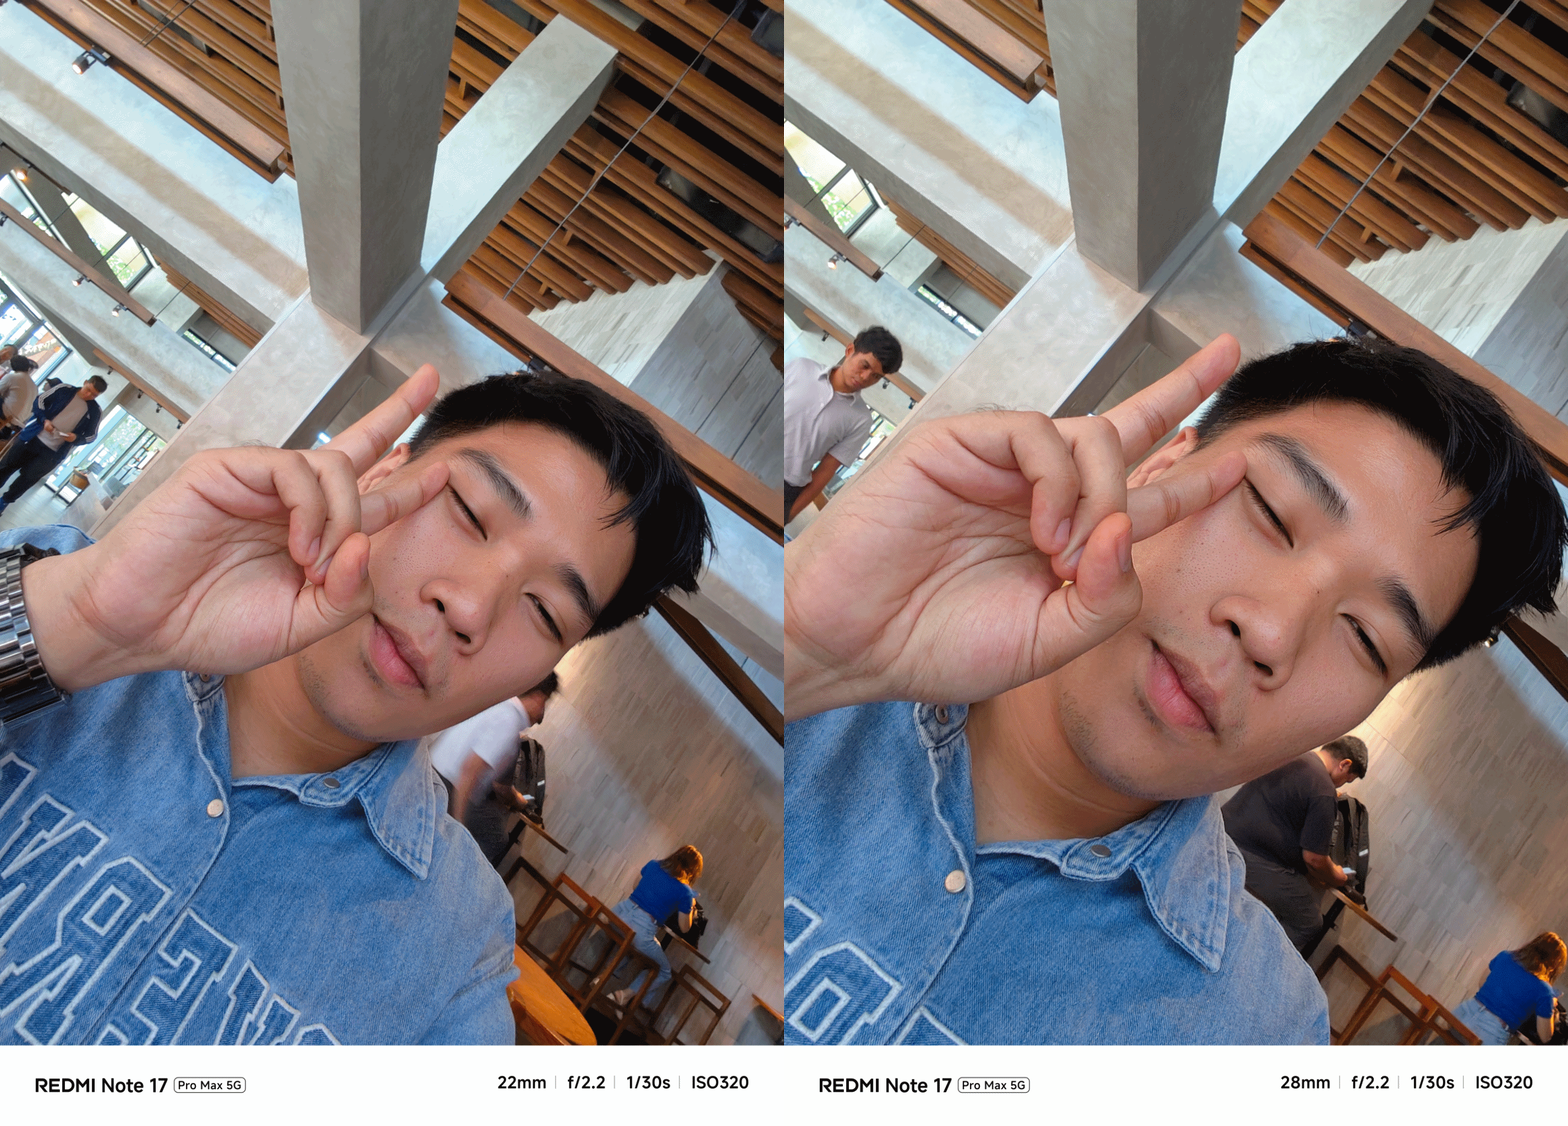
And now that it’s mentioned, the selfie shooter of the Pro Max is indifferent at 32MP f/2.2. That’s against the smaller and darker 16MP f/2.4 module of the Note 17 Pro.

Tasked to the max
As of writing, the REDMI Note 17 Pro Max is the brand’s first smartphone with a 10,000mAh battery. And by that, it boasts the biggest battery in any REDMI and Xiaomi smartphone so far.
One minor caveat: In certain regions, you’ll get the smaller 9210mAh capacity. But even with that 790mAh difference, it’s still heaps larger than the 8340mAh-equipped Note 17 Pro.
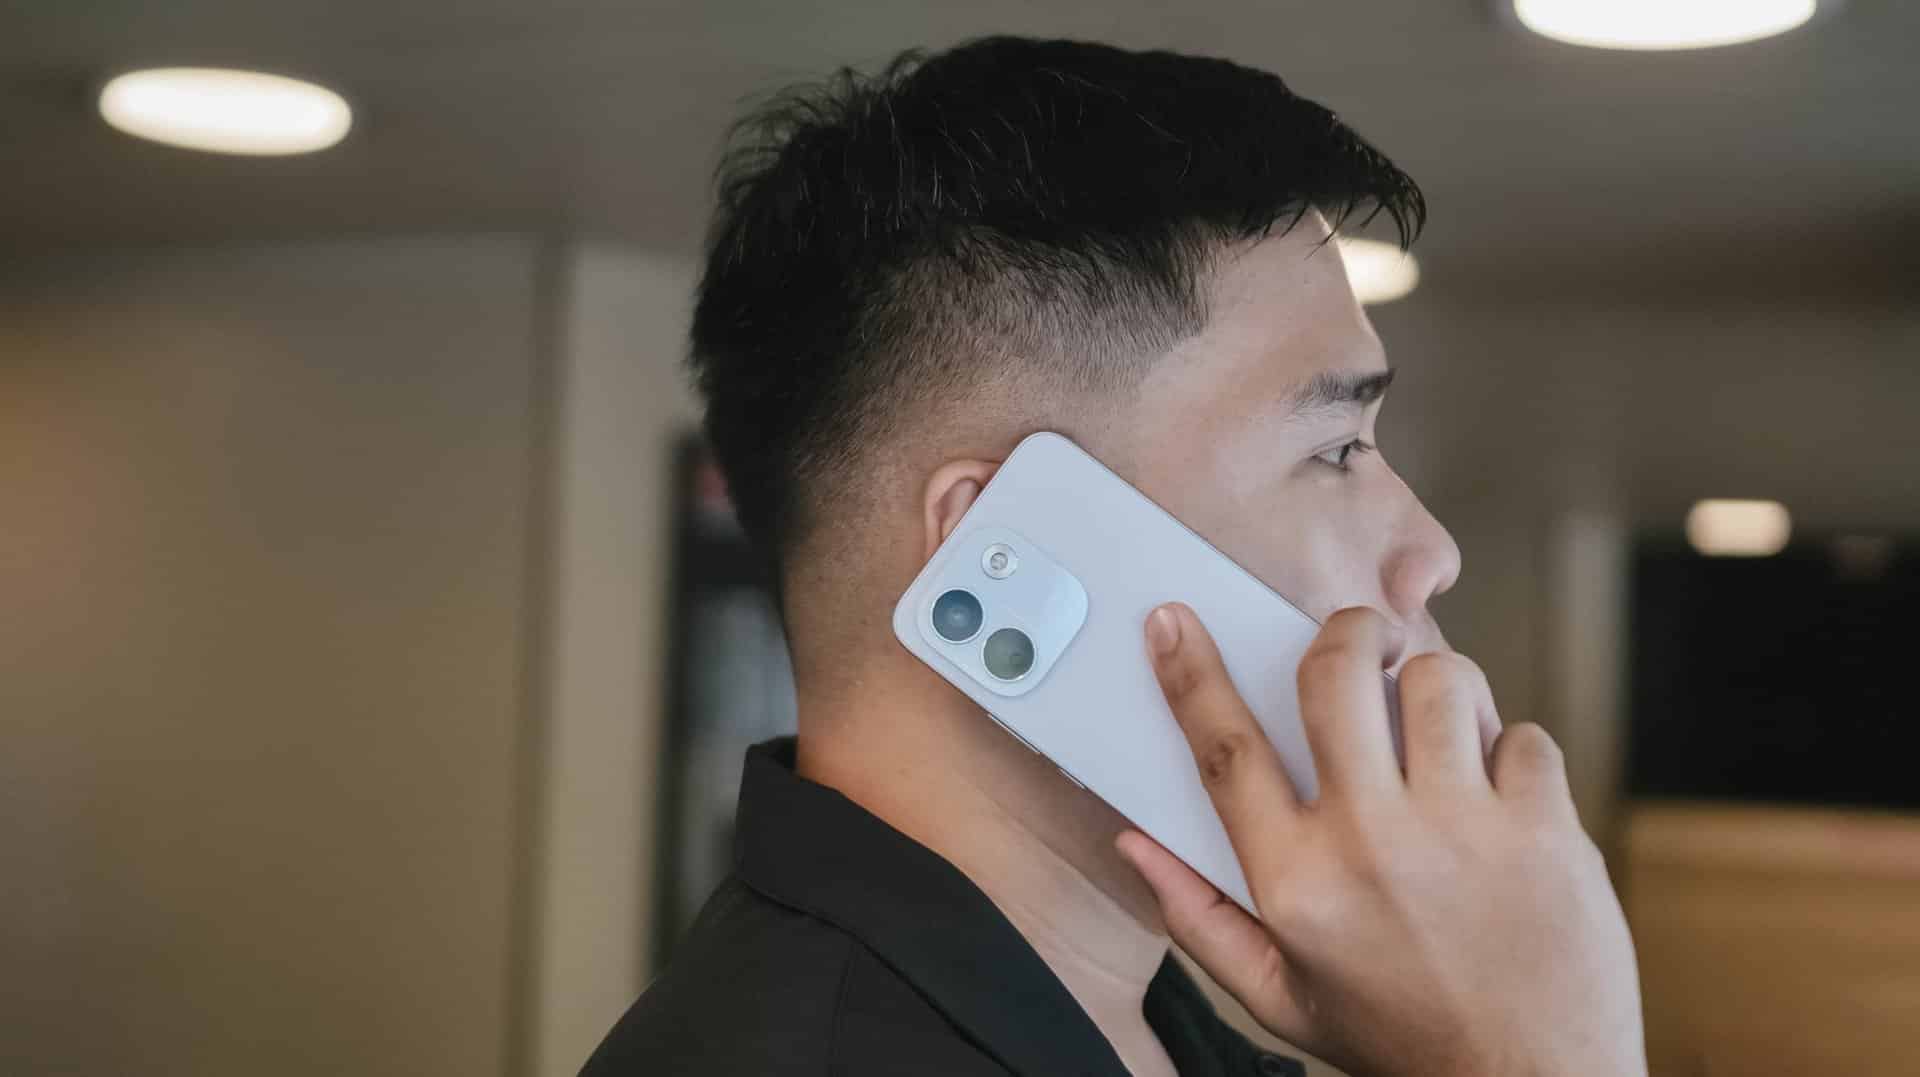
The long-lasting endurance is as amazing as how it looks on paper. Moderate usage can last more than 24 hours. Minimal usage? That’s about two to three days max. Of course, standby time is a lot longer when you don’t use it extensively.
There’s even a reverse wired charging capability just in case your other feeble-powered smartphones lose that precious charge.
For instance, I tried charging my completely dead iPhone 13 Pro Max using the REDMI Note 17 Pro Max for 30 minutes. With that duration, it gave around 29% charge. That is already good especially if one’s out from an outlet and already in a pinch.
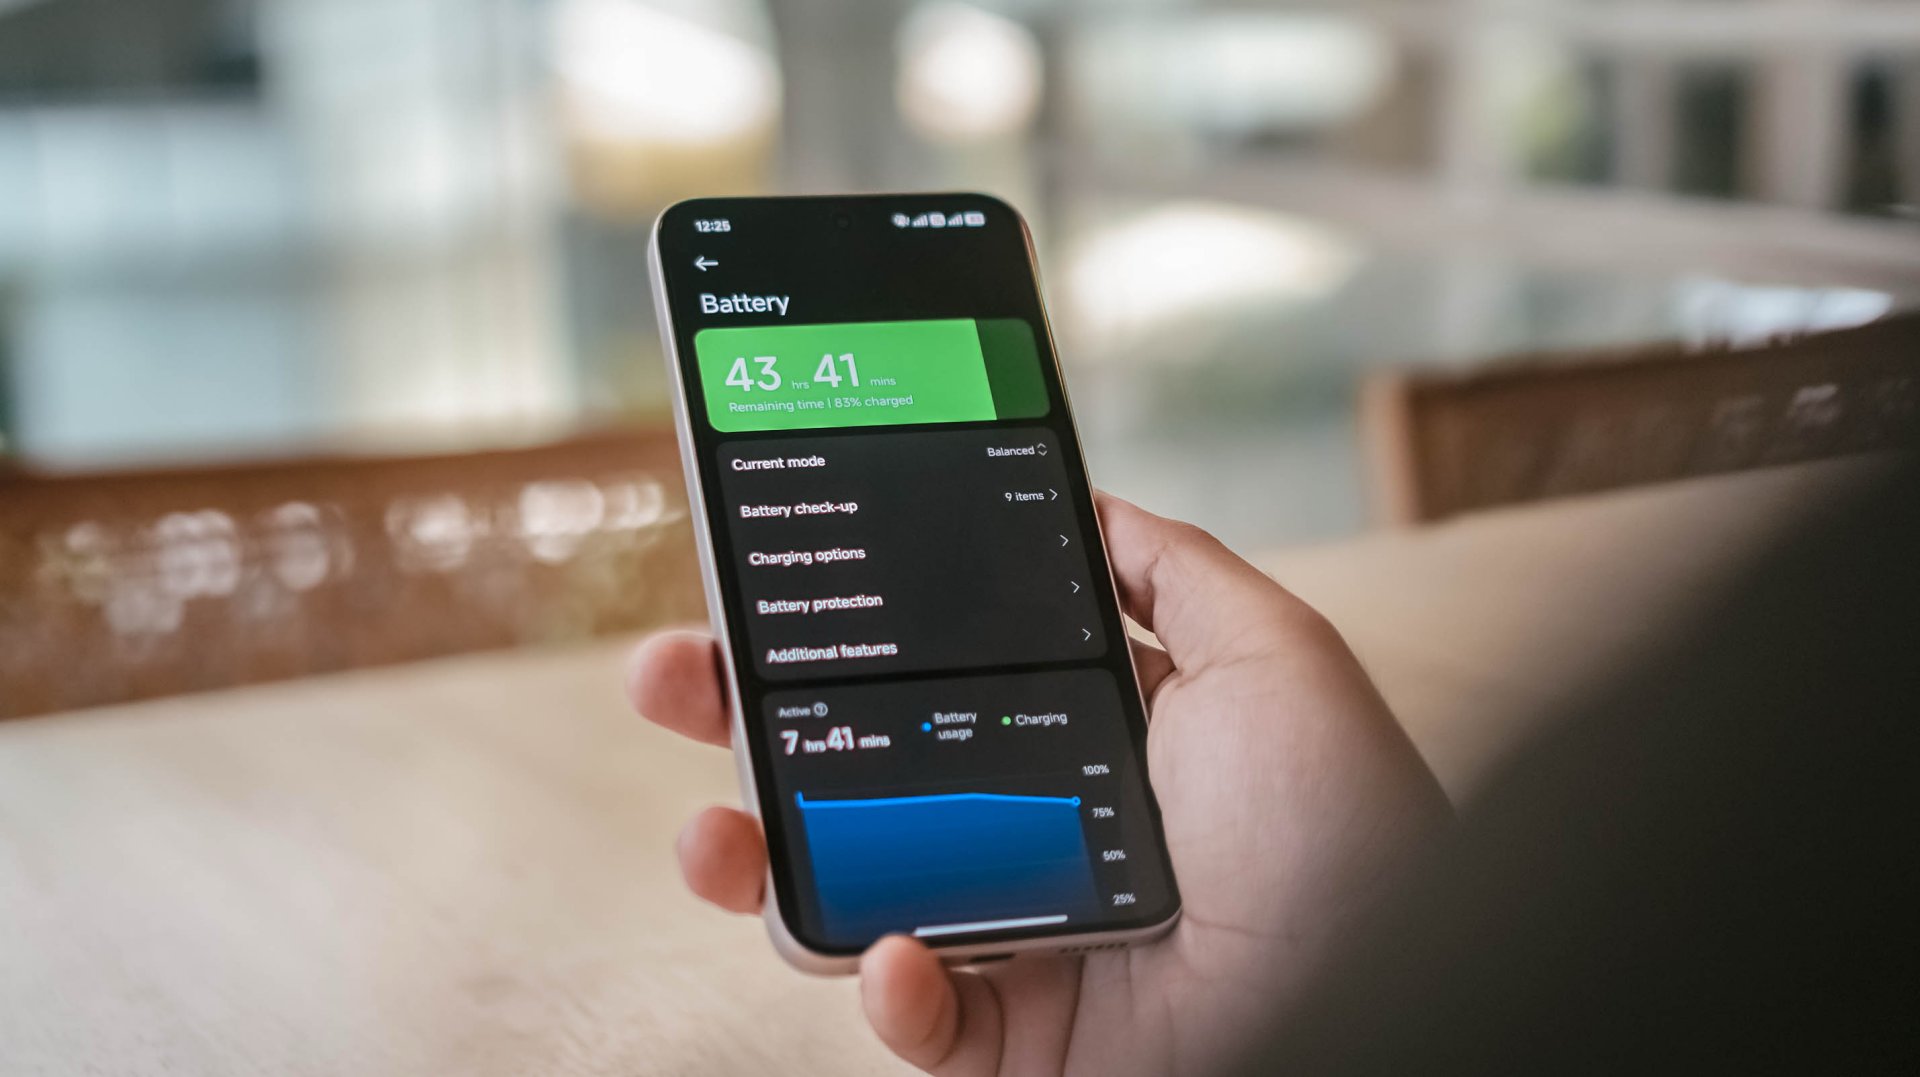
That said, one should still consider the app running in the foreground and background.
With almost two hours worth of installation and gameplay, including ZZZ’s countless character dialogues and a lone yet lengthy combat consumed, the REDMI Note 17 Pro Max consumed 19% charge.
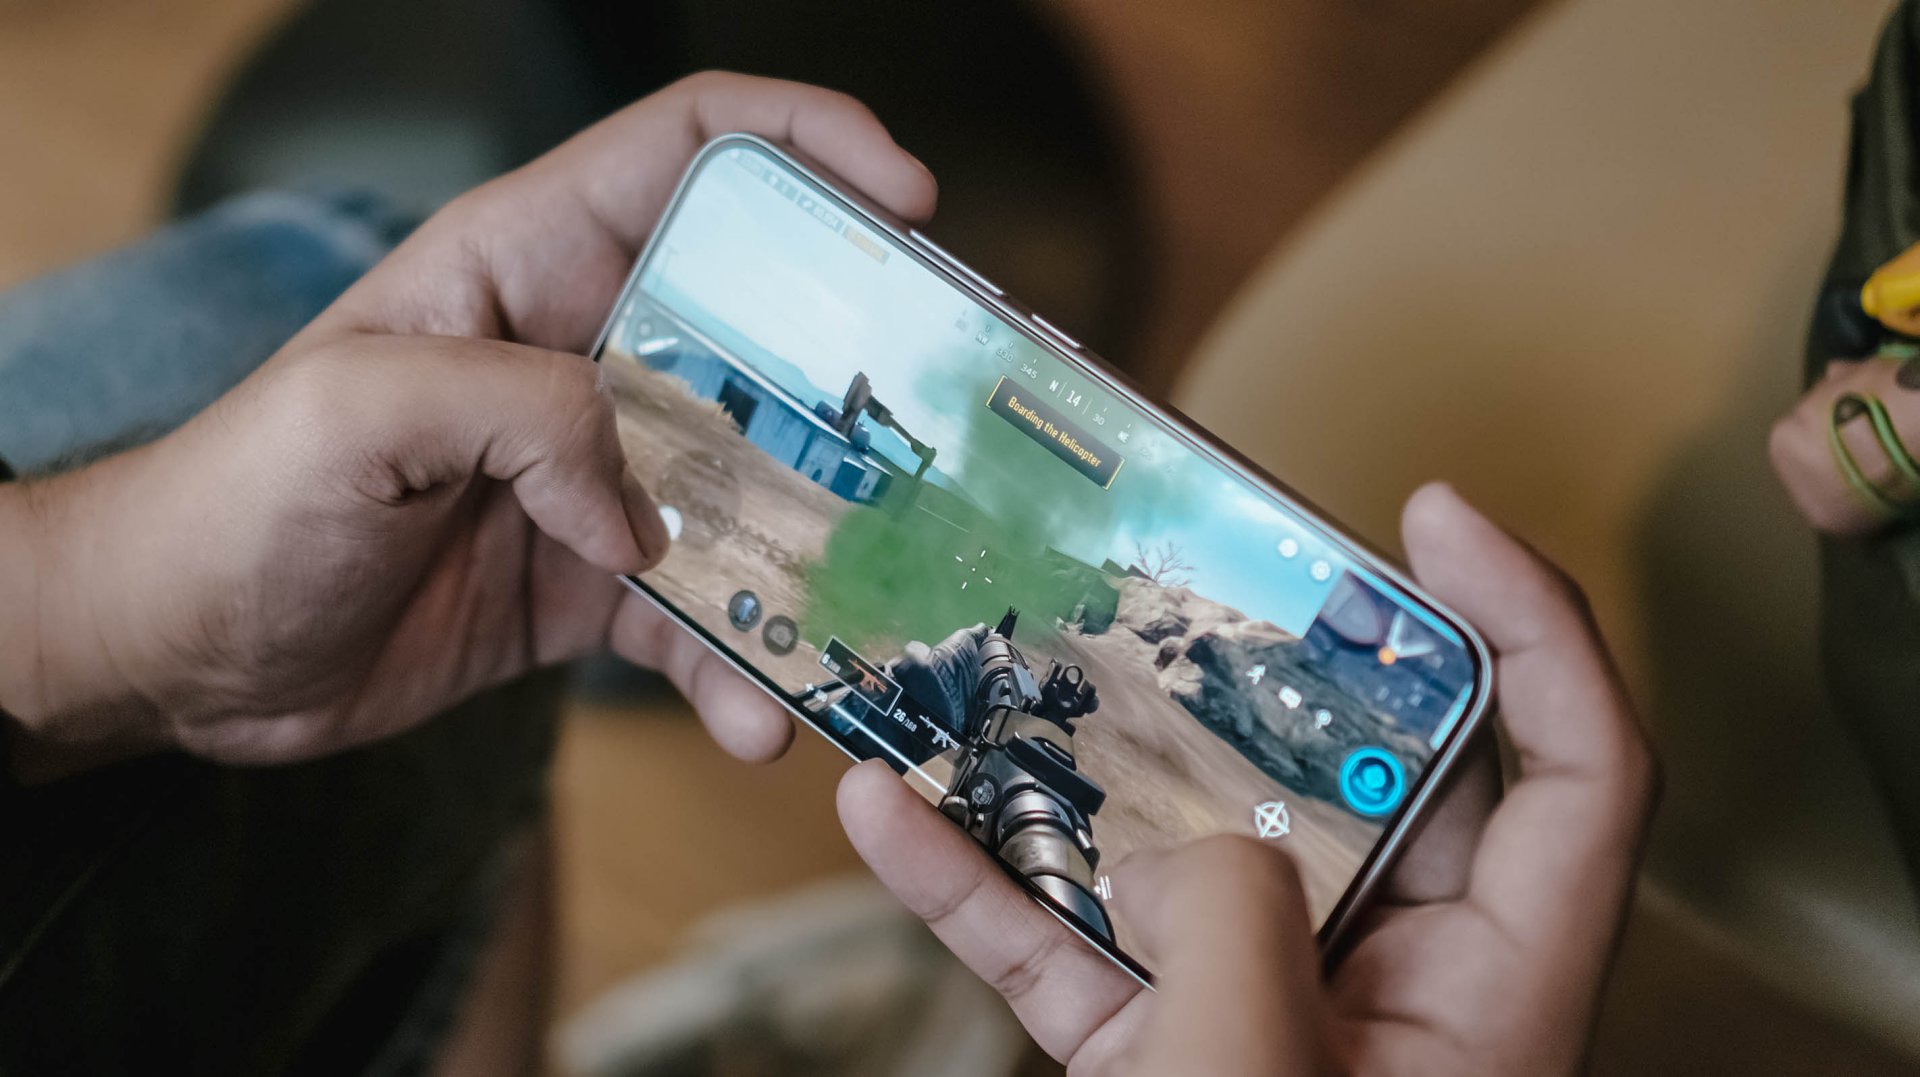
Other than the phone’s actual battery capacity, the inclusion of charging brick and cable is also region-dependent.
In Asia, or at least where I reside, it still comes bundled out of the box.
Now, if you live in European regions, you’d know by now how EU’s strict laws result to the absence of these accessories.
Still, it’s worthy to note that the Note 17 Pro Max supports USB-C PPS protocol.
In my GadgetMatch Charge Test though, that still accounts for 21 minutes of charging time difference.
Xiaomi 100W Charger +
|
UGREEN 100W Uno + ADATA
|
|
START TIME (from 0%) |
6:05PM |
9:54AM |
3 minutes |
5% |
6% |
5 minutes |
9% |
8% |
10 minutes |
16% |
12% |
15 minutes |
21% |
18% |
30 minutes |
38% |
41% |
45 minutes |
55% |
57% |
1 hour |
72% |
75% |
1 hour 15 minutes |
88% |
89% |
1 hour 30 minutes |
– |
95% |
END TIME (100%) |
7:29PM
|
11:39AM
|
With that speedy and reliable 100W HyperCharge speed, it was able to juice up the phone to the very brim under 1 hour 25 minutes.
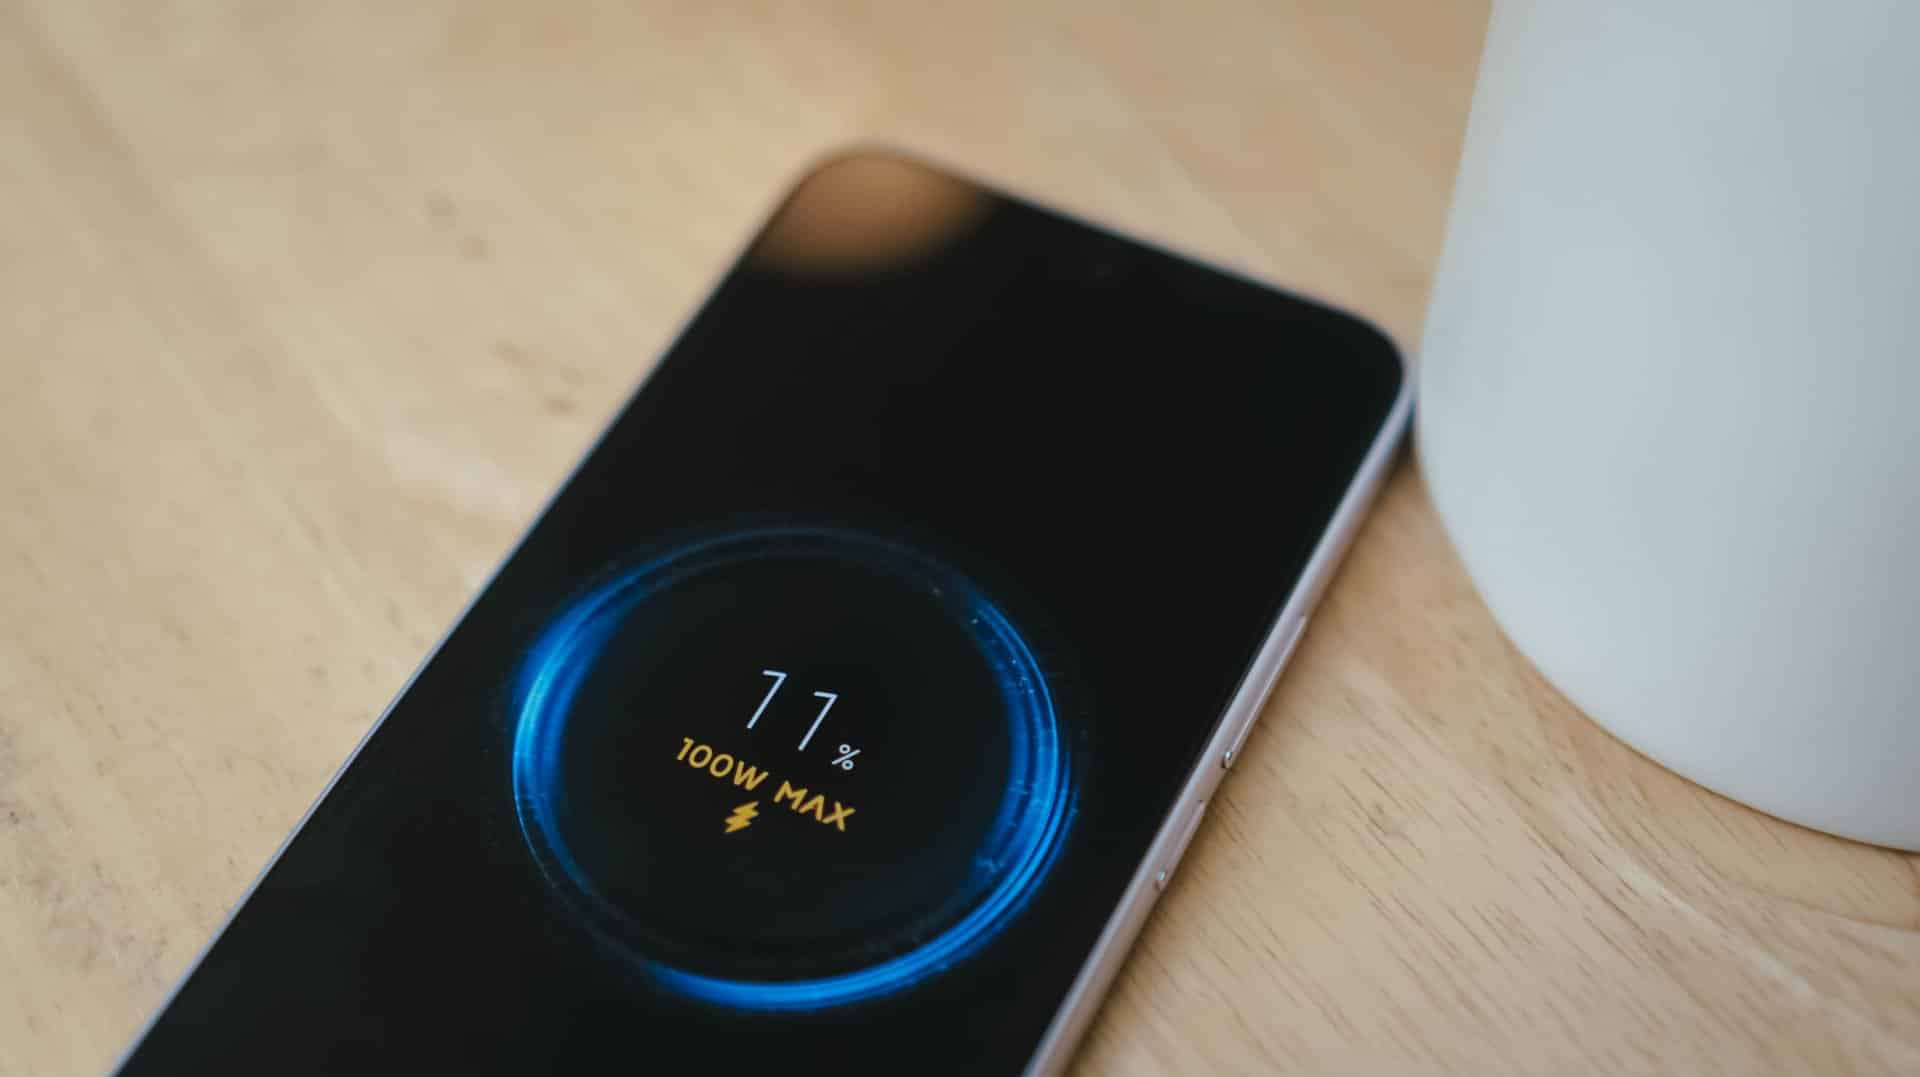
Coincidentally, the Note 17 Pro got fully-filled in 1 hour 25 minutes using Xiaomi’s 100W HyperCharger and cable.
Now this is the part where I can truthfully say the REDMI Note 17 Pro Max reigns.
Is the REDMI Note 17 Pro Max your GadgetMatch?
With a starting price of PhP 30,999 / SG$ 749, the REDMI Note 17 Pro Max isn’t sitting on the same throne as its predecessor and clearest contender, the REDMI Note 15 Pro+.
The ever-immersive audiovisual goodness, utmost Titan durability, and capable cameras are found on both models. Ultimately, it comes down to personal preference when it comes to aesthetics and ergonomics.
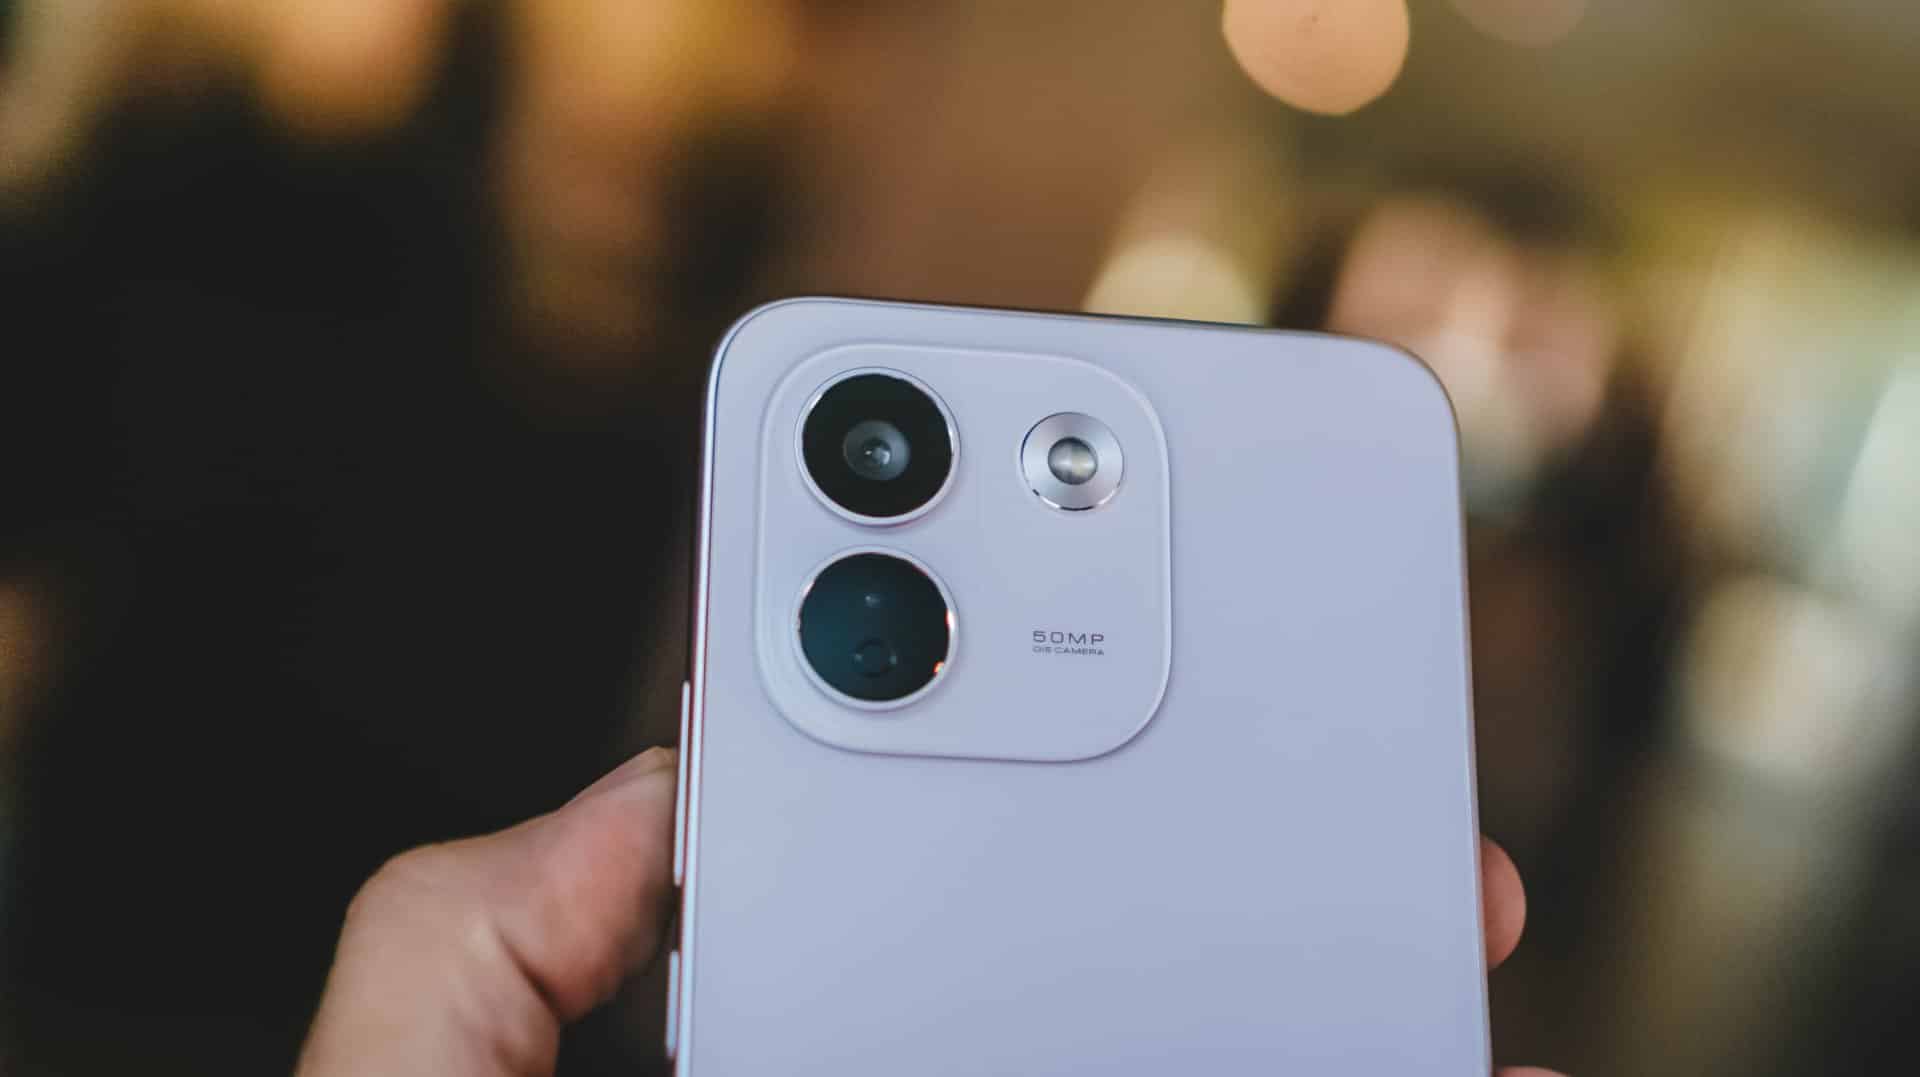
Now, if you favor that beastly battery above all else, the Note 17 Pro Max is worth the Swipe Right.
But, with that PhP 6500 / SG$ 90 price gap between the 512GB variants of both models, the REDMI Note 17 Pro Max is simply a Swipe Left.
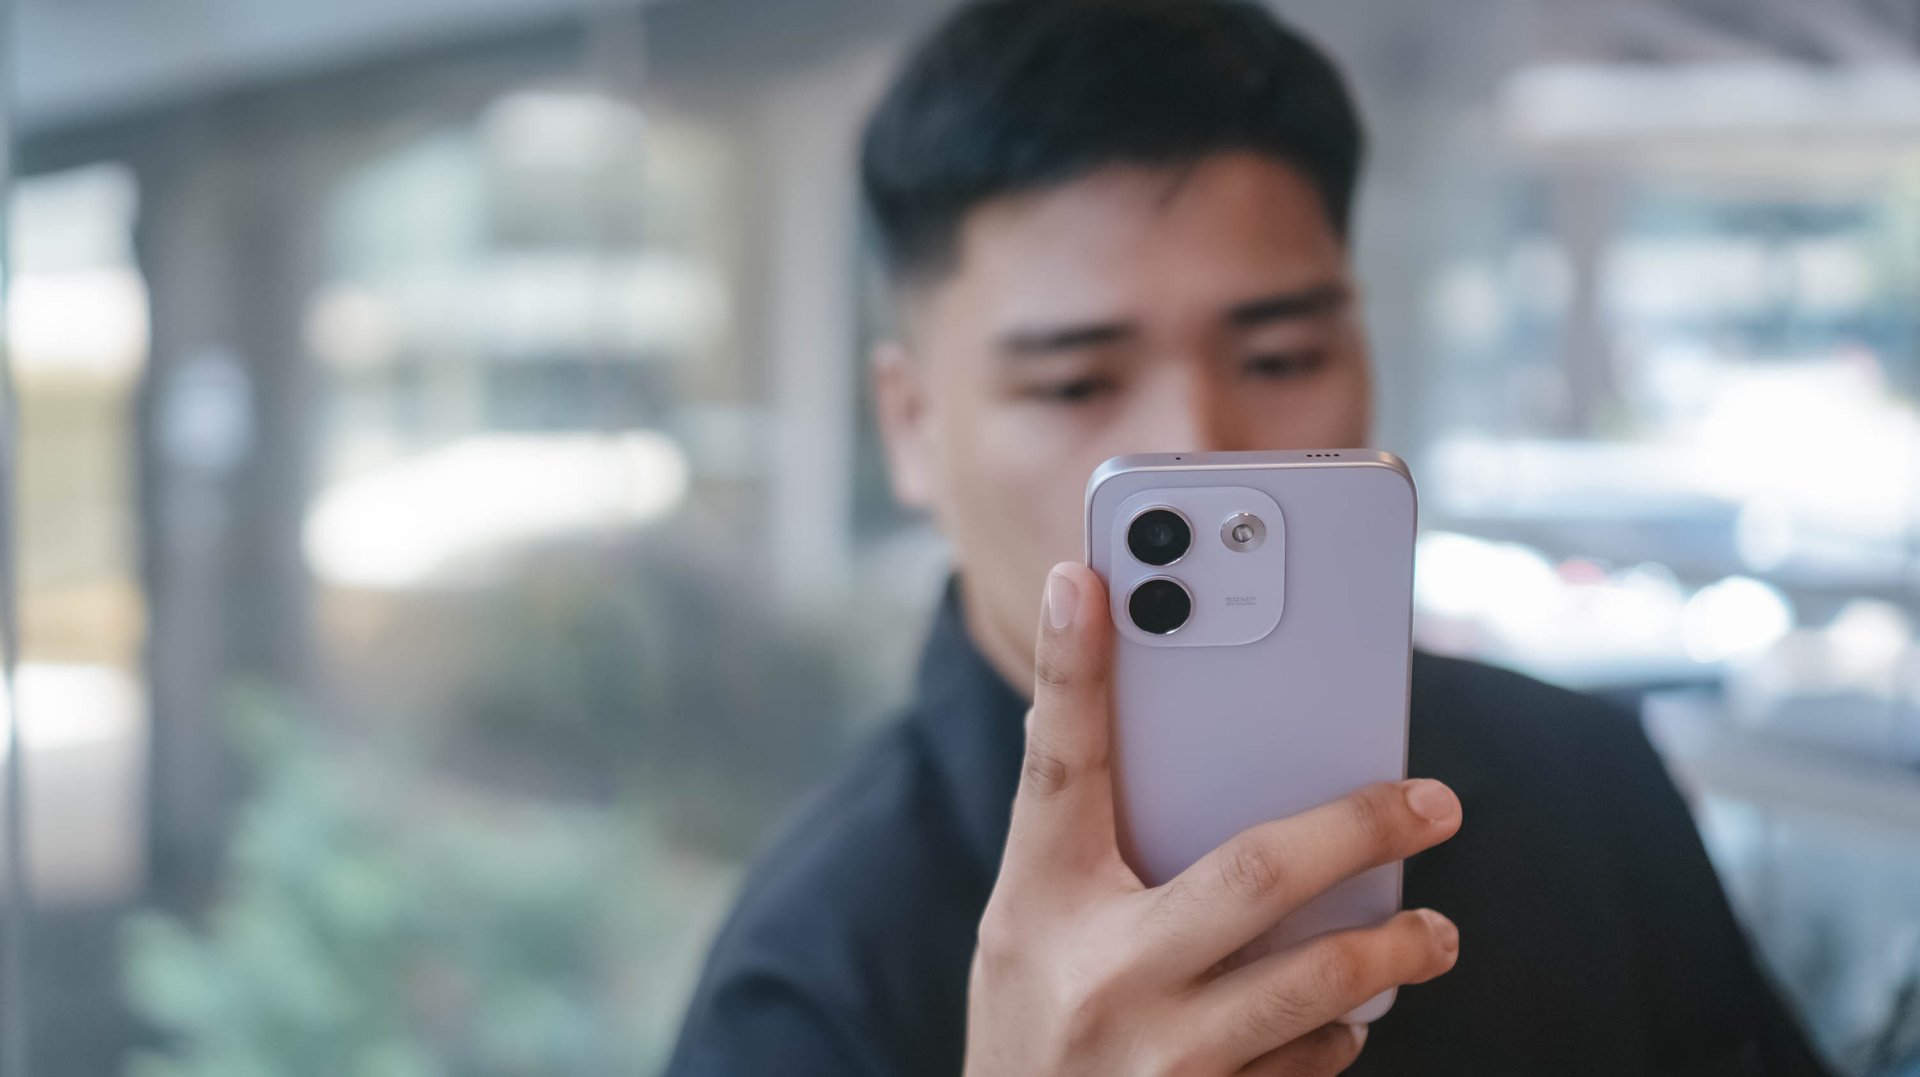
Adding more fuel to the fire, the previous Pro+ model has the better chipset and a more refined 200MP main camera. Not to mention, the base memory starts at 12GB, while the newer one, despite being faster, only comes with 8GB of RAM.
So, unless that bigger battery is a dealbreaker for you, the older Pro+ model remains the better value.
A new breed born from AI greed
Clearly, the continuous components crisis isn’t stopping anytime soon. The culprit is none other than the further use and abuse of AI.
As someone who has seen the early warning signs of AI since 2019, this is one among what I fear and dread the most.
The birth of the REDMI Note 17 Pro Max as a new phone breed was undoubtedly brought by the unnecessary AI greed of both companies and consumers’ demands alike.
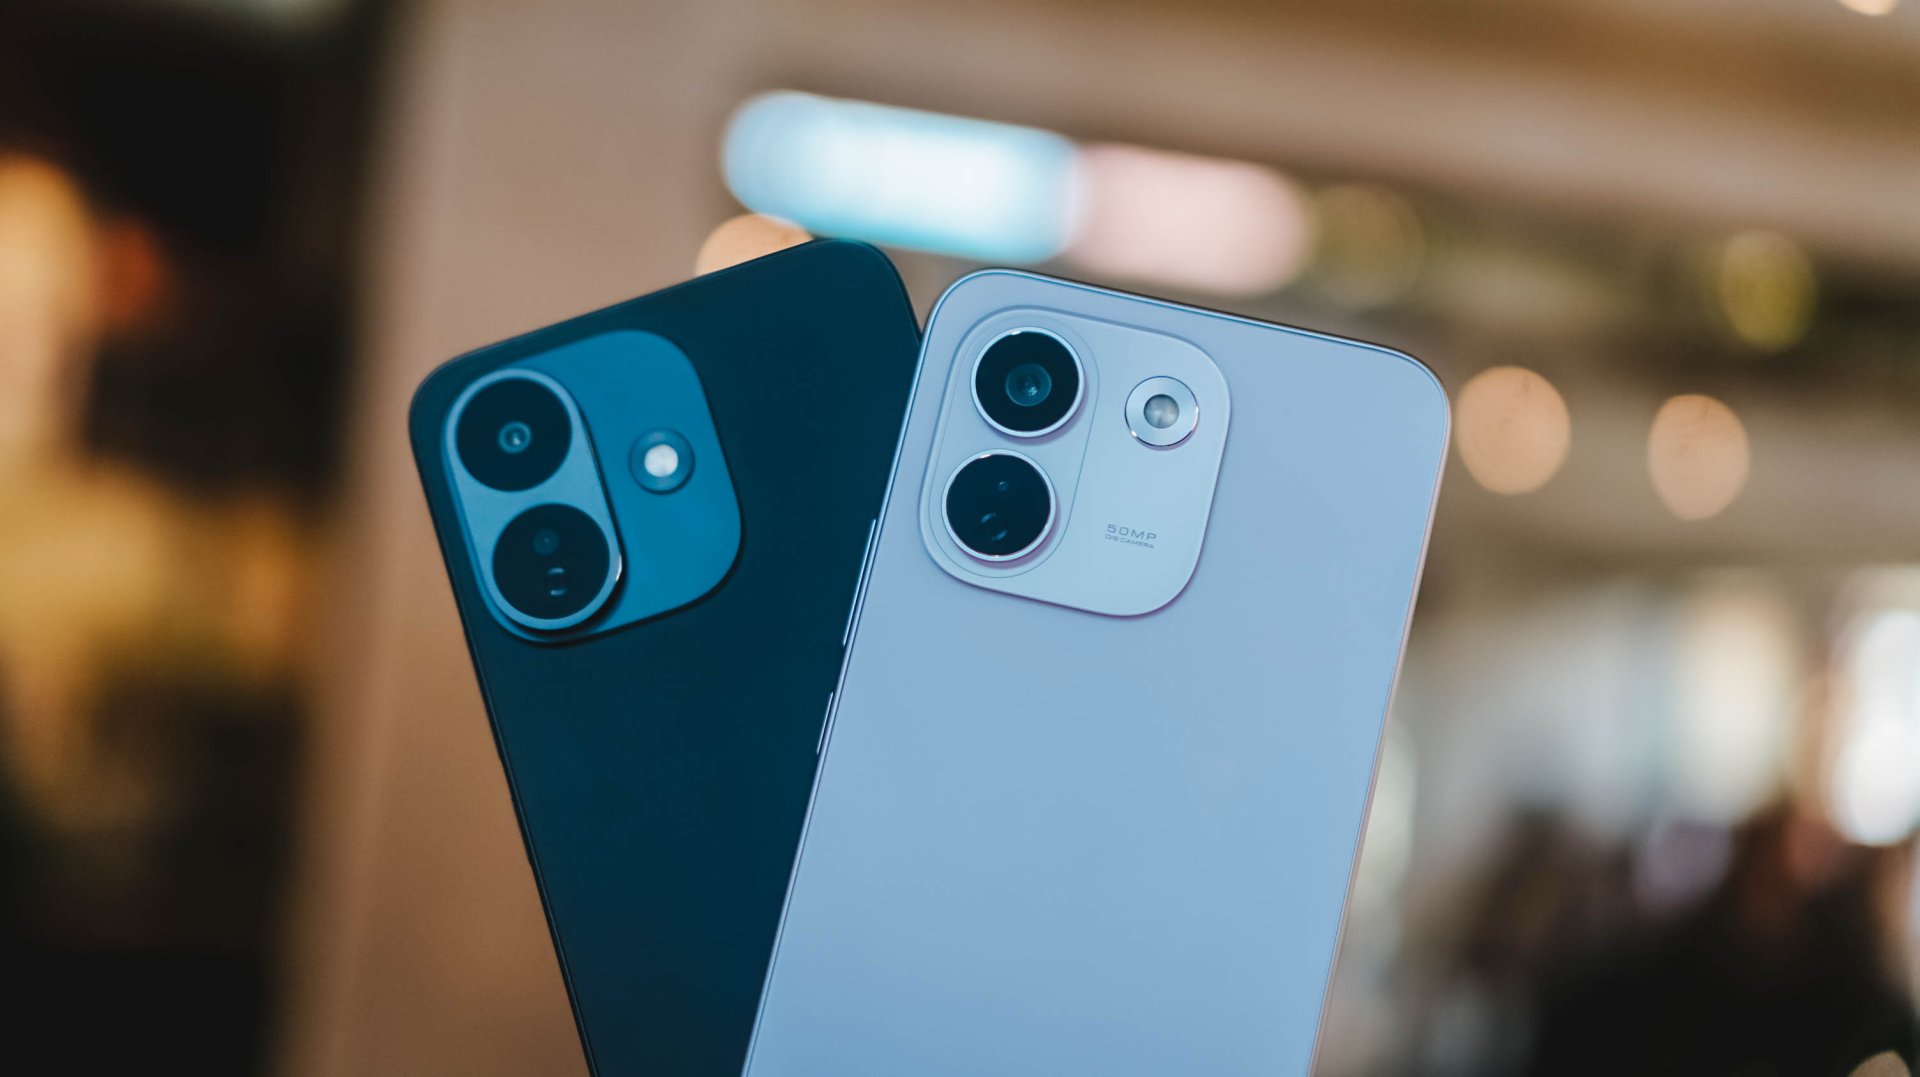
And, as much as I hate to admit it, midrange smartphones with this high price to lower performance ratio might actually be the “new normal.”
The final purchasing power still falls under your hands. However, at the end of the day, these discrepancies and inconsistencies in hardware alongside an even higher launch pricing truly and surely speaks volumes on what to expect with smartphones starting now and the years to come.

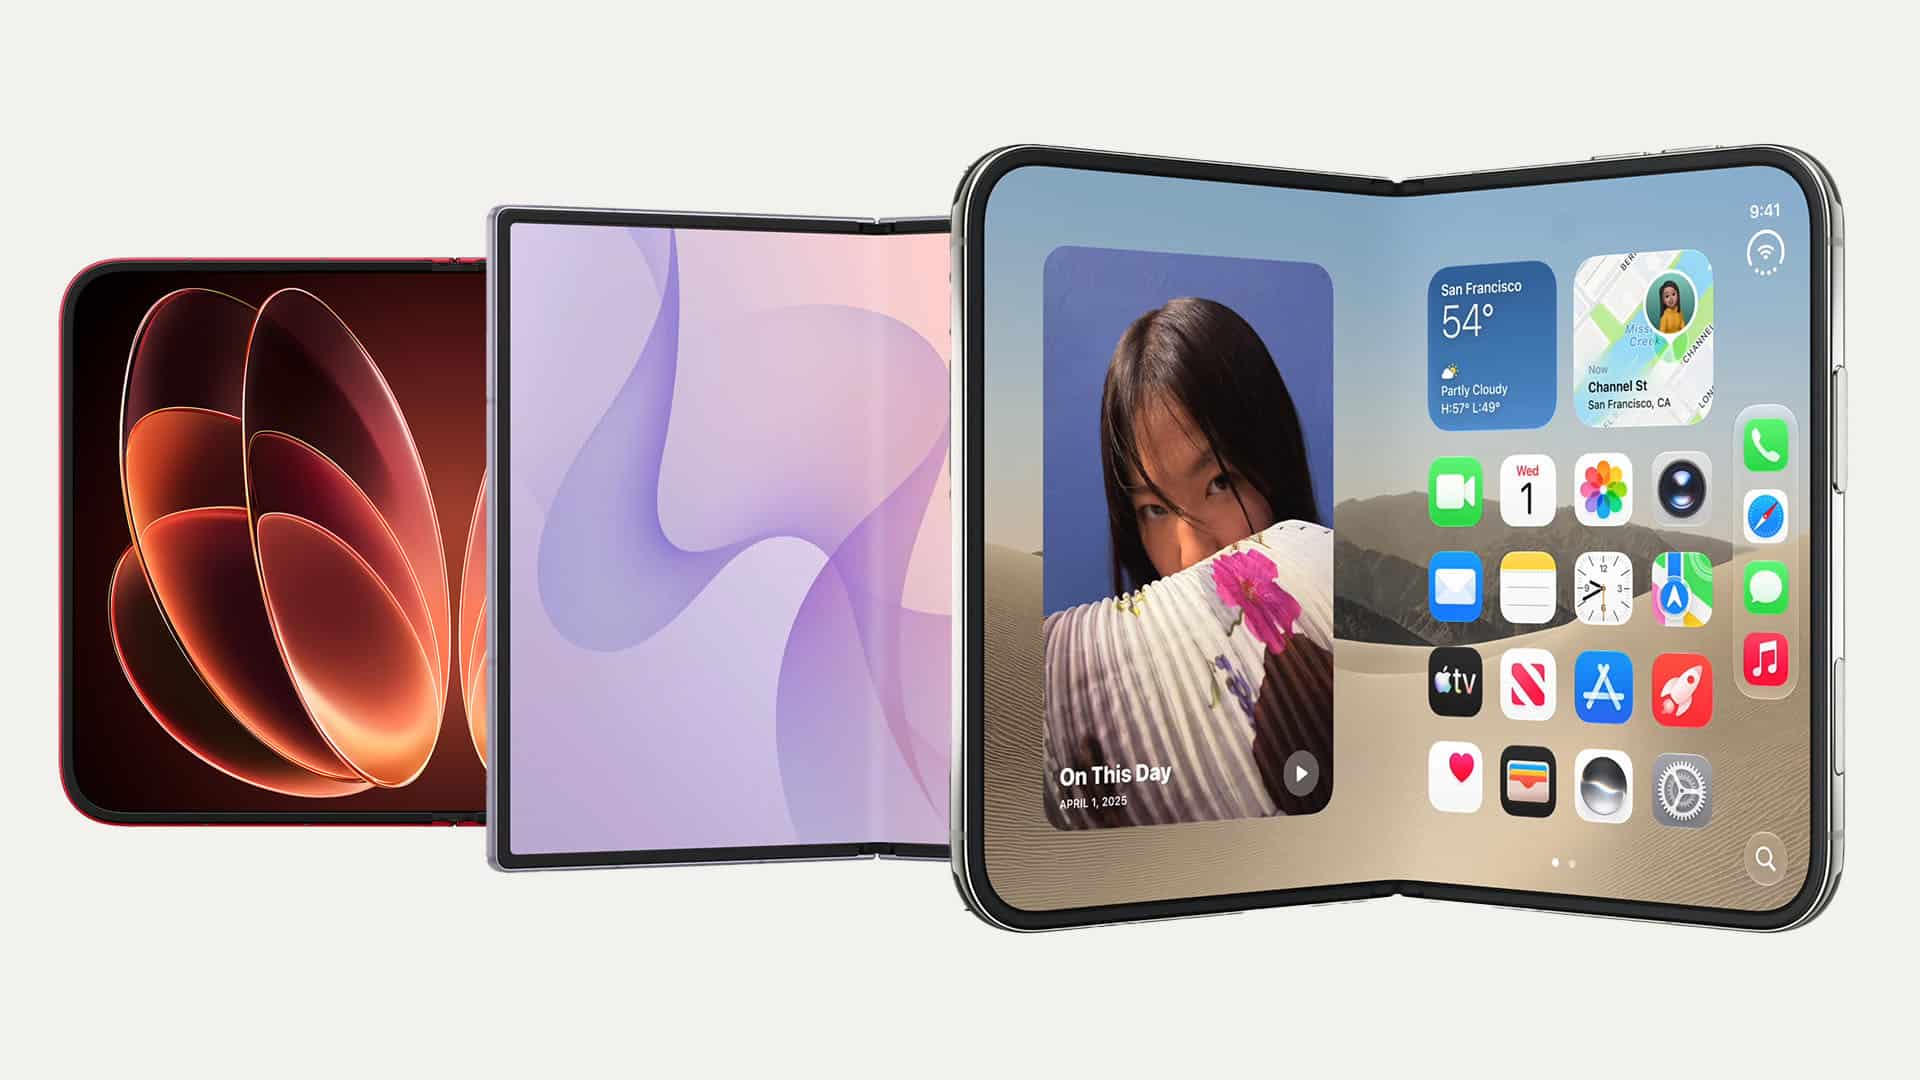
There’s a passport-sized revolution upon us, and we’re here for it.
After the HUAWEI Pura X Max and Samsung Galaxy Z Fold8, September 2026 showed us two more joining the fray: the Xiaomi 18 Fold and the much-awaited and plenty-rumored iPhone Duo.
While all four share a similar form factor, they don’t exactly all share the same approach to it. And while we’ve yet to spend significant time with most of them, we’re gonna go ahead and jump the gun and list what we think each one did right.
Think of this as more of a collective first impression or Match Pulse.
Samsung gets the weight right
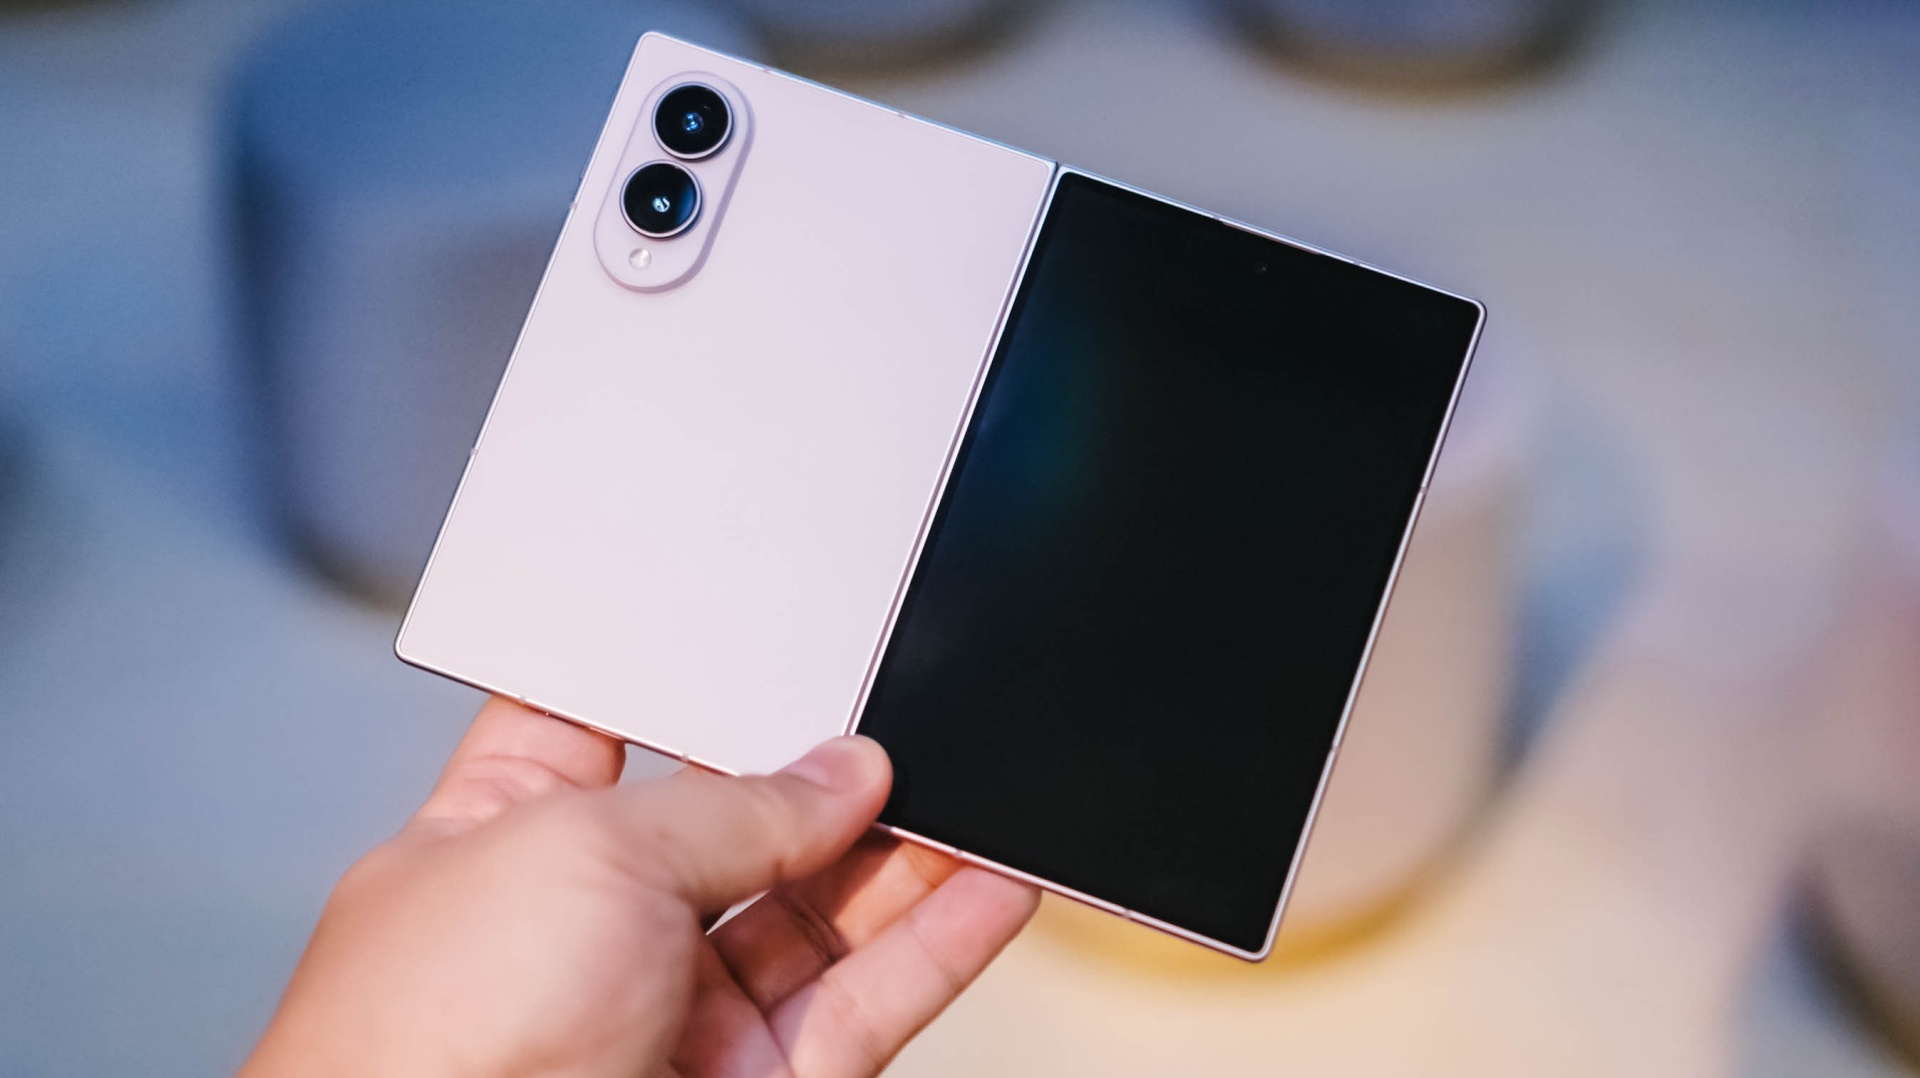
Samsung being a foldie veteran shows up here.
When I first held the Galaxy Z Fold8, I was pleasantly surprised by how light it was. At 201g, it’s the lightest of these four by a pretty significant margin. The Xiaomi 18 Fold comes in at 219g, the HUAWEI Pura X Max at 229g, and the iPhone Duo at 254g.
That’s thoughtful design, and definitely a result of Samsung having at it for years.
This is one of those things that doesn’t necessarily jump out on a spec sheet. But it matters when you actually have the phone in your hand. A passport-sized foldable is supposed to give you more screen without feeling like you’re carrying around a tiny tablet.
Samsung seems to understand that balance particularly well.
Xiaomi gets the cameras right
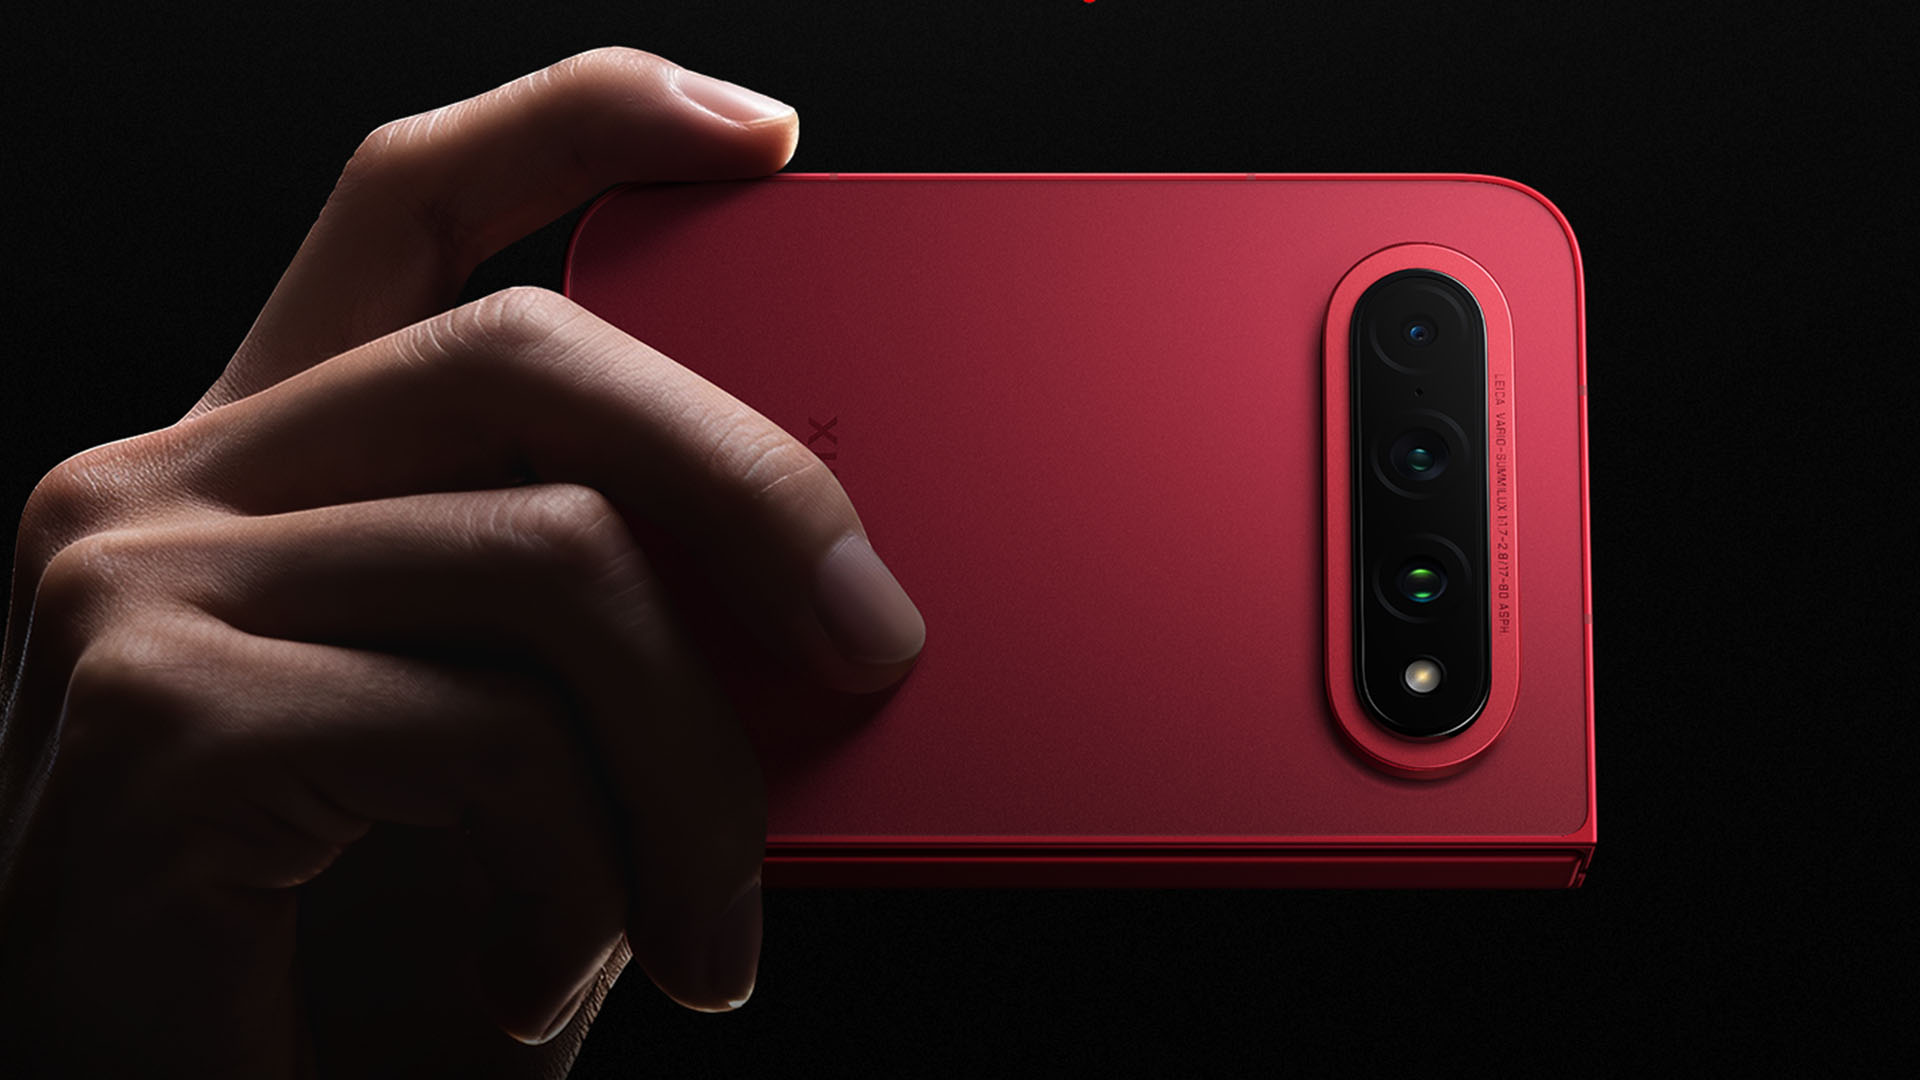
We’re not gonna talk about camera performance here. Just the cameras present and how they’re laid out.
In that regard, the Xiaomi 18 Fold is a runaway winner for me.
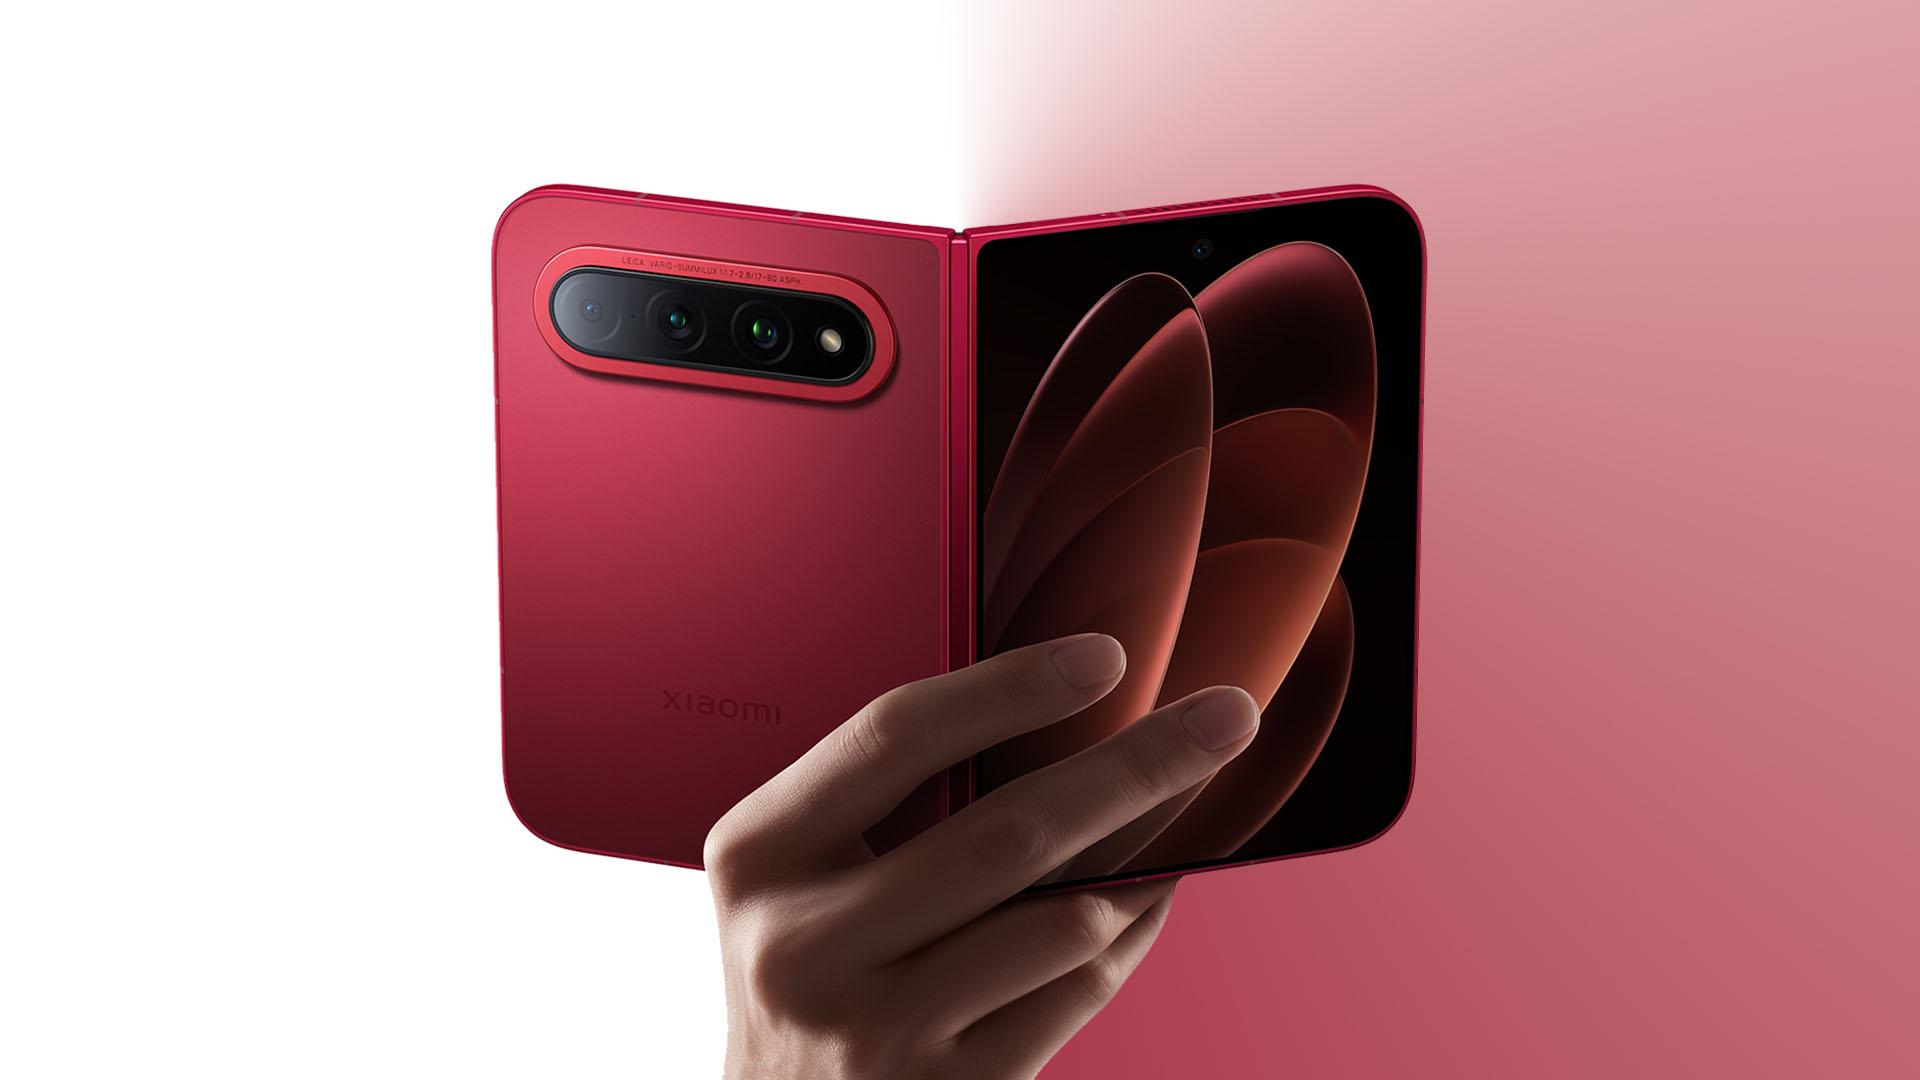
It has a 200-megapixel main camera, a 50-megapixel ultrawide, and a 50-megapixel 3.5x periscope telephoto. All three are part of Xiaomi’s Leica camera system.
That telephoto alone makes the setup feel much more complete than what some of the other passport-sized foldables are offering.
Then there’s the physical layout. Xiaomi puts the three cameras in a horizontal arrangement across the upper portion of the rear panel. It looks clean, but more importantly, it should help keep the phone from rocking around as much when you put it down on a flat surface.
That’s the kind of small design decision I appreciate.
You’re not just getting a foldable with cameras slapped onto the back. You’re getting a flagship-style camera system that also happens to fold.
Android gets the big screen right

This is where Android still has Apple beat.
The whole point of opening a passport-sized foldable is getting more screen. Android has spent years figuring out what to actually do with all that extra real estate.
On Samsung, you can run apps side by side, resize windows, use pop-up windows, save app pairs, and take advantage of Samsung’s broader Multi Window and DeX features. Huawei has also built out its own split-screen and floating-window tools.
Apple is finally entering that conversation with the iPhone Duo. Its iOS 27 implementation allows two apps to run side by side (you just can’t resize them like you can on Android), two windows of the same app, quick app swapping, and saved app pairs.
That’s actually a pretty big deal. But Android has been doing this for years.
The passport-sized foldable isn’t just a bigger screen. It should let you do more things at once. Android understands that part of the assignment.
Apple gets the transition right
@gadgetmatchiPhone Duo maxxing 😮💨♬ original sound – GadgetMatch
This might be Apple’s biggest contribution to the passport-sized foldable.
The iPhone Duo doesn’t simply take iOS and stretch it across a bigger display. Apple has reworked the experience around the fact that the phone can physically change shape.
Both displays share the same aspect ratio, which means content can move between the outer and inner screens without feeling like you’re jumping between two completely different phones. iOS 27 also moves controls to the side when the Duo is open, adjusts app layouts for the wider canvas, and introduces Split View for the first time on iPhone.
There’s also the rather clever StandBy implementation. Put the Duo down in a tent orientation and it can turn into a little smart display, even without being plugged in.
Apple Pencil support is coming later this year, too, and it works on both displays.
This is very Apple.
The hardware is new, but the software is doing a lot of the work to make the new thing feel familiar.
Samsung gets the overall shape right
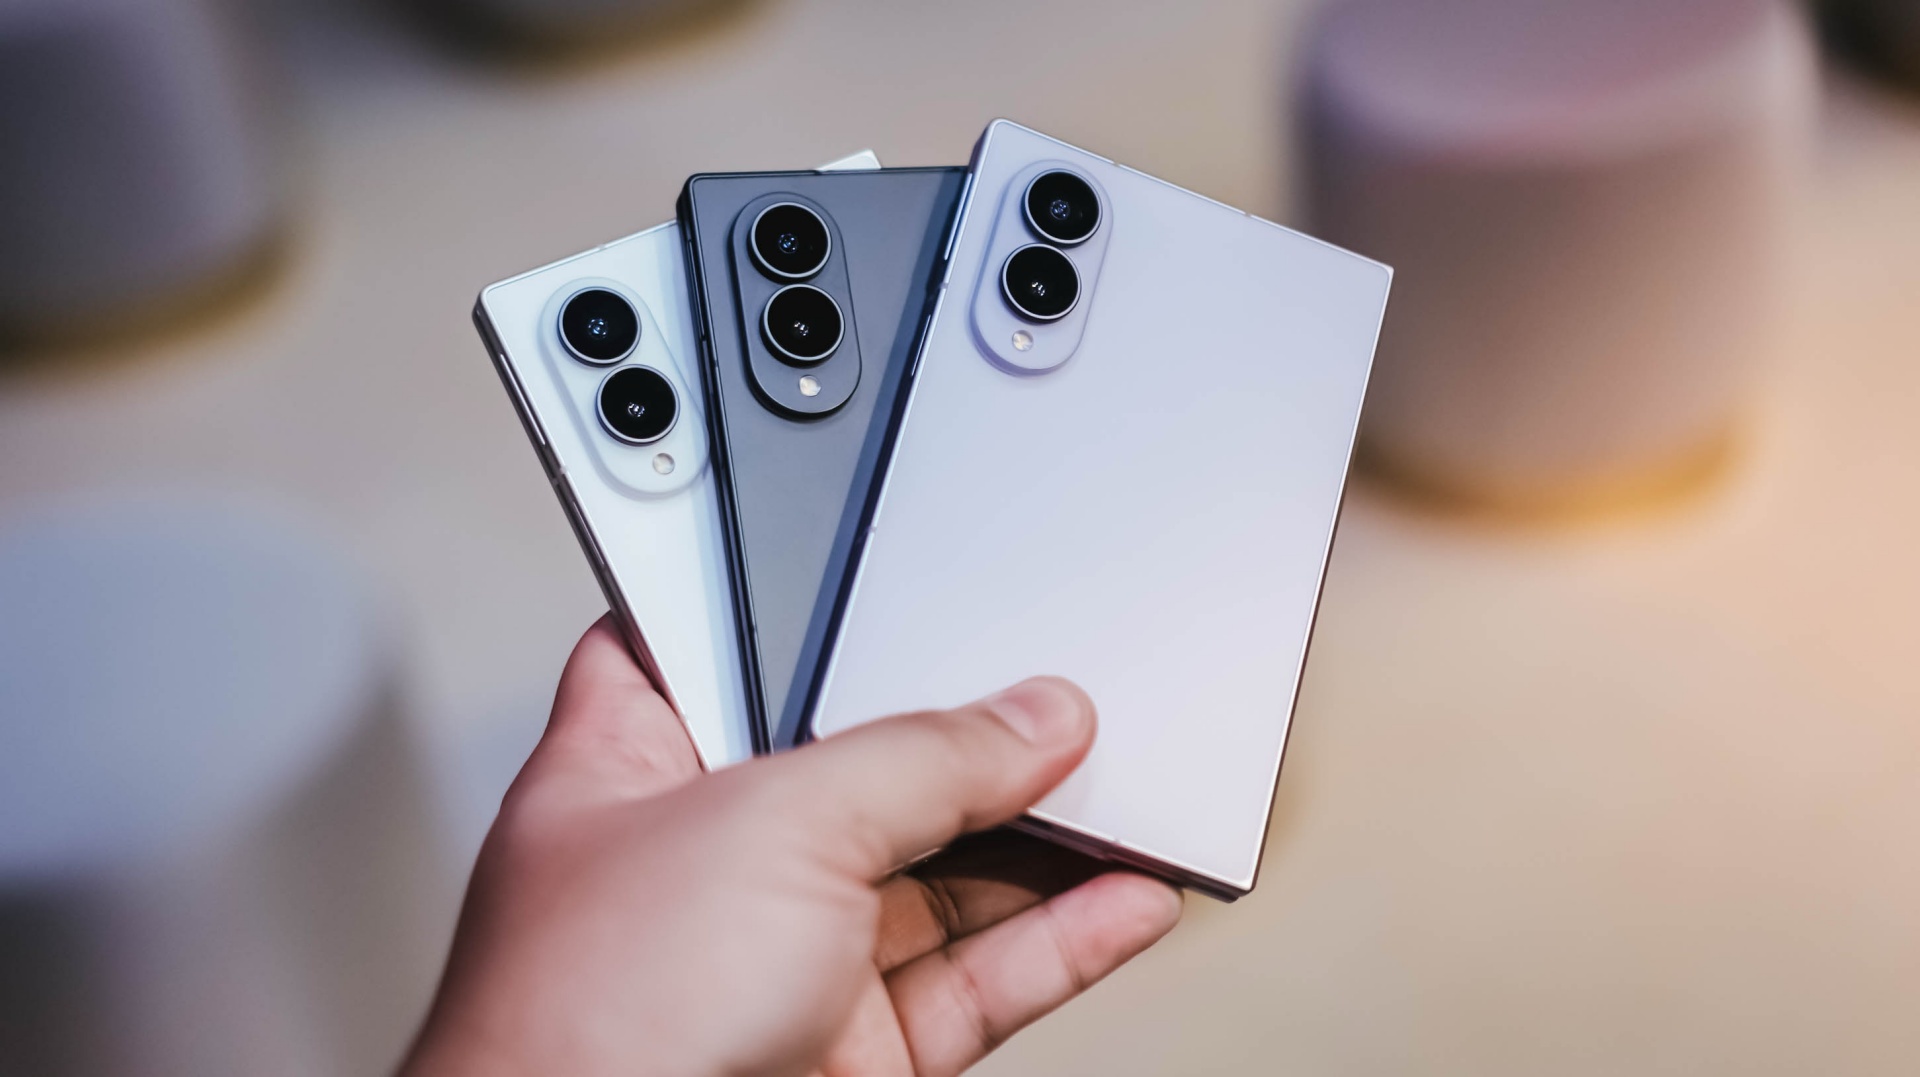
This one is completely subjective.
Personally, I prefer the square-ish, sharp-edge look of the Galaxy Z Fold8. I’ve seen plenty of people praising the D-like shape of the Duo — was that deliberate or just a happy coincidence? — and the more rounded look of the Pura X Max and Xiaomi 18 Fold.
But looks-wise, the Galaxy Z Fold8 just stands out to me.
There’s something about the balance and more symmetrical look of the Fold8 that seems more user-friendly compared to the no-love-for-lefties approach of the Duo, especially software-wise.
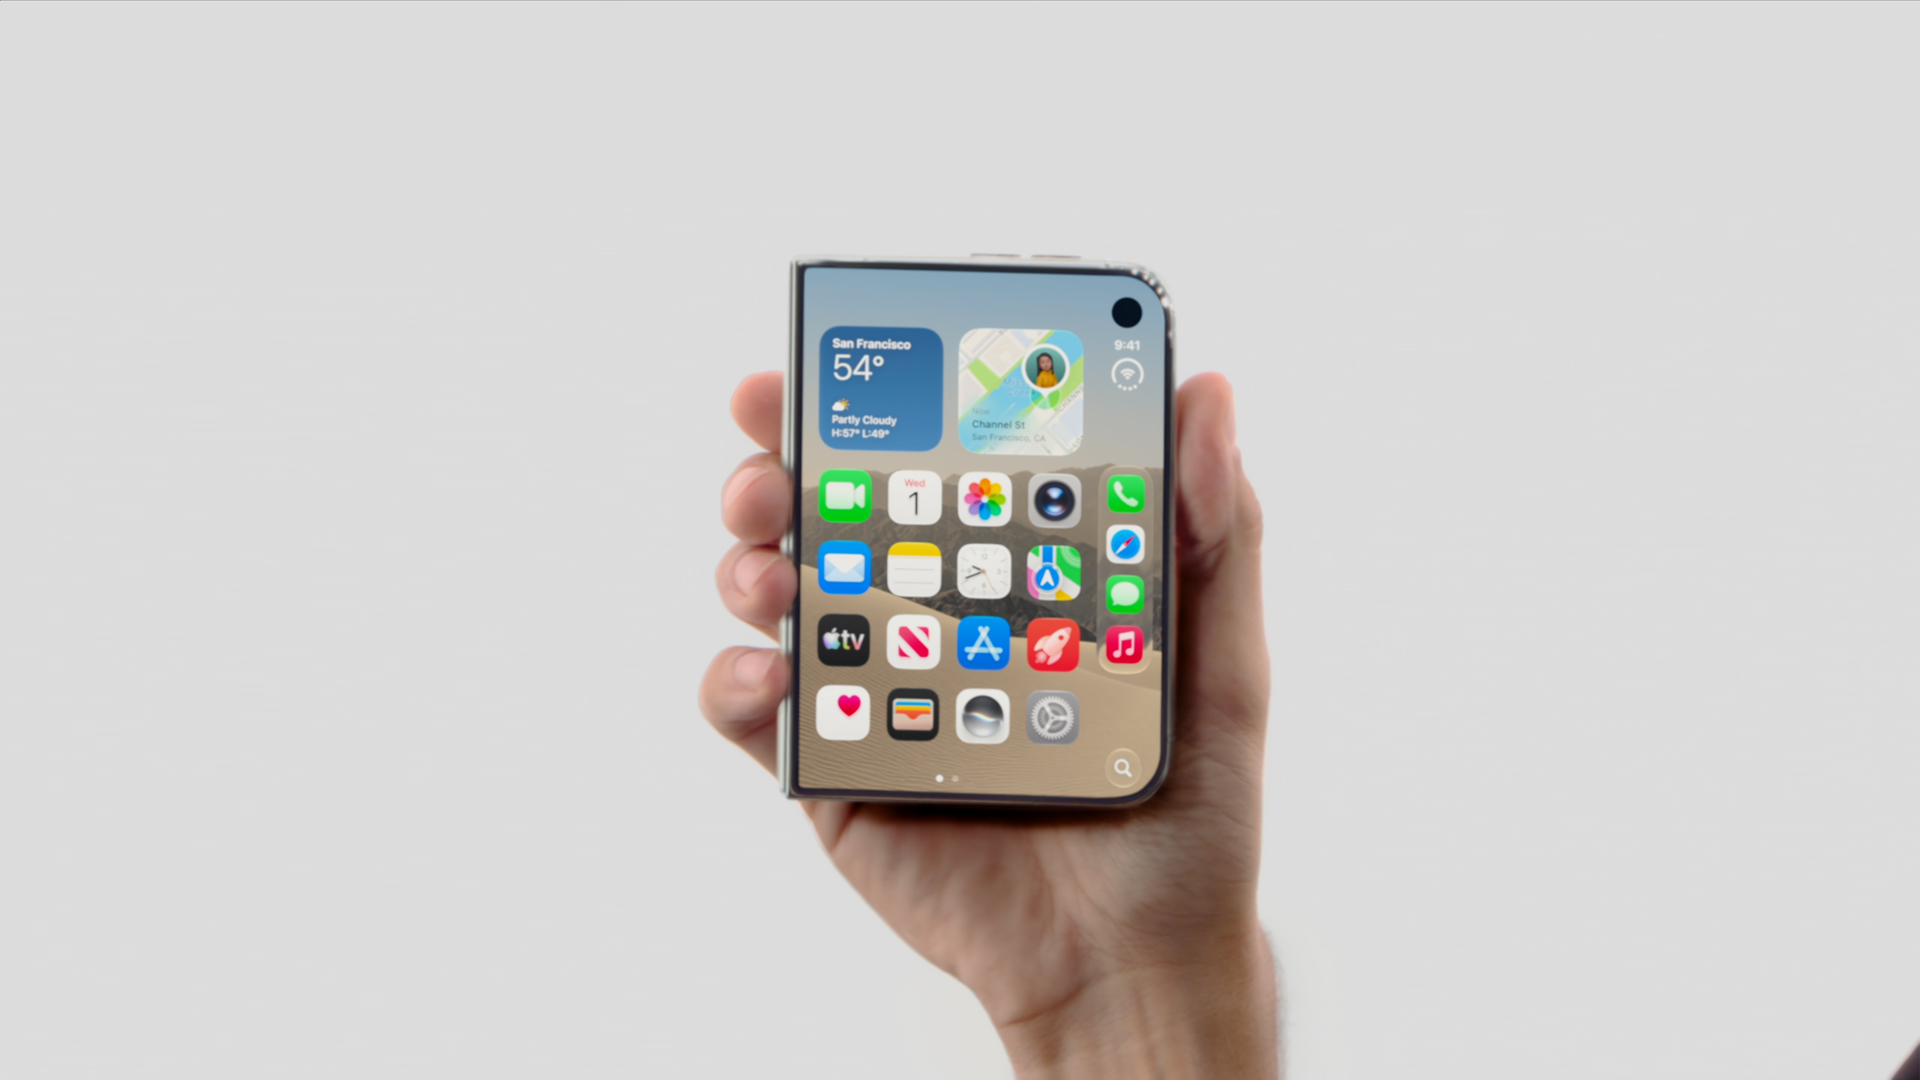
That’s obviously a personal preference. But that’s kind of the point.
We’re now at a stage where these devices aren’t all trying to look like the same thing.
The passport-sized foldable is becoming a design language of its own.
Android gets customization right
@rodneil Galaxy Z Fold8 – 3 different wallpapers: Folded, Landscape unfolded, Portrait unfolded #GalaxyZFold8 ♬ Kitty (MOMO) – MISAMO
Much has been said about the unfolding animation of the iPhone Duo. That’s cool for sure.
But if you’re after making a passport foldie truly feel like yours, Android is still the playground.
With Samsung specifically, Good Lock is your customization best friend.
You can tweak the interface, the lock screen, gestures, multitasking behavior, and plenty of little things that make a Galaxy feel less like the phone Samsung shipped and more like the phone you set up.
It’s not necessarily the sexiest feature to put on a spec sheet.
But after you’ve lived with a foldable for a while, those little things add up.
Samsung dropped the ball on the stylus
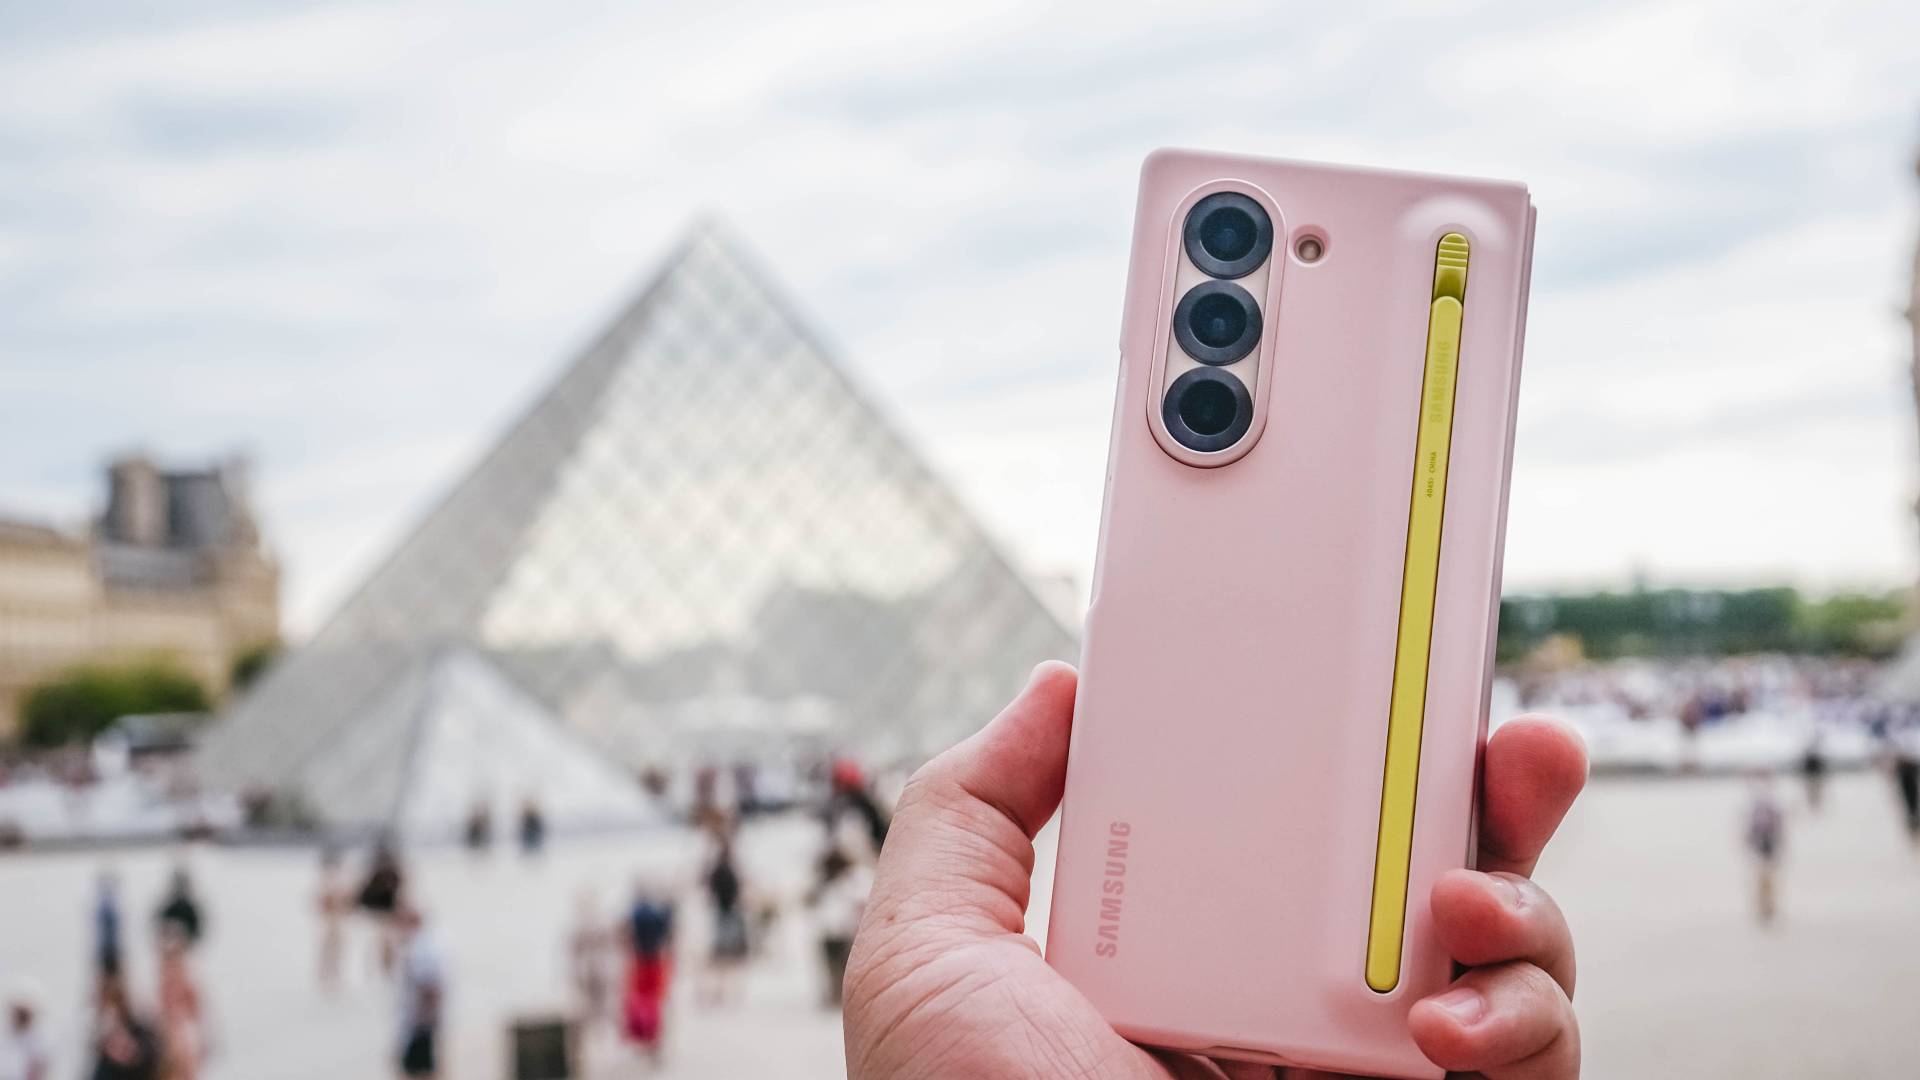
This is a weird one.
Samsung had S Pen support on the Galaxy Z Fold3, Fold4, Fold5, and Fold6. Then it dropped support with the Fold7. The Galaxy Z Fold8 and Galaxy Z Fold8 Ultra doesn’t support the S Pen either.
That’s a pretty significant omission for a device that unfolds into something approaching tablet territory.
The S Pen had plenty of fans. And you can absolutely argue that a stylus makes even more sense on a foldable because you suddenly have a much larger canvas for writing, drawing, editing, and annotating.
Apple, meanwhile, has promised Apple Pencil support for the iPhone Duo later this year.
Now, they’ve broken (or at least delayed) some promises before, so this is still a wait and see.
But it’s funny seeing Apple move toward a feature Samsung had already established on its Fold line.
The battery race is getting interesting
Graphics by Vincenz Lee | GadgetMatch
We still can’t fully compare this usage-wise. We haven’t spent enough time with all four devices to make any meaningful real-world battery call.
So we’re just gonna give you the numbers on paper.
The Xiaomi 18 Fold is the battery monster here with a 6,000mAh cell, alongside 67W wired and 50W wireless charging. Samsung’s Galaxy Z Fold8 has a 4,800mAh battery with 45W wired charging.
Apple doesn’t publish the iPhone Duo’s battery capacity in the same way, so we’ll leave the mAh comparison there rather than pretending the numbers are directly comparable.
This is one area where Xiaomi’s approach is particularly interesting.It has managed to put a 6,000mAh battery into a device that weighs 219g. That’s a pretty compelling combination on paper.
And then there’s performance
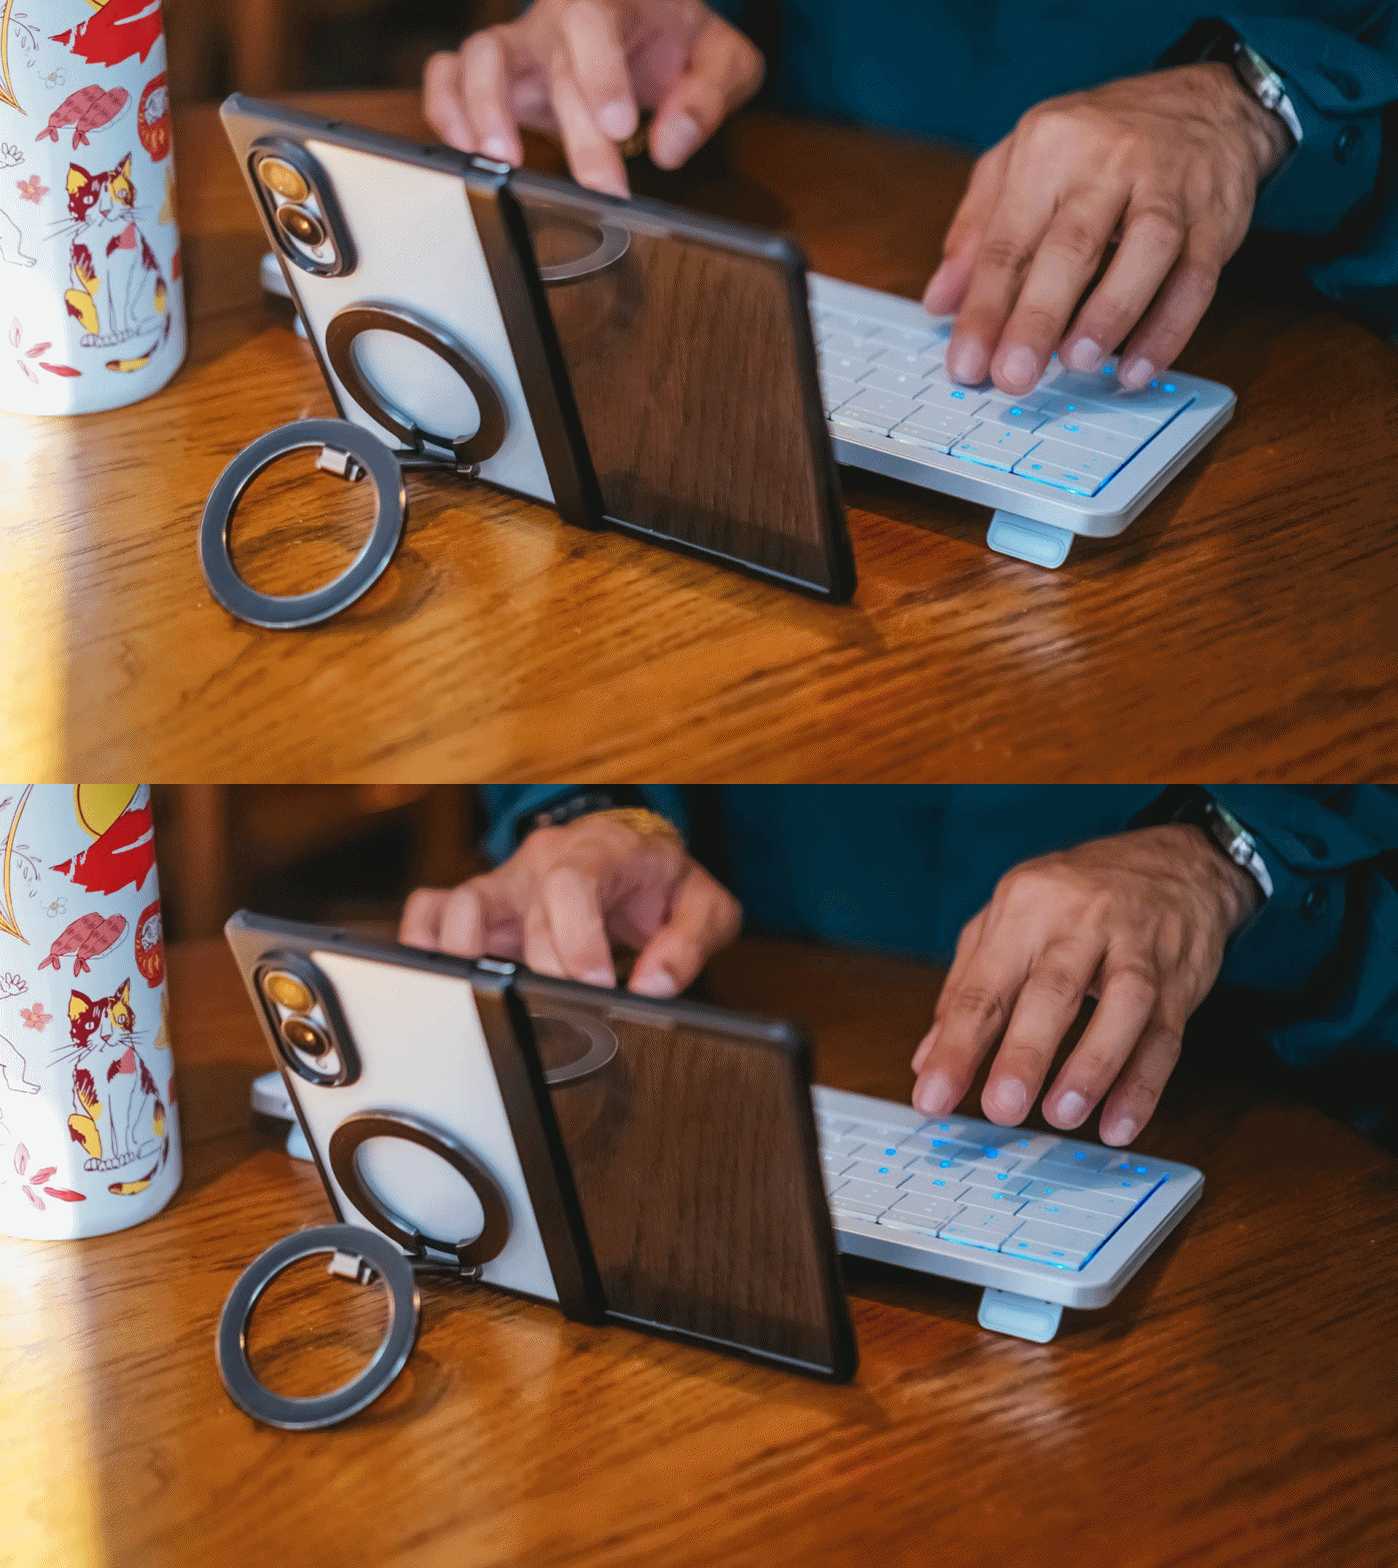
Same refrain as the battery here.
We’re not going to pretend that chipset names alone tell us which phone is going to be faster in actual use. Especially with four different platforms, operating systems, thermal designs, and software stacks involved.
But the hardware underneath is certainly no joke.
The Galaxy Z Fold8 runs on Snapdragon 8 Elite Gen 5 for Galaxy. The Xiaomi 18 Fold introduces Xiaomi’s own XRING O3 processor. And the iPhone Duo gets Apple’s A20 Pro, the same chip family used in the iPhone 18 Pro models.
The interesting part isn’t really which one wins the benchmark race. It’s that none of these companies seem to be treating the passport-sized foldable as a compromise device.
They’re putting flagship-class silicon, serious cameras, big batteries, and increasingly sophisticated software into this format.
And that’s probably the biggest thing to get right.
The passport foldable is becoming a thing
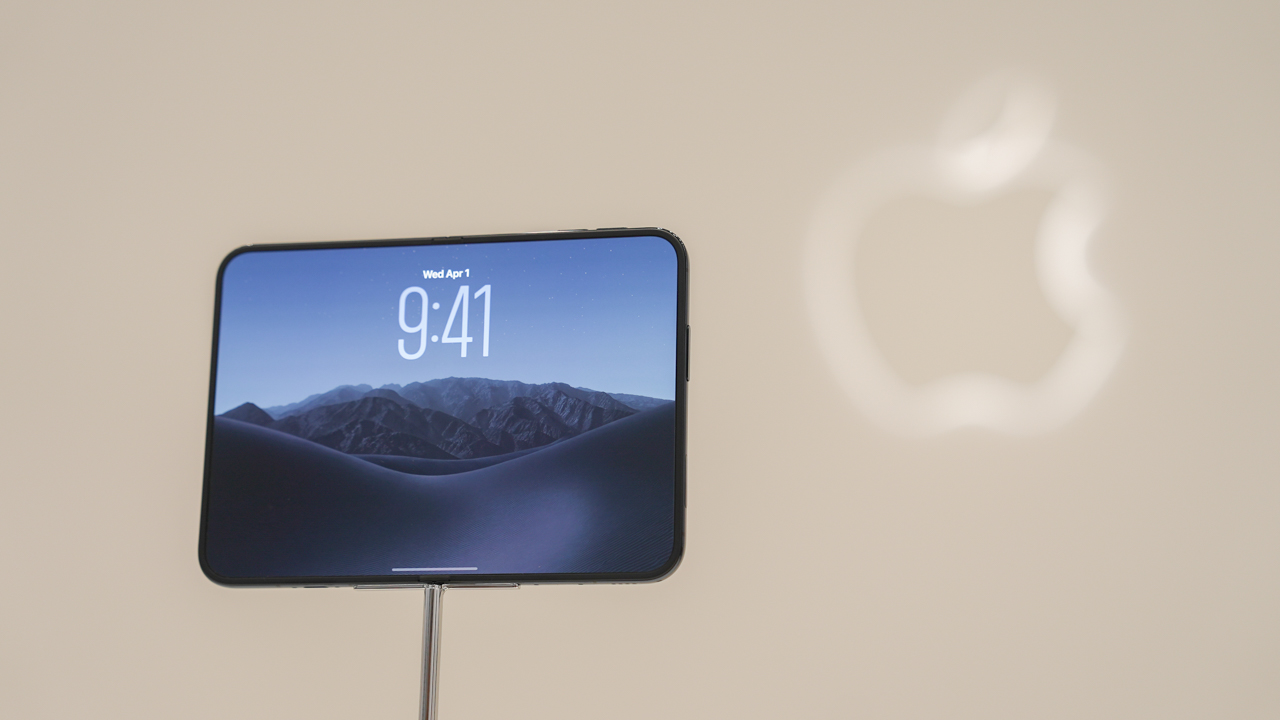
Exciting times are unfolding for the passport-sized foldable.
What’s interesting isn’t that these four phones are similar. It’s that they’re different.
Samsung has spent years figuring out how to make a big foldable thinner and lighter. Xiaomi is going all-in on cameras and battery. Huawei has its own interpretation of the compact, wide form factor. And Apple has arrived with a completely new take on how iOS should behave when the screen itself changes shape.
Between the Galaxy Z Fold8 being a big hit and the buzz generated by the iPhone Duo, it’s not far-fetched to think other brands will throw their own take at the form factor pretty soon.
And we’re totally here for it.

DJI Lito X1 review: Is this the best lightweight drone for creators?
Making a strong case as a travel companion and a capable B-cam!
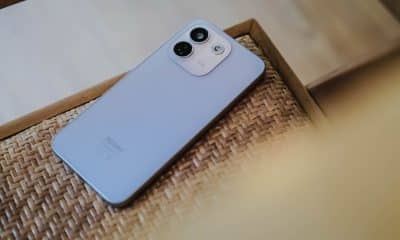

REDMI Note 17 Pro Max review: A new breed born from AI greed
Welcome to the new normal


Marvel’s Wolverine review: When the claws come out
A brutal, cinematic superhero adventure

When your body talks, the Galaxy ecosystem listens

MediaTek launches the Dimensity 9600 Pro

Qualcomm unveils the Snapdragon 8 Elite Gen 6 series

OPPO Find X10 Pro Max is the first phone with a triple 200MP camera system

70mai launches the A900 series with 4K front, rear recording

realme 16T 5G with 8000mAh battery, IP69 Pro rating launches in PH

HUAWEI Pura X View is 2026’s first WIDE slab-type smartphone

REDMI reveals the refreshed Note 17 and Note 17 Pro series

REDMI Note 17 Series: Price, availability in Singapore

The CAMON Slim 5G is TECNO’s latest ultra-slim smartphone


-

 Accessories2 weeks ago
CASETiFY upgrades iPhone 18 cases, teases iPhone Duo lineup
-
 Hands-On2 weeks ago
Apple iPhone 18 Pro Series Hands-on
-
 News3 days ago
vivo X500 Series launches with major imaging upgrades
-
Gaming2 weeks ago
Marvel’s Wolverine review: When the claws come out
-

 Gaming1 week ago
BlizzCon 2026 announces World of Warcraft: Forever and Diablo V
-

 Singapore5 days ago
Epson Lifestudio Grand Plus EH-LS970B with 4K projection, more launches
-
Reviews1 week ago
REDMI Note 17 Pro Max review: A new breed born from AI greed
-

 First Look2 weeks ago
First Look: Apple iPhone Duo